Learn how to apply vinyl to glass the easy way PLUS how to make larger than mat projects with your Cricut!
This is a sponsored post written by me on behalf of Cricut. All opinions are 100% mine.
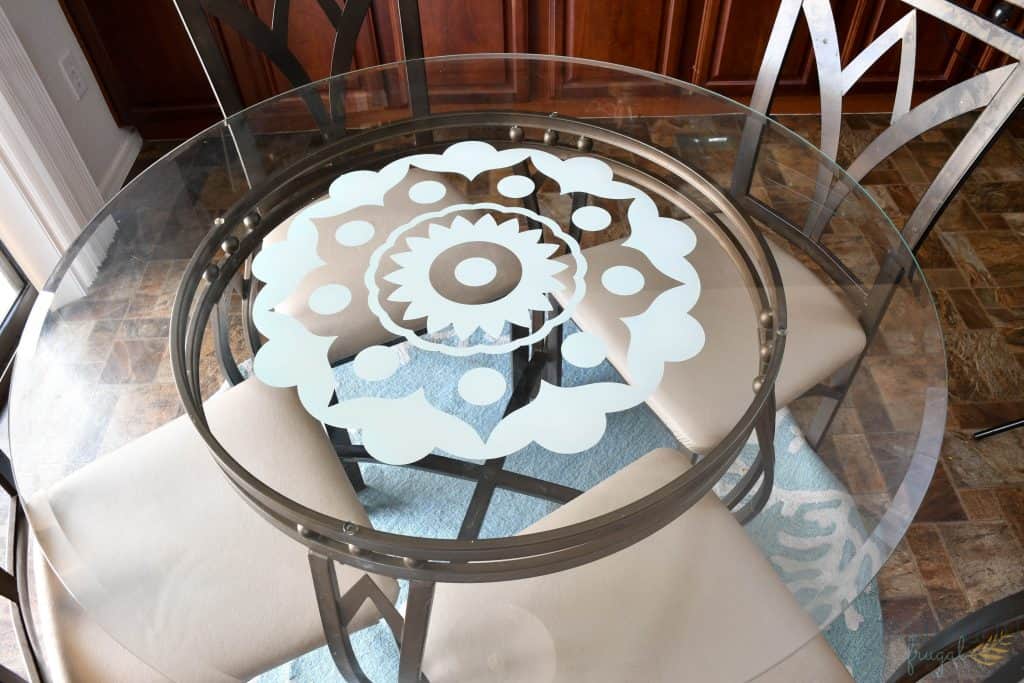
I don’t know about you, but being home all day every day the past 5 months has given me a pretty long list of updates I want to make in and around our home. Because we are currently renting, things like painting the kitchen cabinets are a no-go. But there are a lot of smaller, temporary changes we’re working on.
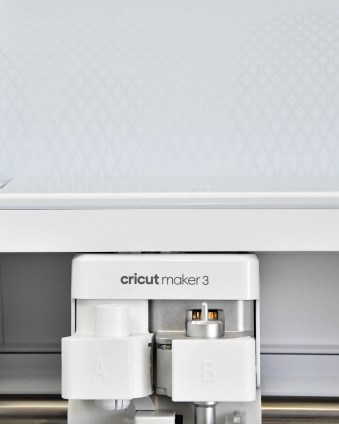
My Cricut Maker has made doing these home improvement projects so much easier. It cuts a TON of different materials, not just vinyl and iron-on but you can also cut leather, wood, fabric, chipboard and more. Check out this post to learn more about what the Maker can cut and how to use it.
The Maker also has a ton of tools that take crafting to the next level. Everything from a rotary blade to cut fabric, to a knife blade for thicker materials and even an engraving tip. Check out this post to learn all about the tools you can use with the Maker.
But maybe my favorite part is how EASY it is to use. I was able to makeover our boring kitchen table in less than an hour all thanks to the Maker!
Kitchen Table Makeover
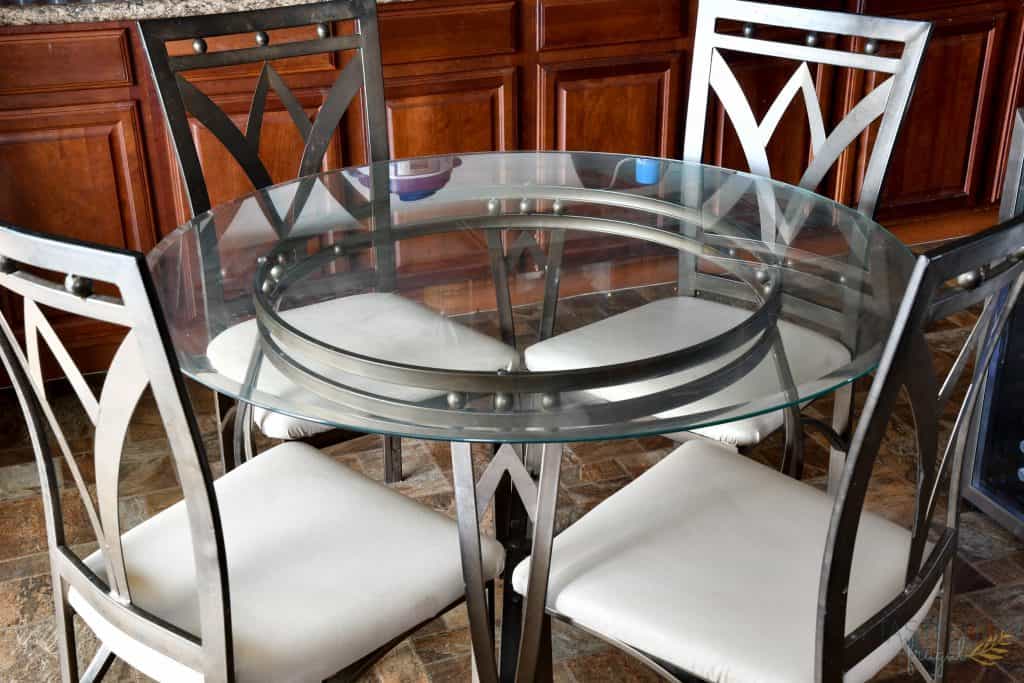
Our latest project is glamming up this boring yard sale table we have in our kitchen. We found it on Facebook Marketplace when we first moved into the house and it was the perfect size for our kitchen. I wasn’t super excited with how it looked but knew we could fix it! I finally decided to make it more us this past week.
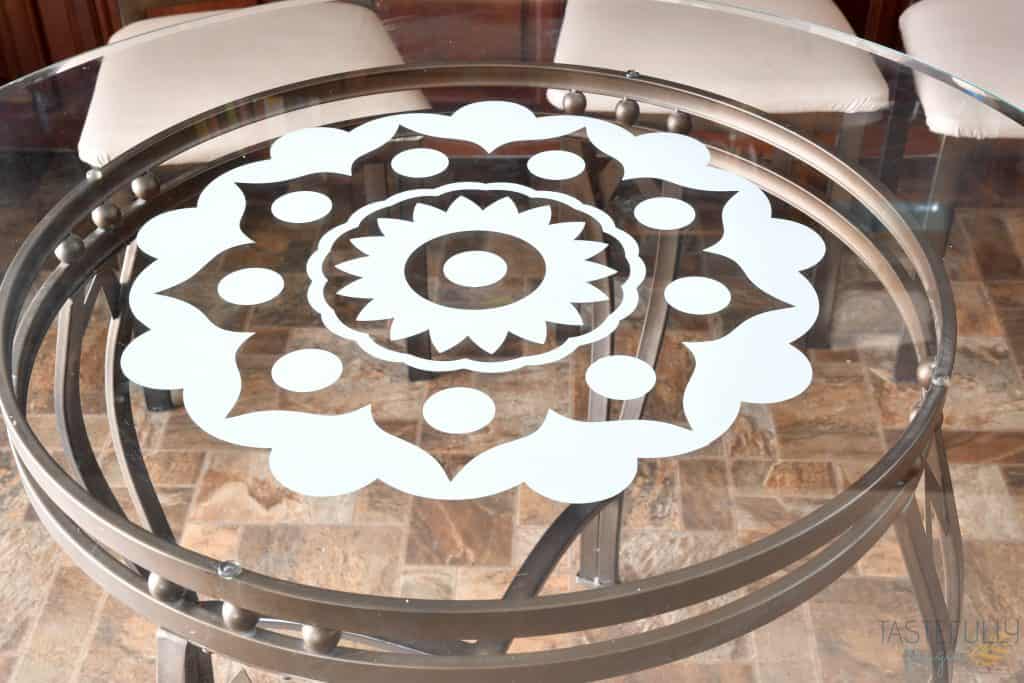
I used a mandala design I found in Cricut Design Space along with my Maker and premium vinyl to quickly add a fun design pop to the bottom of the table. I decided on the putting vinyl underneath the glass because that way it won’t get ruined when we clean the table or put dishes on it.
Supplies:
There’s not a whole lot you need for this project BUT there are a few things you can use to make it easier.
- Premium Vinyl
- Transfer Tape
- Cricut Maker
- 12″x24″ StandardGrip Cutting Mat
- Brayer
- Weeding Tool
- XL Scraper
- Scissors
- Glass Cleaner
- Rubbing Alcohol and Paper Towels
- Painters Tape
- Heat Gun or Blow Dryer
- Sewing Pin
If you want to order Cricut supplies and you’re shopping on Cricut.com, use code SAVE10 to save 10% and get FREE shipping on all $50+ orders. That’s on top of the 10% discount Cricut Access members get automatically! Learn more about Cricut Access here.
Tips For How To Apply Vinyl To Glass
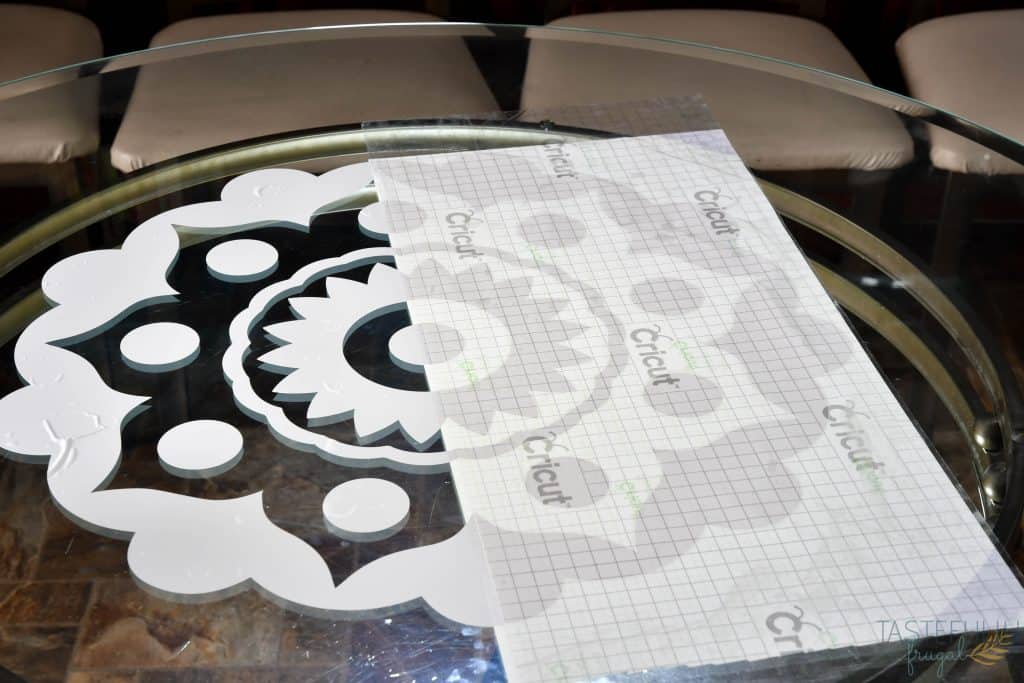
You can check out the full process of applying vinyl to the glass table top in the video below but here are a few quick bullet points to make sure your project goes by smoothly.
- Clean your glass with a quality glass cleaner. This one is my favorite.
- Measure your design on your table. Then measure again. When you are looking at a design on glass it may look like it’s not centered to the naked eye. When you double check your measurements you’ll be sure to have your design centered.
- Clean the area you are putting your vinyl on with rubbing alcohol right before pressing your vinyl down.
- Use a pin and a heat gun (or blow dryer) to get any bubbles out of your vinyl after you’ve put it on your glass. Check out the video for how to do this too.
Check out my YouTube video for the full tutorial!
How To Create A Larger Than Mat Project in Design Space
Our table has a diameter of 48″ so we wanted our design to be about 24″ wide so it could fit the center of the table. Because the widest you can cut a design with any Cricut machine is 11.5″, we sliced our design into two pieces. Let me show you how easy it is!
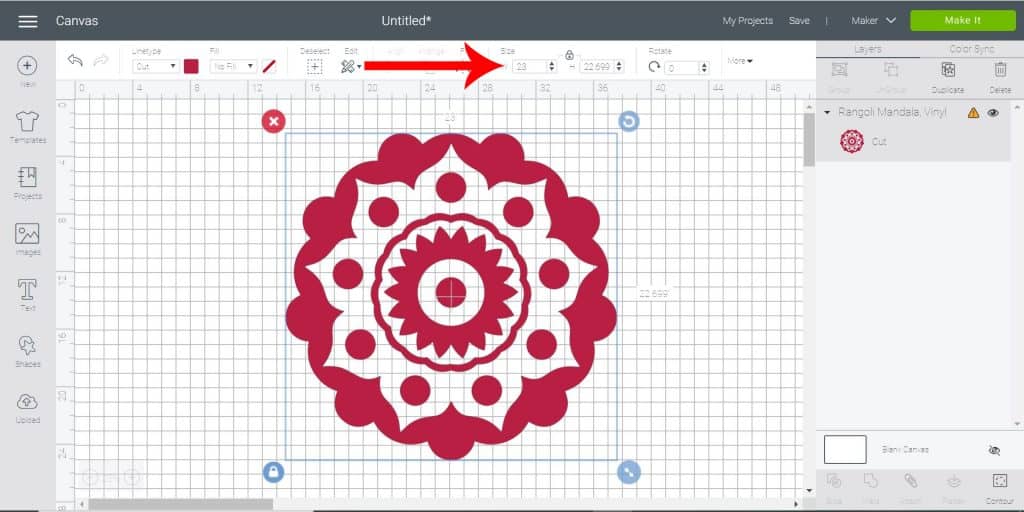
Add your design to your canvas and size it to the size you need/want. NOTE the biggest size you can cut is 11.5″x23.5″. I sized my design at 23″ wide so that it each piece would be 11.5″ wide.
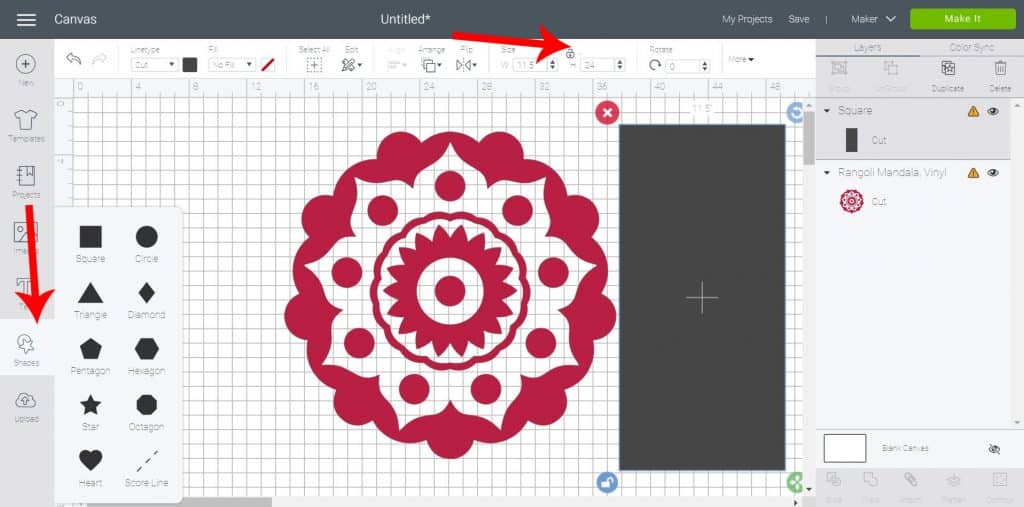
Once you have your design sized, add a square to your canvas. Change the size of your square to the desired size you want one piece to be. Be sure to click the lock button so you can change the width and height independently.
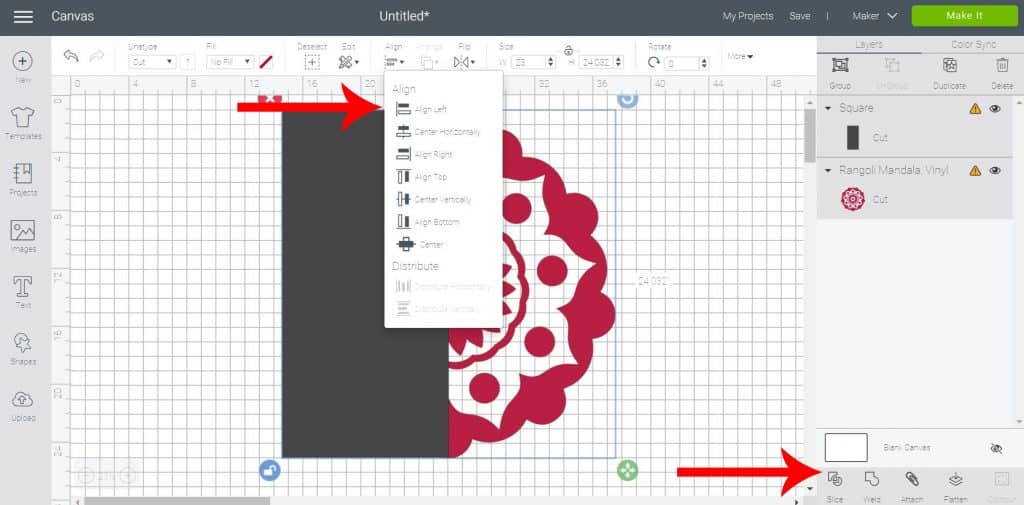
Line up your rectangle over your mandala. Select both the rectangle and the mandala, then click ALIGN and ALIGN LEFT.
When the rectangle and mandala are both still selected, click SLICE in the bottom right menu.
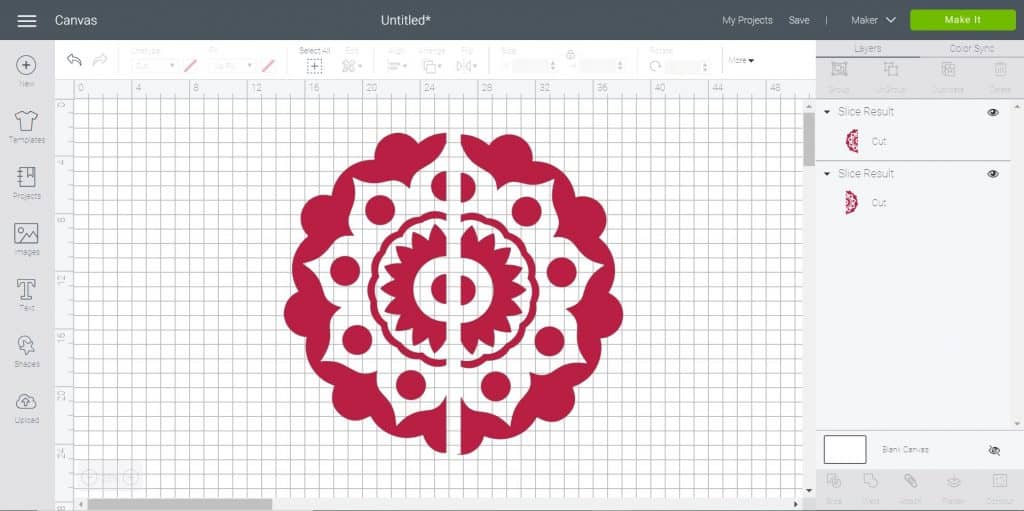
Delete the pieces of the rectangle that you don’t need. You should end up with two equal pieces.
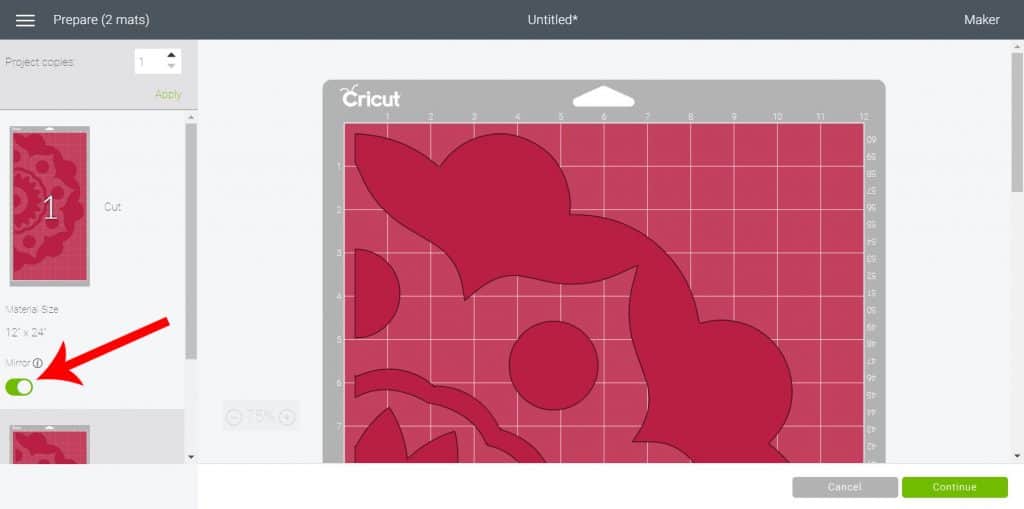
Click Make It. On the next screen you’ll want to make sure you MIRROR your design since it’s going on the bottom of the glass table. Make sure to mirror the second mat too.
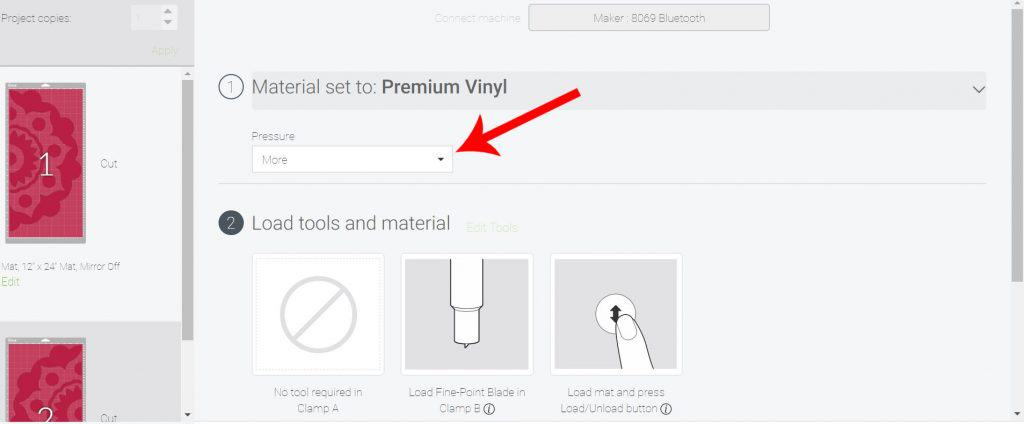
Select your machine on the next screen and then select PREMIUM VINYL under materials. I also changed the depth to MORE to make sure it cuts all the way through.
Cutting and Weeding Directions:
You’ll want to put your vinyl on your standardgrip mat shiny side up. Use a brayer to get all bubbles and wrinkles out.
Load your mat into your Maker and press the blinking C button to start the cut. Press the blinking C to unload when the cut is done.
Repeat previous two steps with the second mat.
Turn mat over and pull off of vinyl.
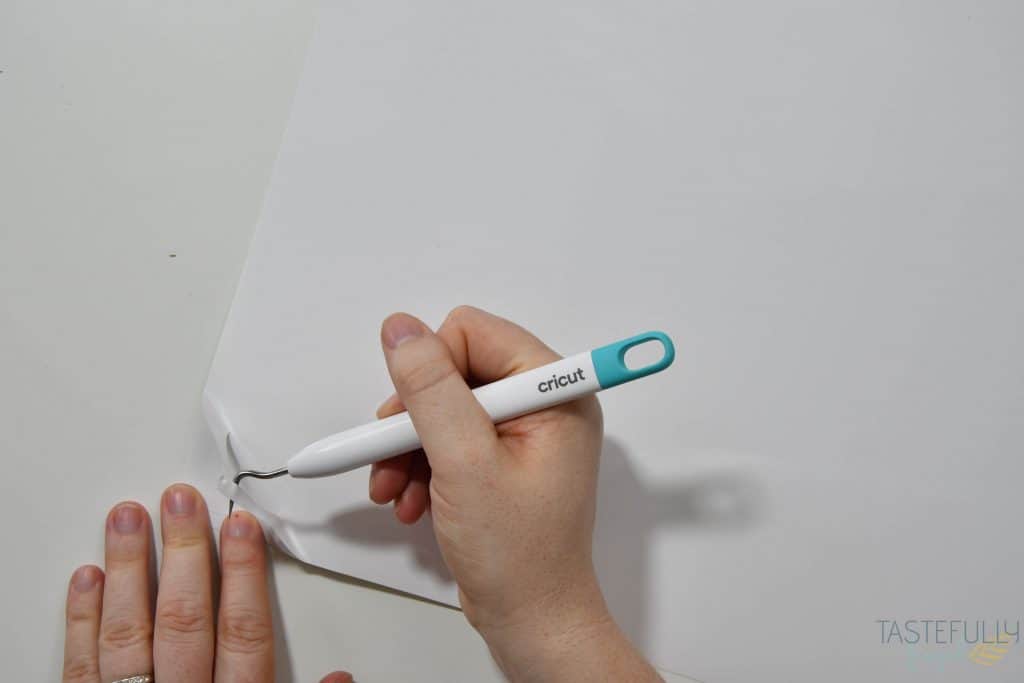
Use weeding tool to remove excess vinyl **TIP** when you’re working with a bigger design, use scissors to cut excess vinyl into pieces so vinyl doesn’t end up getting stuck to your design.
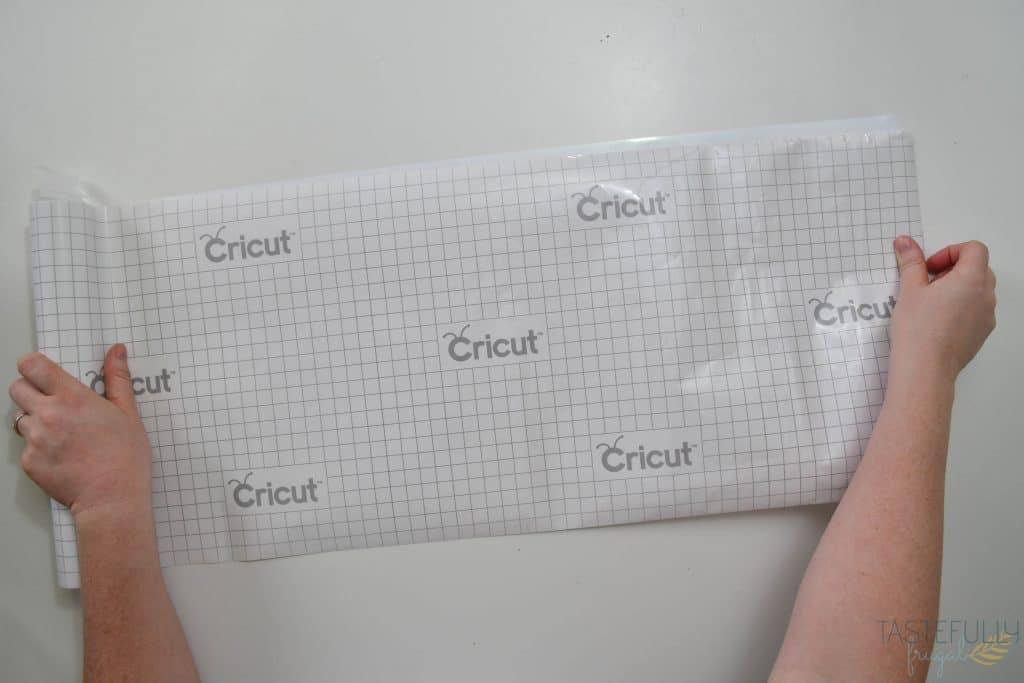
Peel away backing from transfer tape and place the first 1/2″ or so on your work surface. Line up your design underneath and press transfer tape on to your design slowly pulling the backing off the transfer tape as you work done.
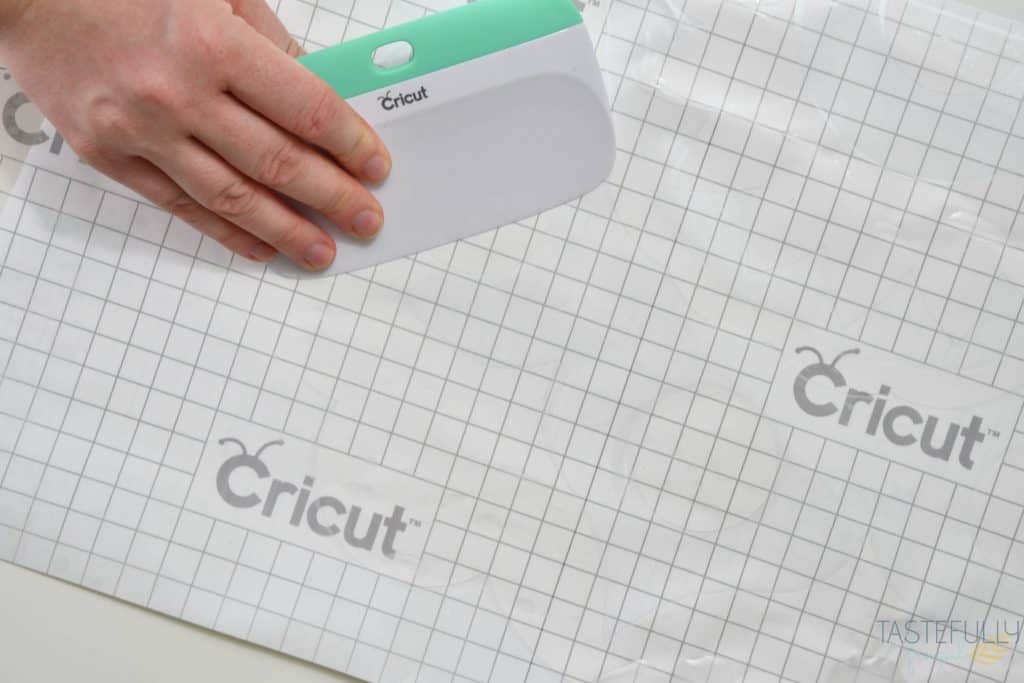
Use scraper to press transfer tape into vinyl.
Directions For Applying Vinyl To Table:
Flip your table top over and clean glass with glass cleaner.
Line one half of your design on your table and measure to make sure it’s centered. You’ll want to measure from both sides as well as the top and bottom.
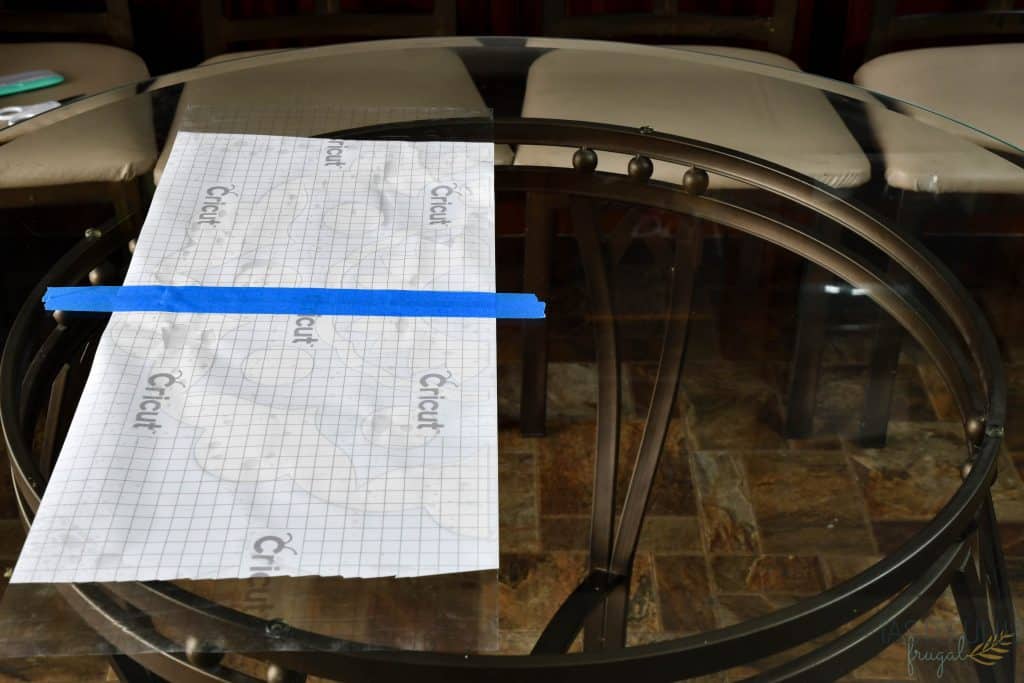
Place painters tape in the middle of the design.
Peel up one side of your design up to the painters tape. Clean that half of the table with rubbing alcohol.
Cut plastic backing off of design and transfer tape and slowly press design down starting from the center by the painters tape. Use scraper to press design into the table.
Remove painters tape.
Repeat previous two steps with second half of design.
Slowly remove transfer tape at an angle.

If you can, put a light underneath your table so you can line up your two designs.
Repeat previous 6 steps with the seconds half of your design.
If you have bubbles in your vinyl, use a heat gun (or blow dryer) to heat up vinyl for a few seconds. Then poke a hole in the bubble with a pin and press the bubble out with your finger. Heat with heat gun and repeat until bubbles are all gone.
Flip table top over.
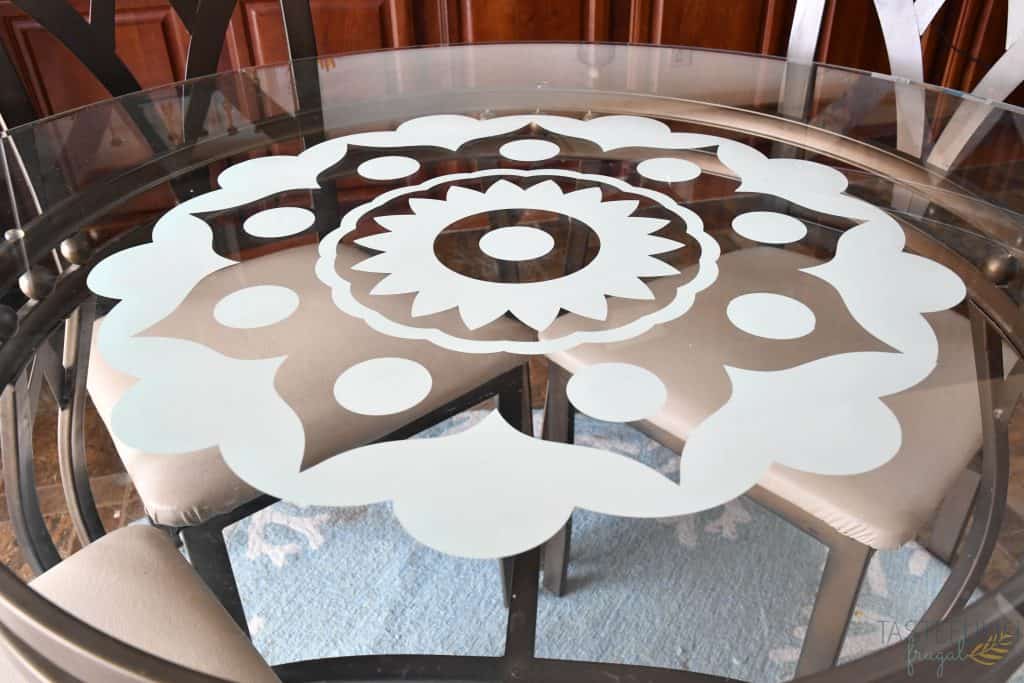
And you’re done! I have a few more home projects we’re working on in the next few weeks and I can’t wait to share them with you! If you’d like to check out more Cricut home projects ideas, check out this page!
Make sure to subscribe to my YouTube channel to check out all the video tutorials. For more Cricut projects and tutorials, check out these posts. For tips, tricks and immediate help, be sure to join our FREE Cricut Support Group.


Leave a Reply