Learn how to customize backpacks, lunch boxes, water bottles and more quickly and easily with your Cricut machine. Tutorials for three different ways to customize with both iron-on vinyl and adhesive vinyl included.
Back to school time really snuck up on me this year. Between being pregnant and exploring a new state, I didn’t realize my kids were going to be starting school in less than 3 weeks! They are going to a new school this year with stricter uniform policies than their previous school so I decided to do something a little special for their school supplies since they have less say on the clothes they get to wear.
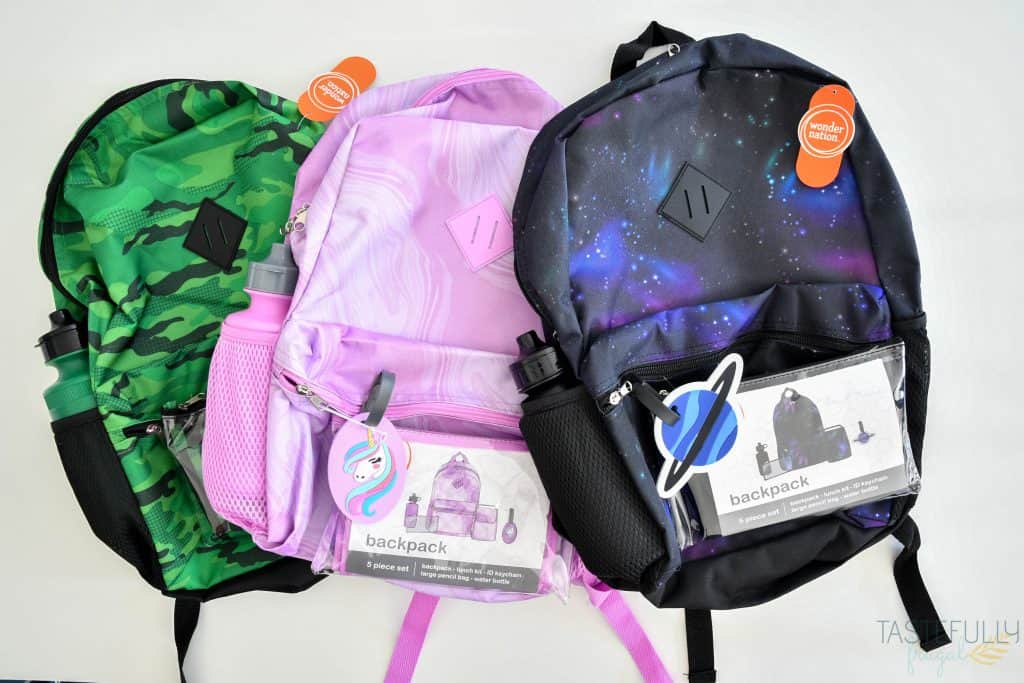
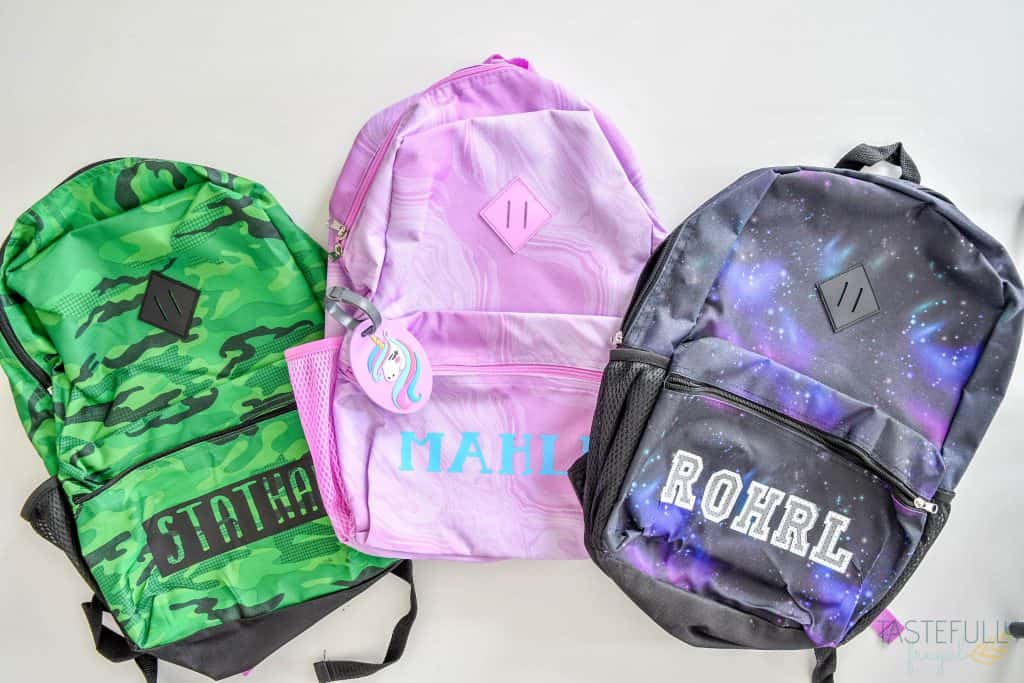
I found these awesome 5 piece school sets on Walmart.com and let the kids pick their designs. They come with a backpack, lunch box, water bottle, pencil holder and keychain all for less than $15! Once they were delivered I started working on the designs.
How To Customize School Supplies With Cricut
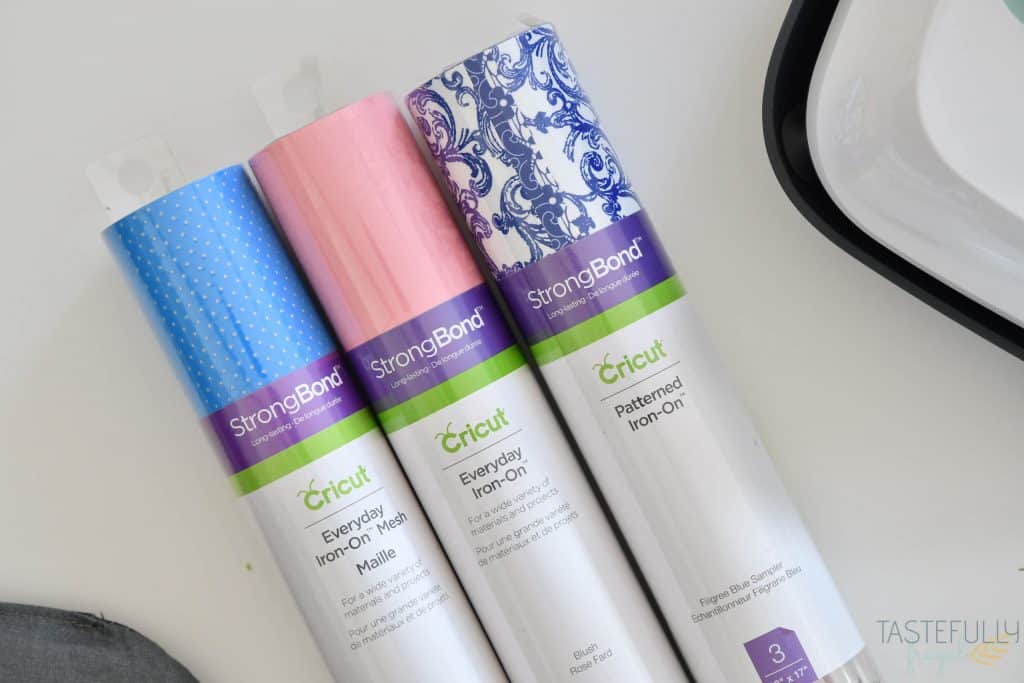
The hardest part of customizing their school supplies with deciding on the font/design and colors. One thing I love about using Cricut products is that you can almost always getting a matching color in iron-on vinyl and adhesive vinyl. There are some really neat new iron-on and vinyl products that have been released this year and I decided to use some of them for these projects.
I used the mesh iron-on to announce our pregnancy with a jersey type shirt for our daughter. It holds up great (even after several washes) and the extra dimension it gave the shirt is awesome. I was going to try the mosaic iron-on for my daughter’s backpack but it doesn’t work super well with fonts. Stay tuned for a fun tote bag project coming soon with it though!
The sampler packs for both iron-on vinyl and adhesive vinyl are always a safe bet when it comes to projects. There are several different color palette options and the colors that are included all mesh well together. I got the rainbow vinyl sampler I used for the green backpack and will be using the rest of the vinyl pieces to make a reusable first day of school sign. Tune in next week for the tutorial for that.
When ordering on Cricut.com, use code FRUGAL10 to save 10% and score FREE shipping on $50+ orders. That’s on top of the 10% discount Cricut Access members get automatically!
How To Make Your Projects Last The Whole Year
I love the Strong Bond Guarantee that Cricut offers with their new iron-on products. They have spent countless hours testing and retesting the different types of iron-on on several different materials and have come up with this comprehensive settings guide which not only includes the temperature and time settings but also tips for making sure you’re iron-on sticks. If it doesn’t, Cricut replaces the product! My kids have sure put their shirts to the test, and I’m sure will do the same with their backpacks and lunchboxes, and we have had 0 issues with any peeling or lifting.
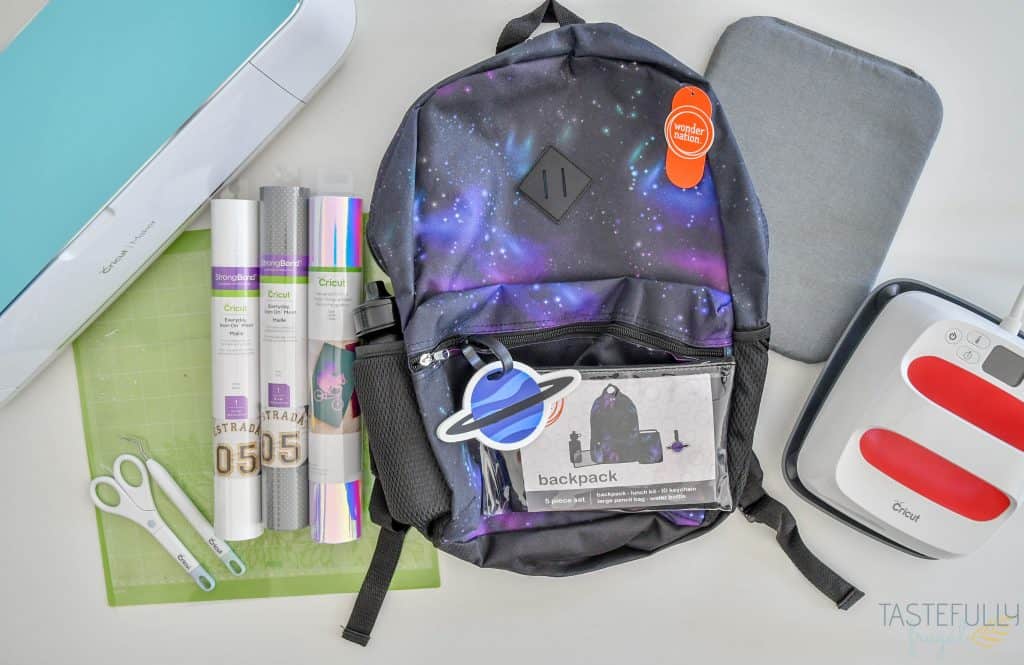
What You Need To Make Custom Back To School Supplies
The supply list is pretty simple for creating these looks for your kids. Depending on what you’re kids need/want for school you’ll need a backpack, lunch box, pencil box, etc. You can get the sets I used for my kids here.
You’ll also need iron-on vinyl AND premium adhesive vinyl. You won’t use them together on an item but some of the materials you will use iron-on for (backpack and lunch box) and others you’ll use adhesive vinyl (pencil holder, water bottle and keychain). I’ll share which types of each I used on the designs below.
A cutting machine is a must. I love my Maker because it quickly and easily cuts my designs in vinyl, iron-on vinyl, fabric, leather, wood, you name it. You can read more about the Maker and what sets it apart from other cutting machines here.
In addition to a cutting machine, you’ll need a cutting mat to load your vinyl and iron-on into your machine. You can use the StandardGrip mat for both adhesive vinyl and iron-on vinyl.
The projects you use iron-on vinyl for you will need a heat source to apply the iron-on vinyl. I love my EasyPress 2 machines because they quickly and easily apply iron-on vinyl with lasting results AND they are safe to use around kids. My clamshell heat press would often get too hot and I was always worried one of my kids would get burnt if they touched it.
The EasyPress mat is another go-to product that ensures the heat from your EasyPress is staying in your project, not going through to your table, countertop, etc.
A weeding tool makes weeding these designs super easy. You can buy them individually or in a set. Here is a 5 piece tool set specifically for weeding or you can buy the essential tool kit that has other helpful tools too.
For your projects using adhesive vinyl you’ll need transfer tape to take your vinyl from the backing to your project. I’ll show you how to do this below.
Creating Custom Names and Designs in Cricut Design Space
For these projects I wanted to share with you three easy ways you can add customization to back to school supplies. Each way is super easy to design and apply and all give you a quality finished product that looks like it was done professionally. The three different designs are single layer, multi layer and cut out.
- Single layer is just like it sounds. One layer of iron-on, or vinyl applied to your base. This is the easiest of the three because you only have one layer to apply and there are countless font options available in Design Space.
- Multi-layer designs are a little trickier because they require you to line up a second design over your first. Have no fear though, below I’ll show you how to get perfect results with both iron-on and adhesive vinyl.
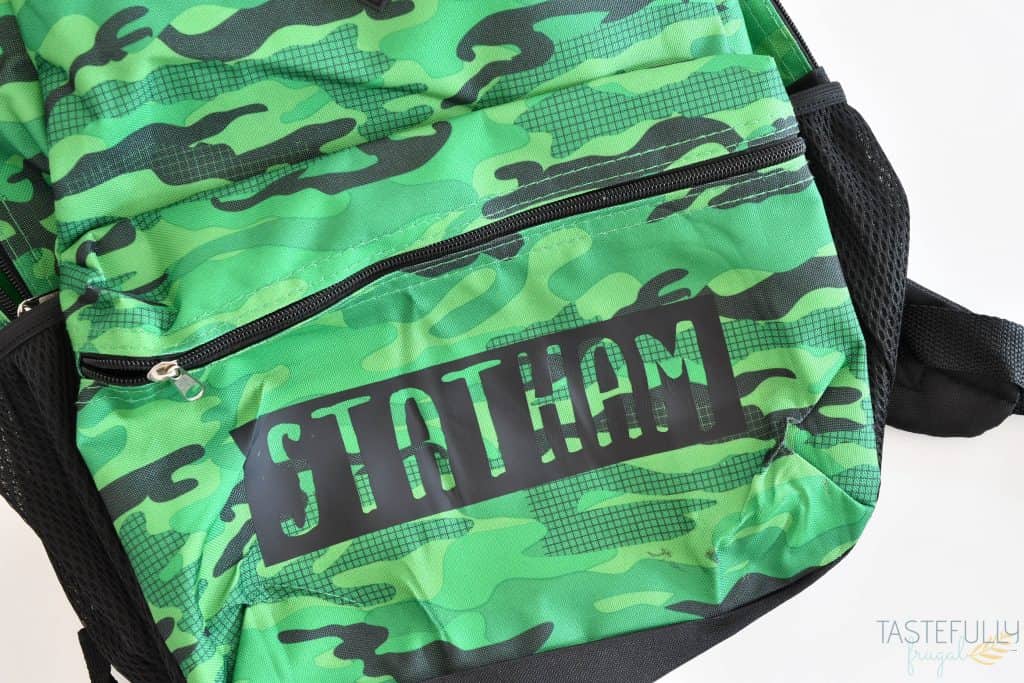
- The last look I did was a cut out design. This is where I used a single layer font, added a rectangle around it and then sliced the name out of the rectangle. When you are weeding your design, you remove the letters and the excess vinyl around the rectangle. This look is perfect for pressing into a product that has a busy background, like the green backpack. My 6 year old called this the Minecraft backpack so we went with a Minecraft font for his name.
Design Space makes it really easy to know which fonts are best for which type of design. When you click on the font drop down menu, under each font it shows what it can be used for. Single layer cutting, multi-layer cutting or writing. You can also filter the fonts and only look at the fonts that match the design you’re wanting to make by clicking the filter button on the right side of the menu.
How Big Do I Need To Make My Designs?
This will differ slightly from brand to brand of backpacks, lunchboxes etc. These are the sizes I used for mine and you should be safe making your designs these same sizes.
- Backpack: 8″ wide
- Lunchbox: 4″ wide
- Pencil Holder: 5″ wide
- Water Bottle: 3″ wide
If you want to make sure it will look good, you can always use a ruler and measure your blank (backpack, lunchbox, etc), find center and measure how big you want each design.
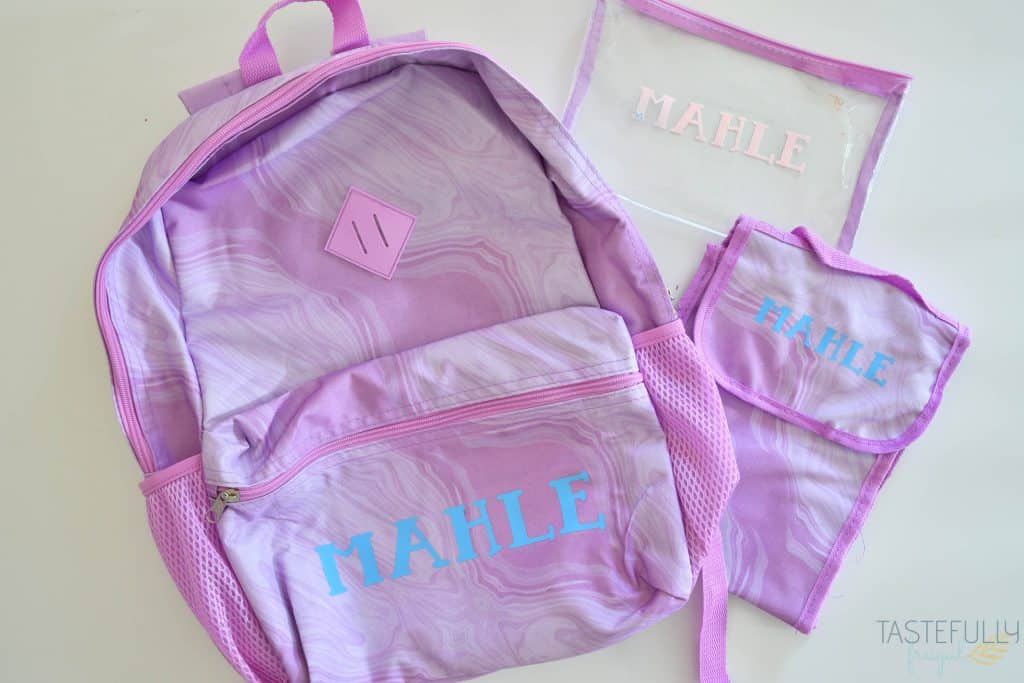
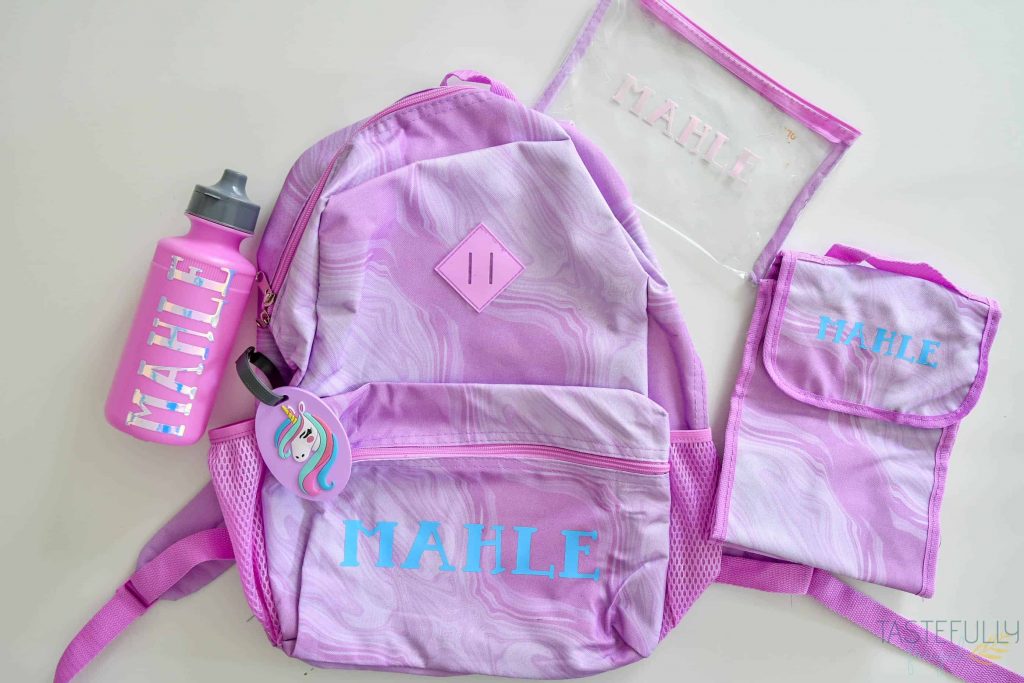
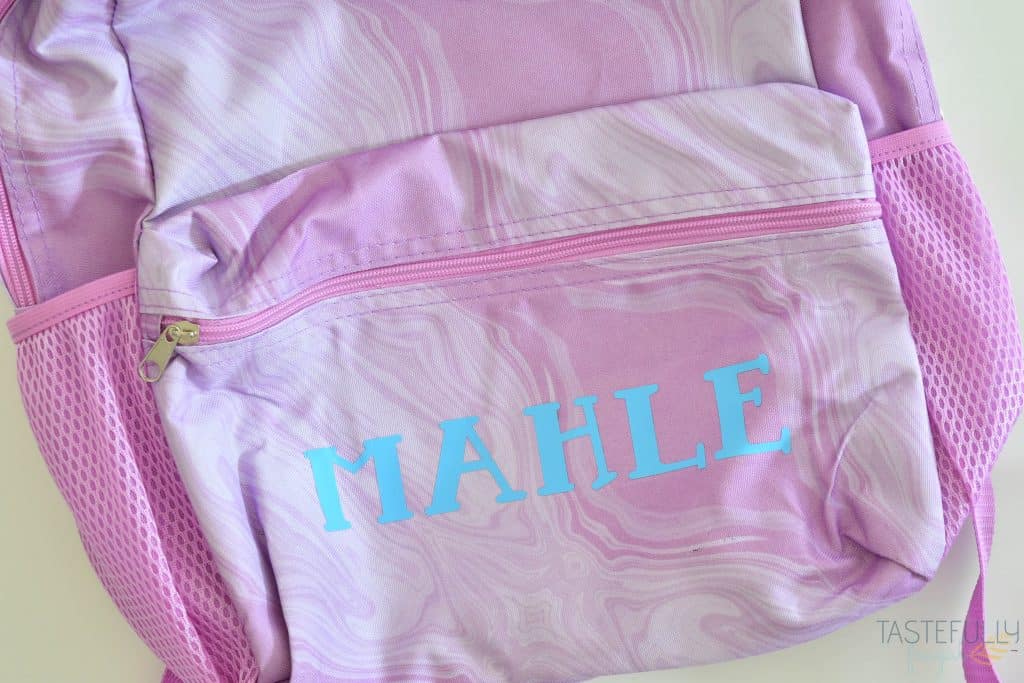
Purple Swirls School Supplies
Iron-On used: Everyday Iron-On in Sky
Vinyl used: Holographic Vinyl in Opal
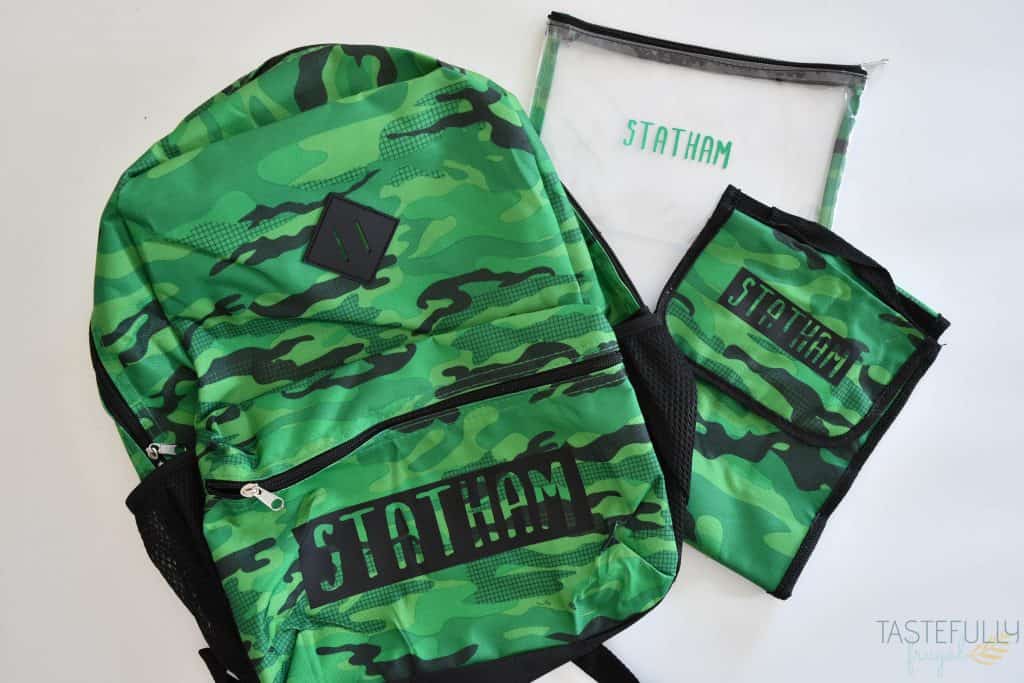
Minecraft School Supplies
Iron-On used: Everyday Iron-On in black
Vinyl used: Everyday Iron-On Sampler in Primary
Design Space link ***Note you won’t be able to change the name on this link because it is a sliced design, but you can get the font and dimension sizes and easily recreate with your student’s name.
Directions For Applying Iron-On for both the Purple and Minecraft Designs:
Open Design Space link and send project to mat.
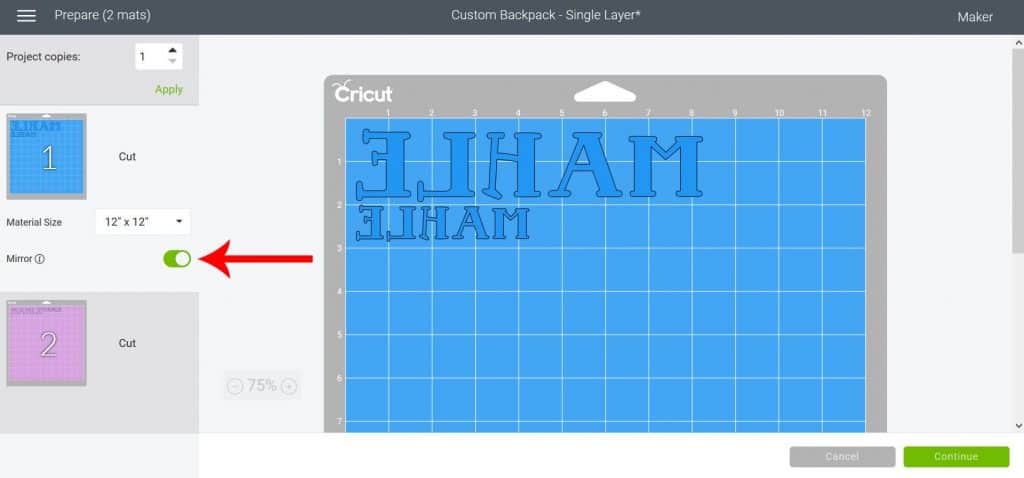
Make sure on preview screen to MIRROR design for your iron-on cuts (the largest design)
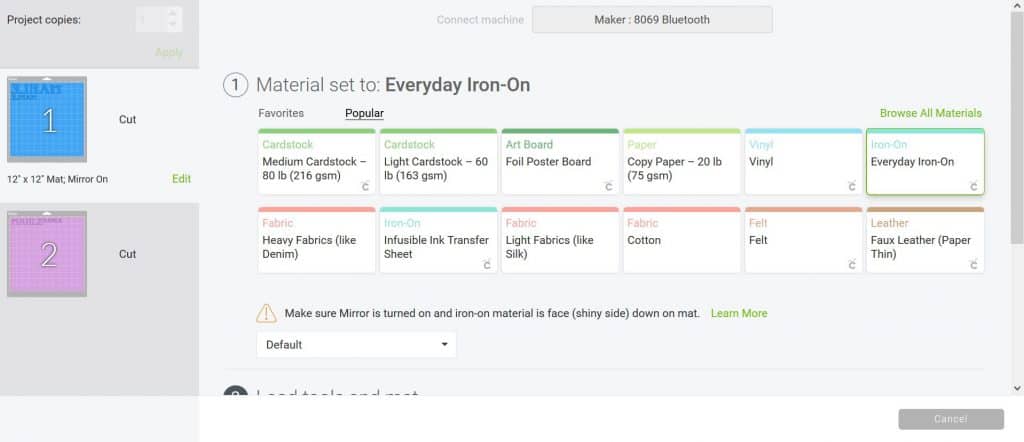
Select machine and material from the next screen. You’ll want to select EVERYDAY IRON-ON for the material.
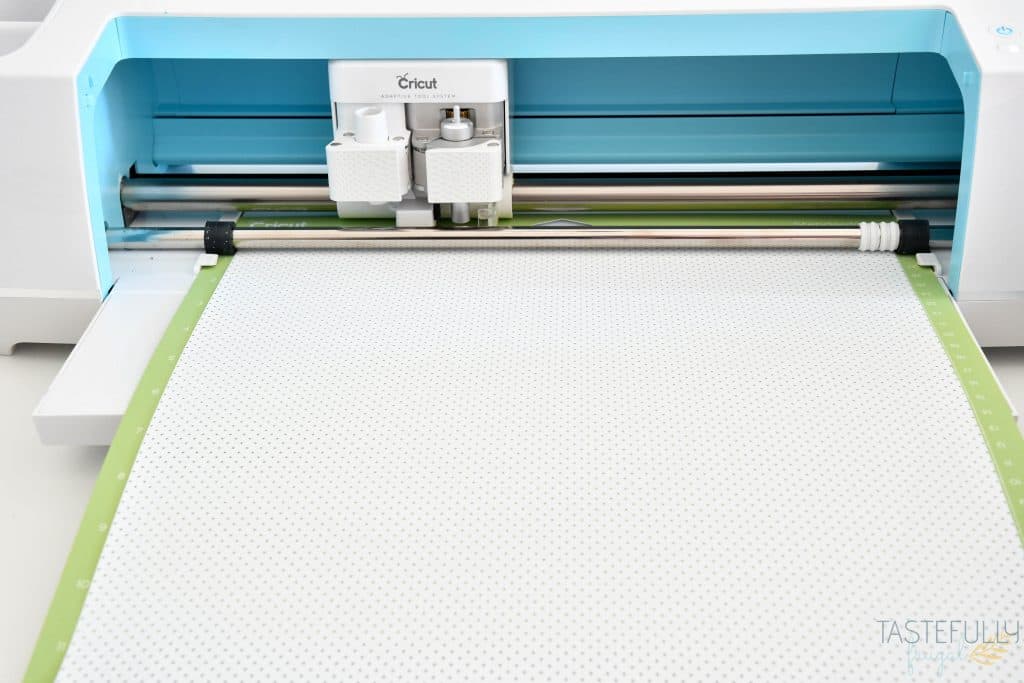
Load your iron-on on your StandardGrip mat, shiny side down and cut out design. Unload mat
Change material to HOLOGRAPHIC VINYL.
Load vinyl on to your StandardGrip Mat shiny side up and cut out design. Unload mat.
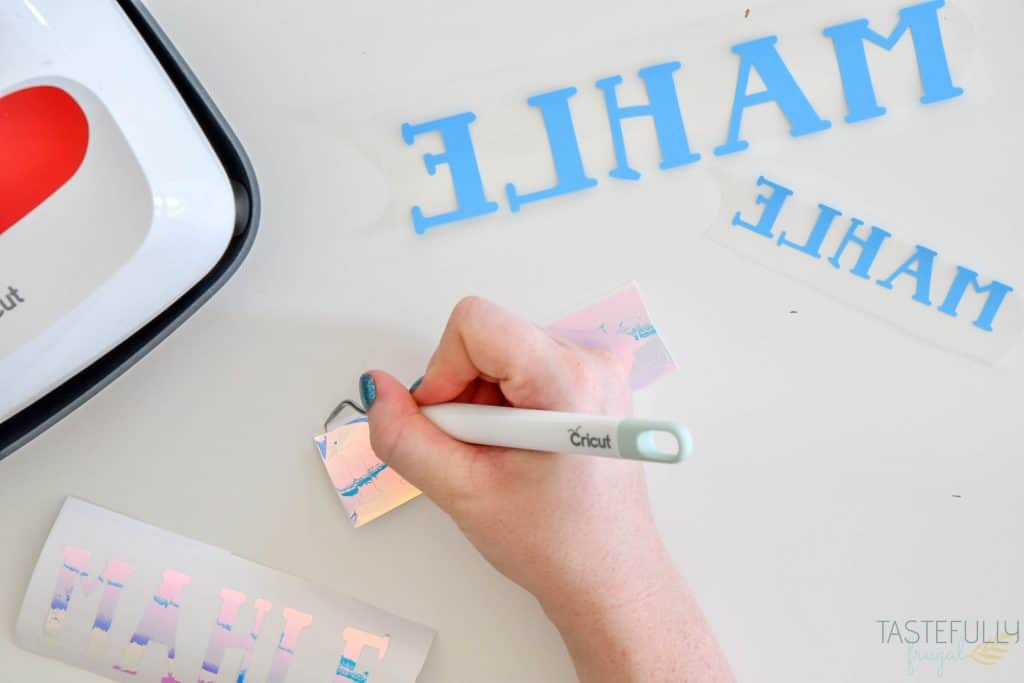
Weed all designs.
Preheat EasyPress 2 to 340°F for 30 seconds. **I found this information on this interactive heat settings guide.
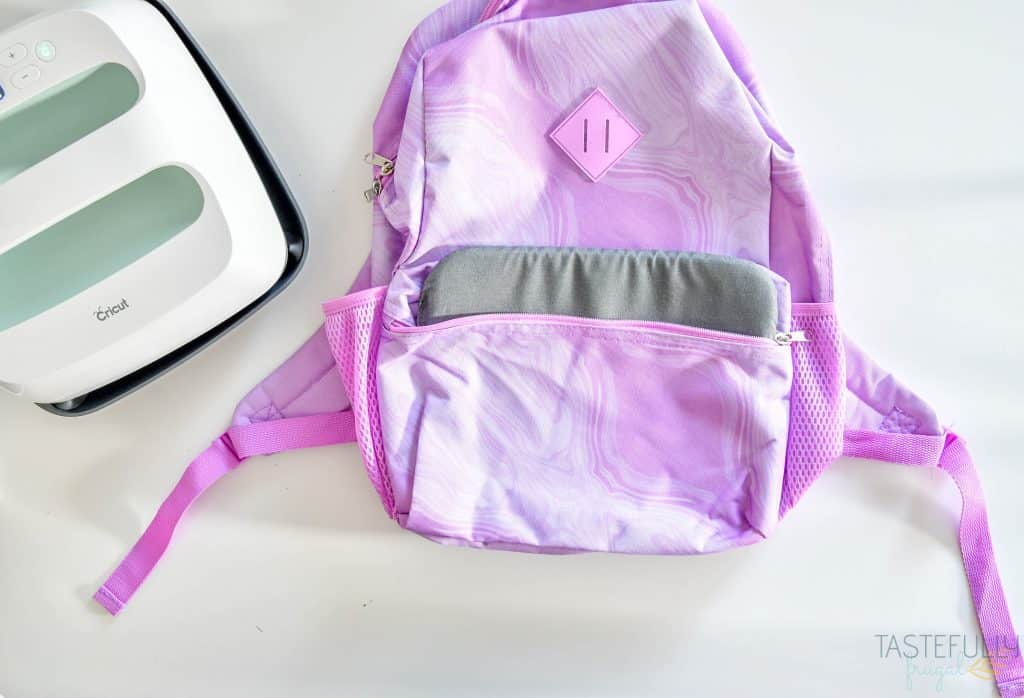
Load your EasyPress mat into your backpack (or lunchbox when it comes time to do that) and preheat your bag for 5 seconds with the EasyPress 2.
Put the correct size iron-on design on your backpack (or lunch box) and press with medium pressure for 30 seconds.
Remove EasyPress and slowly peel plastic backing up at angle.
Directions For Applying Vinyl for both the Purple and Minecraft Designs:
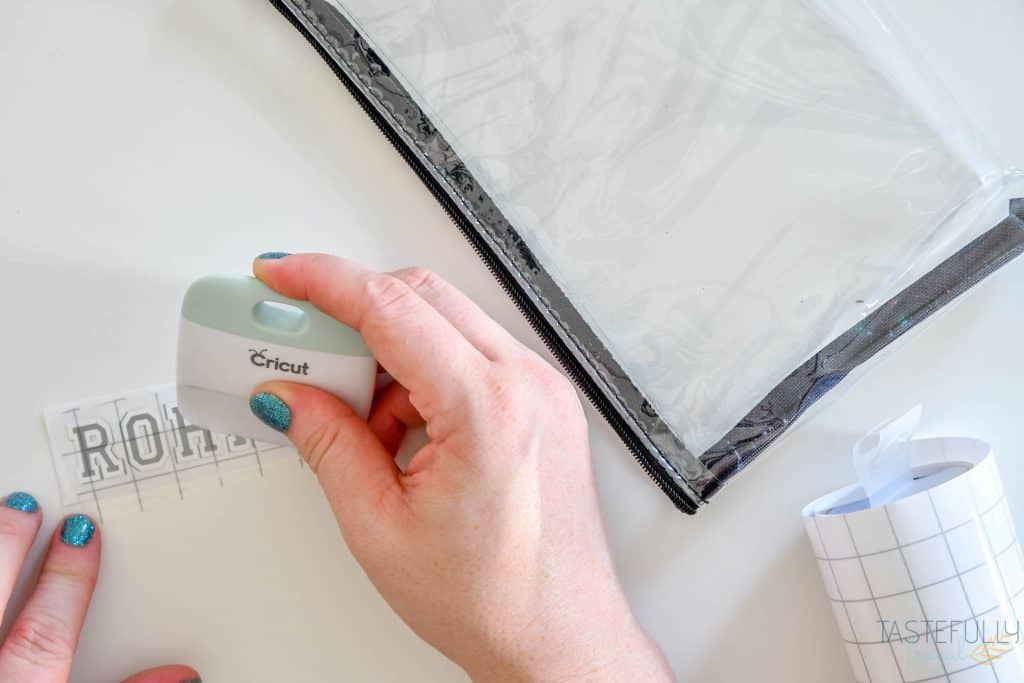
Take your designs already cut and weeded above and apply transfer tape to them.
- The easiest way to do this is to cut a piece of transfer tape a little larger than your design.
- Next, remove the plastic backing from the transfer tape.
- On a flat surface, put your transfer tape at the top of your design and slowly move down, pressing as you go with your fingers.
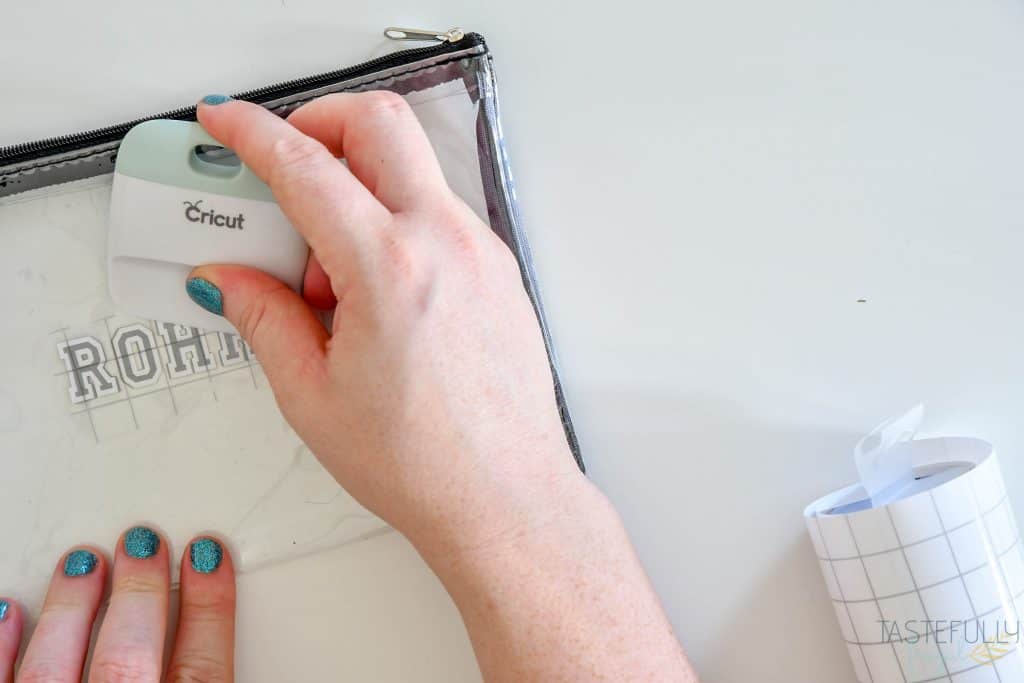
- Use a scraper to press transfer tape onto vinyl.
- Slowly peel backing away from vinyl so that the vinyl is attached to the transfer tape.
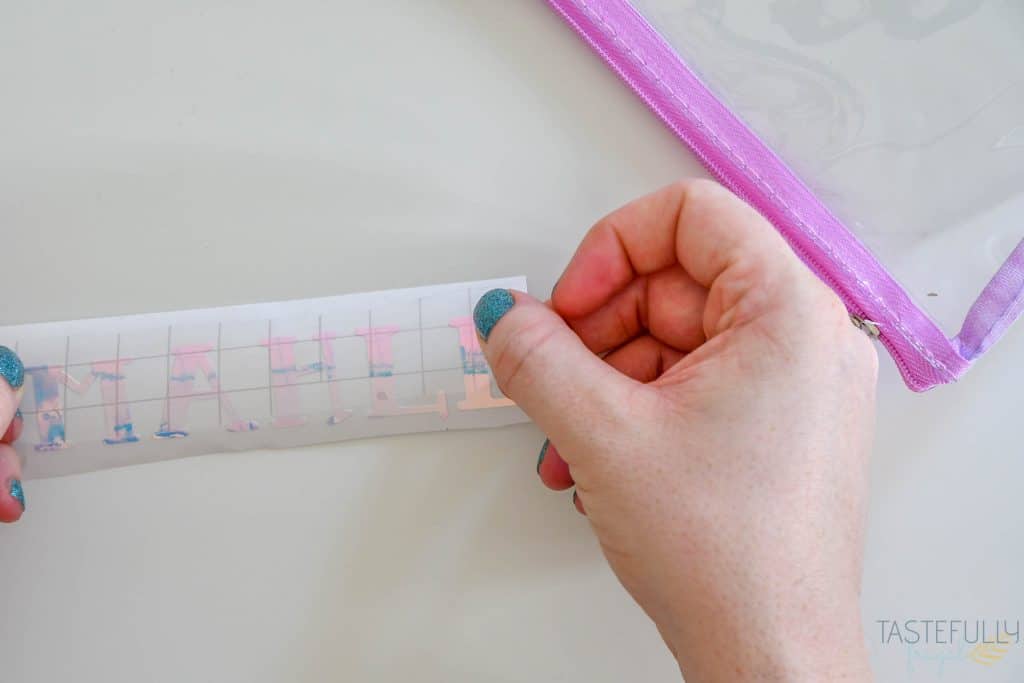
Line your design up on the pencil pouch, water bottle or keychain and press down on transfer tape.
Use scraper tool again to make sure design is securely attached to what you’re pressing it on. I like to do this by starting in the middle and pushing up and then down across the design.
Slowly peel up transfer tape an an angle.
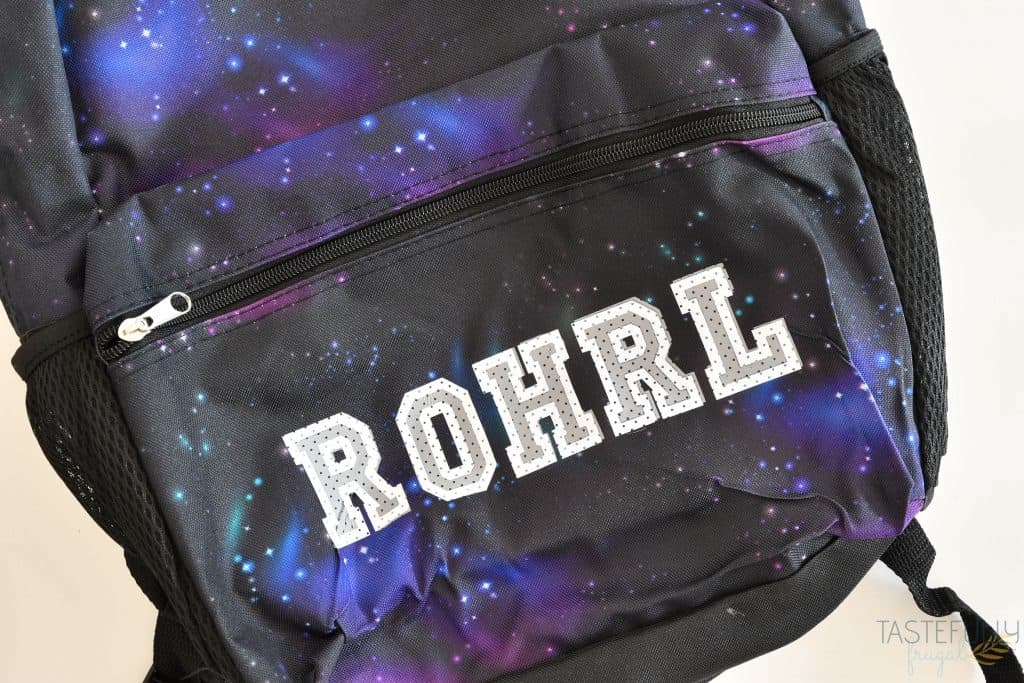
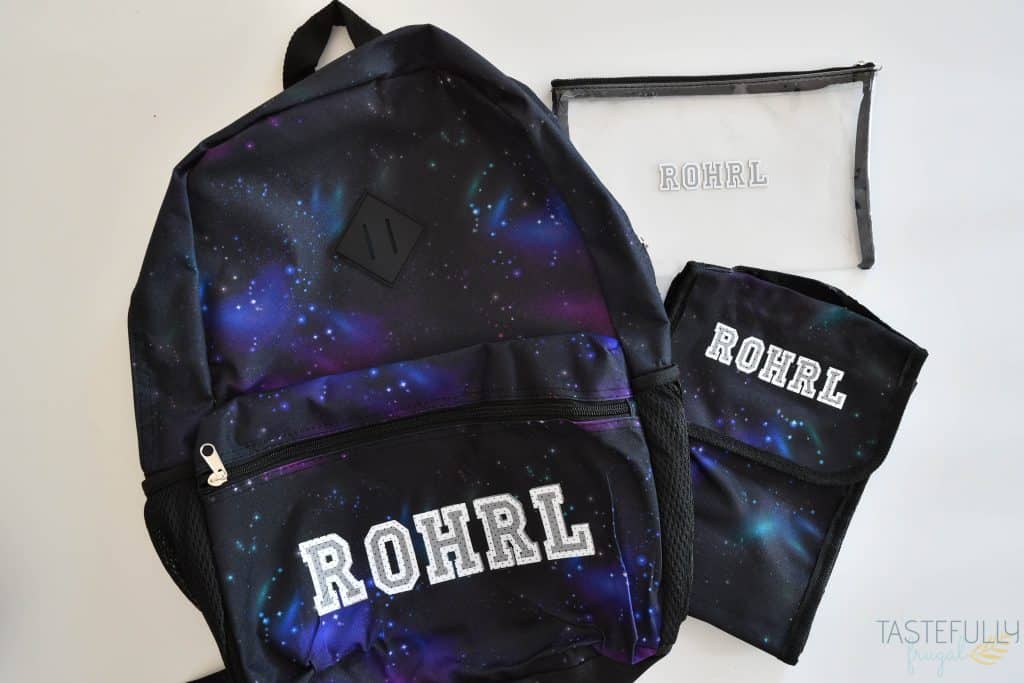
Outer Space School Supplies
Iron-On used: Mesh Iron-On in white and gray
Vinyl used: Premium Permanent Vinyl in white and silver
Directions For Applying Iron-On:
Open Design Space link and send project to mat.
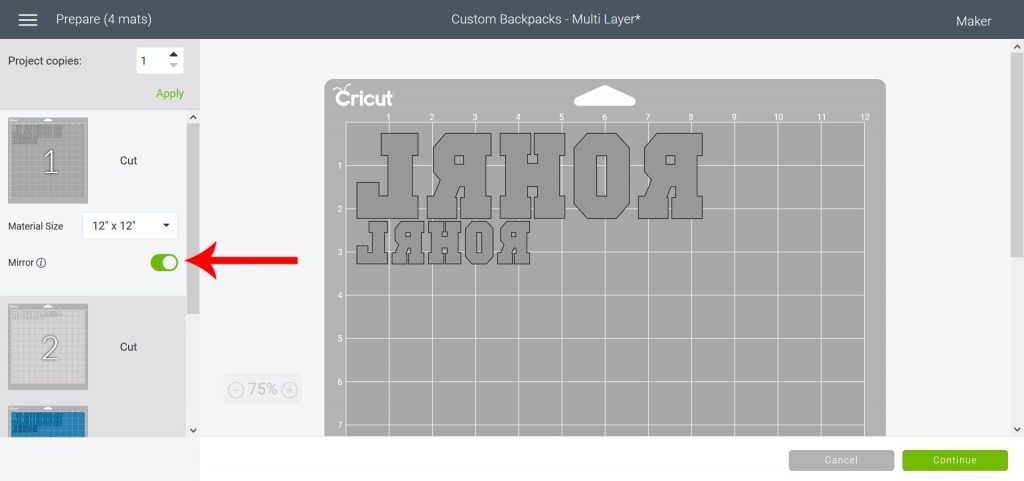
Make sure on preview screen to MIRROR design for your iron-on cuts (the largest design)
Select machine and material from the next screen. You’ll want to select MESH IRON-ON for the material.
Load your iron-on on your StandardGrip mat, shiny side down and cut out design. Unload mat
Repeat previous step with second color of iron-on
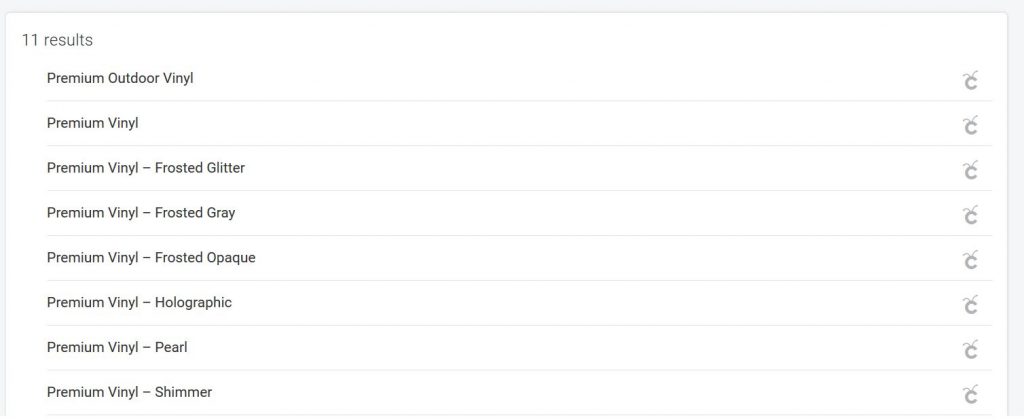
Change material to PREMIUM VINYL.
Load vinyl on to your StandardGrip Mat shiny side up and cut out design. Unload mat.
Repeat previous step with second color of iron-on.
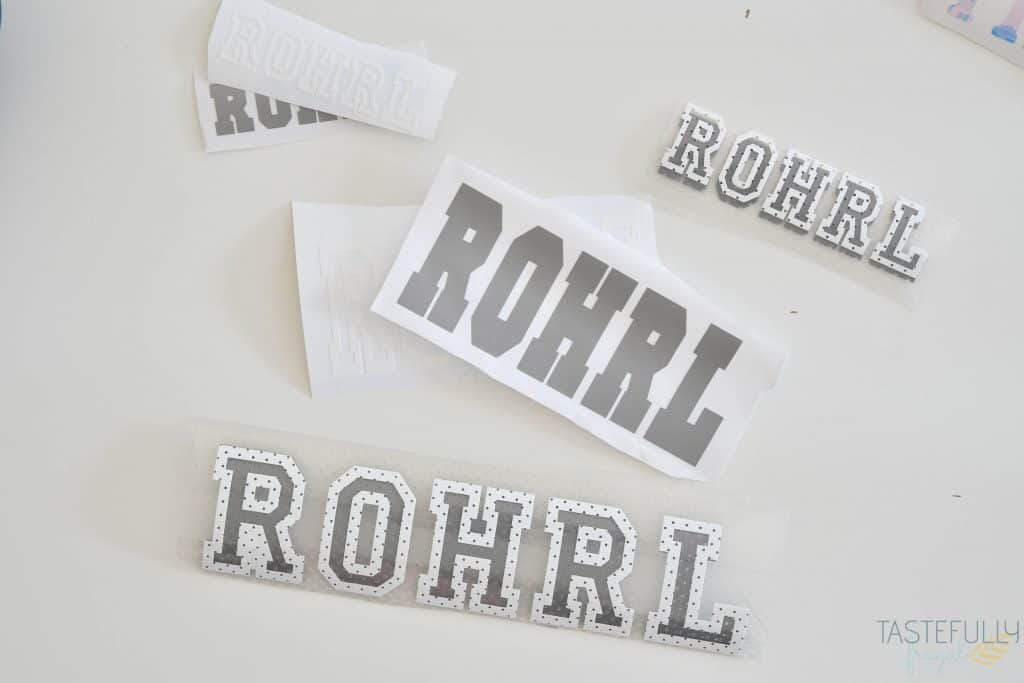
Weed all designs.
Preheat EasyPress 2 to 340°F for 30 seconds. **I found this information on this interactive heat settings guide.
Load your EasyPress mat into your backpack (or lunchbox when it comes time to do that) and preheat your bag for 5 seconds with the EasyPress 2.
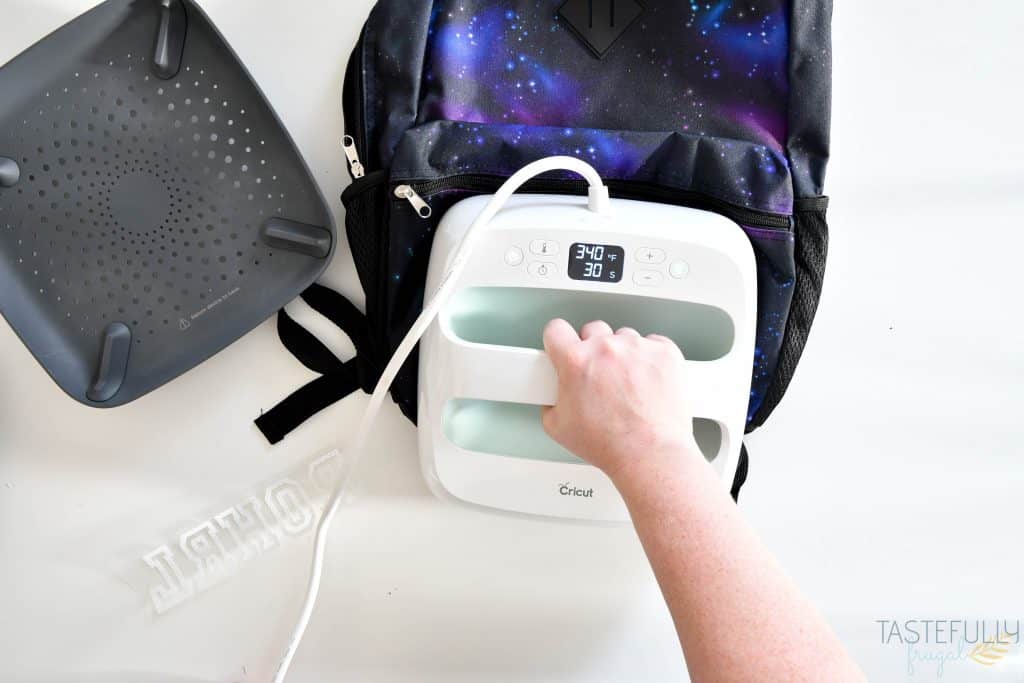
Put the GREY correct size iron-on design on your backpack (or lunch box) and press with medium pressure for 20 seconds.
Remove EasyPress, wait for 1 minute and then slowly peel plastic backing up at angle.
Put the WHITE correct size iron-on design on your backpack (or lunch box) and press with medium pressure for 30 seconds.
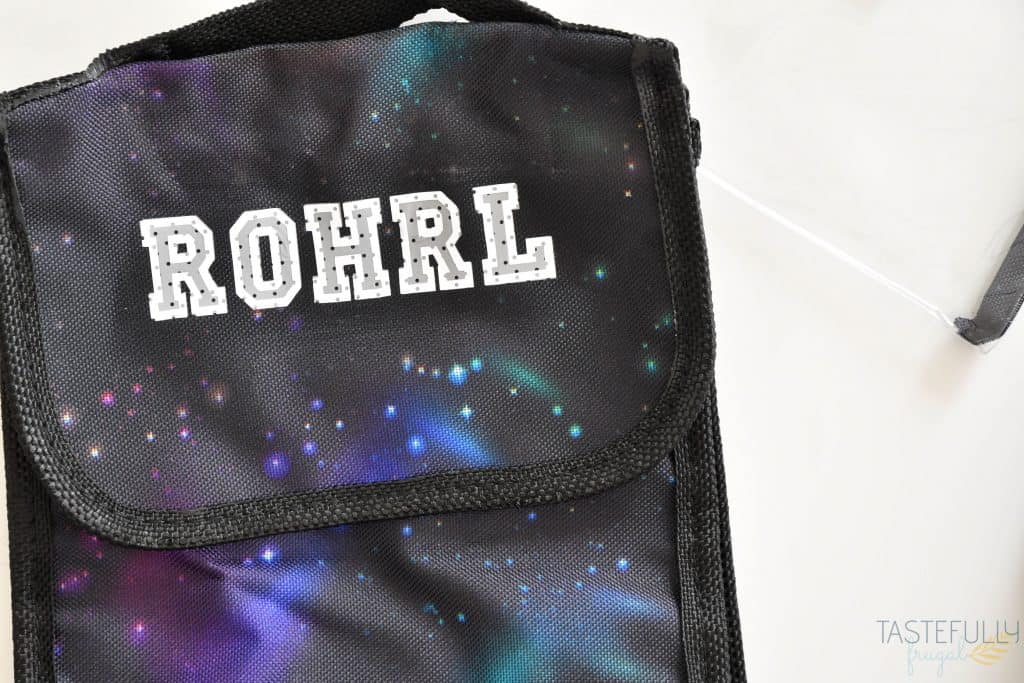
Remove EasyPress, wait for 1 minute and then slowly peel plastic backing up at angle.
Directions For Applying Vinyl:
Take your designs already cut and weeded above and apply transfer tape to them.
- The easiest way to do this is to cut a piece of transfer tape a little larger than your design.
- Next, remove the plastic backing from the transfer tape.
- On a flat surface, put your transfer tape at the top of your WHITE design and slowly move down, pressing as you go with your fingers.
- Use a scraper to press transfer tape onto vinyl.
- Slowly peel backing away from vinyl so that the vinyl is attached to the transfer tape.
- Line up WHITE design on top of GREY design and press down slowly.
- Use a scraper to press transfer tape onto vinyl.
Line your design up on the pencil pouch, water bottle or keychain and press down on transfer tape.
Use scraper tool again to make sure design is securely attached to what you’re pressing it on. I like to do this by starting in the middle and pushing up and then down across the design.
Slowly peel up transfer tape an an angle.
Are you customizing your kids back to school supplies this year?! Let me know in the comments what you’re doing to make their supplies special! If you’d like to check out more ways you can use your Cricut check out these posts! Need help with your Cricut? Join our Cricut Support Facebook Group!

This is a sponsored conversation written by me on behalf of Cricut. The opinions and text are all mine.


Leave a Reply