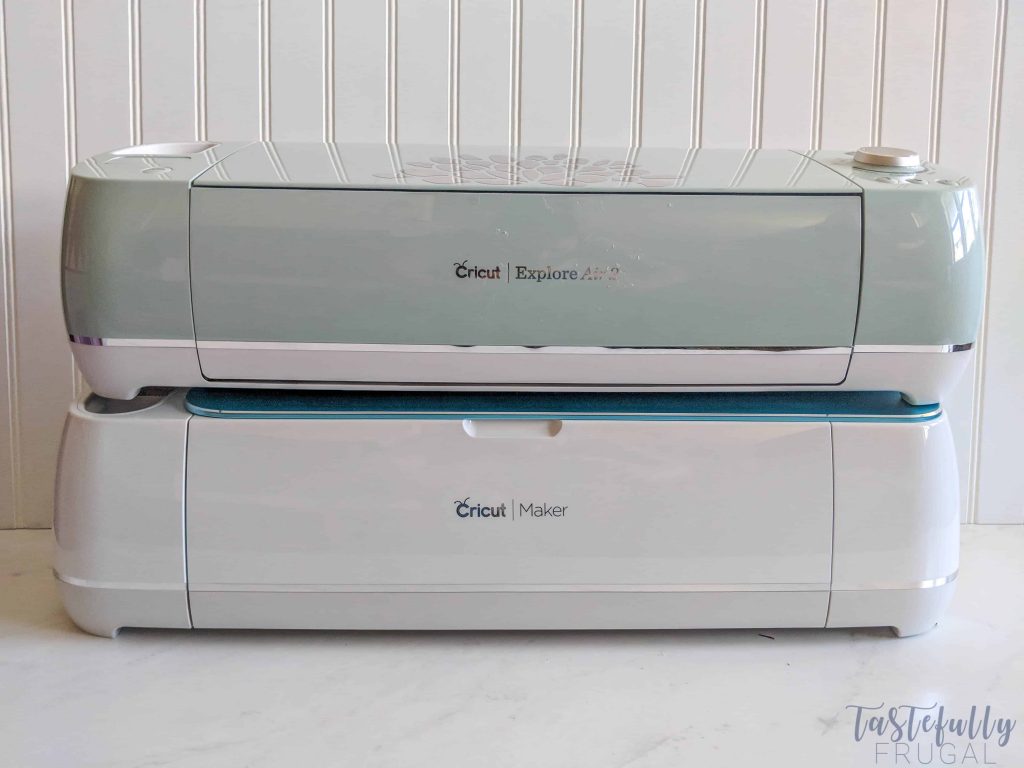
If you’ve been looking at getting a Cricut cutting machine but not sure which machine is right for you have no fear! This post will answer all your questions about the Cricut Maker vs. Explore Air 2.
I’ve been a Cricut fanatic going on 4 years now. Before I had my original Cricut, an Explore Air, I used the Silhouette Cameo (you can read why I switched from Silhouette to Cricut here) and the time I spent crafting and creating almost doubled when I made the switch. Fast forward 2 years to when the Cricut Maker was launched and I didn’t think I could craft more than I already was. Boy was I wrong!
The project possibilities with the Cricut Maker are endless and my craft skills have definitely grown and increased since I started using the Maker. I was excited at the the first Mountain Make-A-Thon when they announced the Cricut Maker and the knife blade and rotary blade but I never would have thought I could make a whole quilt or cut huge wood signs with the Maker. And then when Cricut announced the Scoring Wheels earlier this year, my mind started going again with the possibilities (like these awesome rosettes for parties)!
So how do you know which Cricut is right for you?
Start by asking yourself what do you want to use your Cricut for. Do you want to make cards? T-Shirts? Home Decor? Crafts for your kids? Make a list of everything you can think of that you want to make and then next to each craft write what type of materials you need for that project (i.e. vinyl, iron-on vinyl, fabric, wood etc.).
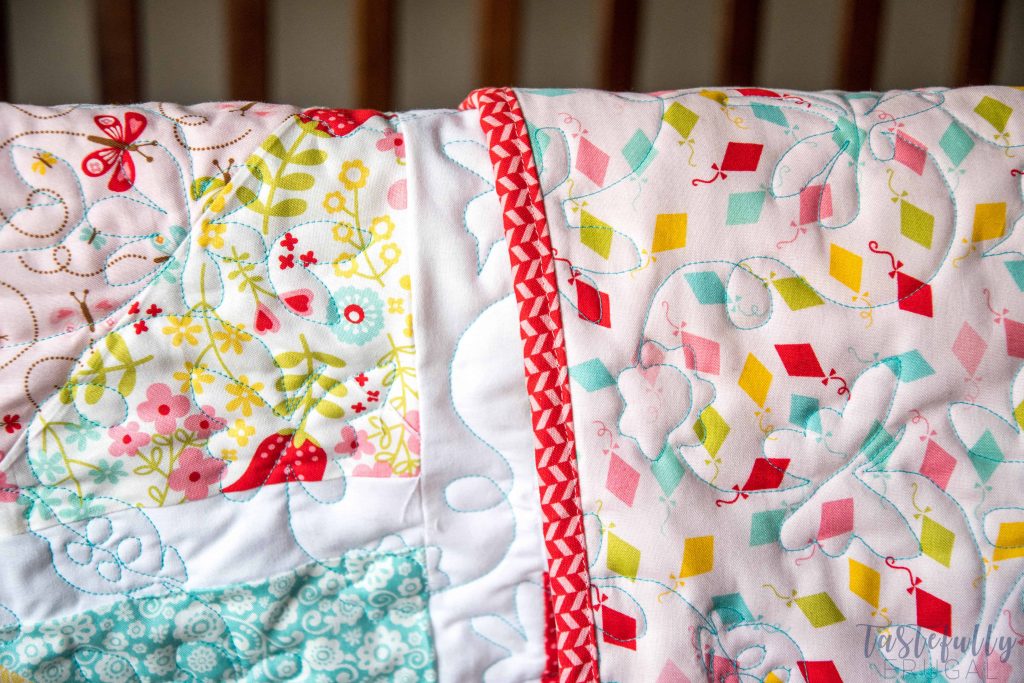
Then think about all the things you’ve wanted to make in the past but thought you couldn’t. The big selling point for me with the Maker was the ability to cut fabric. My mother-in-law made all the grandkids baby quilts when they were born and she passed away before Mahle, our youngest was born. The Maker was released when she was just a few months old and I was able to make her her baby quilt with all the pieces cut out by the Maker.
I’ve also love these multi-dimensional wood signs I had seen on Instagram and Etsy but just couldn’t justify spending $50+ on a sign that is only displayed a few months a year. But with the knife blade and chipboard (or balsa or bass wood) you can create these fun signs for a fraction of the price!
If you’re not sure if the Maker can do the project you have in mind, check out this post from my friend Stephanie that goes over ALL the materials the Maker can cut!
What can the Maker do that the Explore Air 2 can’t?
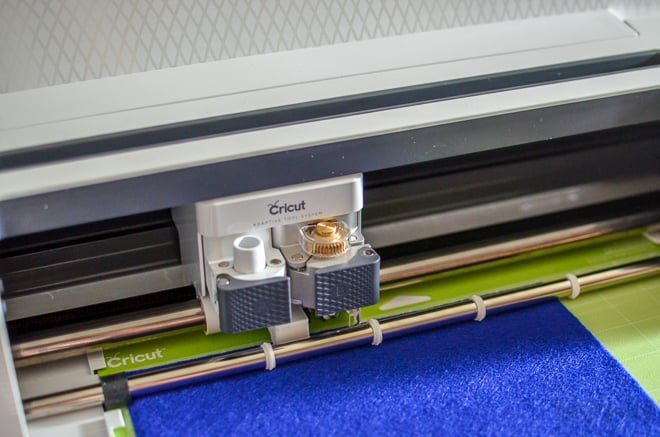
This is a question I get asked all the time and the answer is A LOT. It can do a whole lot of things that the Explore Air 2 can’t. Don’t get me wrong the Explore Air 2 is still an awesome machine but there are just some things that you can’t do with the Explore Air 2. The Adaptive Tool System (rotary blade, knife blade and scoring wheels) can only be used with the Maker because the Maker cuts on 3 axis vs. the 2 axis the Explore Air 2 does. In other words, the Maker can cut up and down, left and right and round and round. The Explore Air 2 can only cut up and down and left to right so those new tools just can’t work with the Explore Air 2.
So what does that mean to you? That means the Maker can:
- Cut through fabric as thick as denim
- Wood and thicker materials up to 3/32″ thick
- Makes scoring lines a whole lot easier to fold!
To get an idea of the wide variety of projects you can make with your Maker, check out this post I did after it was released with 50 projects you can make with your Maker. Even better all of these projects are FREE with every Maker purchase.
Is the Maker worth the cost?
This is a question only you can answer for yourself. But for me the answer was yes. In just the baby quilt I made alone, I saved the cost difference between the Maker and Explore Air 2 and I’ve been able to make more projects that will last longer thanks to the adaptive tool system.
No more having to remake rosettes or paper flowers for every event – the Scoring Wheel makes the fold lines so crisp and easy to fold you can reuse them party after party.
If you’ve got girls who love dolls, there are dozens of doll patterns in Design Space that you can make for a fraction of the price it would cost to buy.
Stuffed animals are easy peasy to make with the projects in Design Space. Makeup and Tote bags too!
I recently helped a friend of mine with decorations for her baby shower (post coming next week). She priced out everything we made including cupcake toppers, a banner, garland, confetti, a wood sign, cake topper and more, on Etsy and it would have cost her close to $150. We made everything and paid less than $25 in supplies! With just 3 parties you could save yourself almost enough for a Maker!
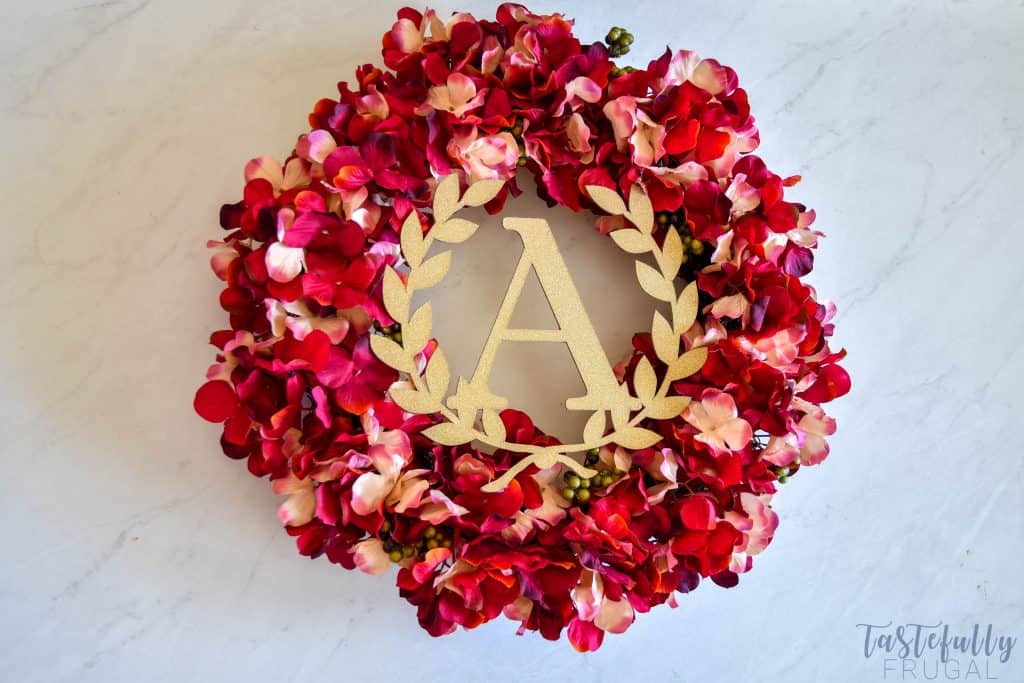
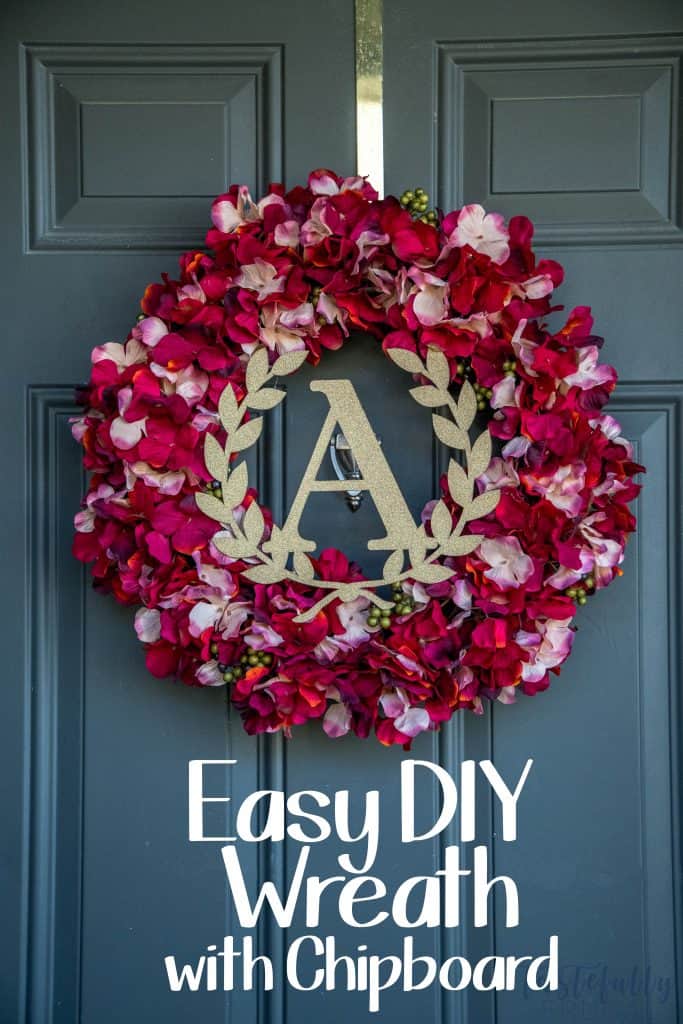
Another recent example, I saw a wreath I loved on Instagram that had an initial on it and when I went to the store to buy it, it was $90 😳. So instead, I bought my own wreath on sale at JOANN (for $8) and made the initial myself. It cost me less than $10 to make this wreath! Think about it; if you wanted to you could make 5 of these wreaths to sell and that would pay for the cost of the machine! And it was so EASY to make! Let me show you how to do it.
Easy Wreath DIY
SUPPLIES:
Wreath (I got this one from JOANN. I really like getting wreaths at JOANN because they are almost always on sale and you can use coupons)
Spray Paint (or you could use permanent vinyl)
Masking or Painters Tape
Hot Glue Gun and Hot Glue – My mini glue gun is only $4 on Amazon now!
When ordering from Cricut.com make sure to use promo code TFRUGAL to get 10% off and score FREE shipping!
DIRECTIONS:
Open up this design in Design Space and change the initial if needed. Make sure to select both designs and click WELD before you send to mat (that way your design cuts in one piece instead of two.
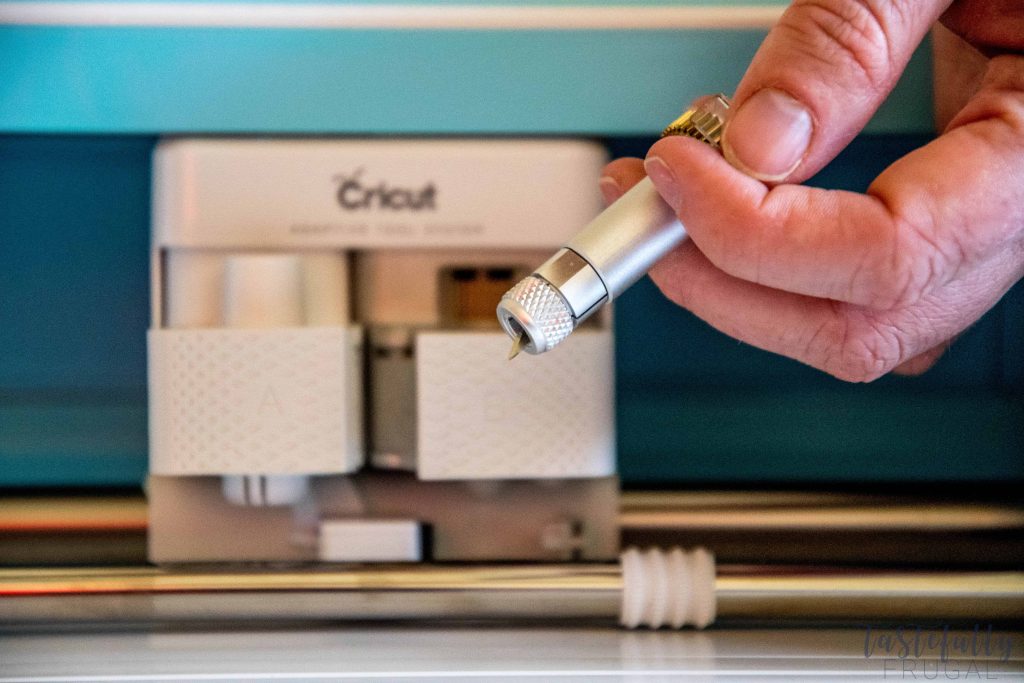
Get your machine ready to cut – Load knife blade into the B clamp, move the star wheels all the way to the right (if you skip this step they will roll on your chipboard ruining your chipboard).
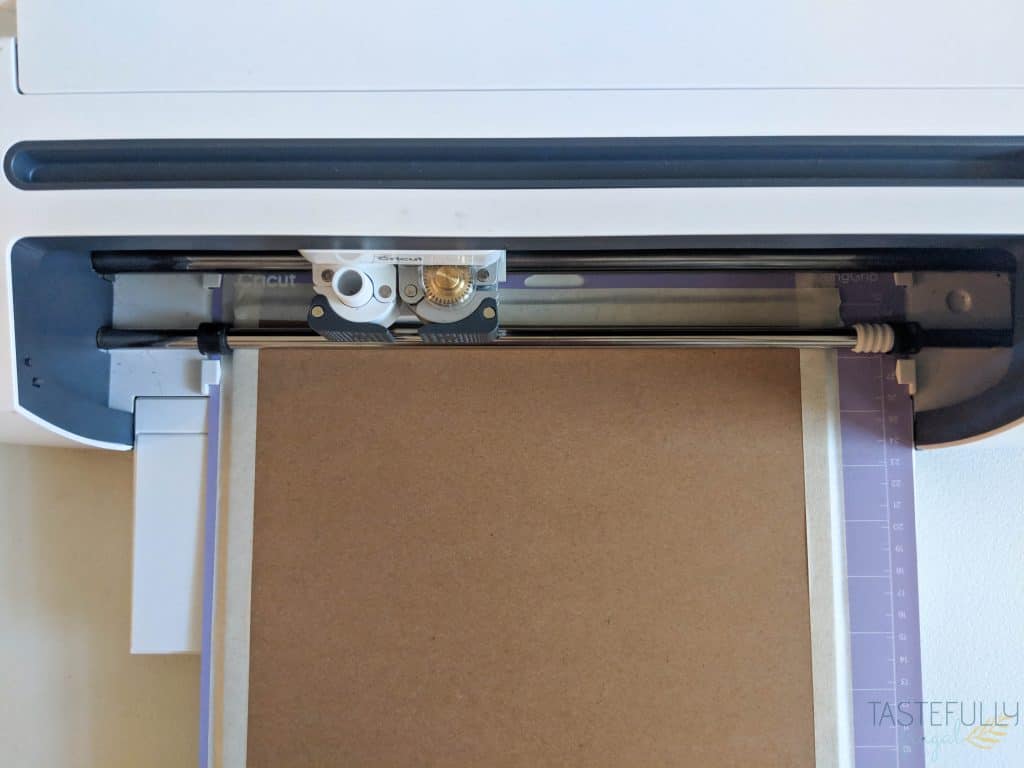
Get your chipboard ready to be cut – Line it up on your StrongGrip mat and use masking tape to tape it down. The design is going to be cut 18-20 times and you don’t want your chipboard moving, ruining your cut.
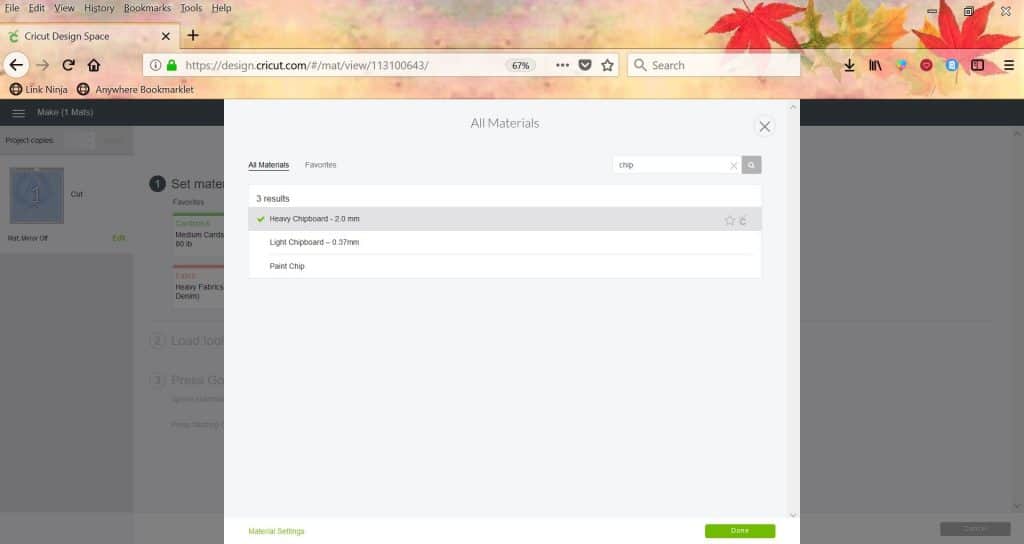
Select your material from the drop down menu. Make sure to select 2MM Chipboard.
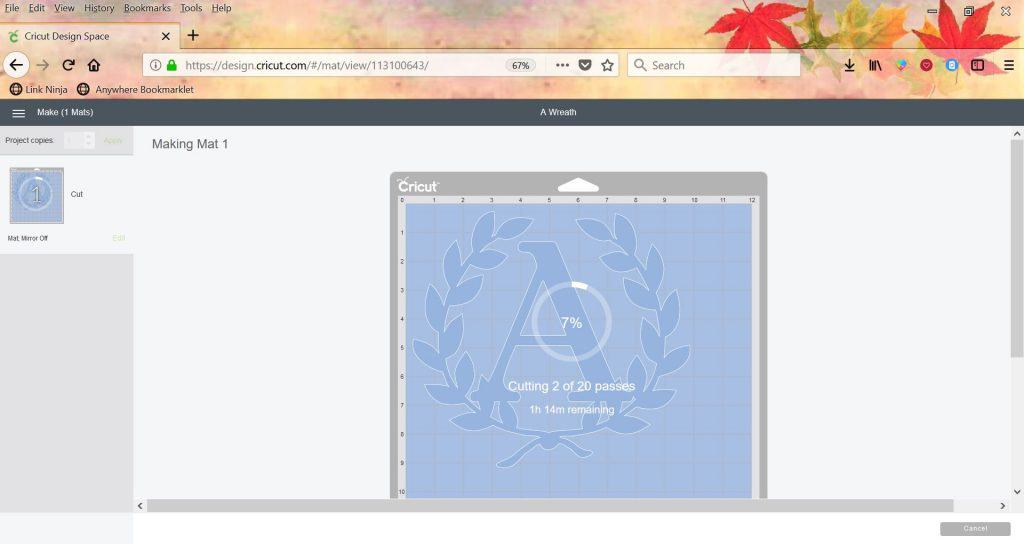
Load your mat and press the blinking C light.
This design takes about 75 minutes to cut. I set it up on a taller table in our living room (so my baby couldn’t reach it) and cooked dinner while it was cutting. Make sure to check back on it every 5-10 minutes to make sure everything looks good.
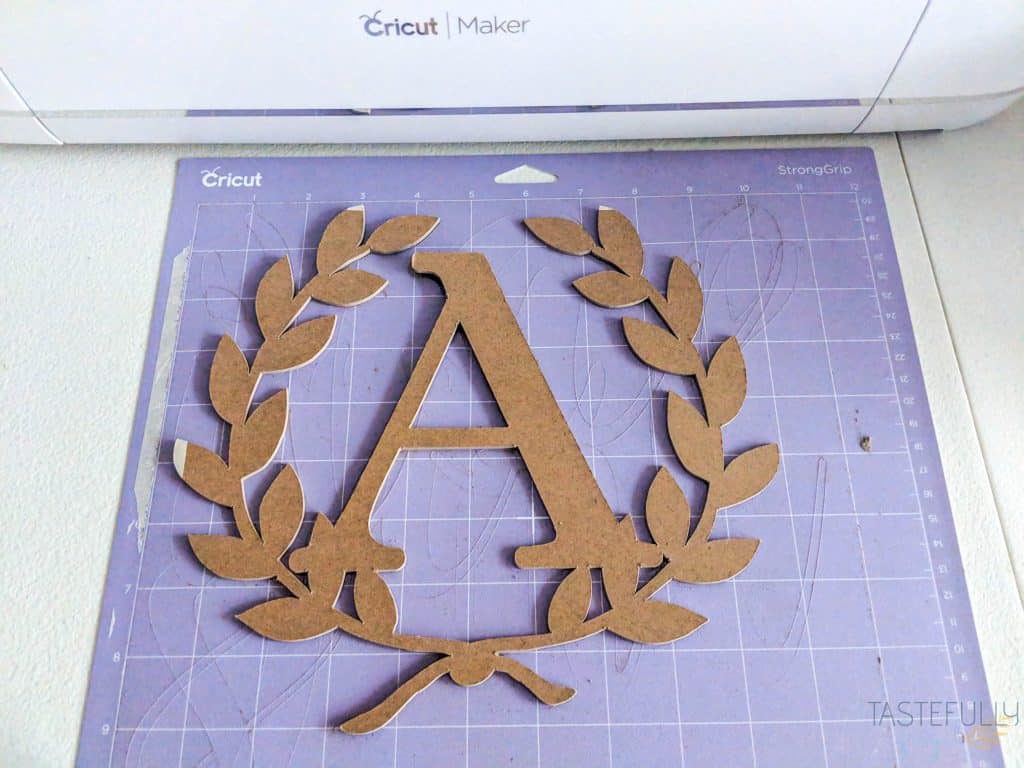
After the 18th pass, pause your cut and check to see if the design is cut through. I’ve used the knife blade about 15 times now and 10 of them were done after 18 passes (including this design) the other ones needed the full 20 passes. You want to check at 18 though because if it is cut through and you keep cutting, you could have it cut through your mat.
Carefully fold the mat backwards and peel off your design.
Remove the tape from your design (if you have any) and spray paint. I used Rustoleum Glitter Spray Paint and only needed one coat. Let set for at least 24 hours.
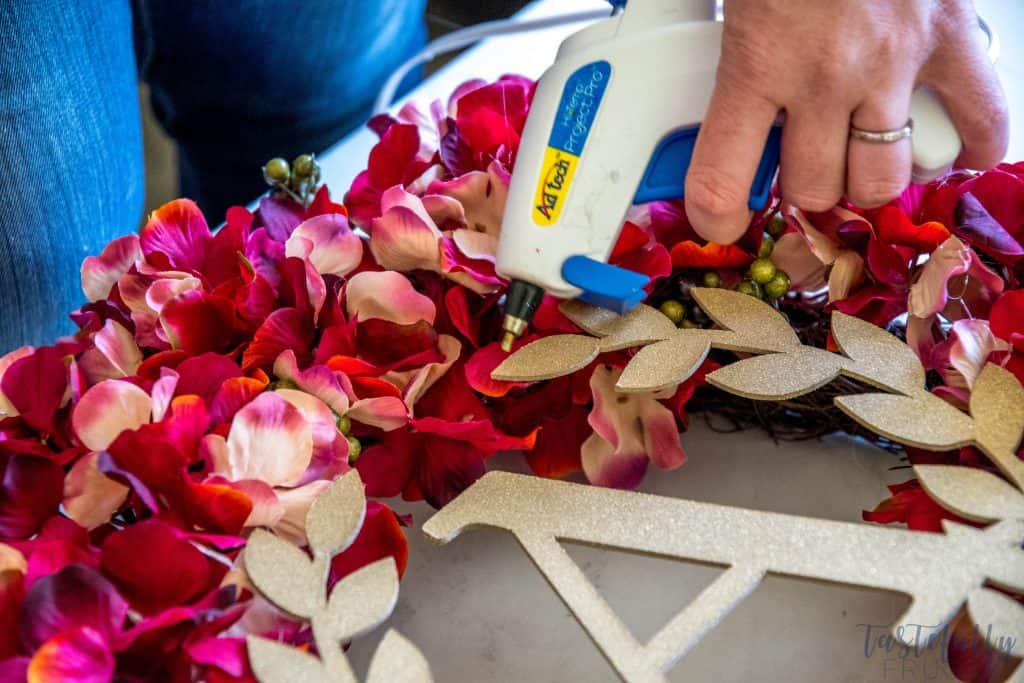
Use hot glue gun to attach design to wreath. I glued my design to leaves at 15 points to make sure it stayed on there good.
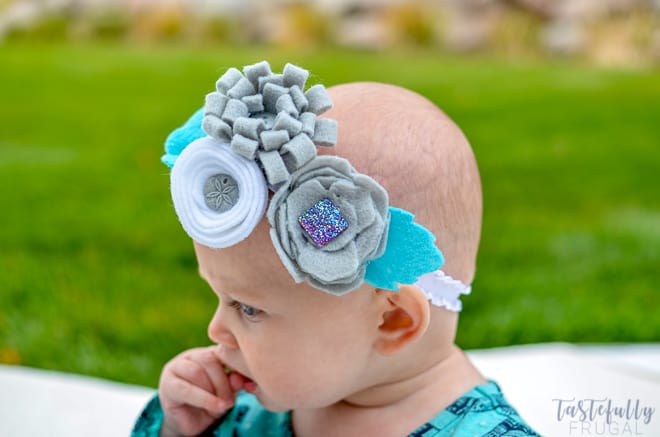
And there you have it! If you wanted to add a little more dimension to the wreath, you could add felt flowers (like I did with these headbands). What projects are you most excited to make with the Cricut Maker?
If you’d like to check out more ways you can use your Cricut check out these posts! Need help with your Cricut? Join our Cricut Support Facebook Group!
This is a sponsored conversation written by me on behalf of Cricut. The opinions and text are all mine.



Leave a Reply