This is a sponsored post written by me on behalf of Cricut. All opinions are 100% my own.
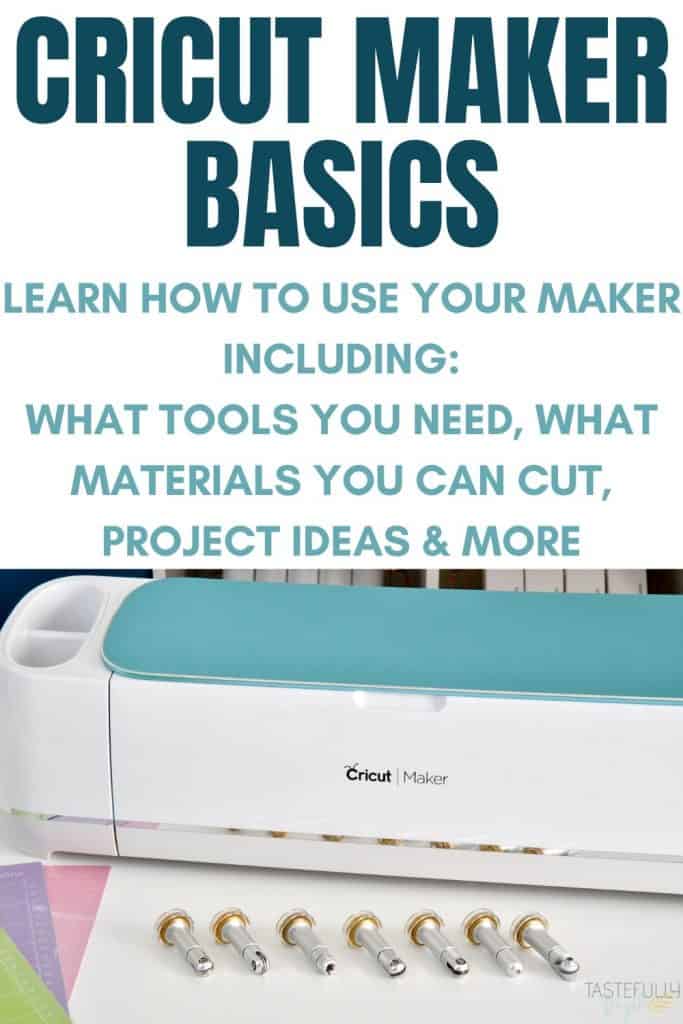
Learn how to use Cricut Maker machine including what materials you can cut, what tools you need and lots of project ideas and inspiration.
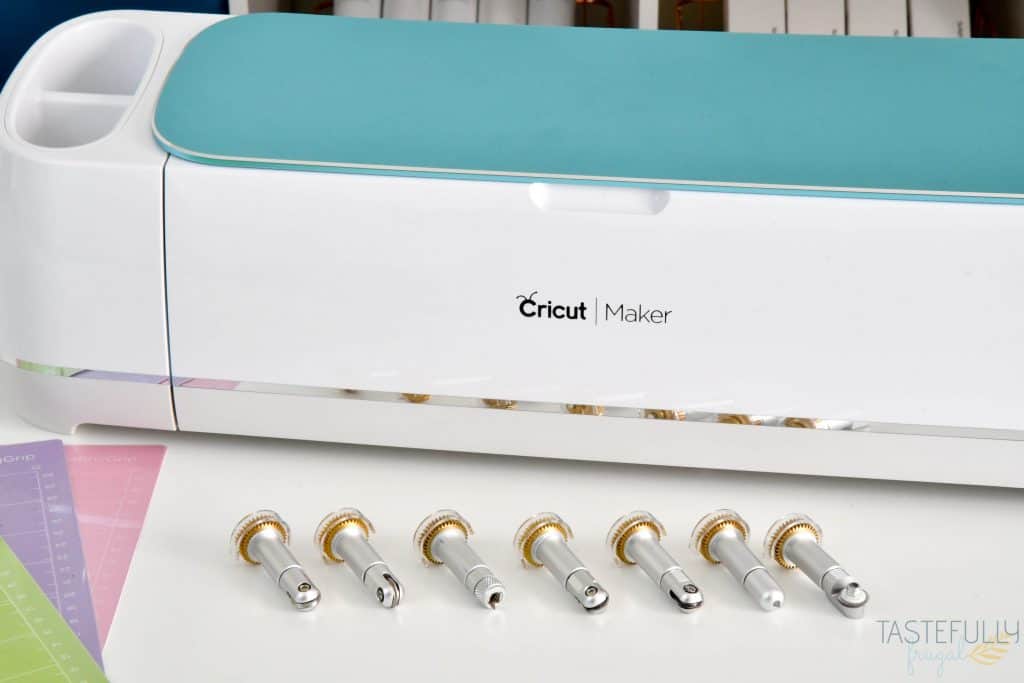
I was SO excited when Cricut launched the Cricut Maker at the first Mountain Make-A-Thon in 2017. My excitement kept growing as I had a chance to start using the Maker and seeing all it can do. And my excitement grows even more with each new tool and featured announced. The Cricut Maker really is the ultimate cutting machine and there is SO much that it can do.
In today’s post we’ll go over Maker basics including what it can do, what tools you can use, project ideas and how to get the most out of your machine. If you haven’t bought a Maker yet and you’re wondering what makes it different from the Explore Air 2 or Joy, check out this post for a side-by-side comparison of all three machines.
What Can Cricut Maker Cut?
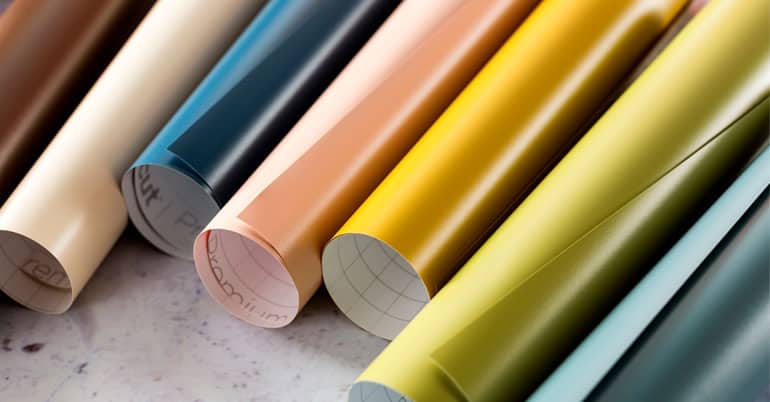
There are SO many materials the Cricut Maker can cut. 287 to be exact. You can cut everything from tissue paper to balsa wood, and everything in between. What you’re cutting will determine what blade you need to use. You can check out this page on Cricut’s site to see what blade you need for each material. Or when you’re in Design Space, select your material from the materials drop down menu in Design Space and you’ll be prompted to put the right blade in (fine point, rotary blade, knife blade).
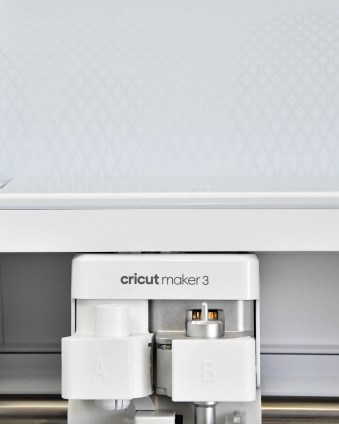
The Cricut Maker really is fool proof because when you select your material from the drop down menu and load your mat into your machine, the blade housing will scroll over to the right side and make sure the right tool is being used. If it’s not, you’ll get a notification in Design Space and your project won’t cut.
What Blade and Tools Can I Use With Cricut Maker?
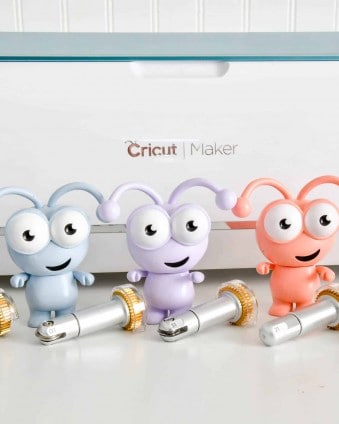
The Cricut Maker has the most tool options of any Cricut machine. Because the Maker cuts on a 3-axis plot (vs the 2 axis of the Air 2 and Joy) there are more design possibilities and tool options available. Currently there are 10 blades and tools you can use with the Cricut Maker:
- Fine Point Blade
- Deep Point Blade
- Bonded Fabric Blade
- Rotary Blade
- Knife Blade (check out this post for more detailed information on the knife blade)
- Scoring Wheel & Double Scoring Wheel (check out this post for more detailed information on the scoring wheels)
- Perforation Blade
- Wavy Blade
- Engraving Tip
- Debossing Tip
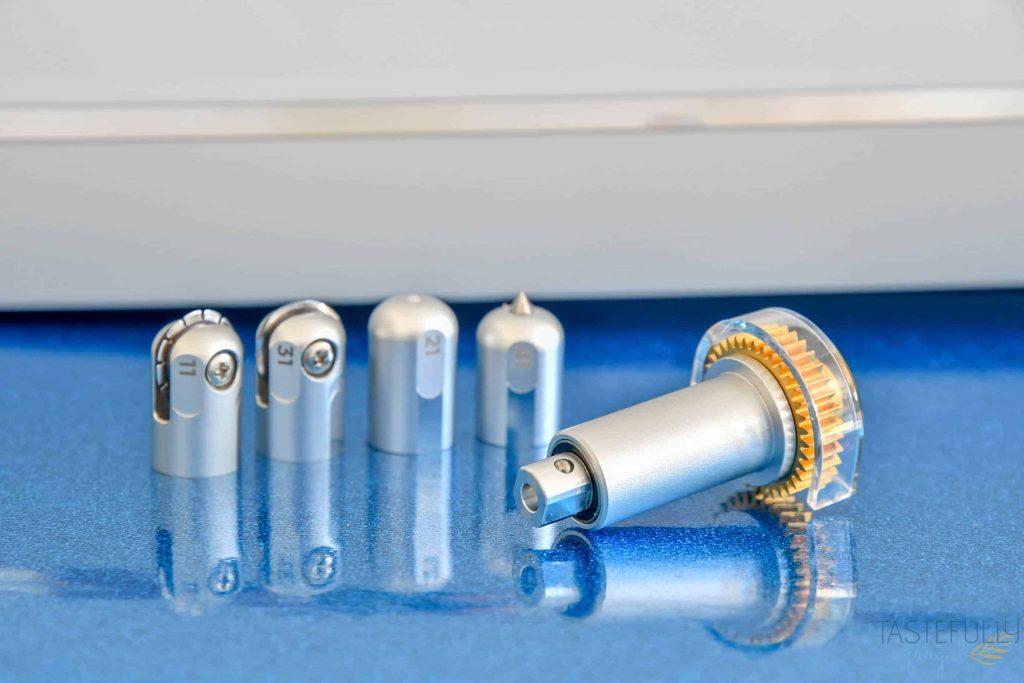
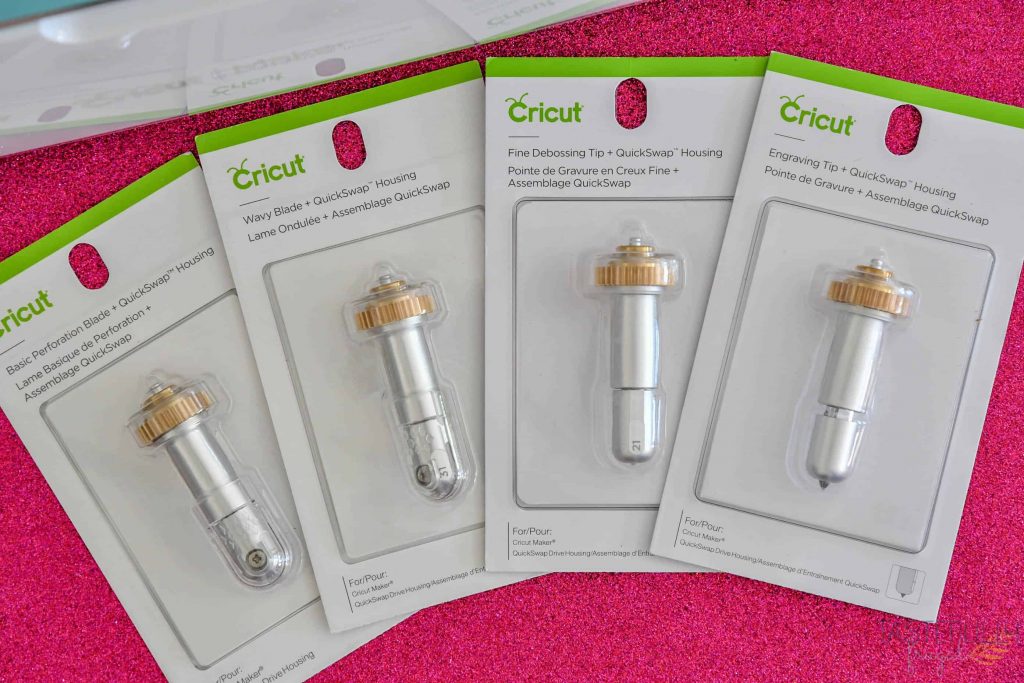
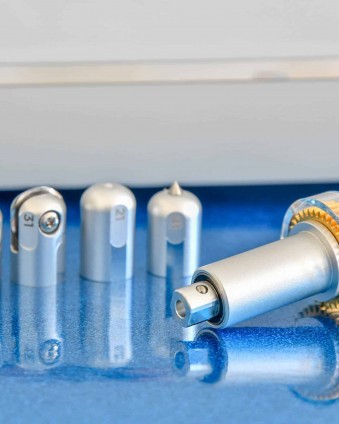
The last six tools mentioned (the Scoring Wheels down through the Debossing Tip) all share the same housing. It’s called the Quick Swap housing system. This allows you to buy just one of the tools with the housing and then all you have to do is buy the tips for the rest. This makes it a lot more affordable to get all the tools. You can learn more about the quick swap tools here.
If you want to order Maker tools or other Cricut supplies and you’re shopping on Cricut.com, use code TFSPRING to save 10% and get FREE shipping on all $50+ orders. That’s on top of the 10% discount Cricut Access members get automatically! Learn more about Cricut Access here.
What Else Do I Need To Use My Maker?
Like other Cricut machines, you will need to load your materials on to a cutting mat before you can cut them. There are 4 different cutting mats you can use with the Maker:
- LightGrip (Blue) – used for lighter materials like paper, cardstock etc.
- StandardGrip (Green) – used for most all materials like vinyl, iron-on, Infusible Ink etc.
- StrongGrip (Purple) – used for thicker materials like balsa wood, chipboard etc.
- FabricGrip (Pink) – used for fabric
Other than that you really don’t need anything else! If you want to write with your Maker, you will need Cricut pens to write with.
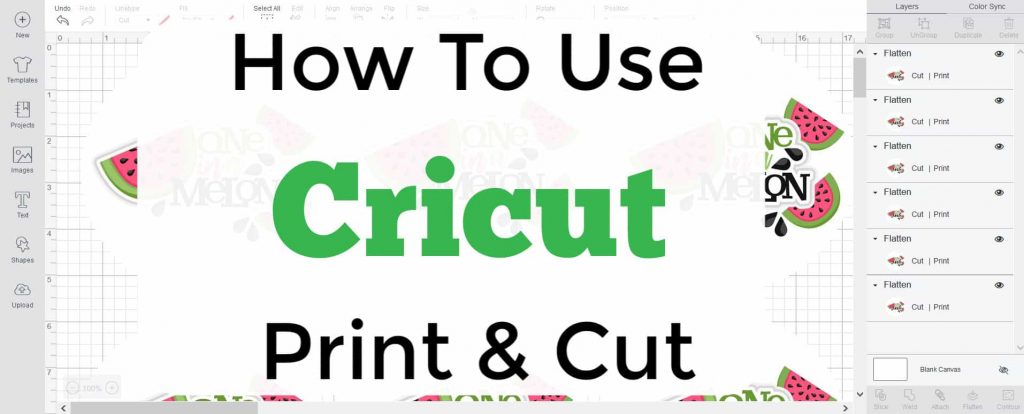
If you want to do Print Then Cut images you’ll also need a printer. Or you can print your design to a PDF and then have it printed at a copy store. Unlike the Air 2, the Maker allows you to do Print Then Cut on colored paper and cardstock too! Learn more about Print Then Cut here.
What Projects Can I Make with A Cricut Maker?
As you can imagine, with so many blades and tools available there are a bajillion projects you can make with your Maker. Sometimes the hardest part is deciding what you should make first!
Your Maker comes with 50 projects you can make for FREE! These are premade designs in Design Space that include step by step instructions of how to make them. To find these projects:
- Open Design Space and click ALL PROJECTS
- Make sure your Design Space is set to MAKER (not Explore Family or Joy)
- Scroll down through the list of categories and select FREE FOR MAKER
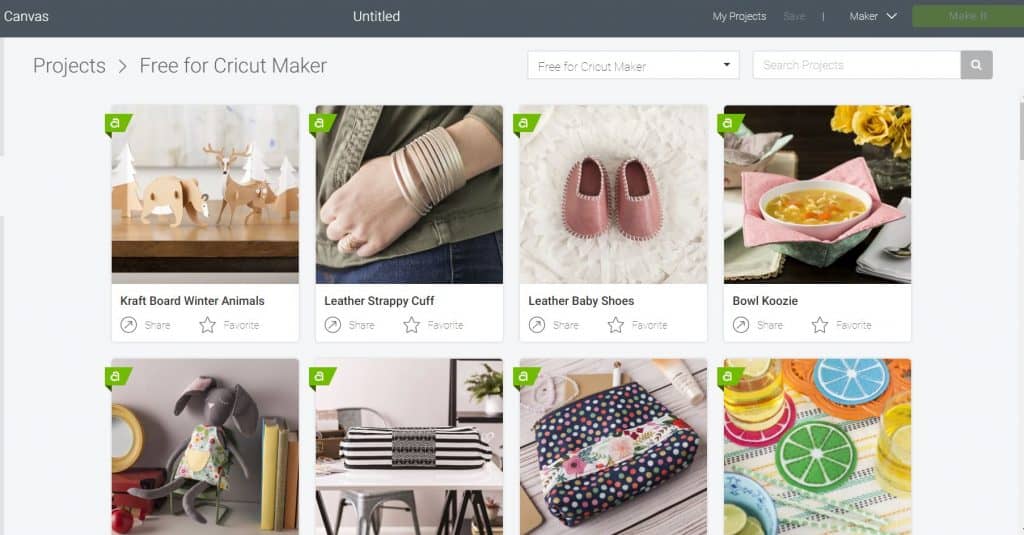
When the Maker first came out, I teamed up with some friends and we made all 50 projects to show you how easy they are to make. You can check out all the project tutorials here.
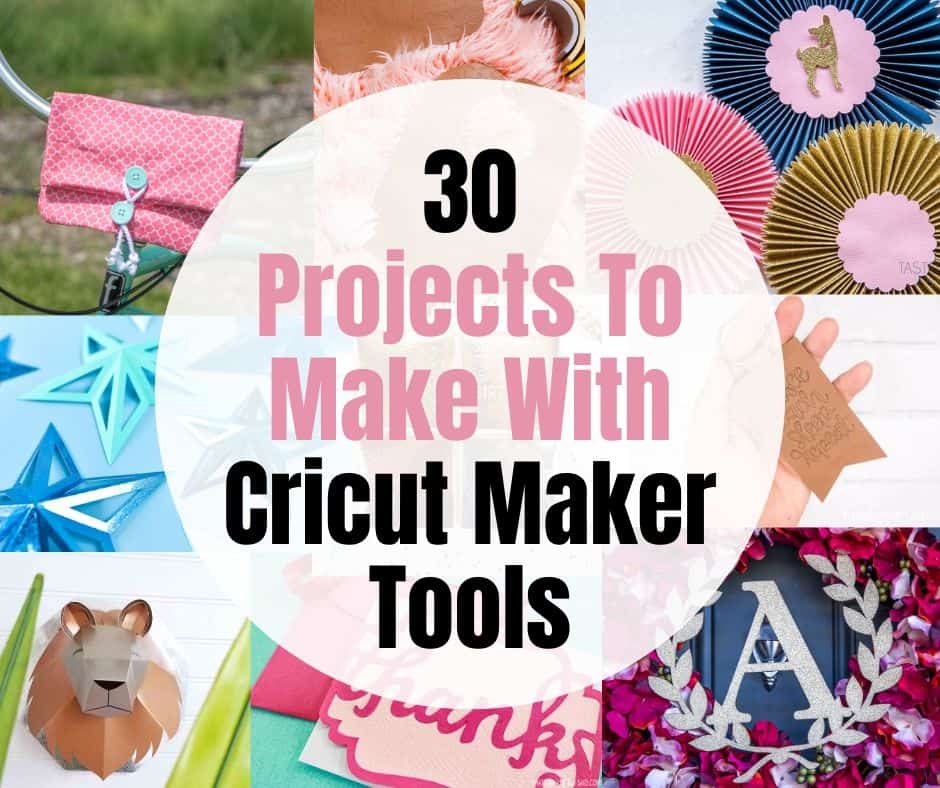
Want to see what you can make with the other Maker tools? Here is a list of 30+ projects you can make with the different QuickSwap Tools.

Want to check out even MORE projects that you can make with your Maker that are easy and PERFECT for beginners?! Check out these 50 projects!
I hope this post gives you a basic overview of how to get started crafting with your Cricut Maker! If you want to check out more Maker projects and tutorials, be sure to subscribe to my YouTube channel. For more Cricut projects and tutorials, check out these posts. For tips, tricks and immediate help, be sure to join our FREE Cricut Support Group.


Leave a Reply