Learn how to create multi-color, flawless designs with Infusible Ink with this How To Layer Infusible Ink tutorial.
Infusible Ink has been on the market for almost a year and it’s quickly become one of my favorite Cricut materials to work with. It’s super easy to weed, the colors and designs are so vibrant and the results are amazing! Working with Infusible Ink is a bit different than working with adhesive vinyl or iron-on vinyl. One of the biggest differences is how you can layer Infusible Ink.
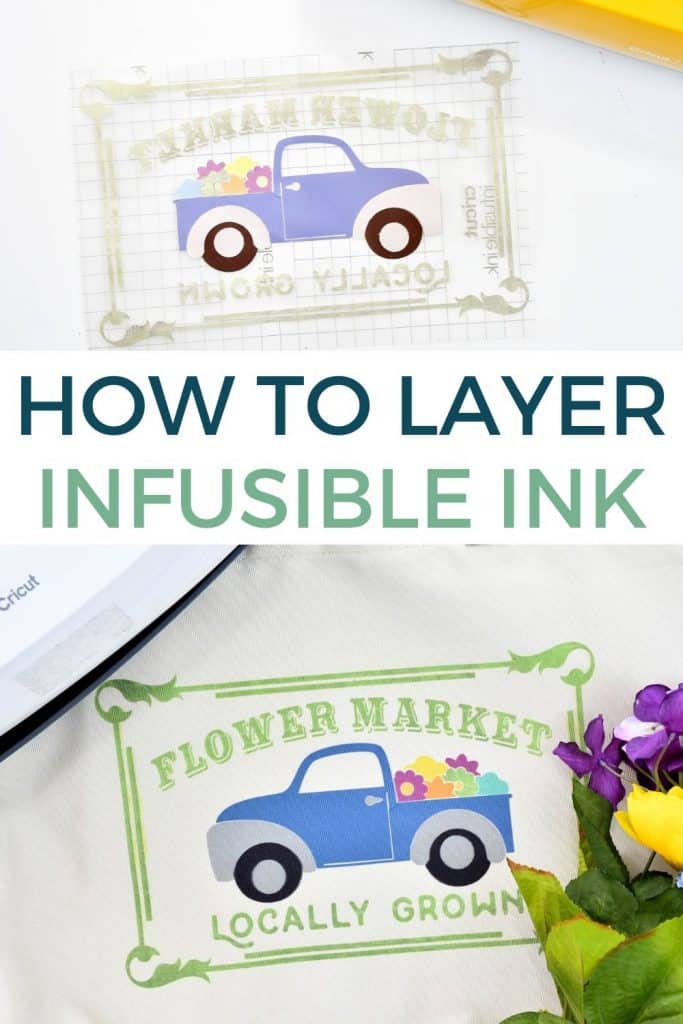
How To Layer Infusible Ink
Unlike vinyl, or iron-on, you can not layer Infusible Ink on top of itself. Because of the high temperature required to press Infusible Ink to your blank, it is not recommended to press more than once because you can easily ruin your project. So when you are wanting to use multiple colors/designs/layers with Infusible Ink you want to use the slice method. This is where each different color piece is sliced from the next so that no colors overlap.
Best Designs For Layering Infusible Ink
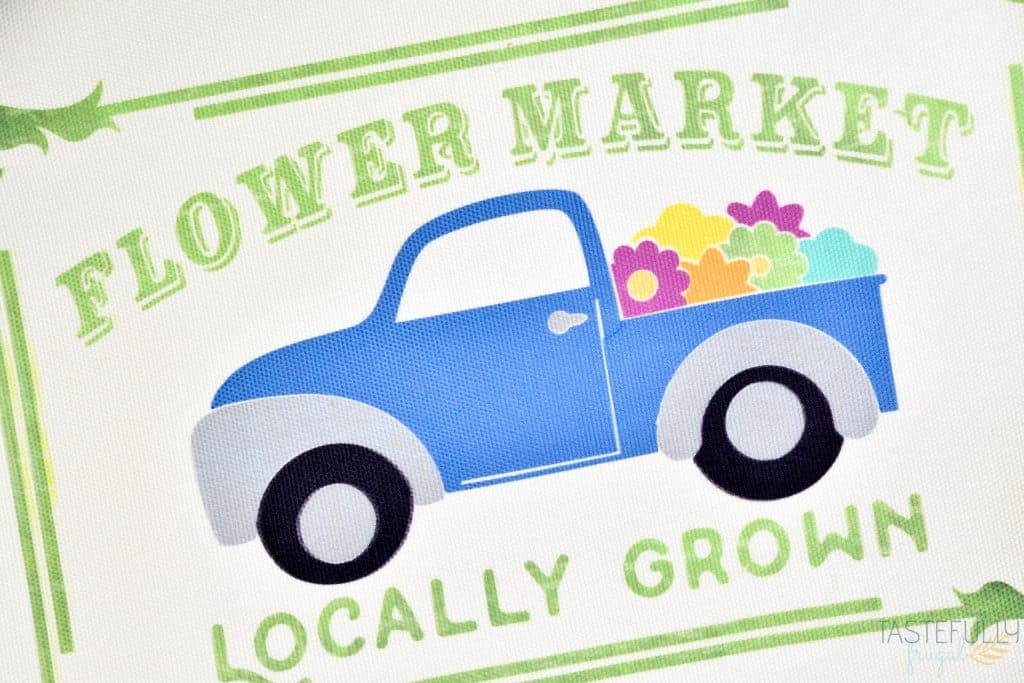
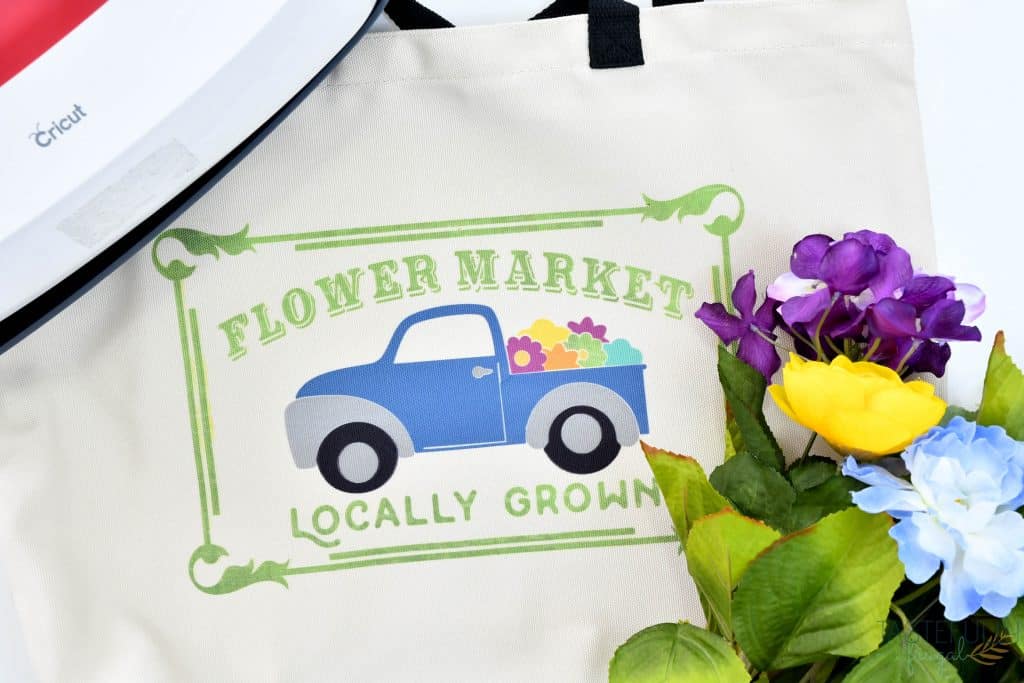
There are several designs pre-sliced in Design Space or you can purchase SVG files that are pre-sliced as well. Today’s tutorial is using the Flower Market SVG from Design Bundles. You can find it here.
Tips for Using Infusible Ink
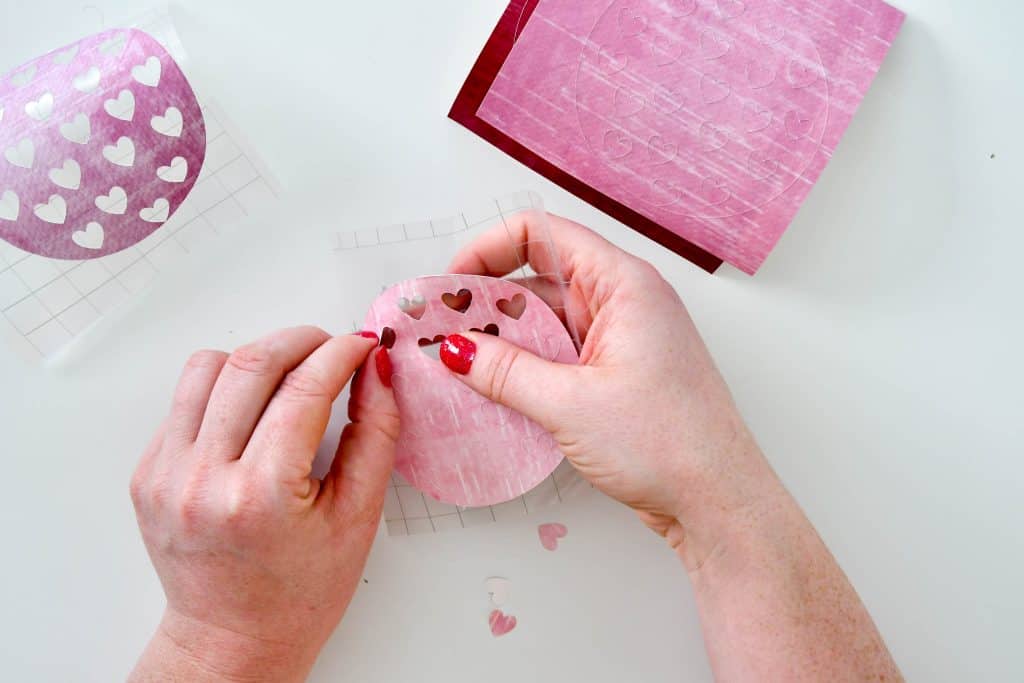
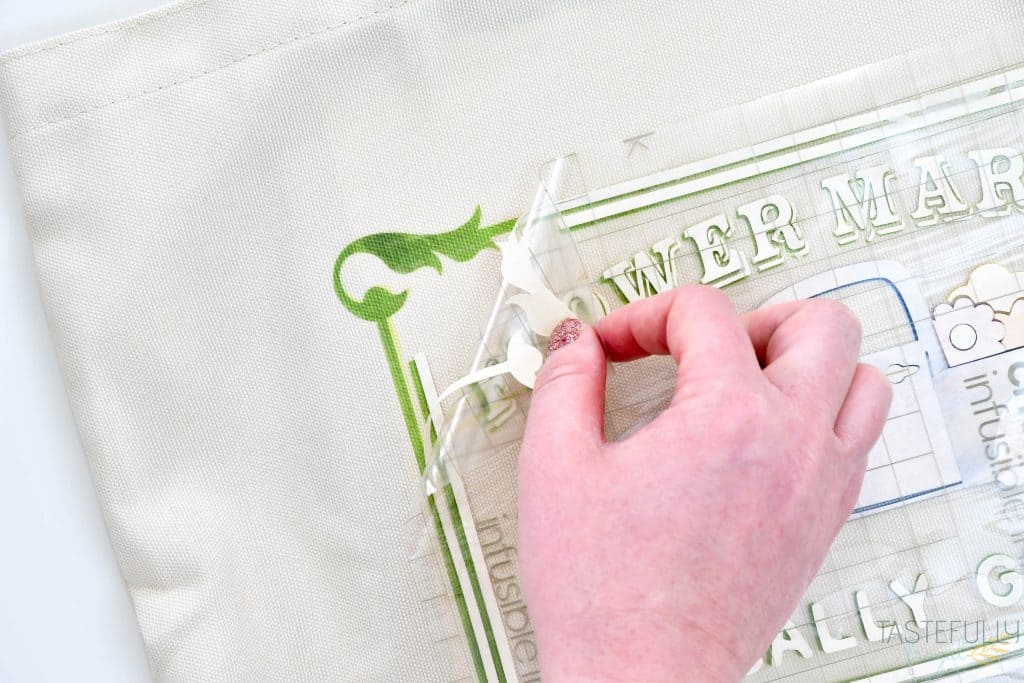
Another thing to remember when you are layering Infusible Ink is you want to make sure you are only using your fingers or tweezers to move the pieces around. If you use a weeding tool to remove the excess Infusible Ink, or move around the pieces, it could leave Infusible Ink into your transfer sheet ruining your design when you press it. To learn more does and don’ts with using Infusible Ink transfer sheets, check out this post! Let’s go ahead and get started with the tutorial!
SUPPLIES
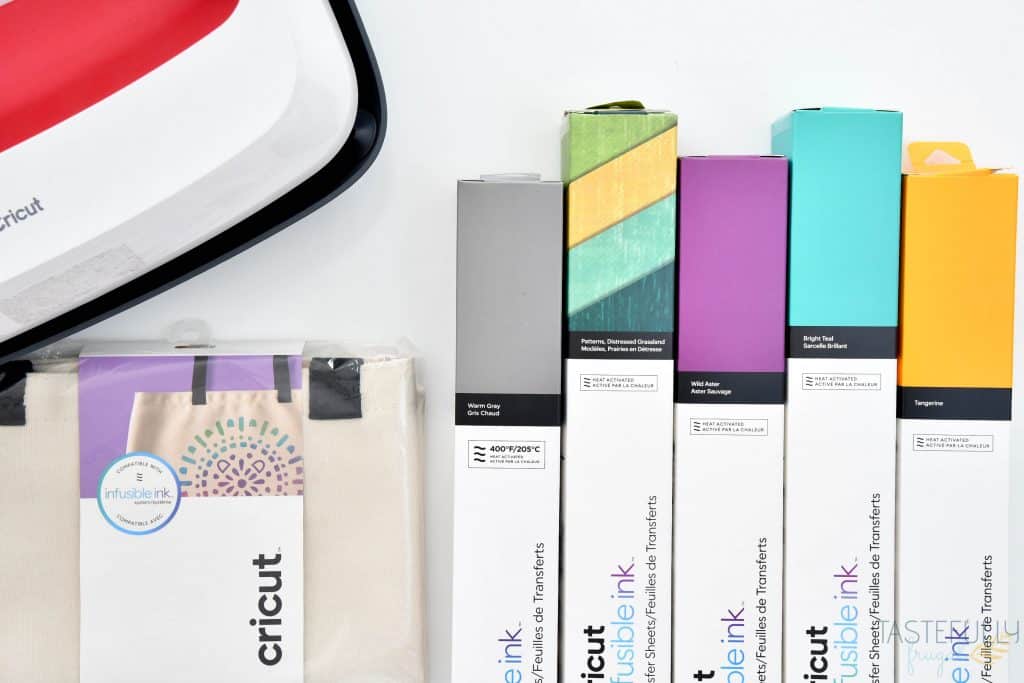
Infusible Ink Transfer Sheets (for this design I used black, warm gray, wild aster, bright teal, tangerine and distressed grassland)
Cricut Machine (Air 2 or Maker)
Infusible Ink Tote Bag – Large
EasyPress 2 and Mat
Cardstock
Lint Roller
Flower Market SVG file
If you need to get Cricut supplies and you’re shopping on Cricut.com, use code TFSPRING to save 10% and get FREE shipping on all $50+ orders. That’s on top of the 10% discount Cricut Access members get automatically! Learn more about Cricut Access here.
DIRECTIONS
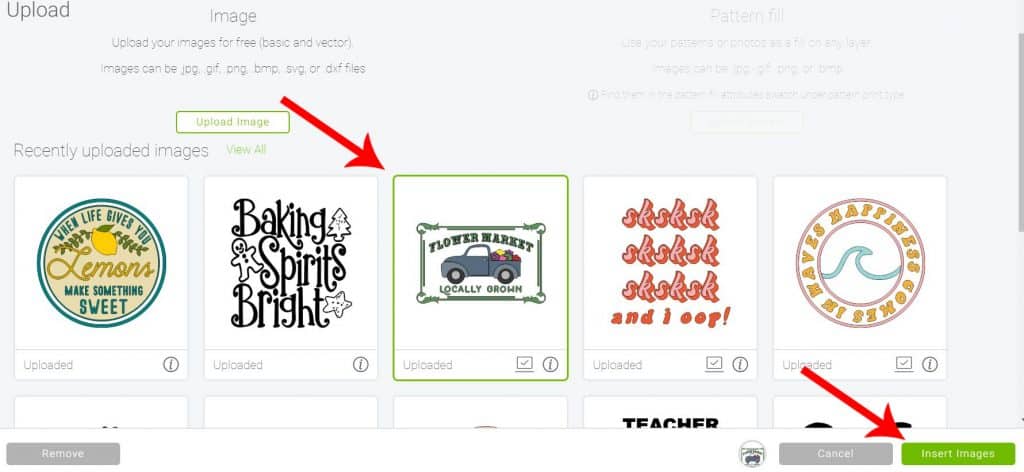
Upload flower market design in Design Space. If you need help with uploading images into Design Space, check out this post.
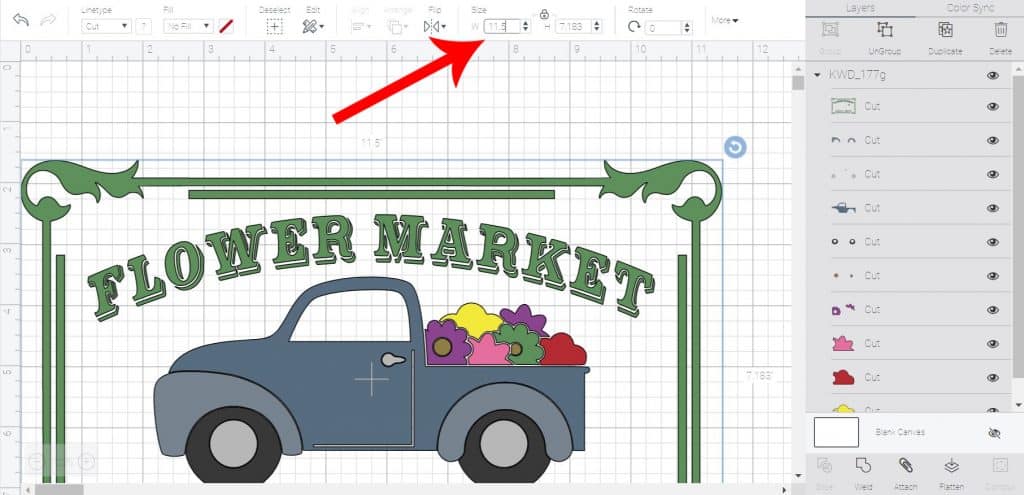
Resize your design to fit your tote and mat. I sized my design at 11.5″ wide. Click Make It.
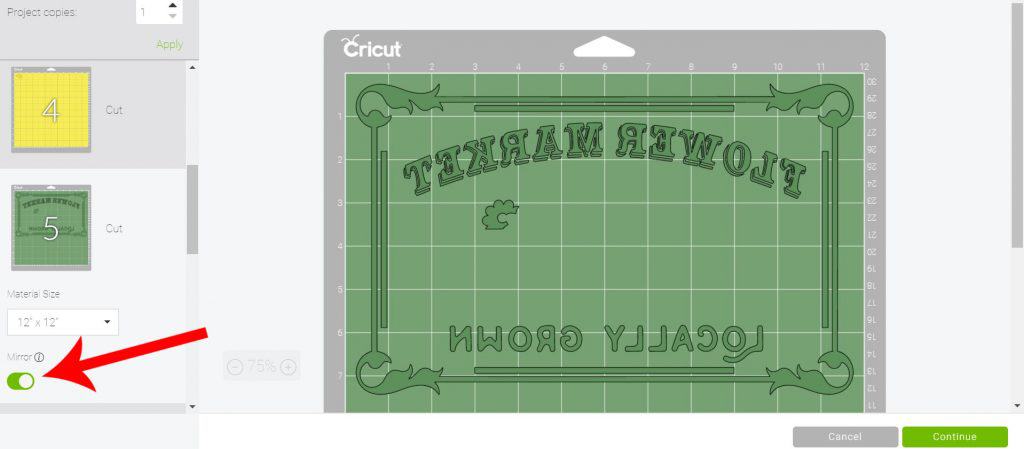
On the next screen, mirror each one of your mats. Click continue.
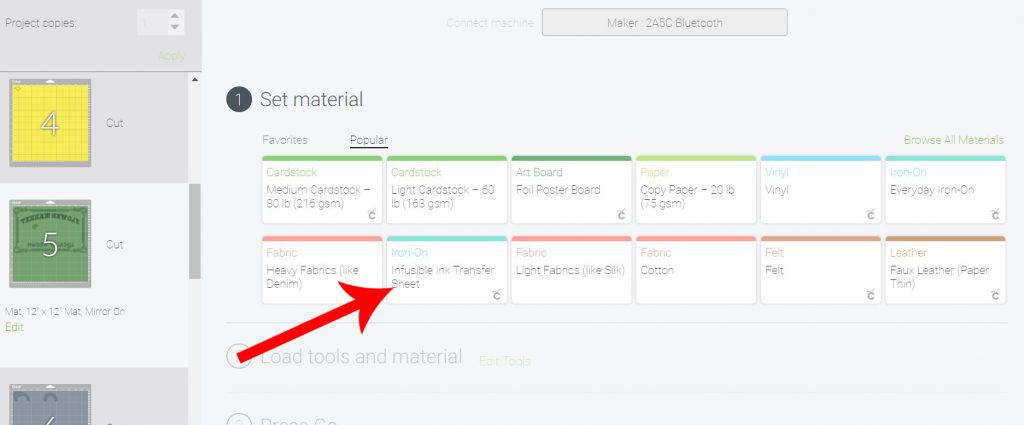
On the following screen select Infusible Ink Tranfser Sheet as your material.
Load Infusible Ink transfer sheet on to StandardGrip Mat colored size up.
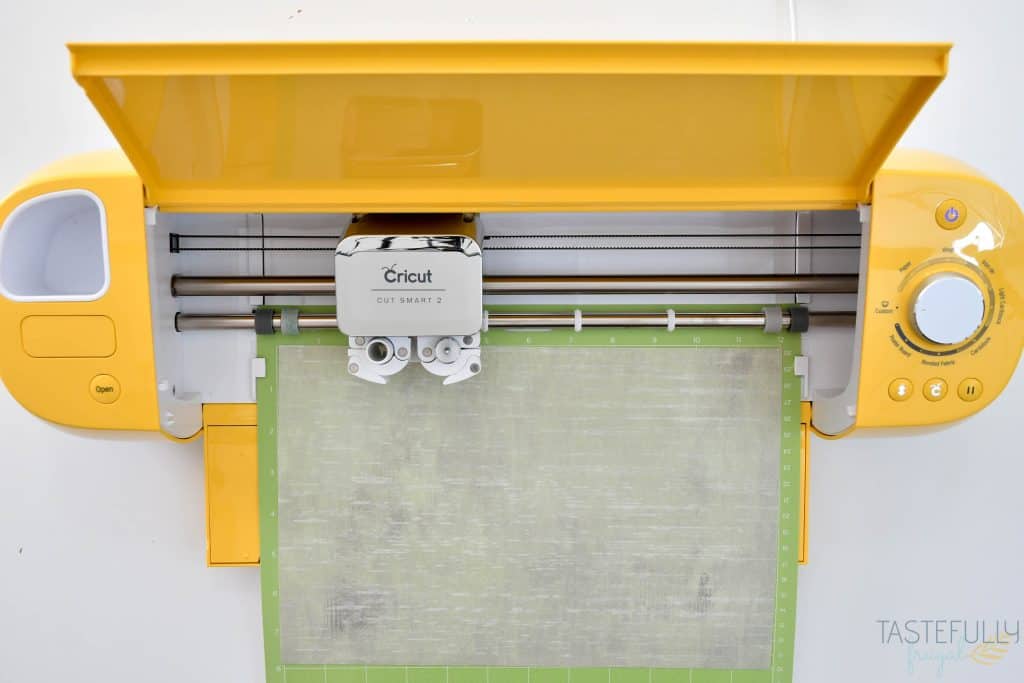
When arrow light is flashing on your Cricut machine, load your mat into your Cricut. The C light will start flashing, press it to begin cutting. When the arrow light starts to flash, click it to unload your mat.
Remove Infusible Ink transfer sheet from your mat and load with the next color. Repeat previous step with all remaining colors.
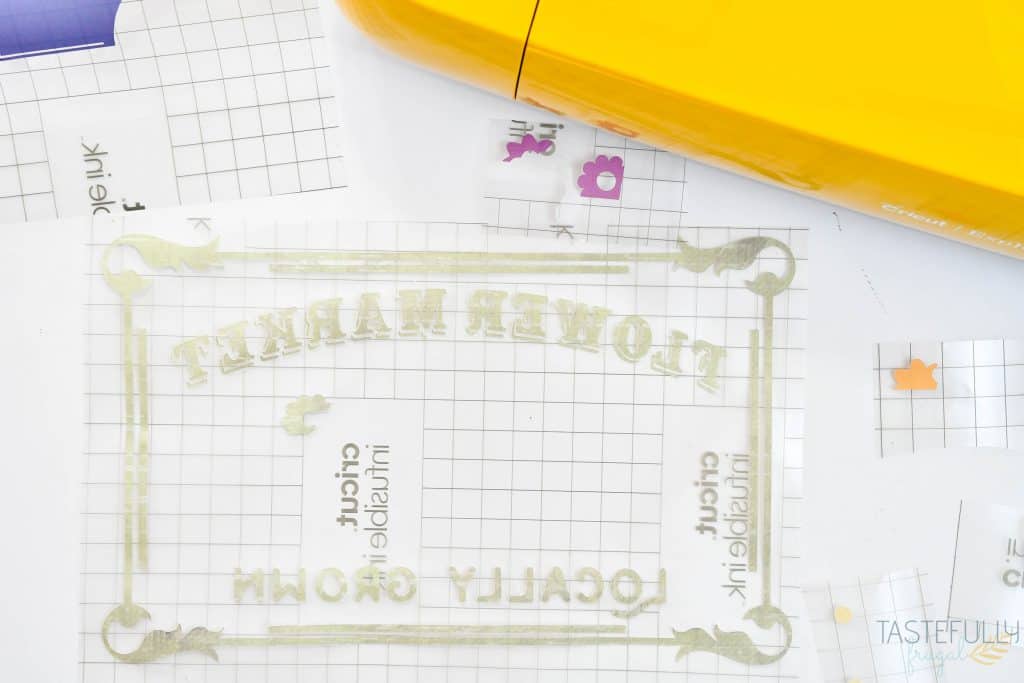
Use your fingers to remove excess Infusible Ink from all transfer sheets.
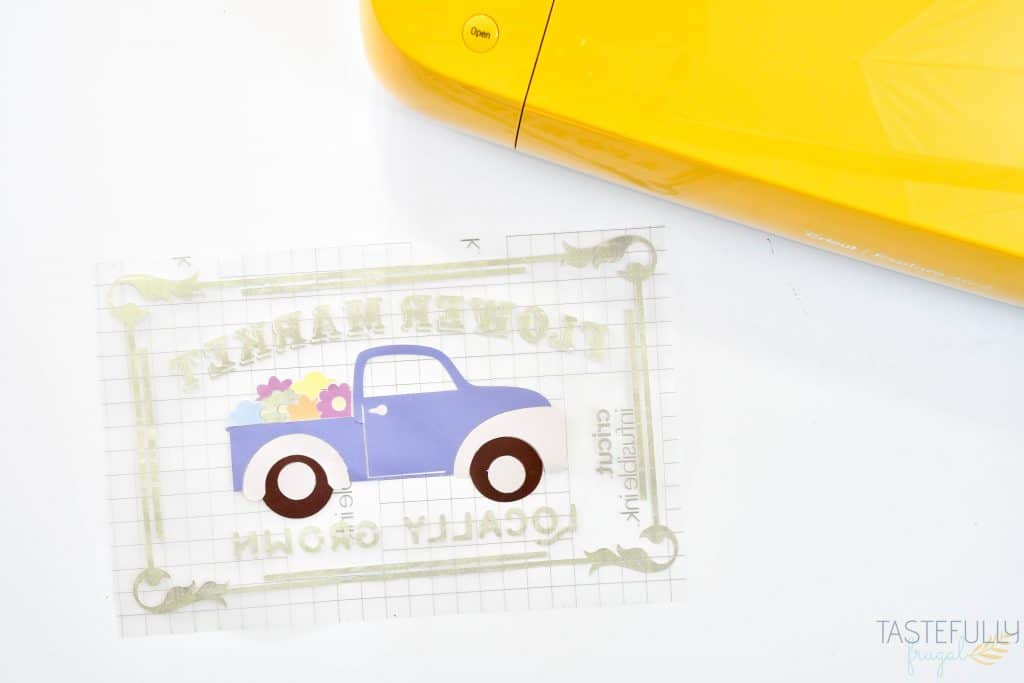
Start putting all pieces of your design on to the Flower Market Locally Grown transfer sheet. You may want to have your Design Space next to you so you can see the layout of the design.
Preheat your EasyPress 2 to 385F and 40 seconds.
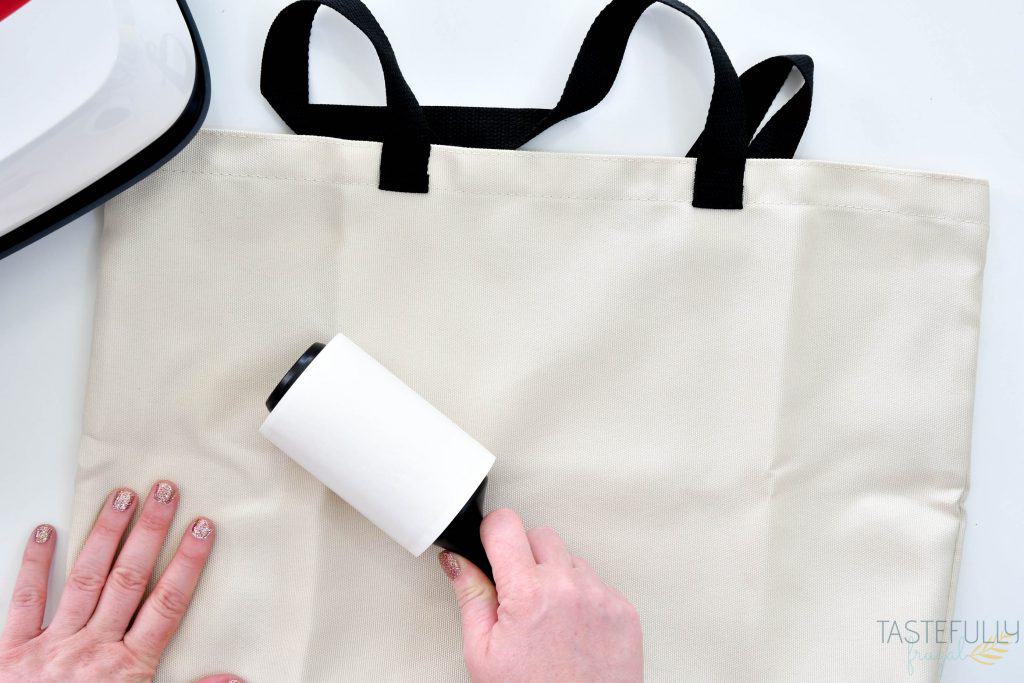
Clean your tote bag with a lint roller.

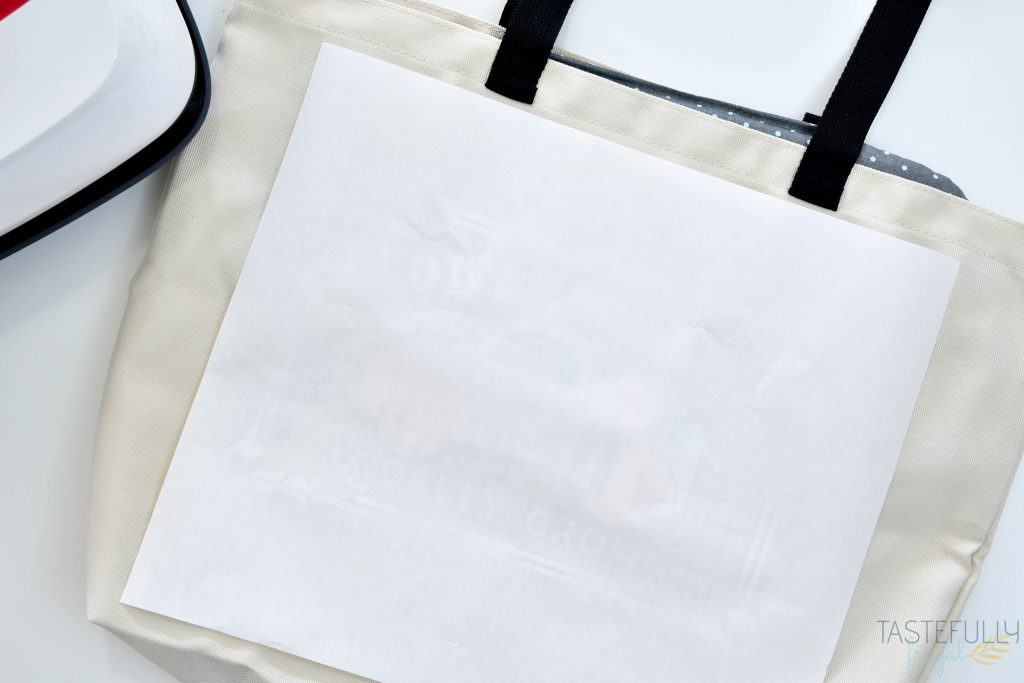
Put a piece of cardstock on your EasyPress mat to protect it and insert both into your tote bag.
Preheat your tote bag for 15 seconds.
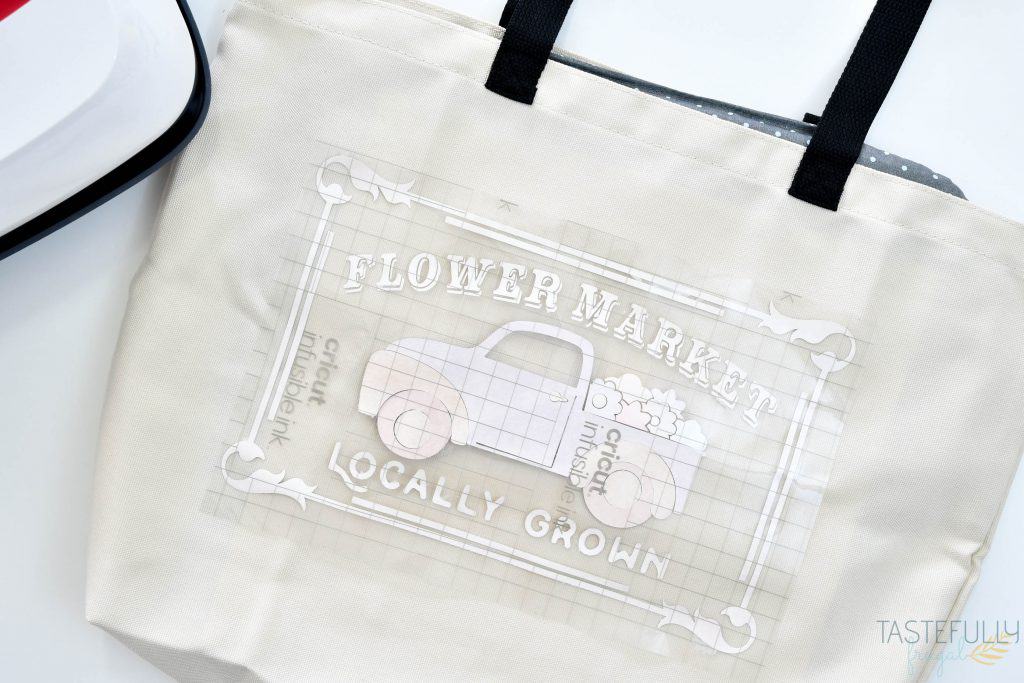
Line up your design on your tote bag. Place parchment paper (comes with your Infusible Ink transfer sheets) over design.
Using medium pressure, press your design with your EasyPress 2 for 40 seconds (to start the timer, press the green C button).
Let design cool for 1-2 minutes and then remove parchment paper and transfer sheet backing.
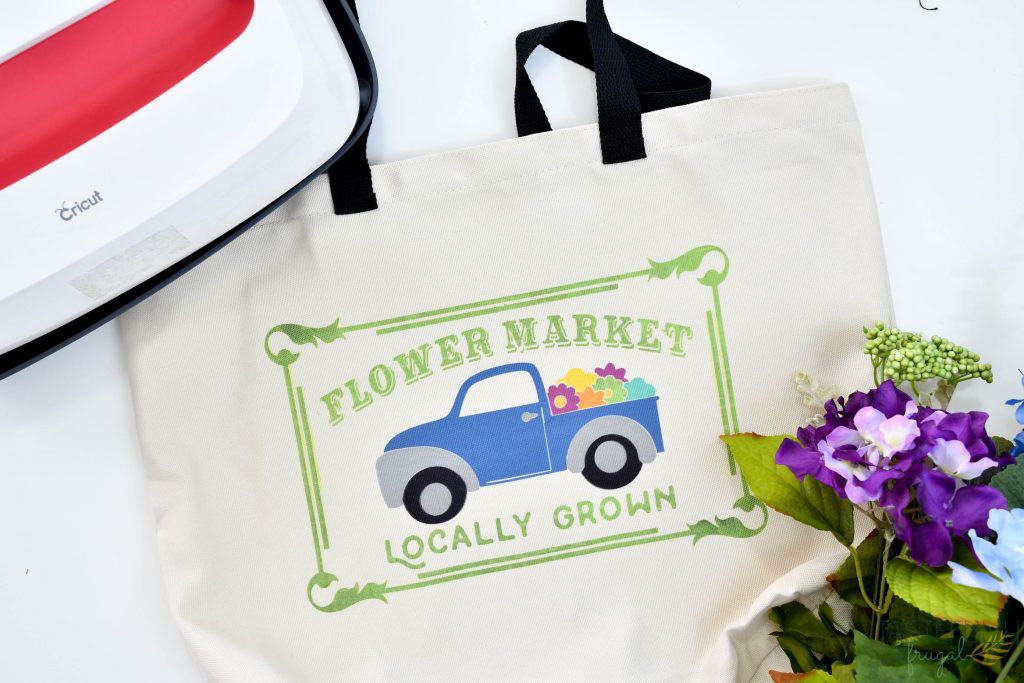
And just like that, you have a vibrant professional looking tote bag that will last a lifetime! Have you done multicolored Infusible Ink projects before?! I’d love to see them!
Make sure to subscribe to my YouTube channel to check out all the video tutorials. For more Cricut projects and tutorials, check out these posts. For tips, tricks and immediate help, be sure to join our FREE Cricut Support Group.


Leave a Reply