Learn about Cricut’s newest products, Infusible Ink! I’ll be answering the most commonly asked questions and showing you how to use it!
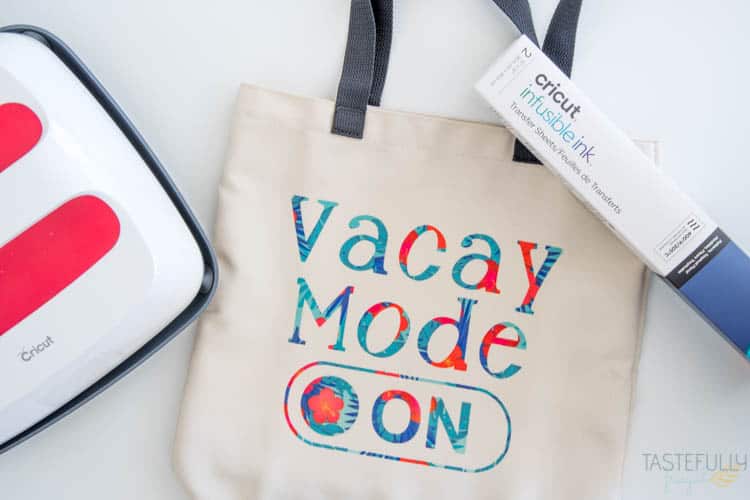
If you’re a Cricut fan you have no doubt heard about Cricut’s newest product that was launched last week, Infusible Ink! I couldn’t wait to get my hands on some and give it a try as I kept hearing words like ‘seamless’ and ‘game changer’ to describe the results. And I’m happy to report that it really is a game changer!
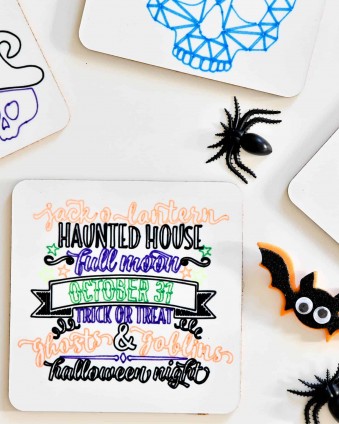
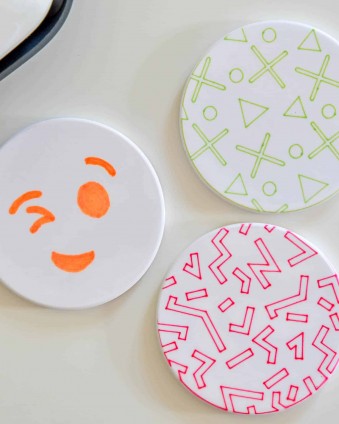
The finished look of the projects I’ve made are incredible! They look like something you would buy at a store! They are seamless and you can’t feel where the design starts and ends on the tote, onesie and coasters!
I’m going to put these through the ringer over the next 30 days and come back with an update of how they hold up but first let me answer the questions on everyone’s minds!
What Is Infusible Ink?
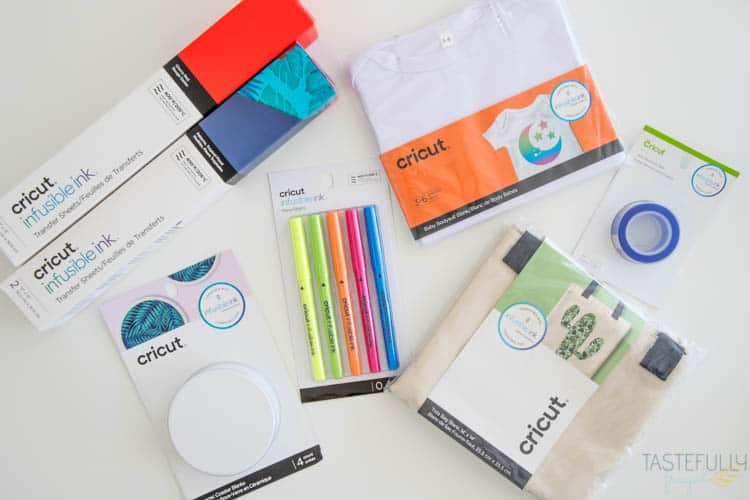
Infusible Ink is a collection of heat transfer sheets, pens and blanks that deliver ‘seamlessly smooth, professional-quality transfers’. What does that mean in crafter’s language? It means you will be getting a quality never seen before in the vinyl cutting world without having to spend a fortune or a lot of time on expensive equipment.
You can create tote bags, shirts, onesies and coasters that will stand up to even the toughest messes and will last a lifetime.
How Does Infusible Ink Work?
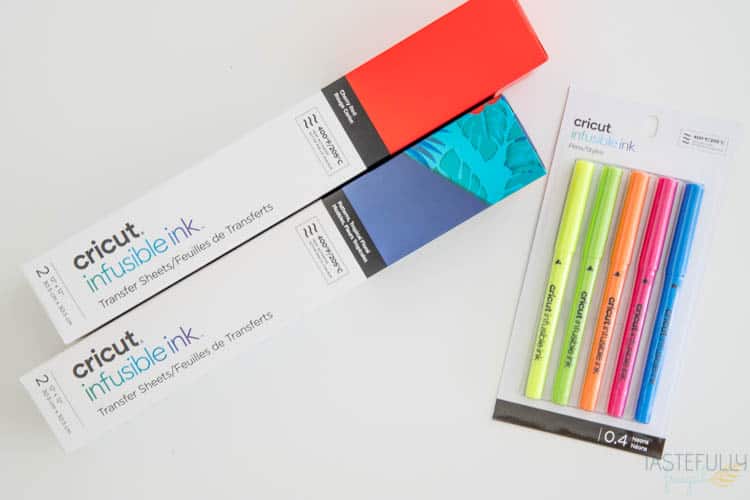
Infusible Ink uses high heat (at least 385°F) to infuse transfer sheets and pen ink into your base material. To make sure your projects last, Cricut did rigorous testing on different types of materials to ensure your project will last a lifetime.
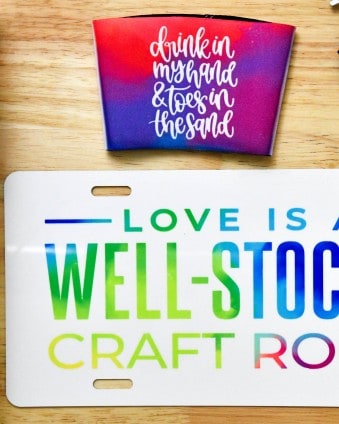
In addition to the transfer sheets and pens, Cricut also launched an impressive line of crafting blanks you can use with the Infusible Ink materials.
What Else Do I Need To Use Infusible Ink?
So you have your Infusible Ink sheets and/or pens what else do you need to make your projects? The good news is not a whole lot! To get the best results you’ll need:
- Cricut Cutting Machine – You can use either the Maker or any Explore machine to cut or draw your designs
- EasyPress or Heat Press – An iron WILL NOT work with Infusible Ink for two reasons. One, an iron does not get hot enough to press the Infusible Ink into your base. You can check out this interactive guide to get all the temperature and time settings. And secondly, you need to make sure the heat source is very still during the pressing process. When you use an iron to apply iron-on vinyl you move it around to get the iron-on vinyl to adhere to the surface. If you move the heat source with Infusible Ink it will ruin the design.
- EasyPress Mat – The materials inside the EasyPress mat help keep the heat inside your shirt, tote, coaster, etc. Because of this you’ll want to use the EasyPress mat every time. If you are using a clamshell heat press, the pads inside have similar materials that keep the heat in your base.
- Lint Roller – You’ll want to use a lint roller before you pre-heat your surface to make sure there is nothing on your shirts or totes that will affect the design.
- Cardstock – You’ll want to put this inside your shirt, onesie, or tote to make sure ink doesn’t bleed through the back
- Laser Printer Paper – FOR PENS ONLY – You need to draw your designs on laser printer paper. If you use cardstock or regular printer paper, the design will not transfer as well.
- Heat Transfer Tape – Use this to attach paper your design is on to your base/blank.
- Butcher Paper – Included in your transfer sheets. Use this to keep ink from getting on your EasyPress or heat press.
If you are wanting to order from Cricut.com make sure to use promo code WINTER10 to get 10% off and score FREE shipping on orders over $50!
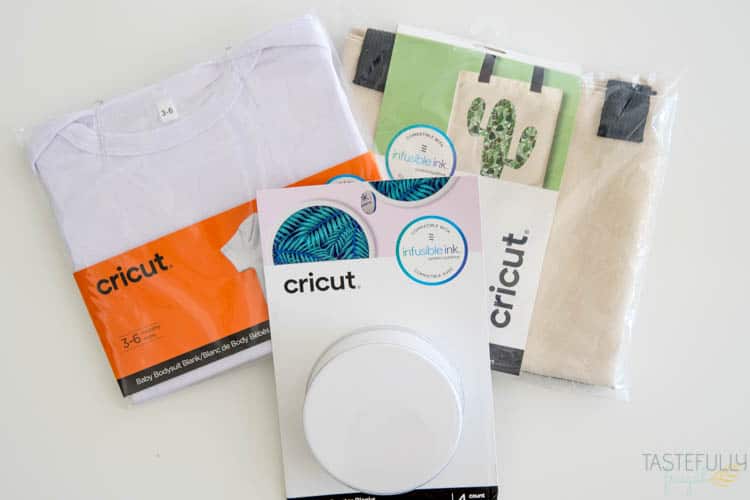
What Can I Use Infusible Ink On?
As I mentioned earlier, Cricut released a line of blanks including tote bags, shirts, onesies and coasters when they launched Infusible Ink. There were rigorous tests done to make sure the heat transfer process resulted in lifetime results. Because of this, Cricut only recommends using their blanks with the Infusible Ink logo on it.
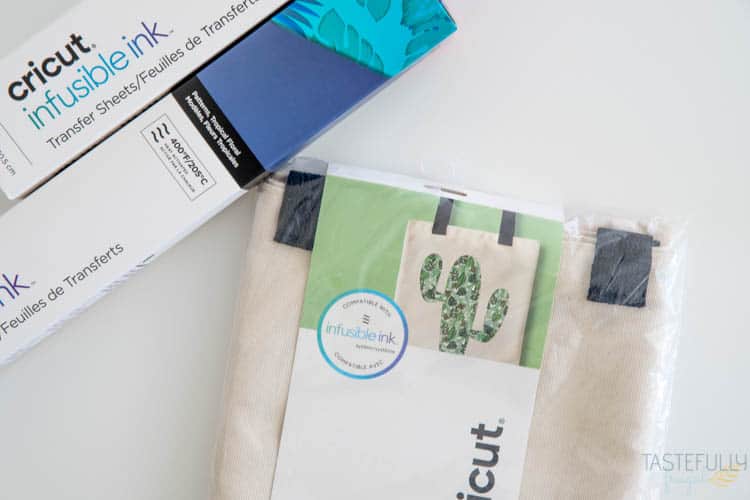
Do I Have To Use Cricut’s Blanks for Infusible Ink?
Right now the answer is yes. Like I mentioned above, a lot of time was put in to making sure you, the crafter, gets the best results possible. To ensure that is the case, Cricut guarantees the results on their blanks. Any other blanks may get results that either don’t work at first or don’t last after use.
I am going to be trying similar type blanks (blanks made of the same materials as Cricut blanks) over the next few weeks to see if I can find a comparable blank and will let you know.
Where Can I Buy Infusible Ink?
Infusible Ink products are available online at Michaels and on Cricut.com NOW.

PS If you’re wanting to get the best price on your Cricut supplies, check out my Black Friday Cricut Post. I’ve compared prices on cricut.com, Amazon, Michaels and Amazon and list all machines, supplies and bundles offered! Check out all the deals here.

How Do You Use Infusible Ink?
For this tutorial, I’ll be showing you how to use the Infusible Ink Transfer Sheets. Tune in next week to learn how to layer the transfer sheets and also how to use the pens.
Vacay Mode Tote Bag Supplies
Infusible Ink Transfer Sheets in Tropical Floral
Butcher Paper (included in your Transfer Sheets)
Cardstock
Cricut Maker or Explore Machine
If you are wanting to order from Cricut.com make sure to use promo code TF10 to get 10% off and score FREE shipping on orders over $50!
Directions
Open up this design in Design Space.
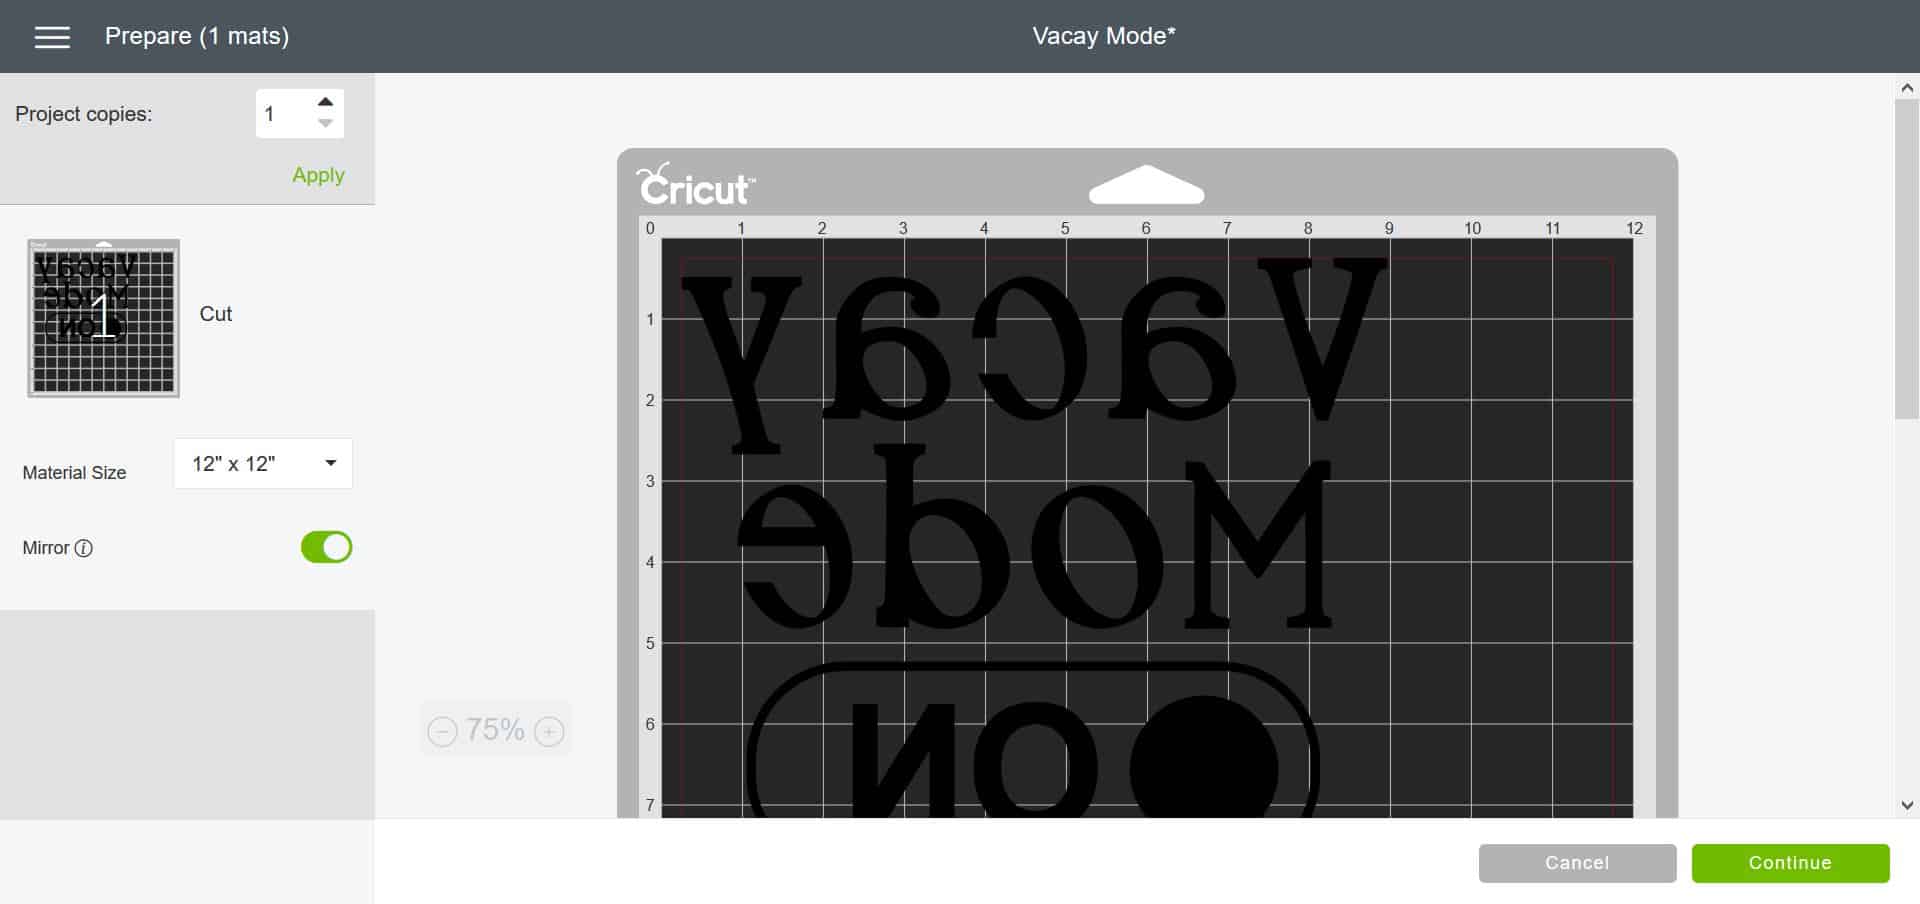
Mirror image on canvas.
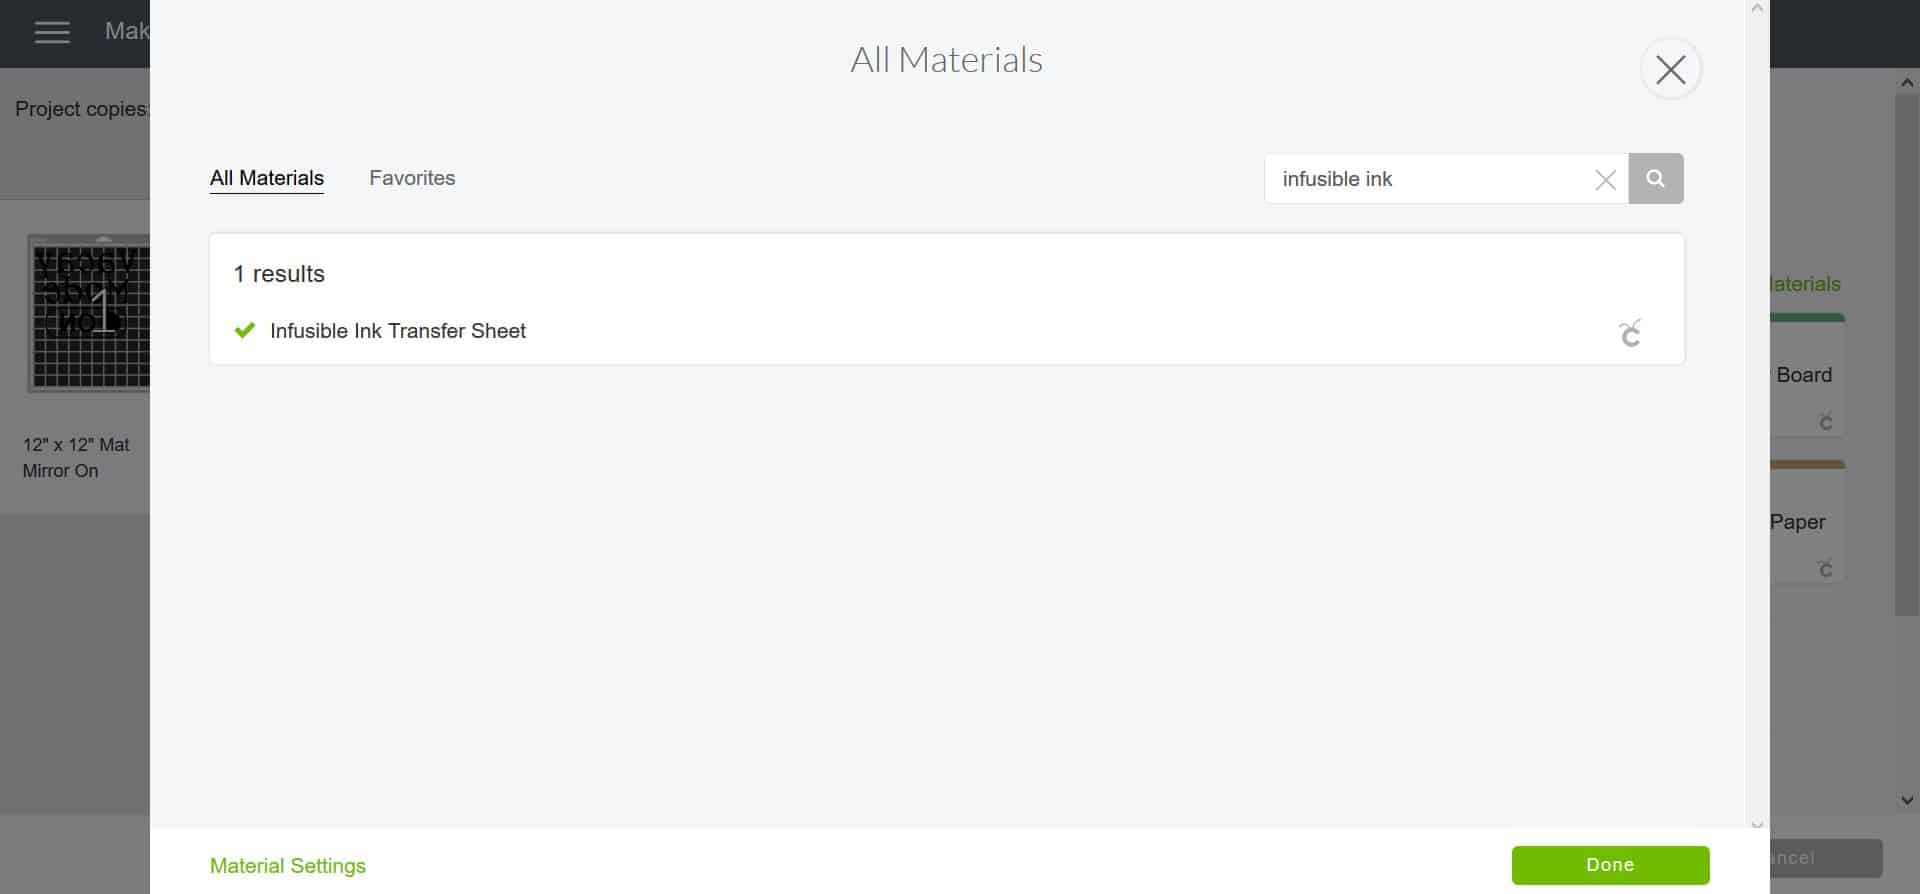
Choose INFUSIBLE INK TRANSFER SHEETS under materials.

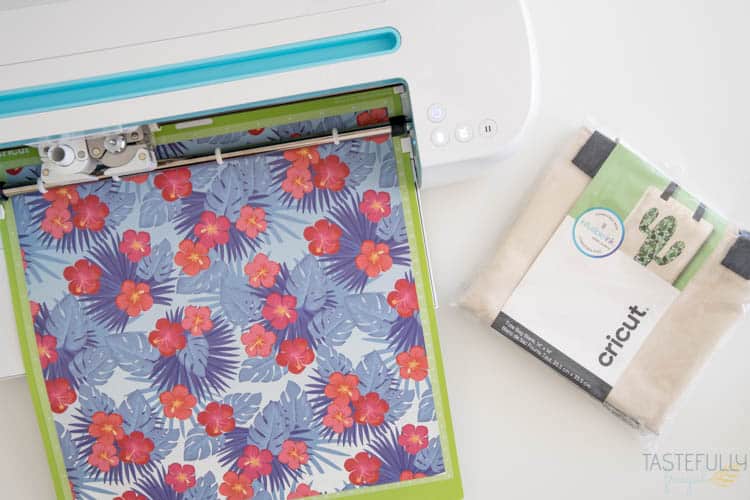
Load your Infusible Ink sheet on the StandardGrip Mat ink side facing up. Load your mat into your machine and cut your design.
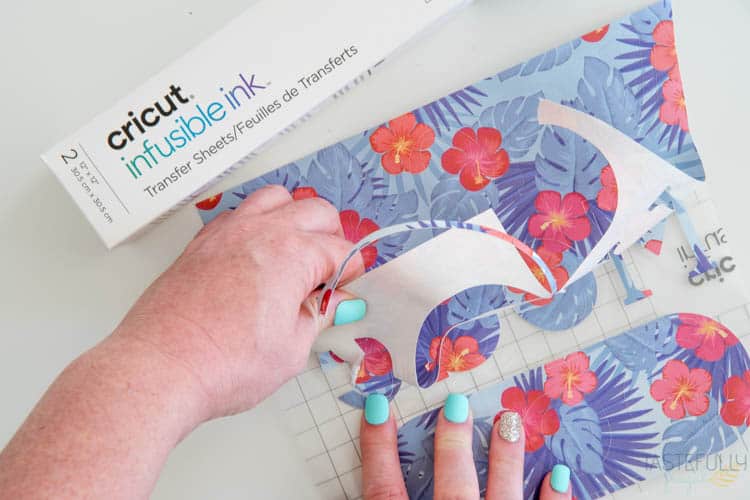
Use your fingers to weed design. **DO NOT USE WEEDING TOOL. IT CAN RUIN THE TRANSFER SHEETS**
Heat EasyPress to 385°F and 40 seconds.
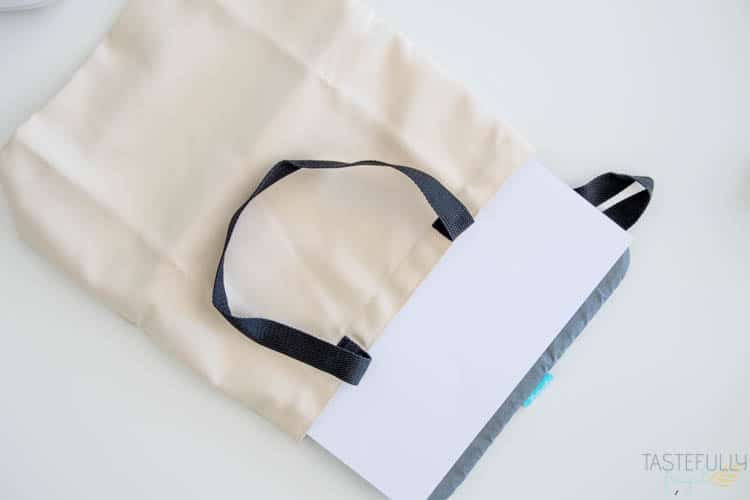
Put EasyPress mat INSIDE tote bag and but cardstock on top of EasyPress mat to make sure you don’t get ink on your mat.
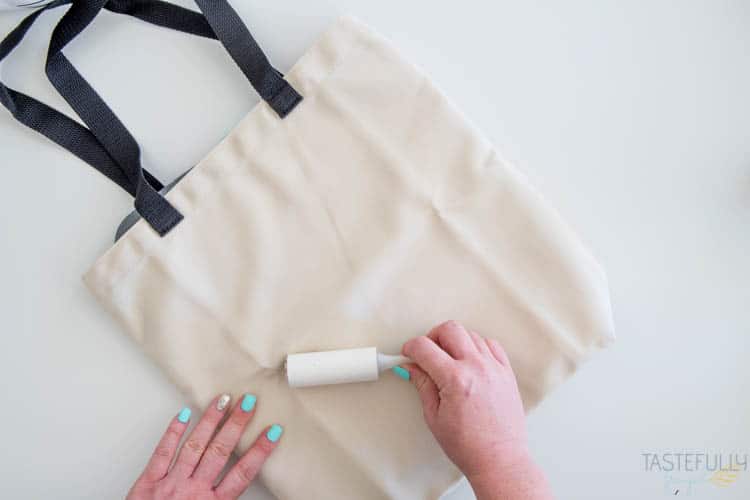
Use lint roller to get any extra fibers off tote bag.
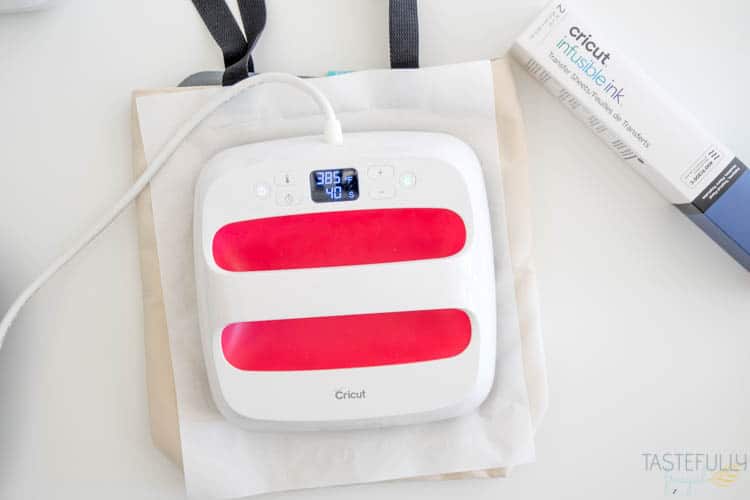
Cover tote bag with butcher paper and preheat with EasyPress for 15 seconds. Remove butcher paper.
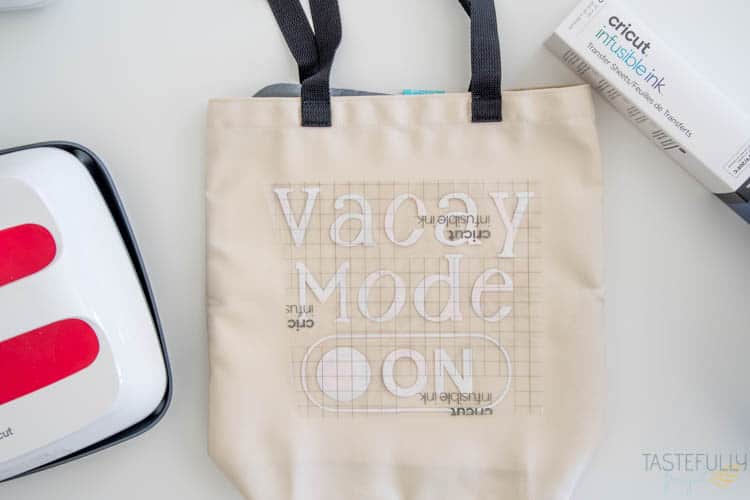
Place design ink side down, liner side up on tote bag.
Put butcher paper on top of design.
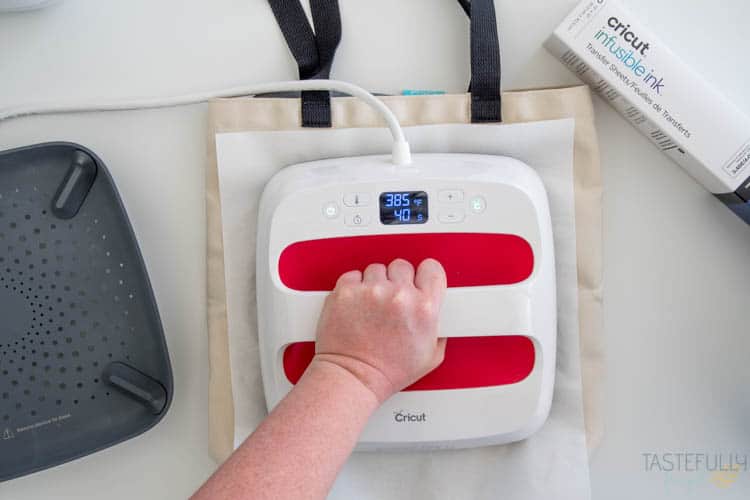
Press with light pressure and LITTLE TO NO MOVEMENT for 40 seconds.
Slowly lift butcher paper and allow design to cool for a minute or two.
Slowly lift liner at an angle.

Tips For Using Infusible Ink Transfer Sheets
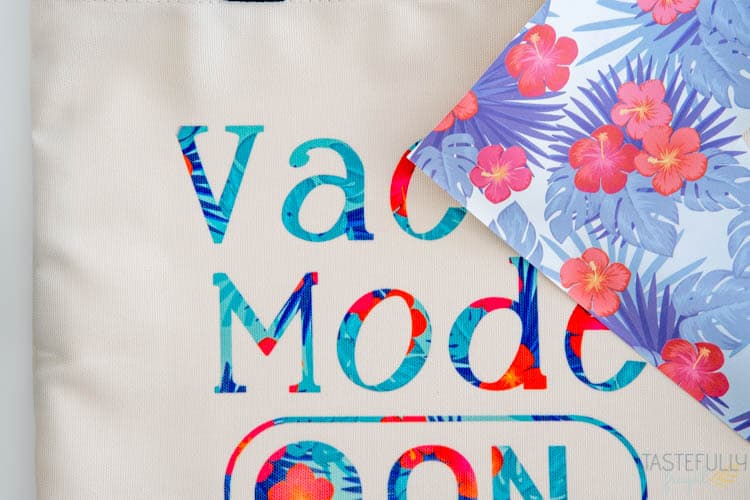
- You may notice that the transfer sheets aren’t as bright and vibrant as the picture on the box. Have no fear, the colors will brighten up with the heat when they are pressed.
- Make sure to MIRROR your design on the preview screen.
- DO NOT use weeding tool to remove excess vinyl, always peel with fingers or tweezers.
- Use EasyPress mat for best results to insure heat is kept in your blank.
- Use cardstock to prevent bleeding on to back of blank.
- DO NOT move your EasyPress when applying transfer sheets or pen. If there is too much movement it can ruin your design.
- Let transfer sheets cool for 1-2 minutes before peeling after pressing.
Are you excited to try Infusible Ink?! What projects do you want to make?? If you’d like to check out more ways you can use your Cricut check out these posts! Need help with your Cricut? Join our Cricut Support Facebook Group!


Janet Wilson says
Very helpful, thank you.
Judith cleveland says
Can I use a paper punch to make the design?
Sydney says
Yes! You totally could!!
Krista says
Seems like you really must use their blanks. I took a chance and used Gerber Organic onesies and while the shirt looked great initially, I washed once and the design faded to almost not visible and the color isn’t even the same (grey looks beige now).
Sydney says
Hi Krista! I haven’t had a chance to play around with other blanks yet (I had a baby beginning of August and just now getting back into crafting). I’ve heard if you use at least 95% polyester blend they work. I am going to order some shirts and totes in the next week or so and see what I can find out. I’ll keep you posted.
Rachelle Elaine Marcotte says
I used the infusible ink on a polyester, spandex blend the right % t-shirt. I washed the t-shirt twice no dryer and the ink came off. I didn’t wash the t-shirt before I pressed it. I pressed it with a heat press at the proper temperature. I am just asking why it washed out in two washes?
Sydney says
Oh no! I’m not 100% sure why the ink came off. I’ve only had the chance to work with the Cricut blanks (just had a baby and haven’t had much time to craft since). Let me reach out to some friends at Cricut and see if I can get you an answer.
Cindy says
Omg. Help. Please.
I used the Cricut invisible ink and cricut tote bag.
I have a tee shirt press. Set it to 400 degrees.
Cut in mirror, weeded.
Placed the image ink side down with the plastic back still intact on the bag.
Presses for 40 sec. – nothing
Pressed for 40 sec more. -nothing
Pressed for 60 sec more- slight haze of color in one section.
I had to leave the house. It’s sitting there still “cooling”
The images aren’t sticking to the bag.
Are they supposed to?
Much love to anyone who try’s to help.
Sydney says
Hey Cindy! I’m sorry I’m just now getting to your comment. Did your remove the plastic backing from the bag and it’s still not showing the ink in the bag? Also, did you preheat the bag for 15 sec with your press and lint roll the bag before pressing? You can email me for a quicker response as sometimes I don’t see comments for a few days. [email protected]
perla says
I have a Maker, I’m trying to Cut an infused ink transfer sheet and its not cutting thru. What am i doing wrong? Do i need to have a special setting for it?
Sydney says
Oh no! Do you have it set to Infusible Ink Transfer Sheets in the materials menu?
Patty says
Can you make your infusible ink image but not use it till few days later?
Sydney says
Yes, as long as you keep it in a cool, dark place (like a drawer).