There are a TON of options out there when it comes to Infusible Ink blanks. Learn about what materials you can and can’t use as well as tips for working with Infusible Ink on sublimation blanks.
I was so excited when Cricut launched the Infusible Ink line a few years ago! I had this blog but I also had a small shop where I was selling shirts, onesies, hats; you know the usual Cricut crafts. I was really excited to use it for myself but also to be able to create unique, one of a kind designs for my customers as well. If you’re a shop owner, you know the worry in the back of your head of ‘I really hope they follow the care instructions and don’t ruin this’. With Infusible Ink I didn’t have to worry about that as much.
Infusible Ink vs. Sublimation
It’s been a few years since Infusible Ink came out and the popularity of sublimation, as well as the accessibility of it, has grown tremendously! So why would you use Infusible Ink over sublimation? I think the biggest reason is the affordability of Infusible Ink. If you want to do sublimation you need to buy a printer (which costs $200+), sublimation ink, paper and a larger heat press. With Infusible Ink all you have to buy are the transfer sheets (assuming you have a Cricut machine already) and you can use an EasyPress 2. Your investment to get started with Infusible Ink is less than $200 – even less if you already have an EasyPress. To get started with sublimation you’ll be spending closer to $400-$500. Believe me I’ve done it!
Sublimation is still a really cool process! And there are some projects you can make with sublimation that you just can’t with Infusible Ink. I’ve done sublimation as well as Infusible Ink and really love them both. But if you are on a budget and want to make more professional quality projects that last forever, Infusible Ink is the way to go. If you want to read more about sublimation, check out this post.
If you want to check out the full video review with project tutorials, check out the YouTube video below:
What Blanks Can & Can’t You Use
This is probably the number one question I get asked in our Infusible Ink help group. If you are searching on Amazon, or anywhere online for Infusible Ink blanks, the easiest way to find Infusible Ink compatible blanks is to search for sublimation blanks. Because sublimation, like Infusible Ink, requires high heat and longer pressing times, any blank that is designed for sublimation will work for Infusible Ink.
So what makes a sublimation blank? Sublimation blanks are fabrics made that have high polyester counts (at least 65% or more), or hard materials with a polyester coating. Popular sublimation blanks include shirts, tumblers, pillow cases and keychains. But if you search on Amazon, you’ll find dozens of different types of blanks for sublimation
Blanks you CAN NOT use with sublimation include:
- Cotton materials – If the shirt/onesie/pillow/etc you are using isn’t at least 65% polyester the Infusible Ink isn’t going to be able to fully press into the fabric. Your projects won’t turn out as vibrant and they will fade over time and in the wash.
- Ceramic materials – While there are some ceramic materials you CAN use with Infusible Ink, like Cricut’s coasters, not all ceramic can be used with Infusible Ink. If you are wanting to use a material that is made out of ceramic, make sure it has a polyester coating. Or you can try to use a sublimation coating on it before you put the Infusible Ink on.
- Dark materials – Infusible Ink needs light colored surfaces to adhere to. If you are using black or dark materials, or even bright colors, your Infusible Ink will not show up on it.
Where To Buy Infusible Ink Blanks
With the popularity of sublimation growing, finding blanks you can use for sublimation and Infusible Ink is becoming easier and easier. Craft stores like Michaels, JOANN and Hobby Lobby have started carrying Cricut brand blanks as well as other brands of blanks that work well with Infusible Ink. And there are a number of places online you can buy them too. Here are a few places I’ve ordered from:
- Amazon
- 143Vinyl – Use code TF5 to save 5%
- Nashville Wholesale – Use code TASTEFUL for 10% off
- Johnson Plastics Plus
- Artesprix
- Conde
- Heat Press Nation
Cricut also offers a line of Infusible Ink blanks too. If you’re going to be ordering Cricut supplies and you’re shopping on Cricut.com, use code TF10 to save 10% and get FREE shipping on all $50+ orders. That’s on top of the 10% discount Cricut Access members get automatically! Learn more about Cricut Access here.
Other Helpful Supplies
Like I mentioned earlier, the list of things you NEED to use Infusible Ink isn’t very long. But there are some additional supplies that make creating with Infusible Ink easier.
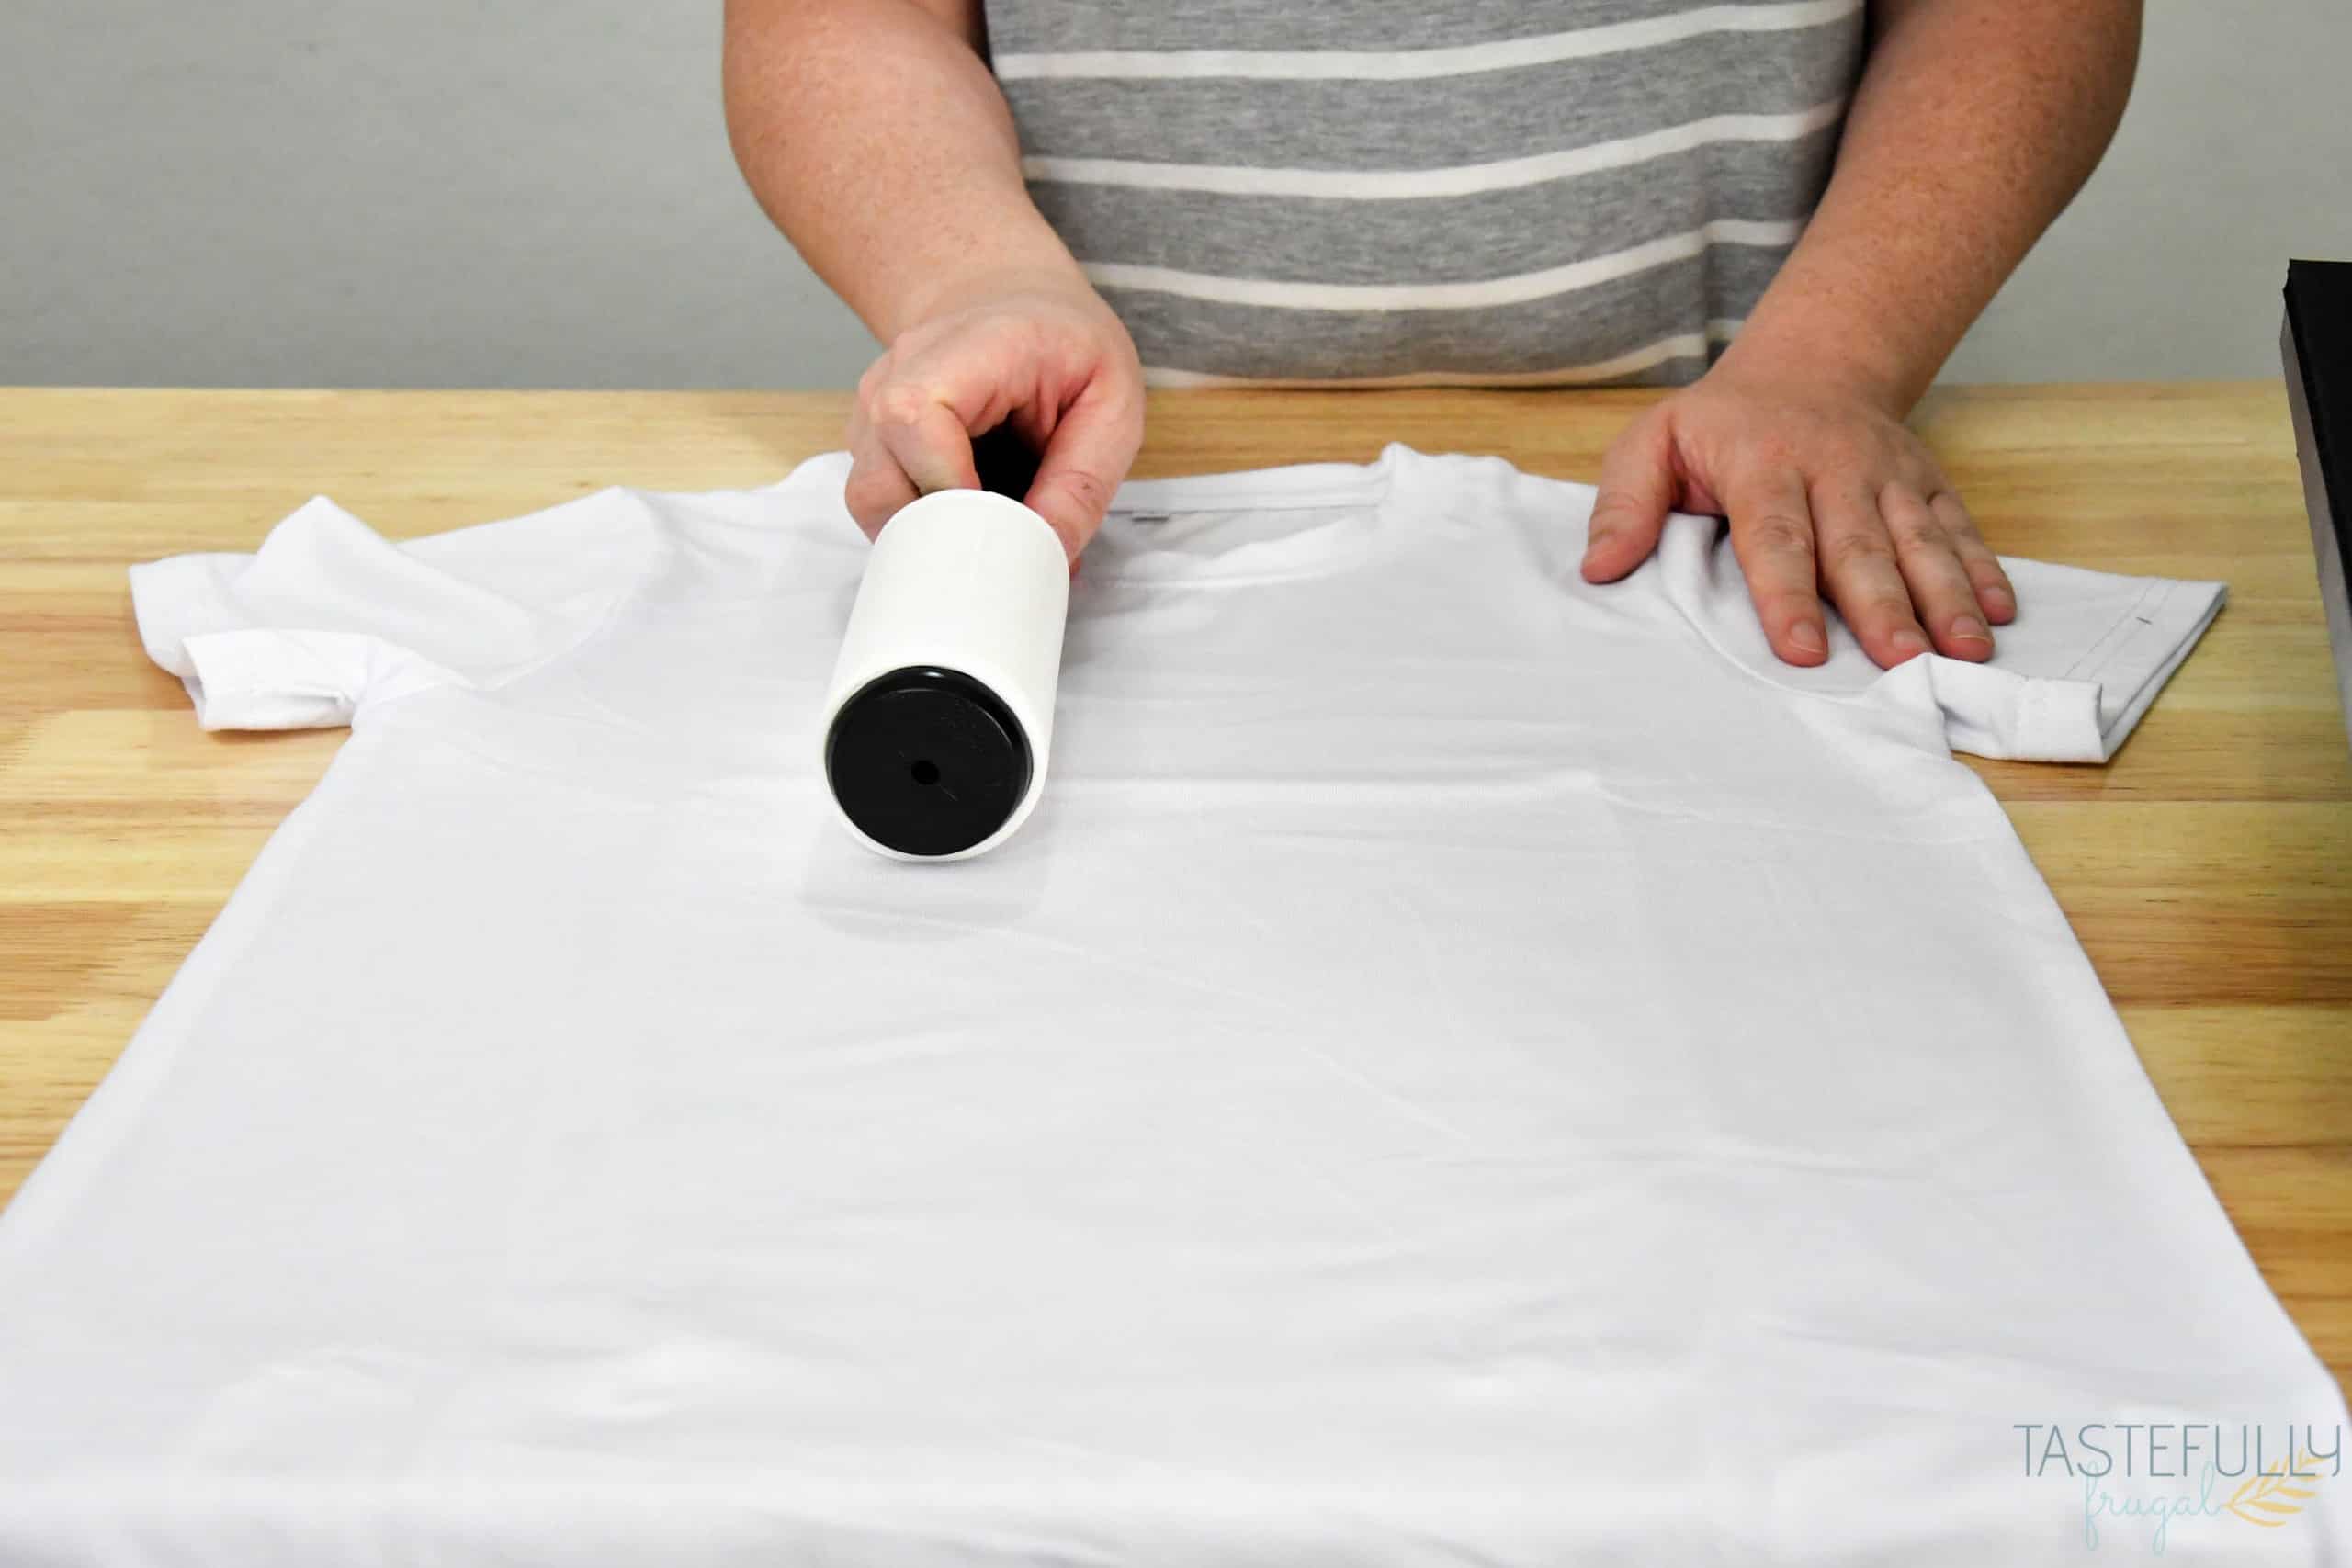
- Lint roller – Use this to remove any fibers of debris from your blanks before preheating and pressing
- Cardstock – Put underneath your blanks if you’re pressing a smaller design (like popsicle holders), or in between layers, like on shirts, to prevent the ink from possibly bleeding through.
- Parchment Paper – Use over Infusible Ink to protect your heat source. There are several sheets of parchment paper in the Infusible Ink transfer sheets.
- Heat Restistant Tape – Use this to tape down designs on rounded materials (like can koozies) to prevent the Infusible Ink from moving while it’s pressed
- Pressing Pillows – Use these when you’re pressing shirts, pillows, tote bags, etc. to make sure the full heat of your EasyPress or heat press is going where the Infusible Ink is. This will prevent zippers or seams from interfering with the heat.
How To Use Infusible Ink on Sublimation Blanks
When you’re using Infusible Ink on sublimation blanks, the process is the same as when you are using Cricut blanks. If you want to check a full step-by-step tutorial for using Infusible Ink, check out this post. A few quick things to remember:
- Clean your blank with a lint free cloth or lint roller prior to preheating.
- Preheat your material for 5 seconds
- YOU MUST USE AN EASYPRESS OR HEAT PRESS WITH INFUSIBLE INK. Household irons do not get hot enough and don’t hold consistent heat.
- When I’m using an EasyPress I heat it to 400F. When I’m using a heat press, I heat it to 385F. I’ve found 385F works great for all sublimation blanks. But because the EasyPress often drops heat, I start at 400F so it at least gets to 385.
- I’ve found that 40 seconds is the perfect pressing time for all the sublimation blanks I’ve tried.
- If you’re working with a hard surface, like license plates, tumblers or coaster, let the Infusible Ink completely cool before removing the backing. This will prevent any fading around the edges. On soft materials, like shirts and bags, you can do a warm peel.
Infusible Ink on Sublimation Blanks Project Ideas
Check out the projects I made in the YouTube video below. All the designs are in Cricut Design Space and you can access them on this canvas. Under each project I’ll list the blank I used as well as the Infusible Ink Transfer sheets I used.
Sequin Backpack with Mermaid Rainbow Infusible Ink
Polyester Tote Bag with Shaylee Infusible Ink
Polyester Pillowcase with Watercolor Infusible Ink
License Plate, Can Koozie and Hand Sanitizer Holder with Bright Bow Fairy Tales Infusible Ink
Puzzle with Bright Bow Gems
Popsicle Holders with Jungle Safari (Green), Rainbow Watercolor (Blue) and Mermaid Rainbow Infusible Ink
Mousepad with Windbreaker Infusible Ink
Apron with Watercolor Infusible Ink
I hope this gives you a better idea of the wide variety of blanks you can do with Infusible Ink. If you have any questions leave them in the comments and I’ll get back to you as soon as I can. Be sure to subscribe to my YouTube channel to check out all my video tutorials including projects and how to’s. For more Cricut projects and tutorials, check out these posts. For tips, tricks and immediate help, be sure to join our FREE Cricut Support Group and/or FREE Infusible Ink Tips & Tricks Group.


Leave a Reply