Everything you need to know about the Print and Cut feature in Cricut Design Space.
When most people think of Cricut they think of cutting vinyl, cardstock, paper, and now with the addition of the Cricut Maker, fabric, wood and more. One of the most under appreciated features of the Cricut (in my opinion) is the Print and Cut feature! Print and Cut uses your home printer in conjunction with your Cricut machine to create versatile, multi layer designs. It’s also one of the features we get asked the most about in our Cricut Support Group.
I’ve collected the most common questions and in this post I’ll cover everything you need to know about using the Print and Cut feature. We’ll look at how to design images in Design Space for Print and Cut, best printer(s) for using Print and Cut, project ideas and more!
What is The Print and Cut Feature in Cricut Design Space?
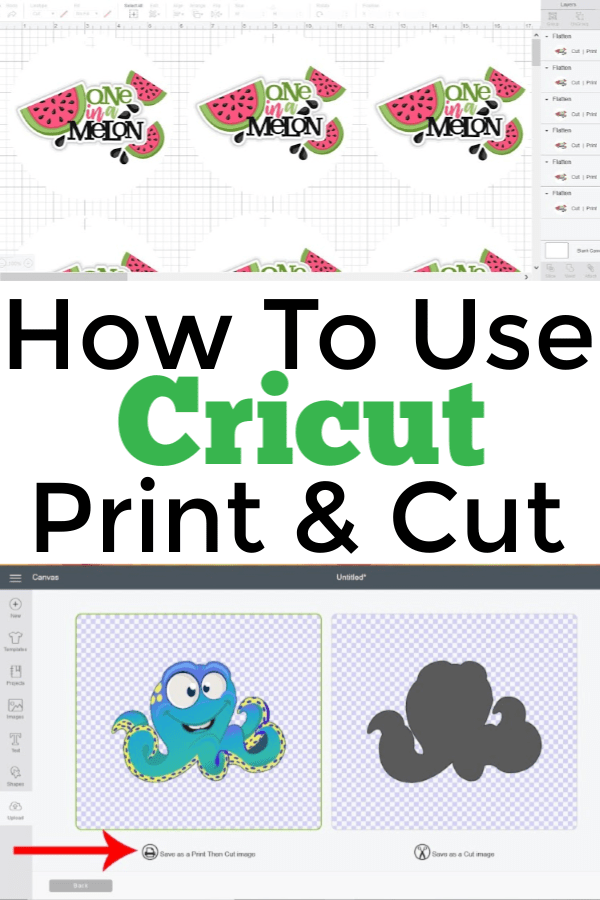
The Print and Cut feature allows you to make any image, text or combination of the two in Cricut Design Space printable. This allows for multi layers of colors to quickly and easily be put together to create professional looking designs. Once you print your design(s) on your home printer, your Cricut machine cuts the design out making professional, quality invitations, gift tags and more in a matter of minutes.
What Projects Can You Make with Print and Cut?
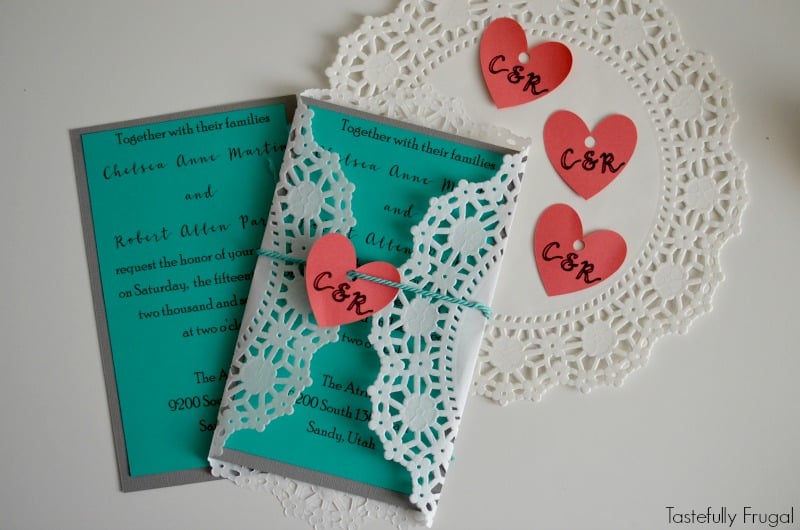
The project ideas for the Print and Cut feature are endless! My favorite things to make are gift tags, cards and invitations (with matching envelope liners). You can also make:
- Stickers
- Temporary Tattoos
- Banners
- Cupcake Toppers
- Gift Card Holders
- Bookmarks
- Calendars
- and MORE
What Type Of Images Can I Make Print and Cut?
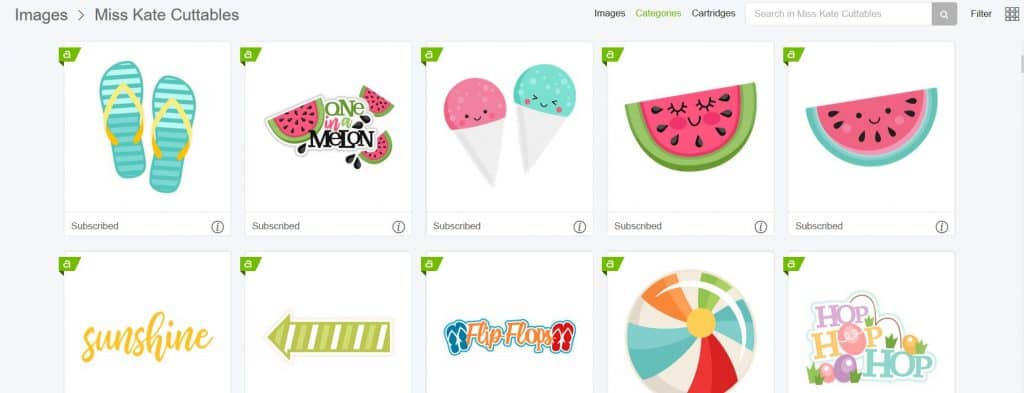
ANY image can be converted with the Print and Cut feature. You can use images and fonts found in Cricut Design Space or your own JPG, PNG, SVG and fonts you upload.
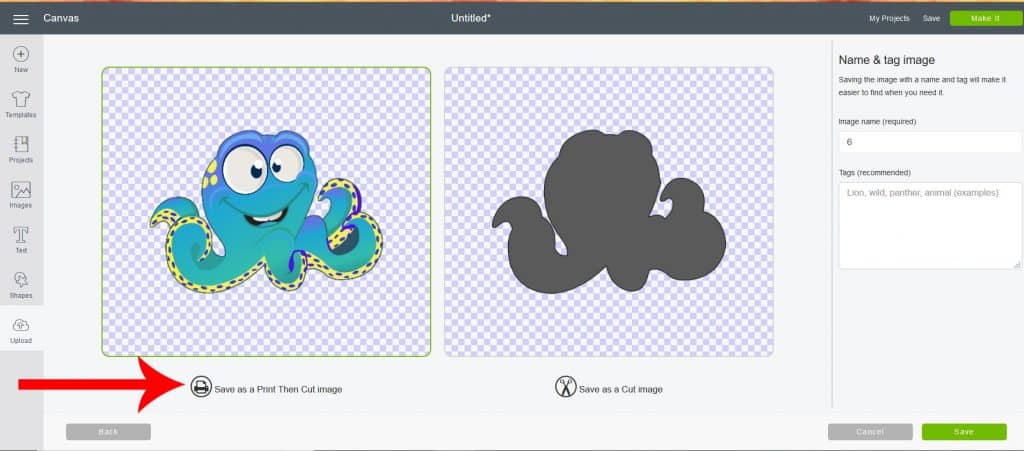
When you are uploading your own images (JPG and PNG files) you have the option to make them Print and Cut automatically. This is useful if you are uploading clipart, or images with lots of colors or multiple layers you want to print only.
How Do You Use The Print and Cut Feature?
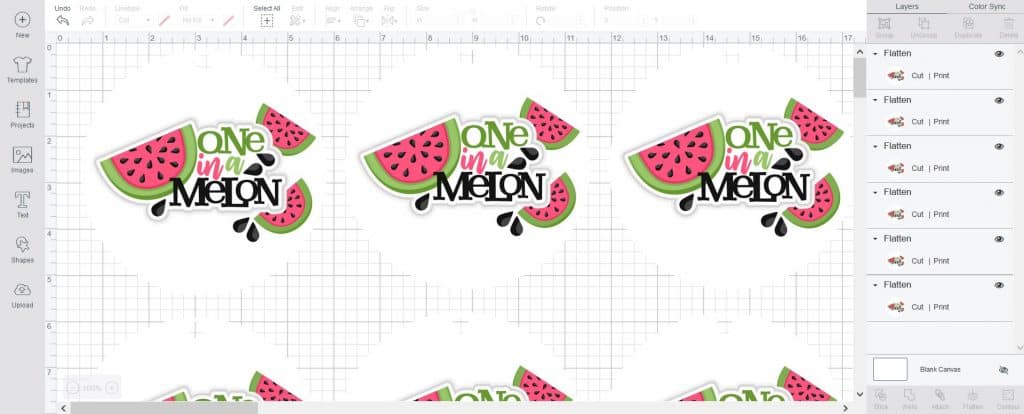
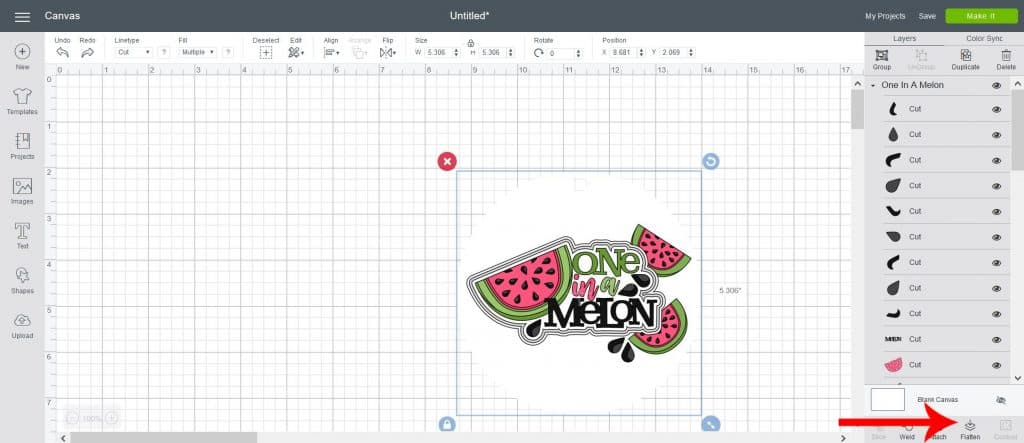
Changing an image from cut (or write) to Print and Cut is very simple. On the right menu, where you can change visibility of images, fonts, etc, you’ll see a FLATTEN button at the bottom of the menu. When your design is selected, click FLATTEN, and you’ll see your design go from cut to PRINT | CUT.
NOTE: If you are wanting to print a design, like invitations, make sure to ATTACH all elements of your design BEFORE you click flatten.
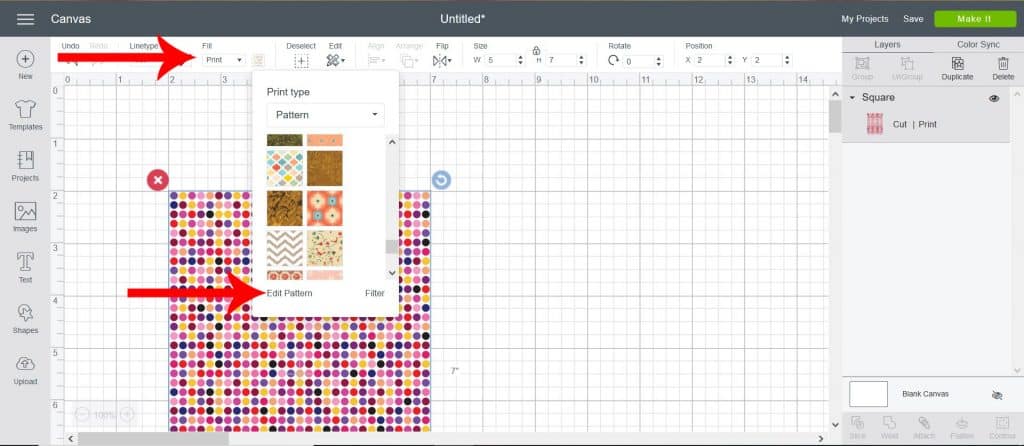
Another neat element in Design Space you can use with the Print and Cut Feature is adding a pattern or a fill. This is a great way to add a pop of color to invitations, cards and more. To add a fill, select PRINT from the FILL drop down menu in the top menu bar. Then click the square next to the drop down menu and select your pattern. There are hundreds of patterns to choose from. You can even choose the direction and size of your pattern as well by selecting EDIT PATTERN.
What Materials Can I Use Print and Cut On?
This question depends on your home printer AND what Cricut machine you’re using. Let’s first talk about the differences on printers.
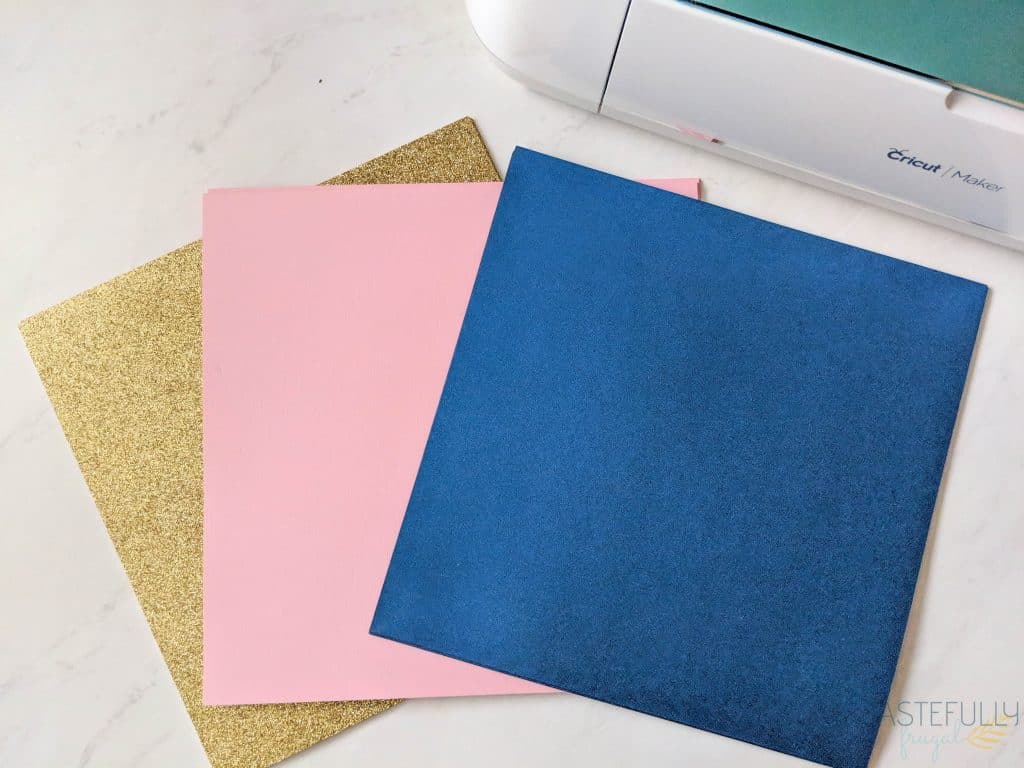
No matter what machine or printer you have you can use the Print and Cut feature with the following materials:
- Paper
- Cardstock
- Sticker Paper
- Printable Vinyl
If you are wanting to order from Cricut.com make sure to use promo code TFRUGAL10 to get 10% off and score FREE shipping on orders over $50!
Cricut recommends ONLY using inkjet printers with the Print and Cut feature. This is because the heat from a laser printer can ruin the material you’re printing on (i.e. printable vinyl, sticker paper, etc).
I’ve also heard from some readers that certain HP printers have a hard time getting the sticker paper, or printable vinyl, to not jam when printing. I have the HP Envy 4500 and have also used the Canon Pixma and haven’t had any issues with jamming on sticker paper.
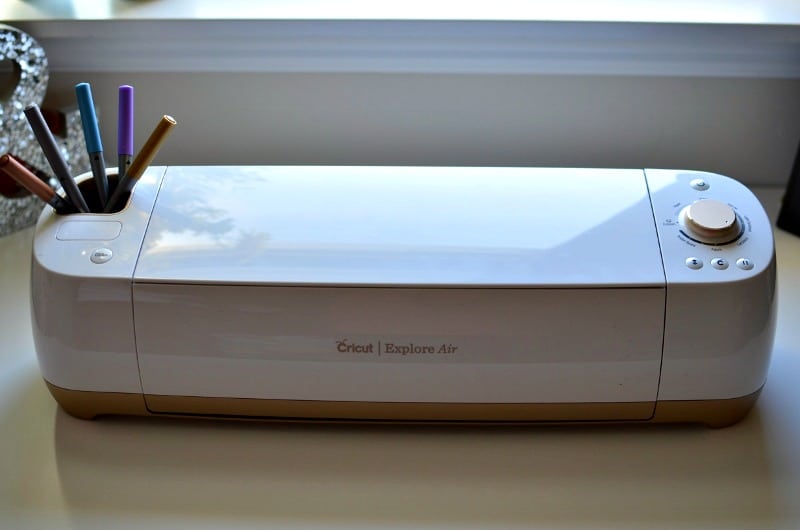
The Cricut Explore machines will only be able to use the Print and Cut feature with white materials. This is because the sensors on the machine can only read the registration marks on white backgrounds.
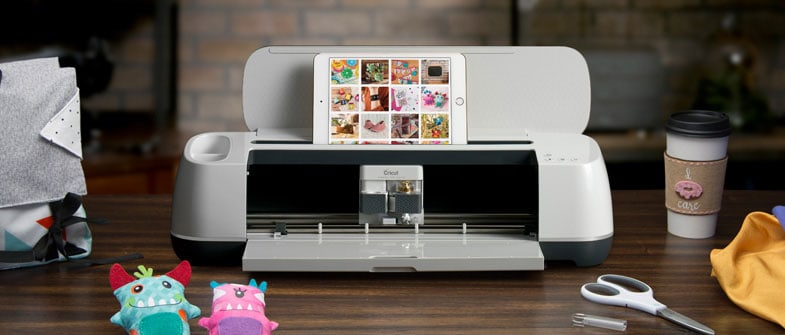
If you are using the Cricut Maker you can print on white or most other colors without any problems of picking up the registration marks. Note that black, dark blue or any other dark colored or patterned paper/cardstock will not be able to have the register marks picked up by the Maker.
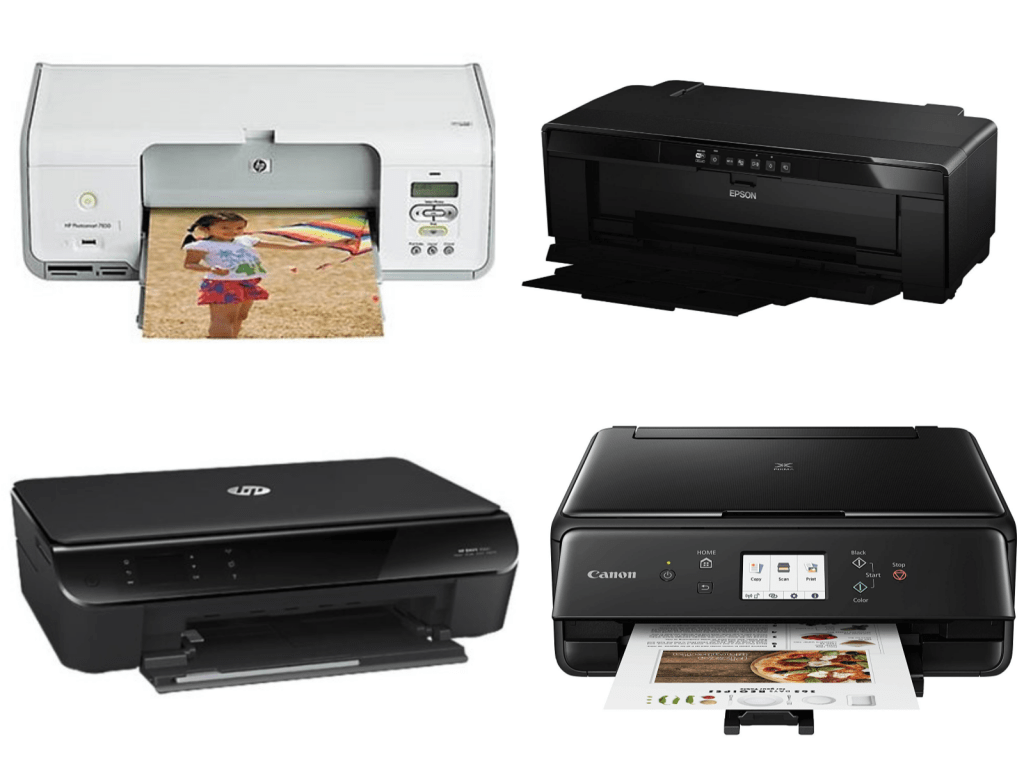
What Printer(s) Are Best For Using With Print and Cut?
This is probably the number one question I get asked when it comes to Print and Cut. From my experience, and from what other bloggers and readers have shared, there is not one printer that out performs another. As mentioned above, Cricut only recommends using inkjet printers, but I have had readers have great results on paper and cardstock with their laser printers.
The HP Envy printers are popular because they are affordable and HP has a program where your printer sends a message to HP when you’re running low on ink and it’s sent to you before you run out. You can learn more about this feature here.
I currently have an HP Envy 4500 and have had 0 issues when using the Print and Cut Feature. I’ve also used the Canon Pixma TS6220 without any issues. Other printers that have had good reviews from Cricut users include:
No matter what your skill level is with your Cricut, from beginner to advanced, the Print and Cut feature is one everyone can master and use.
If you’d like to check out more ways you can use your Cricut check out these posts! Need help with your Cricut? Join our Cricut Support Facebook Group!
This is a sponsored conversation written by me on behalf of Cricut. The opinions and text are all mine.


Ana ( Aby ) Hernandez says
Excellent explanation, thanks.
Edith Lambert says
Where is the instructions for using Print&Cut, this was not helpful
Sydney says
Hi Edith! Thanks so much for commenting. This post was more of an overview of how Print Then Cut works. Here is a post with screenshots and step by step instructions of how to do Print then Cut http://tastefullyfrugal.org/2019/03/donut-gender-reveal-party.html
Let me know if you have any questions. You can email me at [email protected] for a quicker response as well 🙂
Karen says
I’m confused. Is this only printing on to paper/vinyl in the inkjet printer? Then what is it cutting?
I printed on my inkjet, went to my Maker and tried to cut but it cut nothing (I had vinyl in the maker)
Sydney says
Hi Karen! Yes you’re design will be printed on your home printer first on either paper/cardstock/printable vinyl etc. You then put that paper/cardstock whatever you printed on on a lightgrip mat, load into your Maker, and it will see the registration marks (the black lines in the corners) on the paper and cut your design. Here’s a step by step tutorial that may help: http://tastefullyfrugal.org/2019/03/donut-gender-reveal-party.html
Mollie says
Question! I’m having a hard time with printable vinyl for light and dark colored shirts. My question is- after the cricut cuts out the design is there an easier way to transfer it to the shirt instead of picking out the letters one by one? I tried using transfer tape- but it took off some of the ink from the design. Thank you!
Sydney says
Hey Mollie! It’s been a long time since I used printable HTV. Let me try a design today and I will get back to you!
Elly Camron says
Thanks for sharing