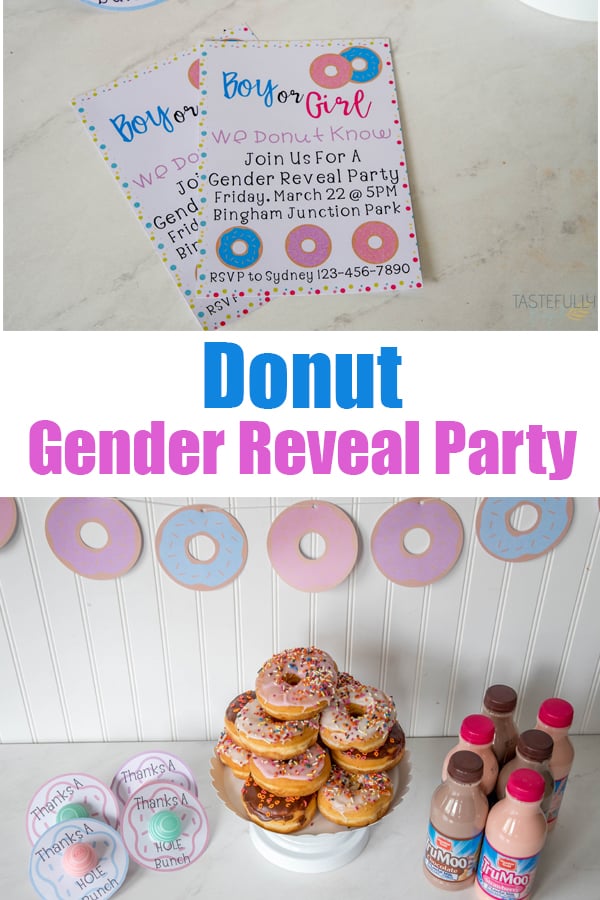
Share the excitement of your new baby gender reveal with this easy to create donut party!
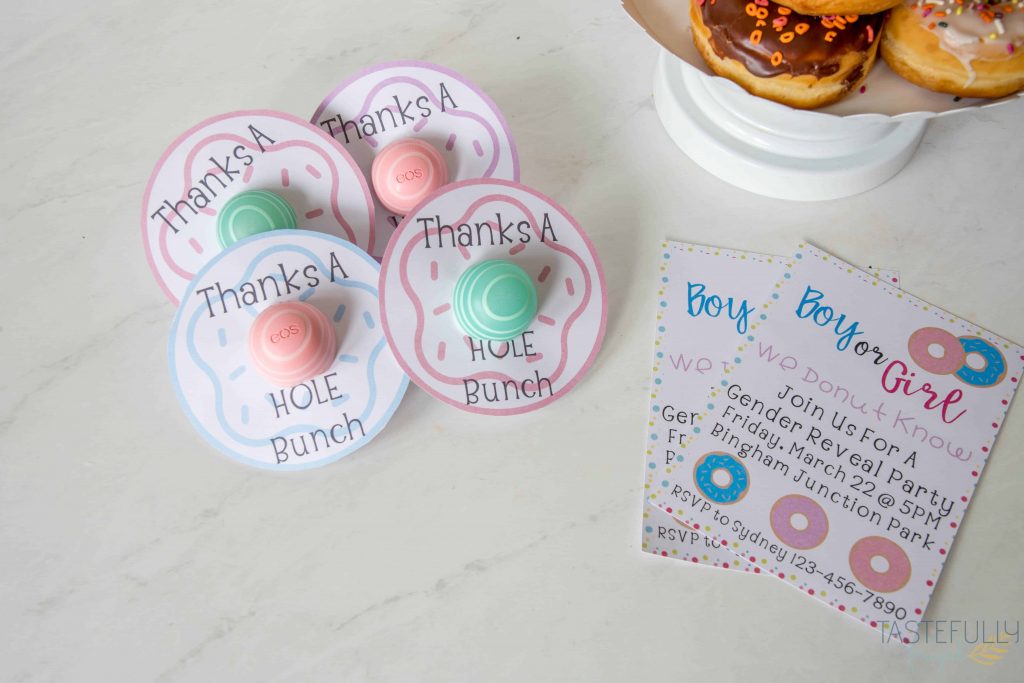
We made the announcement last month that we are expecting baby #4 to join our family later this summer! I’ve always wanted to do a gender reveal party but lack of time and planning got the best of me with the last 3 babies. Not this time! We decided to do a donut gender reveal party for friends and family to share the exciting news.
Why A Donut Gender Reveal Party?
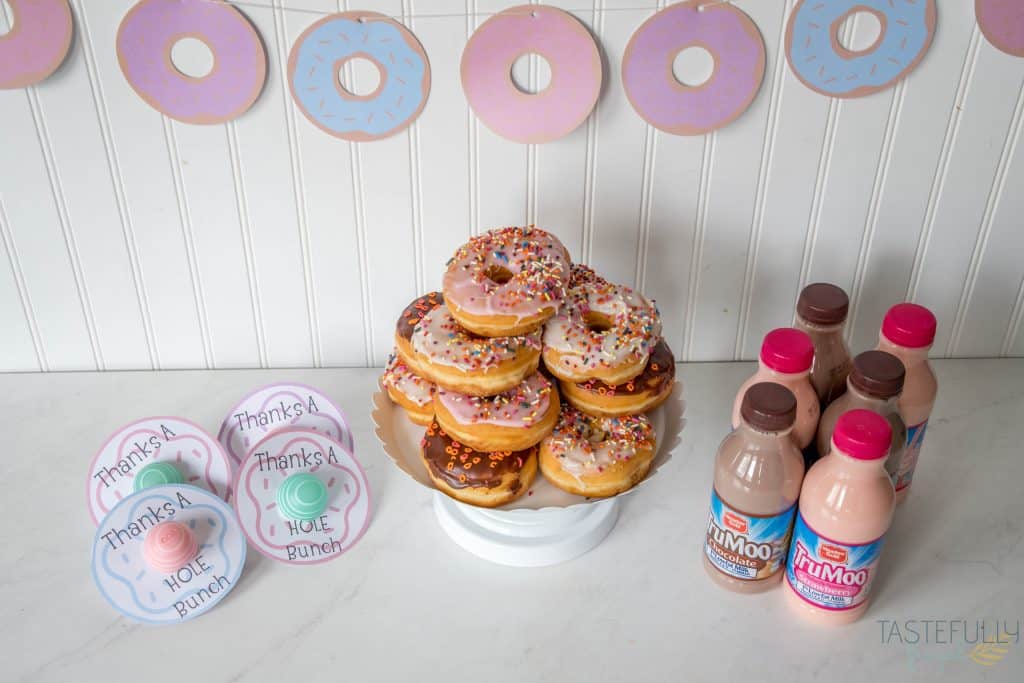
I had two reasons for going with this theme. The first is it was SO easy to put together. I used the Print and Cut feature in Cricut Design Space (read more about it here) to create the invitations, decorations and thank you gifts.
The second reason was it was super affordable. I had all the supplies to make the decorations and invitations already. I also have a coupon for buy one get one free dozen of Dunkin Donuts. I was able to get everything for the party for less than $15.
Donut Gender Reveal Party Supplies
With this being baby #4 I knew planning this party I needed it to be quick, easy and simple. I decided to make everything with the Print and Cut feature in Design Space because my printer and Cricut literally do all the work for me! All I had to do was string the garland, put the party favors in the center of the donuts and buy the donuts! Here is a list of everything you’ll need to make the invitations, party favors and garland:
Cardstock – I used white cardstock for the invitations and garland and then pastel cardstock for the favors
String or Twine to Hang Garland
Cricut Maker (you can use an Explore Machine if you are doing all white cardstock but for the colored cardstock you will need the Maker)
Home Printer – You can check out the best printers for Print and Cut here
If you are wanting to order from Cricut.com make sure to use promo code TFRUGAL10 to get 10% off and score FREE shipping on orders over $50!
Gender Reveal Party Invitations
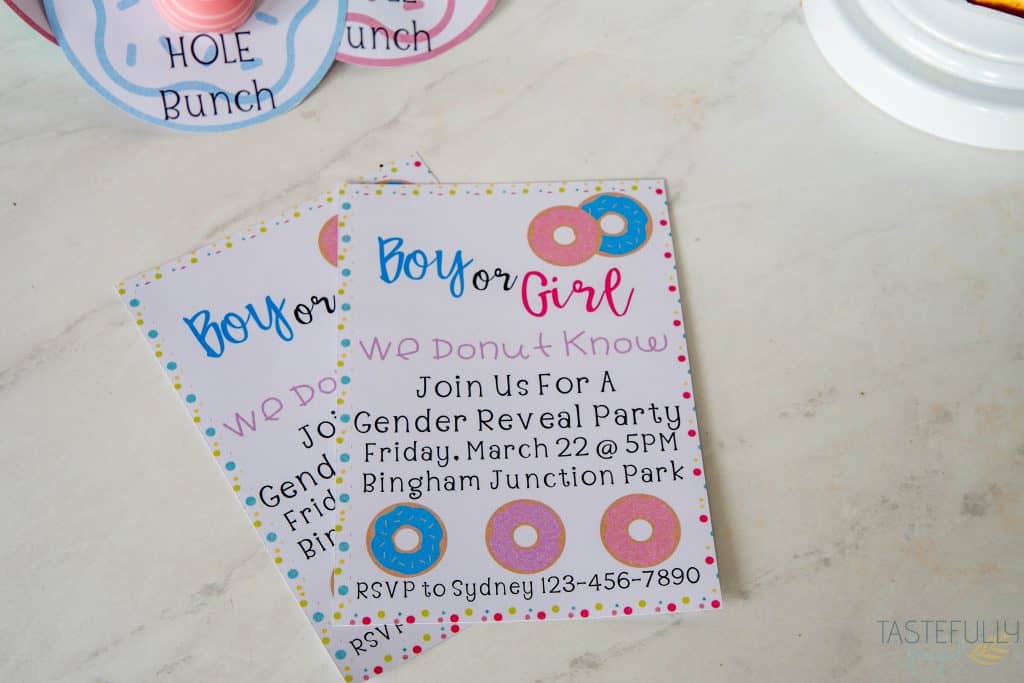
I had so much fun designing the invitations! The Pattern tool in Cricut Design Space has SO many options for backgrounds it really made customizing the invitations easy peasy. If you want to customize these invitations and print you can get the design here. Below are directions on how to create invitations in Design Space.
DIRECTIONS:
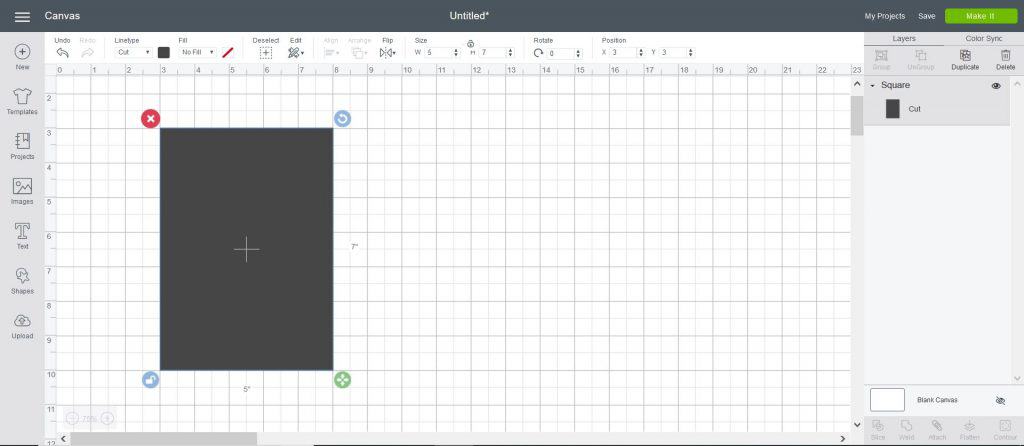 In Design Space, add a 5″x7″ rectangle to your canvas.
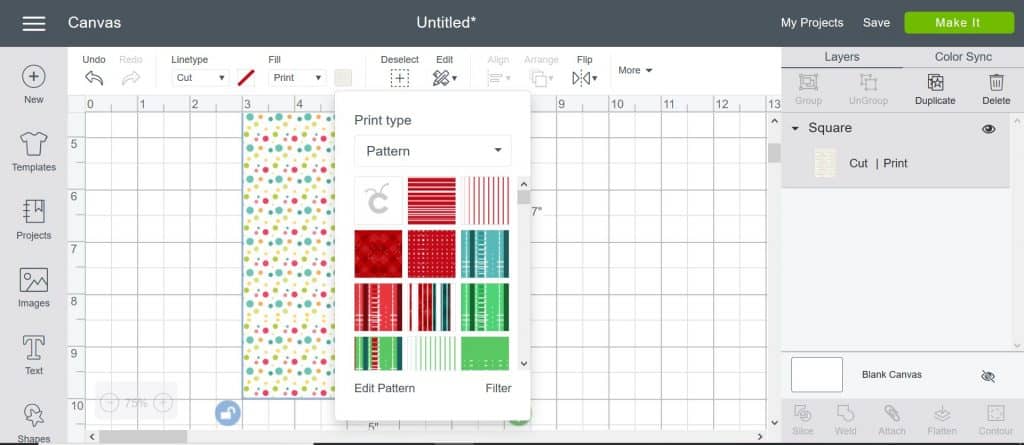
Click the FILL drop down menu and select PRINT, then in the square next to it select PATTERN.
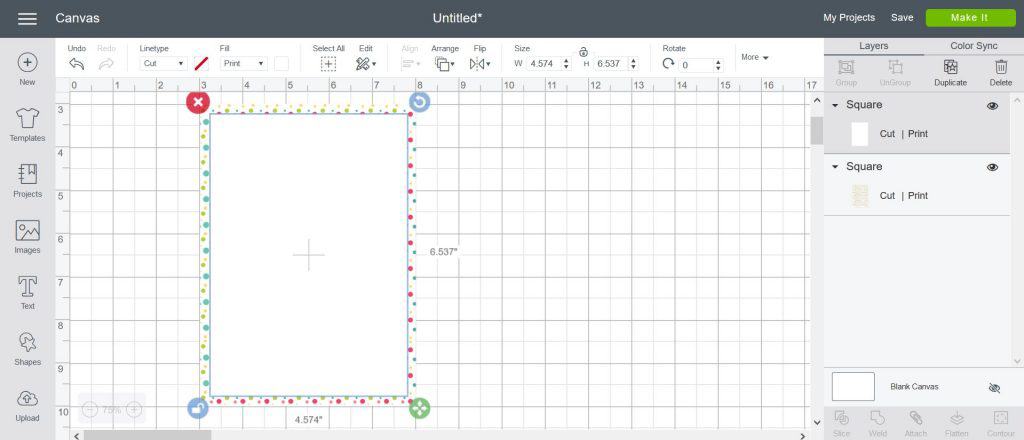
Add a smaller rectangle on top of your pattern and change the color to white. You’ll also change the LINETYPE from CUT to PRINT.
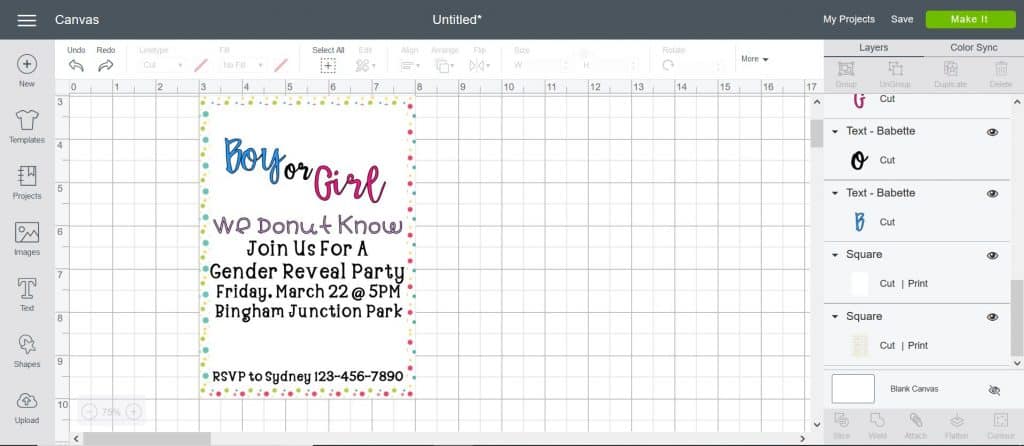
Add your text. Here are the fonts I used:
- Boy or Girl – Babette
- We Donut Know – All Mixed Up
- Party Details – Alphalicious
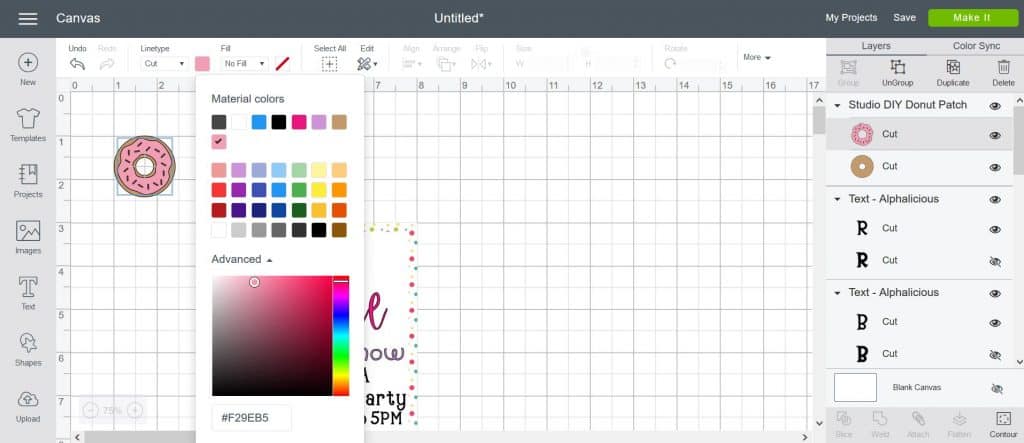
Add additional images if desired. I used the same donuts throughout the party. It is a donut image in design space. You can change the frosting color by selecting just that layer in the layers panel on the right and then change the color in the square box next to LINETYPE.
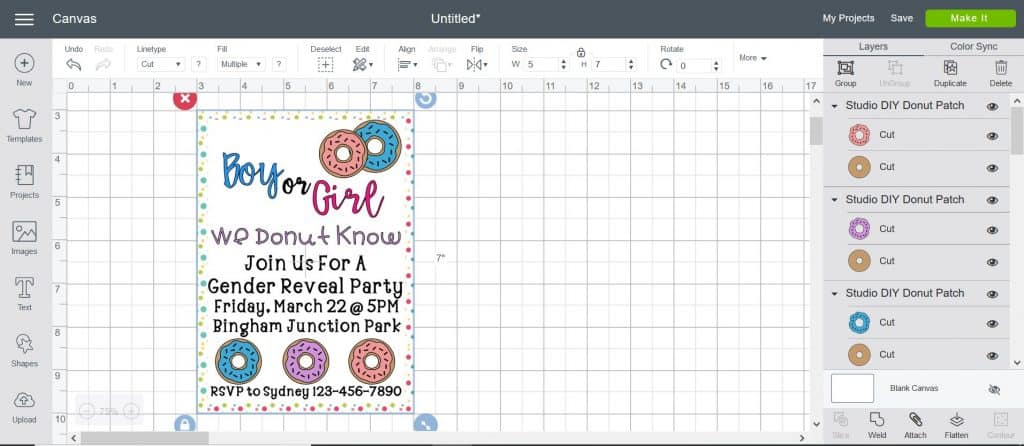
Once you have your designs how you like them, select the whole invitation (patterned rectangle included) and select FLATTEN in the bottom right menu.
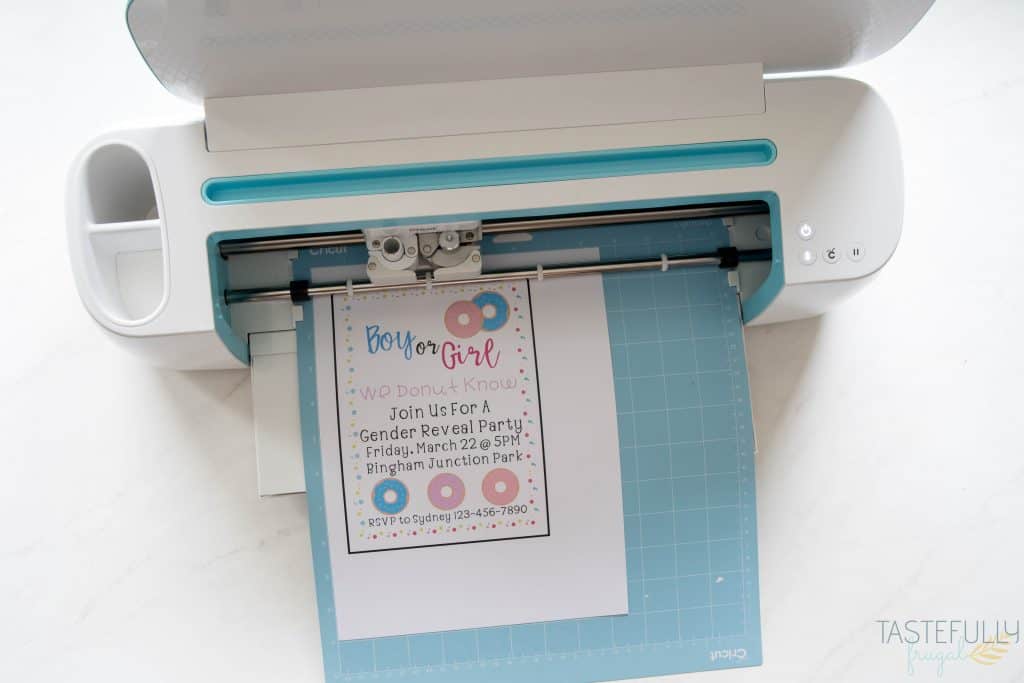
Click Make It and send your design to your printer to be printed. Once it’s printed, put the cardstock on a LightGrip Mat and load into your Cricut Maker to cut.
Gender Reveal Party Favors
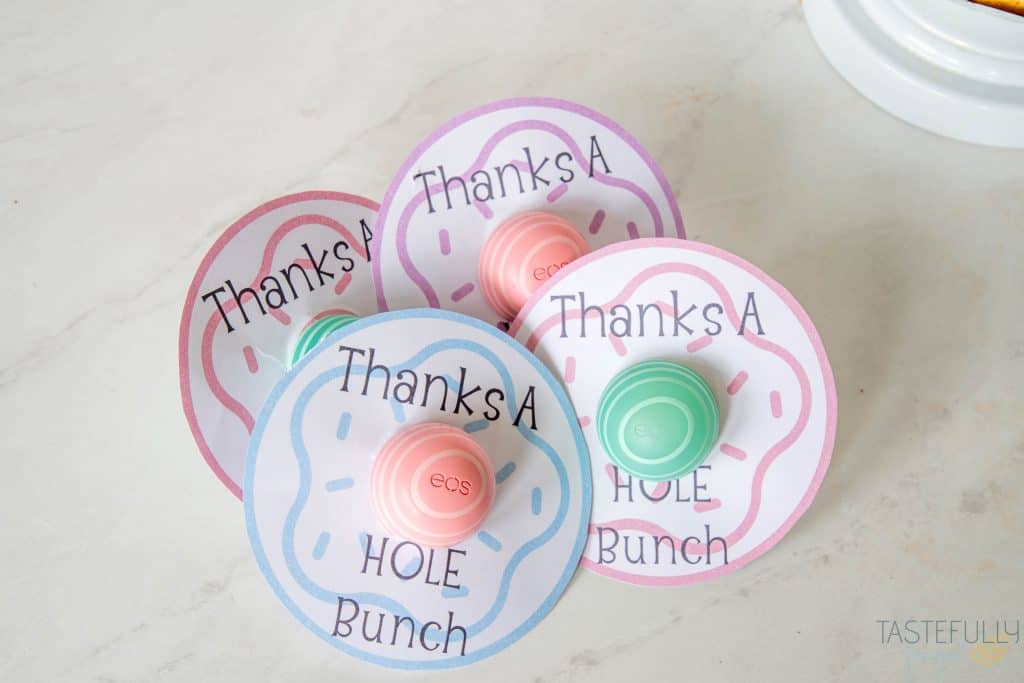
I used a donut image I found in Design Space to make these favors. It was super easy to add words to the donuts and cut out the centers to hold the lip balm. I found the EOS lip balms in the checkout aisles at Walmart for less than $1. To get this design and print your favors, click here.
Donut Party Garland
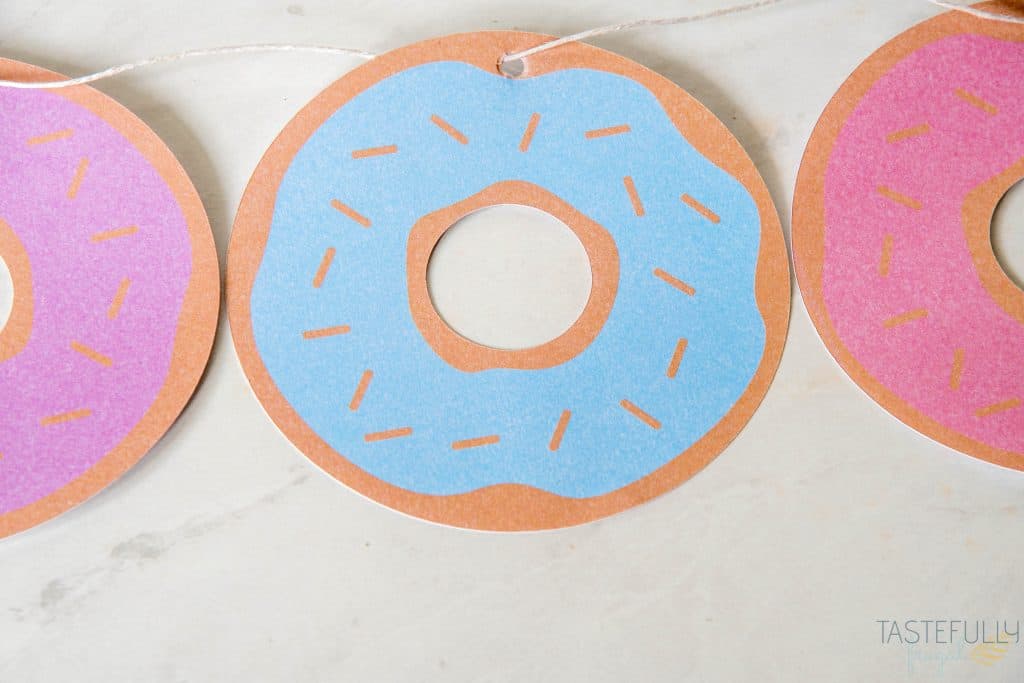
Making the garland was really super easy too. I used a similar donut image to the party favors I found in Design Space and just changed the color of frosting before I sent them to the printer. You can find the garland Design Space canvas here.
DIRECTIONS:
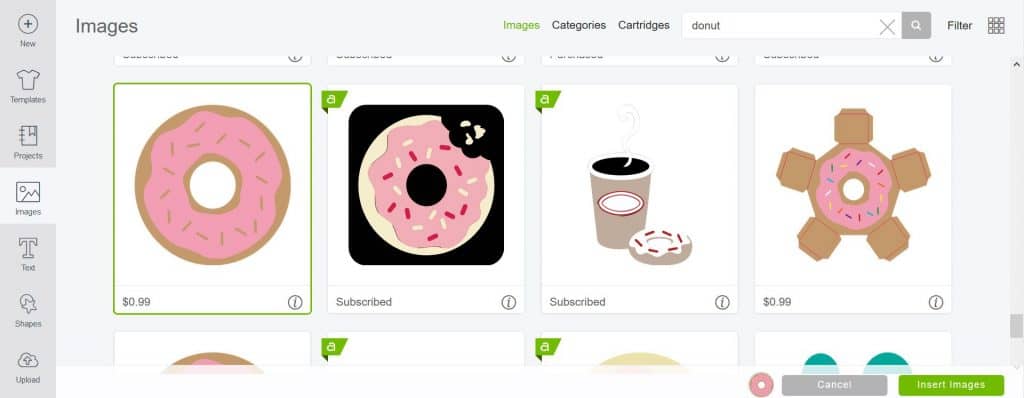
Open up Design Space and add this donut image to your canvas.
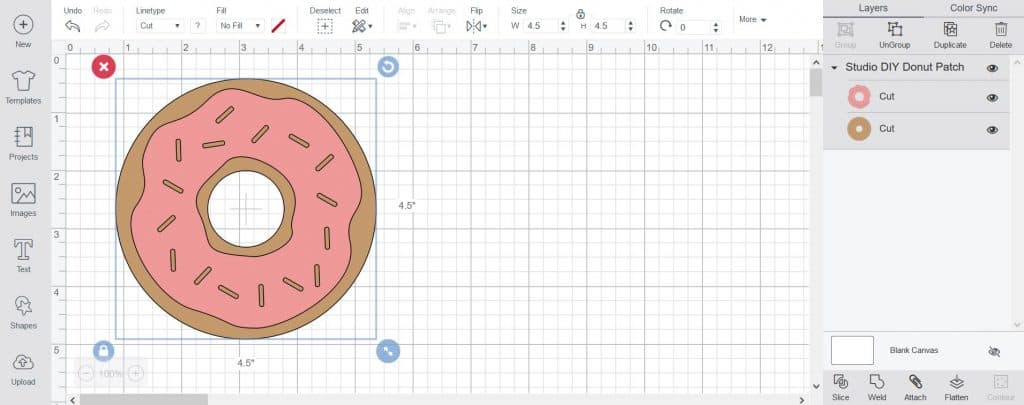
Change the size of your donut to 4.5″ wide.
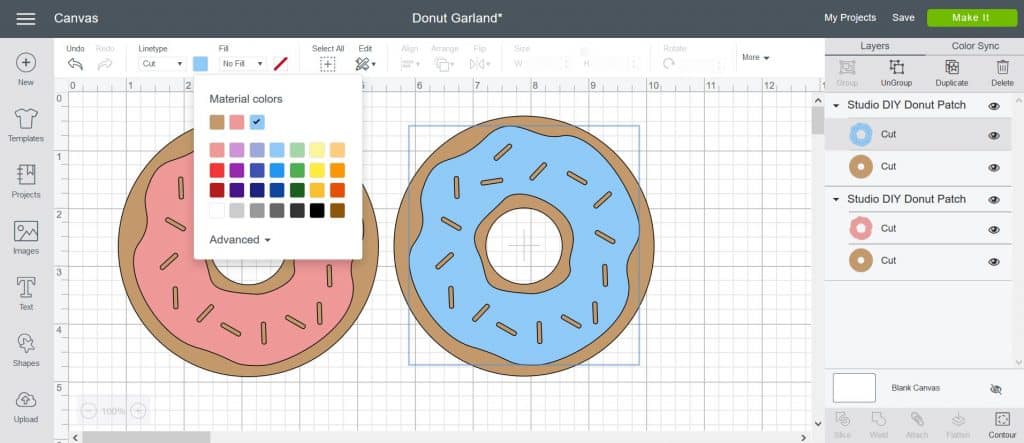
Duplicate your donut and change the frosting color. To do this, select the frosting layer in the layers panel and then click the square next to the LINETYPE drop down menu.
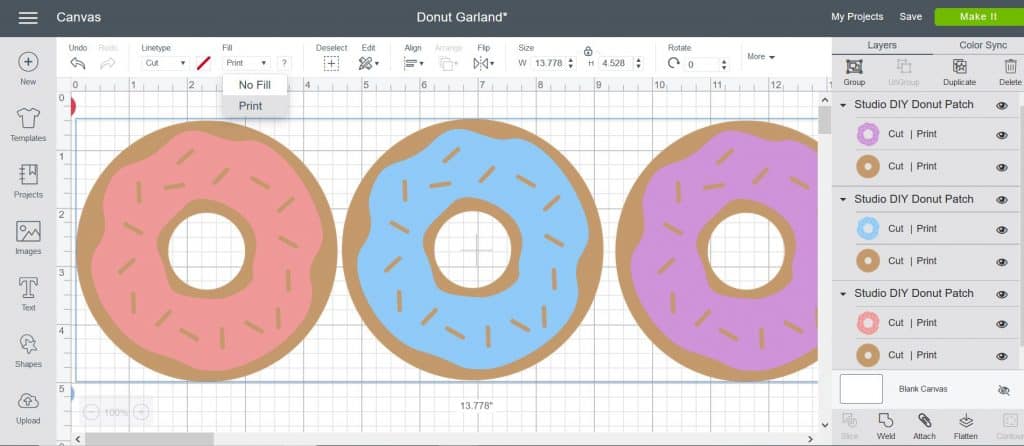
Once you have your donuts made, select your donuts and change the FILL from CUT to PRINT.
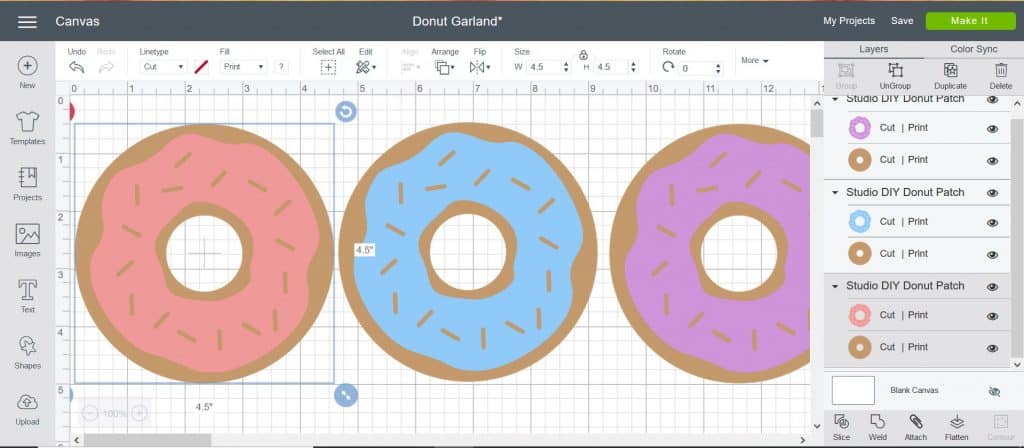
Select each donut individually and click the FLATTEN button in the bottom right menu.
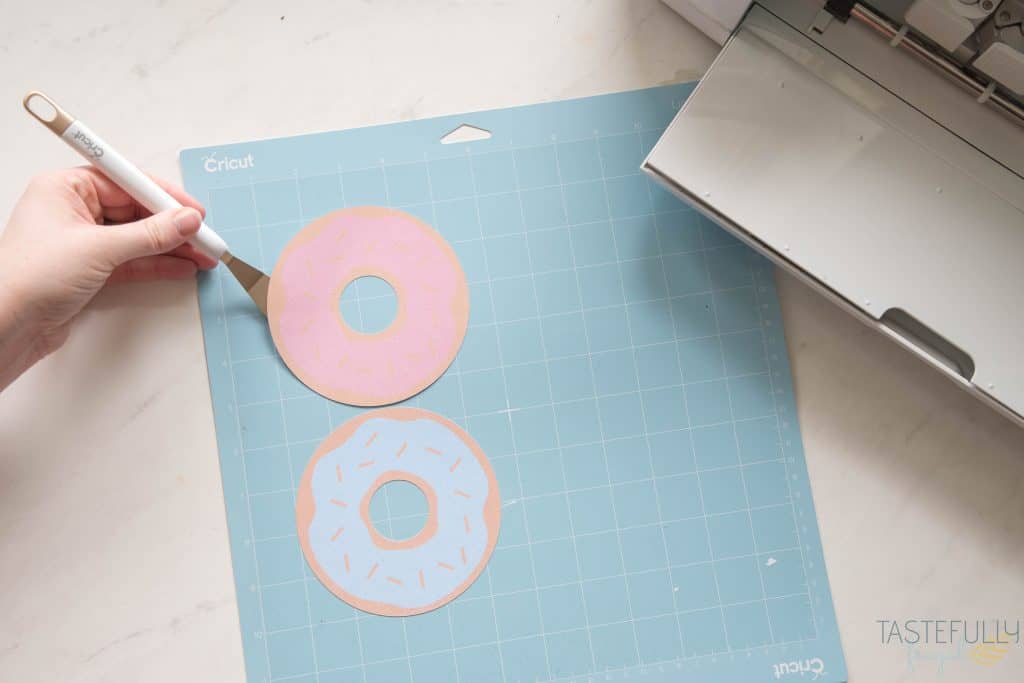
Click Make It and send your design to your printer to be printed. Once it’s printed, put the cardstock on a LightGrip Mat and load into your Cricut Maker to cut.
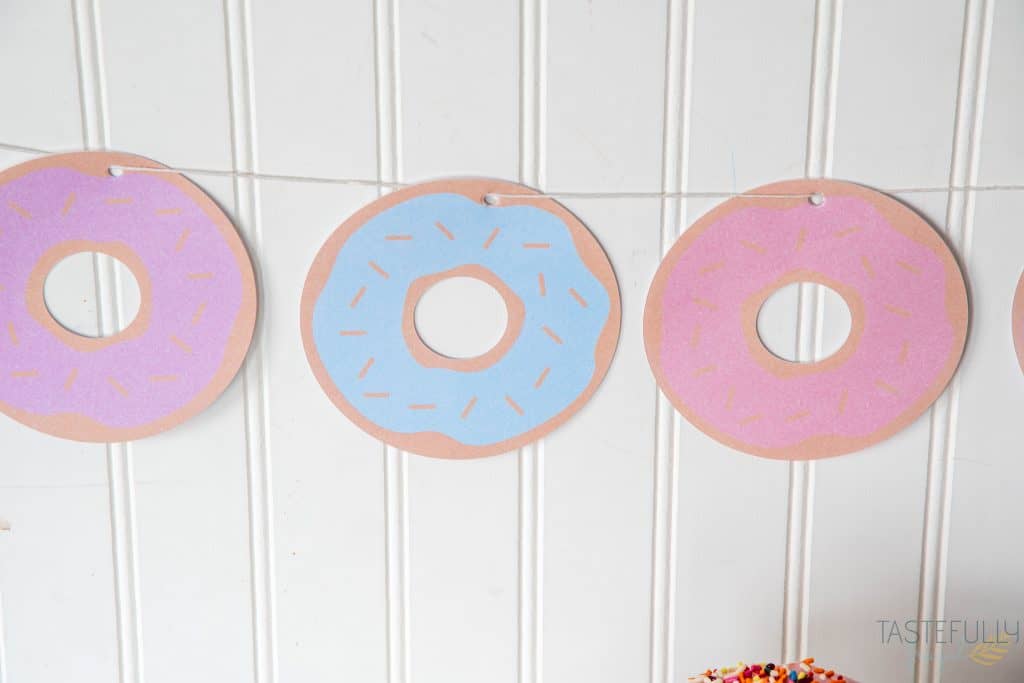
So what do you think boy or girl?? Check out the video below to see what Andersen Baby #4 will be!
If you’d like to check out more ways you can use your Cricut check out these posts! Need help with your Cricut? Join our Cricut Support Facebook Group!
This is a sponsored conversation written by me on behalf of Cricut. The opinions and text are all mine.


Marlaina says
I am trying to use Print then cut and I have followed all direction but the Cricut still wants to cut out the text that was added. I am not sure what I am doing wrong and how to fix it! Any help would be great!
Sydney says
Hey Marlaina! Have you tried flattening the image? There is a button down at the bottom of the tool bar, next to attach and slice. That’s what I’ve used in the past to get the letters to just be printed not cut. Let me know if that works!