Create the Pottery Barn’s mummy pillow for a fraction of the price and no sewing involved!
Have you ever been walking through a store and saw something across the room and said to yourself “I gotta have that!” You run over to it, flip over the price tag and think to yourself “Ouch, I guess I don’t HAVE to have that.” Well that happened to me a few weeks ago. I wasn’t at a store though I was on Instagram. One of the blogs I follow, I can’t
remember which one now, had posted a picture of a blanket or something from Pottery Barn. In the background was the cutest Mummy Pillow, perfect for Halloween.
So of course I went to Pottery Barn’s website right away to find my newest pillow and got a little sticker shock… $29.95 for a 12″ pillow! What?! Even if I had decided I was going to buy the pillow it wouldn’t ship until October 28th. So I wouldn’t even get that cute guy until after Halloween.
Instead of just giving up I looked at the picture a little more, zoomed in on it, and realized I could make one! And for a heck of a lot less than 30 bucks! First I had to find my pillow. I looked online at Target, Walmart, World Market and every plain white pillow that I found was $10+. More than I wanted to spend on just the pillow. Then I thought, ‘Hey I can sew a pillow!’ But who are we kidding; I can’t sew.
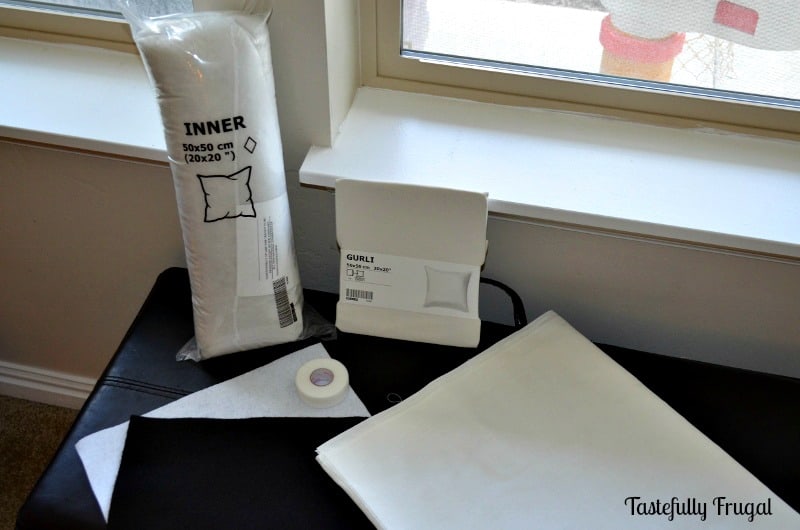
Then my ah-ha moment came. Ikea. So I hopped on over to their website and found a 20″ pillow insert for $2.99 and a white cover for $4. That was more doable. So that weekend we loaded up the kids and went for a shopping trip adventure to Ikea. I was actually really happy with the amount we spent. The only extra thing I bought was some extra trains for Rohrl’s train set. Mostly so I could get him to sit in the cart downstairs so I could look around.
After Ikea we went to Hobby Lobby where I picked up a yard of Muslin fabric and a roll of Heat’n’Bond (remember I can’t sew). I had two 40% of coupons so that trip cost me about $3. I already had some extra felt at home so the entire project came to a grand total of $10.76; a third of what the real one cost. Now to making it.
Materials You’ll Need:
GURLI 20″ cover in white from Ikea (right now if you have an Ikea Family Card these are on sale for $3 until Oct. 28)
***Note: You can use any pillow size you want. These were just the cheapest ones I found***
Heat’n’Bond
1 yard of white Muslin fabric
Directions:
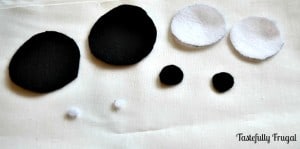
1. Cut the eyes out of the felt. I used the outside diameter of the Heat’n’Bond roll for the big black. The inside radius for the big white. A marker cap for the small black and a AAA battery for the small white. ***Tip: I used a silver sharpie to trace on the black so I could see the line when I was cutting***
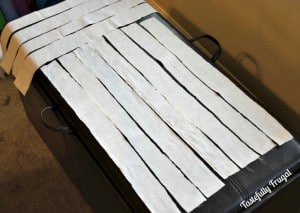
2. Measure out your strips in fabric. You will want to measure 2″ longer than your pillow so that you have room to connect the fabric on the back. I cut out 15 2″x 22″ pieces
3. Iron the cover to get all the creases out.
4. Place the eyes about 1/3 of the way from the top of the cover and arrange the pieces starting with the big black circle, then big white, little black, little white. ***Note: Make sure that the zipper is on either the top or bottom or you will be sewing the muslin over the zipper.
5. Once you have your eyes how you like them take the large white, small black and small white circles off and cut a small piece of Heat’n’Bond. Place the Heat’n’Bond where you want the eyes to be on the cover and place the large black circle on top.
6. Using an iron on medium heat, iron over the large black circle for 6-10 seconds. Repeat steps 5-6 with the second large black circle.
7. Using the hot glue gun, attach the small white circle to the small black circle. Then glue down the small black circle on to the large white circle. Lastly glue the large white circle (with the other two circles attached to it) on to the large black circle.
8. Repeat step 7 with remaining pieces. Now you have the eyes attached.
9. Line up muslin strips how you want them on pillow. They don’t have to be perfectly straight because a real mummy is wrapped in bandages every which way. Plus you are going to have to take them all off to attach them. This step is just giving you an idea of what the final piece will look like.
10. Remove all strips except for the top one. Hold in place on the edges and flip pillow over. Pull the ends of the fabric tight and cut a small piece of Heat’n’Bond.
11. Fold over edge of muslin on top of Heat’n’Bond and attach to pillow with iron. Run iron over fabric for 6-10 seconds. Repeat with fabric on other side.
12. Repeat steps 10-11 with remaining strips.
13. Turn pillow over and admire the cutenesss! (This step is a must!)
14. Insert cushion insert into cover and zip up pillow. You may notice that the muslin strips are hanging loose. If they are, cut another small piece of Heat’n’Bond and pull the Muslin tight on one end. Fold over end of muslin strip over Heat’n’Bond on back of the pillow and iron for 6-10 seconds. Repeat as necessary with remaining strips. I had to do this with about half of my strips
.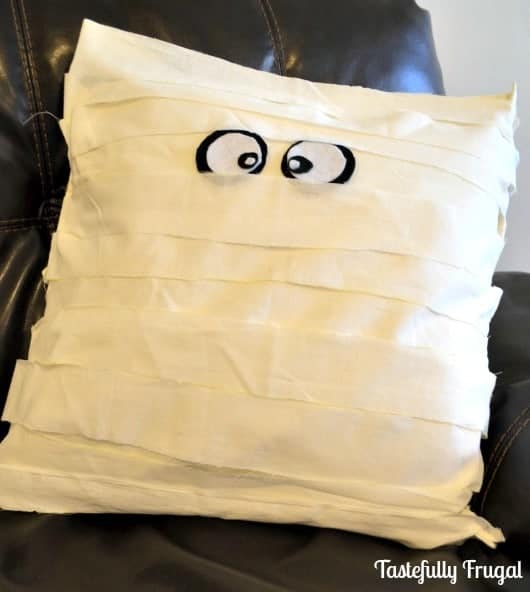
I apologize I didn’t get more pictures of the steps, I had to quickly iron the strips on before sweet little hands could pull the iron down on themselves.
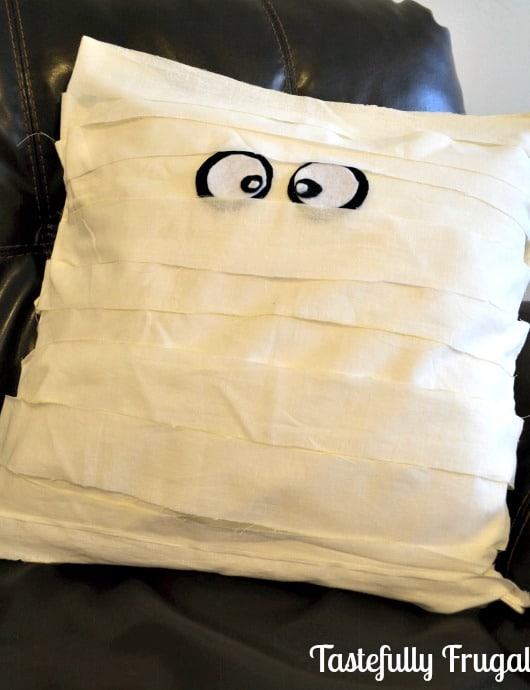
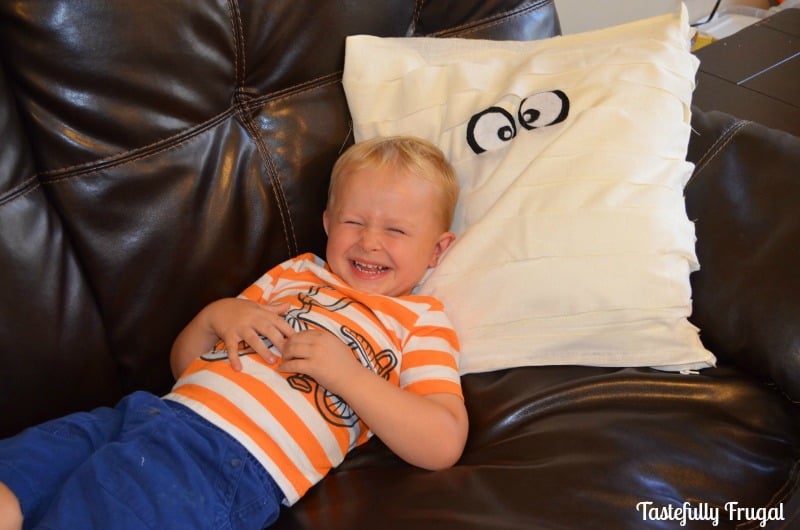
Even my boys love it! I was a little worried they might be scared because of the googly eyes, but they just cuddled right up to him. The one at Pottery Barn is 12″ and this one is 20″ so it’s quite a bit bigger.. but I like him a lot better!
One of the best parts of this project is the fact that lines don’t have to be perfectly straight. All of the jagged edges and crooked lines add to the character of Max (that is what my boys have named him). This is a super easy and quick (if you don’t have little ones trying to help) project that anyone can do. Give it a try and remember if you see something you love that is just too dang expensive, chances are with a little brainstorming and ingenuity you can make it yourself for a fraction of the price. 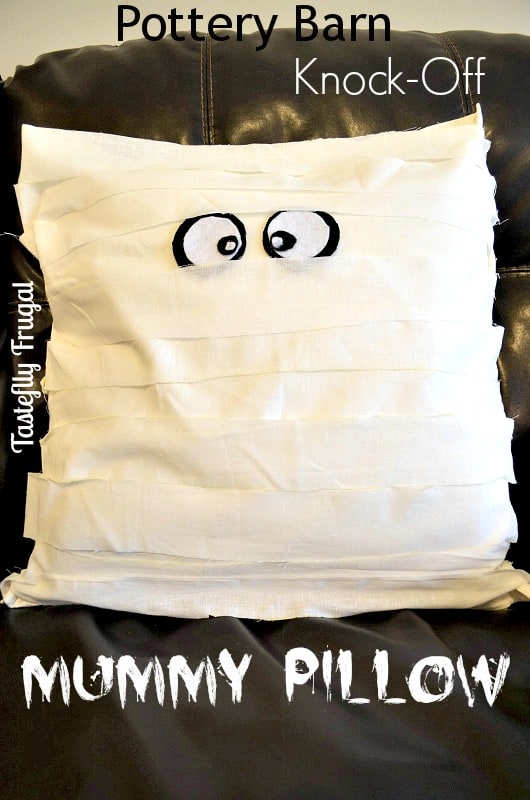
Check out these other fun (and affordable) Halloween Projects:






Nicole says
He is so cute!! Good job figuring out how to do it for yourself!
Sydney says
Thanks a million Nicole!
Tracee says
Love it! You did an especially good job on the eyes. The pillow is almost as cute as the little fellow laying on it. 🙂
Sydney says
Ah thank you so much Tracee! He (my son) is pretty adorable 🙂
Meaghan says
I want one! You think this would hold up as a Halloween porch pillow? Our porch is pretty deeply covered so I think it would be mostly safe from the elements. Wish I had an Ikea close enough to be able to make this for my party on Saturday!
~Meaghan
Sydney says
Meaghan I think it would. It has lasted my two boys playing with it for the last few days so I don’t think the harshest weather could do more damage than them!
Nicki Lewis says
Would not have paid $29 for this either. Yours turned out great.
Sydney says
Right?! I went online yesterday and they were all sold out so I guess some people have more money than time. Thank you so much Nicki!
Micha @ Cookin' Mimi says
So cute. I love seeing projects like this one.
Sydney says
Thanks so much Micha!!
Amy | Canary Street Crafts says
Too cute, Sydney!! Your little guy is adorable too! 🙂
Sydney says
Ah thank you so much Amy!
Jamie | anderson + grant says
I love using stores like Pottery Barn for inspiration that I can do on my own. You pillow is every bit as cute as their pricey version! And I love that I don’t even have to sew to make it! Thanks for sharing this great knock off!
Sydney says
Ah thank you so much Jamie… you are sweet! Don’t you love no sew projects?! Maybe I could do more crafts if I learned to sew huh?! 🙂
Marie@The Interior Frugalista says
Excellent knock off – love it! Thanks for the tutorial as well 🙂
Sydney says
Thanks a bunch Maria!
Jess says
Oh goodness…this is so adorable! I love it!
Thanks for joining the Link Up this week
Sydney says
Thanks Jess! And thank you for hosting such a fun party!
Erin says
This is super cute!! I was actually just looking at Halloween pillows at Target the other day. I will have to give these a try!
Sydney says
Ah thanks Erin! Do try them! I would love to see how they turn out!
Adrian says
Your project turned out so cute! Thank you for sharing this with us at last week’s Teach Me Tuesday Linky Party! We hope to see you there again tonight starting @ 9pm est:)
Lou Lou Girls says
Hello cute lady! This looks so cute. Pinned. We couldn’t think of anyone better to party with. We hope to see you tonight at 7 pm. http://loulougirls.blogspot.com/
Happy Monday! Lou Lou Girls
[email protected] says
Hi Sydney This is a Friday Favorites feature this week! THanks for linking up and hope to see you again this week! Oh- I would love a social media shoutout on Friday to help grow this party if you get a chance! laura
Sydney says
Thanks so much Laura! I was out of town last week but did get a link posted on Facebook. Can’t wait to party with you again this week!
Sarah says
I really LOVE this idea!!!! I will totally be making this a part of my halloween decorations. You did a great job with this tut, thank so much for sharing!
Sydney says
Thanks Sarah!! It is so easy to make, and I’m all about easy!
Lauren says
This is absolutely adorable! And so is that cute little blond boy! Would love if you linked up with us at Mommy Needs a Timeout Thursday. We party starting at 8 pm EST on Wednesdays! Hope to see you there!
Lauren
http://twintestedpinapproved.wordpress.com
Sydney says
Ah thank you so much Lauren! I will definitely head over to your Link Party, it may be Thursday morning but I’ll be there 🙂 Have a great week!
Lou Lou Girls says
I love this! Pinned. Lou Lou Girls
Sydney says
Thank you ladies!
JESSICA says
this is so cute and whimsical! Love it!
Sydney says
Thanks Jessica! I sure do love this one a lot!
BonBon says
Sydney, This is so cute. You did a terrific job. I want to make some now….thanks for the great tutorial and for sharing on FRIDAY FAVORITES link party….I will featuring your Mummy pillow as one of my favorites from the party. I hope you will come back again this Friday. Pinning as well.
Sydney says
Thank you so much BonBon! And thank you for hosting; one of my favorite parties!!
thebestchairsglider says
Wow they turned out beautiful. I want to redo my kitchen table and chairs and the color you used is just what I had in mind. Once again great job.