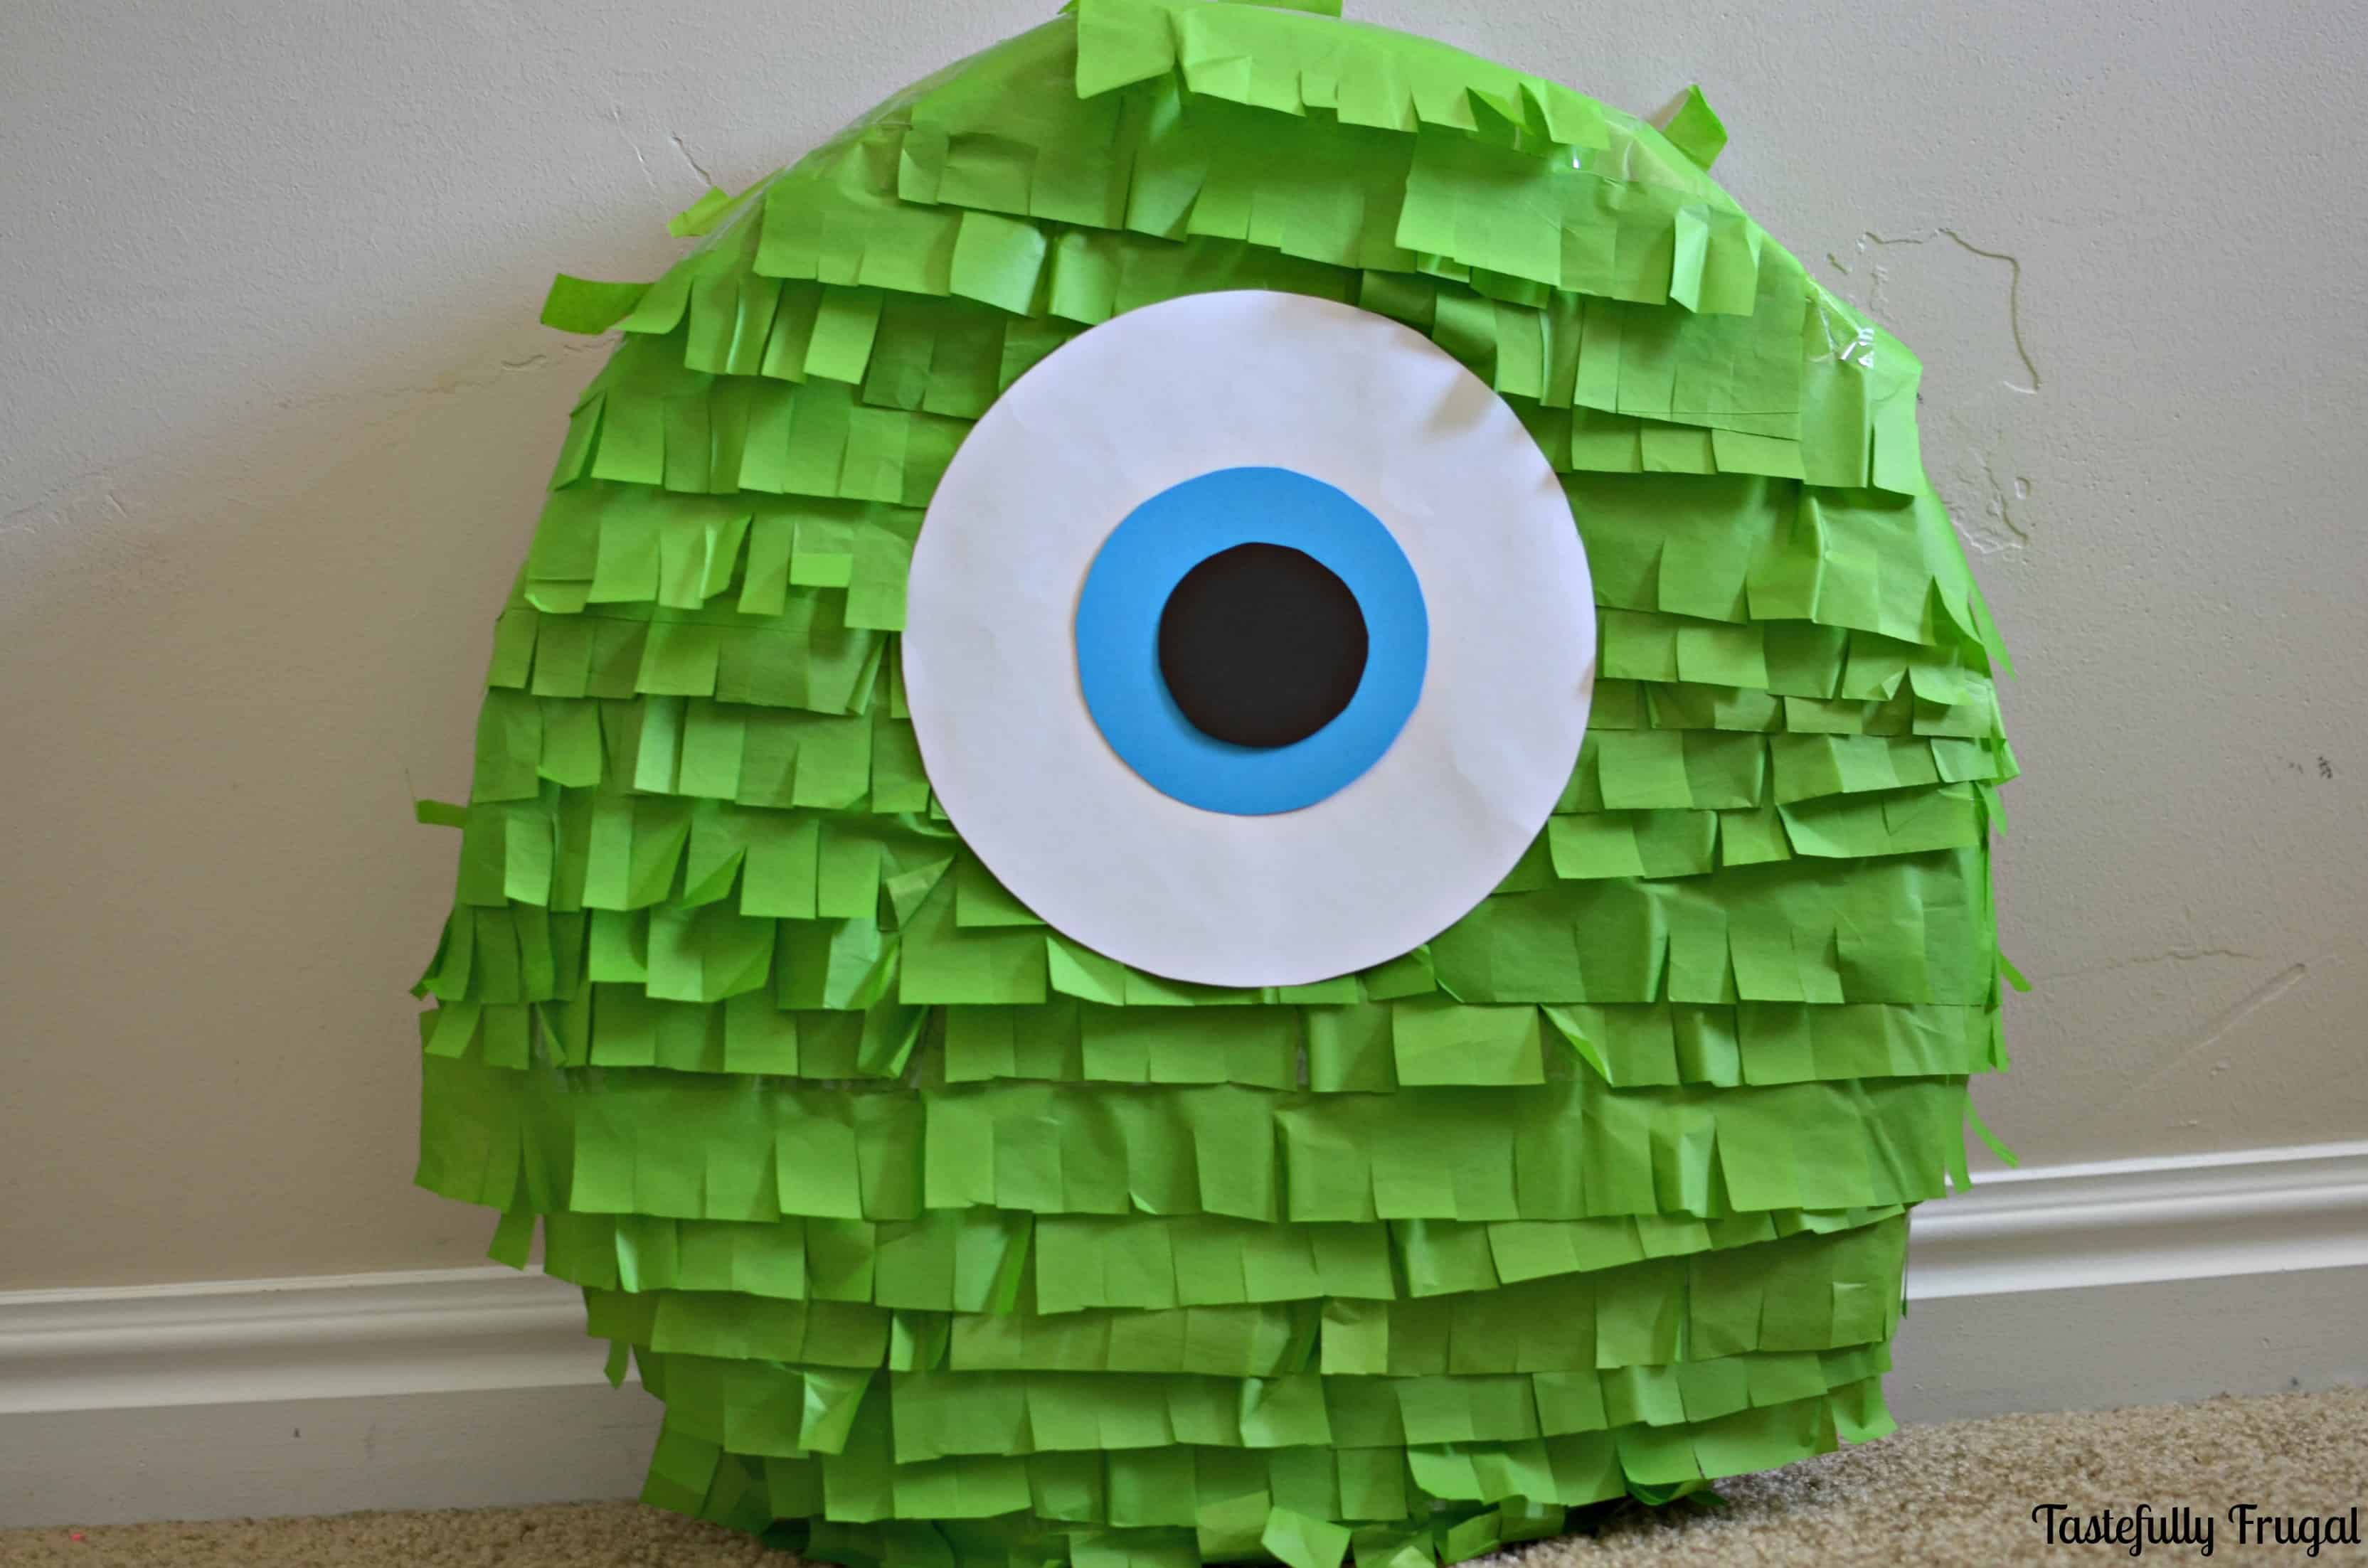
Bring Mike Wazowski to life at your next party with this easy to make piñata.

Have you ever made a piñata before? I know I made one as a kid with a balloon and paper maché but all I remember about it was how messy it was to put together. When I was planning Statham’s Monsters University Party and he said he wanted one I just had this vision of newspaper and glue all over our kitchen and freshly cleaned carpets. That wasn’t going to happen! But when he asked “Please” and gave me his puppy dog eyes I just couldn’t say no.
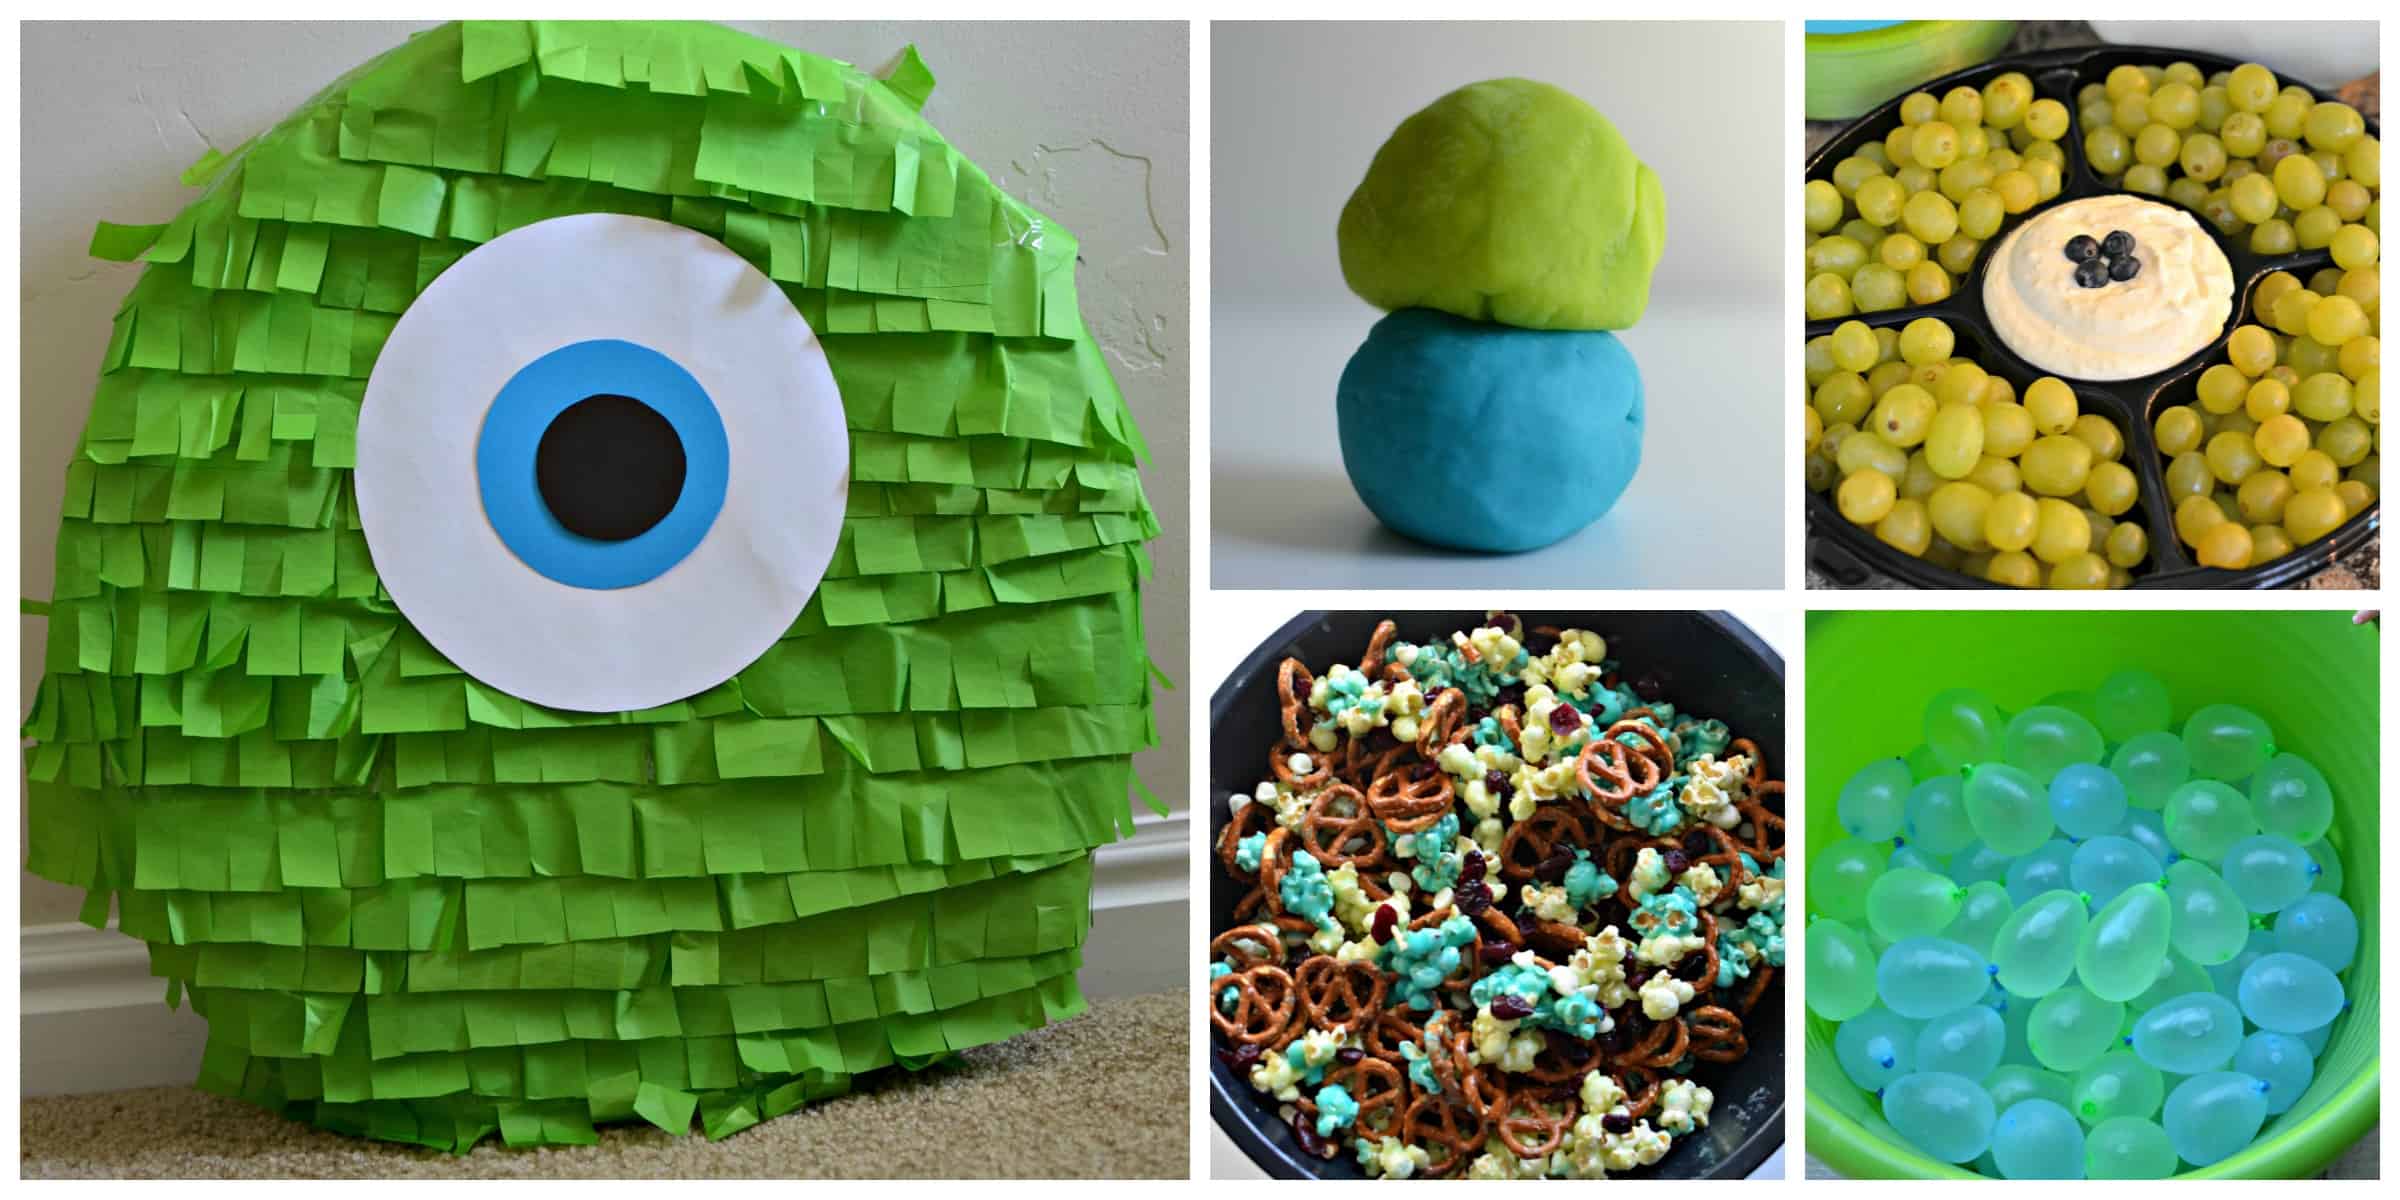
So off to Pinterest I went. I saw this tutorial from A Night Owl Blog for a piñata using cardboard and tissue paper instead of paper maché over a balloon I knew it would be a great idea. The best part… I already had everything I needed to make it at home! That means more money for the candy inside! And it took less than hour to make; which was perfect for this procrastinating mama who waited until the night before to make it.
Supplies:
Cardboard (I used the box from an exercise bike we had recently bought)
Green Tissue Paper (I used 4 sheets)
White Paper
Blue Paper
Black Paper
Razor Knife
Packing Tape
Directions:
Decide how big you want your piñata to be and trace a circle with a circumference an inch wider than that. I wanted my piñata to be 14″ so I traced my circle to be 15″. The easiest way for me to do this was to but a piece of twine to half the width of you want (so 7.5″ and loop it around a pen. Place the pen in the center of where you want your circle, pull the string tight and then trace the circle as you pull on the string around the center.
Cut a 1″ strip twice the width of your circle. I cut two 15″ strips because I didn’t have 30″ of cardboard.
Cut your first circle and then trace a second circle from the first. Cut that circle.
Cut 1/2″-1″ slats all around the outside diameter of each circle. This makes it easier to fold over. Fold in slats.
One circle at a time attach the slats to the 1″ strip with the packaging tape.
Once you have one circle attached to the strip attach the other. Make sure to leave a small whole so you can add the candy.
Add the candy to the piñata and tape up whole. My husband also wrapped the whole piñata a few more times to make sure it was secure.
Cut tissue paper into 3″ strips.
Cut 1″ fringe strips into tissue paper and tape to piñata in layers, starting at the bottom. Start on one side and once you reach the top flip it over and do the other.
Cut circles out of the paper. The largest circle should be white, then a smaller blue and smallest black.
Use tape to attach circles together to form eye and then tape to piñata.
Cut a small hole in top of piñata and attach with rope.
Have fun!
A quick note: The cardboard from the box we used was pretty heavy duty and after about 20 minutes of all the kids at the party (and some of the moms and dads) trying to break it open we had to cut a whole in the bottom so it was easier to break. Next time I will use a thinner cardboard.

If you are a Monsters Inc. fan check out these other fun Monsters Inc. posts:
Monsters University Party Ideas

And don’t forget to check out all the other Pinterest inspired projects this month: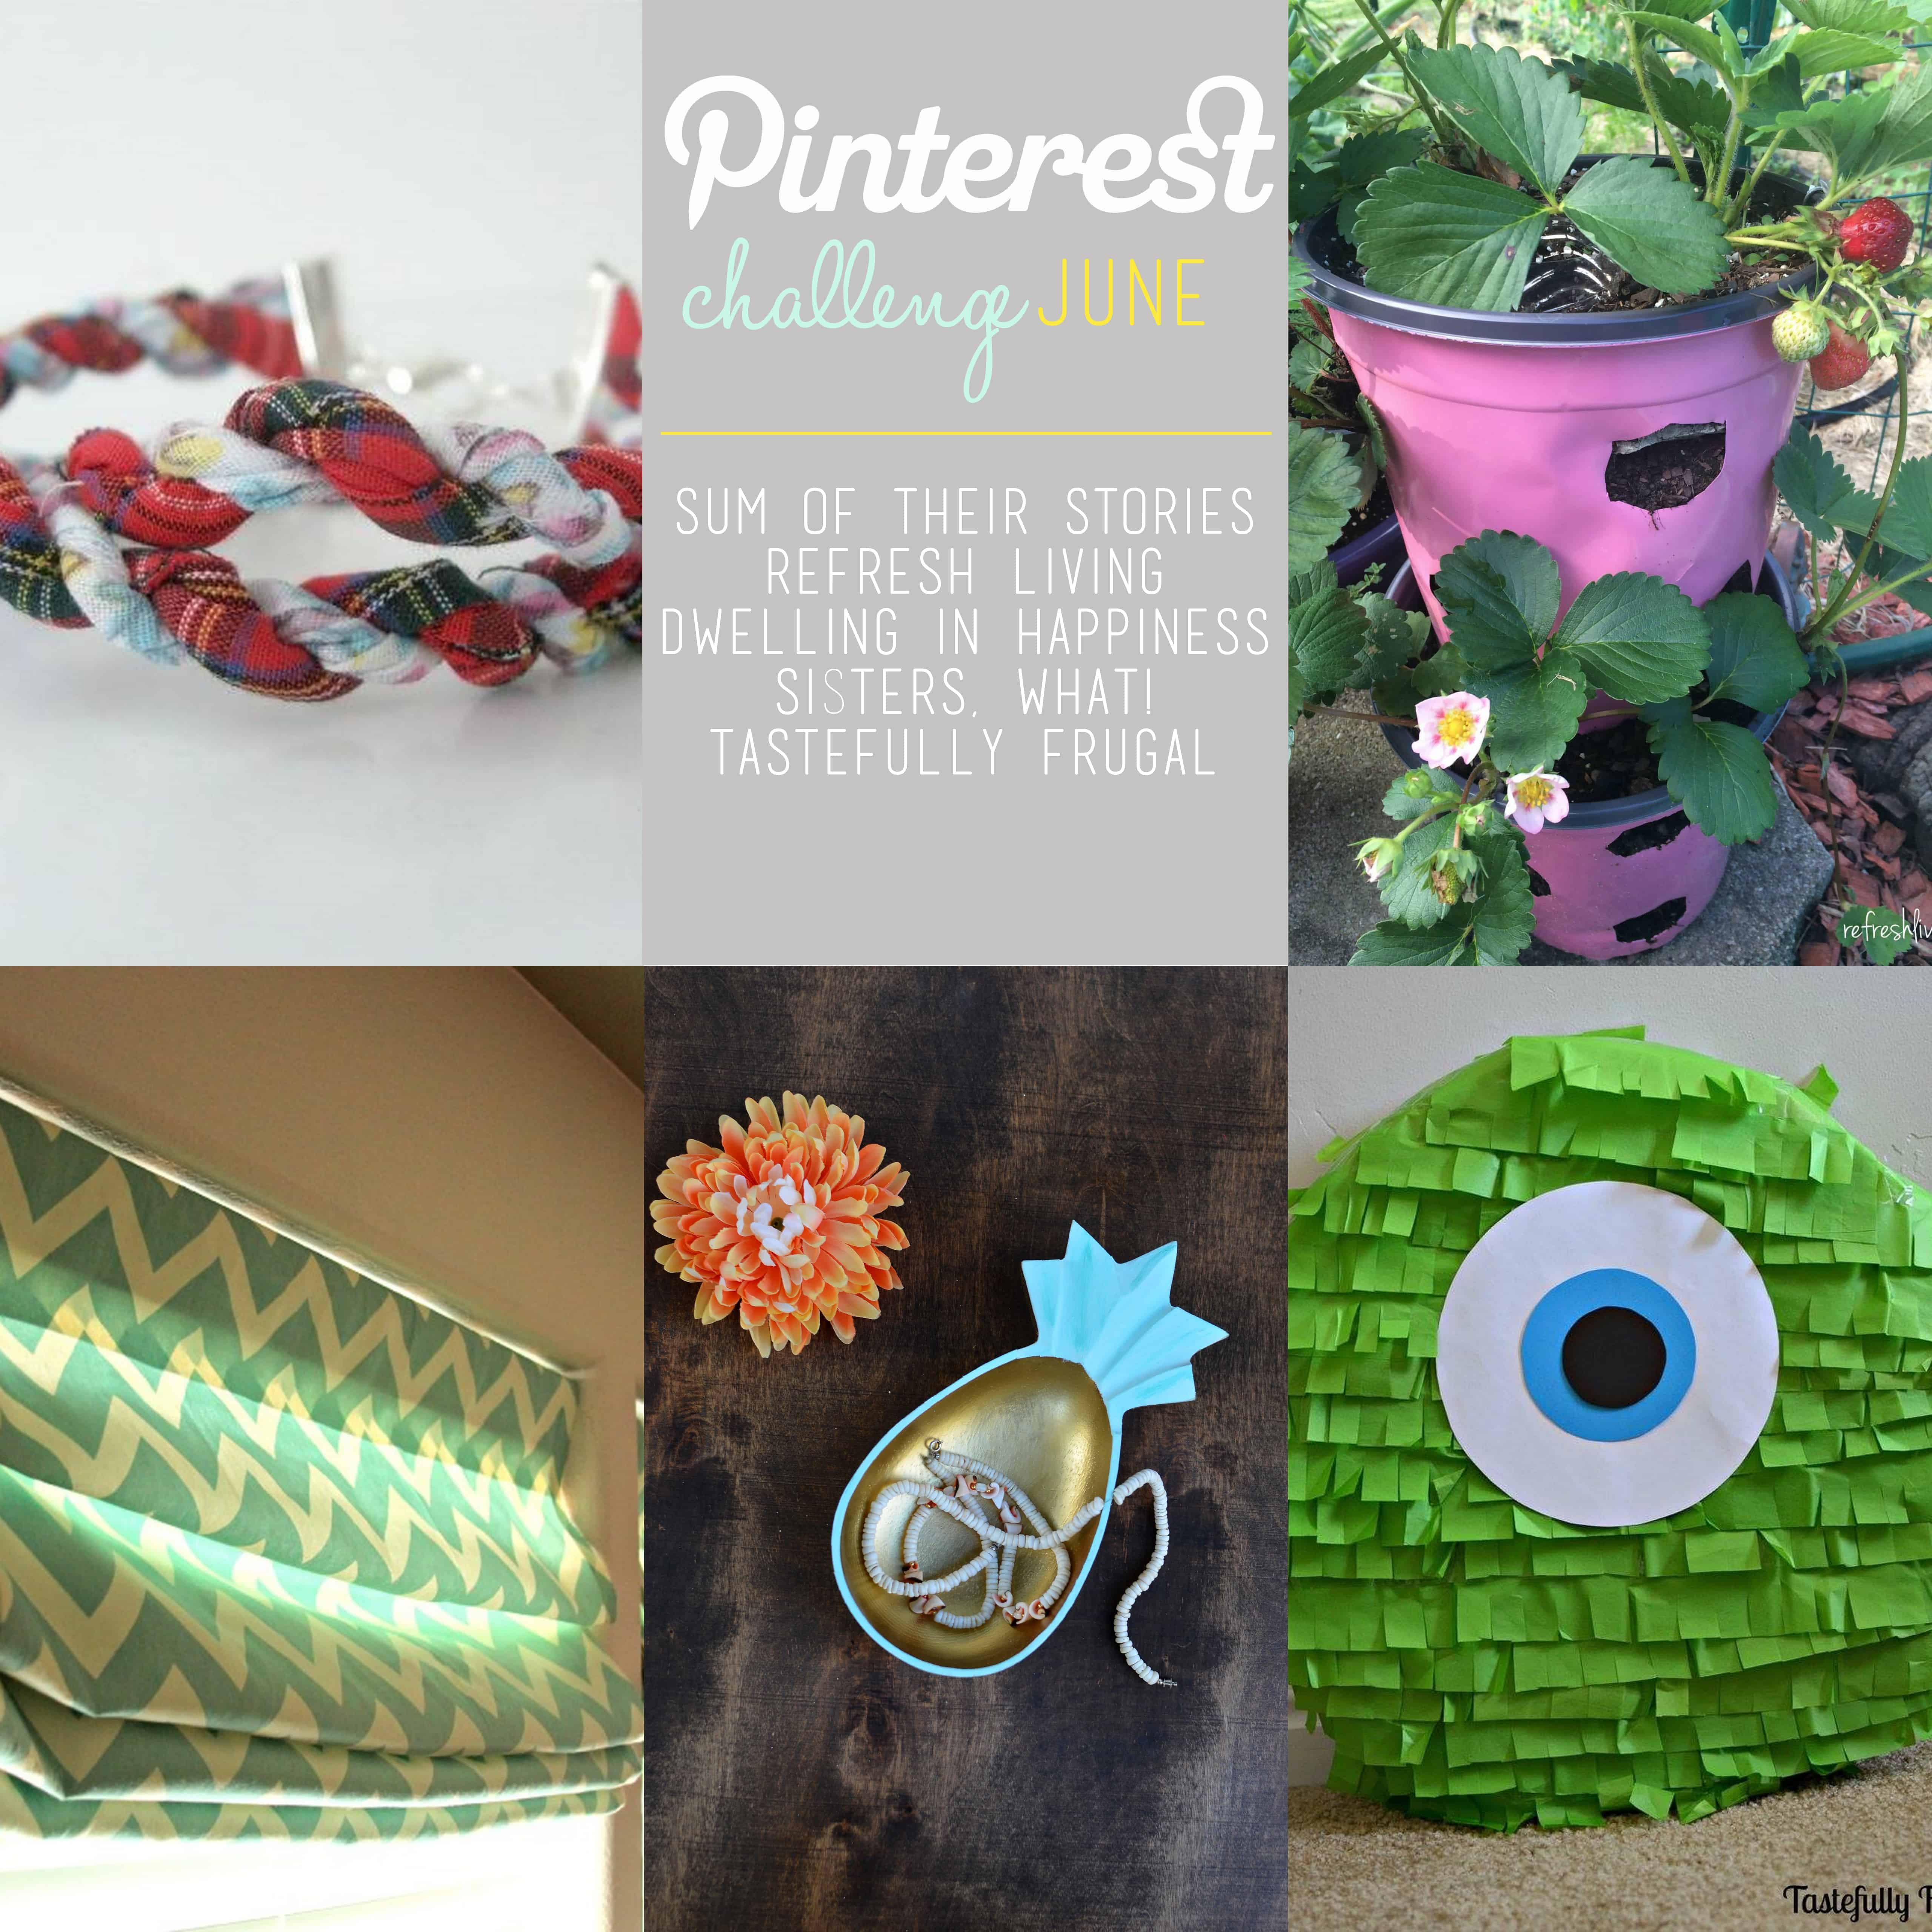
Scrapbusting Fabric Twine Bracelets || Sum of Their Stories
DIY Strawberry Planter ||Refresh Living
DIY No Sew Faux Roman Shades || Dwelling in Happiness
Wood Pineapple Bowl Revived || Sisters, What!
Mike Wazowski Pinata || Tastefully Frugal


Tee says
My 4 year old would totally love this! She loves Monster’s Inc. and Mike is definitely her fave character! Definitely great ideas for a bday party :).
Sharon @ Pretty Practical Home says
This turned out so cute! I was wondering as I was reading about how difficult it was going to be to break it open, so I had to chuckle when you said the kids and adults were hitting it for twenty minutes! The popcorn balls are adorable, too–cute party!
Carlee @cookingwithcarlee says
What a cute pinata. I just love everything about this party!
Julie says
I was just wondering about how strong it was going to be then you told us!
I wonder if joining the card circles with a few layers of tissue paper instead of tape would create a few weak points to make it easier to break if your card is thick? I don’t know, I’ve always been a bit nervous of pinata’s as kids always seem to stand to close to the one swinging the bat for my liking!
That said, he is SUPER cute and I think if we had had these when I was a kid I would have LOVED the whole idea. (that makes me sound old!)
Deborah from Mommy Crusader says
I love your tutorial and what a cute pinata! It sounds like a great activity for my boy’s next party. Thanks so much! 🙂
Louisa says
Thanks for the how to. I am starting to plan a pinata for my niece’s birthday. I think cardboard might be the way to go.
Sydney says
You are very welcome Louisa! These are so easy to make! I would love to see how your pinata turns out!
Nina Lewis says
What a fabulous idea! This would be great for a party for kids — or for a just-because activity.
I have a link party that I’m trying to grow. I invite you to share this idea (and a couple of others) at my Grandma Ideas Sharing Time link party at http://grandmaideas.com. My readers would LOVE this idea, too! The party goes from Wednesday through Friday at midnight. I hope to see you there.
All the best,
Nina
Sydney says
Thanks so much Nina; we had a lot of fun! I just linked up with your party! Thanks for telling me about it 🙂
Marie says
I love this! What a fantastic DIY! Thanks for sharing
Sydney says
Thanks so much Marie!
Brandi @ penguinsinpink.com says
I’ve never made a pinata but this looks easy enough. Maybe using card broad from a cereal box would work better, next time? Thanks for linking up to the Bloggers Brags Pinterest Party. I have pinned to the Bloggers Brags Broad.
Sydney says
Yes I think a cereal box or even poster board would be better… Just have to make sure you don’t put too much candy in
Lindi says
hehehe, this is SO cute! I may see myself building my own pinata one day now! What could I theme my daughter’s second birthday… lol.
Sydney says
Thanks so much Lindi 🙂 Pinatas are so fun!
Nina Lewis says
Thank you, thank you, thank you for sharing this at my link party. You are such a sweetie! I hope that you’ll participate again.
Nina
Sydney says
Thank you for visiting! Such a fun party you have 🙂