Make your own reusable shopping bags with Cricut’s Infusible Ink!
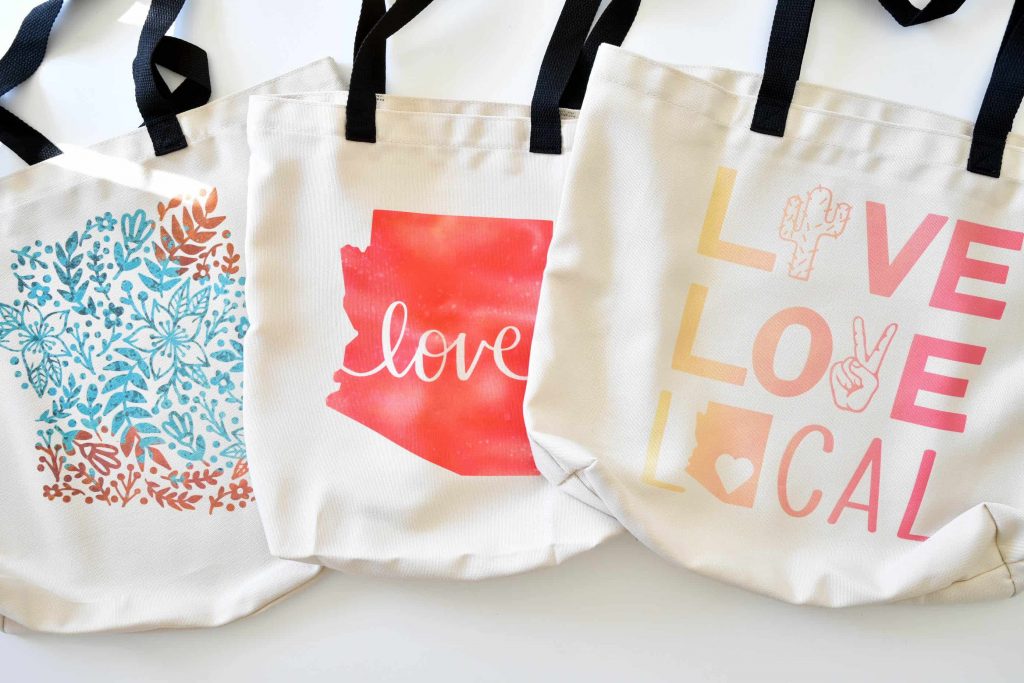
As much as I love crafting for myself, I love crafting for others even more! Whether it’s making baby shower gifts, Christmas gifts, or even just making cards for someone, bringing a smile to other’s faces by making them something special makes my heart happy! So when Cricut asked if I’d help spread the word about Childhood Hunger and help out our local food bank I of course said yes!
This is a sponsored conversation written by me on behalf of Cricut. The opinions and text are all mine.
Why Reusable Shopping Bags?
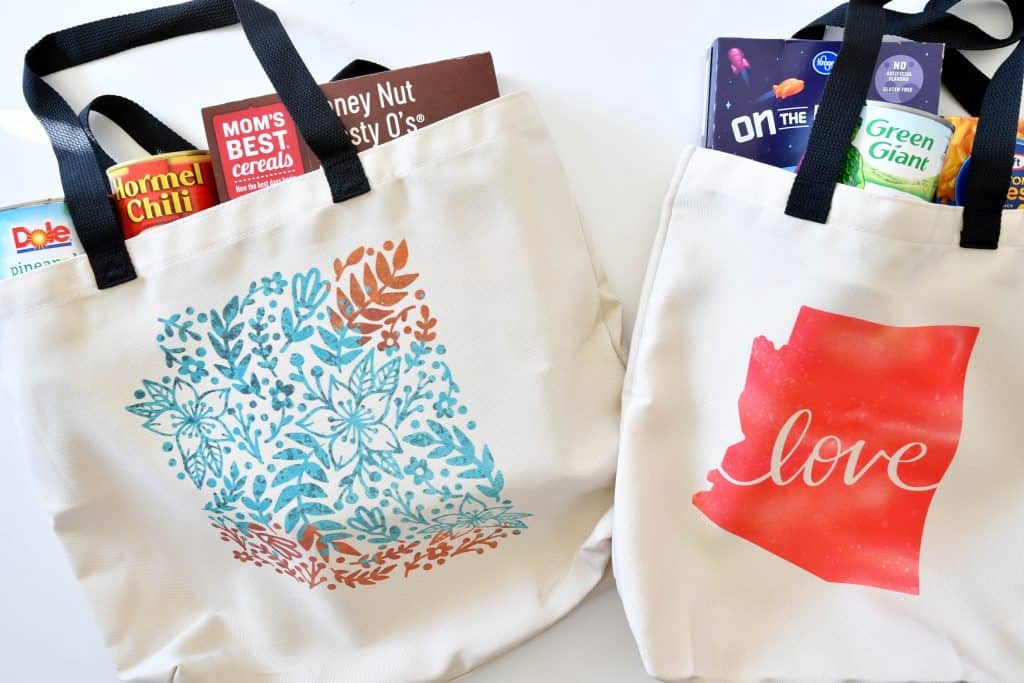
It takes a lot of pride to walk into a food bank and ask for help. And while you’re grateful for the support, it’s hard to walk out with a heavy box of food, or even worse grocery bags that rip before you make it to your car! Cricut’s tote bag blanks are perfect to use for reusable shopping bags AND the design possibilities with Infusible Ink are endless!

When I was looking around in Design Space for designs to put on theses totes, I happened upon this super fun Arizona cartridge. It has a TON of different designs that are special to our state. It’s not just Arizona though, there are cartridges for EVERY state with dozens of designs to choose from.
How Can I Help?
Food Banks nationwide are always looking for more food to fill their shelves. While most people remember others during the holidays, the need for food bank assistance doesn’t just happen two months a year. Here is a list of the items food banks are in the most need of:
- Canned Meat & Chili
- Pasta Sauce
- Canned Vegetables
- Canned Fruit
- Non-Perishable Snacks for Kids (Granola Bars, Juice Boxes, Fruit Snacks, etc.)
- Macaroni & Cheese
- Low Sugar Cereal
- Peanut Butter
- Instant Oatmeal
- Toothbrush & Toothpaste
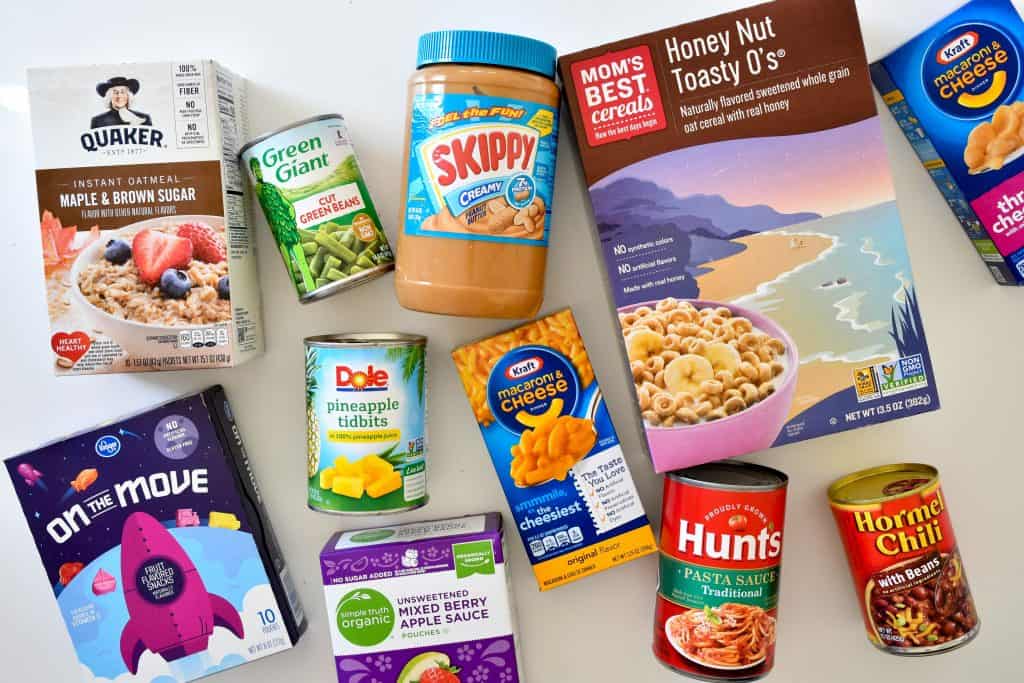
You can even take your donations in in the reusable shopping bags you make! Making reusable shopping bags is a great service activity for families, church and youth groups too! Find a local food bank that you can donate to here.
How To Make Reusable Shopping Bags
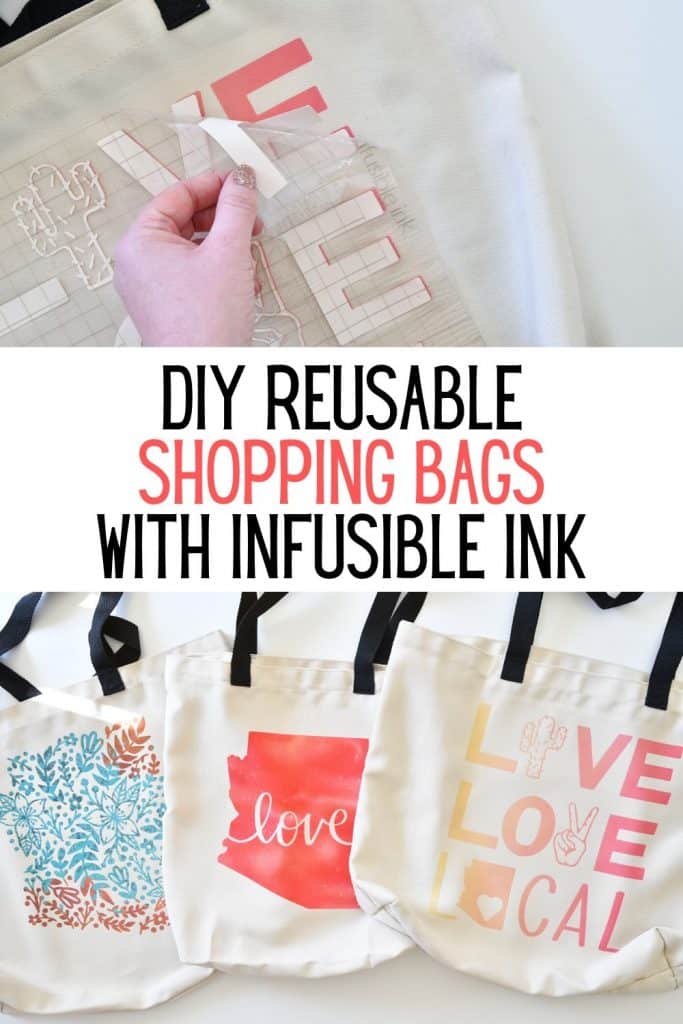
This really couldn’t get any easier! Just pick up some Cricut Blank Totes, find some designs you like in Design Space (or make your own), cut and press your design on to the tote and your done! It only took me about an hour and a half to make all six of these totes, including design time. Some of the designs took a lot of time to weed, so if you go with less intricate designs it may take even less time!
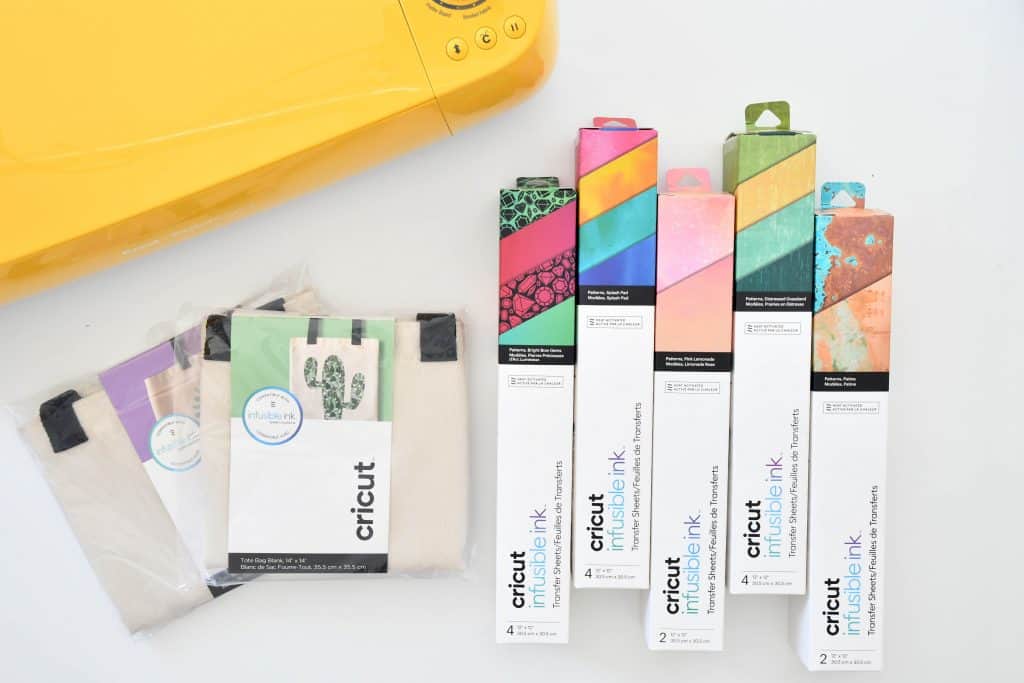
SUPPLIES:
Infusible Ink Transfer Sheets (I used Pink Lemonade, Distressed Grassland, Patina and Bright Bow Gems)
Cricut Cutting Machine (Maker or Explore Air 2)
Butcher Paper (should come with your Infusible Ink Transfer Sheets)
Cardstock
Lint Roller
If you’re shopping on Cricut.com, use code FRUGAL to save 10% and get FREE shipping on all $50+ orders. That’s on top of the 10% discount Cricut Access members get automatically!
DIRECTIONS:
Create your design in Design Space. If you want to make these Arizona bags, click here for the Design Space file.
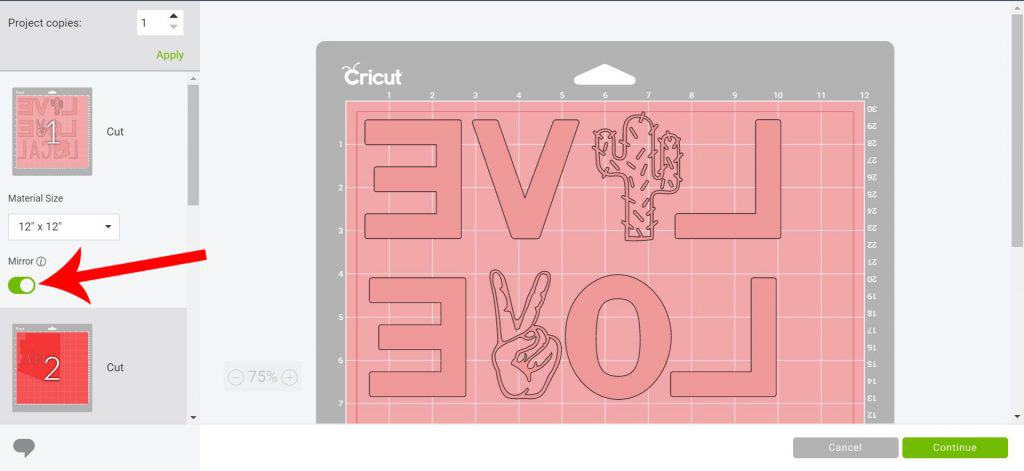
Click Make It, and on the next page make sure to MIRROR your design. If you’re doing more than one color, make sure to mirror ALL the mats. Click continue.

On the next page select your material (INFUSIBLE INK TRANSFER SHEET) from the drop down menu. If you’re using an Explore Air 2, make sure to have your dial on CUSTOM.
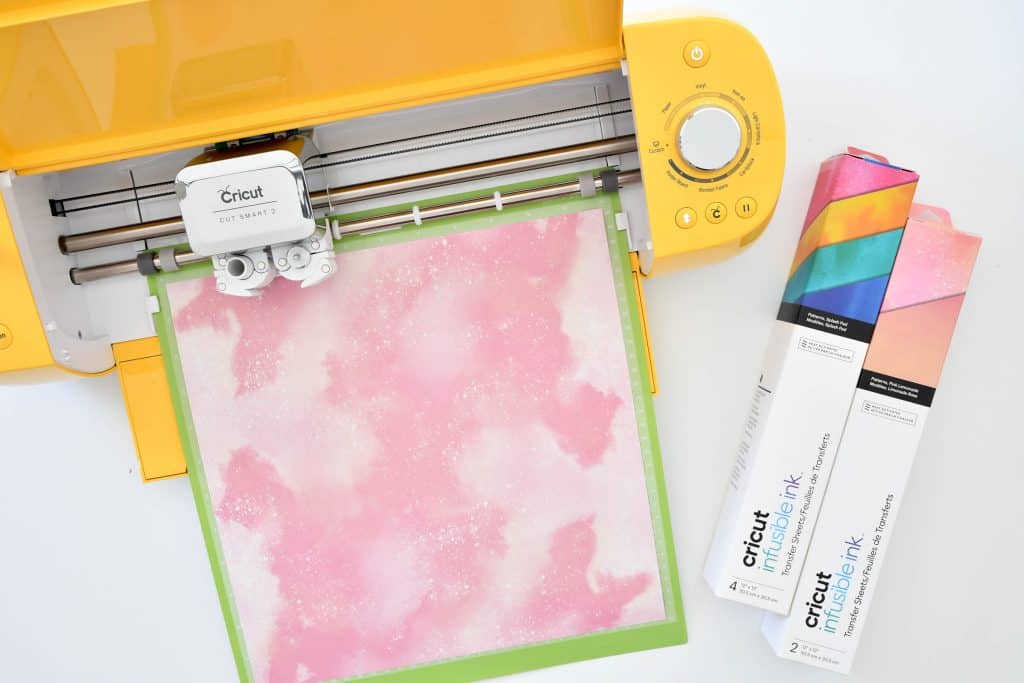
Load your Infusible Ink Transfer Sheet on to your StandardGrip Mat, patterned side UP.
Cut your design.
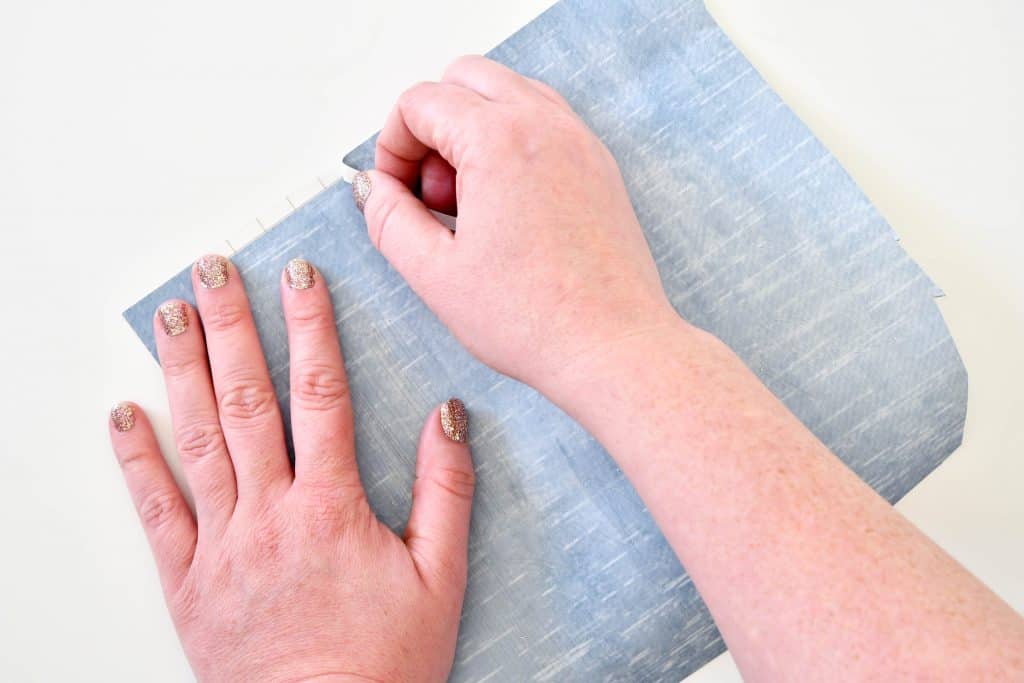
Use your fingers to weed the excess transfer sheet. ***NOTE – DO NOT use weeding tools to weed Infusible Ink. They can push the ink into the backing and it will show up when you press your design. If you need help getting smaller pieces (like in A or O letters), you can use tweezers***
Preheat EasyPress to 385°F and 40 seconds (you can find the chart to know the correct temperature based on your materials here).
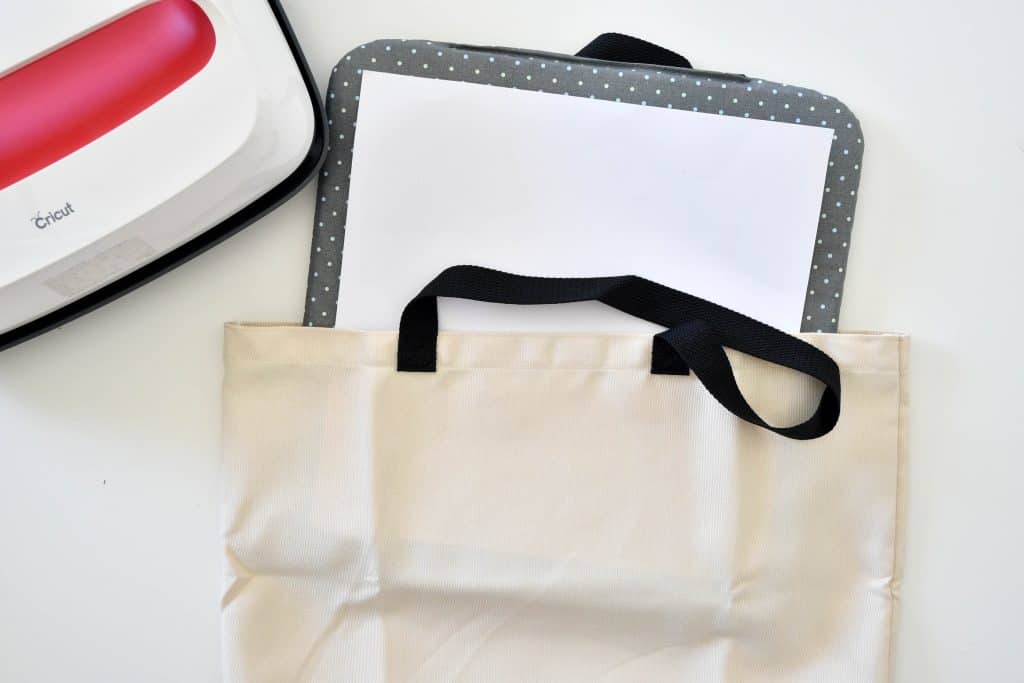
Put your EasyPress mat covered by a piece of cardstock (to protect the mat from possibly getting any ink transfer on it) INSIDE your tote.
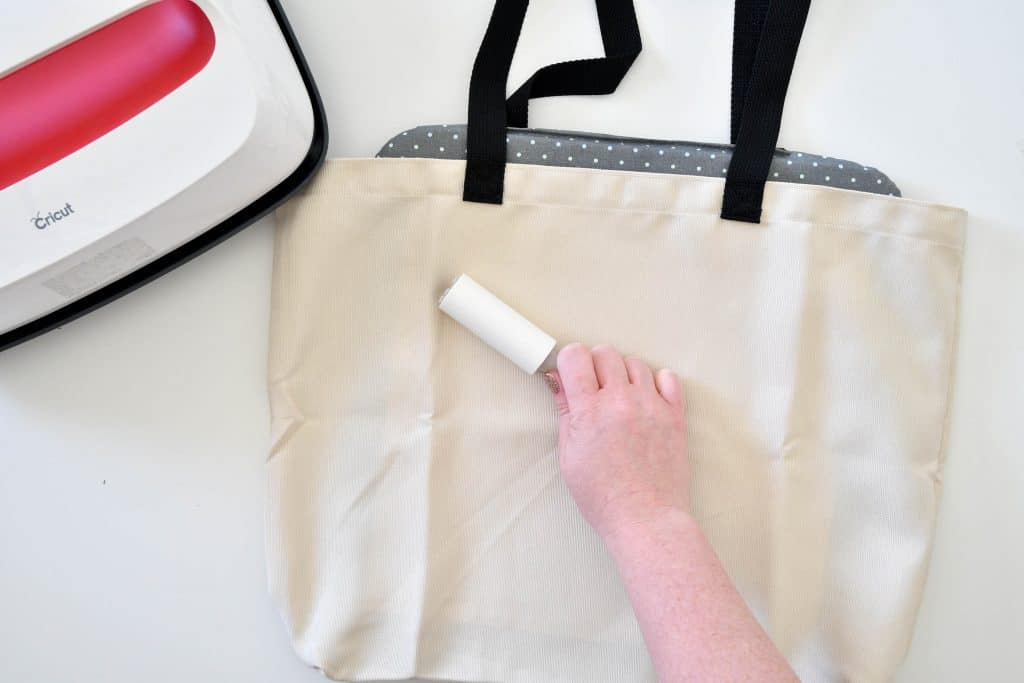
Use a lint roller to remove anything from your tote.
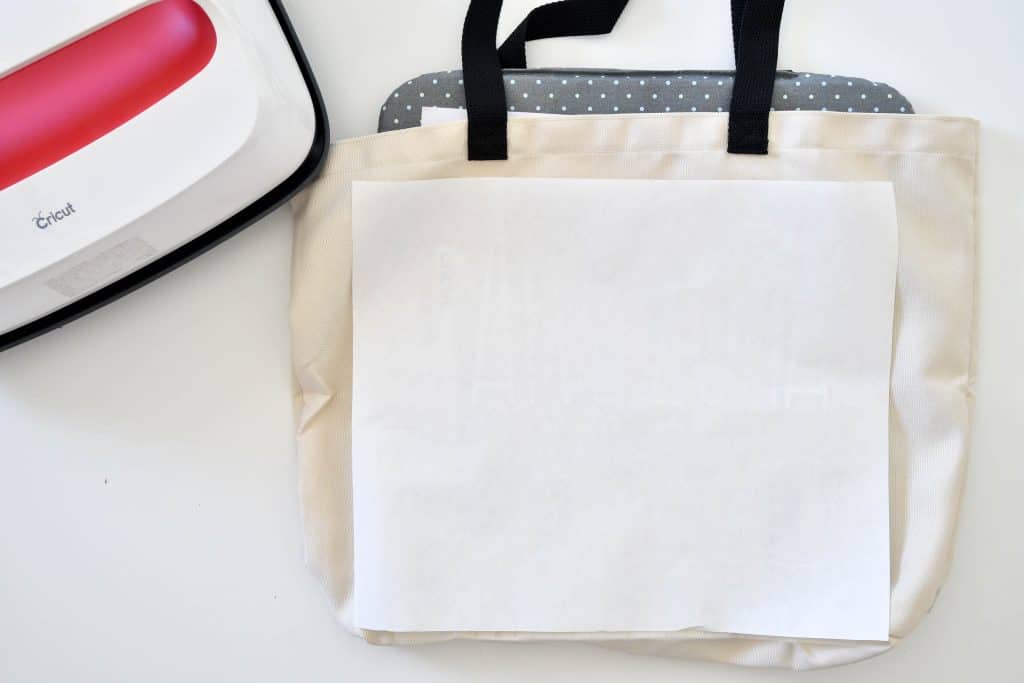
Place a piece of butcher paper on top of your tote and preheat for 15 seconds.
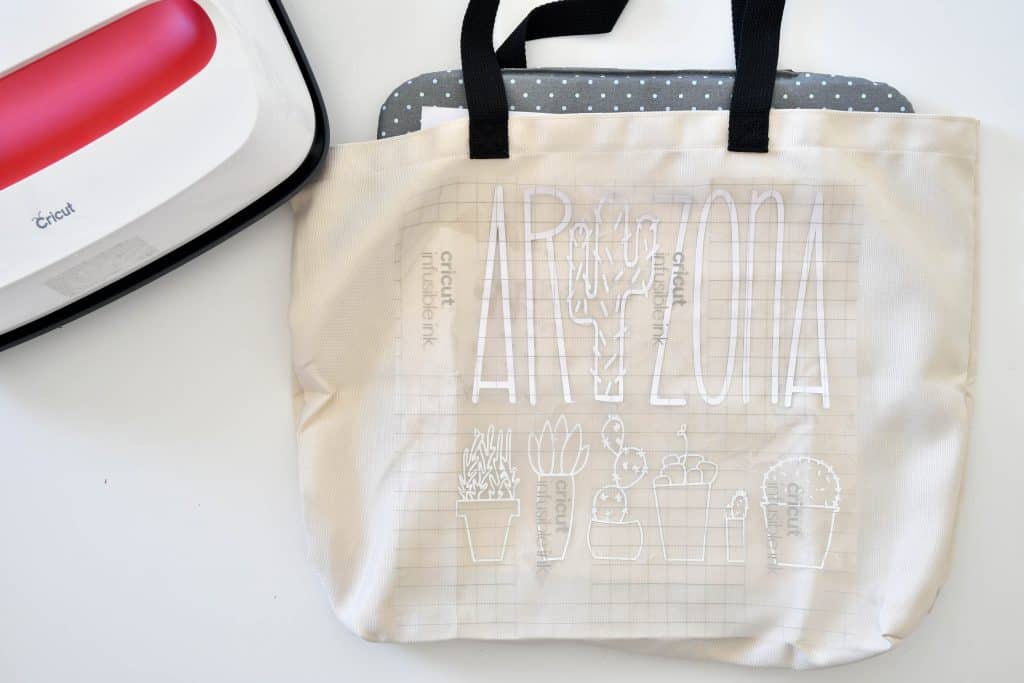
Remove butcher paper and line up your design on the tote.
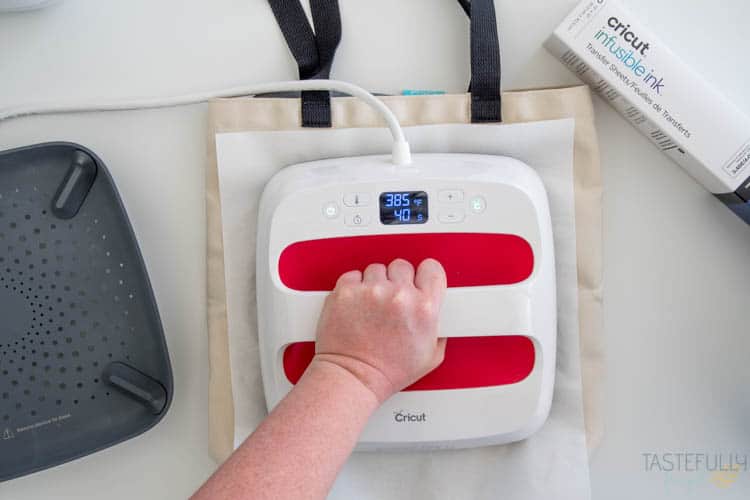
Put butcher paper over design and press with EasyPress for 40 seconds.
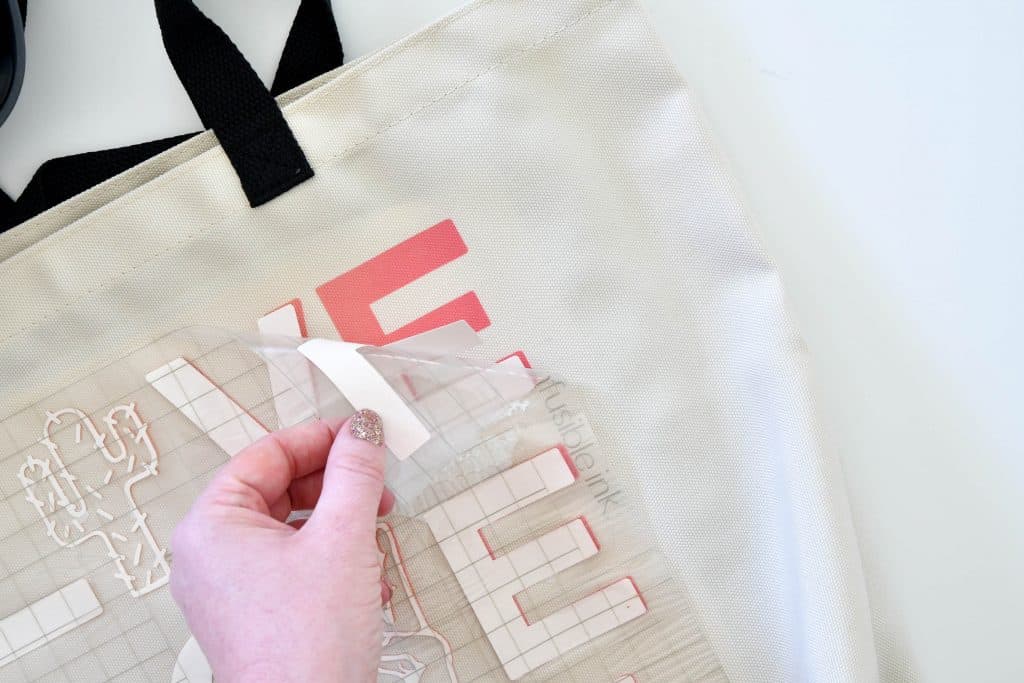
Remove butcher paper and slowly peel up backing.
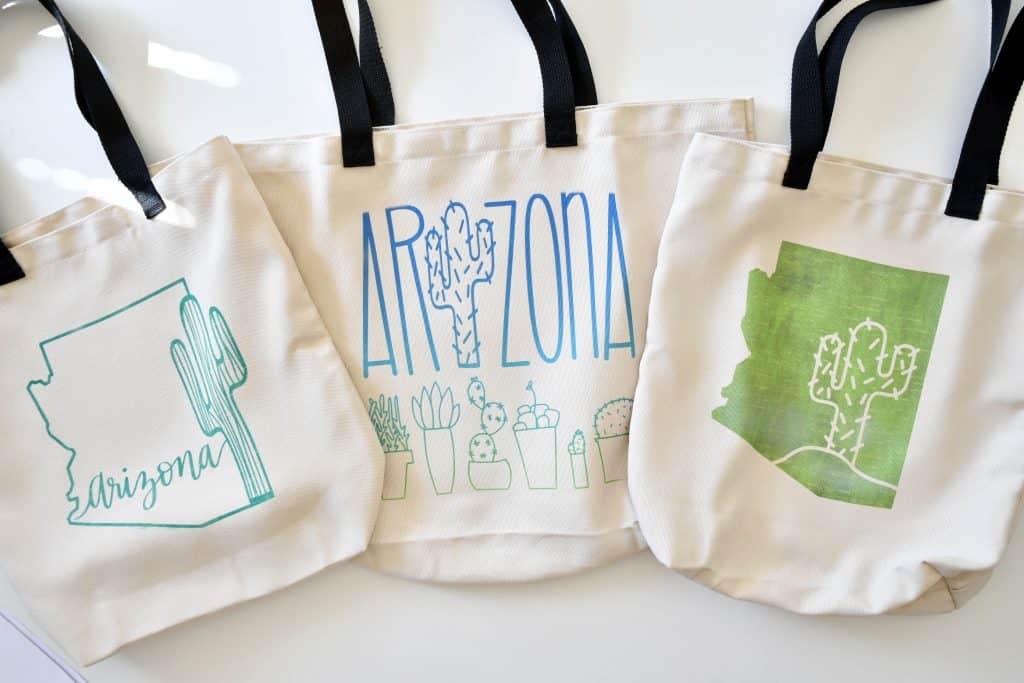
These totes were so fun to make and my kids were super excited to come with me to drop them off at our local all faith food bank. Click here to find your local food bank. If you’d like to check out more ways you can use your Cricut check out these posts! Need help with your Cricut? Join our Cricut Support Facebook Group!


Jenn Crookston says
Love this post. What a great thing you did the people at your local food bank. I have no doubt the people who receive your bags are going to walk out with their heads held high. Thanks for sharing this tutorial, I love Cricut Infusible Ink!
Frank Lou says
I appreciate this because it protects the environment and raises customer awareness