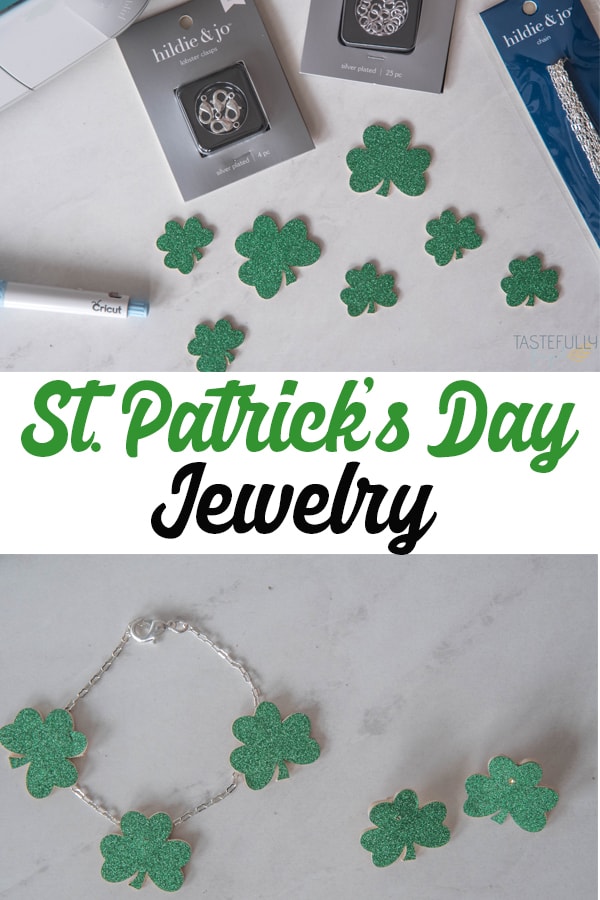
Don’t get pinched on St Patrick’s Day when you wear these lightweight earrings and bracelet. Make them quickly and easily with the Cricut Maker and knife blade.
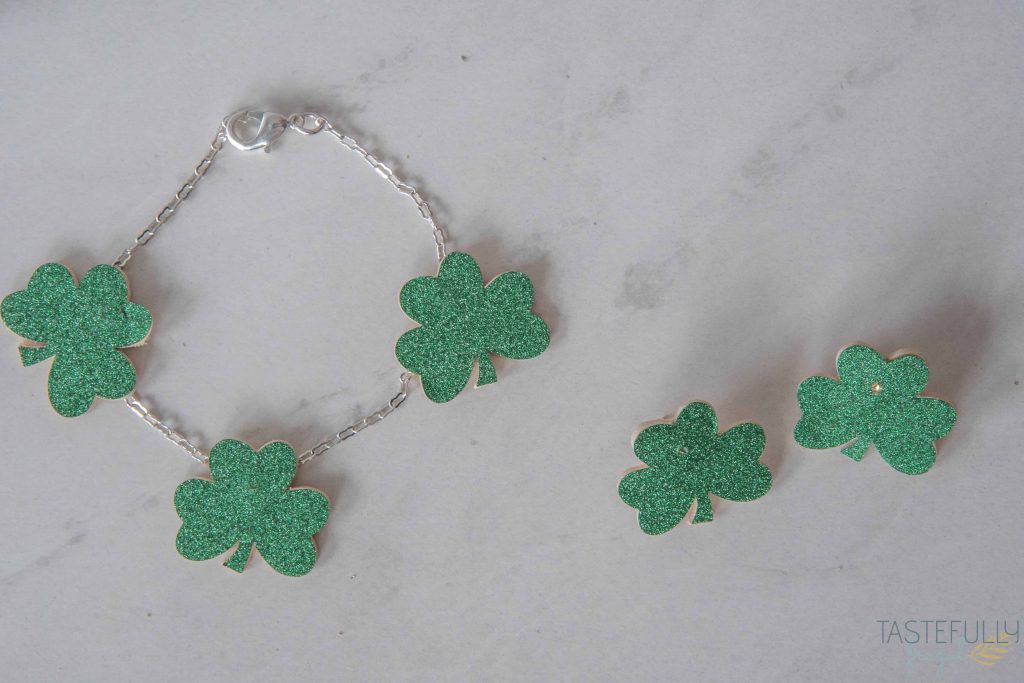
Every year St. Patrick’s Day sneaks up on me. I don’t really own anything green; even though every year I think I’ll buy a St. Patrick’s Day shirt on clearance after the holiday. And I end up spending the whole day getting pinched left and right by my boys. I know they secretly hope I don’t wear green for that reason. But not this year! I made these earrings and bracelet that are sure to make me pinch proof year after year!
How To Make St Patrick’s Day Jewelry
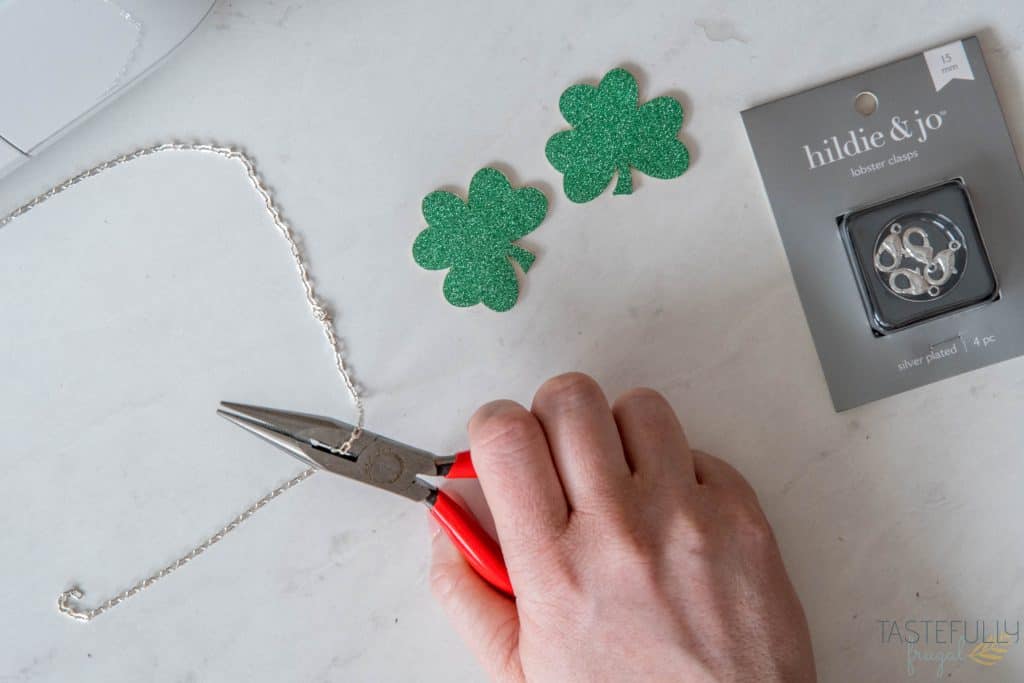
As I was thinking about how I wanted to make this jewelry I kept two things in mind. How long it would last and was it baby/toddler proof. I decided to use basswood as the base because it will hold up longer than if I used faux leather or chipboard. And I decided on glitter vinyl instead of foil or just a matte green because if it does get scratched it won’t be as noticeable.
For the baby proofing I chose stud earrings instead of earrings that dangle. Knowing that I will have a baby or toddler in my arms for the next 5 or so years, this was a must to protect my ears from being tortured.
How The Cricut Maker Makes Making St. Patrick’s Day Jewelry Easier
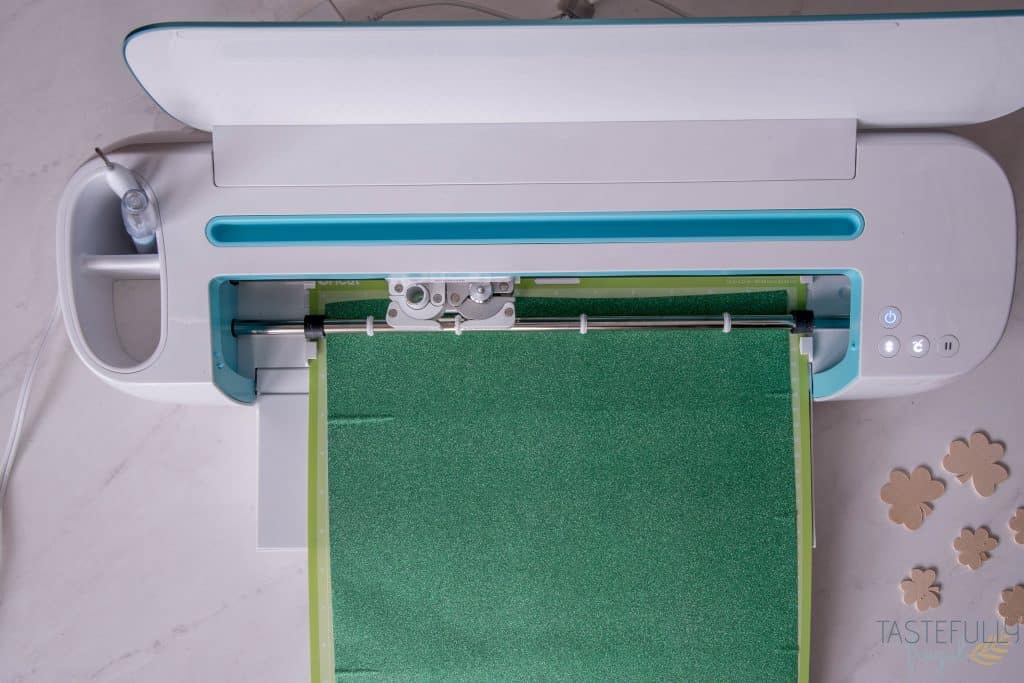
As you already know, the Maker is my favorite crafting tool for just about everything. Whether it’s making t-shirts, quilts, costumes for the kids, or whatever; I can do just about anything with the Maker. Jewelry is no exception. I made these fun Valentine’s Day earrings last year with the rotary blade and decided to use the knife blade for these St. Patrick’s Day earrings and bracelet.
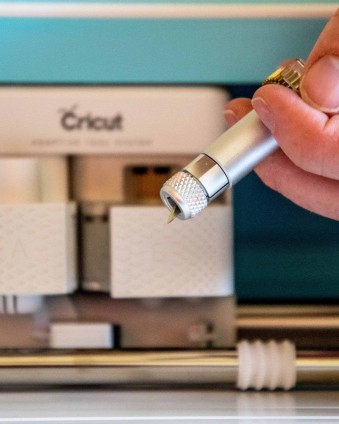
The knife blade cuts thicker materials and really makes long lasting projects. It’s perfect for jewelry, home decor, party decor and more. If you’re not familiar with the knife blade, you can read more about it here. Combine the versatility of the Cricut Maker and the precise cuts of the knife blade and you’ve got yourself a fail proof combination for quality jewelry that will last years.
DIY St. Patrick’s Day Jewelry
You can easily make these earrings and bracelet in an afternoon. The hardest part is waiting for the basswood to cut. But once the bases are cut you can finish the project in 30 minutes or less. You can find the bass wood and jewelry pieces at most hobby stores. I had the bass wood and vinyl from another project and was able to use coupons to get everything I need for the earrings and bracelet for less than $10 so it’s definitely a budget friendly project too.
SUPPLIES:
Basswood – make sure it’s only 1/16″ thick or less
When ordering from Cricut.com make sure to use promo code TFRUGAL10 to get 10% off and score FREE shipping on orders over $50!
DIRECTIONS:
Open up this design in Design Space. You’ll notice there are orange and green shamrocks. The orange are for the bass wood, the green are for the vinyl.
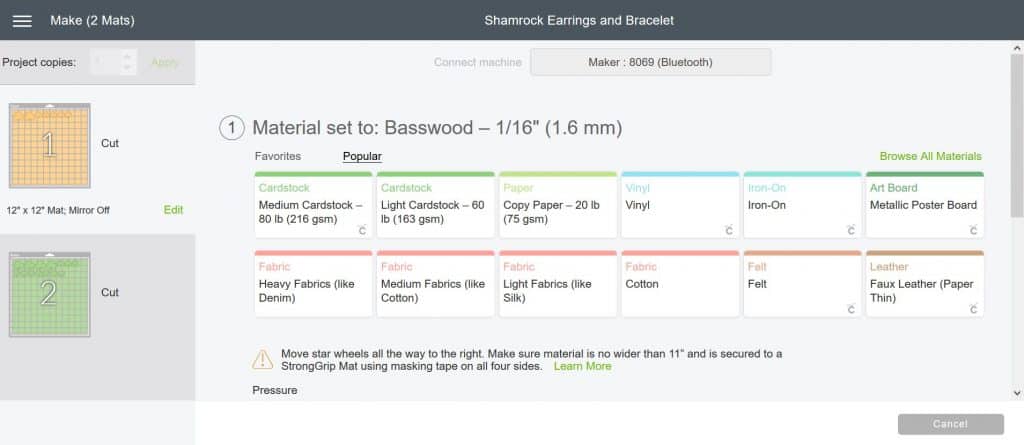
Click Make It and on the second screen select BASS WOOD in the materials drop down menu.
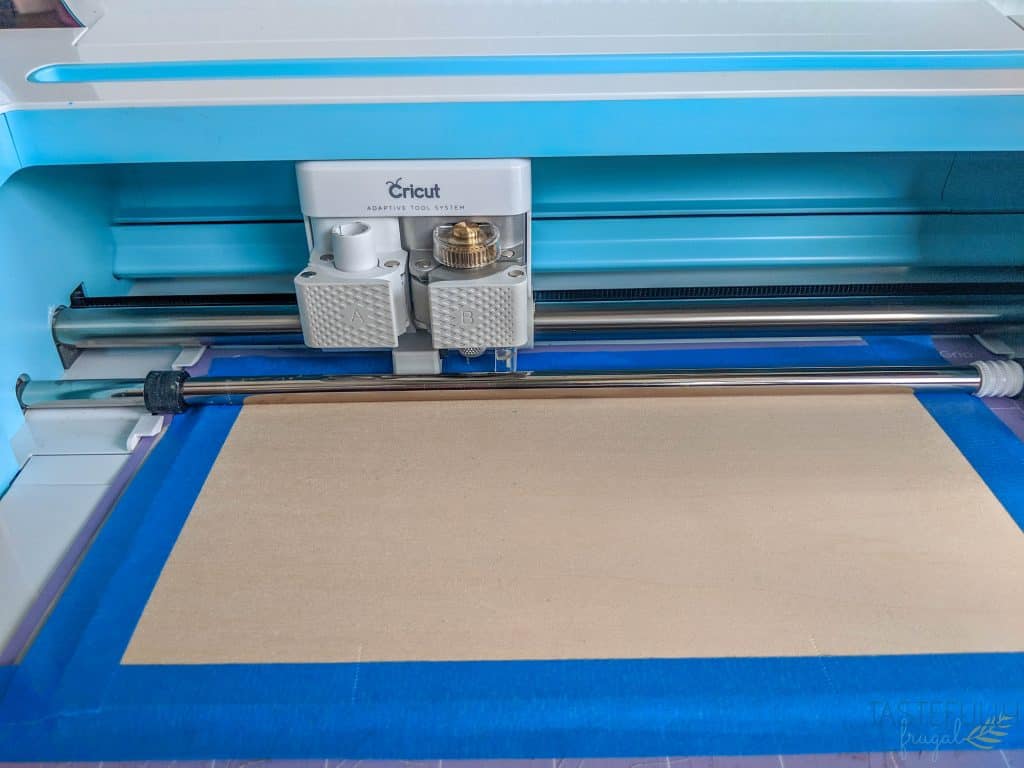
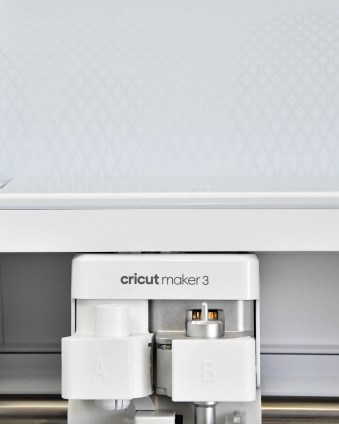
Load the knife blade in the B clamp. If this is your first time using the knife blade, make sure you calibrate it first. ***Make sure to move the stars wheels all the way to the right so you don’t ruin your bass wood*** Learn how to calibrate your knife blade here.
Put your bass wood on the StrongGrip Mat and attach it with painters tape around the edges. This step is very important as the knife blade will make up to 14 passes, you don’t want your basswood to move and ruin your project.
Cut the bases out of basswood first.

Change the material to GLITTER VINYL in the drop down menu and load the fine point blade into the A clamp.
Put your glitter vinyl on a StandardGrip Mat.
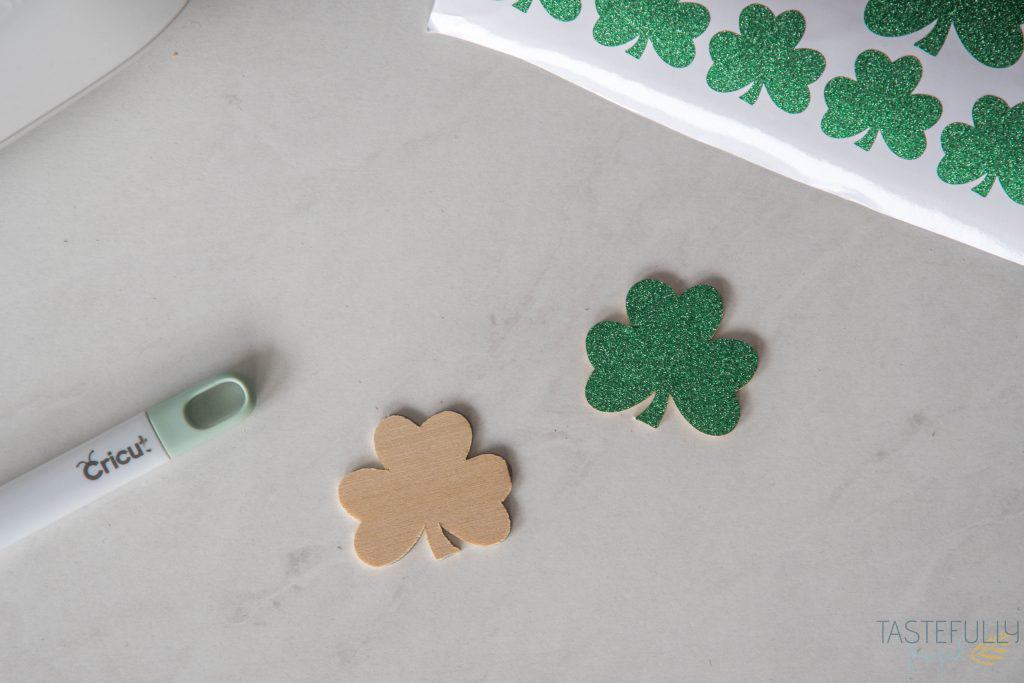
Cut shamrocks out of glitter vinyl and weed excess vinyl.
Put glitter green vinyl shamrocks on the front and back of the bass wood shamrocks.
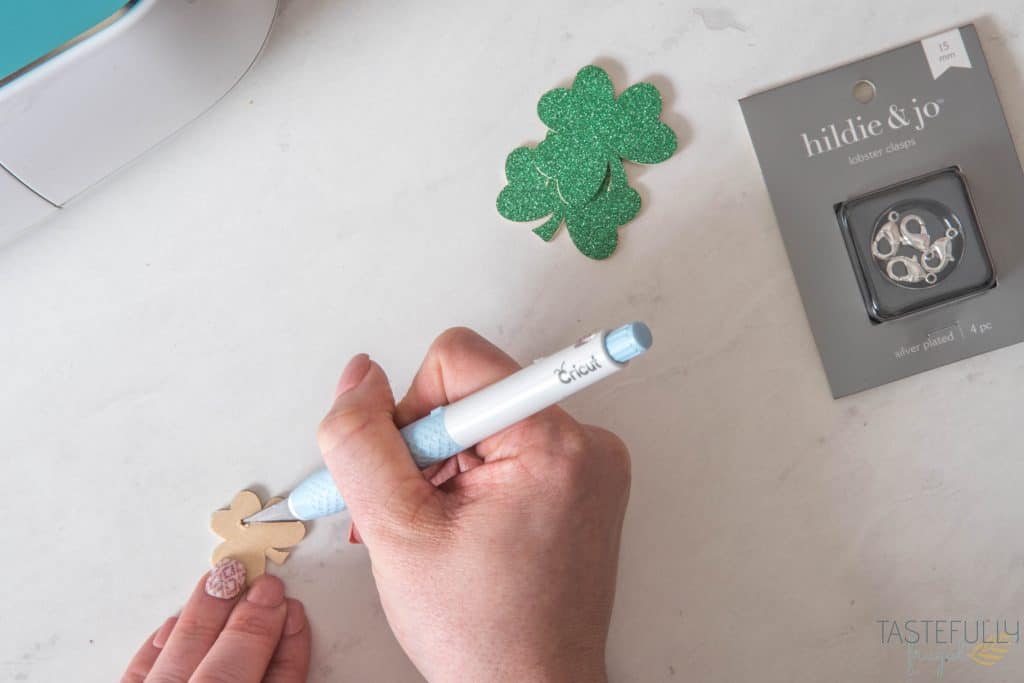
Use the TrueControl Knife to put small holes at the top of each of the smaller shamrocks. The reason you can’t do this with the knife blade is the smallest diameter the knife blade can cut is 1/2″ and with these shamrocks only being 1″ wide, the holes would have been half the size of the shamrock.

Measure chain to your wrist and cut chain to fit. Attach lobster clip to one end.
Use hot glue gun to attach larger shamrocks to the earring posts.
Open up the jump rings with pliers and put one shamrock on each jump ring.
Put the jump ring with shamrock through a loop on the chain and close with pliers.
Repeat the last two steps with the remaining smaller shamrocks and evenly space them out around your bracelet.
St Patrick’s Day Earrings and Bracelet

***NOTE you may have noticed the two larger shamrocks in some of the pictures. Those were going to be the earrings but they were too big. I’m planning on making matching mommy and me necklaces with those and will post pictures as soon as they are finished.
These are not just great for yourself but they make great gifts too! Who would you gift these to? If you’d like to check out more ways you can use your Cricut check out these posts! Need help with your Cricut? Join our Cricut Support Facebook Group!
This is a sponsored conversation written by me on behalf of Cricut. The opinions and text are all mine.


Rifat says
Nice post!! It’s useful and helpful article for me. Thanks for sharing.