Make your own shrinky dinks in 15 minutes or less with the Cricut Maker and BrightPad.
We got both of my boys a shrinky dink art kit for Christmas and they loved it! The kits came with about 10 designs and they spent a good 30 minutes coloring all the designs. It was a great idea BUT they quickly wanted to do more. I didn’t want to spend $8 on another kit, plus they would have the same designs. So I decided to make our own shrinky dinks and let them choose the designs they wanted in Cricut Design Space.
What Are Shrinky Dinks?
Shrinky Dinks are a fun activity for kids (and adults too) made out of plastic sheets that you can design/color and then shrink when you cook them in the oven. You can make them into necklaces, bracelets, keychains really just about anything you can think of.
How Cricut Makes DIY Shrinky Dinks Easier
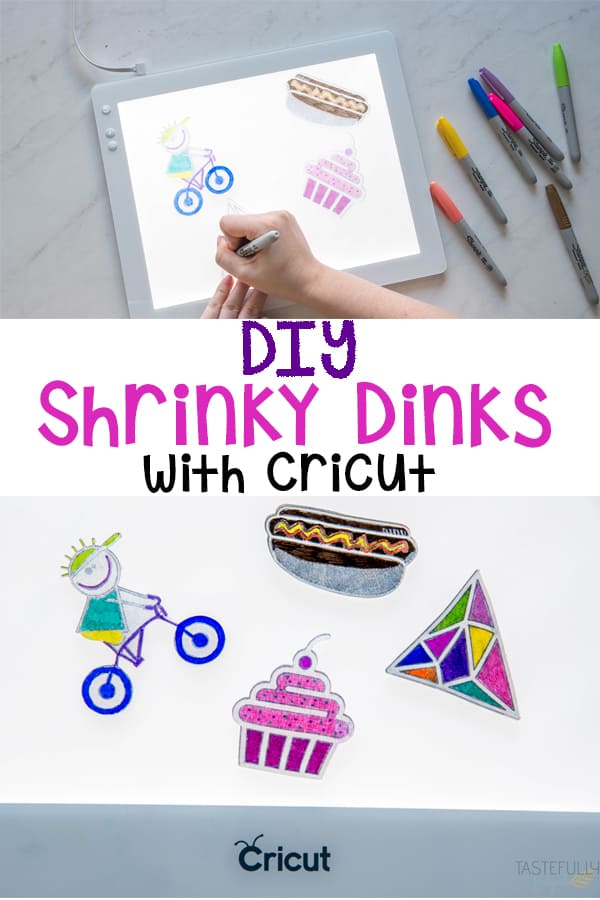
There are SO many designs and images in Cricut Design Space that you (or your kids) can choose from for your Shrinky Dinks. Once you pick your designs, you’ll use Cricut Pens (I like to use the black 0.4 pens to draw the outlines of the designs) with any Cricut machine to draw and cut your designs.
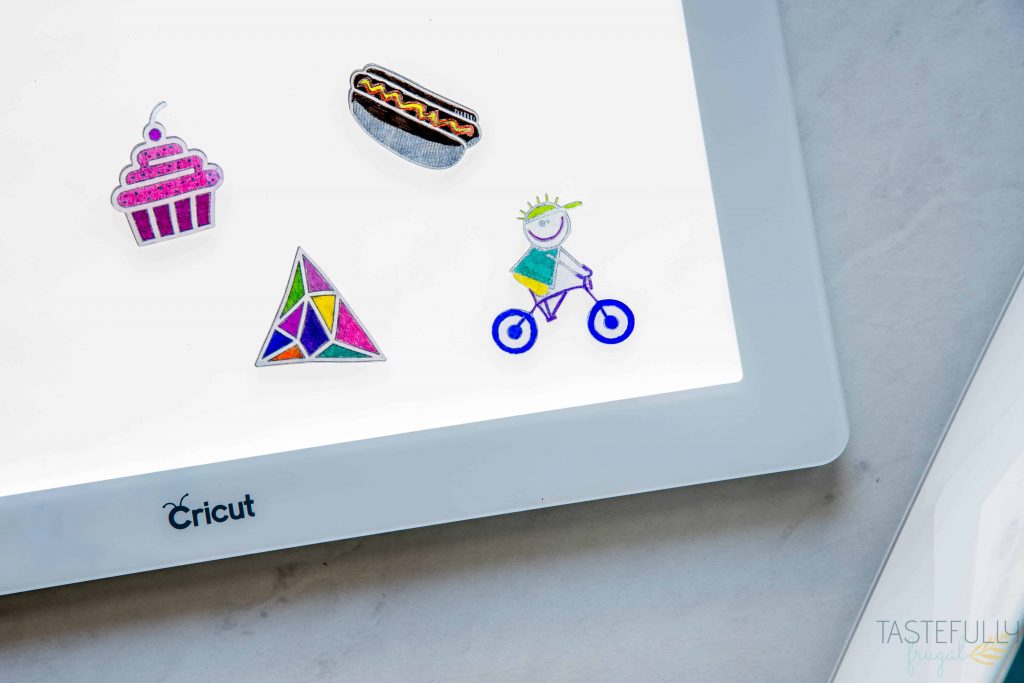
Once your designs are cut, use the Cricut BrightPad to light up the designs and add your own colors and styles to the shrinky dinks. My boys found it was so much easier to stay in the lines with the BrightPad. And if their markers did get on the BrightPad they were so easy to wipe off. You can read more about why I love the BrightPad and other uses for it here.
Shrinky Dink Instructions
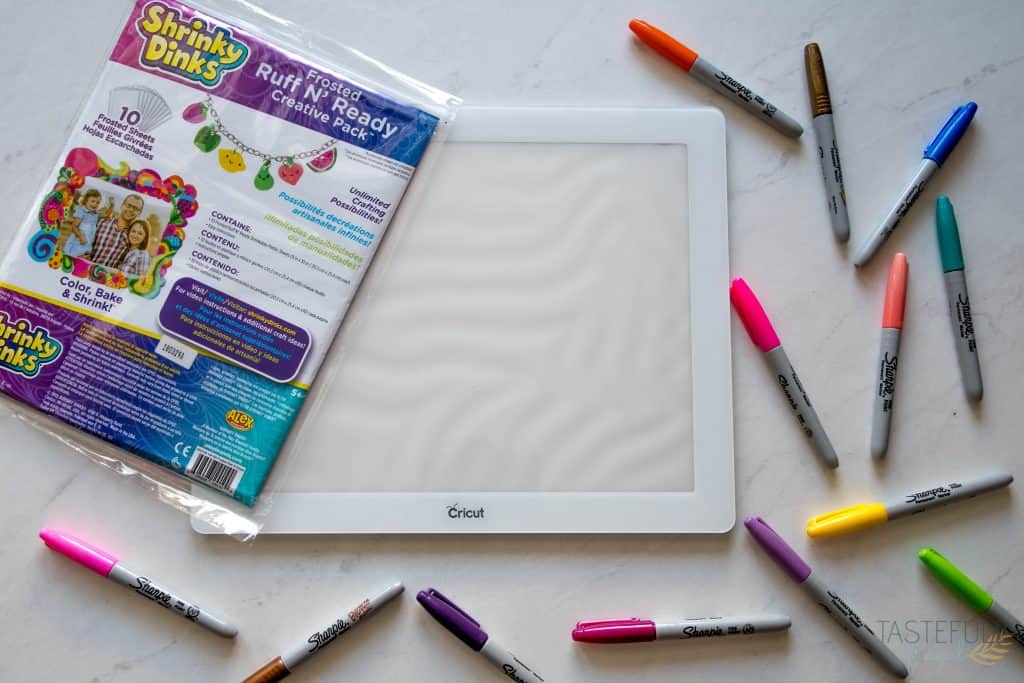
To make shrinky dinks you need polystyrene sheets. They are commonly known as skrinky dink sheets and you can order them on Amazon or find them at your local craft store. I got mine at my local JOANN Store. Use Cricut Design Space to make your designs then draw and cut them on your Cricut Machine. The Cricut BrightPad helps with coloring your designs too.
Next you cook your shrinky dinks on a cookie sheet in the oven at 325°F for a few minutes (1-3 minutes). Let cool on cookie sheet before playing with or attaching to jewelry or keychain.
SUPPLIES:
Shrinky Dinks Sheets (these are the ones I used)
Cricut Maker (or Explore Air Machine)
Cricut Pens (I used the black 0.4 pens for the outline)
Other markers for coloring the designs (I let my boys use my Sharpies)
Cookie Sheet
When ordering from Cricut.com make sure to use promo code TFRUGAL10 to get 10% off and score FREE shipping on orders over $50!
DIRECTIONS:
If you want to make the same designs we made, you can open up the Design Space File here.
Preheat oven to 325°F.
Open up Cricut Design Space, select images and search for the images you want. There are over 60,000 images in Design Space so you should be able to find exactly what you’re looking for.
Once you’ve found your design(s) you’ll want to make them the right size. The Shrinky Dink paper shrinks to 1/3 its size in the oven so you’ll want to remember that when you’re sizing your images. I made mine all between 3.5″- 4″.
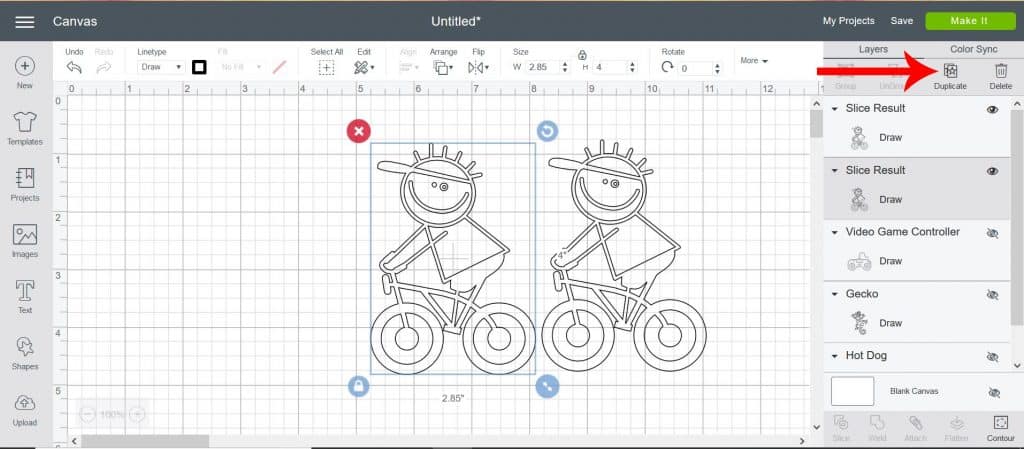
Duplicate your image and contour the duplicated image.
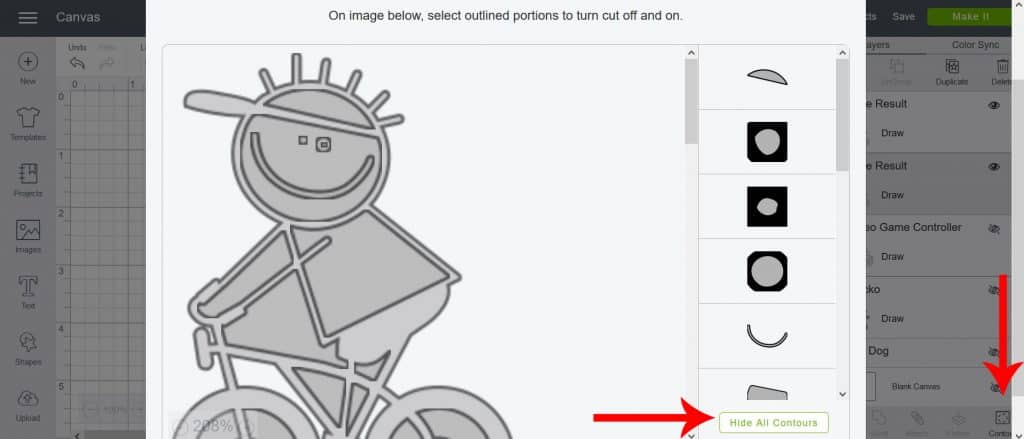
The contour feature allows you to select certain parts of the design you want cut or not. You are contouring the duplicated image so you can have that image cut and the first image will be drawn on top of it.
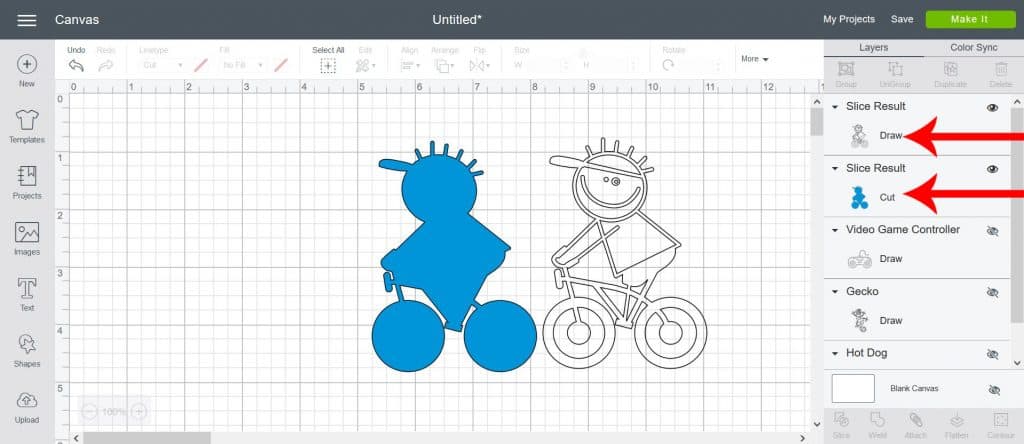
Once you have contoured the duplicate image, select the first image and change it from cut to draw.
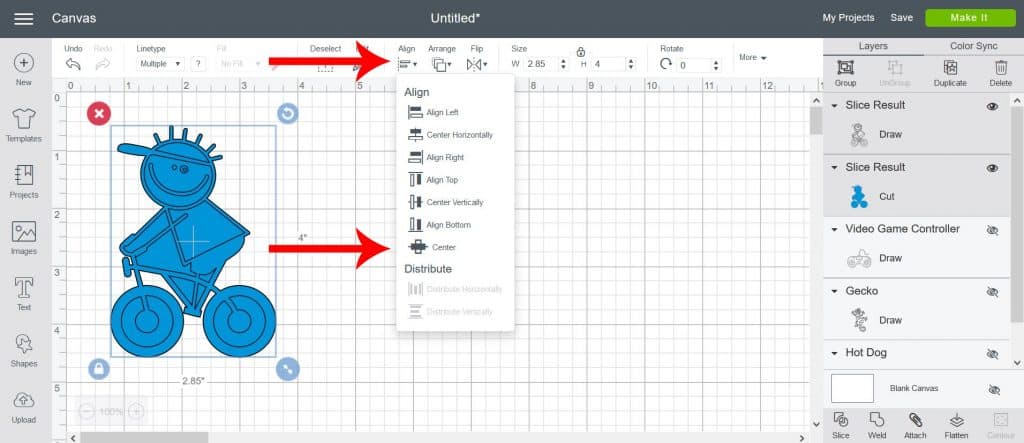
Line up the two images and align in the center.

Attach images and send to mat.
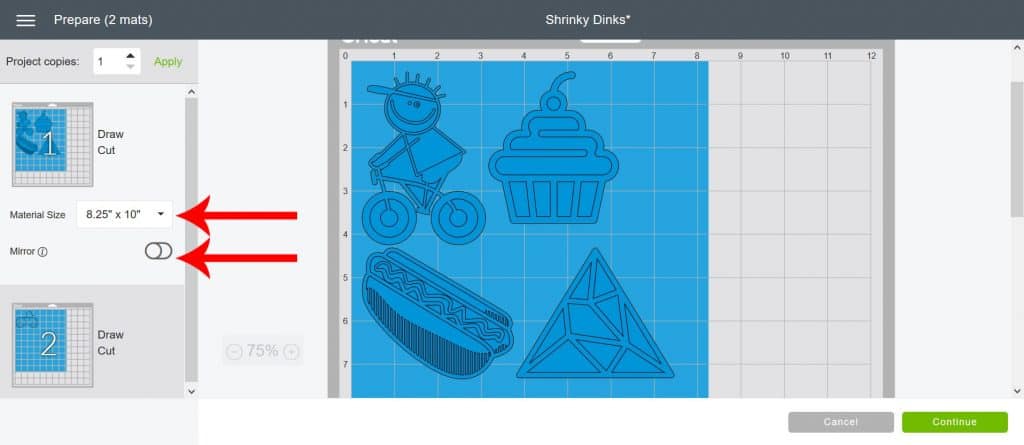
Change the mat size from 12″x12″ to 8.25″x10″ and mirror image.

Select POSTER BOARD under materials and more pressure.
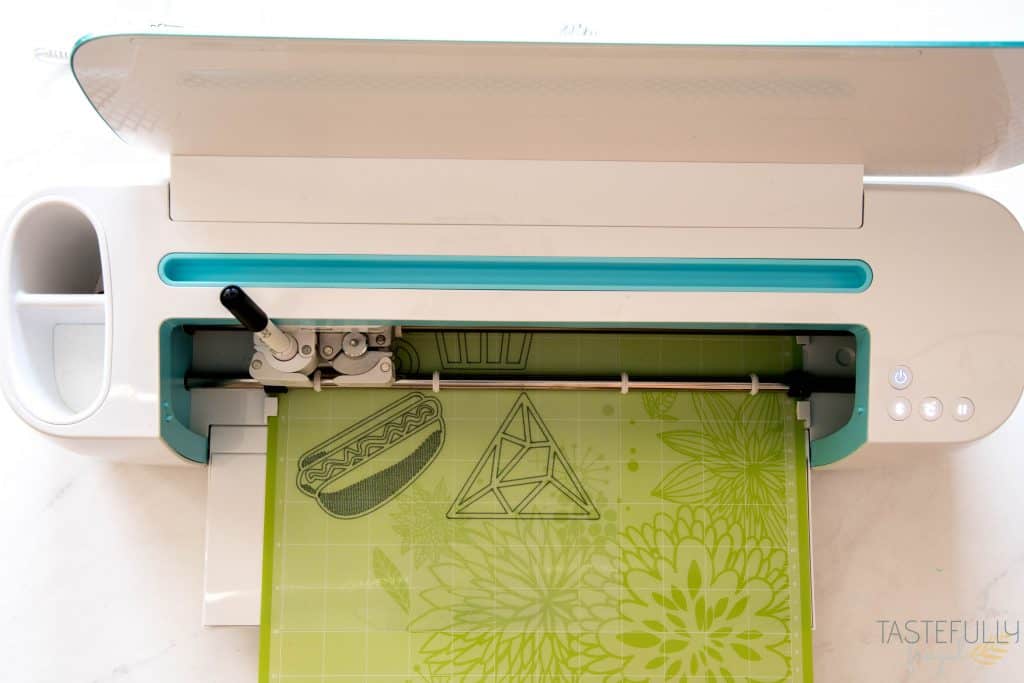
Load shrinky dink sheet on StandardGrip cutting mat shiny side down on mat.
Load Black Cricut Pen into the A clamp.
Draw/Cut designs.
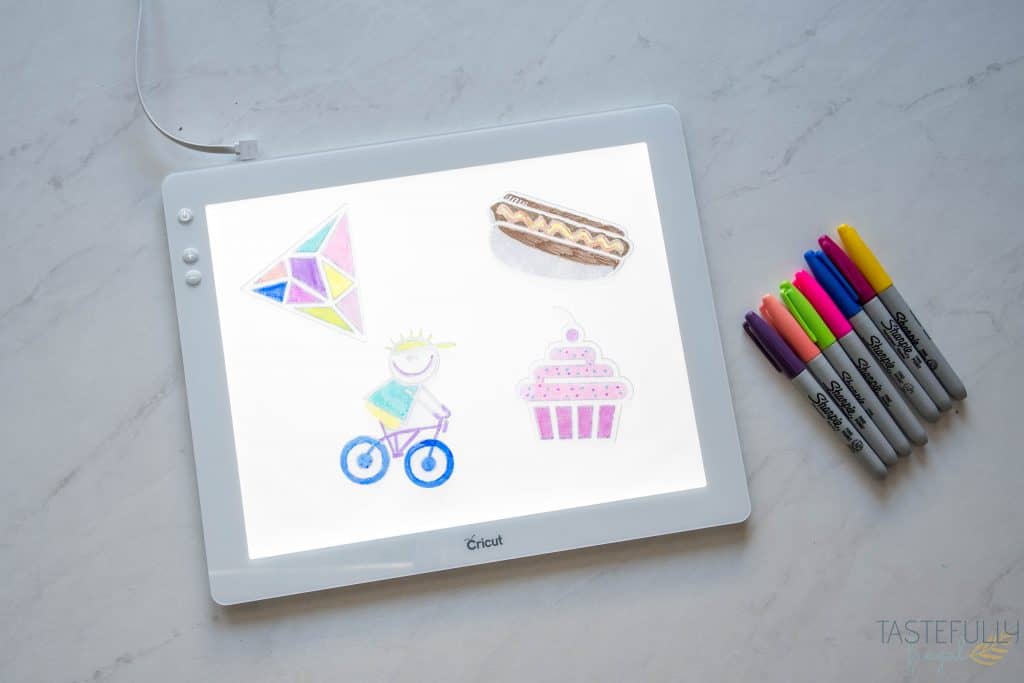
Turn on BrightPad and set your design(s) on the BrightPad.
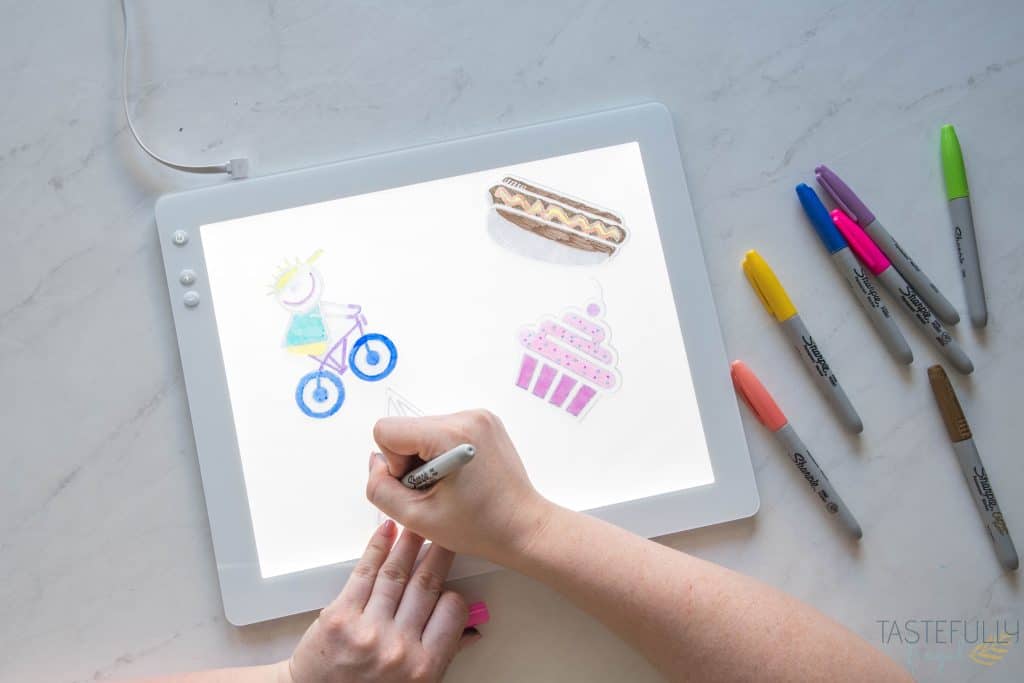
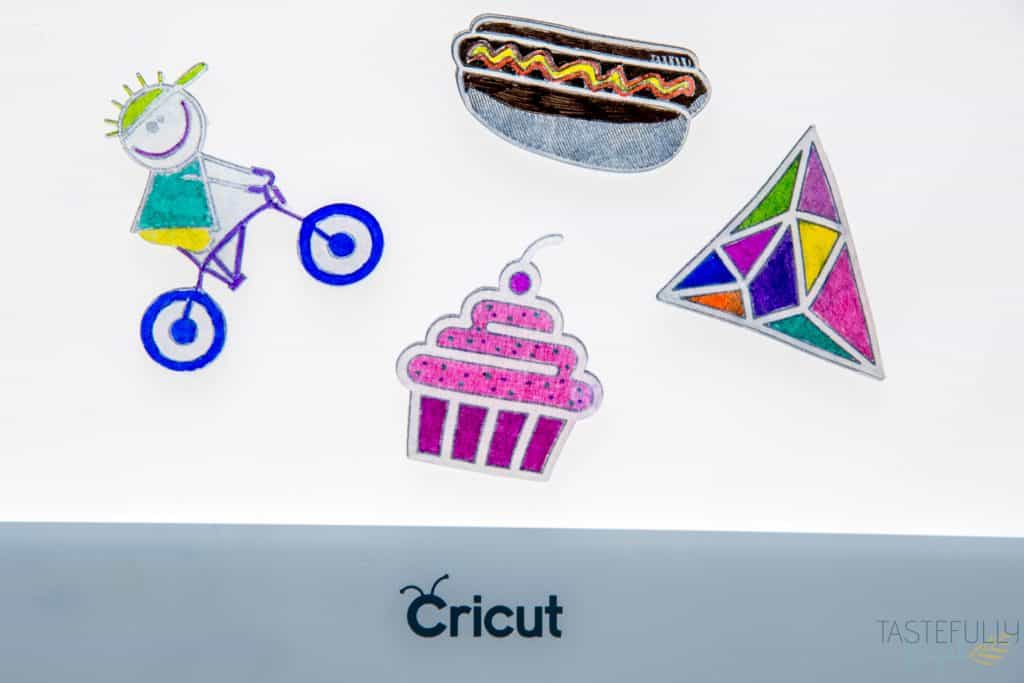
Use Sharpies to color in designs.
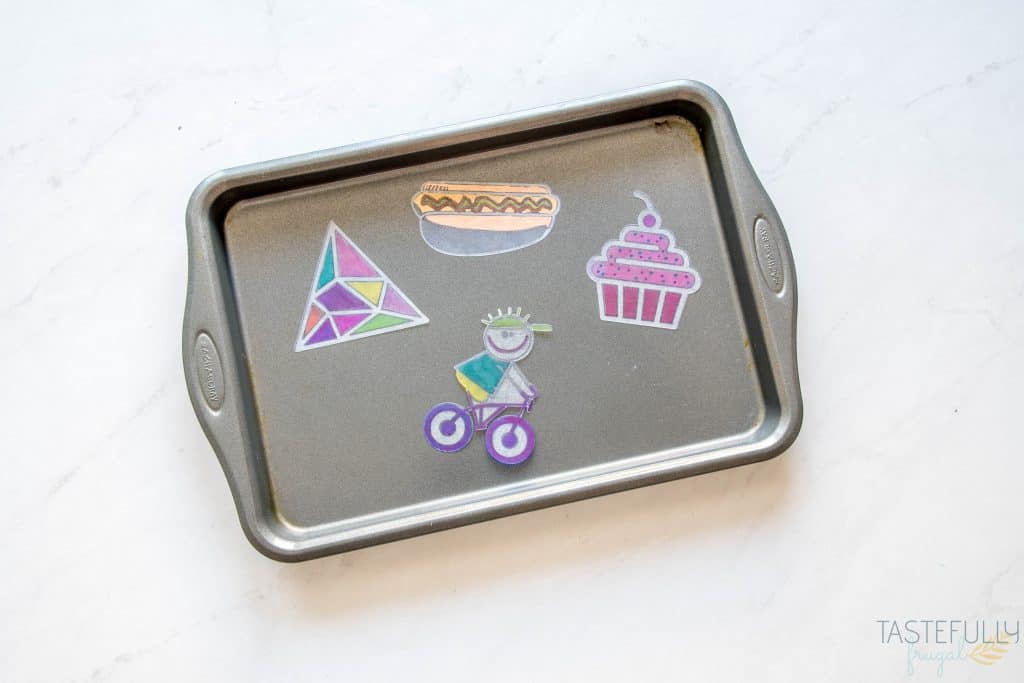
Place designs on a cookie sheet and place in oven for 2-3 minutes. You’ll want to keep an eye on your designs so they don’t get over cooked. You’ll notice they will start to curl and then flatten back out. Once they are flat again you’ll want to cook for about 30 seconds longer. We’ve made these about 5 times now and the cook time has ranged from 2:30-3 for us depending on how many shrinky dinks we have and the size.
Let cool on the cookie sheet for about 10 minutes before playing with.
Have you ever made Shrinky Dinks with your kids before? Are you excited to try them with your Cricut now? If you’d like to check out more ways you can use your Cricut check out these posts! Need help with your Cricut? Join our Cricut Support Facebook Group!
This is a sponsored conversation written by me on behalf of Cricut. The opinions and text are all mine.


Leave a Reply