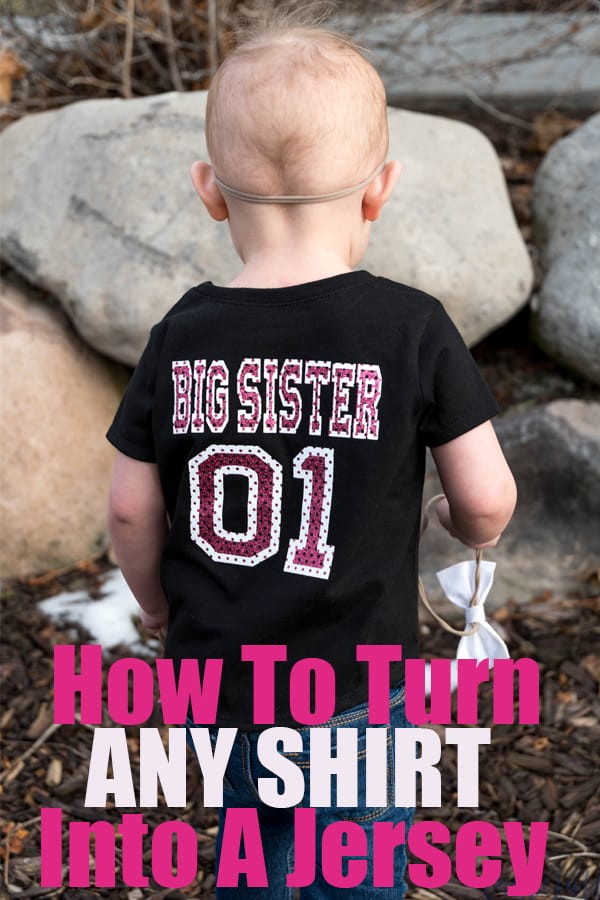
Make any shirt look like a jersey with the new Cricut Mesh Iron-On Vinyl.
PS – This is not a sponsored post I just saw this product and fell in love!
PPS – Fun announcement for the Tastefully Frugal family included!
Last week I was looking on Cricut.com to help a reader find some pastel iron-on for a project she was working on. I searched under all iron-on vinyl and saw this mesh iron-on. I had never heard of it before so decided to click for more info and got so excited when I saw this picture!
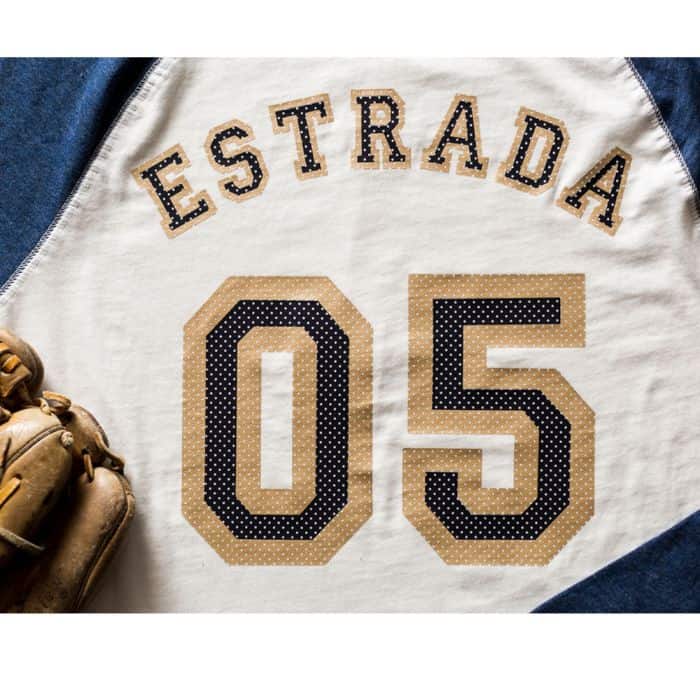
Jerseys can be so expensive, especially when you have kids that either change their mind on their favorite player or out grow the jersey after the first time they wear it. This mesh iron-on makes it so much easier (and more affordable) to make jerseys! Plus you can customize ANY shirt with just about any color of mesh iron-on, including glitter – my favorite!
How To Make Any Shirt A Jersey
First, you start with a shirt, any shirt. Any color, any material, any style. I really like the Garanimals brand at Walmart for baby and toddler shirts. They have lots of different colors, stand up well in the wash and are affordable.
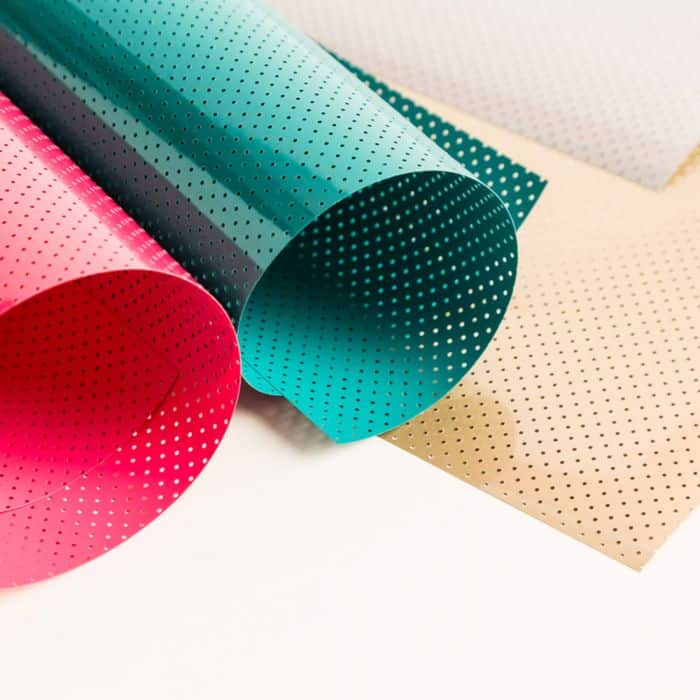
Second, you need to decide on what color(s) you want. There are over 10 different individual color options or you can buy a sampler that comes with 3 sheets of coordinating colors. I like going with the samplers that way I get the most bang for my buck since the design ideas I have are all multi-color.
When ordering from Cricut.com make sure to use promo code TFRUGAL10 to get 10% off and score FREE shipping on orders over $50!
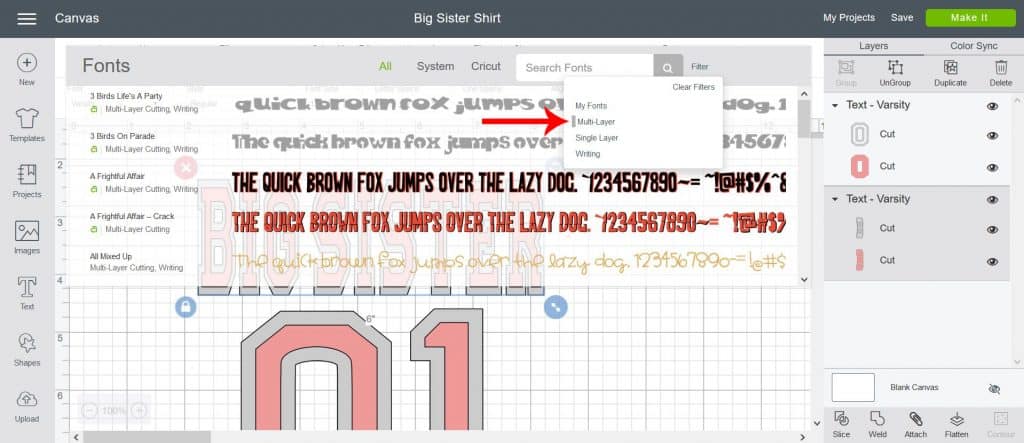
Next, you need to pick a font. If you want the jersey look, you’ll want to look at multi-layer fonts in Design Space. My two favorites are Extreme and Varsity and there are several varieties of both.
Cut out the iron-on and apply with the EasyPress 2 using the same settings that you would use for Everyday Iron-On or Everyday Glitter Iron-On (if you’re using glitter).
How To Make An Announcement With Jerseys
If you follow me on Facebook or Instagram you probably have noticed it’s been a little more quiet than usual. There’s a good reason for it; we’re expecting our 4th baby this summer! I don’t know if it’s because I’m older now, or the lack of sleep I have from staying up with my 2 year old every night, but the first trimester was rough and I spent most of my days either in bed or the bathroom.
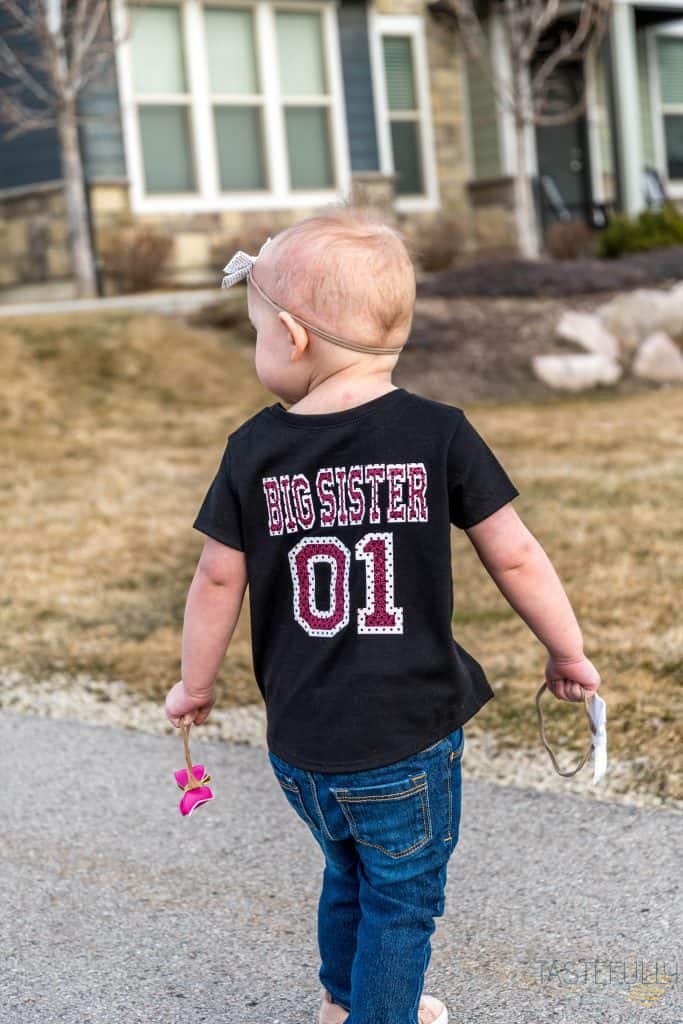
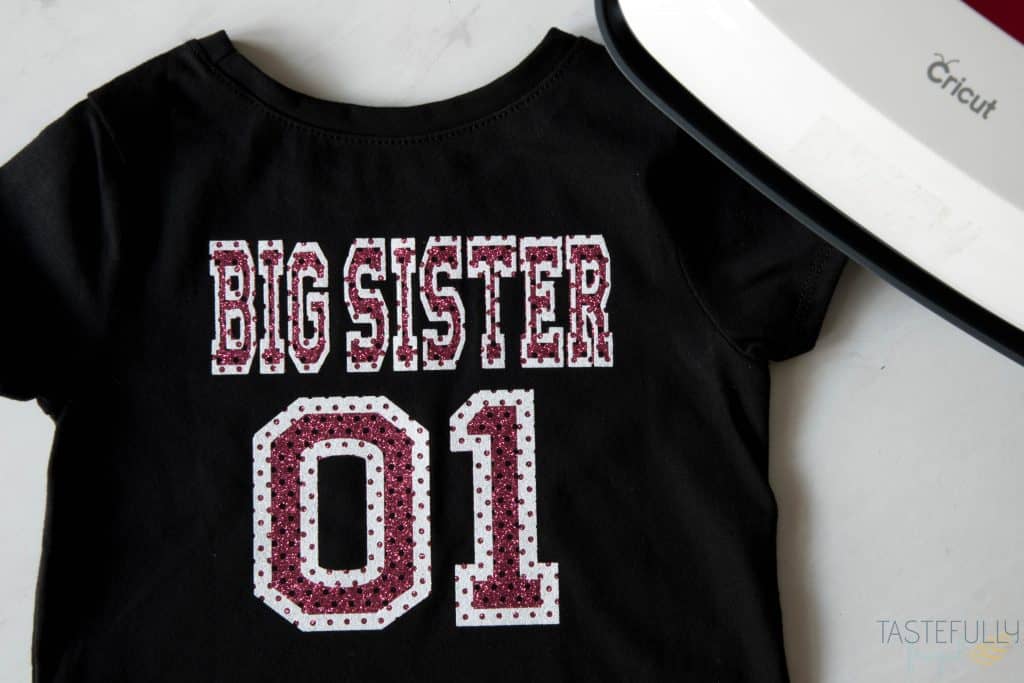
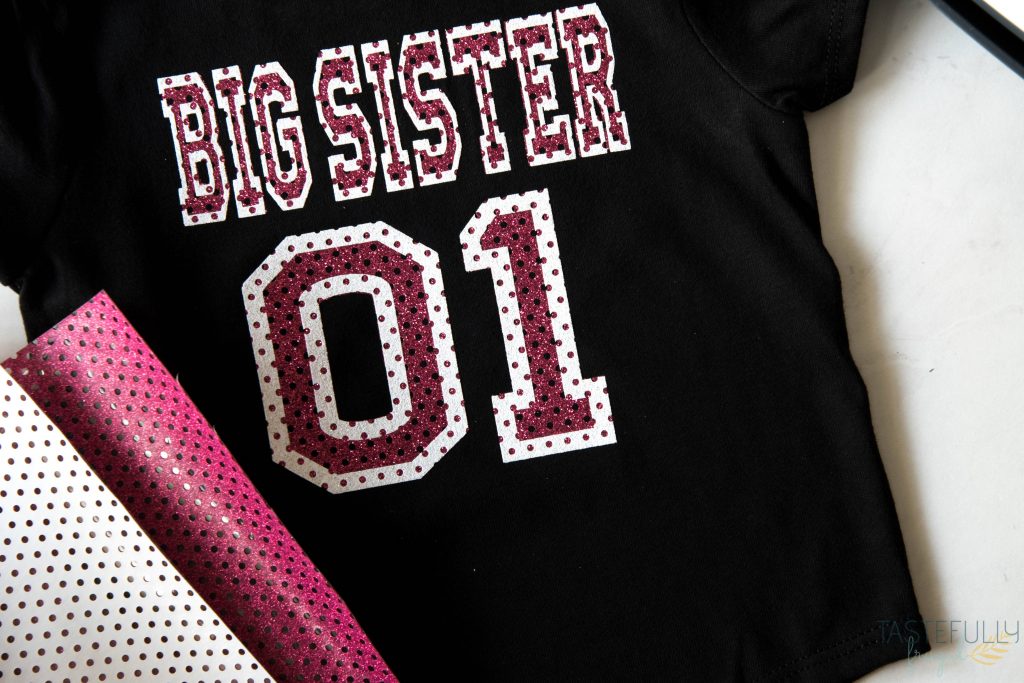
We decided it would be fun to tell friends and family about our new addition by making Mahle a big sister jersey. I decided against a shirt with the saying on the front because let’s be honest, trying to keep a 2 year old’s shirt clean is a pretty hard task. The rose pink and white glitter mesh iron-on really popped together with the black shirt and made our announcement so fun!
DIY Jersey With Mesh Iron-On
One thing to keep in mind when you are making your jersey is the size of your name and number. You don’t want them to be too small (or too big) and you may need to change the width without changing the height, or vice-versa. To do this you’ll want to click the lock icon in the bottom left corner of your text and then go up in the tool bar to change either the height or width.

For Mahle’s shirt the shoulder to shoulder seam measured 10″ and I wanted to leave 2″ on each side so I made sure my words were 6″ wide. I then measure from the top to the bottom of the shirt. It was 12″. I knew I wanted the words to be an 1½” from the top and I didn’t want the number to go to the bottom so I decided 6″ tall would be the perfect height for the whole design.
After I centered the number under the words I measured the whole design and it was a little over 4″ tall. I changed the height of the letters from just under 1″ to 2″ tall and stretched the numbers 3.5″ tall while keeping the numbers 4.5″ wide. This was the perfect size for a 2T shirt.
SUPPLIES:
Shirt
Cricut Maker (or Explore Air Machine)
When ordering from Cricut.com make sure to use promo code TFRUGAL10 to get 10% off and score FREE shipping on orders over $50!
DIRECTIONS:
Open up this design in Design Space. You can change the words and/or numbers and size using the instructions above.
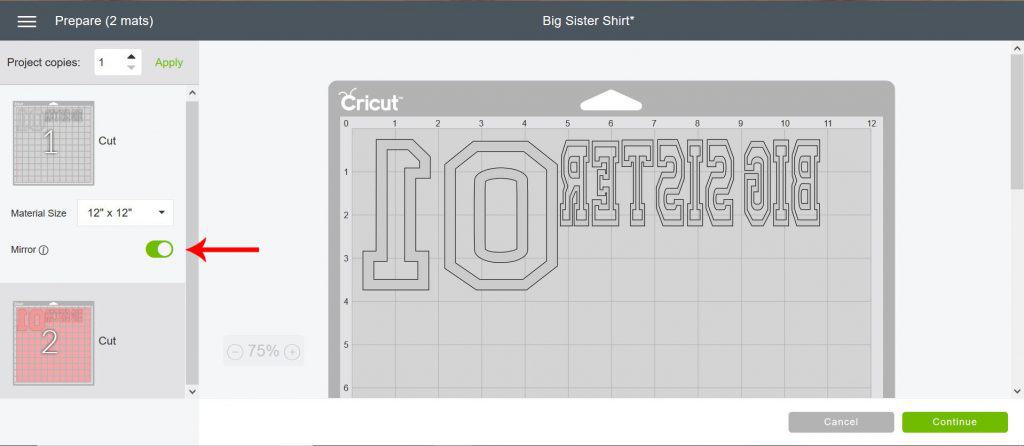
Click Make It and make sure to MIRROR both mats.
Select either EVERYDAY IRON-ON or GLITTER IRON-ON under the materials drop down menu on the next page. Use Everyday Iron-On for regular mesh iron-on or Glitter Iron-On for glitter mesh iron-on.
Load mesh iron-on shiny side down on StandardGrip Mat and cut design.
Carefully weed excess vinyl. I’ve found it’s easiest to start in the bottom left corner and slowly peel up at a 90° angle. This way you aren’t losing any pieces of the letters. This is especially important if you’re working on a smaller design, like the Big Sister part here.
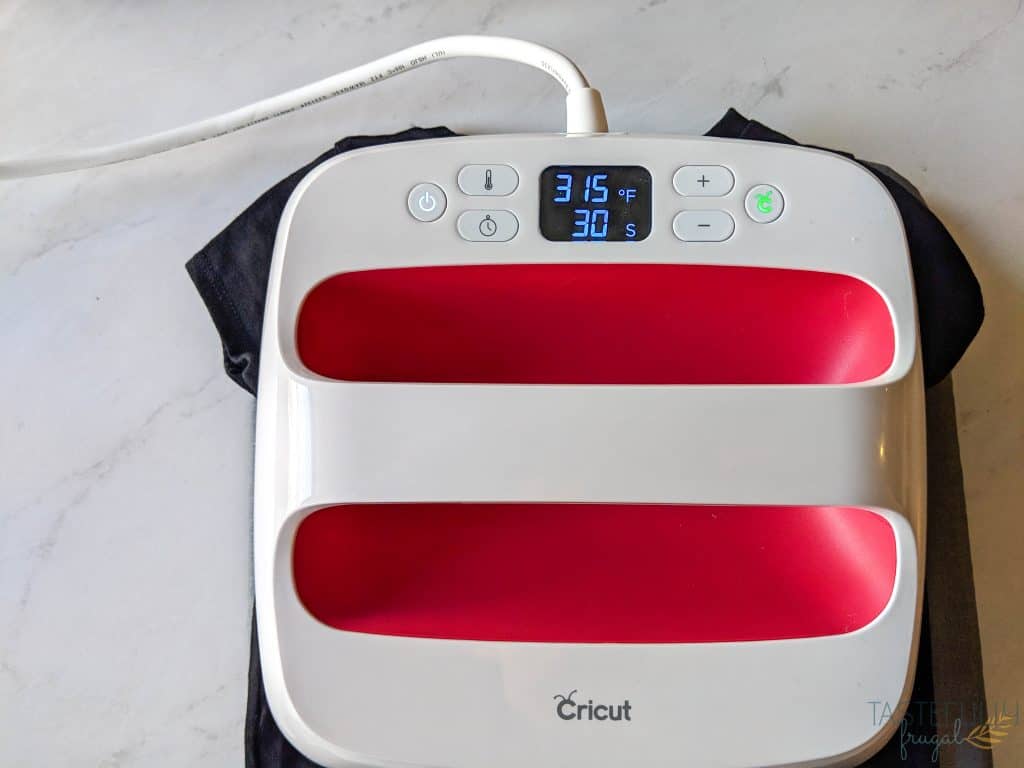
Turn on EasyPress 2 and heat to 315°F and set the timer for 30 seconds.
Once the EasyPress 2 heats up place your shirt on the EasyPress mat, front side down and preheat the back of the shirt for 5 seconds with the EasyPress 2.
Put the center color of your design down first and measure 1.5″ from the top and 2″ from each side to make sure it’s lined up.
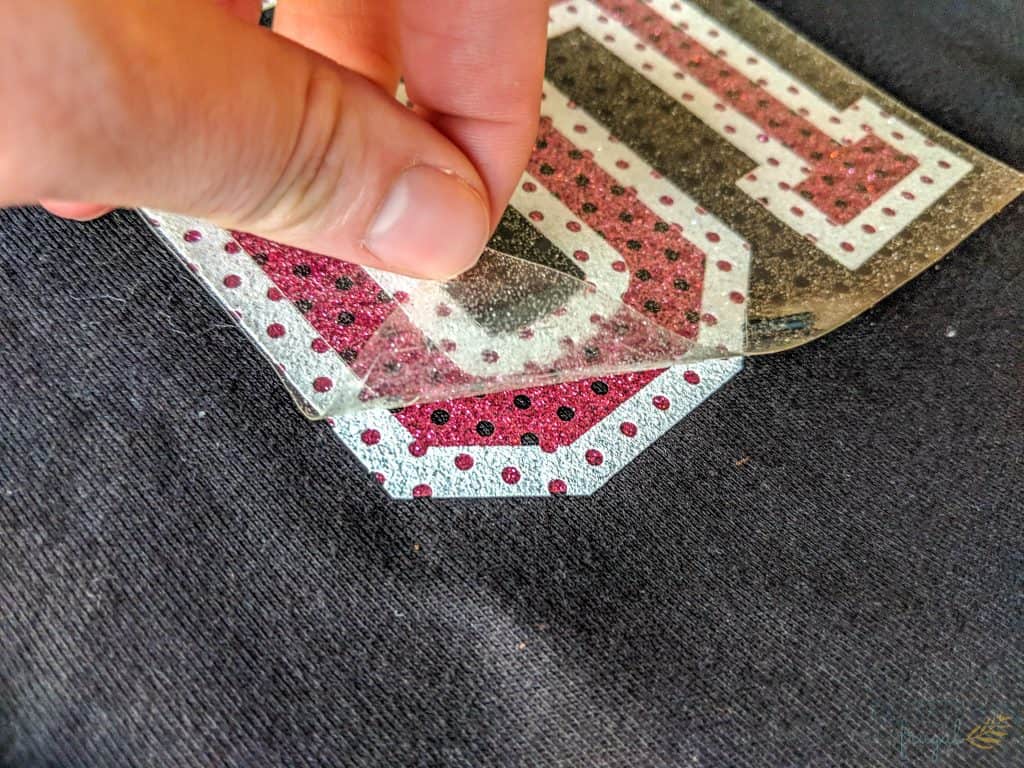
Use medium pressure and press down on the EasyPress 2 for 30 seconds. Turn shirt over and press on the back for 15 seconds. Slowly peel plastic backing up at a 90° angle.
Line up your outside color on top of your center color.
Use medium pressure and press down on the EasyPress 2 for 30 seconds. Turn shirt over and press on the back for 15 seconds. Slowly peel plastic backing up at a 90° angle.
Cricut Mesh Iron-On Care Instructions
The mesh iron-on comes with the same StrongBond Guarantee as Cricut’s Everyday Iron-On. It’s guaranteed to last at least 50 washes. I’ve found the best way to get the most life out of my shirts is if I wash them inside out and lay them flat to dry. I’ll update this post if I learn of any new tips for the mesh iron-on, but so far it’s held up through one wash.
If you’d like to check out more ways you can use your Cricut check out these posts! Need help with your Cricut? Join our Cricut Support Facebook Group!


Lynn Liao says
Hi, can I recently bought the mesh iron on as well. But I noticed mine does not have the clear transfer sheet like yours. Did yours come with the transfer sheet?
Sydney says
Hi Lynn! Are you talking about the one in the picture being lifted up? If so, then yep all iron-on vinyl should come with a transfer sheet. Do you have a picture you can send me? We’ll see if we can figure it out! My email is [email protected]