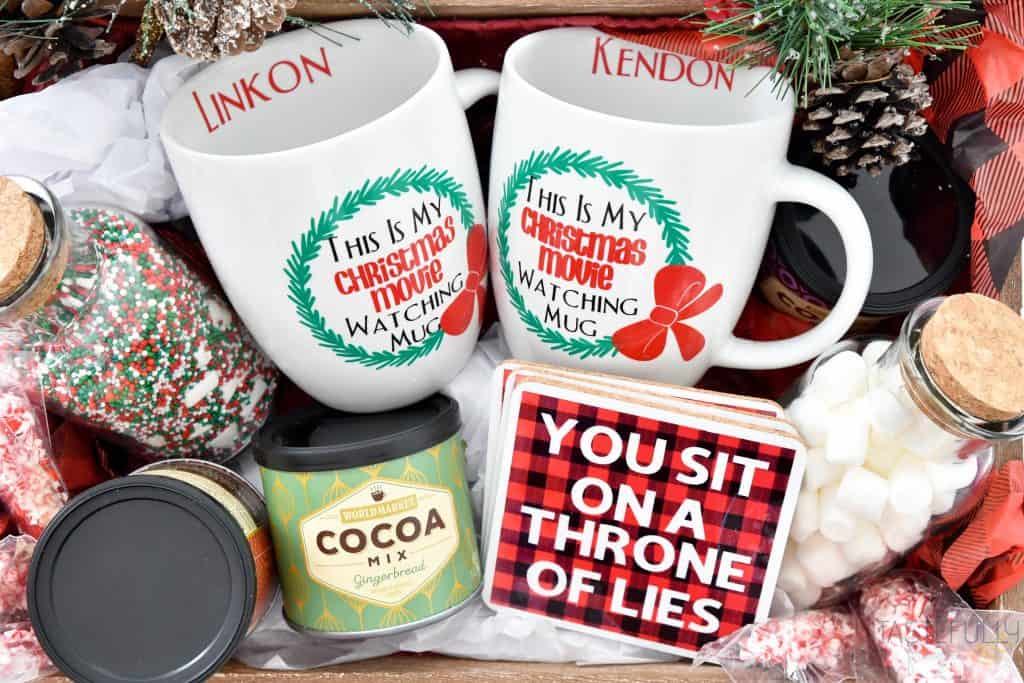
Creating a personalized Christmas gift basket for the movie lovers in your life is super easy with your Cricut machine.
This is a sponsored conversation written by me on behalf of Cricut. The opinions and text are all mine.
One of my family’s favorite things to do during the holiday season is watch Christmas movies. If you come to our between November and January, there is a good chance there will be a Christmas movie on. This love for Christmas movies has spread to my nieces and nephews too! I decided to create my nephews an early Christmas (or late birthday) gift so they could have fun watching Christmas movies all season long.
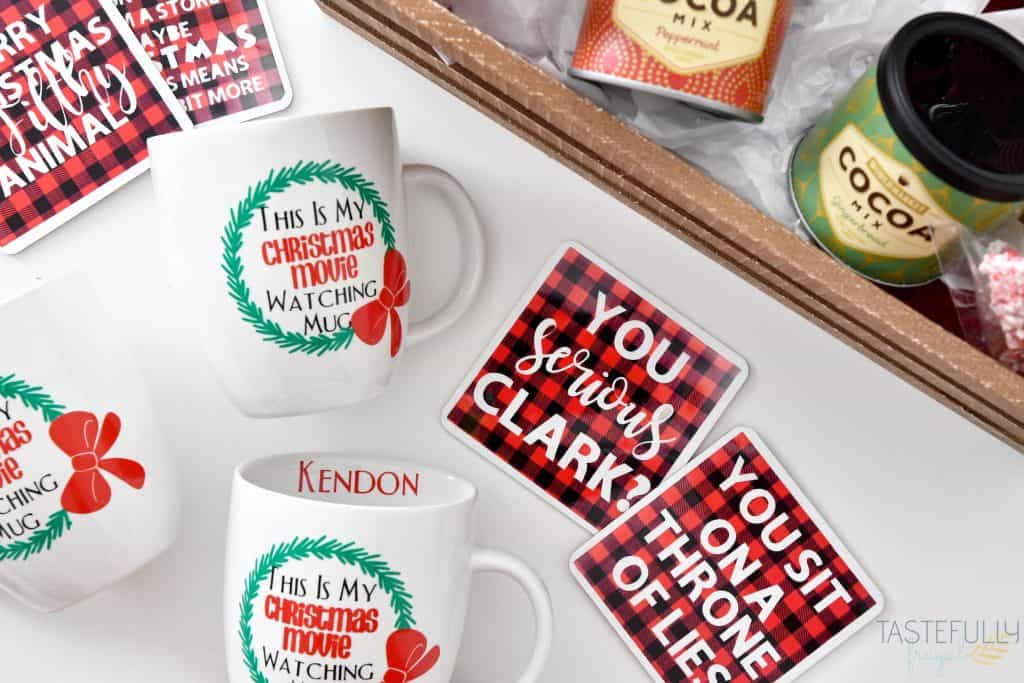
My love language is gift giving. I love to give gifts and bring smiles to those around me. My Cricut machines make gift giving a whole lot easier and affordable! For example, I could have bought the mugs and coasters in this Christmas movie watching gift basket, but it would have cost me close to $50. I was able to buy blank mugs for $2 and use Infusible Ink coaster blanks and only spent $15! The Cricut makes giving a personalized Christmas gift basket not more affordable but easy too!
What Should You Include In A Personalized Christmas Gift Basket
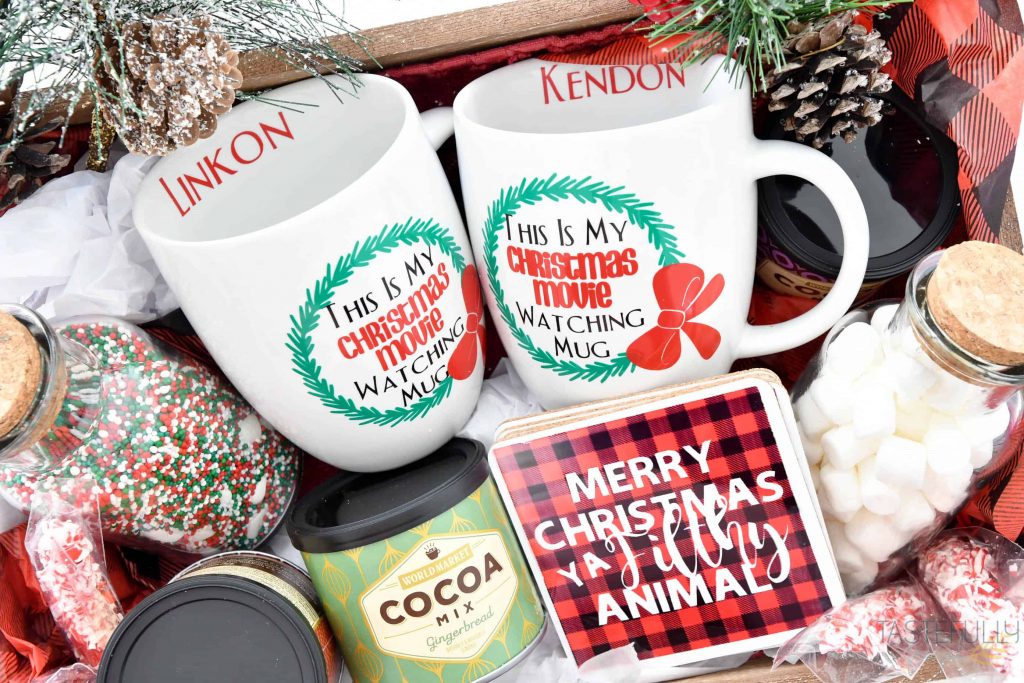
I included personalized mugs and coasters with their favorite movie quotes (I’ll show you how to make both below). I also include hot chocolate, peppermint candy stirrers, sprinkles and mini marshmallows. The blank mugs and cute jars are from Target. You can get the peppermint stirrers from Amazon or World Market.
How To Personalize Mugs
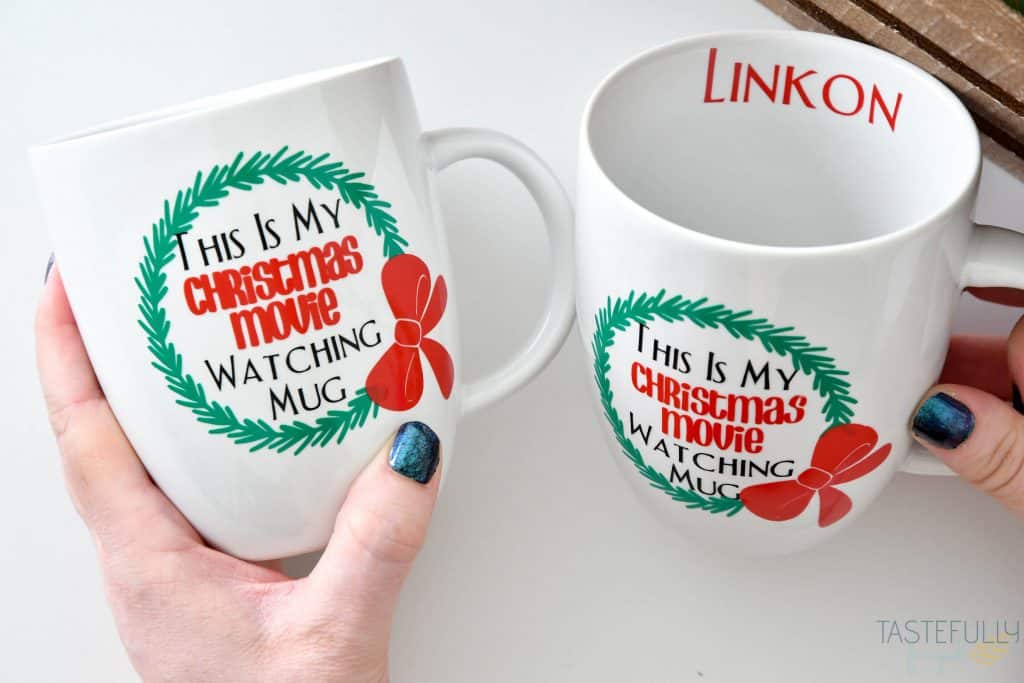
Not only is it more affordable for me to make my own gifts but I can personalize them too! I’ve seen a lot of mugs that say Hallmark Christmas Movie Watching Mug, but we love the classics more! You know, Home Alone, Elf, Christmas Vacation. I also was able to add their names to the mugs so there would never be any fighting over whose mug was whose.
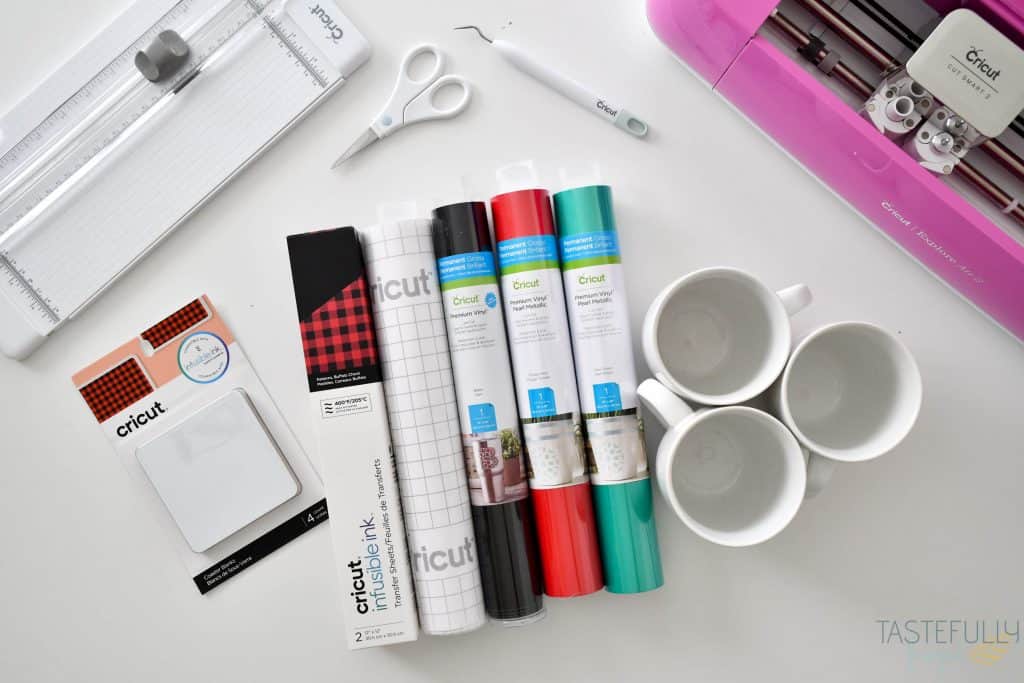
I used Cricut’s Premium Permanent Vinyl for these mugs. The new Premium Vinyl is SO easy to work with, it lays flat right off the roll and is super easy to weed and apply. It’s also very forgiving; so if you get wrinkles when pressing it on the mug, you can easily smooth them out. And because it’s permanent the mugs can be washed!
Tips For Making Mugs With Cricut
My #1 tip when it comes to making mugs is font choice. If you have a small font size, like I do here, it can be rather difficult to use a script font. I had originally used Magnolia Sky for the CHRISTMAS MOVIES part but it was so small, it was almost impossible to weed and get all the swirls. Using larger block letters will make cutting, weeding and applying the phrase SO much easier!
The second tip I have is for when you are doing large, circular designs. You can cut slits in your transfer tape while you’re pressing your design on to the mug so that you can press it down in sections. This will make it much easier to get a perfect design.
DIY Christmas Movie Watching Mug
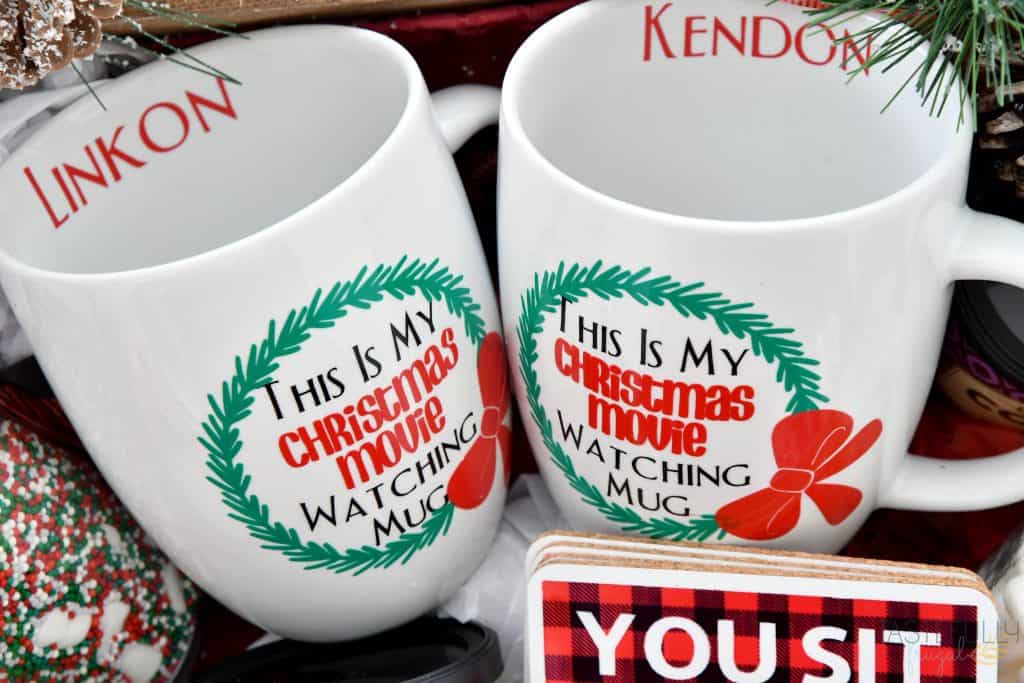
These mugs turned out just as cute as I had them pictured in my head. If you want to make this exact design, you can open the design in Cricut Design Space here and change the names to whomever you are gifting them to (or make them for yourself)!
SUPPLIES:
Mugs
Permanent Vinyl – Black, Green and Red
Cricut Machine (You can use either an Explore Air machine or the Maker)
Essential Tool Kit (I use the paper cutter, scraper, scissors and weeding tool for this project)
Rubbing Alcohol
When ordering on Cricut.com, use code WINTER10 to save 10% and score FREE shipping on $50+ orders (excludes machines). That’s on top of the 10% discount Cricut Access members get automatically!
DIRECTIONS:
Open up this design in Design Space. Make sure to change the names or change their visibility if you don’t want names. Click Make It.
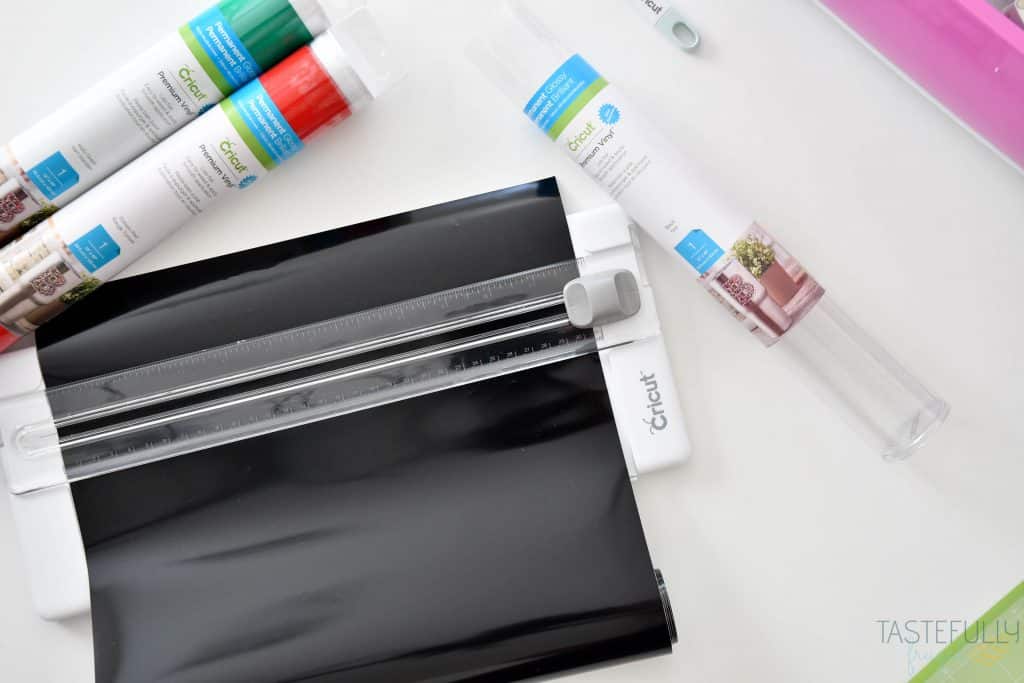
Put your vinyl on your StandardGrip Mat. When I have small designs like this, that only take up a few inches on the mat, I will use the paper cutter to cut my vinyl down to size to make it easier to remove from the mat.
Make sure your dial is set to VINYL for the Explore Air machines (or select Vinyl from the drop down menu with the Maker). Cut your design with your machine.
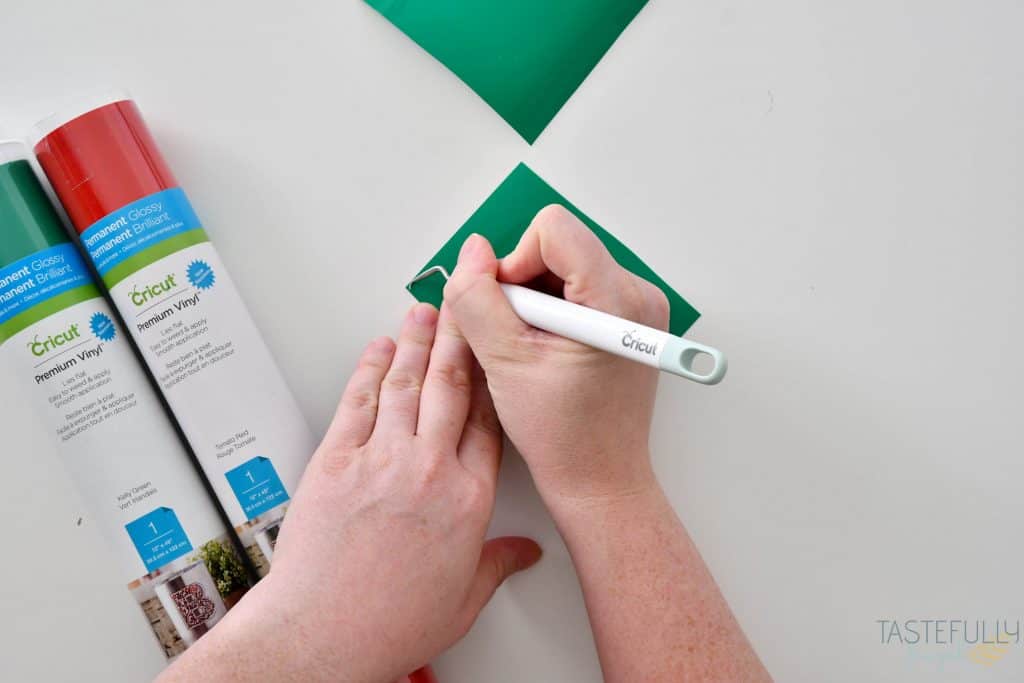
Weed your designs and cut each section apart. You should have 5 pieces for each mug. For this project I pressed the vinyl on in multiple layers. If you want to see how to layer vinyl before applying to your surface, check out this post.
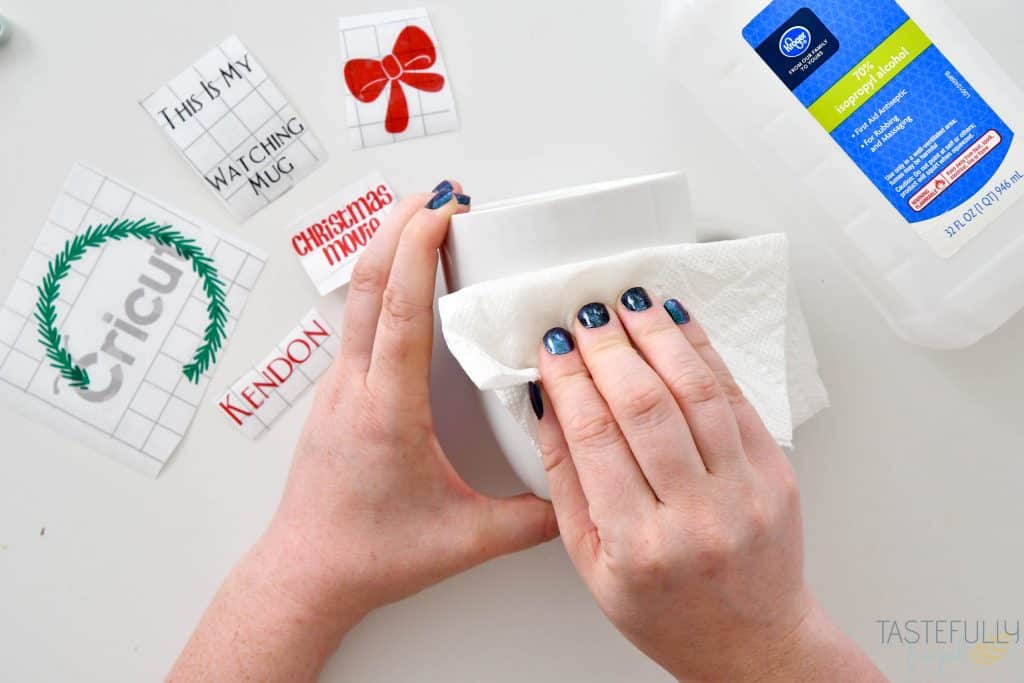
Clean mugs with rubbing alcohol. This will make applying the vinyl SO much easier!
Apply transfer tape to designs and press with scraper to make sure vinyl adheres to transfer tape.
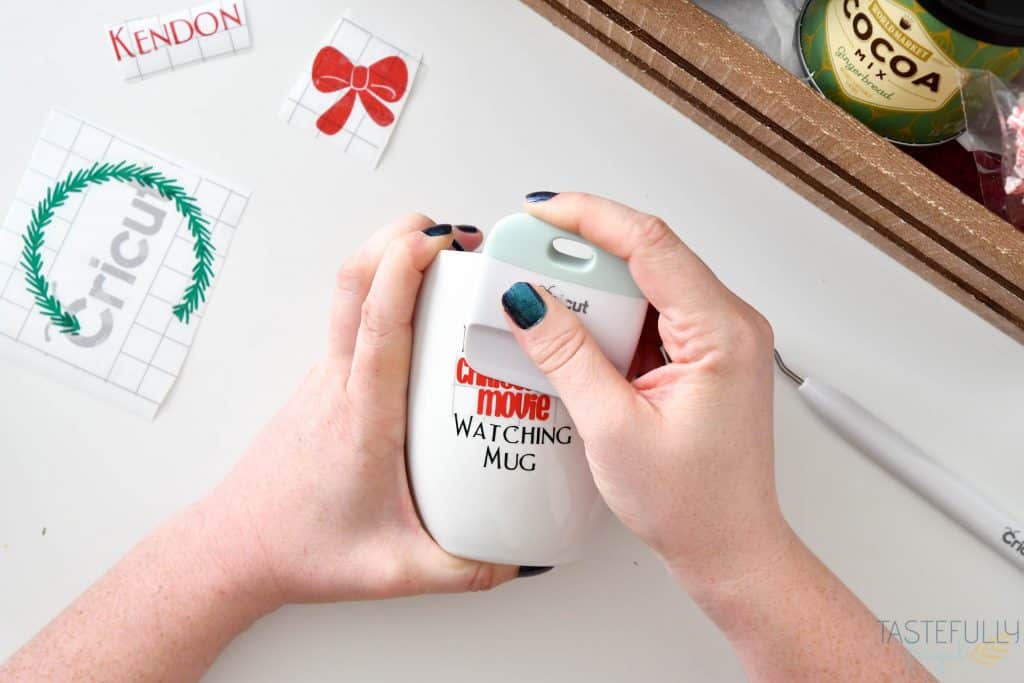
Remove vinyl from backing and apply to mug with transfer tape. Use scraper to press vinyl into mug and slowly peel transfer tape away at angle.
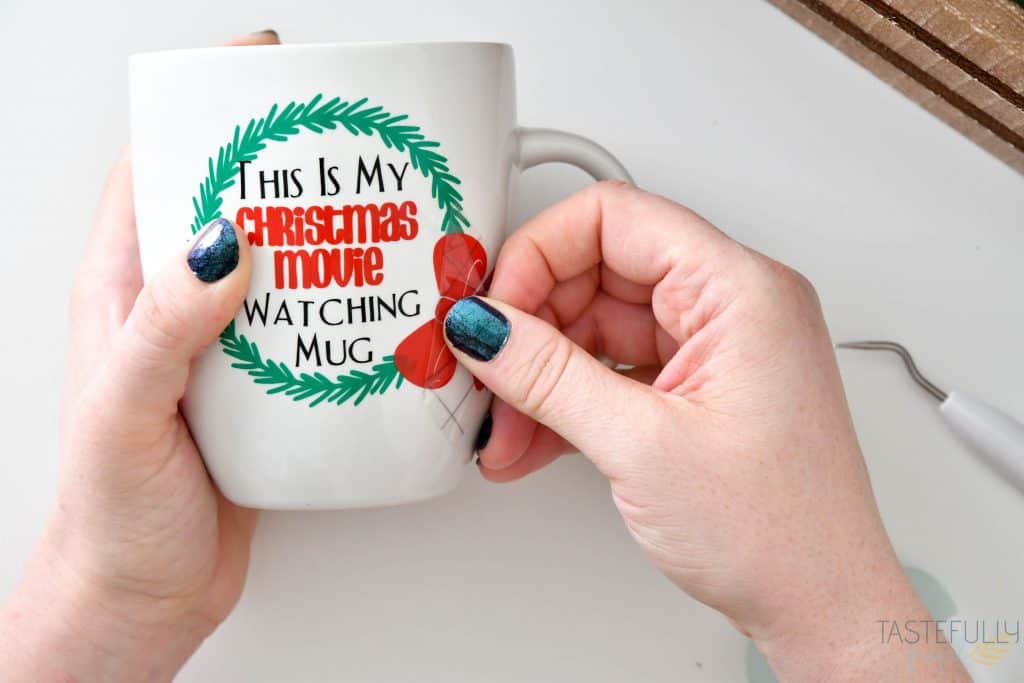
I started with the black vinyl, then added Christmas Movies. Next I did the wreath and lastly the bow.
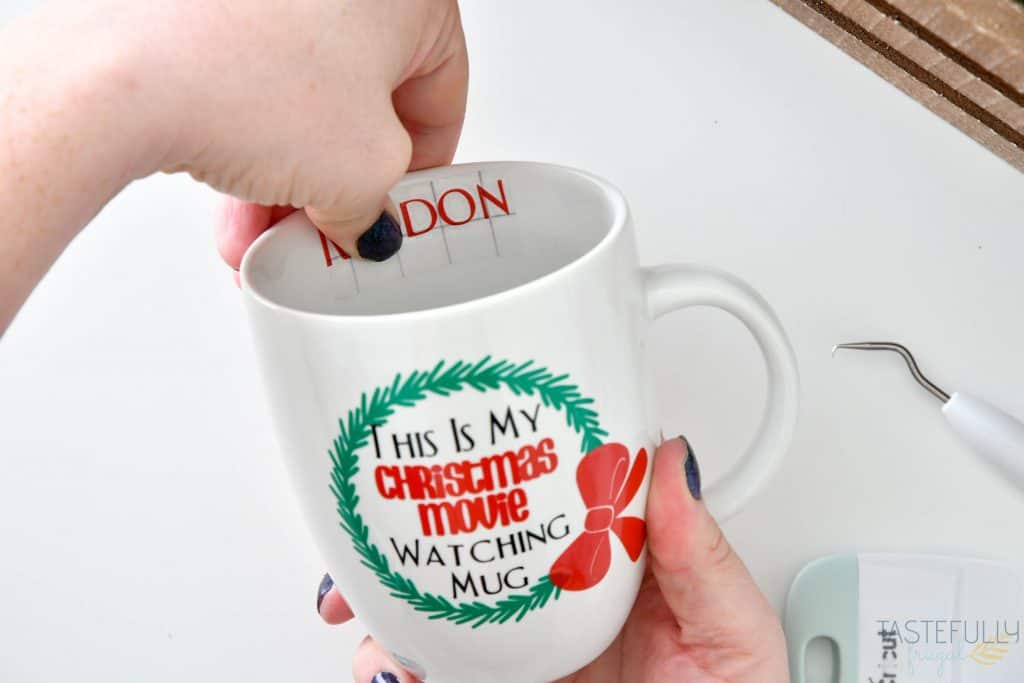
When you are applying the name you’ll want to use your finger as the scraper and make sure it’s pressed into the mug.
Christmas Movie Quotes Coasters
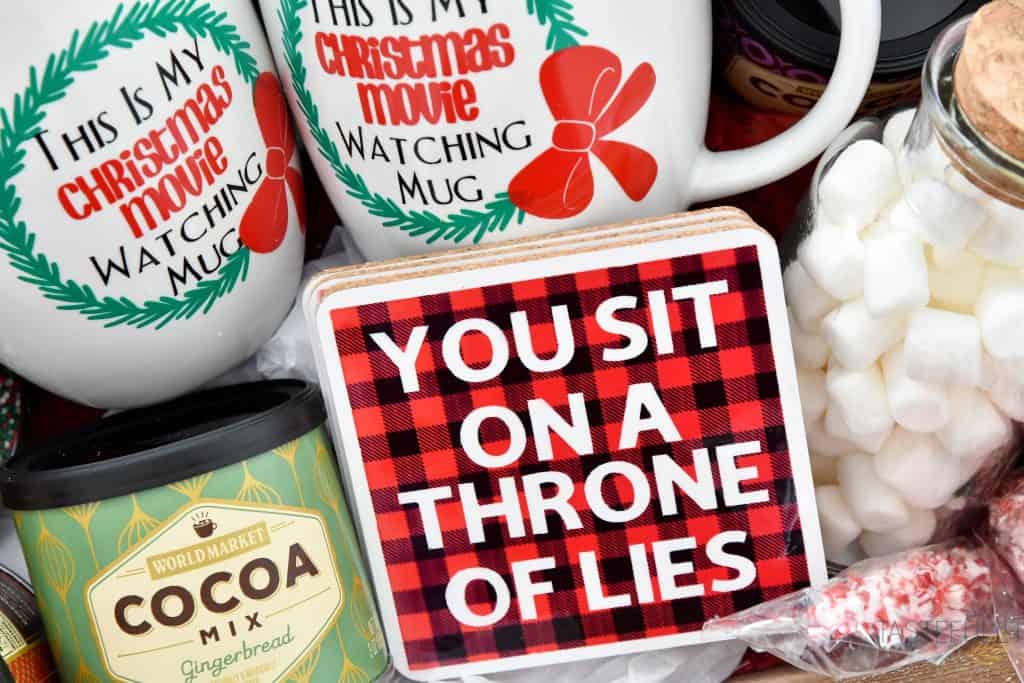
These were so much fun to make! Not only because they are made with Infusible Ink, my new FAVORITE Cricut material, but I loved coming up with the quotes to include on these coasters. You can use the same quotes I did in Design Space here, or come up with your own favorites. If you’re new to Infusible Ink, check out this post to learn more about it.
SUPPLIES:
Buffalo Check Patterned Infusible Ink Transfer Sheets
Cricut Machine (You can use either an Explore Air machine or the Maker)
Lint Free Cloth (comes with your Infusible Ink Transfer Sheets)
EasyPress 2 (I used the 9×9)
Cardstock
Butcher Paper (also comes with your Infusible Ink Transfer Sheets)
DIRECTIONS:
Open up this design in Design Space. Click Make It.
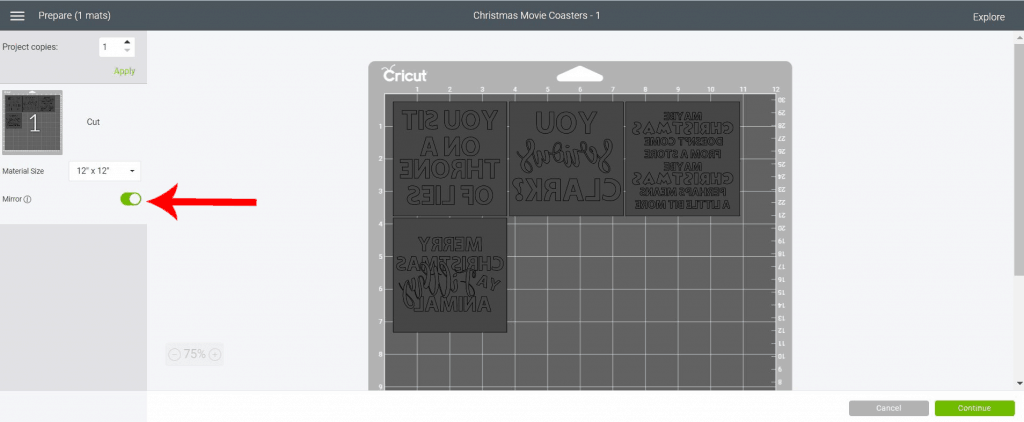
Mirror your design on the next page.
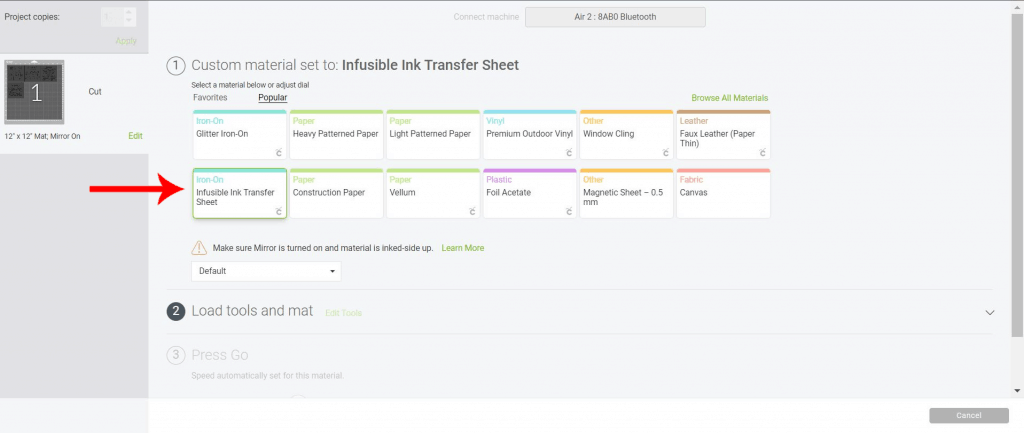
Move your dial to CUSTOM on your Explore Air 2 and select INFUSIBLE INK TRANSFER SHEET from the materials drop down menu (you can just select Infusible Ink Transfer Sheets from the material menu with the Maker).
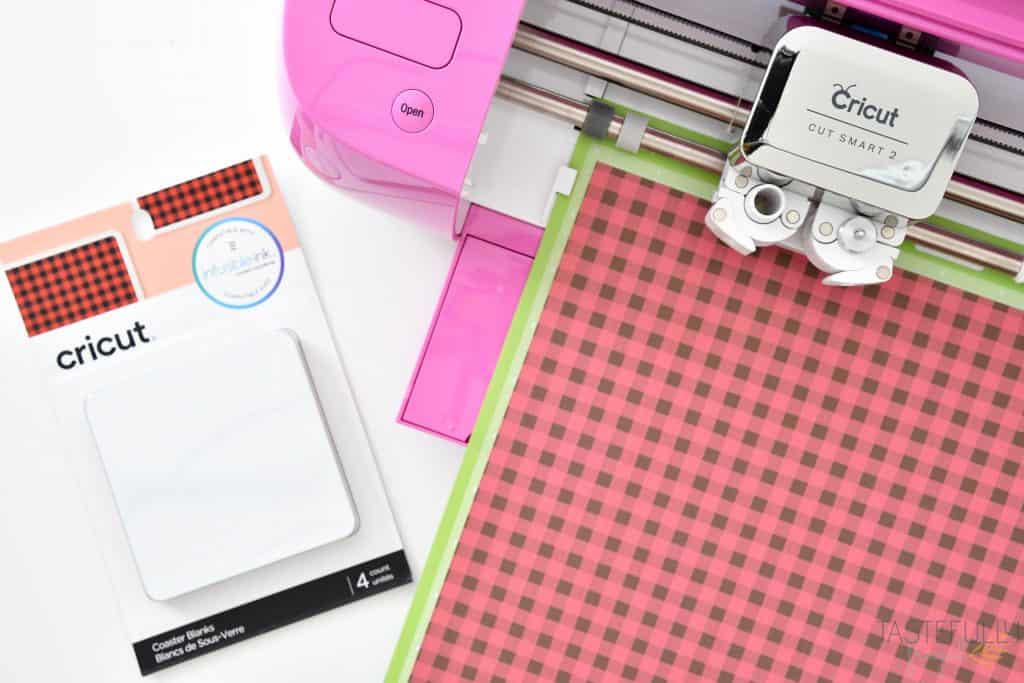
Load your Infusible Ink Transfer Sheet patterned side up on your StandardGrip mat and cut design.
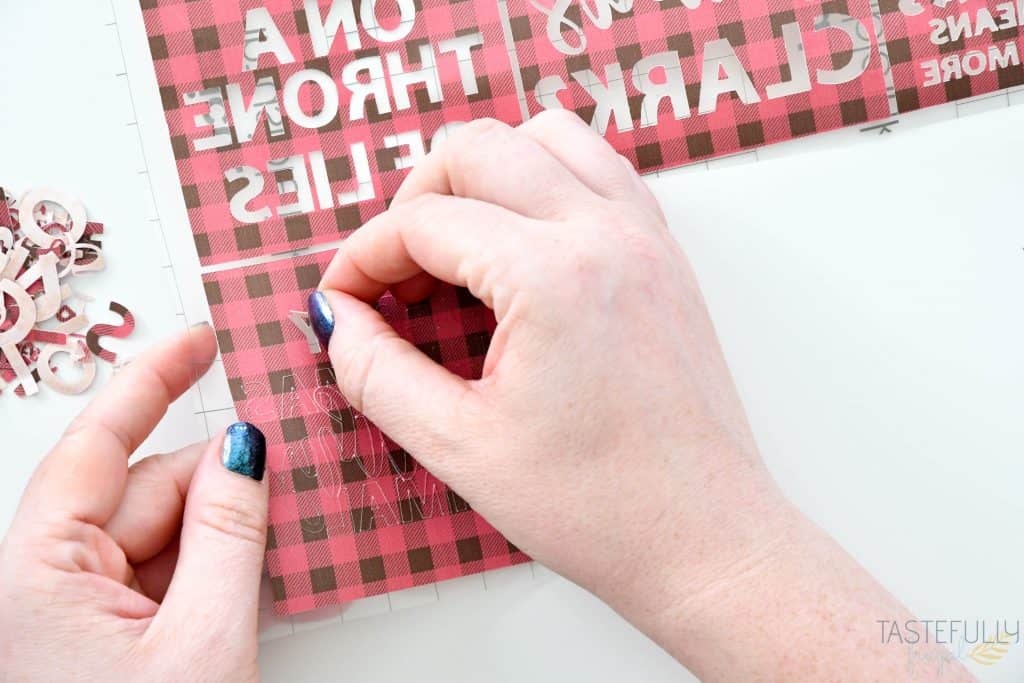
Weed excess Infusible Ink around squares and the words. ***ONLY use your fingers to weed. If you use a weeding tool, it may press the ink into the plastic backing making it transfer on to your coasters***
Preheat your EasyPress 2 to 385°F and 40 seconds.
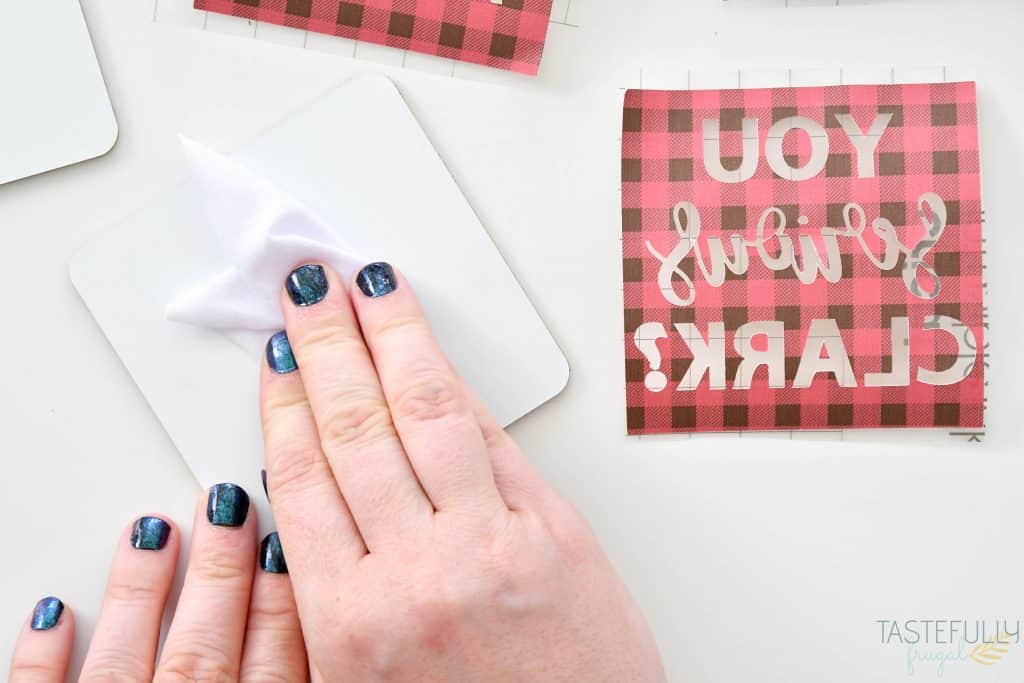
Prep your coasters by cleaning them with a lint free cloth.
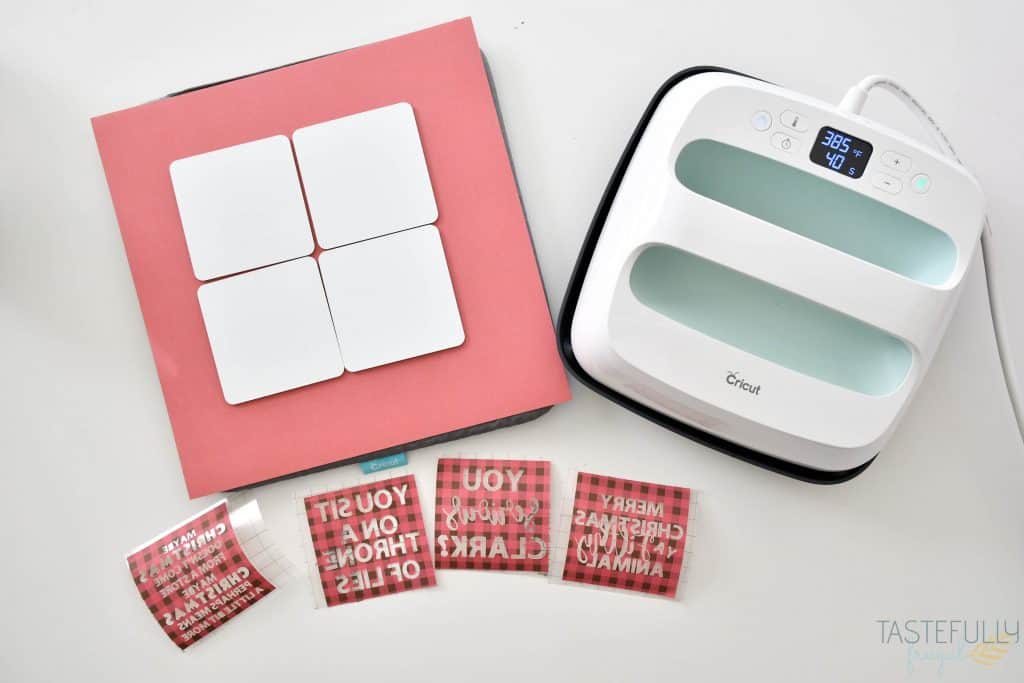
Put a piece of cardstock on top of the EasyPress mat and place your coasters shiny side up on top of the cardstock.
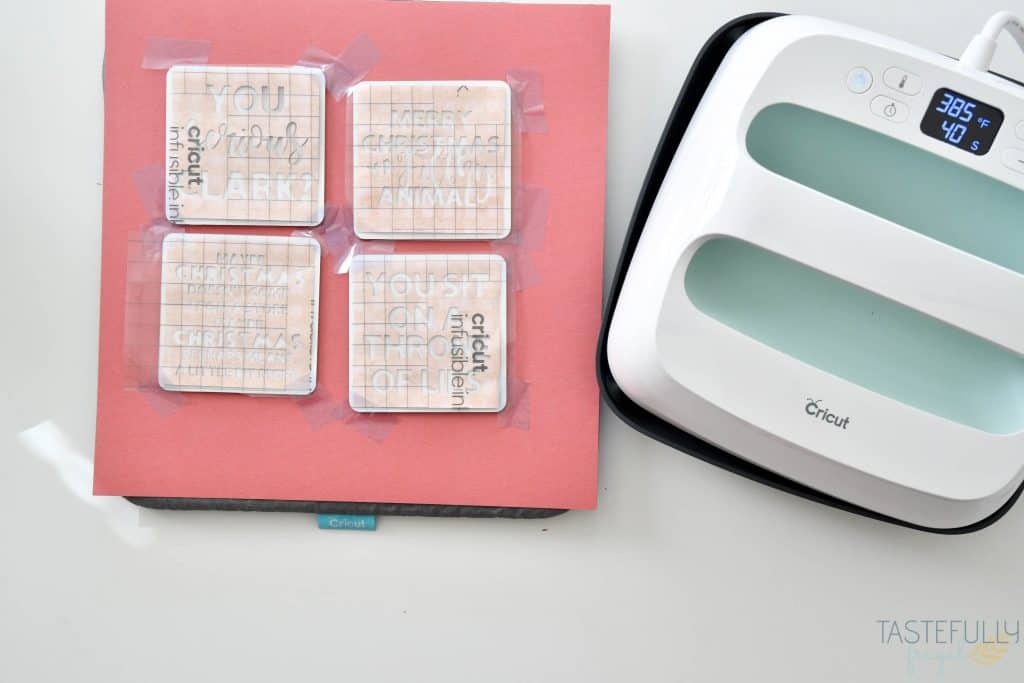
Put your designs, patterned side down, on top of the coasters. You may need to use Heat Resistant Tape to keep designs from moving.
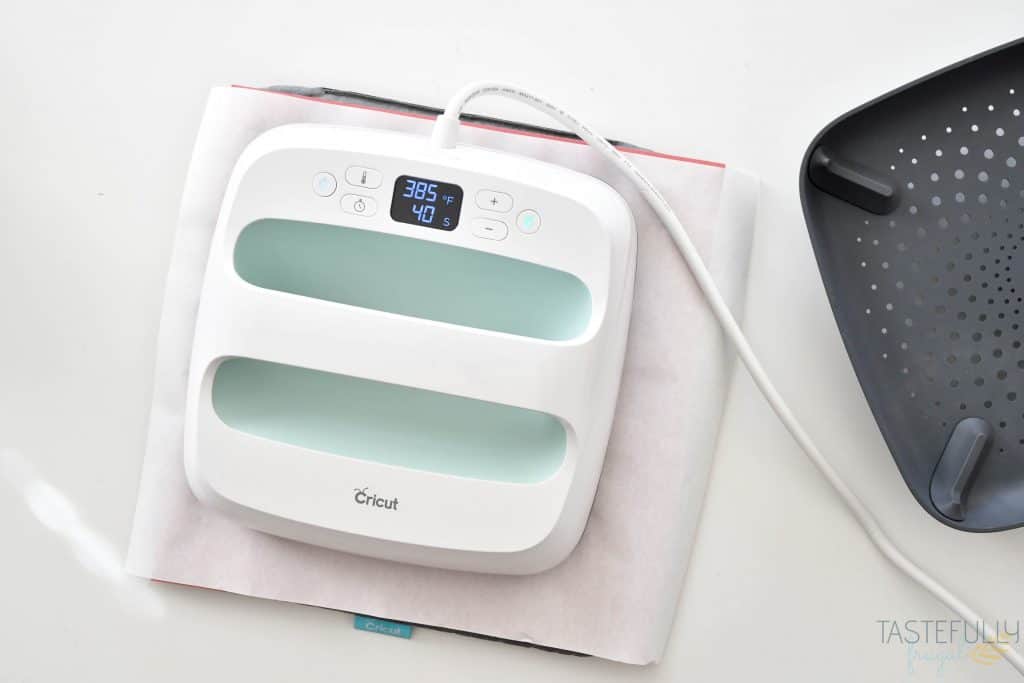
Put butcher paper on top of designs and put EasyPress 2 on top of butcher paper. DO NOT add pressure to EasyPress 2, just start timer and press for 40 seconds.
After 40 seconds, put EasyPress 2 back on it’s base and remove the butcher paper. Let coasters cool for a minute or two and then remove the Infusible Ink transfer sheets.
What would you include in your personalized Christmas gift basket? If you’d like to check out more ways you can use your Cricut check out these posts! Need help with your Cricut? Join our Cricut Support Facebook Group!


Leave a Reply