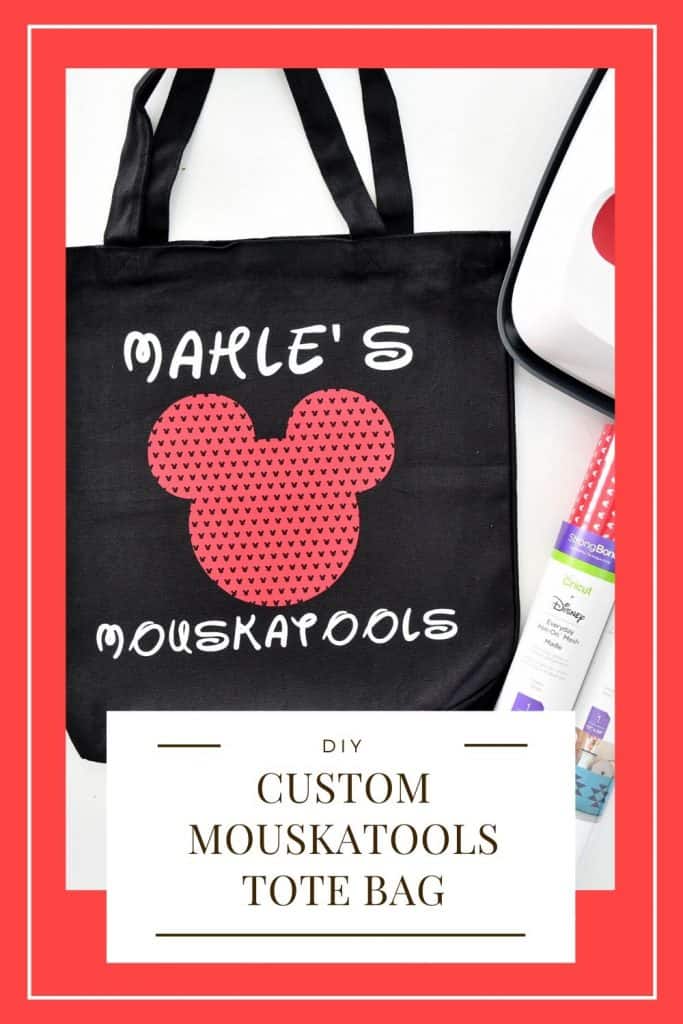
Learn how to make a custom Mickey Mouskatools Tote Bag with Disney Mesh Iron-On Vinyl and Cricut.
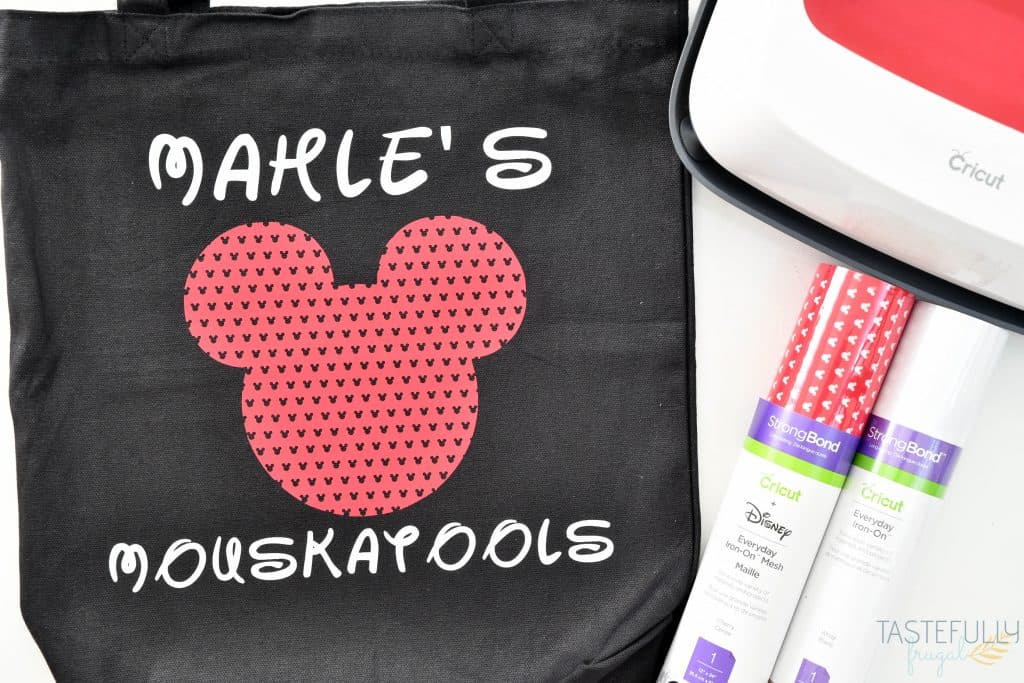
All four of my kids have loved Mickey Mouse Clubhouse. From watching the show, to playing with the toys and even meeting the star himself at Disneyland. Mickey Mouse Clubhouse is a family favorite. And their favorite part of the show is doing the challenges with Toodles and the Mouskatools. My three year old has become especially fond of mouskatools so when I saw this new Disney Mesh Iron-On Vinyl from Cricut I knew I needed to make her something to hold all her mouskatools! I decided on a Mickey Mouskatools Tote Bag.
How To Use Mesh Iron-On Vinyl
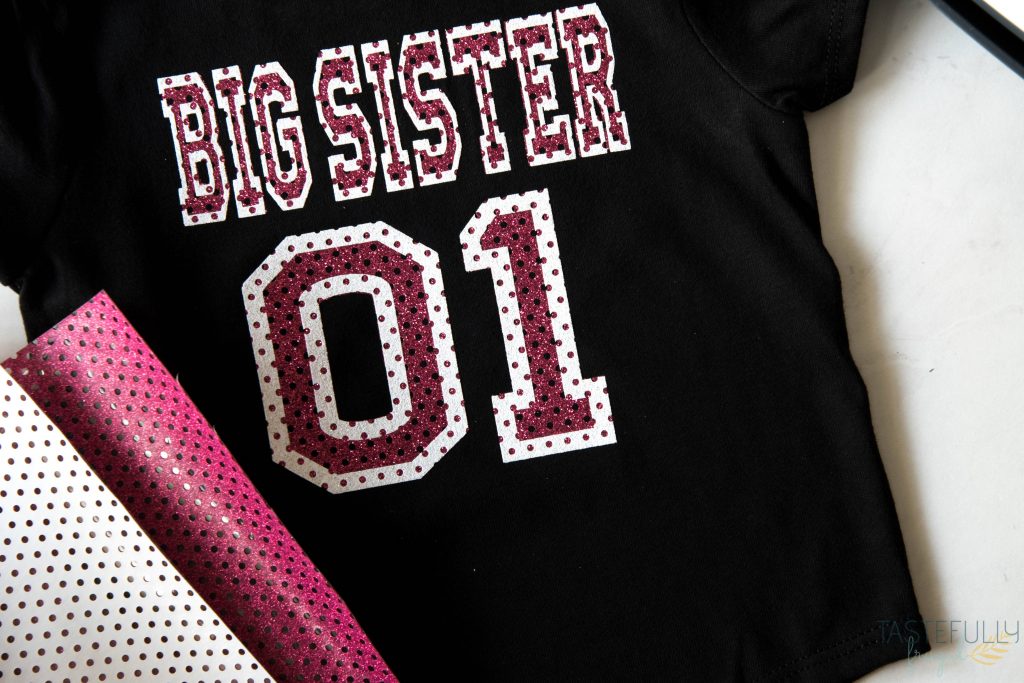
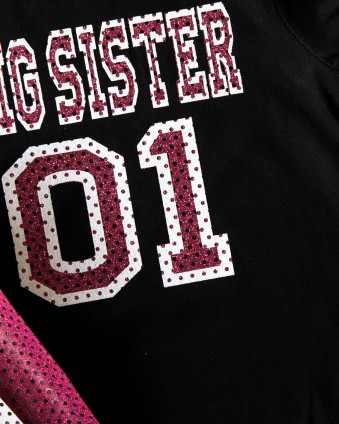
Mesh Iron-On Vinyl adds a fun layer of dimension to your HTV projects. I used glitter mesh iron-on last year to make my daughter a big sister shirt to announce our pregnancy and it was a huge hit! I was pleasantly surprised how EASY mesh iron-on vinyl is to use.
As you do with any type of iron-on vinyl, when you are placing your mesh iron-on vinyl on the mat, make sure to put it shiny side down. You’ll also want to make sure you mirror your design in Design Space.
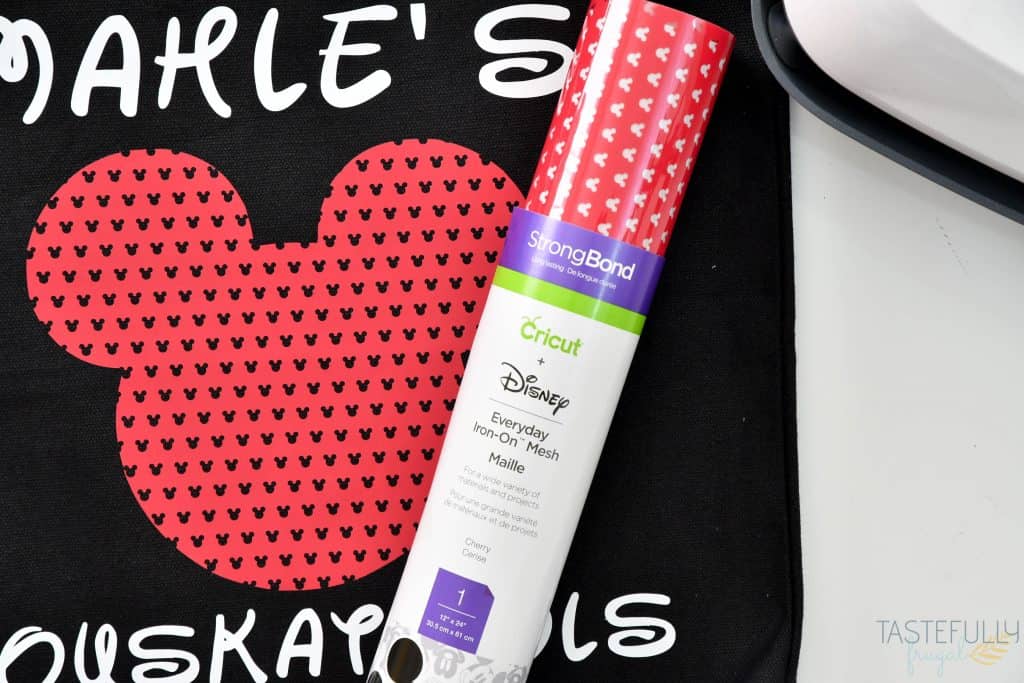
Because of the mesh, or small holes, this iron-on vinyl is not ideal for smaller designs. Larger designs work best.
Tips For Applying Iron-On Vinyl To Tote Bags
When you’re applying any type of iron-on vinyl to a tote bag, there are a few tips to keep in mind to get the best results.
- Make sure to check the materials of your tote bag so you can make sure you have the right heat settings for your EasyPress or Heat Press.
- Put your EasyPress mat, or if you don’t have an EasyPress mat use a towel, INSIDE your tote bag. This will keep the insides of the tote bag sticking to itself i there is a plastic lining on the inside.
- Use a quality tote bag. While you can use an inexpensive tote bag from the dollar store, you’ll get a longer last of the tote AND the iron-on vinyl sticking to the tote if you use a better quality tote. This is the tote bag I used. You can check out more quality blanks that I use in this post.
How To Make Custom Mickey Mouskatools Tote Bag
To make this tote bag, you can open up this Design Space canvas and change the name. To use the same font I have on this bag, you’ll want to to download the Walter font for free from DaFont. You can learn how to upload fonts into Design Space here.
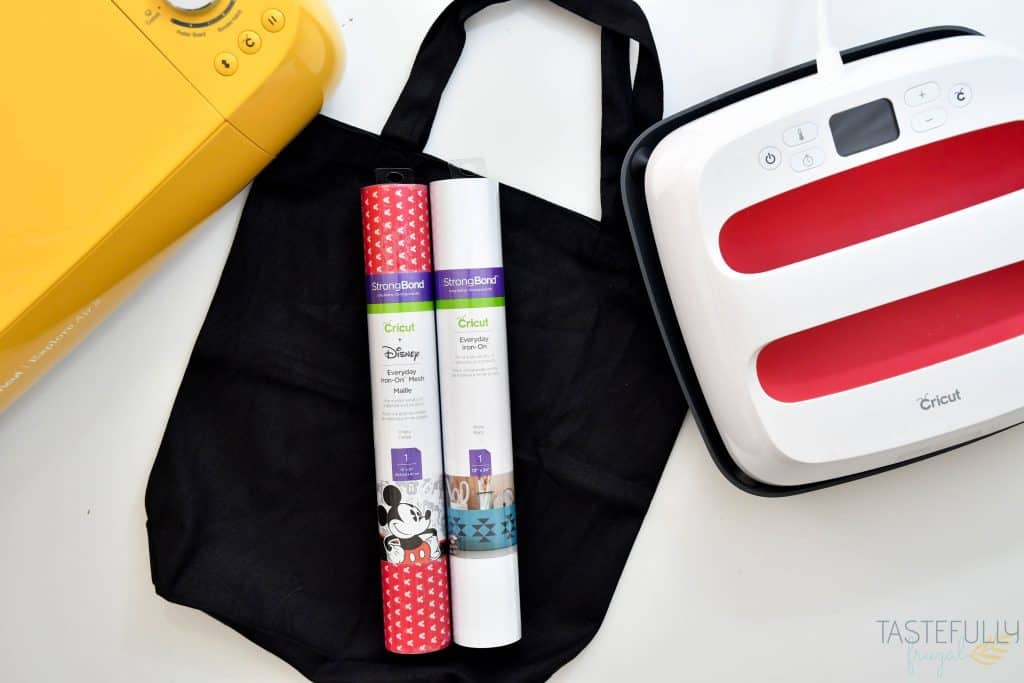
SUPPLIES:
Disney Mesh Iron-On Vinyl & Everyday Iron-On Vinyl
Cricut Machine (you can use an Air 2 or Maker)
If you need to get Cricut supplies and you’re shopping on Cricut.com, use code TFSPRING to save 10% and get FREE shipping on all $50+ orders. That’s on top of the 10% discount Cricut Access members get automatically!
DIRECTIONS:
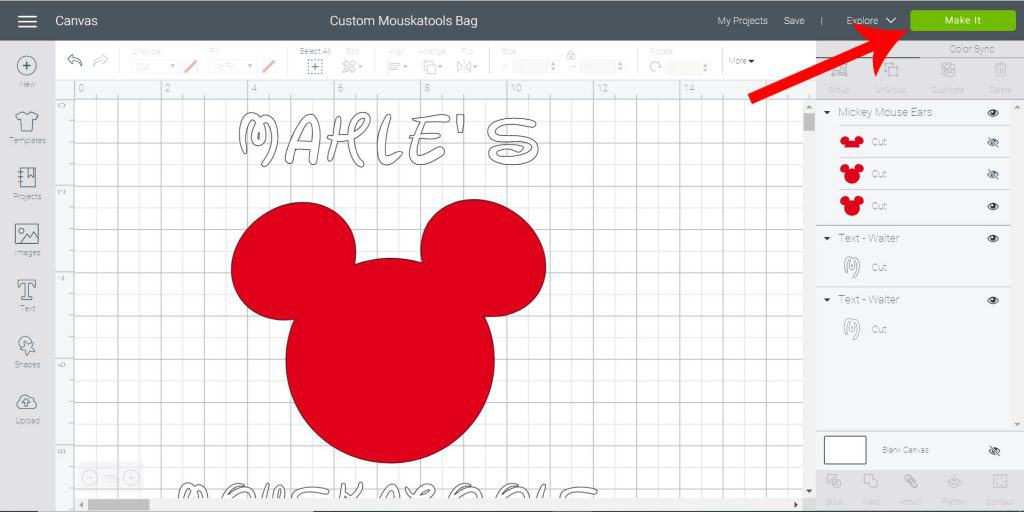
Open this canvas in Design Space and change the name. Click Make It.
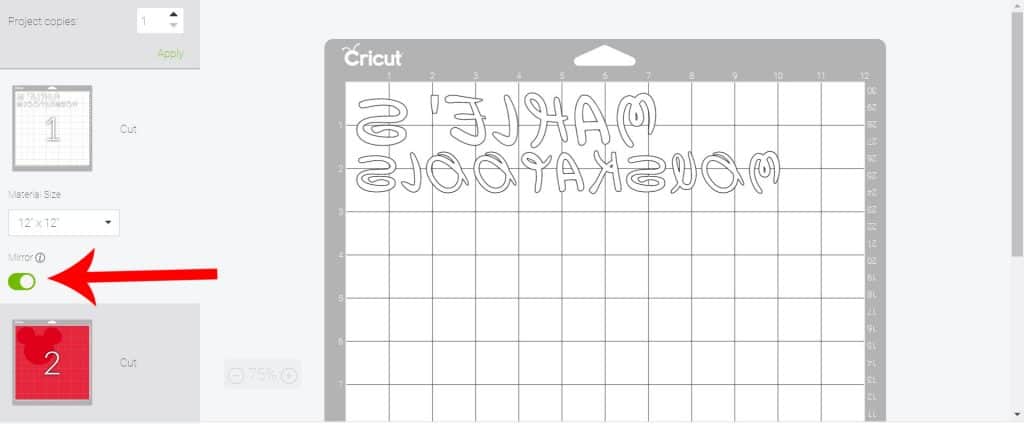
Mirror both mats on the preview screen and click continue.

Select your material from the drop down menu. You’ll want to select EVERYDAY IRON-ON for the words and EVERYDAY MESH IRON-ON for the Mickey Head.
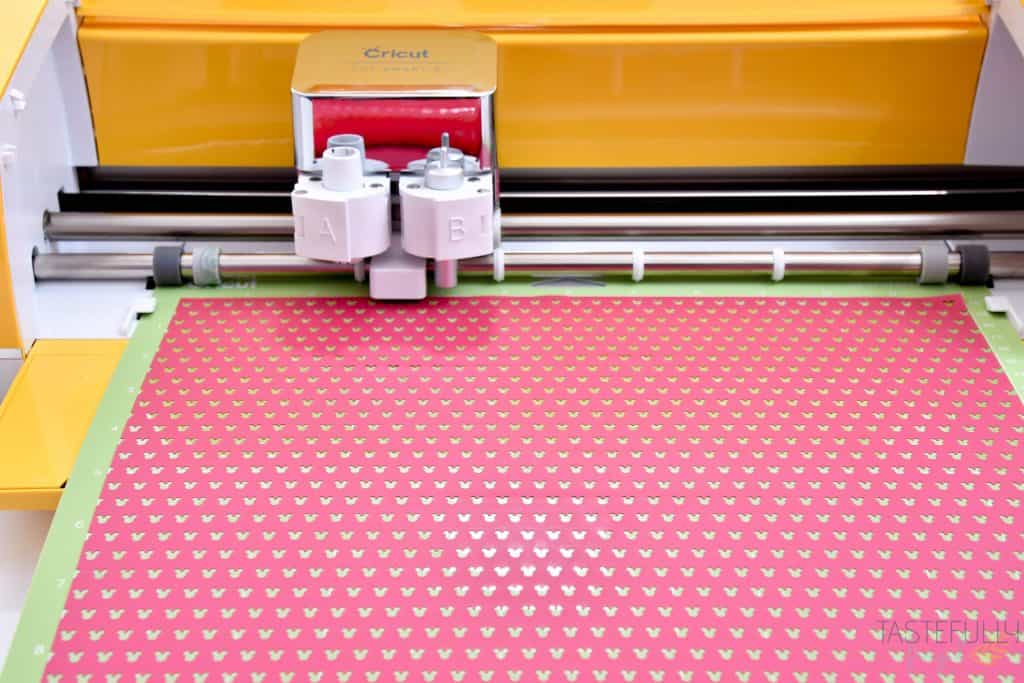
Load your iron-on on to your StandardGrip mat, shiny side down. Load your mat into your Cricut and click the flashing C light to begin cutting.
Remove mat from Cricut when it’s done cutting.
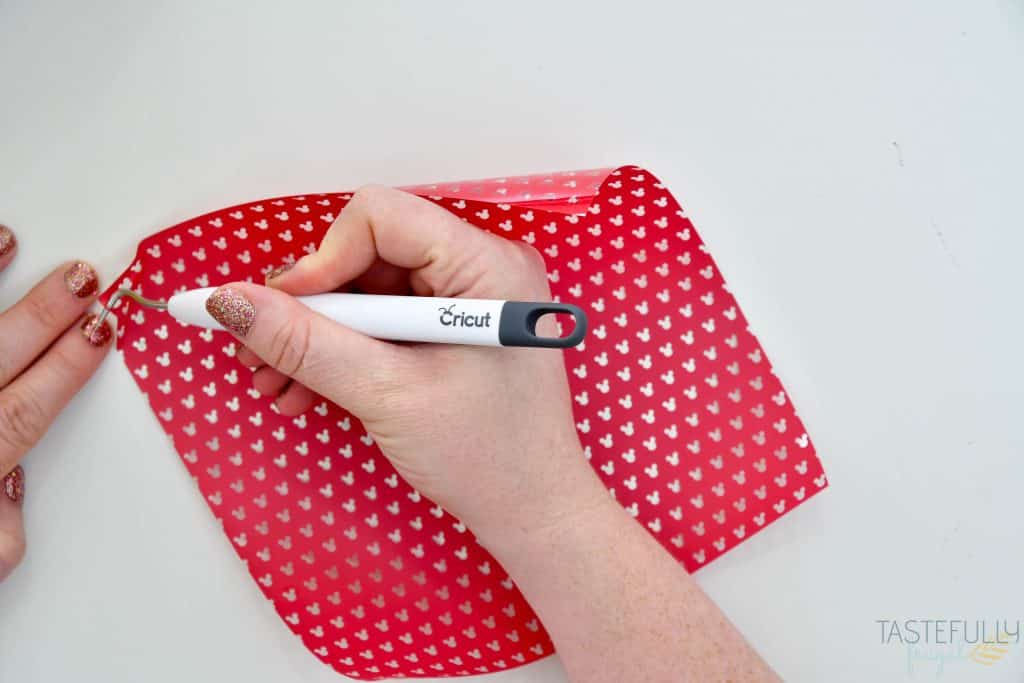
Weed excess vinyl.
Preheat your EasyPress 2 to 315°F and 30 seconds.
Put EasyPress mat inside tote bag and preheat tote bag for 5-10 seconds.
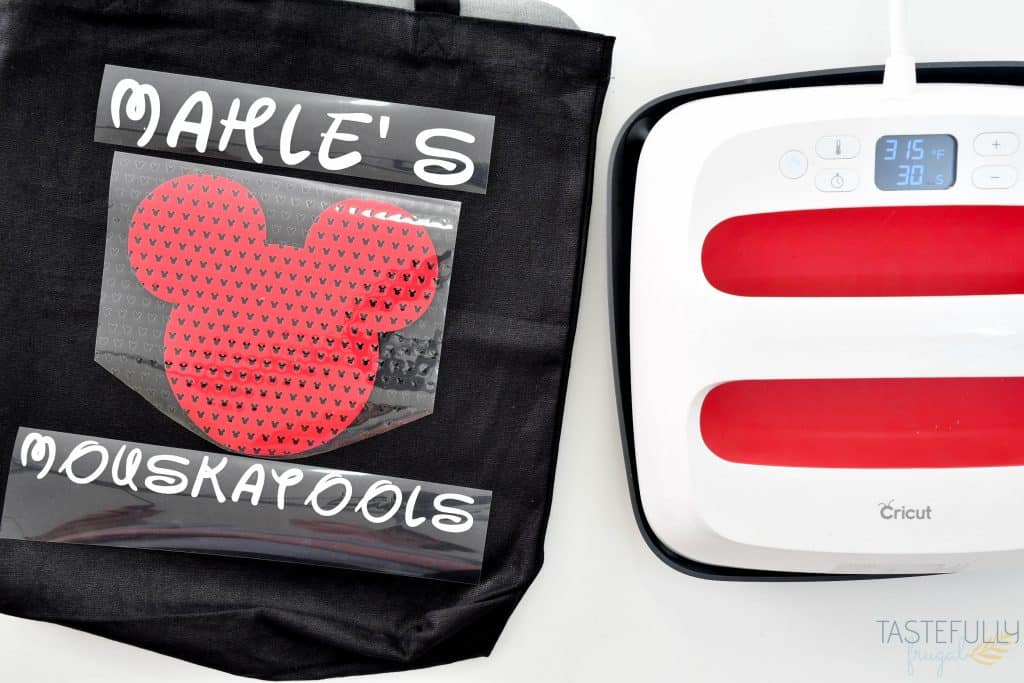
Line up designs in the center of the tote bag and put EasyPress 2 on top of design.
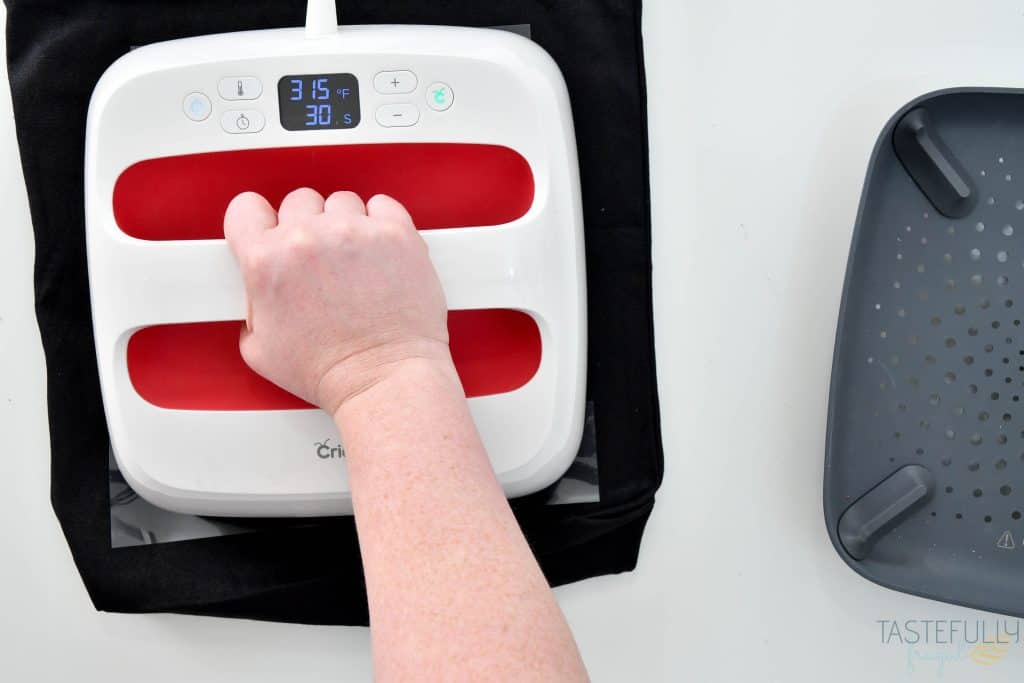
Press with firm pressure for 30 seconds.
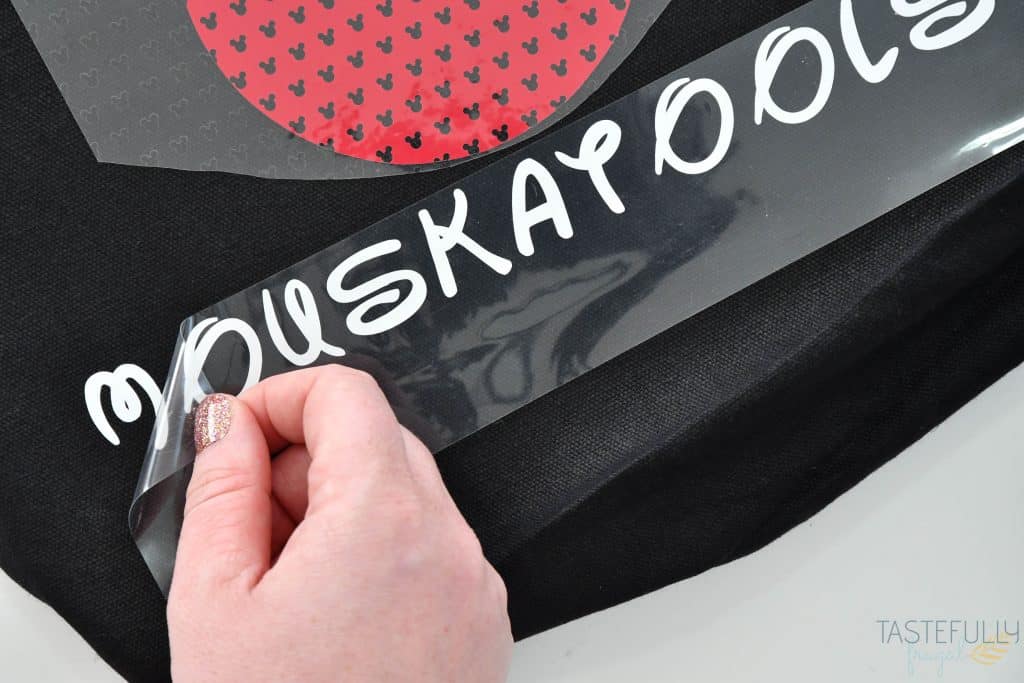
Wait for plastic backing to cool about 1-2 minutes and then slowly peel at a 90° angle.
Mickey Mouskatools Tote Bag
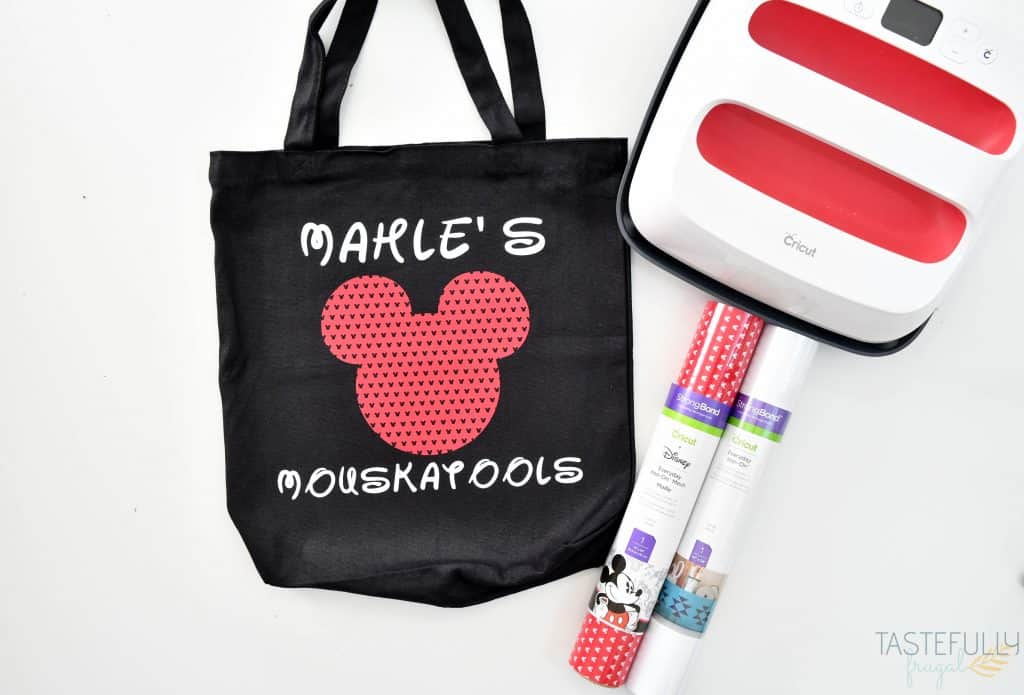
And now you have the perfect gift for any Mickey Mouse clubhouse fan! Make sure to subscribe to my YouTube channel to check out all the video tutorials. For more Cricut projects and tutorials, check out these posts. For tips, tricks and immediate help, be sure to join our FREE Cricut Support Group.


Leave a Reply