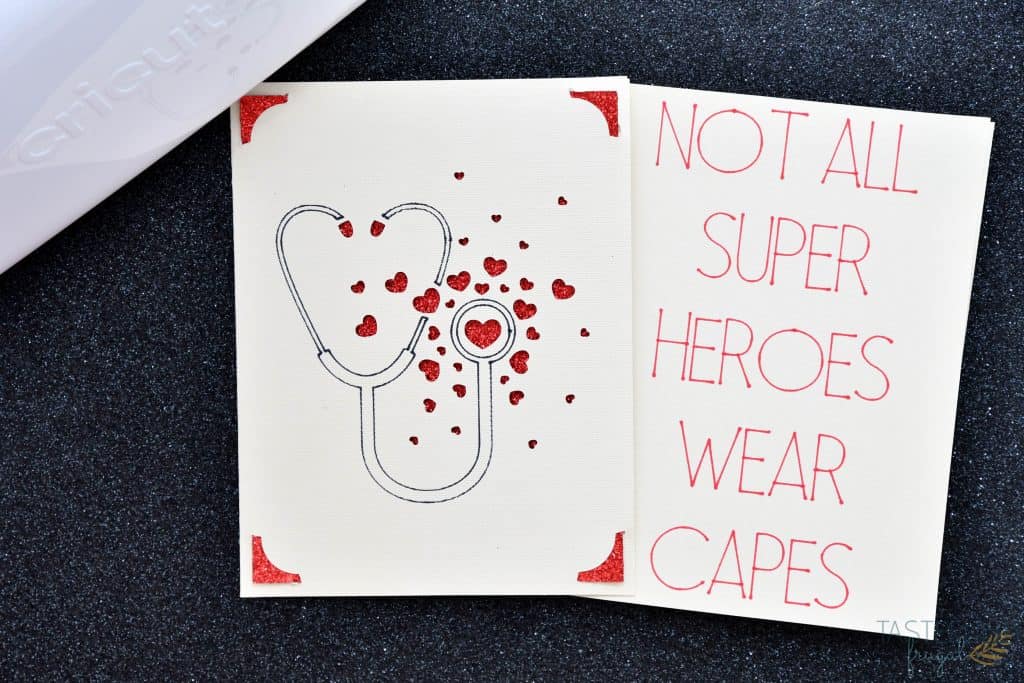
Learn how to design and make your own card designs for Cricut Joy. We sent the cards we designed to our local emergency room to, hopefully, spread a little cheer to all the doctors, nurses and staff!
This is a sponsored post written by me on behalf of Cricut. All opinions are 100% mine.

One of things I love most about Cricut is Design Space is a great program for EVERYONE! There are tons, like over 100,000, of pre-designed images and projects you can make. But if you want to design your own projects and images you can totally do that too! I shared how to find pre-made cards and designs with the Cricut Joy in this post, but today I want to share with you how to create your OWN designs and have them sized correctly for the Cricut Joy Card Mat.
Making Cards For Essential Workers
I’ve been meaning to do a tutorial on how to create your own designs for a while but every time I’ve gone to make a card over the past two months, I have found one that I already loved made. So when Cricut reached out to me and asked to spread some cheer to essential workers, I knew it was the perfect opportunity to show you how you can make your own card designs for Cricut Joy too!

In case you missed it, there are a TON of new images Cricut has added for FREE for everyone to use to spread happiness during these times of social distancing. I used five of these images to create the cards we sent to our hosptial. If you want to create these same designs, you can find the Design Space Canvas here. NOTE – Be sure to call your hospital before you send cards to make sure they are accepting mail.
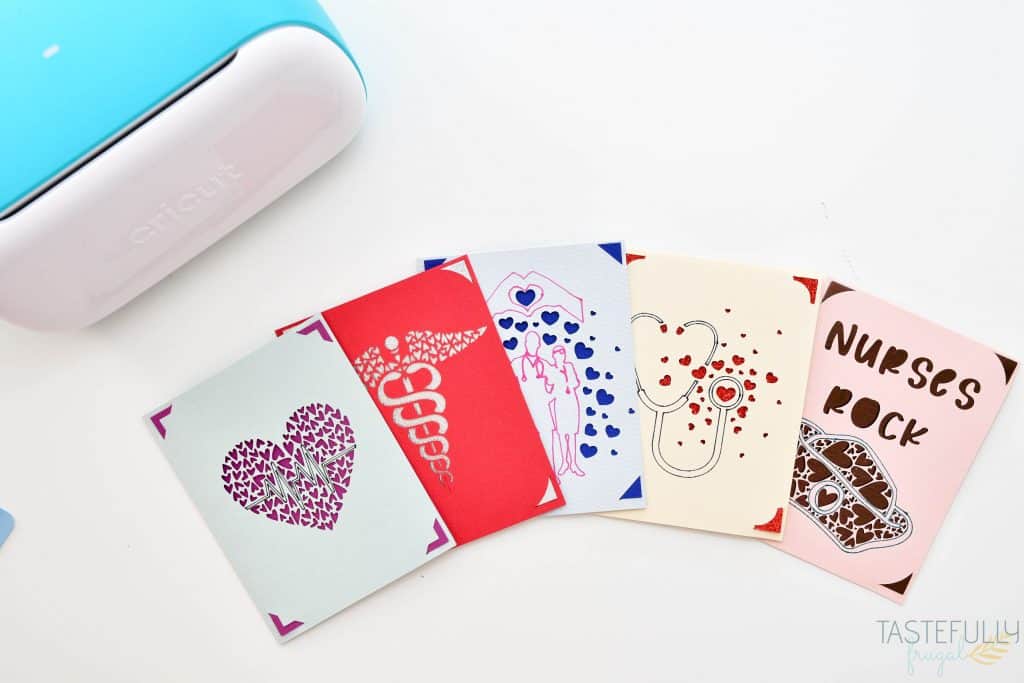
I used a combination of card kits to make the cards that we sent. Some of the inserts were from the same kit that the cards came in and others were from different kits. Another thing I love about the Cricut Joy Card Kits is the ability to mix and match inserts and cards. And at just $6.99 each pack, it doesn’t cost an arm and a leg to do.
SUPPLIES:
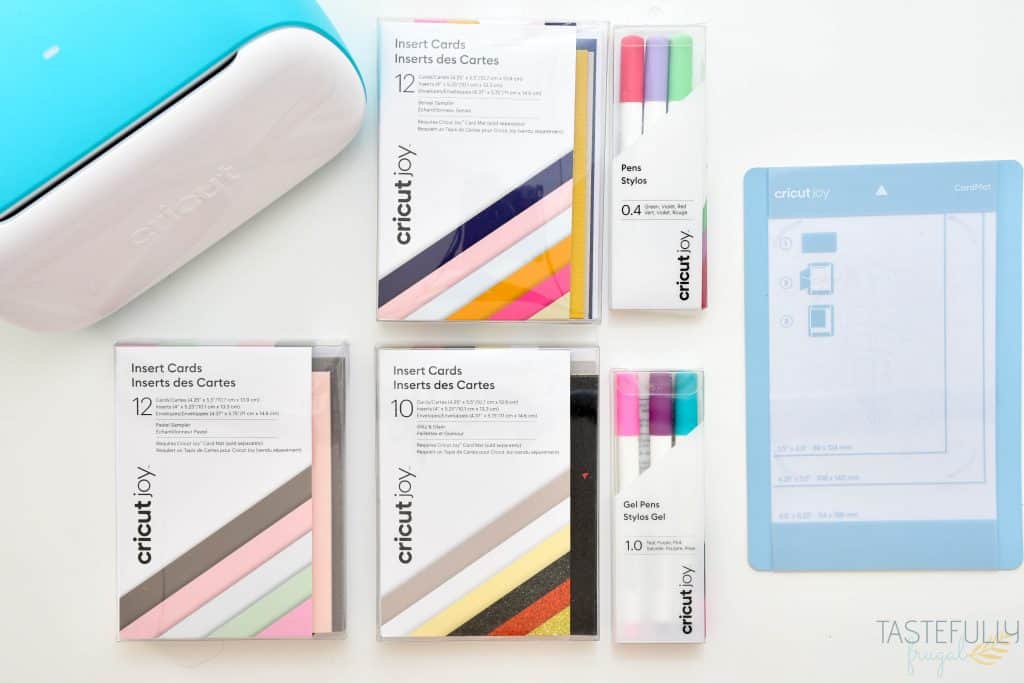
Insert Card Kits (I used a combination of Glitz & Glam, Rainbow Scales, Mesa and Macarons)
If you need to get Cricut supplies and you’re shopping on Cricut.com, use code TFSPRING to save 10% and get FREE shipping on all $50+ orders. That’s on top of the 10% discount Cricut Access members get automatically!
How To Make Your Own Card Designs in Design Space
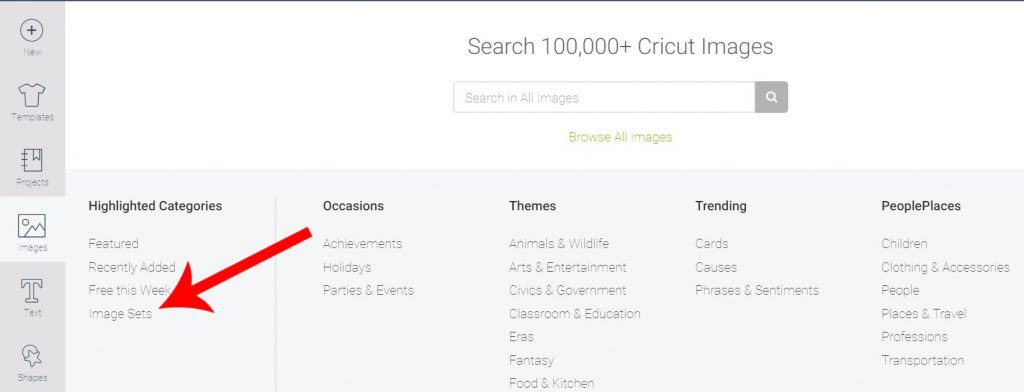
The first thing you’ll want to do when you create your design is add the insert card corners. You can do this by clicking IMAGES and and then IMAGE SETS.
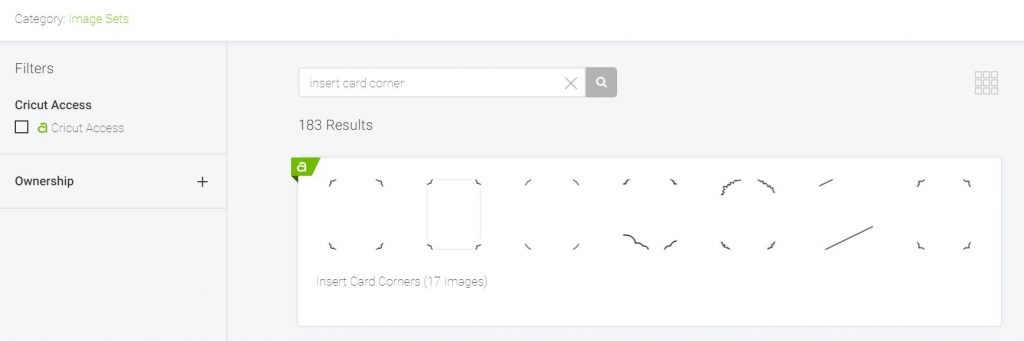
Search for INSERT CARD CORNER and select the cartridge to pick your corner. These corners are designed for the Card Kits that are 4.25″ x 5.5″.
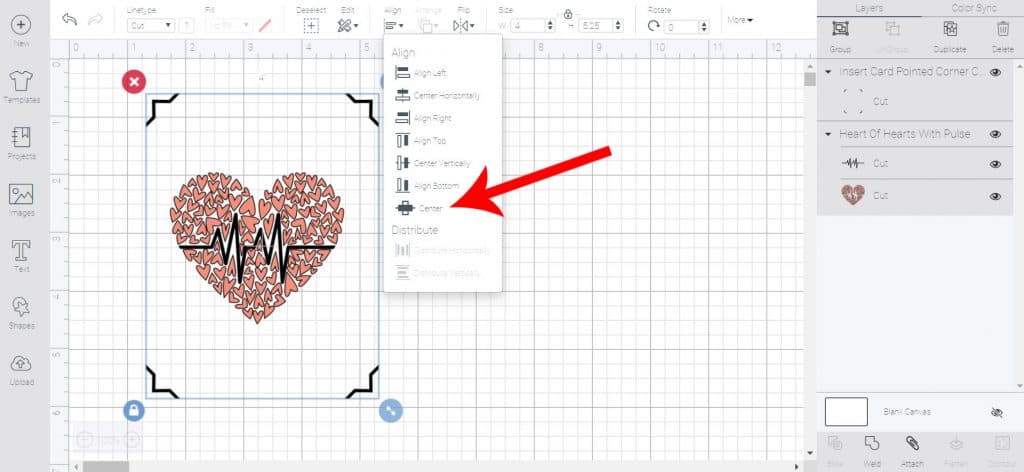
From here you’ll want to make sure your design fits inside the corners. Select the design and corners and click ALIGN and then CENTER to make sure your design in centered.
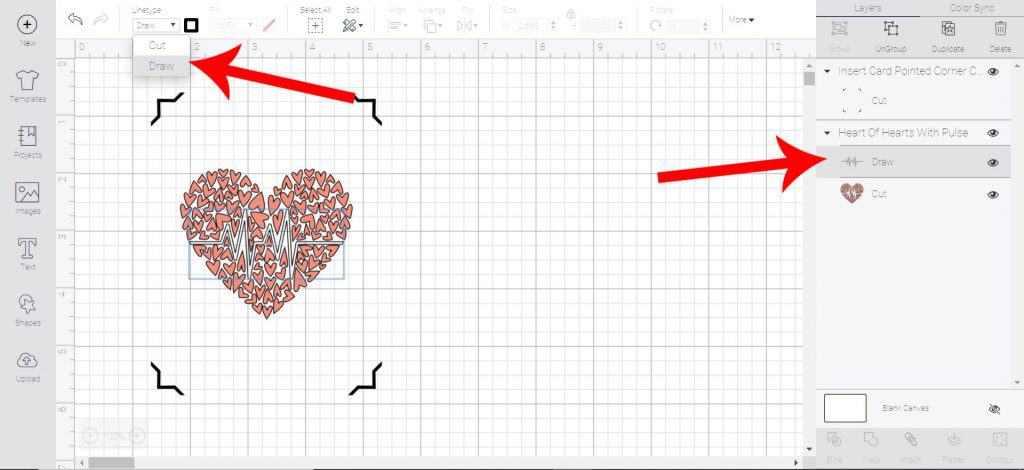
If you want to make part of your design be drawn instead of cut, select the portion you want to be drawn in the right menu and then change the LINETYPE in the top menu to DRAW.
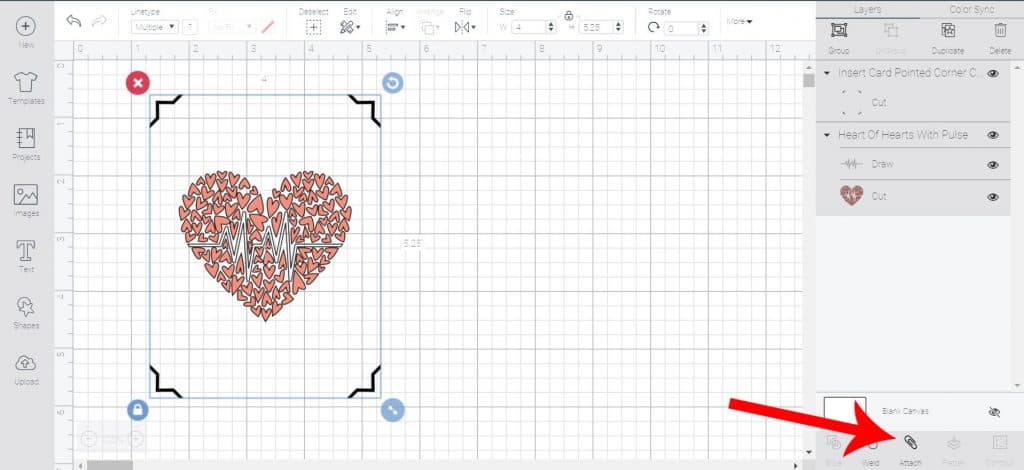
Click ATTACH to make sure your design is cut inside the corners.
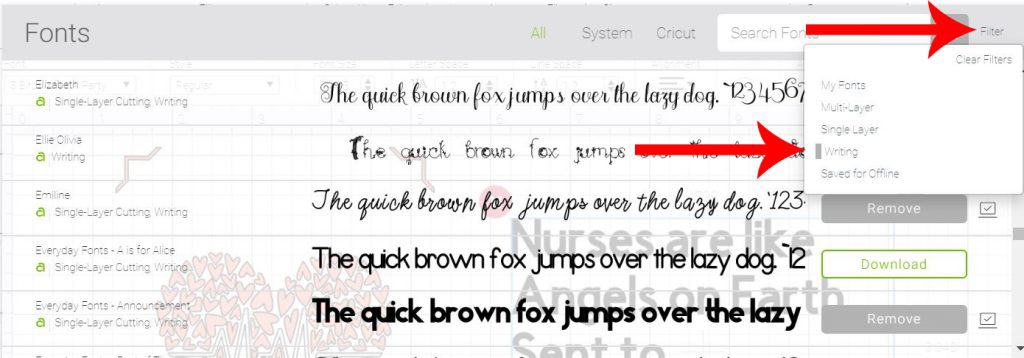
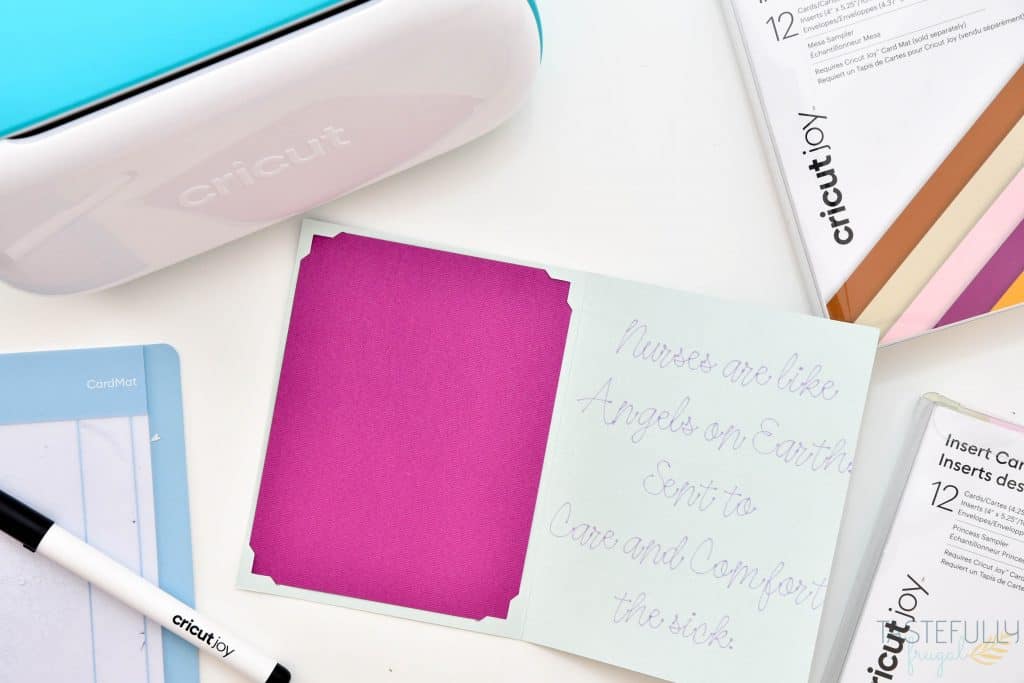
To add text for the inside of the card you’ll first want to click TEXT and type your text. Next click FONTS and filter to WRITING.
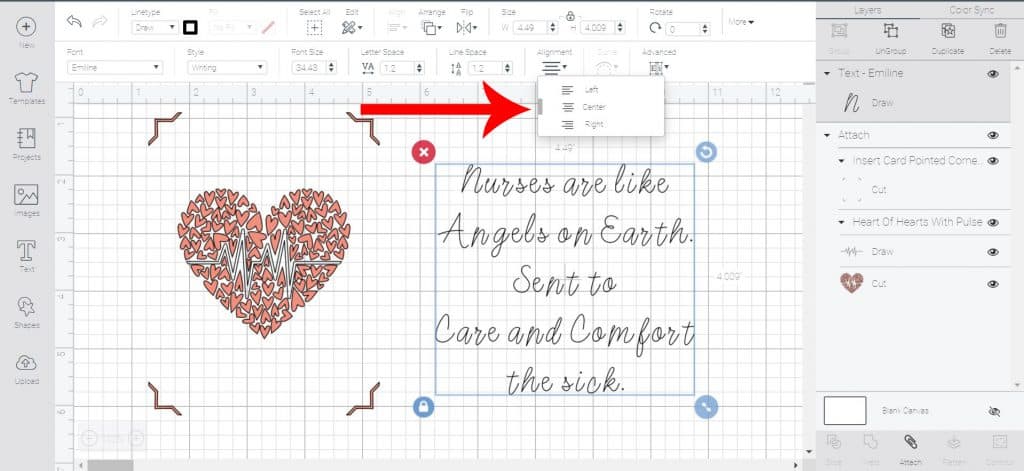
Once you have your font chosen, change ALIGNMENT to CENTER and make sure the design will fit within the 4.25″ x 5.5″ card.
Click Make It.
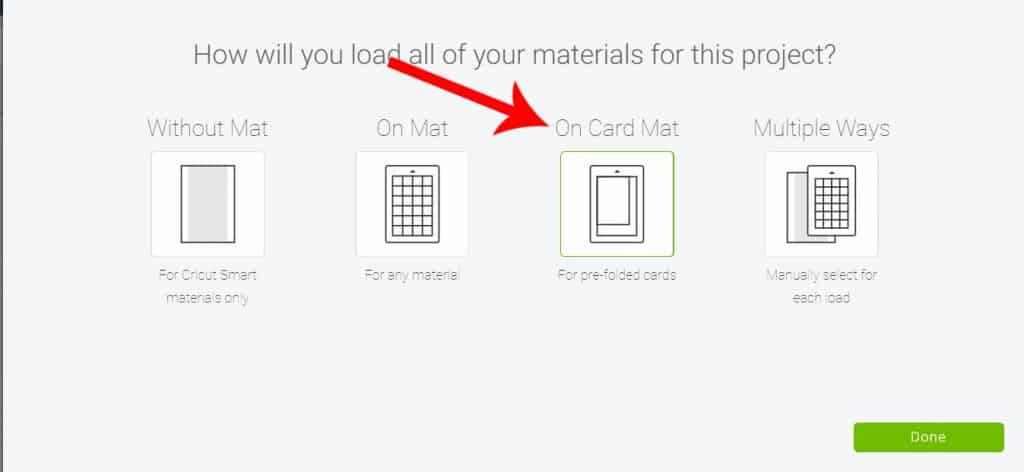
Choose ON CARD MAT in the pop up window.
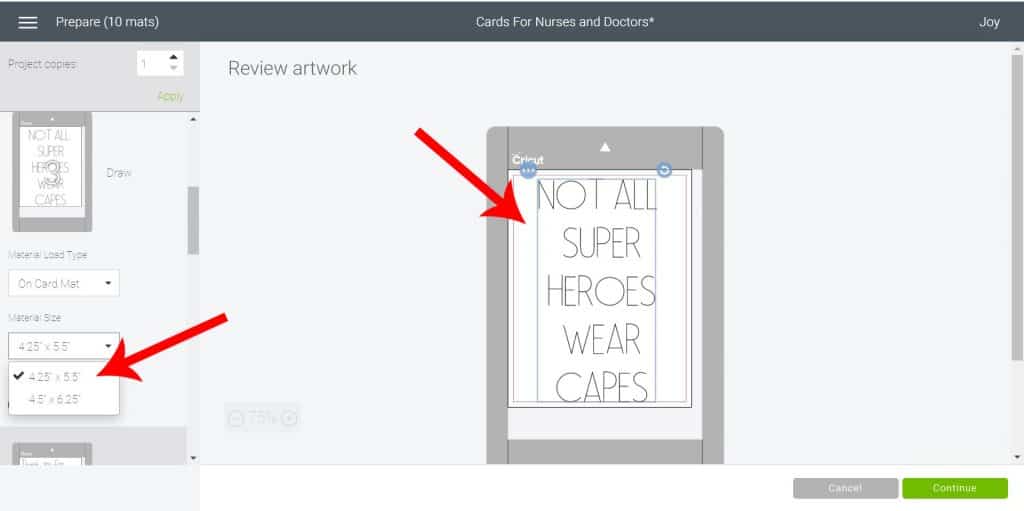
Change MATERIAL SIZE to 4.25″ x 5.5″ and center your writing into the center of the card. Click continue.
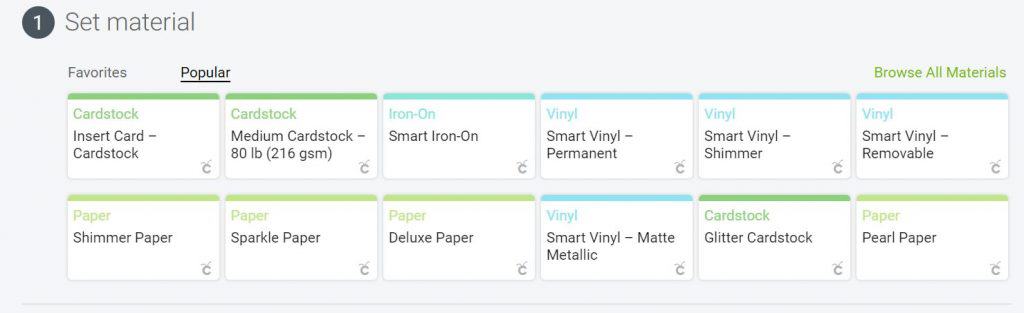
Select INSERT CARD – CARDSTOCK on the materials menu and follow on screen prompts for which item to load (pen or blade).
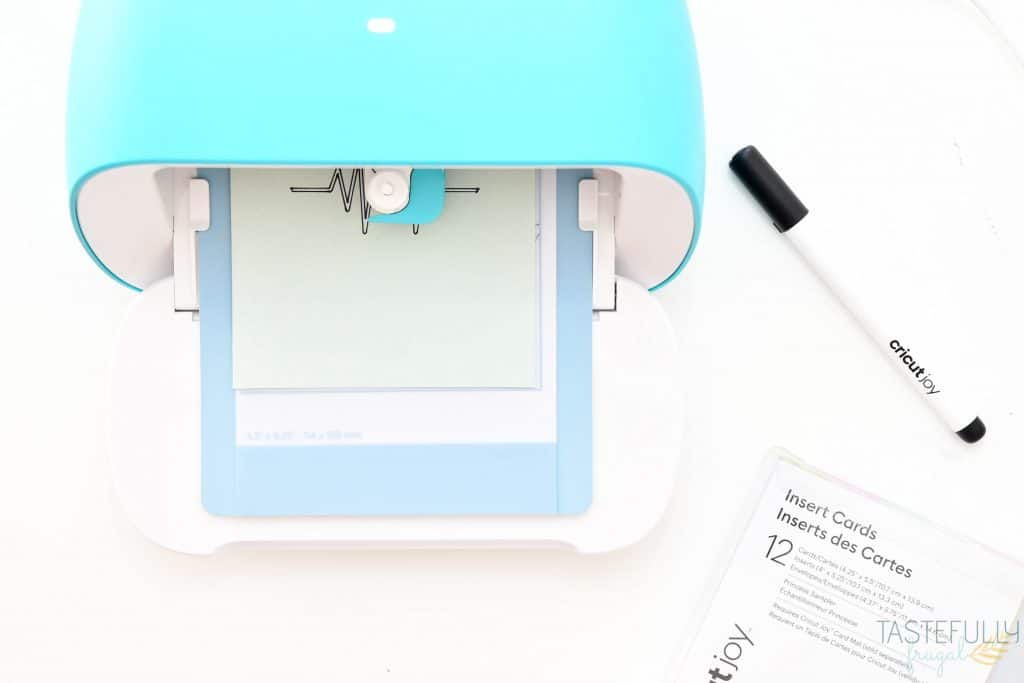
How To Load Your Card On The Card Mat For Custom Designs
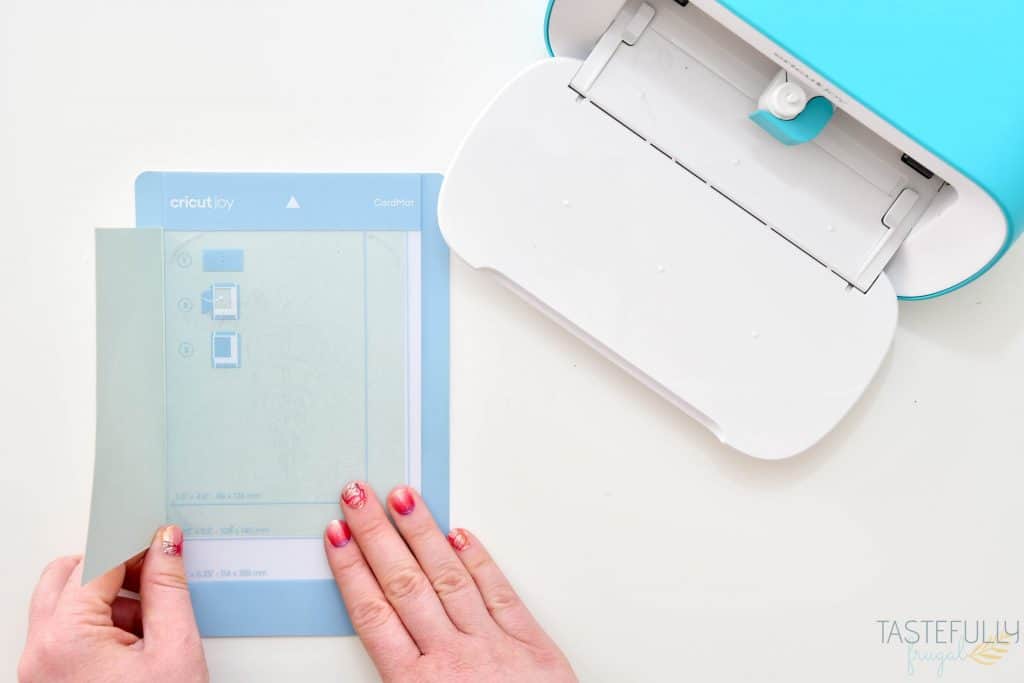
To load card into mat to be written on, remove plastic cover from card mat and flip card inside out so that the inside of the card is on top of the flap for the mat.
Load mat into Joy and load pen into clamp.
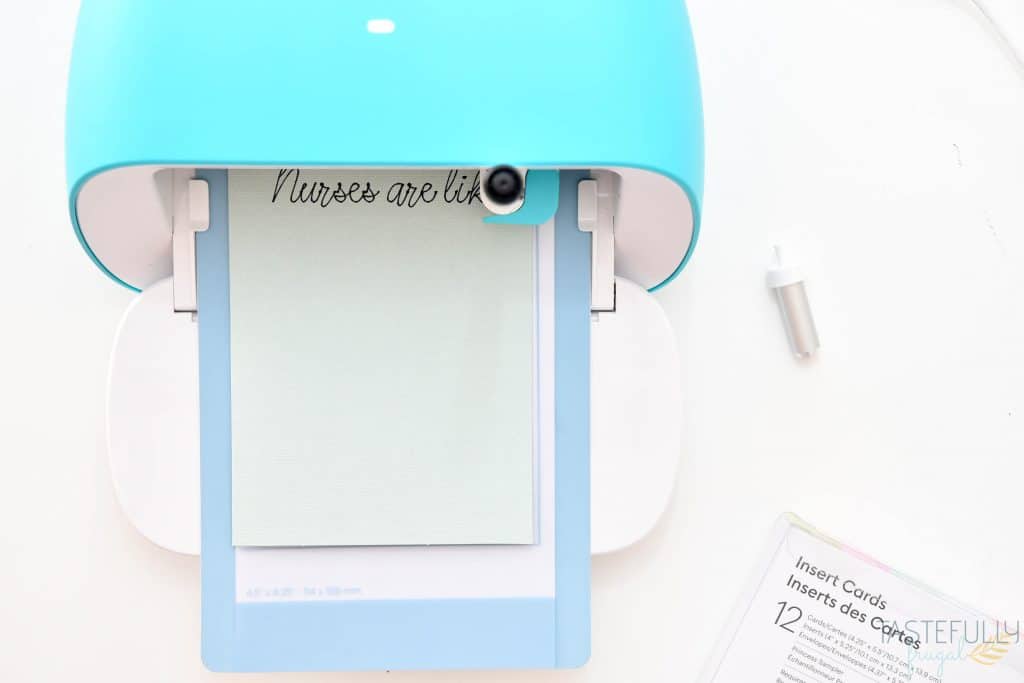
Click GO in Design Space. When done cutting, click UNLOAD in Design Space.
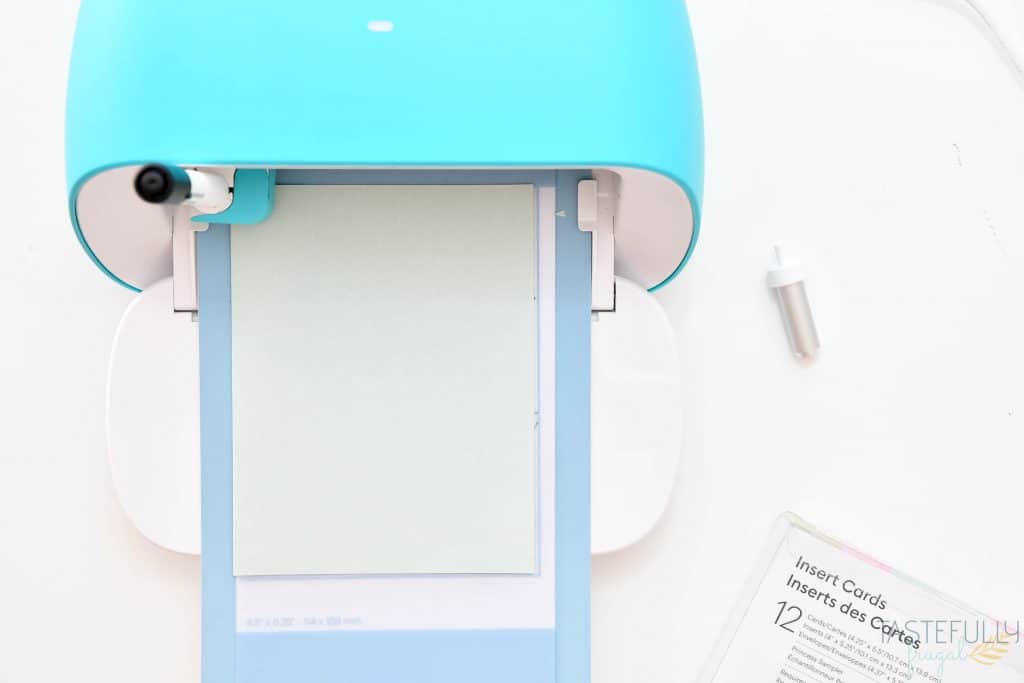
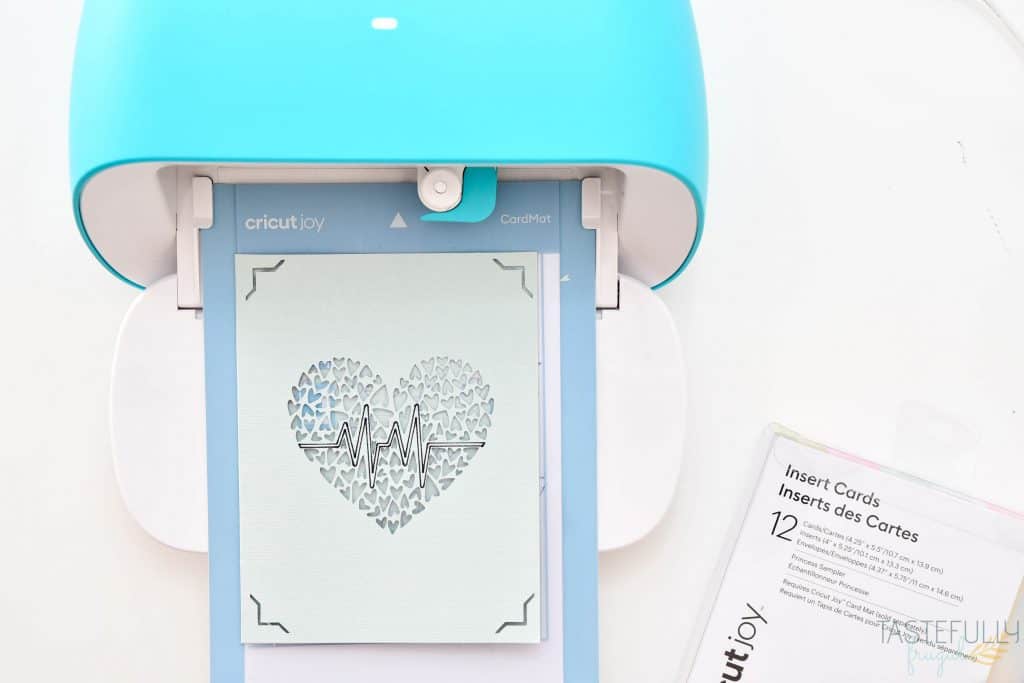
Flip card around and put the front of the card on top of the flap of the card mat. It should look now how a card looks with the writing underneath the flap.
Load card into Joy and press GO in Design Space.
Replace pen with blade when prompted and click GO in Design Space again.
Click UNLOAD in Design Space when prompted.
Put insert in to the four corners of the front of the card.
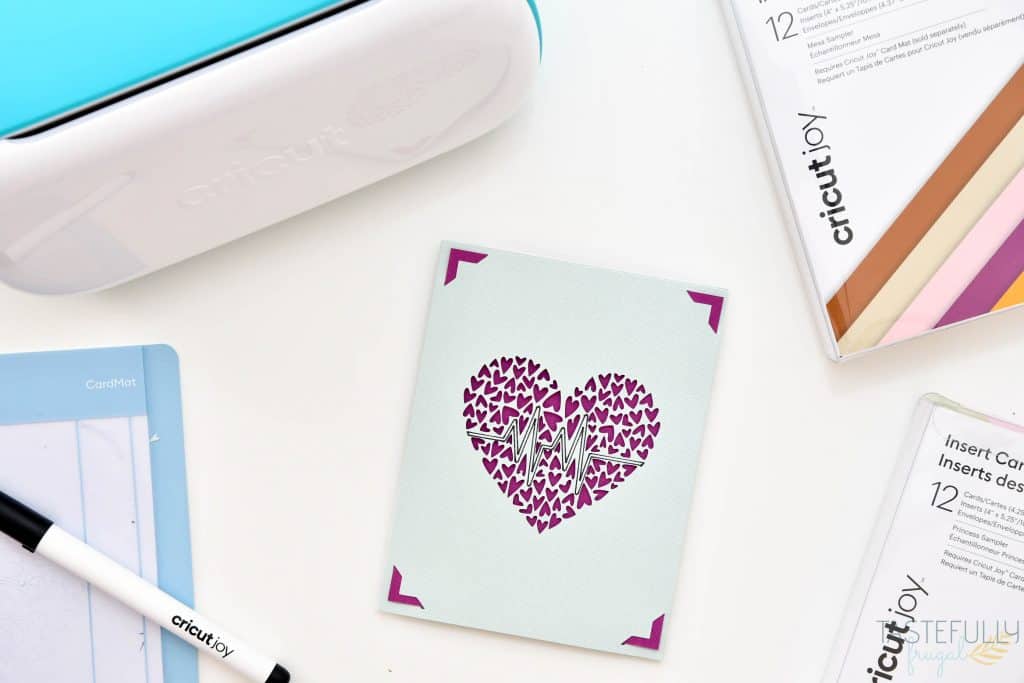
And now you have a custom card you created! If you want to make these same cards to send to your doctors and nurses, you can access the Design Space canvas here.
Make sure to subscribe to my YouTube channel to check out all the video tutorials. For more Cricut projects and tutorials, check out these posts. For tips, tricks and immediate help, be sure to join our FREE Cricut Support Group.


Felicia says
Thanks ! That was very helpful
Mona says
Casually left out that the card corners are not free on Cricut Design Space…thanks
Sydney says
Hi Mona! I am so sorry. When I wrote this post last year the designs were free. I will see if I can find some free designs in design space and update with links.