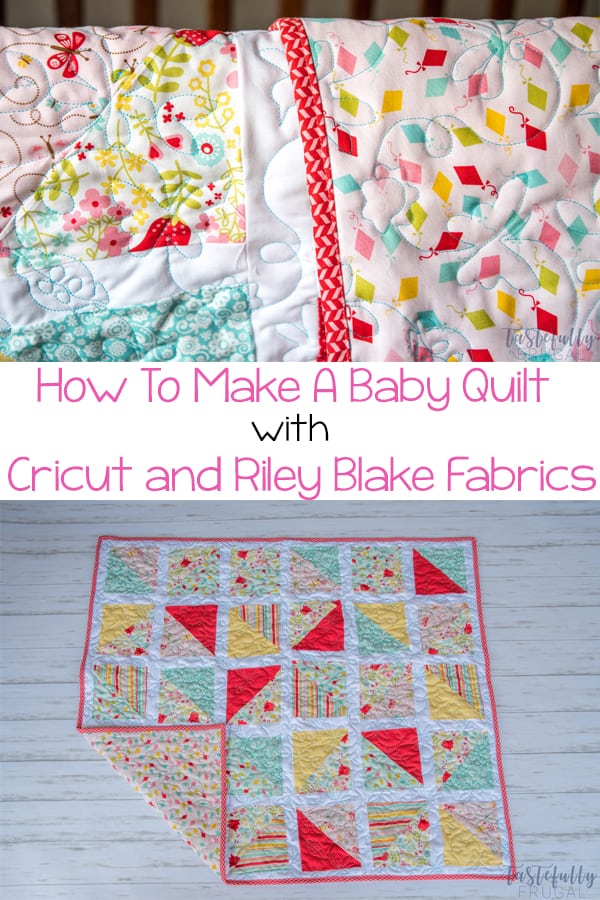
The final post in the series, this post will show you how to sew together your quilt top made with Riley Blake fabrics and cut on the Cricut Maker.
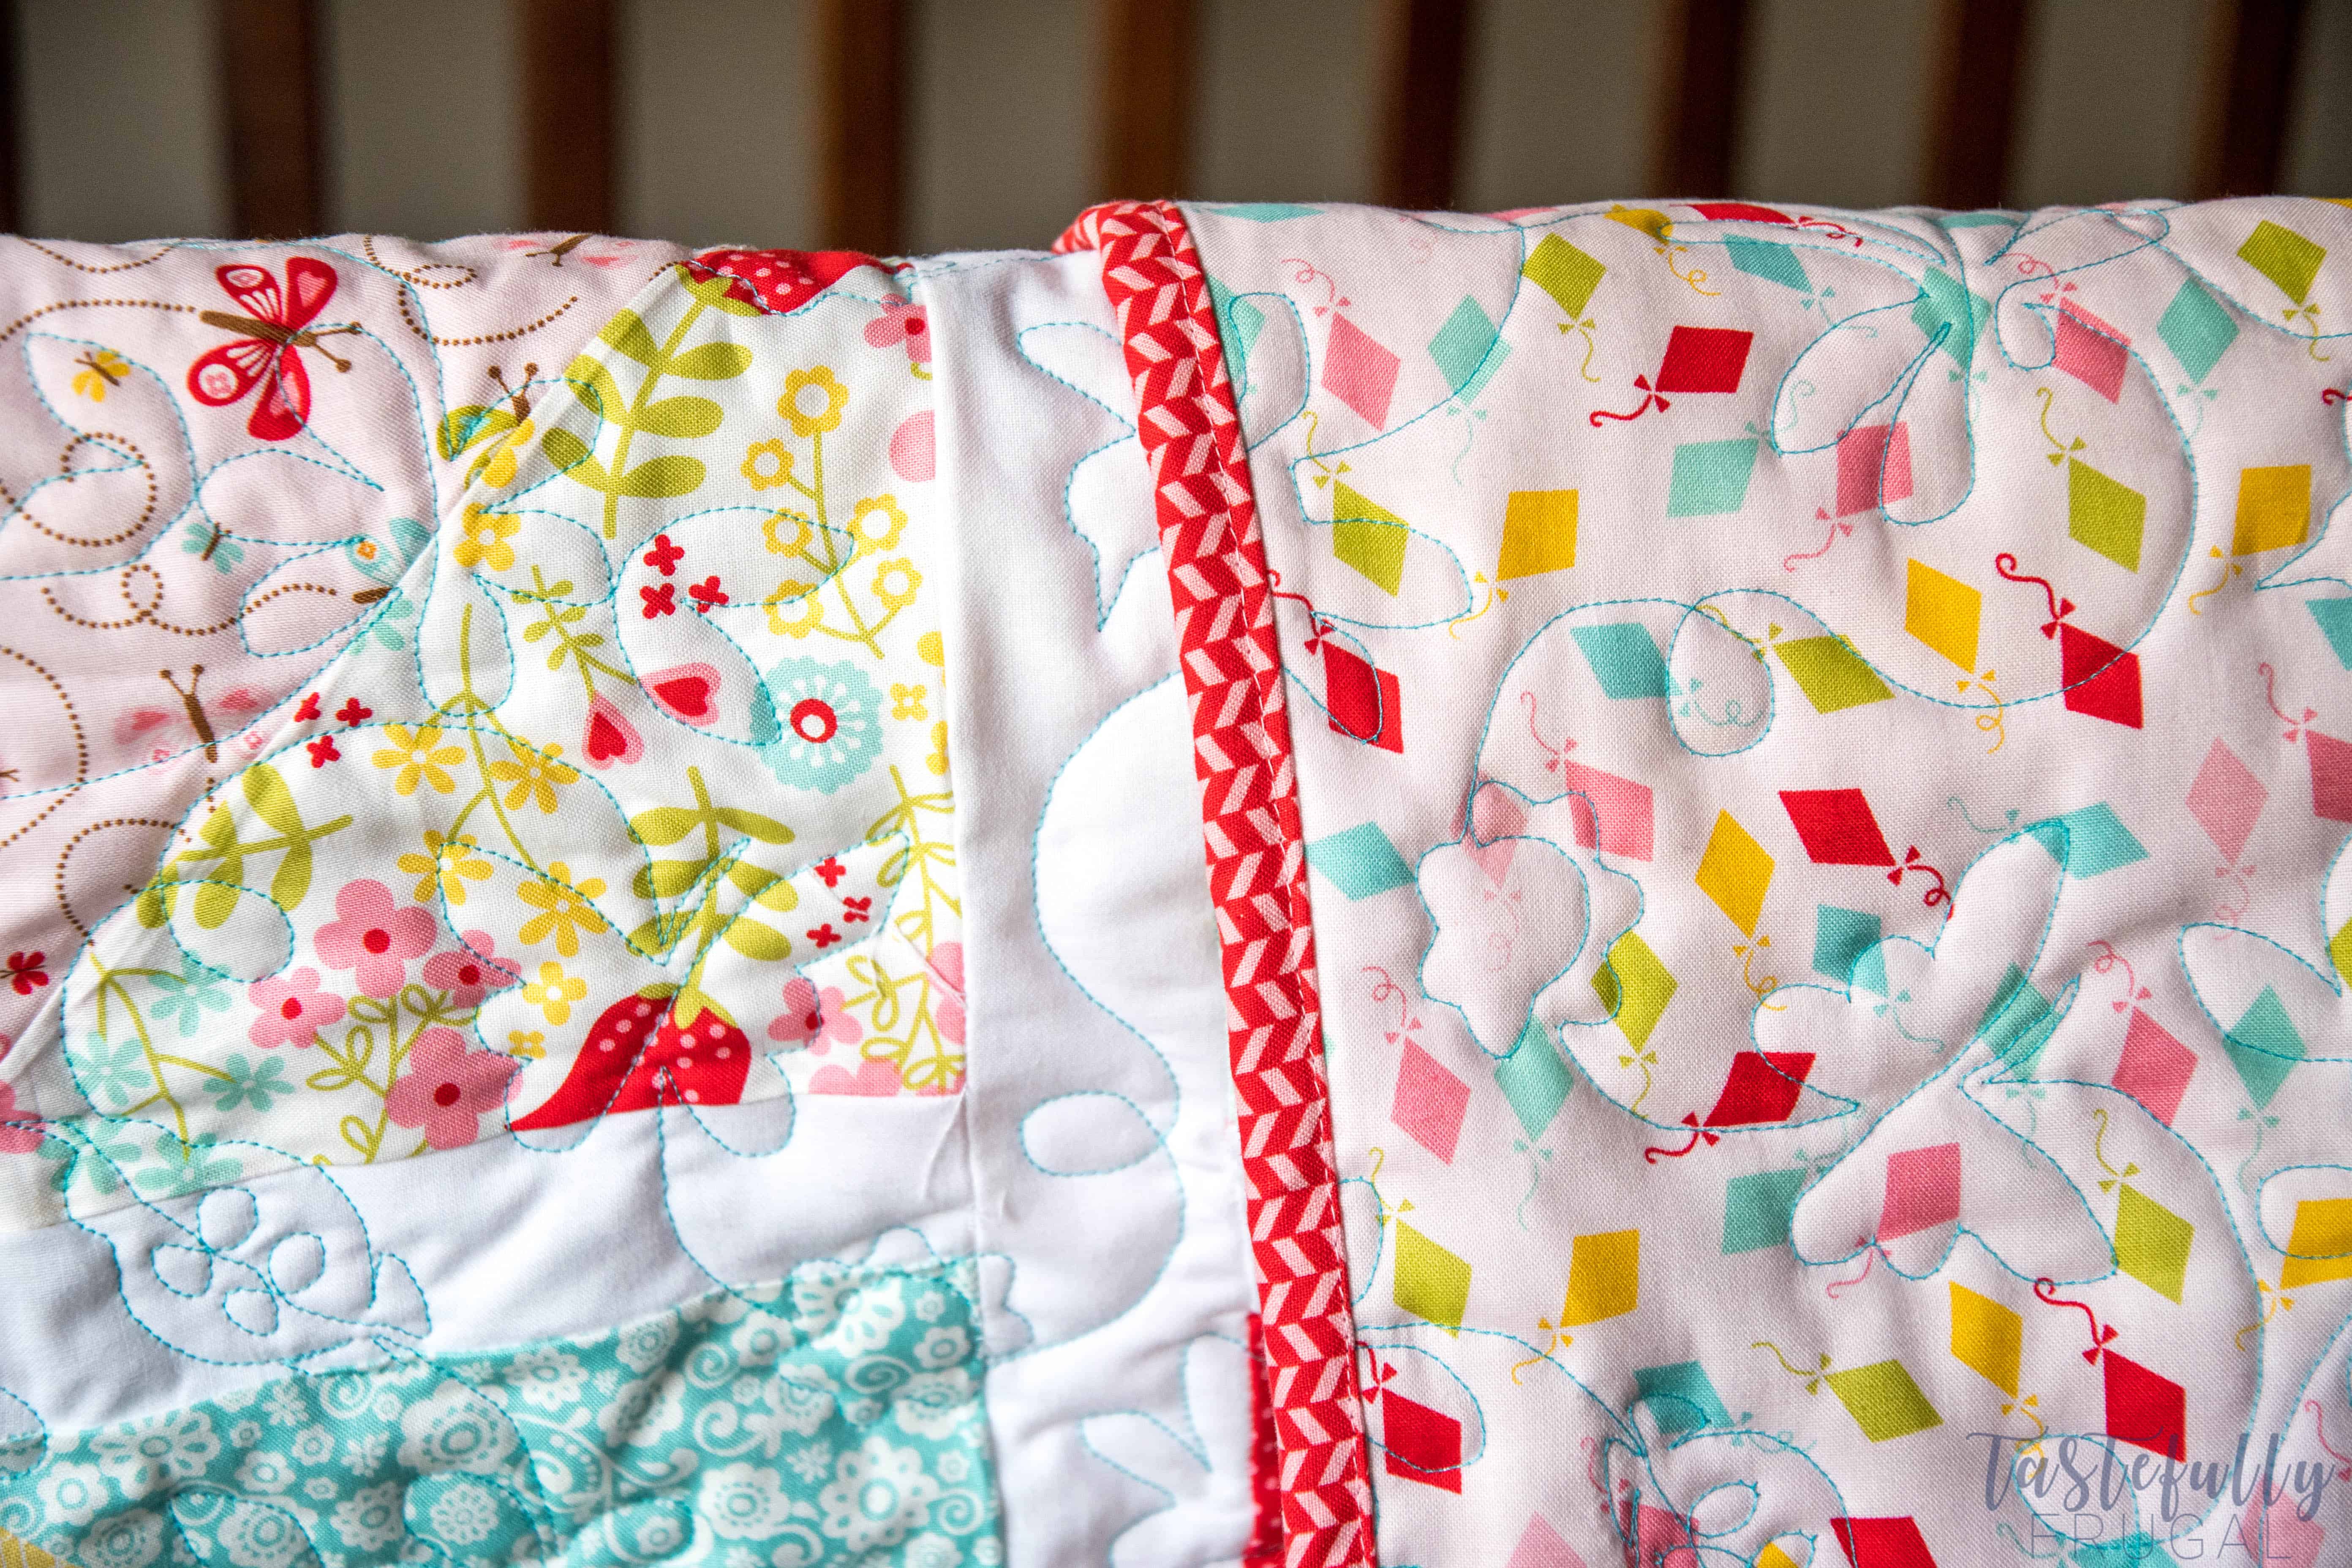
If you’ve been following along the past month, you’ve learned about how to pick a Riley Blake quilt kit and pattern and how to cut your squares out of fabric with your Cricut Maker. Now today we are finishing the quilt! I’m not going to lie, I was extremely nervous to make my first quilt. What if it doesn’t look right? What if I don’t sew it right? Will it look nice? But I’m SO happy with how it turned out and can’t wait to start my next one!
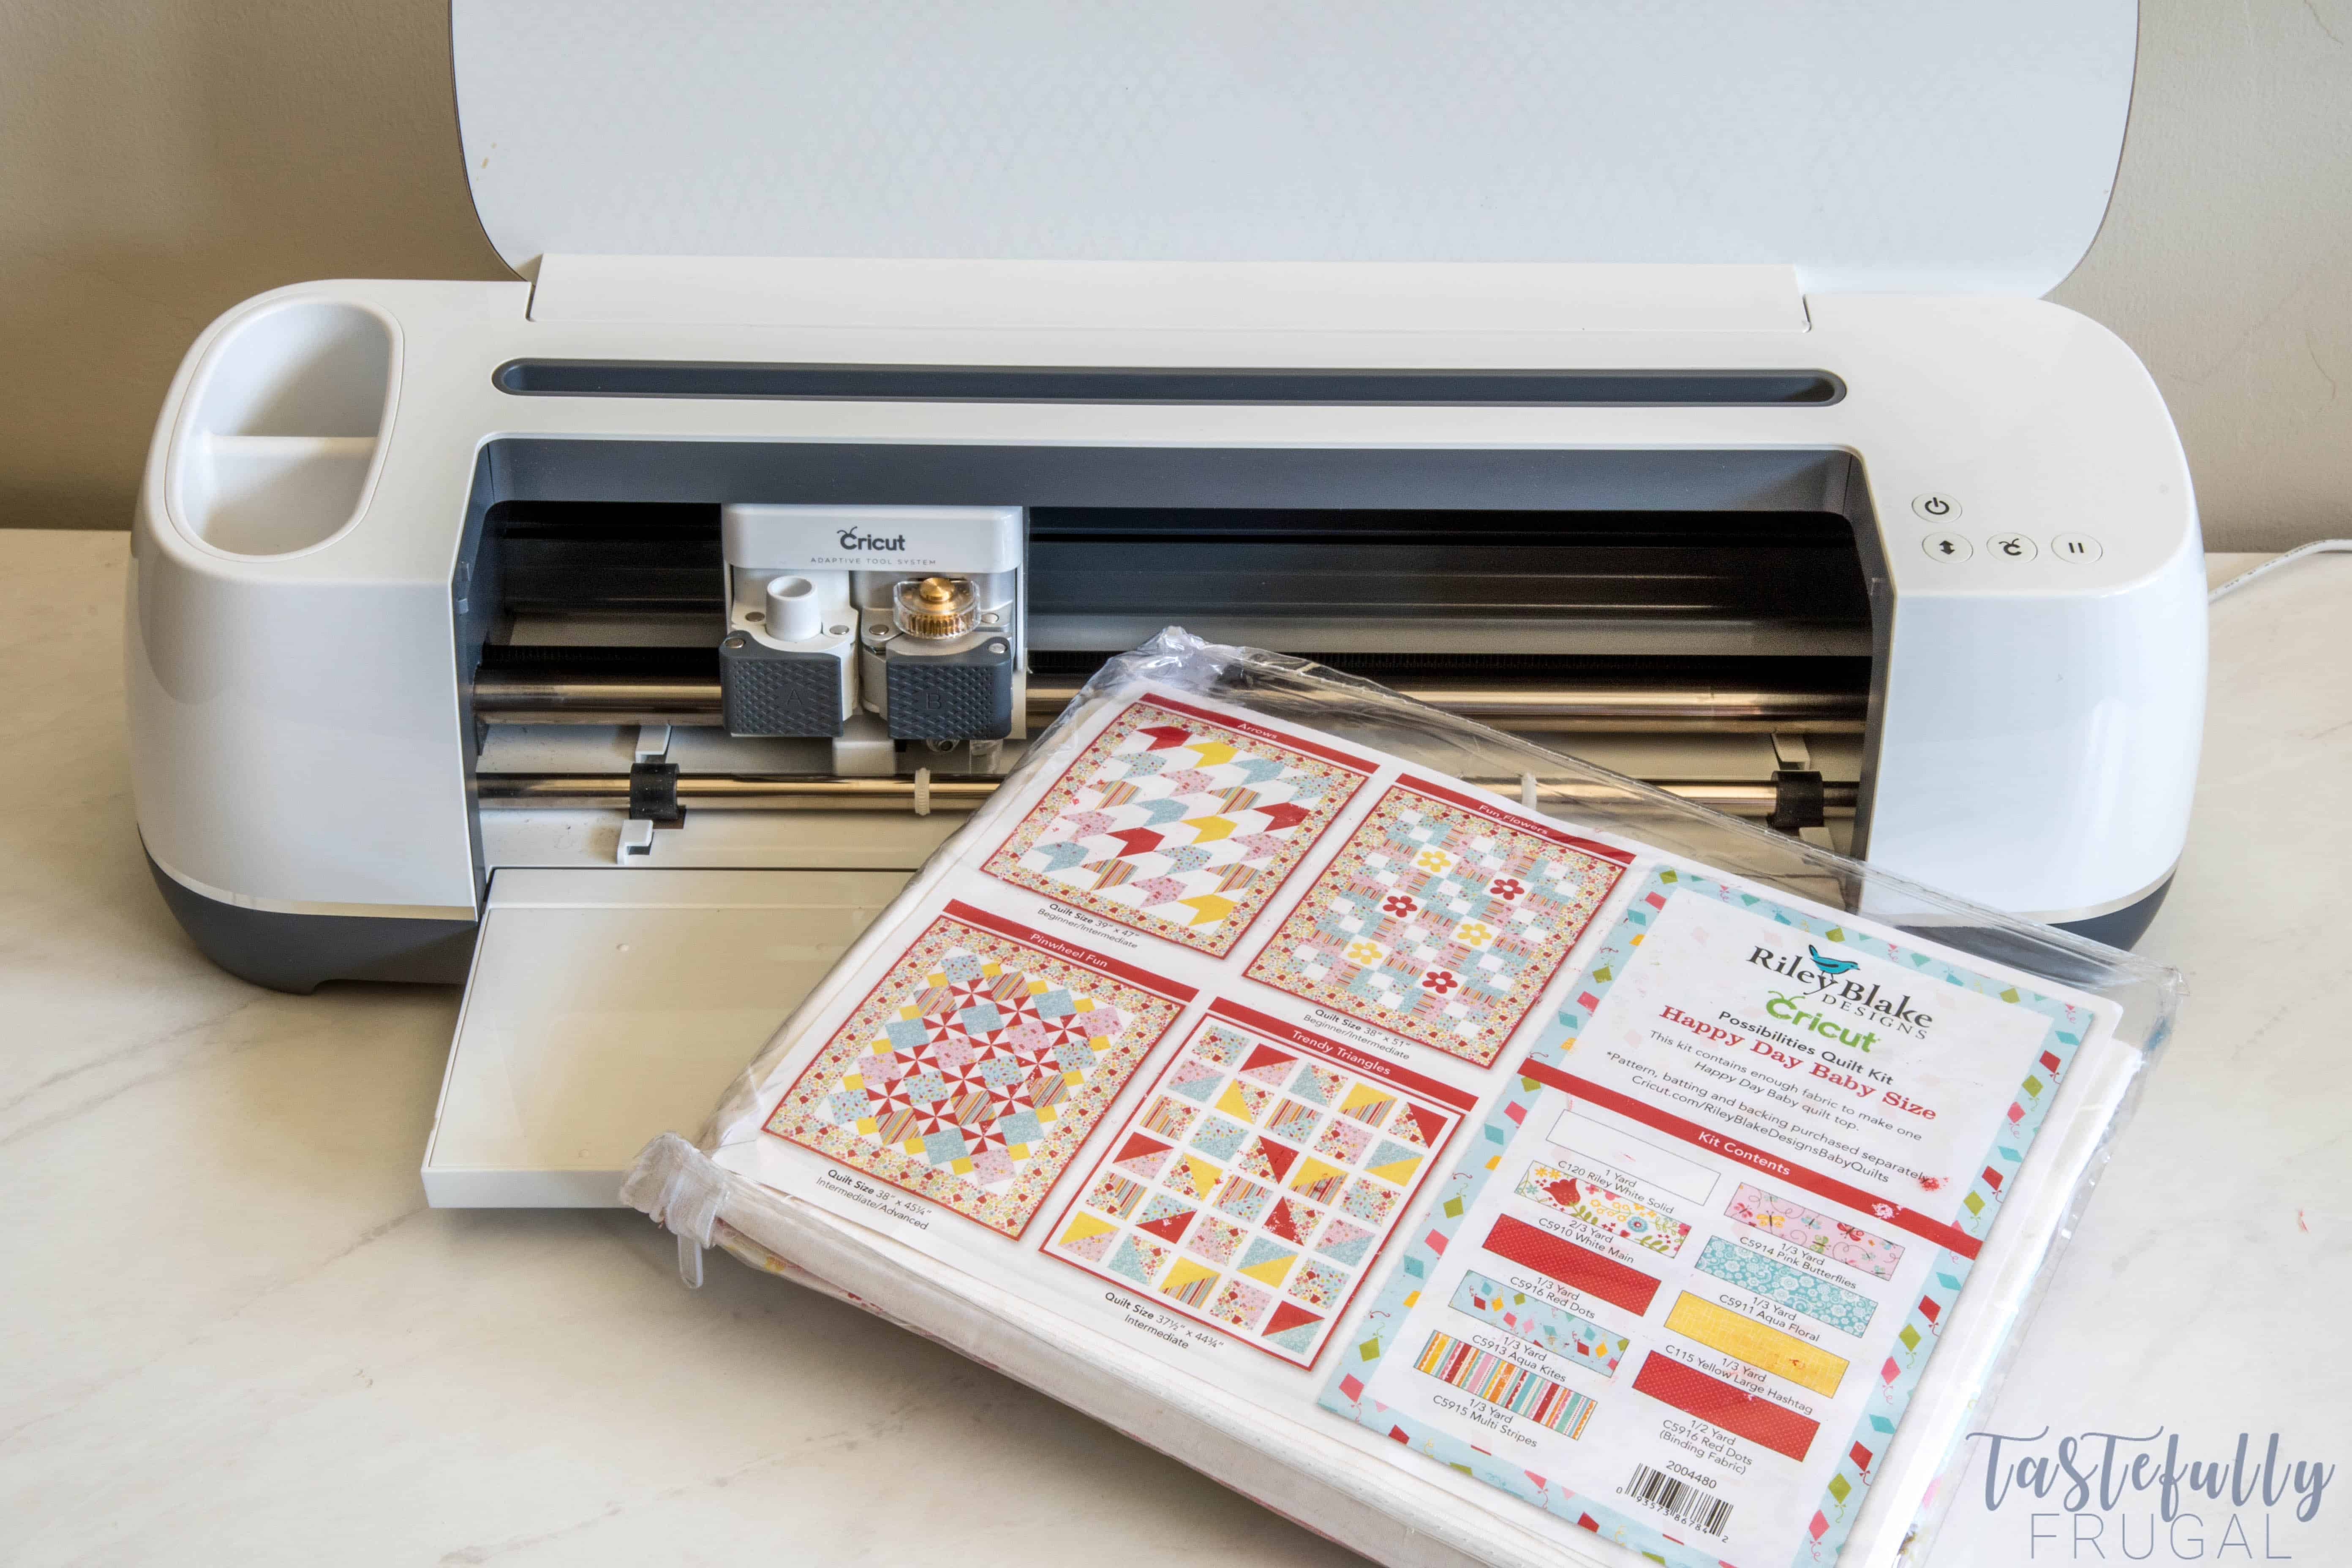
As a reminder, I’m using the Happy Day Baby Size Quilt and the Trendy Triangles Pattern. You can find all the quilt kits here and all the patterns available here. And remember to use code TFRUGAL to save 10% and get FREE shipping when you order. Let’s get started prepping our fabric! Amy over at Diary Of A Quilter also used the Happy Day Baby Quilt Kit and Rachel over at Little Fish used the same Trendy Triangles Pattern I used, if you want to check out a few other colors and/or patterns available.
I was actually surprised at how quickly everything went. It took me about 40 minutes to cut out all the pieces (that includes several breaks to keep a busy 2 year old from destroying everything), and an hour and a half to sew the top together. The Riley Blake kit comes with everything you need for the quilt top, all you need to finish your quilt is fabric for the backing (I used the same kite fabric but in a light pink) and fabric for your binding.
Let me show you how EASY it is to make a quilt top! You’ll want to check out this post for the tutorial on cutting the pieces.
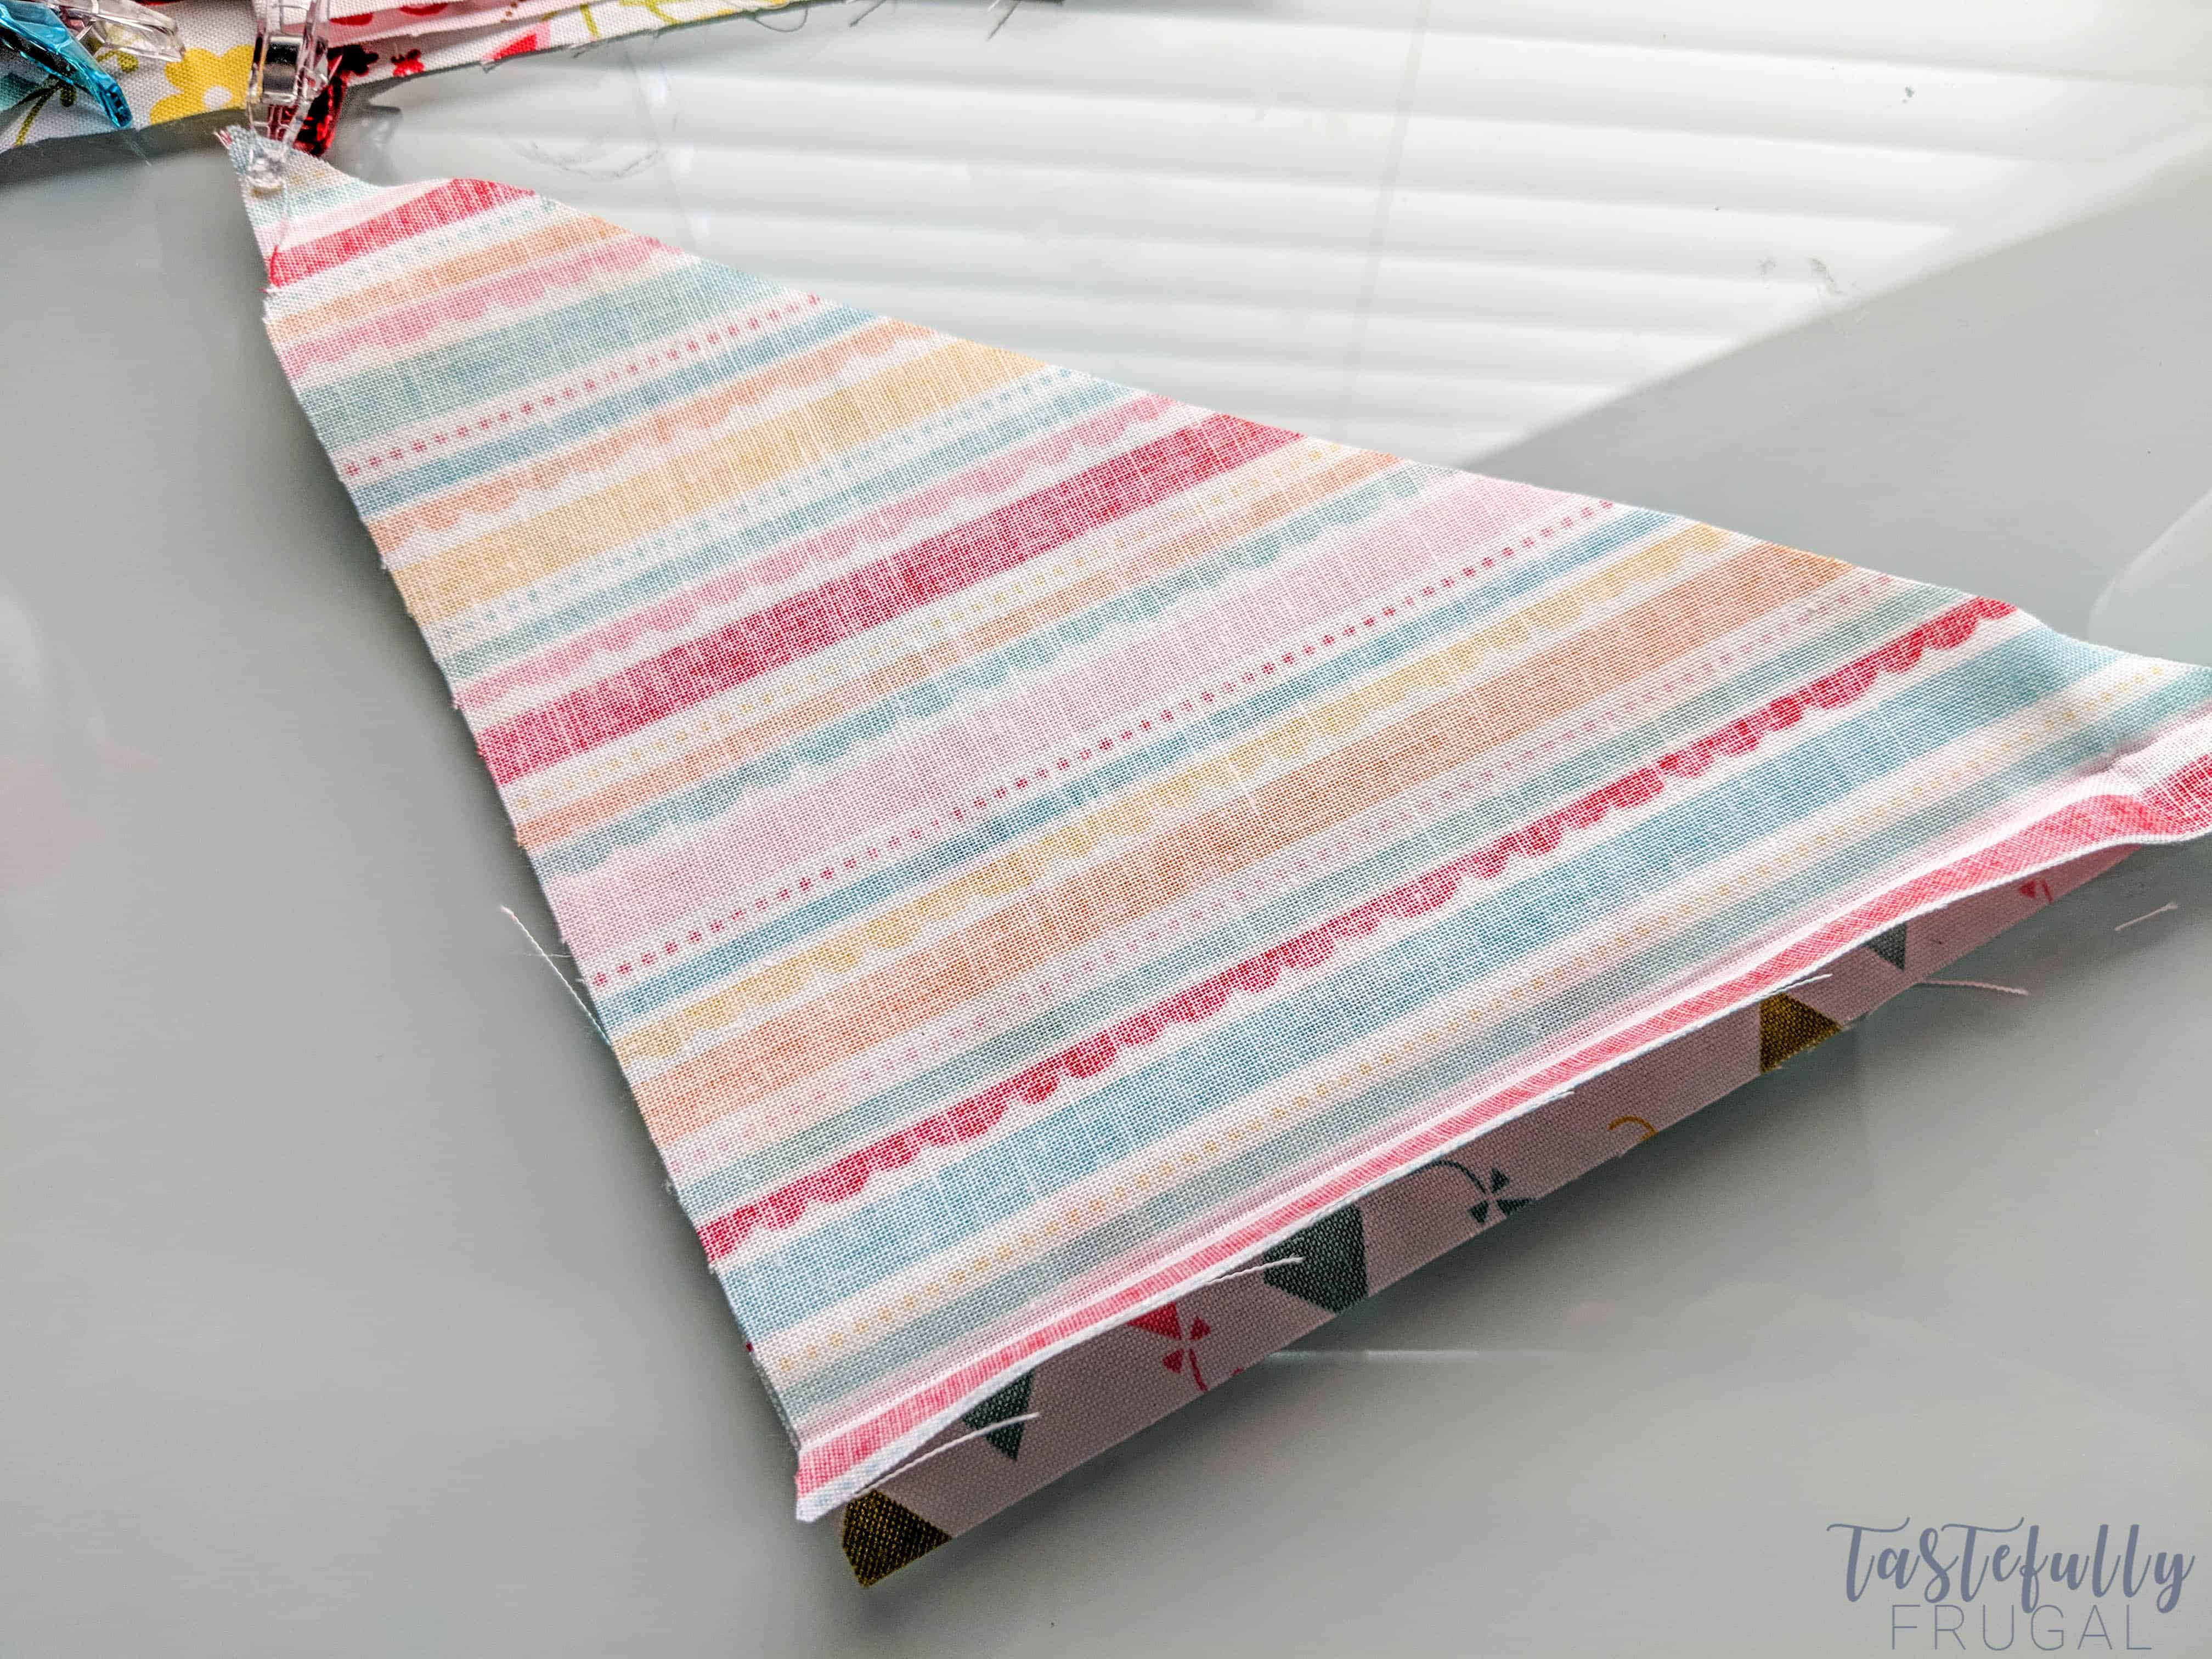
You’ll want to start by pinning the triangle pieces together. To do this you’ll want to refer to the PDF instructions found at the bottom of your pattern in Design Space. To piece mine together I used these Magic Clips – they are SO much easier to use compared to regular pins. You can order a 100 pack on Amazon for $8.99. I checked at JOANN and they were $14.99 for 20, so Amazon is definitely your best bet with these.
Once you have all your triangles pieced together, you’ll want to sew them together. To do this you’ll place the two pieces, design side together and sew a ¼” inseam.
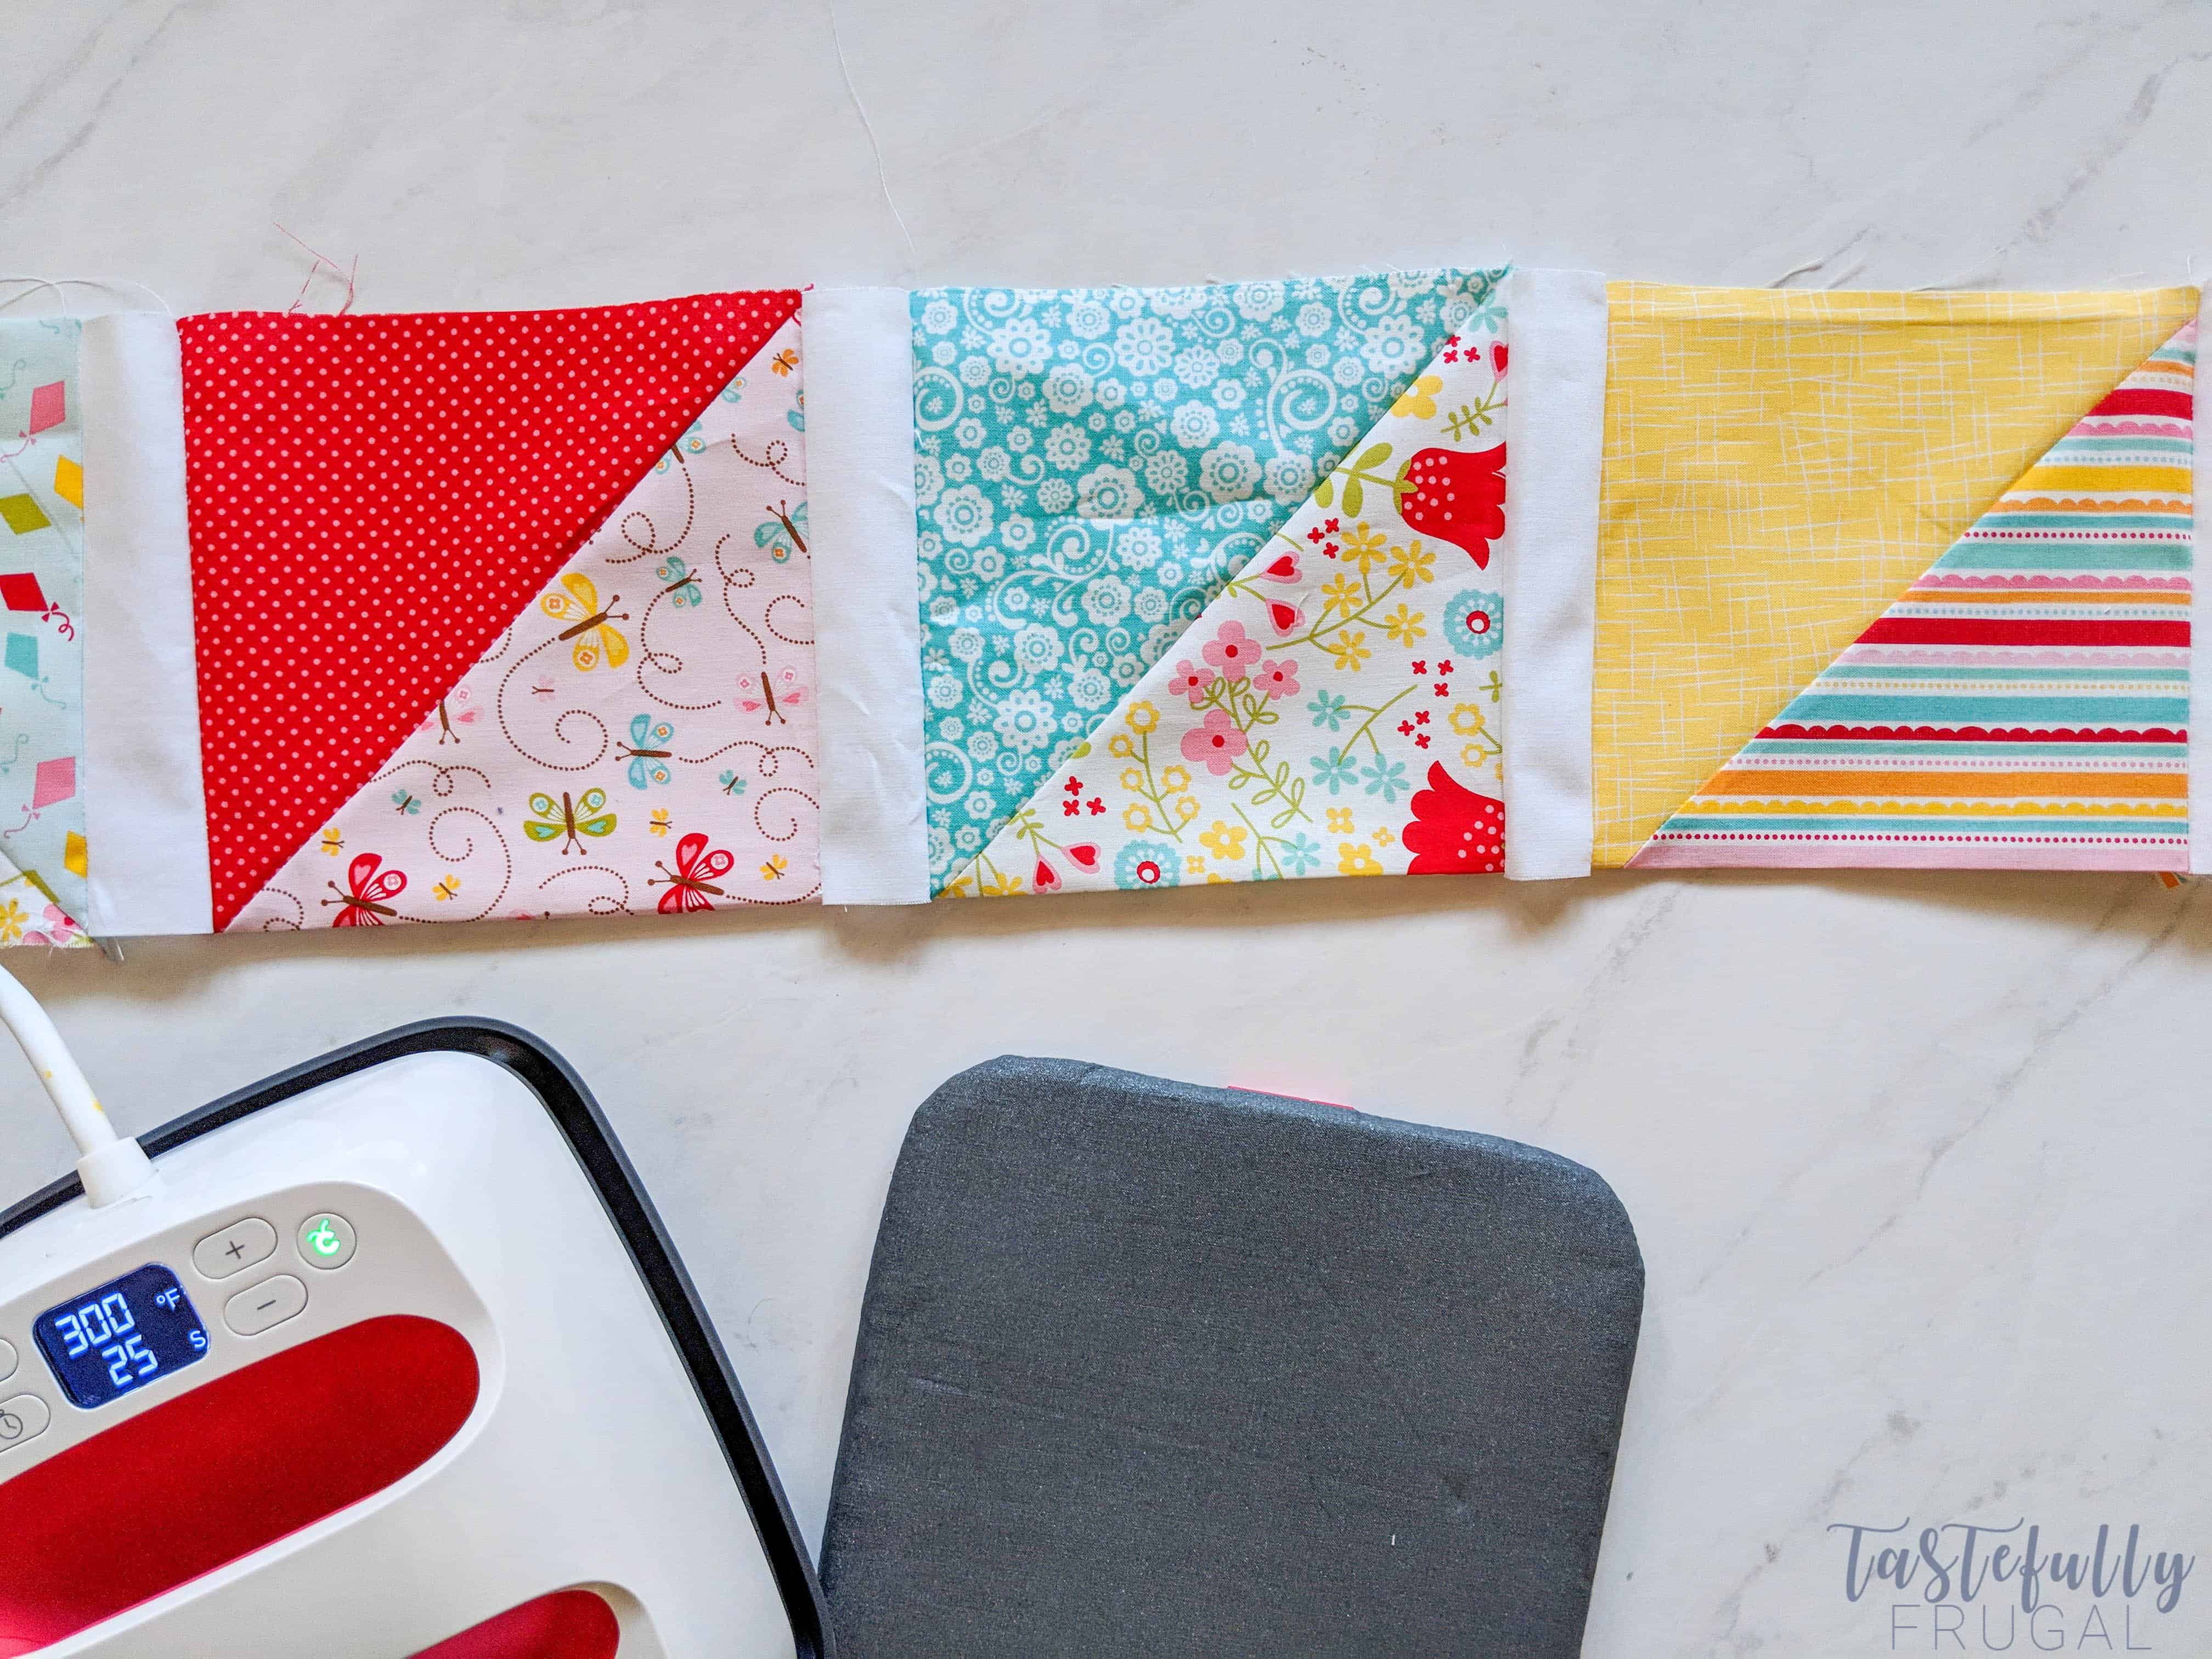
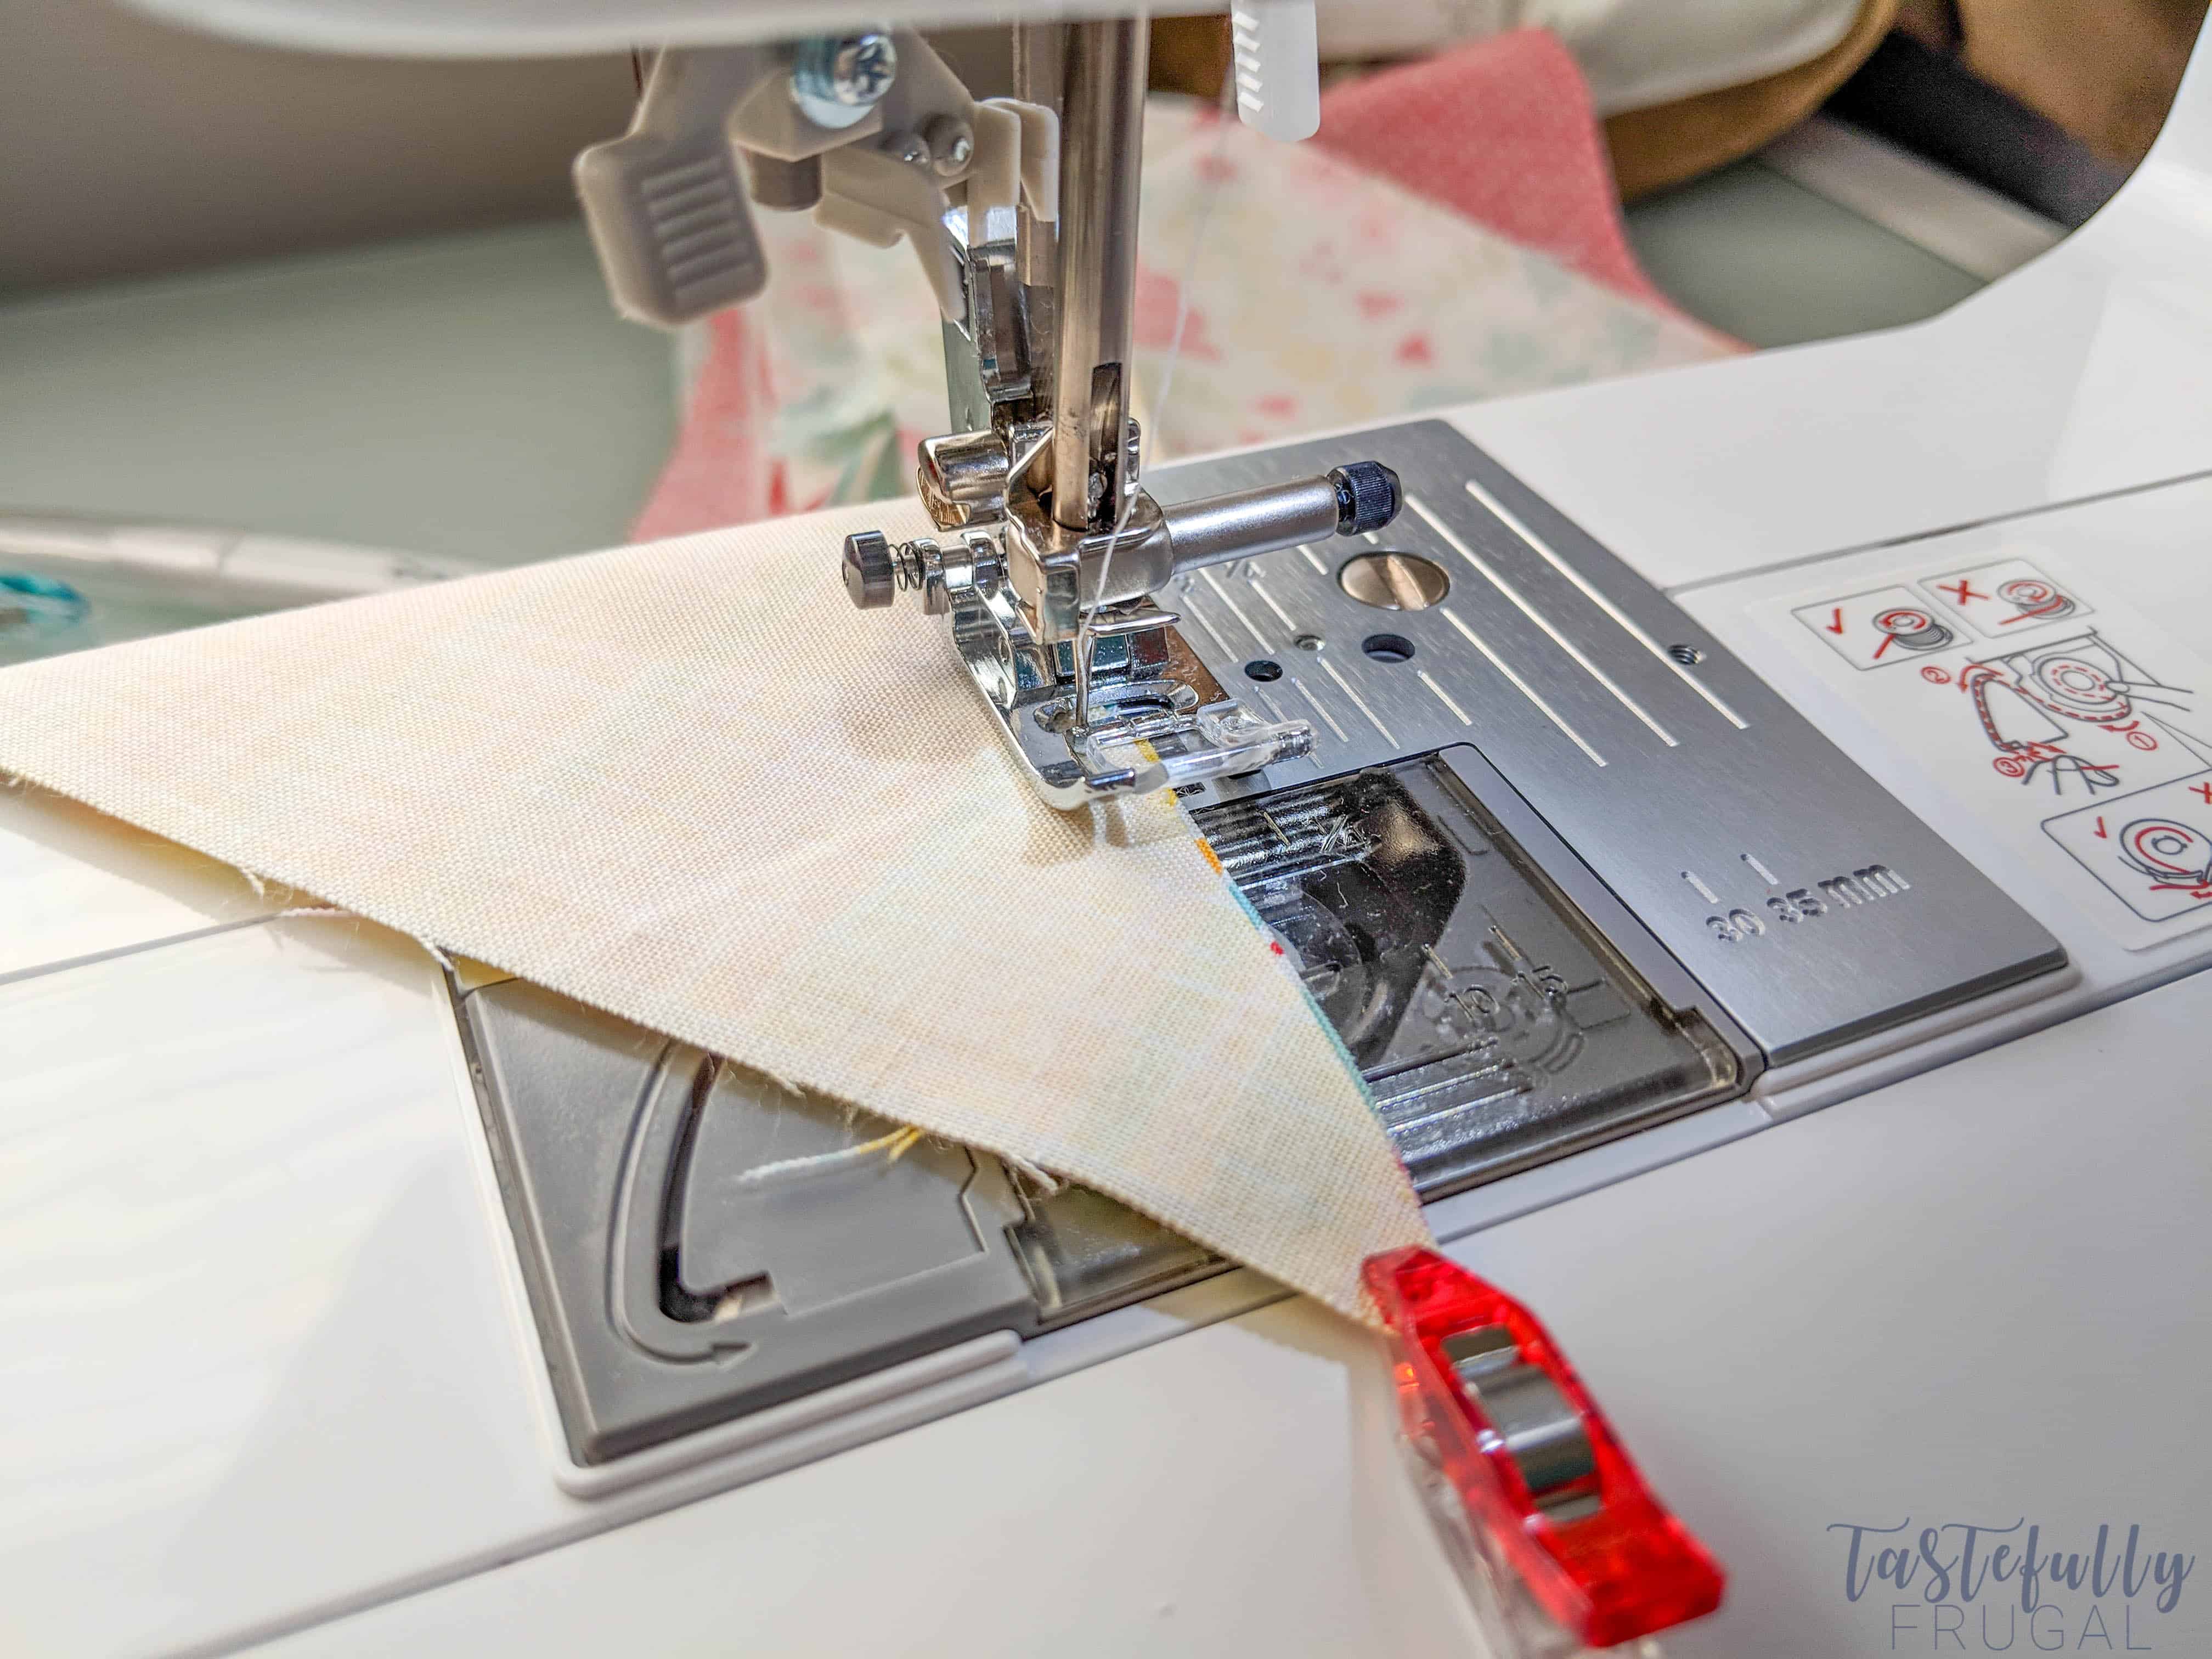
After you sew all your triangles into 6″ squares, you’ll start making your rows. To do this, start by sewing one 1″ thick strip on to the left side of the first square (again it’s best to refer to the PDF diagram in the instructions). Next, you’ll want to sew a second 1″ strip to the other side of the first square and then attach the second square to the second 1″ strip and continue this for your first row.
Repeat this with all 6 rows.
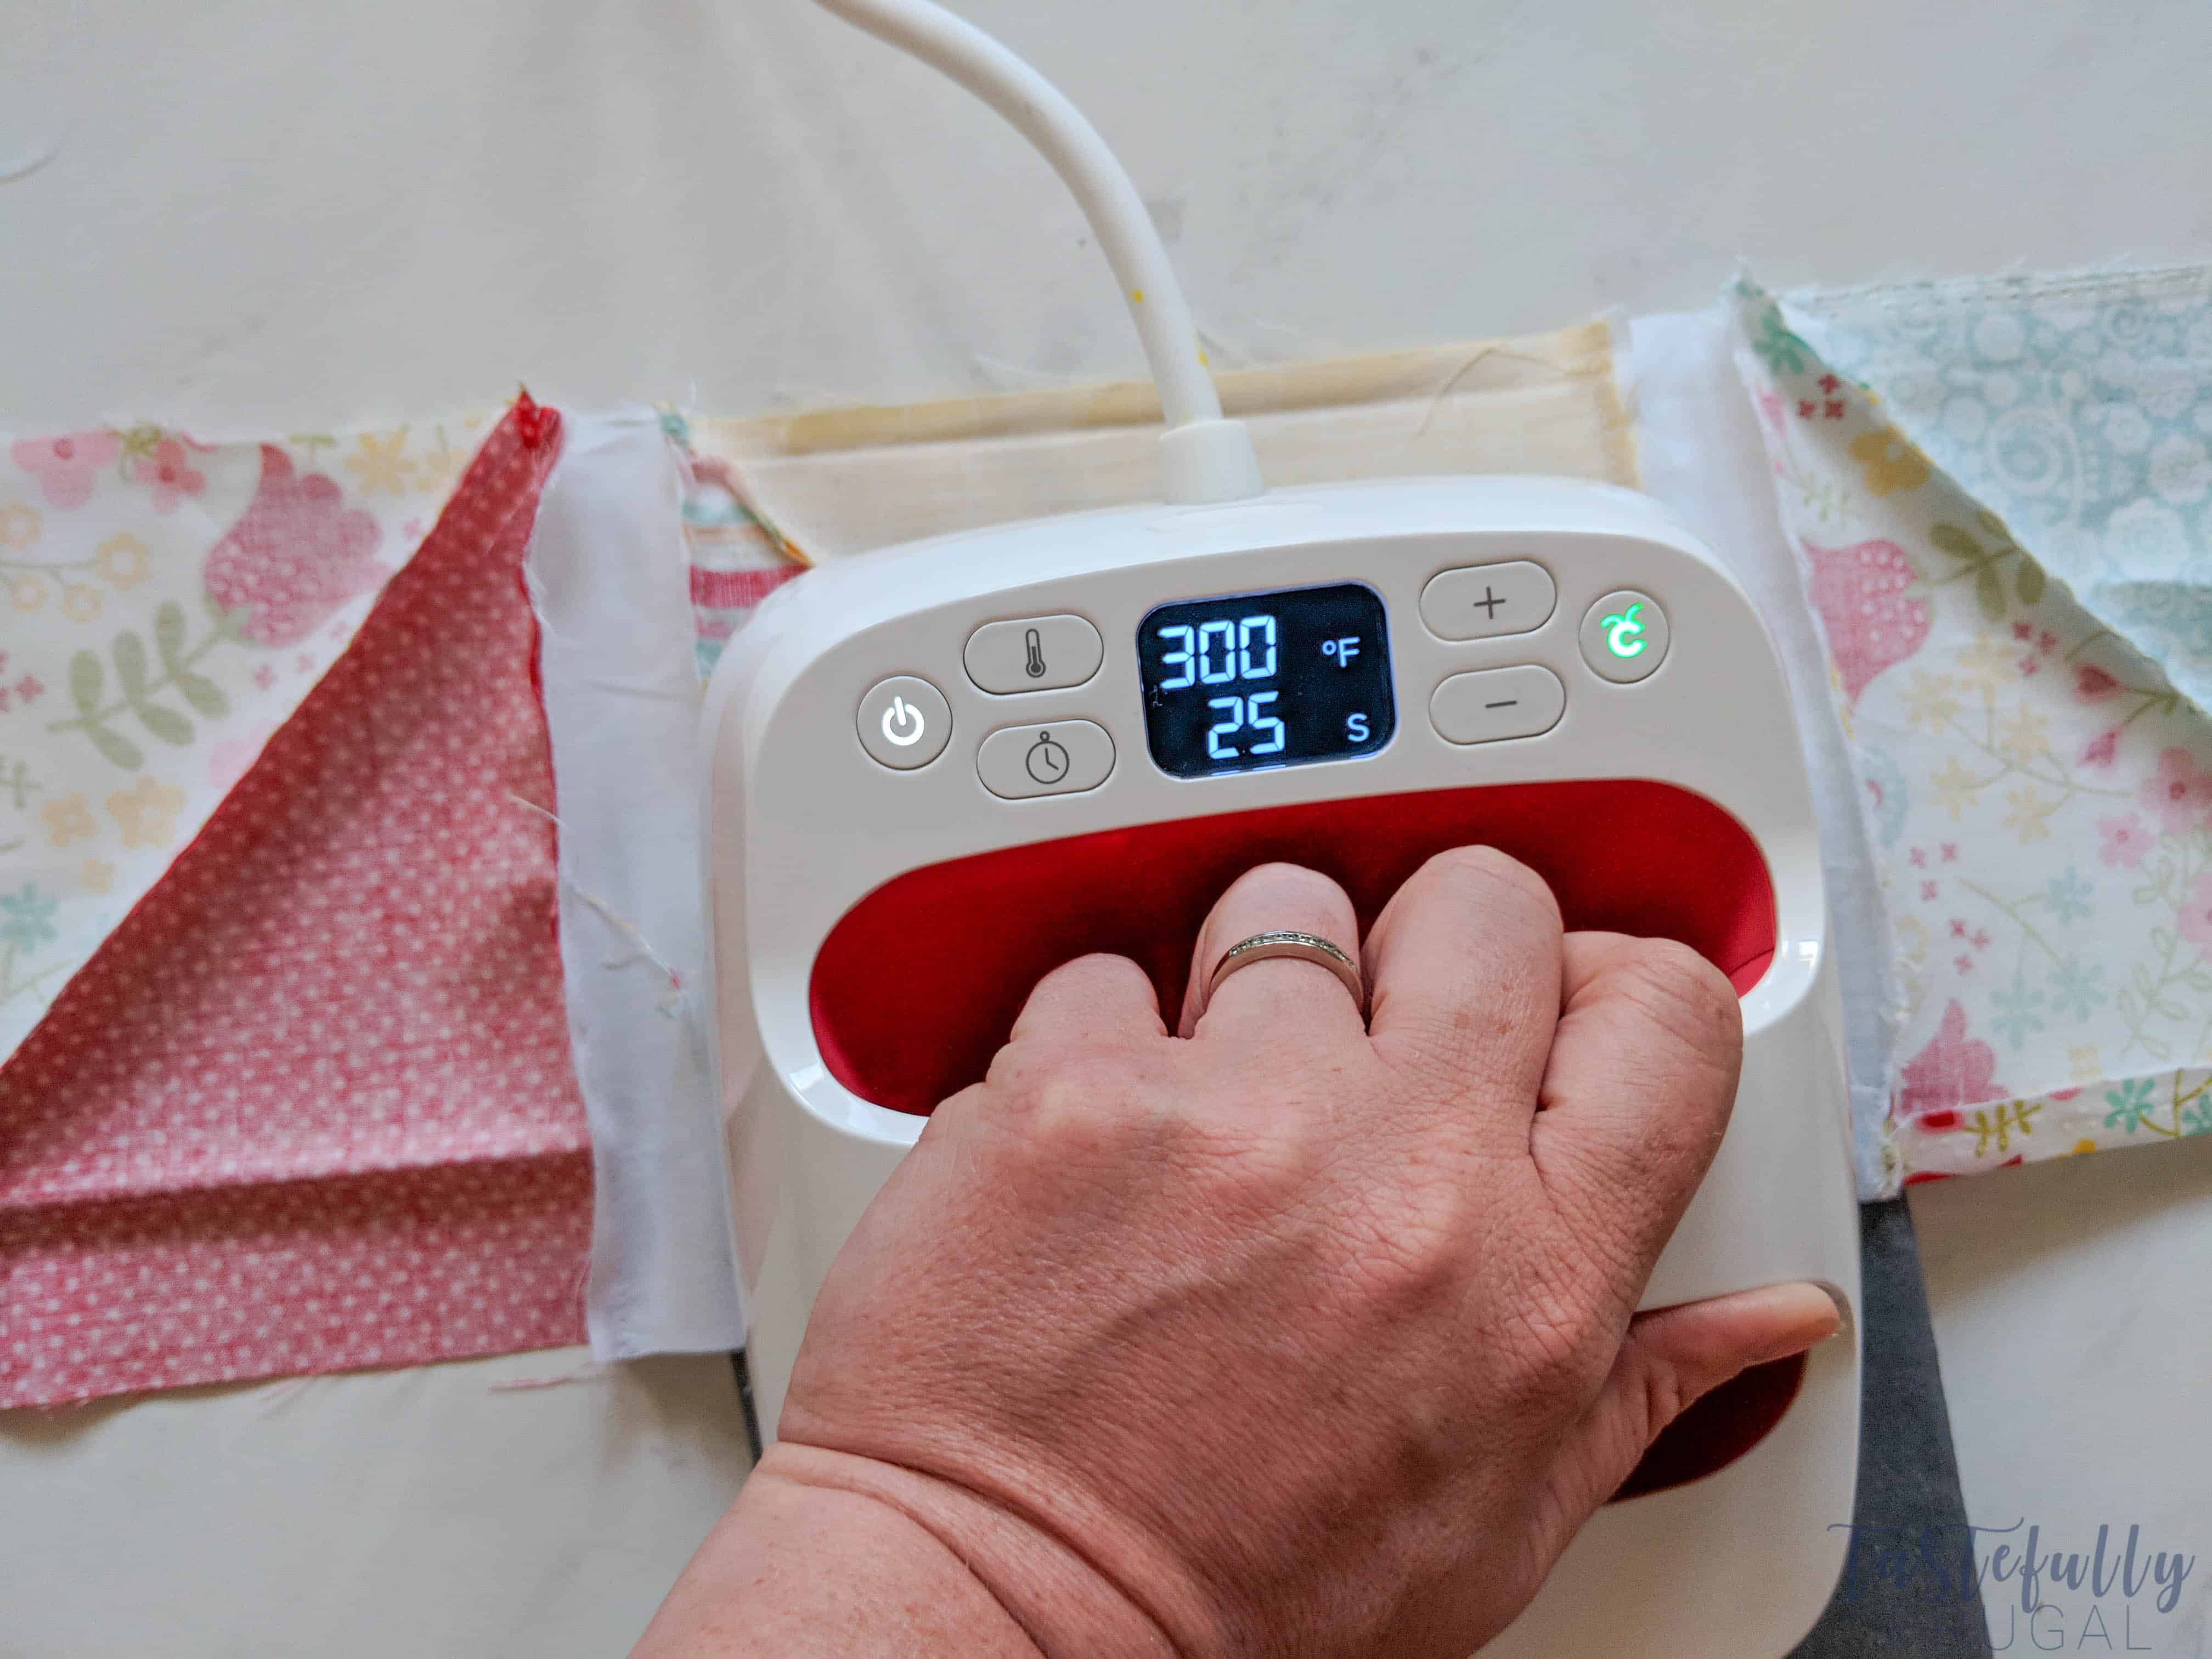
Next, you’ll want to press your seams. I used my 6″x7″ EasyPress 2 and EasyPress Mat to do this but you can use an iron if you don’t have an EasyPress. After watching a few YouTube videos on this part, I love Carolina Moore’s videos, I learned to press your binding toward your darker fabric.
After everything is pressed, you’ll want to cut six 1.75″ strips the width of your quilt (mine was 40″). To do this I used my Cricut Acrylic Ruler, Double Sided Self Healing Mat and Rotary Cutter. I’ve never been good at cutting straight lines, but these 3 tools made it SO easy!
Once you have your strips cut, you’ll want to pin one strip along the top of the first row and sew it on. Then pin another strip on the bottom of the first row and sew it on. Then attach the second row to the second strip and sew it on.
Repeat for all 6 rows.

This was my first quilt and I was a little nervous on putting the backing on. When I saw my friend Kimberly, from Sweet Red Poppy, had a local gal, Britt from Britt’s T-Shirt Quilts, finish hers. I reached out to her and she was SO nice and did such a great job putting the backing on and binding the quilt. She takes orders from around the country and I would definitely recommend using her. You can find her on Instagram or you can check out her Etsy shop.
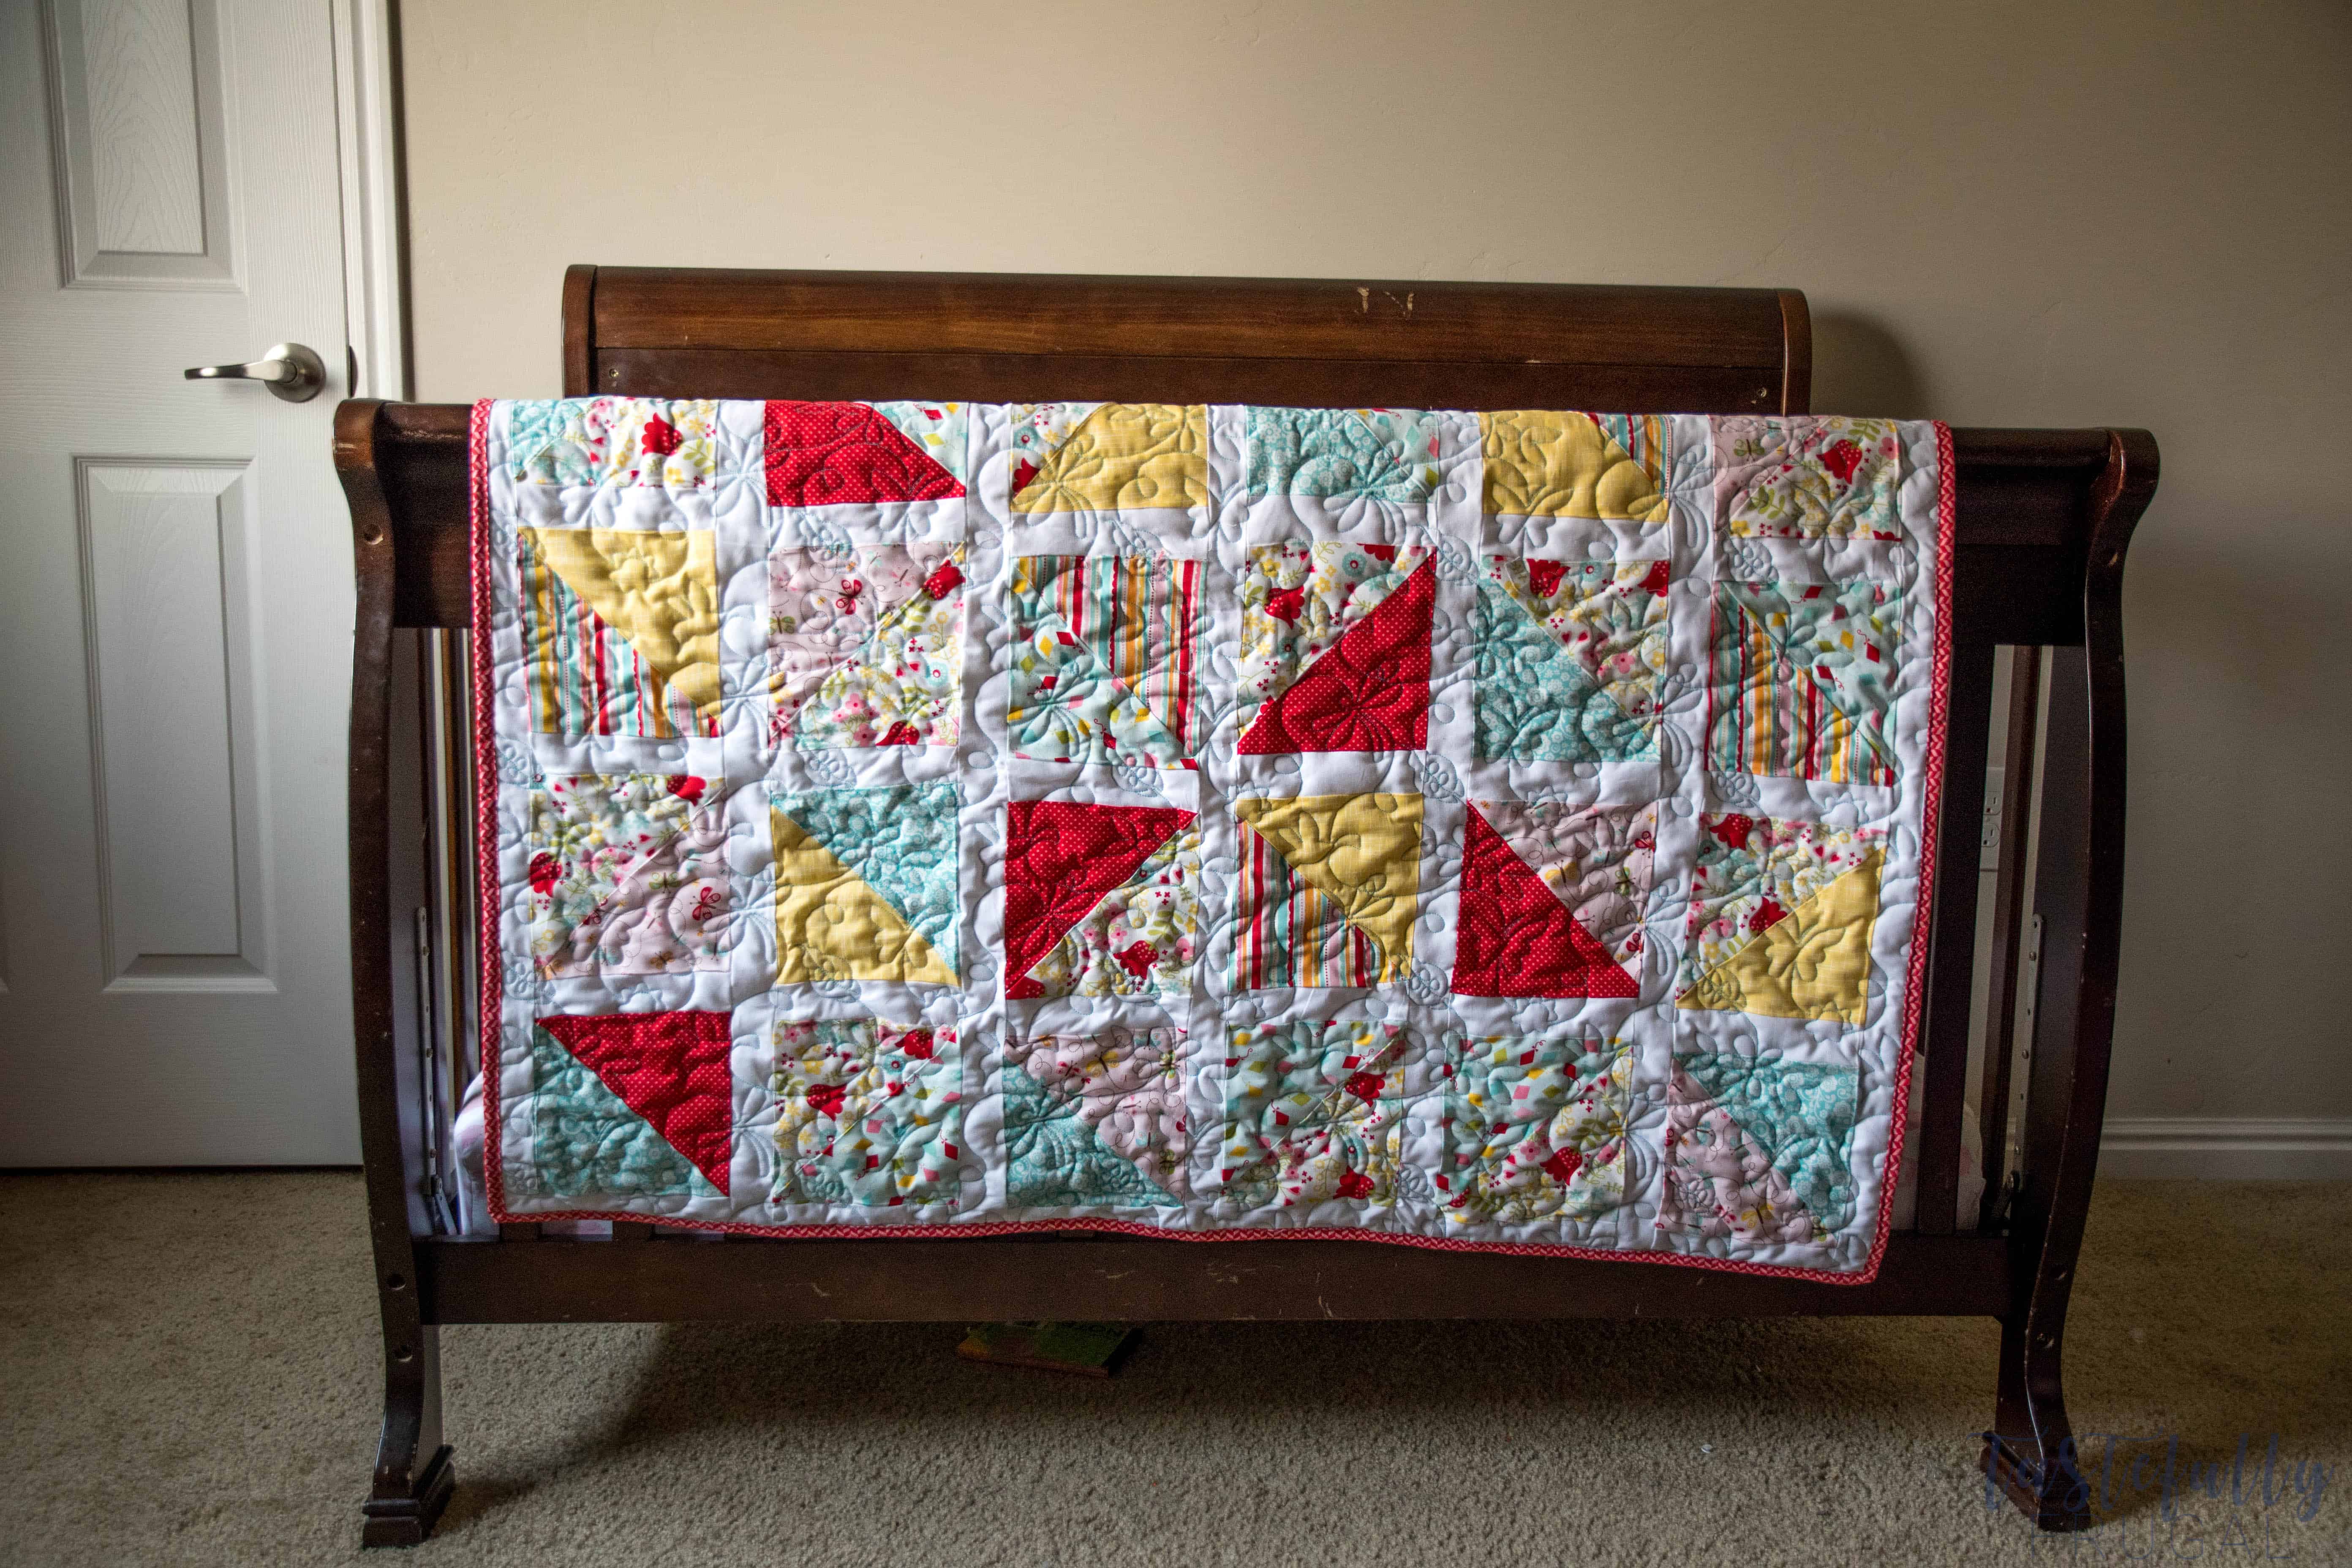
This was such a fun project and thanks to Cricut and Riley Blake I get to cross off another item on my to make bucket list. AND my boys love their sister’s quilt so much they are already asking me to make them their own! Now the hard part starts again, picking the right pattern!
Have you thought about using your Cricut Maker to make a quilt? Let me know if you have any questions! And don’t forget, you can use code TFRUGAL when you’re shopping on Cricut.com to save 10% and score FREE shipping! If you’d like to check out more ways you can use Cricut products check out these posts! Need help with your Cricut? Join our Cricut Support Facebook Group!
This is a sponsored conversation written by me on behalf of Cricut. The opinions and text are all mine.


Carolina says
Thanks for the shout-out about my videos, and congrats on making your first quilt! Beware… It is addicting! ♥️