Make your own light box inserts in minutes with your Cricut.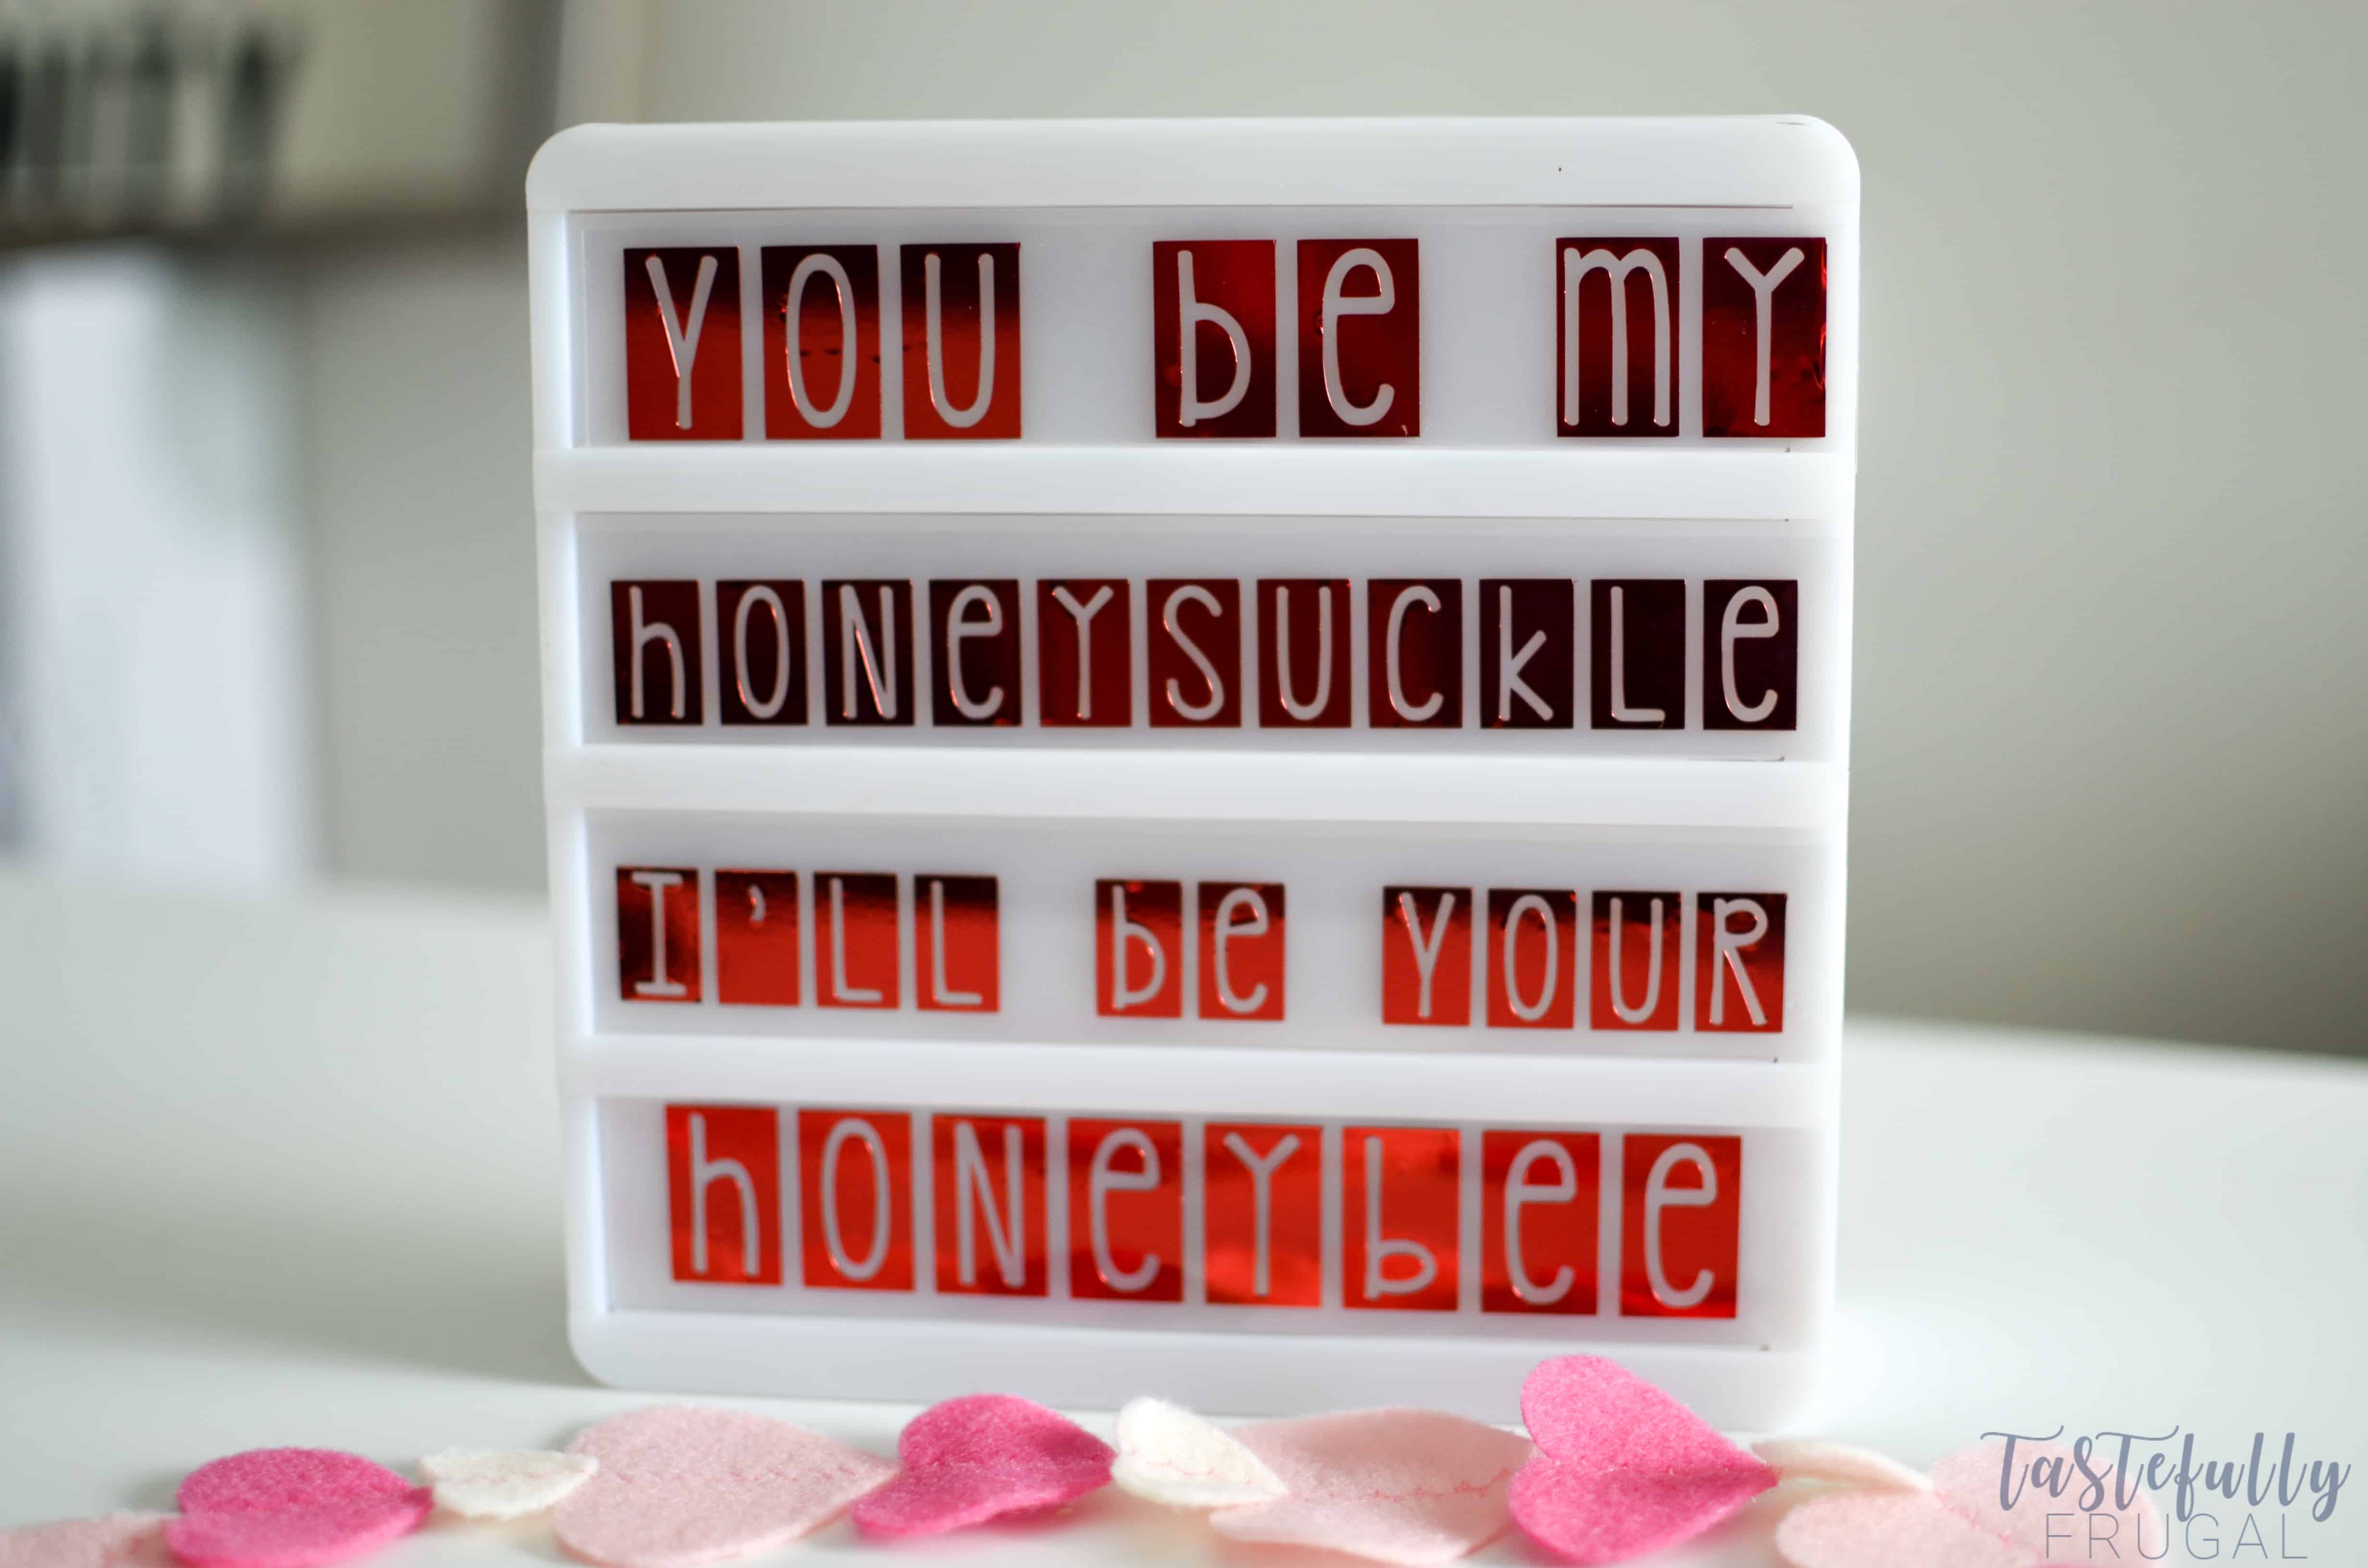
Don’t you just love the Heidi Swapp Light Boxes?! I just love putting little messages on them and changing up the design for the week, month, holiday, whatever! Now that my 5 year old is enjoying reading he loves coming home and seeing if I changed up the light box and what it says. They also make great night lights too!
What I’m not a fan of is how pricey all the insert pieces can be. So what’s a mama on a budget to do?! You make your own of course! Making your own inserts is SO easy to make thanks to my Cricut Maker. You can use an Explore Air or Air 2 as well but I used my Maker on this one. 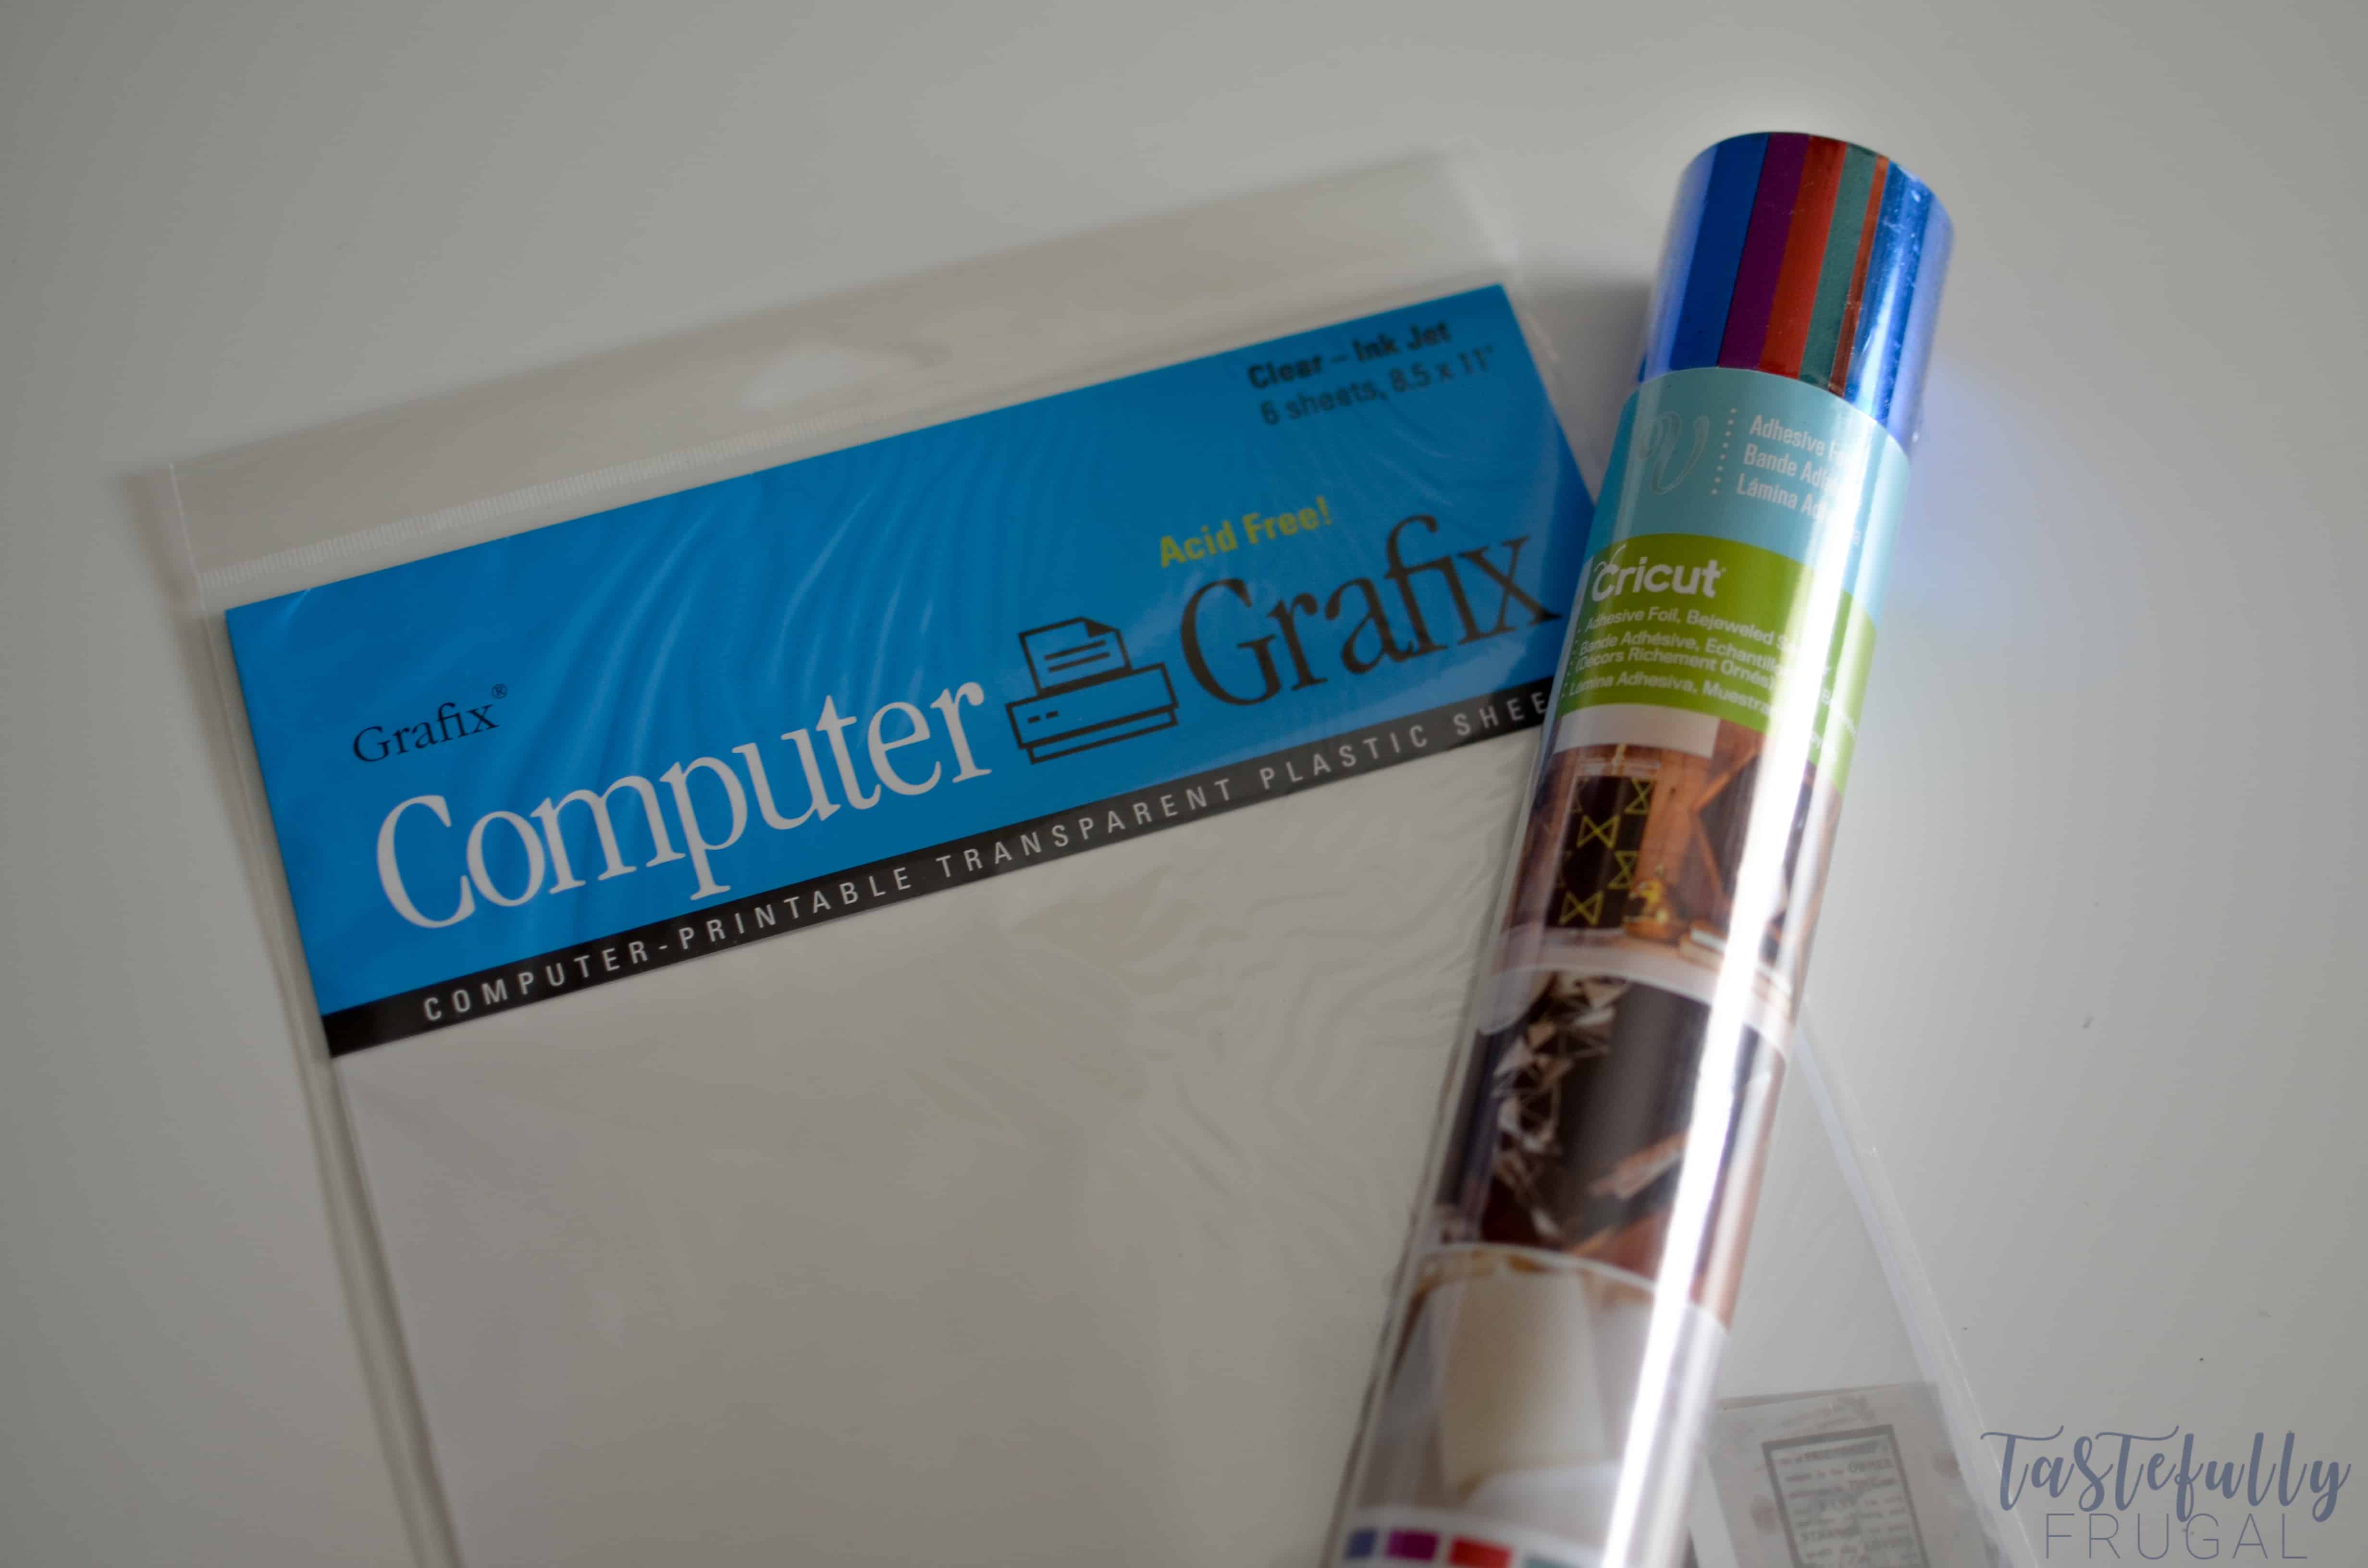
The best part is I spent less than $10 for everything to make these and I’ve already made 10 different sayings and I STILL have supplies left. All you need are these transparent plastic sheets and vinyl. Easy peasy right?! Let me show you how easy they are to make! 
If you want to see me make this LIVE tune in to my Facebook page this Friday, January 26th at 3PM MST.
SUPPLIES
**When ordering from Cricut.com make sure to use promo code TFRUGAL to get 10% off and score FREE shipping!**
Vinyl (I used red adhesive foil)
Essenital Tool Kit (not 100% necessary but it makes weeding and applying the transfer tape SO much easier!)
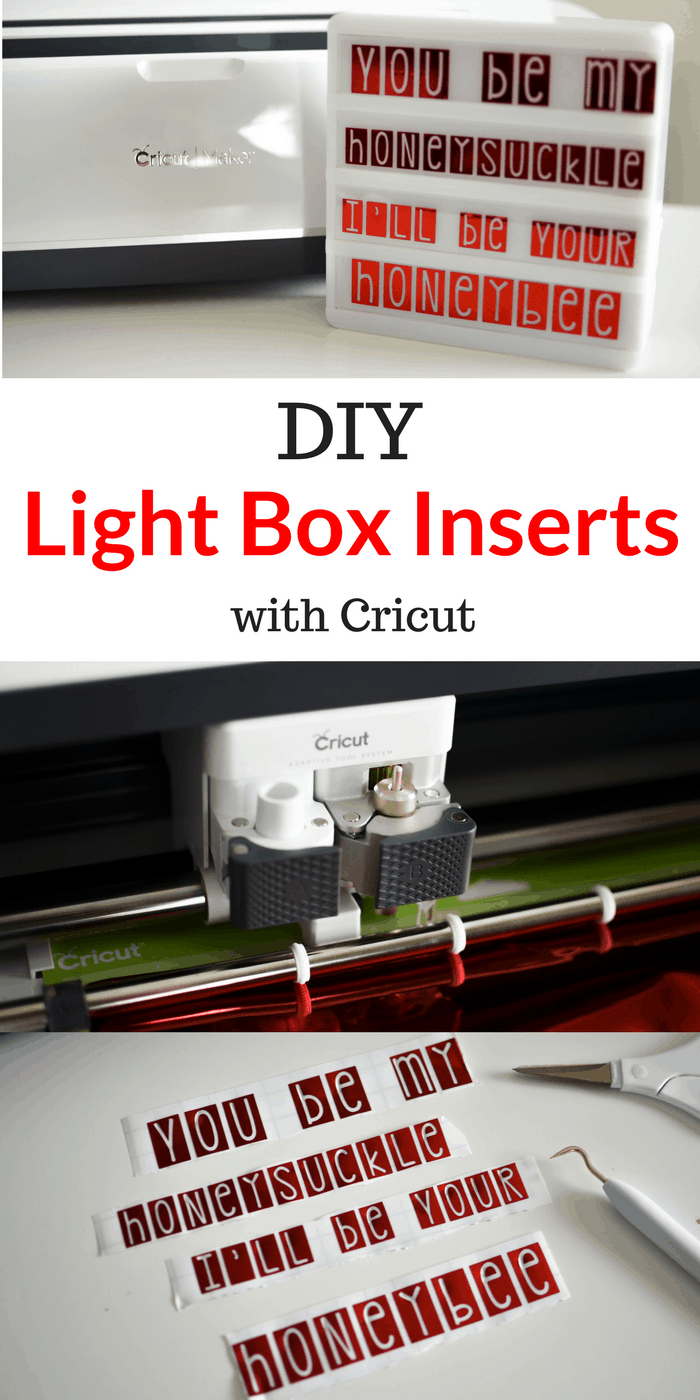
DIRECTIONS
Open this design in design space. If you aren’t a fan of country music and/or don’t like this saying you can change the text to whatever you’d like. If you like this fon’t you’ll want to download the KG PDX Blocks font from DaFont first.
Send your project to your machine.
For the plastic transfer sheets – you’ll want to use the LightGrip (blue) mat. Select material as TRANSPARENCY under Plastic.
Use the spatula tool to help lift the sheets off the mat.
 For the foil – you’ll want to use the StandardGrip (green) mat. Select material as ADHESIVE FOIL under vinyl.
 Using your weeding tool to remove the excess foil around the banners and then letters inside the banners.
 Attach the transfer tape to your foil. The easiest way to do this is to start at the top and slowly add it down. To make sure the transfer tape really has the foil well, use the scraper tool and, starting at the middle of the letters press up firmly. Do this all the way across and then do the same thing but push down from the middle.
 Peel your transfer tape at an angle and the foil will easily come off the backer sheet.
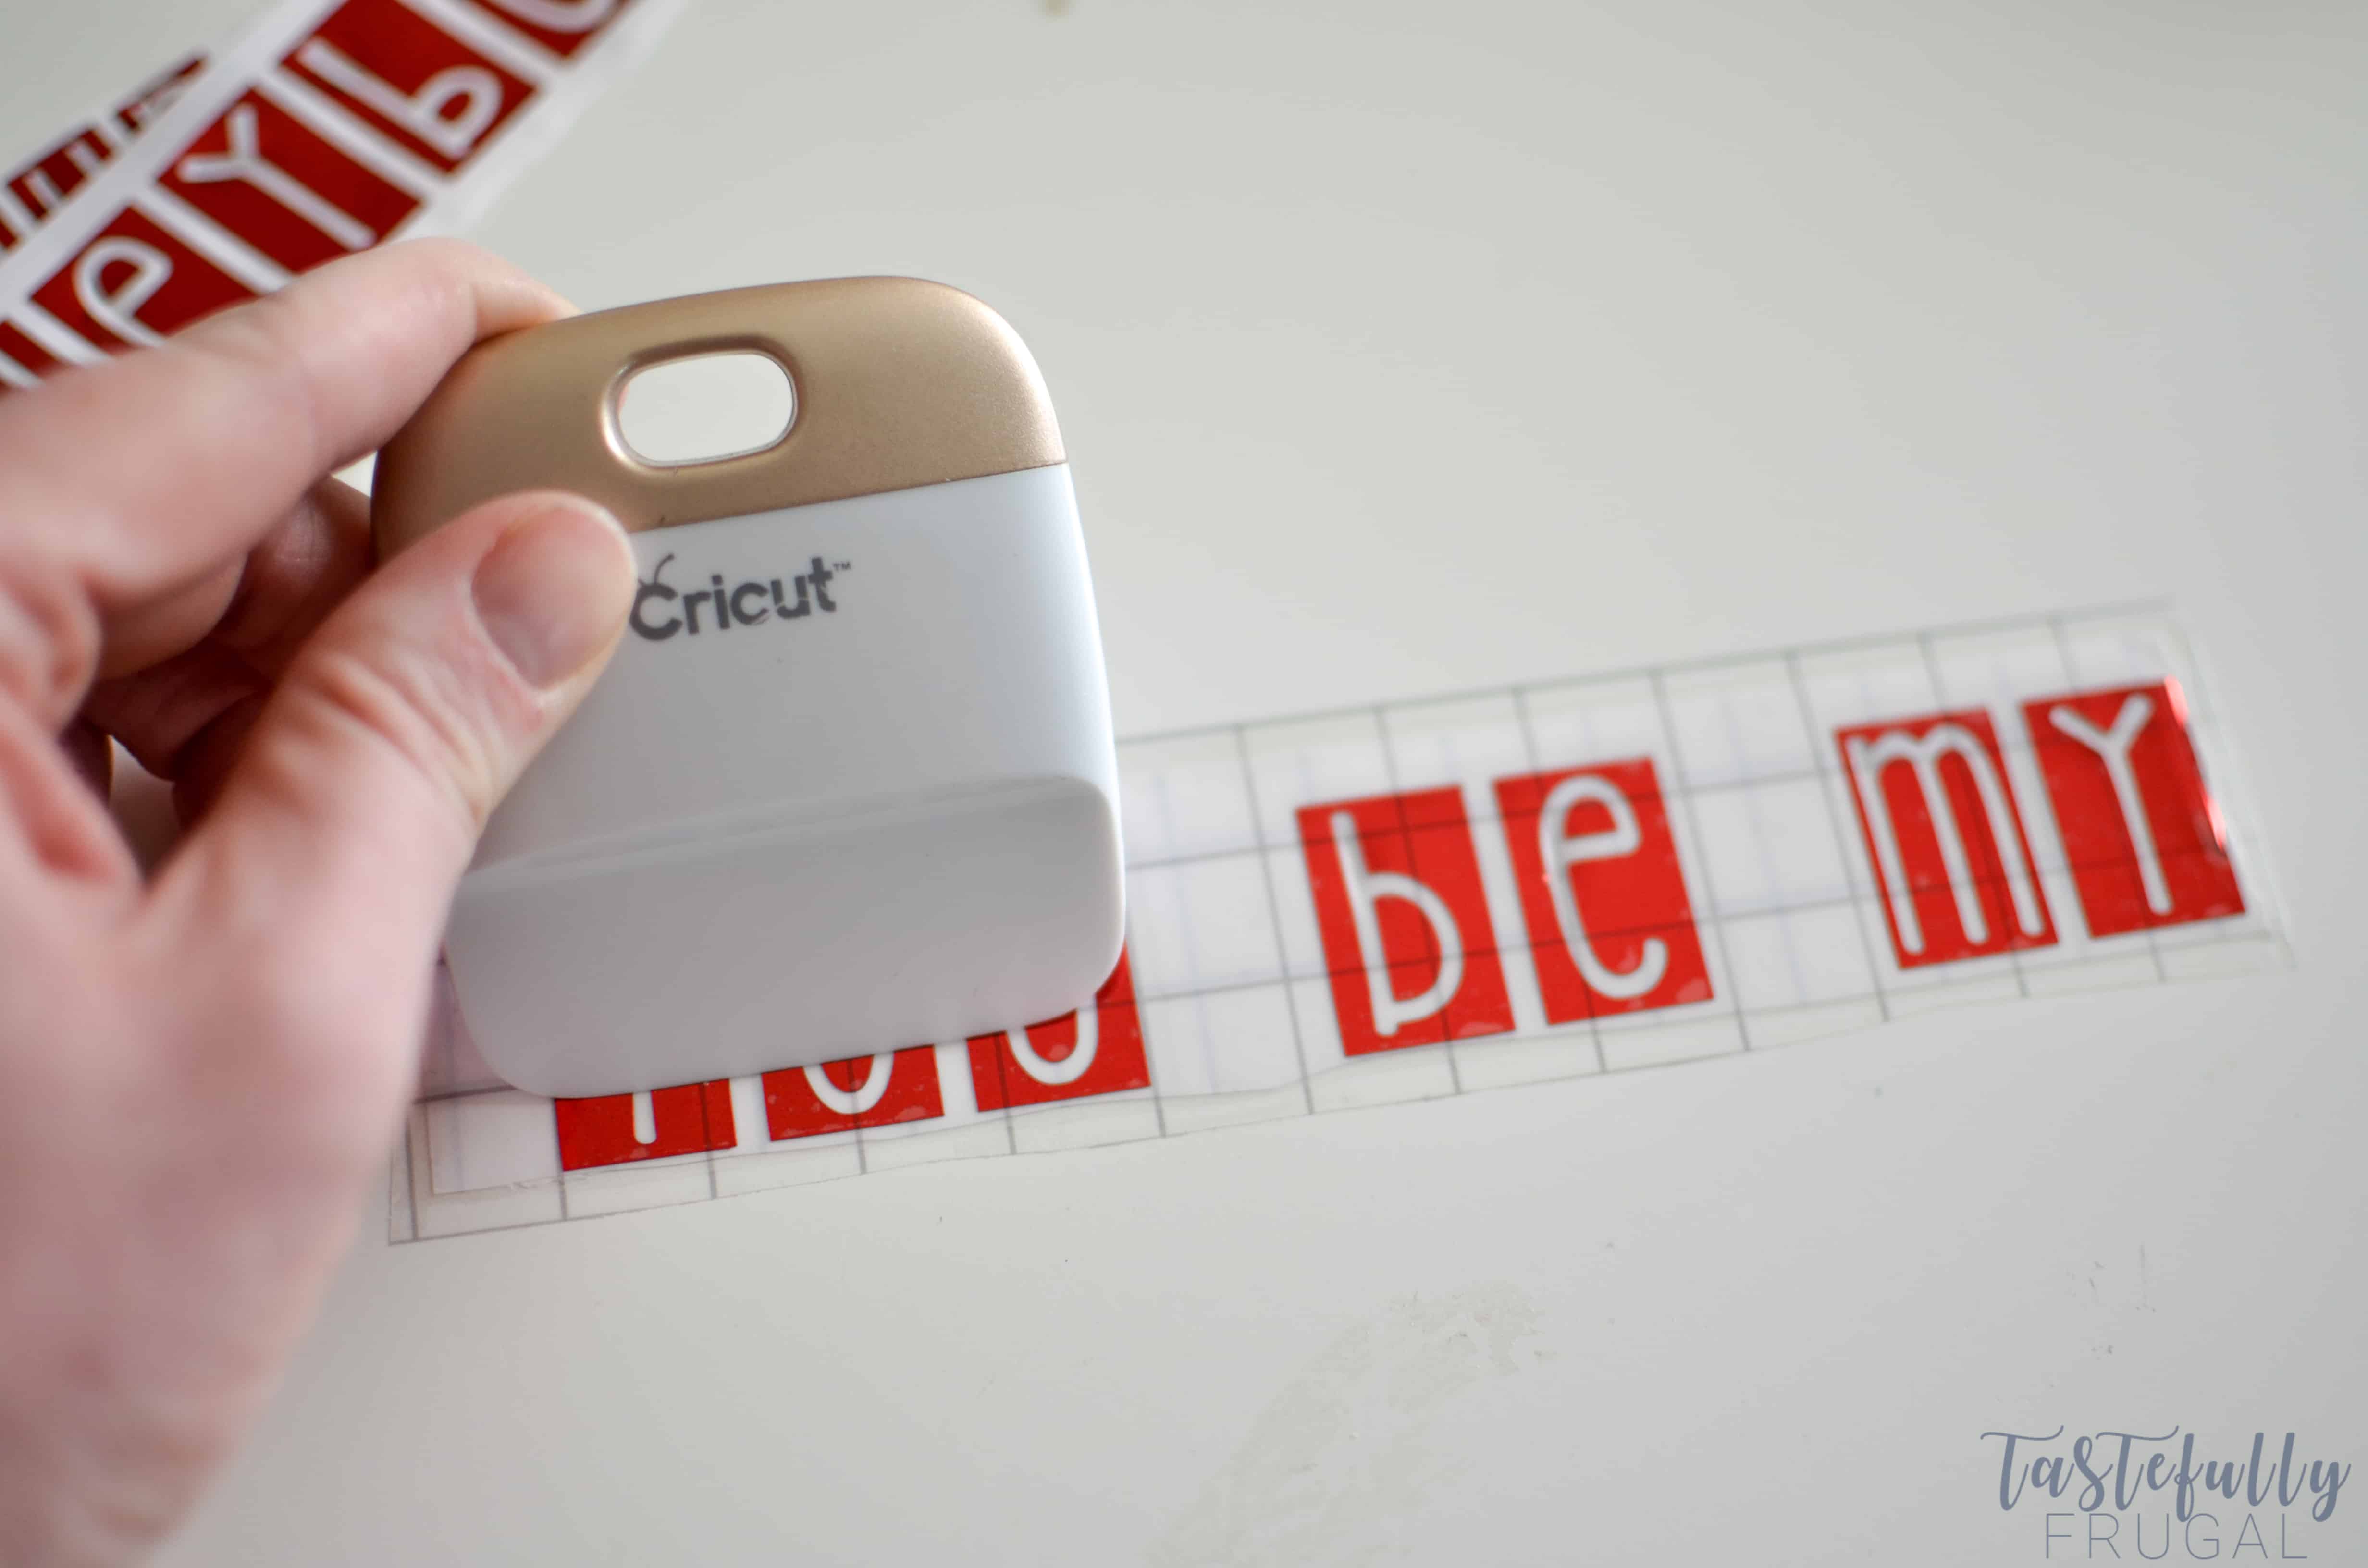
Eyeball where center is on the transparent sheets and apply the foil. Using the same technique as above, use the scraper tool to firmly press up and down on the design.
Peel away at an angle.
Slide into light box.
See how easy that was?! Like I mentioned earlier, I’ll be going live on Facebook THIS Friday (tomorrow) sharing with you how to make this and answering any questions you have about foil, vinyl, transfer tape or anything Cricut. Make sure to like and follow Tastefully Frugal on Facebook to get notified when we go live.
If you’d like to check out more ways you can use your Cricut check out these posts! Need help with your Cricut? Join our Cricut Support Facebook Group!


Kat says
How adorable! I love this idea! I was wondering if I perhaps read it wrong since I am a “newbie” to the fun world of Cricut 🙂 but in your instructions there are some places where you used “transfer sheets” when (I think?) It should’ve been “transparent sheets”?
“For the plastic *transfer* sheets – you’ll want to use the LightGrip (blue) mat. Select material as TRANSPARENCY under Plastic.”
Thank you for your time and wonderfully helpful site. I look forward to learning more.
Sydney says
Kat you are so right! Thanks for catching that!! Updating now 🙂