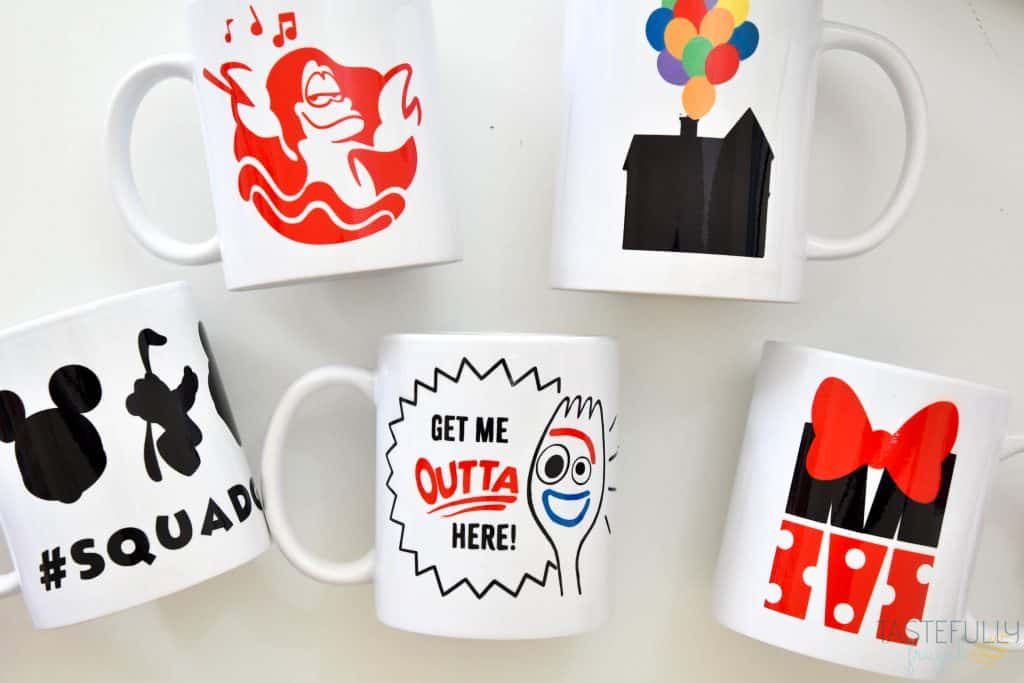
If you have a Disney fan in your life, these DIY Disney Mugs made with the new Cricut Mug Press make the perfect gift!
This post is sponsored by Cricut. All thoughts and opinions are mine alone.
By now I’m sure you’ve heard all the buzz about the new Cricut Mug Press. It makes creating professional quality mugs quick, easy and safe. One of the things I love most about the Mug Press (aside from all the mugs I’ve made) is that I can use it with my kids in the room.
I used to have a swing away heat press that had a mug attachment but as my kids got older and wanted to help in the crafting process I had to sell it because it got too hot and would take forever to cool down. I love that the Mug Press doesn’t get hot on the exterior so that when my little assistants want to craft by mom I don’t have to worry about them getting burnt. **NOTE – The mugs are still super hot when they come out of the Mug Press so be sure to keep them away from small hands for 3-5 minutes.
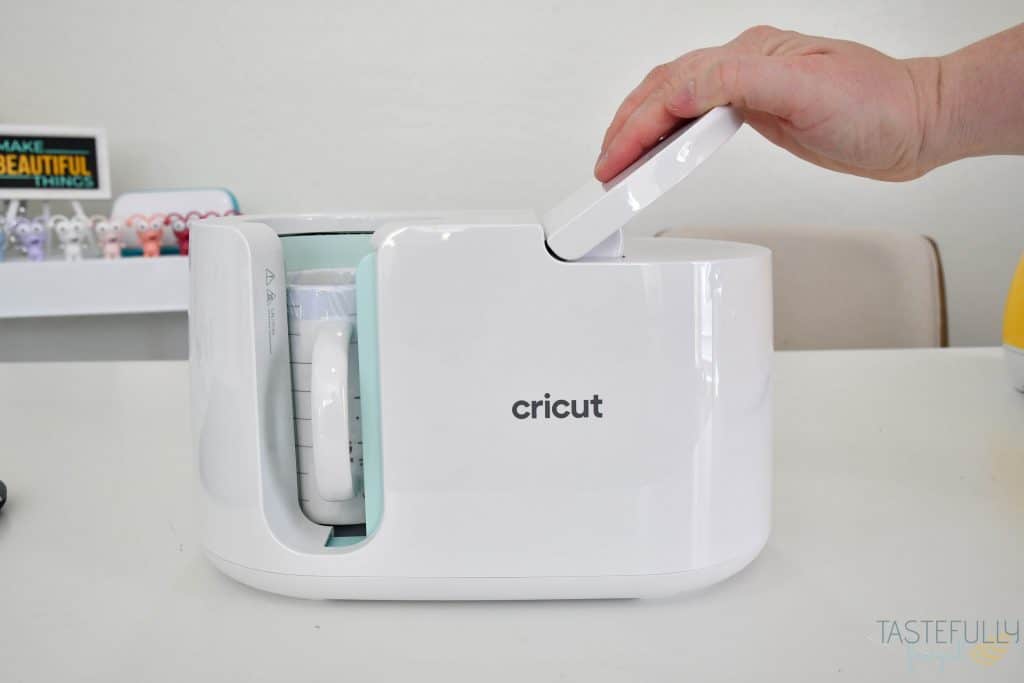
The Mug Press is also really easy to use! Even if your limited on how hard you can press things, you don’t have that issue with the Mug Press. All you have to do is put the mug in the press and press down the handle (it’s super easy to press down) and the Mug Press does all the heavy lifting for you. No need to worry about how hot or long you need to press for.
If you want to learn more about the Mug Press you can check out my full review here.
Make Gifts with Cricut Mug Press
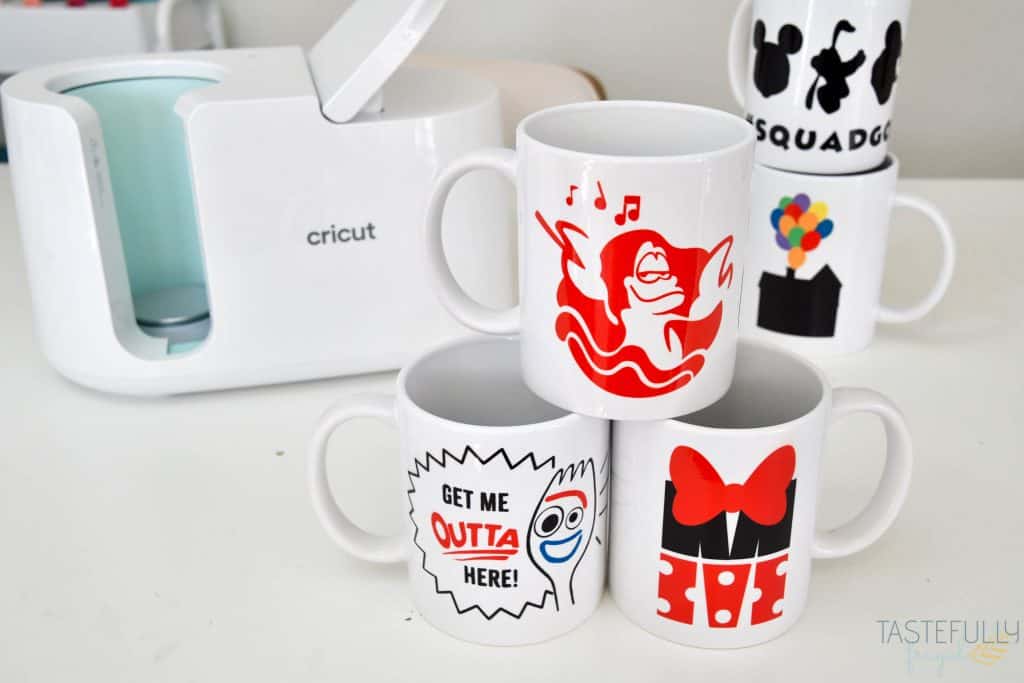
Mugs are great gift ideas especially for those hard to shop for people on your list! You can customize mugs that fit their personality and, with the Mug Press, they are sure to last a lifetime. Mugs pressed in the Mug Press with Infusible Ink are dishwasher and microwave safe so you don’t have to worry about gifting your mugs with care instructions and/or worry about the design peeling.
There are hundreds, even thousands, of designs available in Design Space already that you can use with Infusible Ink on mugs! You can even upload your own designs to use too! Not sure how to upload your own design?! Check out this post.
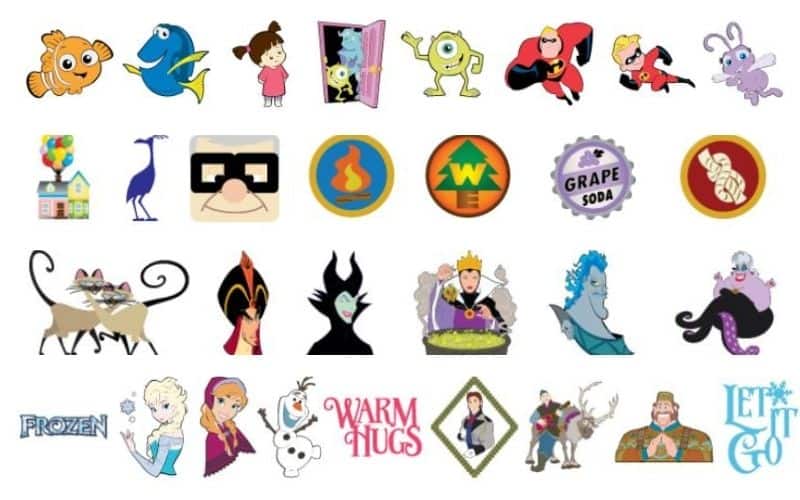
Design Space even has licensed designs and images you can use to create too! ***NOTE – Licensed images are for personal use only. Gifting is totally OK too! If you are making mugs to sell, you will want to check out Cricut’s Angel Policy to see what images you can use commercially.
DIY Disney Mugs
These Disney mugs may be my favorite mugs I’ve made to date! I was inspired to check them out after I saw Tiffany from OC Vintage Charm share her Mickey mug on Instagram and decided to look in Design Space to see what images were available.
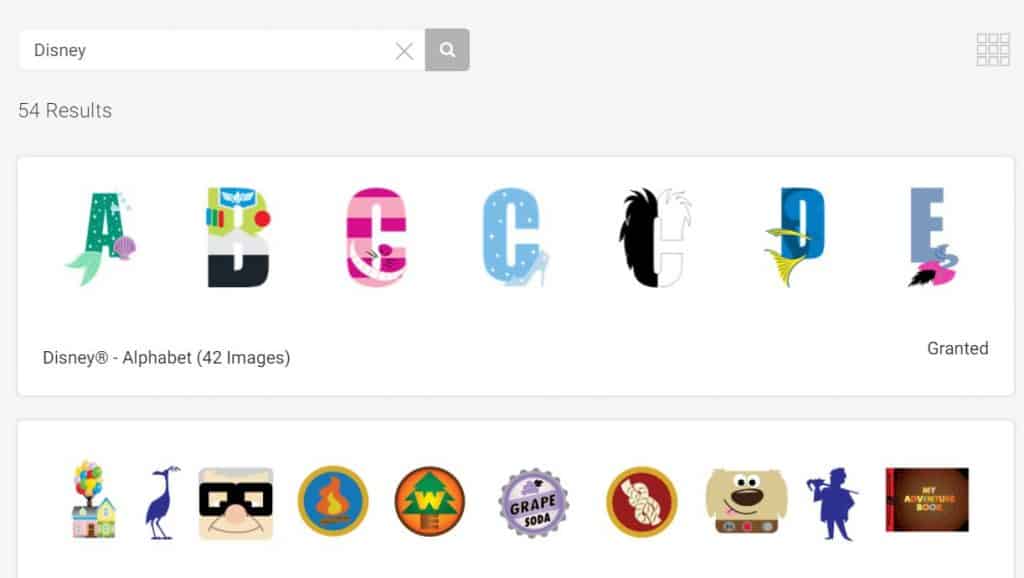
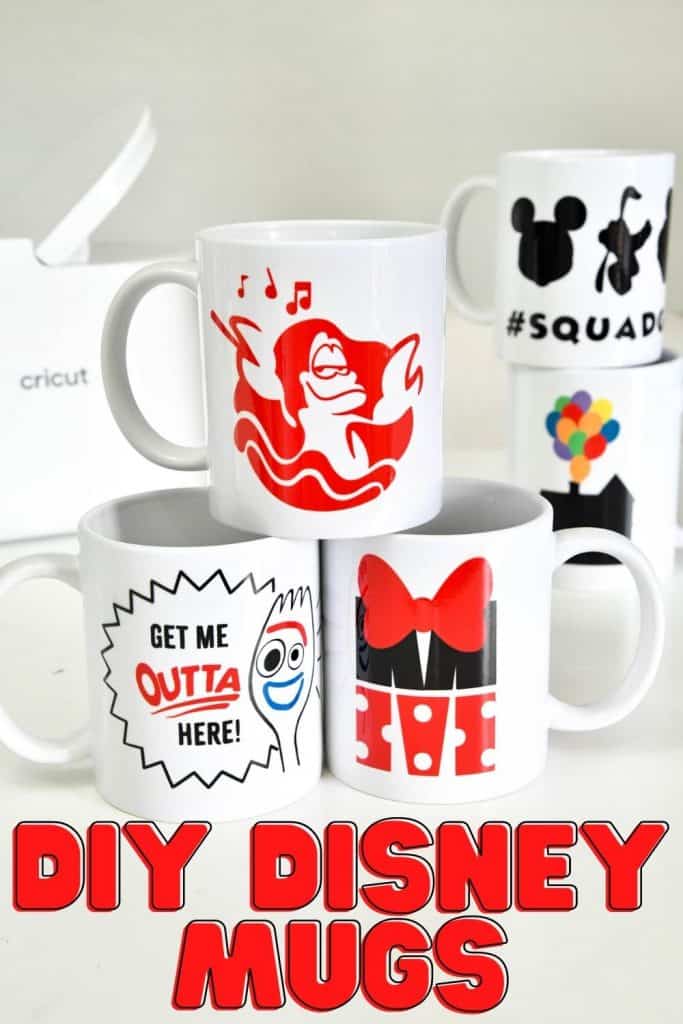
It actually surprised me how many Disney images were available. I started by searching in IMAGE SETS for Disney and there are over FIFTY image sets with Disney images. Everything from Mickey to Disney Princesses, Toy Story and even Tsum Tsum characters! Here are the image sets I found my designs in:
- Forky – Disney Toy Story 4
- Sebastian – Disney Once Upon A Time
- Minnie M – Disney Alphabet
- #SquadGoals – Disney Mickey Mouse and Friends
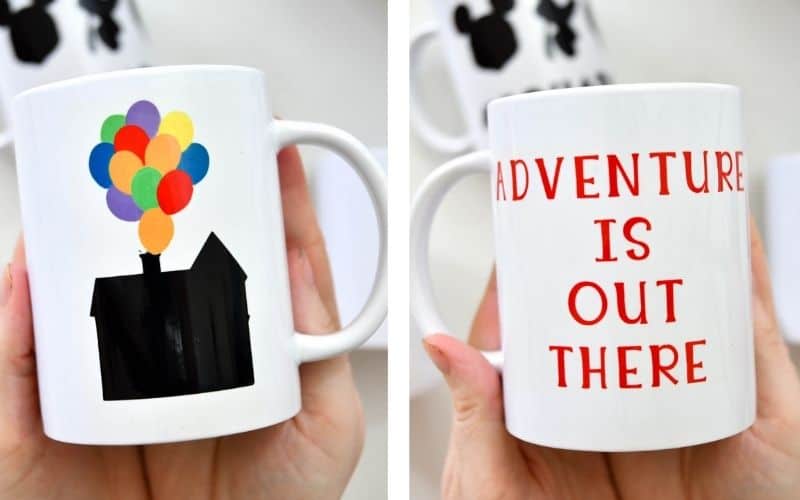
- Up House – Disney UP
I also used the new Infusible Ink Transfer Sheets made for the Mug Press. You can use any Infusible Ink Transfer Sheets with the Mug Press but the new sheets are already cut down to size to fit the mugs perfectly. They also have a clear liner with no grid lines or text. You can check out all the colors and designs available here.
Disney Mug Supplies:
You can use either the 12oz or 15oz mugs to make these designs. I’m also trying out a few other sublimation blanks and will update this post with ones that I found work. I suggest using the larger mug for the Up House design since it has so many small pieces involved.
- Forky – Black, Cherry Red and True Blue Infusible Ink Transfer Sheets, 12oz mug
- Sebastian – Cherry Red Infusible Ink Transfer Sheets, 12oz mug
- Minnie M – Black and Cherry Red Infusible Ink Transfer Sheets, 12oz mug
- #SquadGoals – Black Infusible Ink Transfer Sheets, 12oz mug
- Up House – Black, Cherry Red, Tangerine, Bright Green, True Blue and Ultra Violet Infusible Ink Transfer Sheets, 15oz mug
You’ll also need the Mug Press, EasyPress Mat (or towel), heat resistant tape and a Cricut machine to cut the Infusible Ink Transfer Sheets. You use the EasyPress Mat to put the mugs down on after they have come out of the Mug Press while they cool. Want to learn more about Infusible Ink and tips for using it!? Check out this post.
If you’re going to be ordering Cricut supplies and you’re shopping on Cricut.com, use code SAVE21 to save 10% and get FREE shipping on all $50+ orders. That’s on top of the 10% discount Cricut Access members get automatically! Learn more about Cricut Access here.
How To Make Disney Mugs
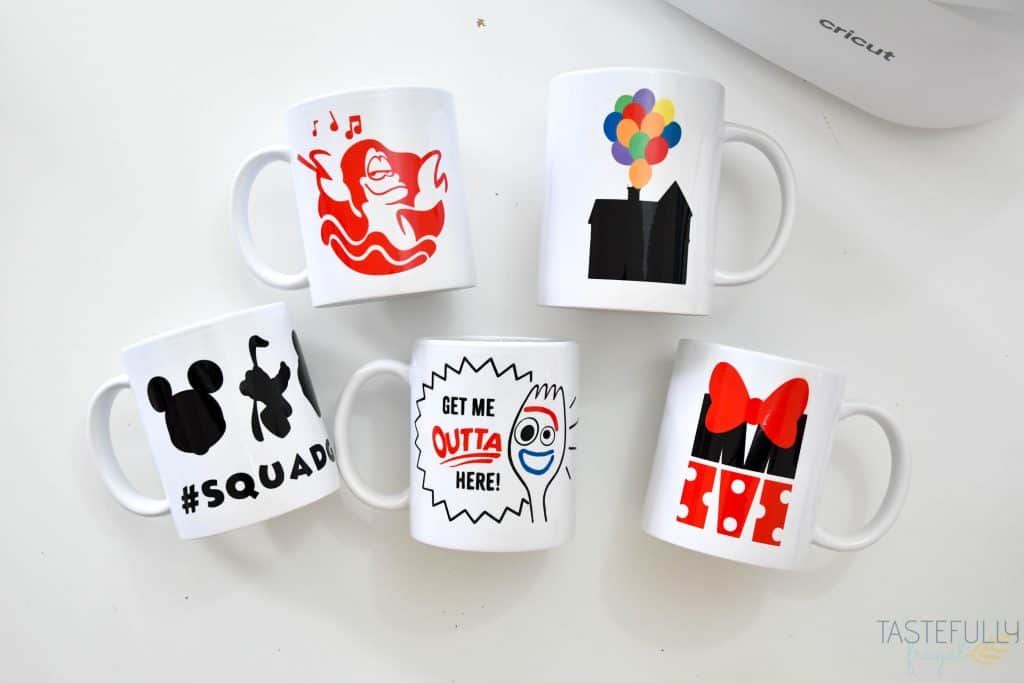
If you want to make these exact designs, you can use this Design Space Canvas. Everything on the canvas is sized for 12oz mugs (except the Up House and Adventure Is Out There are for the 15oz mugs). If you want to make your own designs I’ve found the following sizes look best on mugs:
How To Create Silhouette Designs in Design Space
Now I want to share tips for creating the silhouette design of the #squadgoals design in Design Space. The faces I used for the characters had lots of features and I made the mistake at first of just attaching instead of welding and it cut out the whole design.
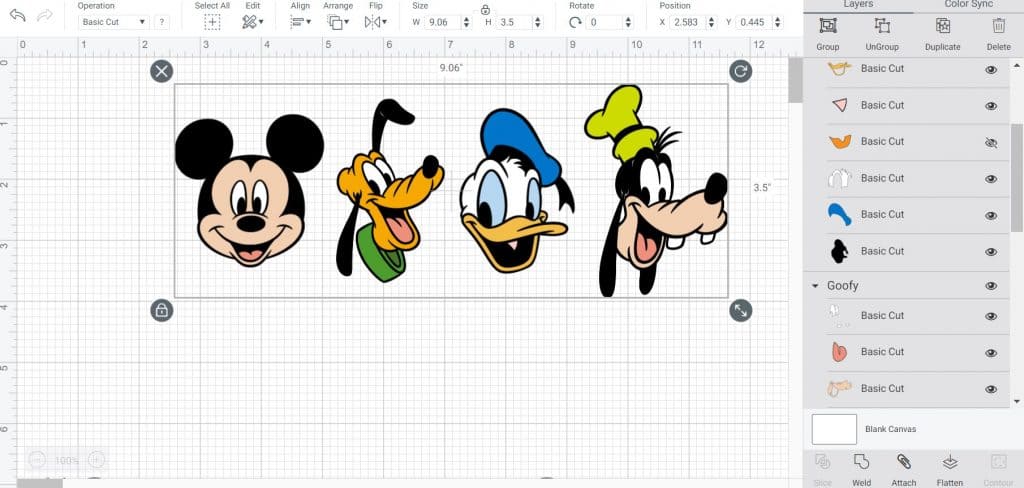
Add the faces you want to your canvas. I used Mickey, Pluto, Donald and Goofy. You could definitely do a girl version with Princesses or Minnie and Daisy too.
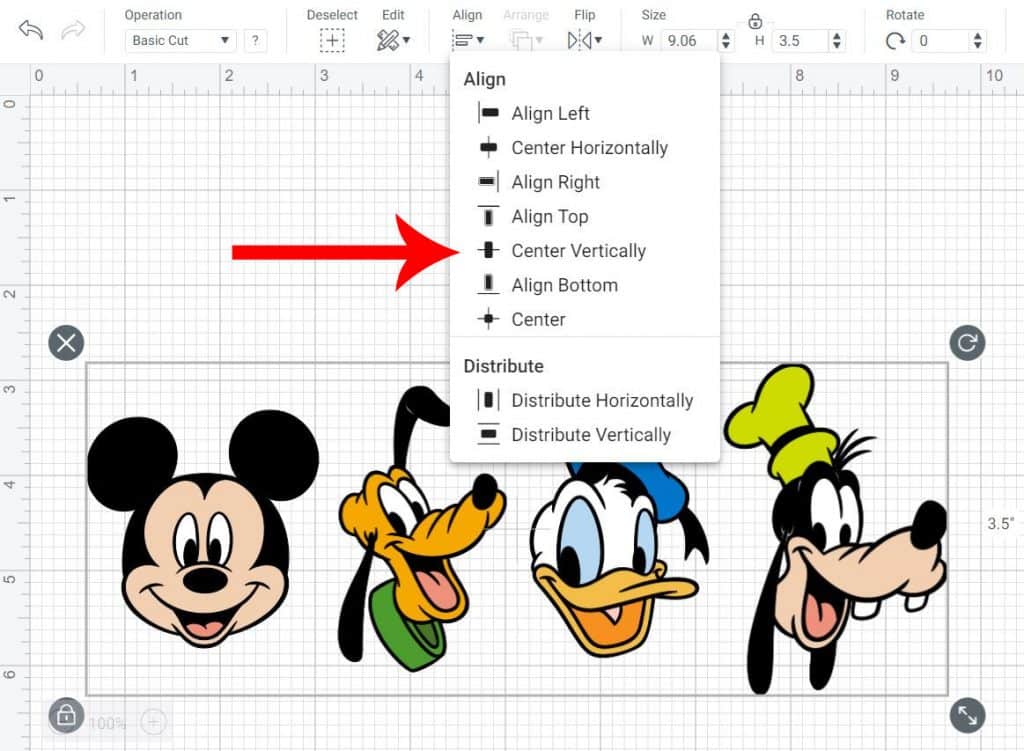
Line them all up spaced out about 1/4″. Select all and then click ALIGN – CENTER VERTICALLY. After everything is aligned click WELD in the bottom right menu. This will get rid of all the face designs and just leave the silhouettes.
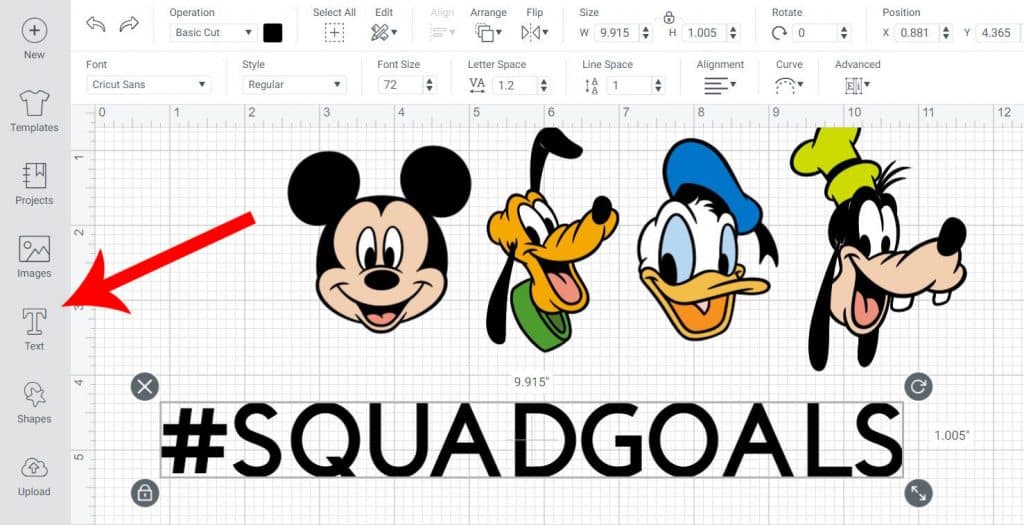
Now it’s time to add the #squadgoals. Click ADD TEXT and type #SQUADGOALS (all caps).
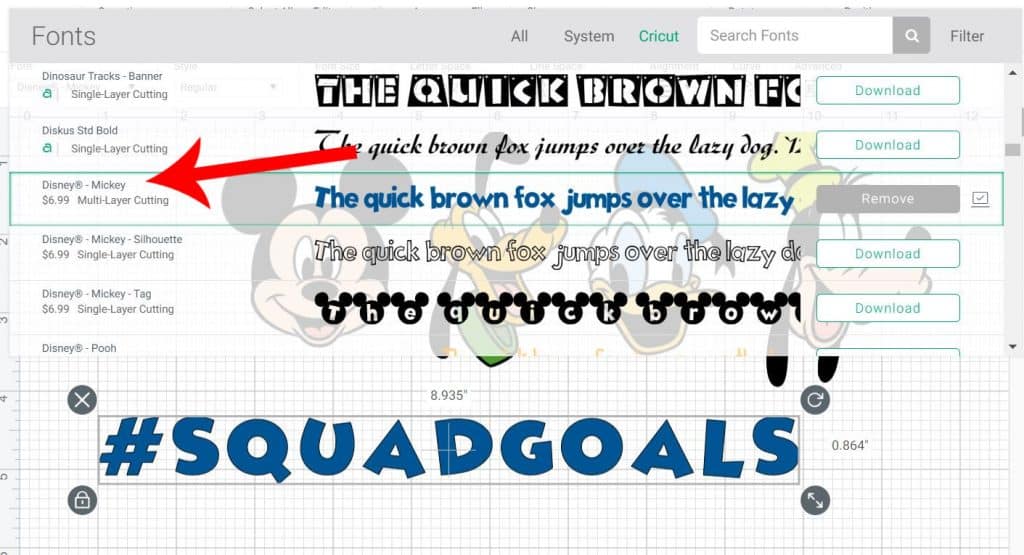
Then click the FONT drop down menu and search DISNEY MICKEY font.
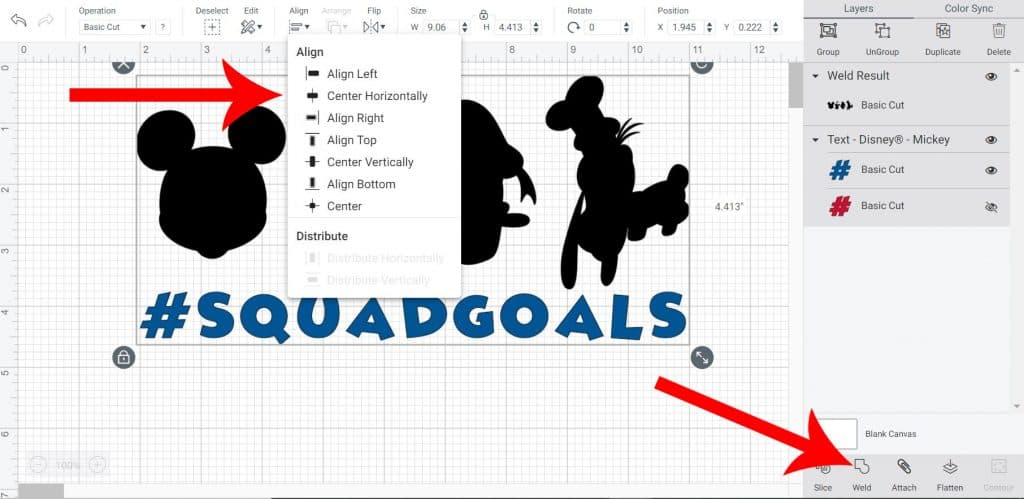
Line up #SQUADGOALS underneath your characters. Select all and then click ALIGN – CENTER HORIZONTALLY to make sure everything is lined up.
Lastly, while everything is still selected click WELD. This will make it so the text is cut out underneath the characters.
How To Cut Multiple Colors On One Mat
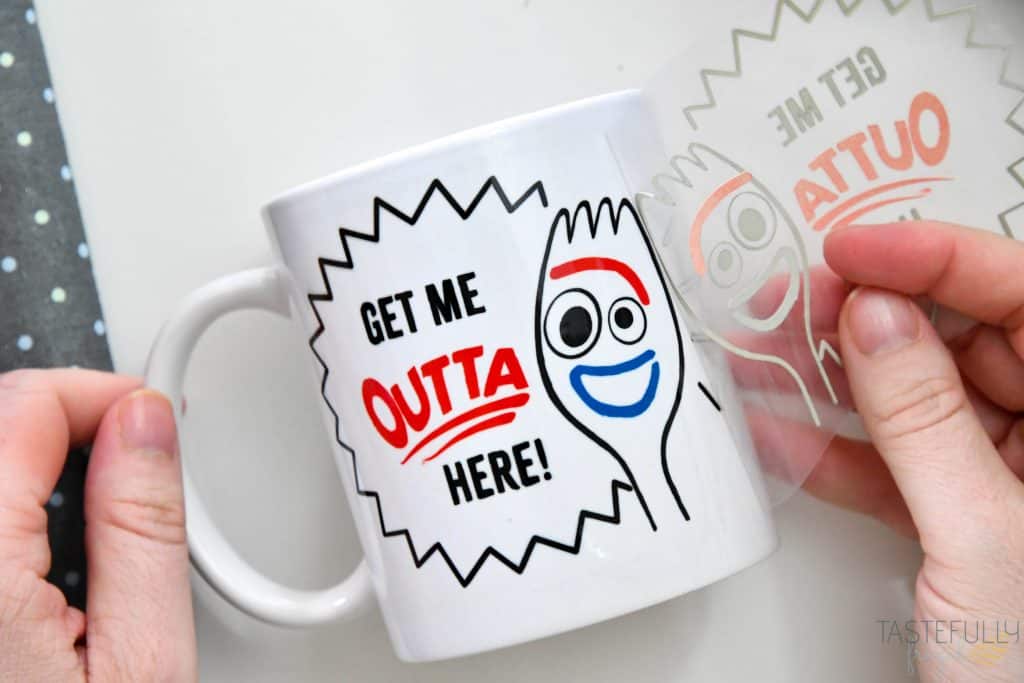
If you are making a multi-color design, like the Up House or Forky Design. You will be prompted in Design Space to have each color cut on it’s own mat. To save time you can move all the pieces on to one mat on the preview screen. Check out the video below for a full tutorial on multi-color Infusible Ink designs.
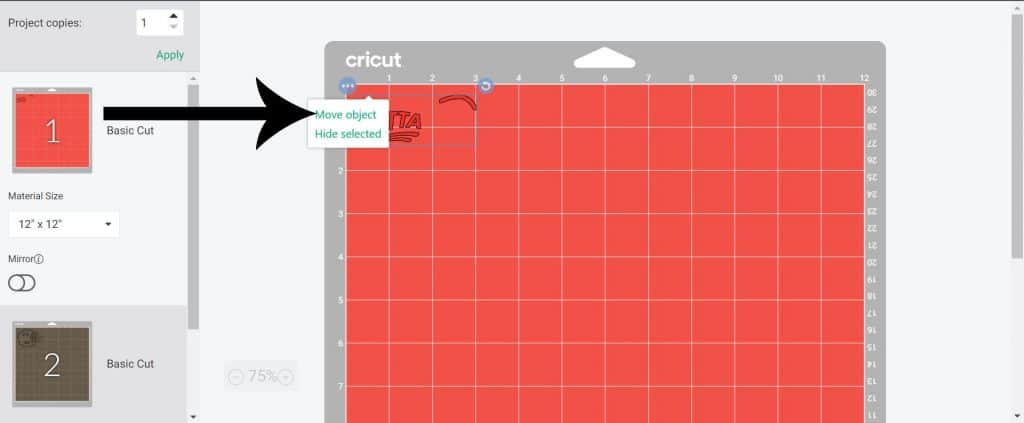
To do this, you’ll want to click the circle on the left hand side of the design with the 3 circles and click MOVE OBJECT.
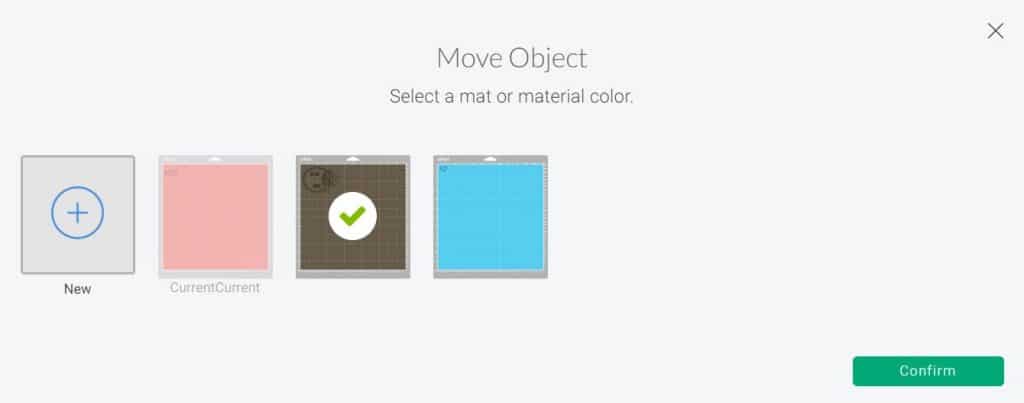
Then you’ll select which mat you want to move it too. I like to put everything on the mat that has the largest design. For the Forky design that was the black mat.
Once you have your design moved to the new mat, move it over so it is not on top of the first design. Repeat the previous step with all colors.

***MAKE SURE YOU MIRROR YOUR DESIGN*** You only have to mirror the mat you are going to be cutting on.
Before you click CONTINUE, line your transfer sheets up on the mat so you can make sure they are lined up correctly. You’ll want to put your sheets on your mat color side UP.
Once your designs are lined up, click CONTINUE and select Infusible Ink Transfer Sheet from the materials drop down menu.
Load your mat into your Cricut and cut your designs.
Tips For Weeding Infusible Ink
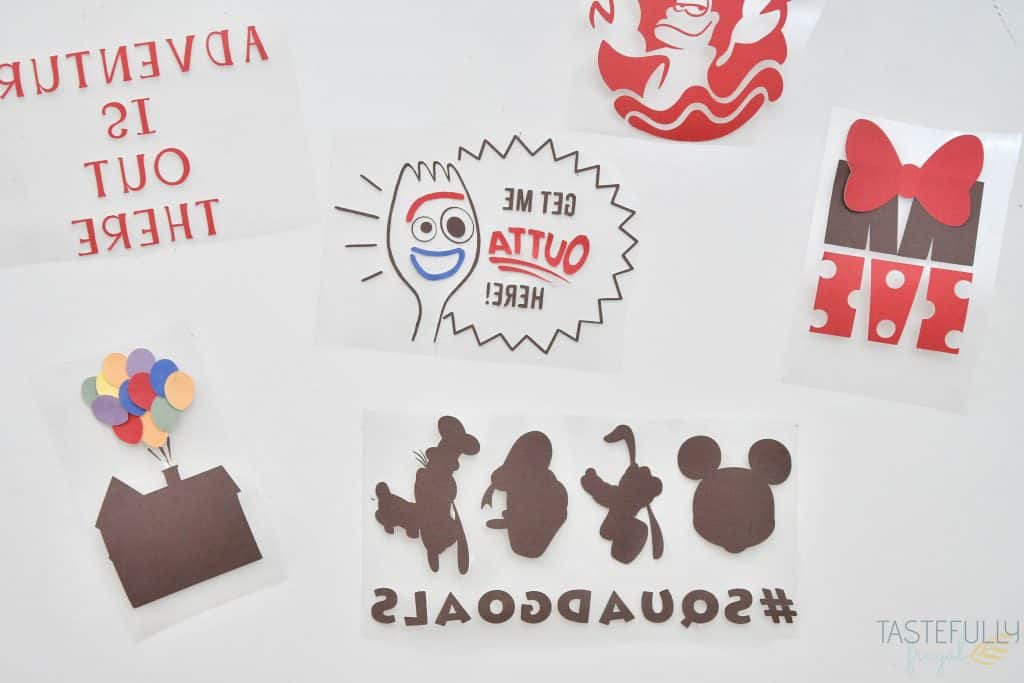
When it comes time to weed your designs, make sure you use your fingers and not a weeding tool. The weeding tools can scrape away the color on top and/or press the ink into the backing which can make it press on to your project.
If you have trouble getting the Infusible Ink to peel up, curl your paper and it will start to peel away.
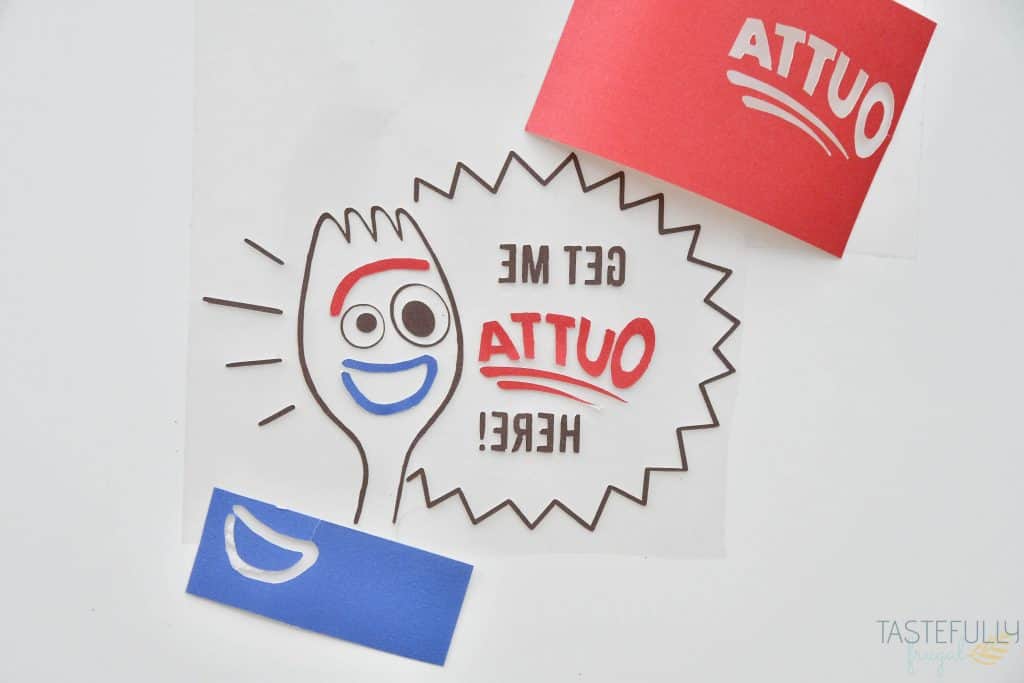
If you are making a multi-color design, you only have to weed the main color sheet. For the additional colors, just peel off the pieces you need to put on the Design.
How To Use Cricut Mug Press to Make Mugs
Plug your Mug Press in and press the power button. Power button will stay orange as it heats up. When the button turns green it is ready to be used.
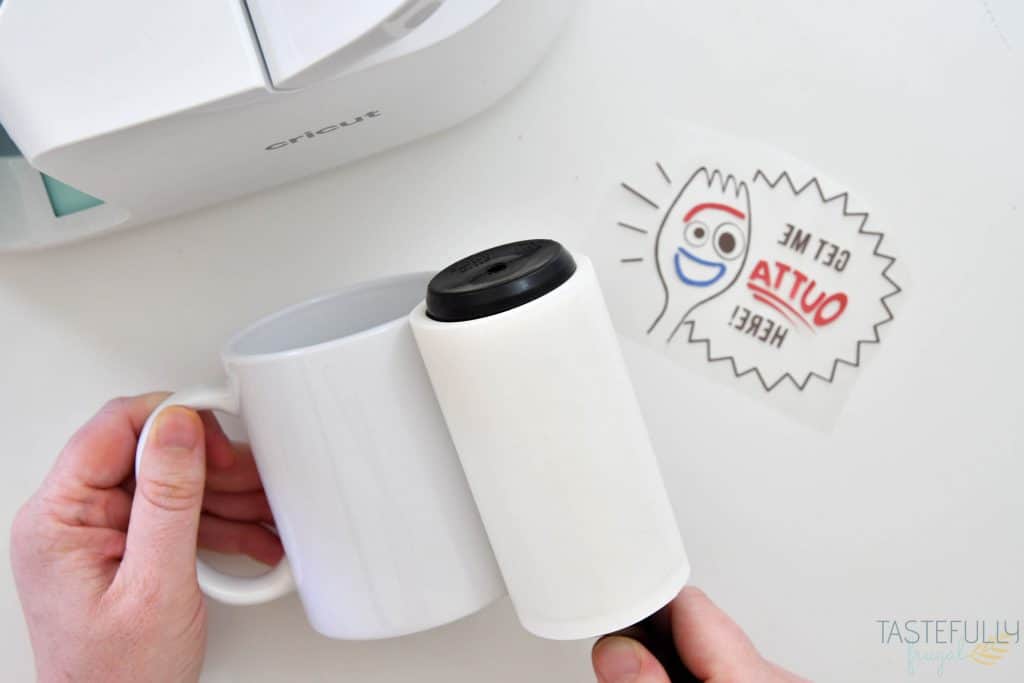
Clean mugs with either a lint free cloth or lint roller.
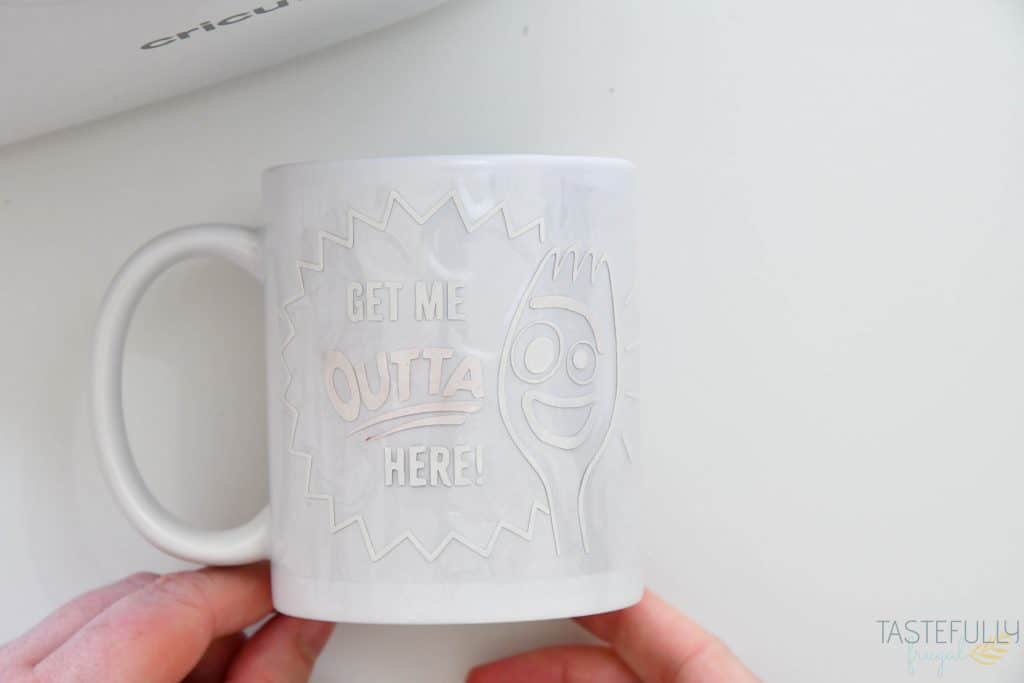
Line designs up on mug and press transfer sheet on to mug design side facing the mug. If your design seems to not be sticking, use heat resistant tape along the edges to attach it fully to the mug.
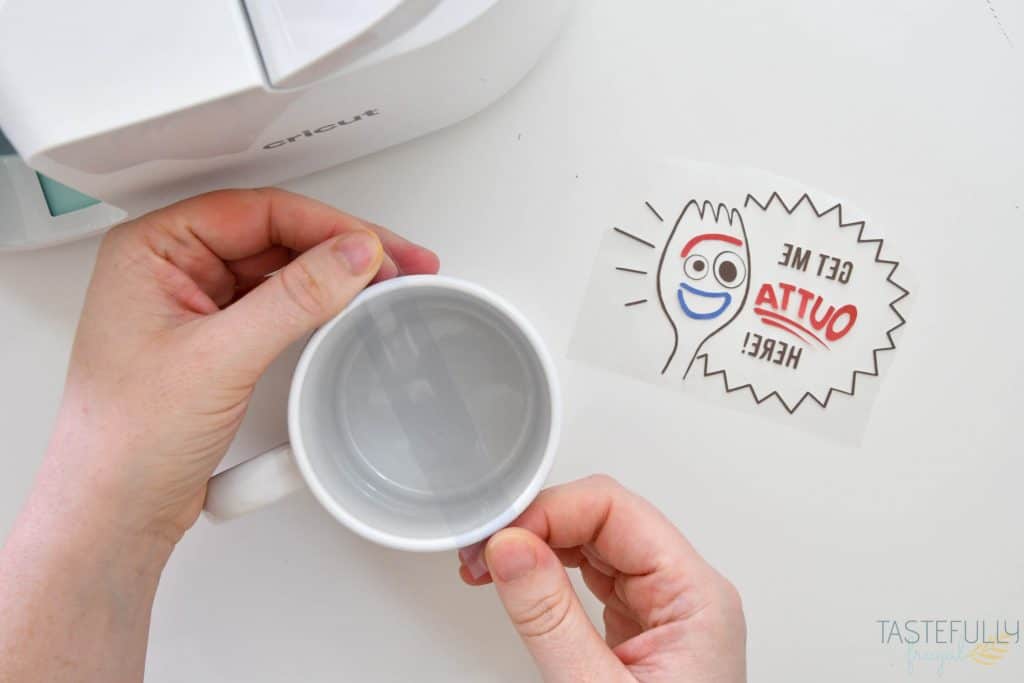
***TIP – Use heat resistant tape across the top of the mug to make sure your design is centered on the mug,

Once design is on mug, put it into Mug Press with the handle sticking out the slot. Press handle on Mug Press down.
The 5 lights on the top will start blinking and will each light up as the design gets closer to being done. You’ll know your mug is ready when all the lights are lit up solid and there is a beep.
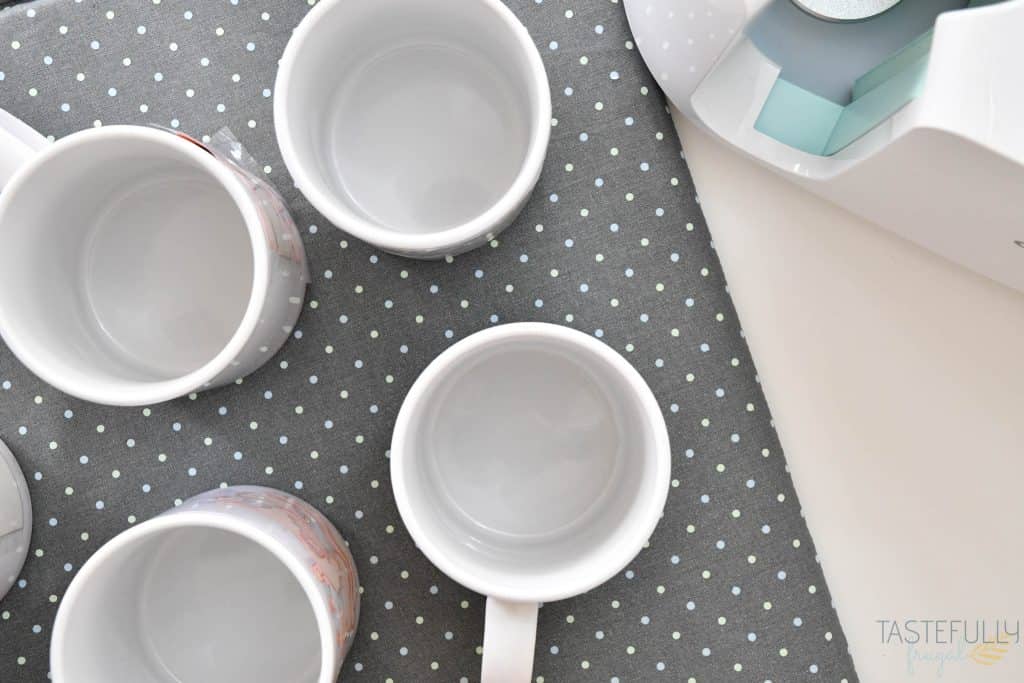
Lift up handle on Mug Press and carefully place mug on EasyPress mat or towel to cool. Let completely cool (about 5 minutes) before removing Transfer Sheet backing.

Make Your Own Disney Mugs
I hope this post helps you see how easy it is to create your own Disney Mugs (or other mugs) with the Cricut Mug Press! I would love to see the designs you make! Tag Tastefully Frugal on Facebook or @sydney_tastefullyfrugal on Instagram so I can see your awesome creations!
If you have any questions I didn’t answer, leave them in the comments and I’ll get back to you as soon as I can. Make sure to subscribe to my YouTube channel to check out all the video tutorials. For more Cricut projects and tutorials, check out these posts. For tips, tricks and immediate help, be sure to join our FREE Cricut Support Group. You can also join my Infusible Ink group to get answers to questions and share your projects!


Jame Son says
Thanks for sharing it.