If you’ve got an 8 year old being baptized soon, make them this personalized baptism pillow as a gift they can cherish forever.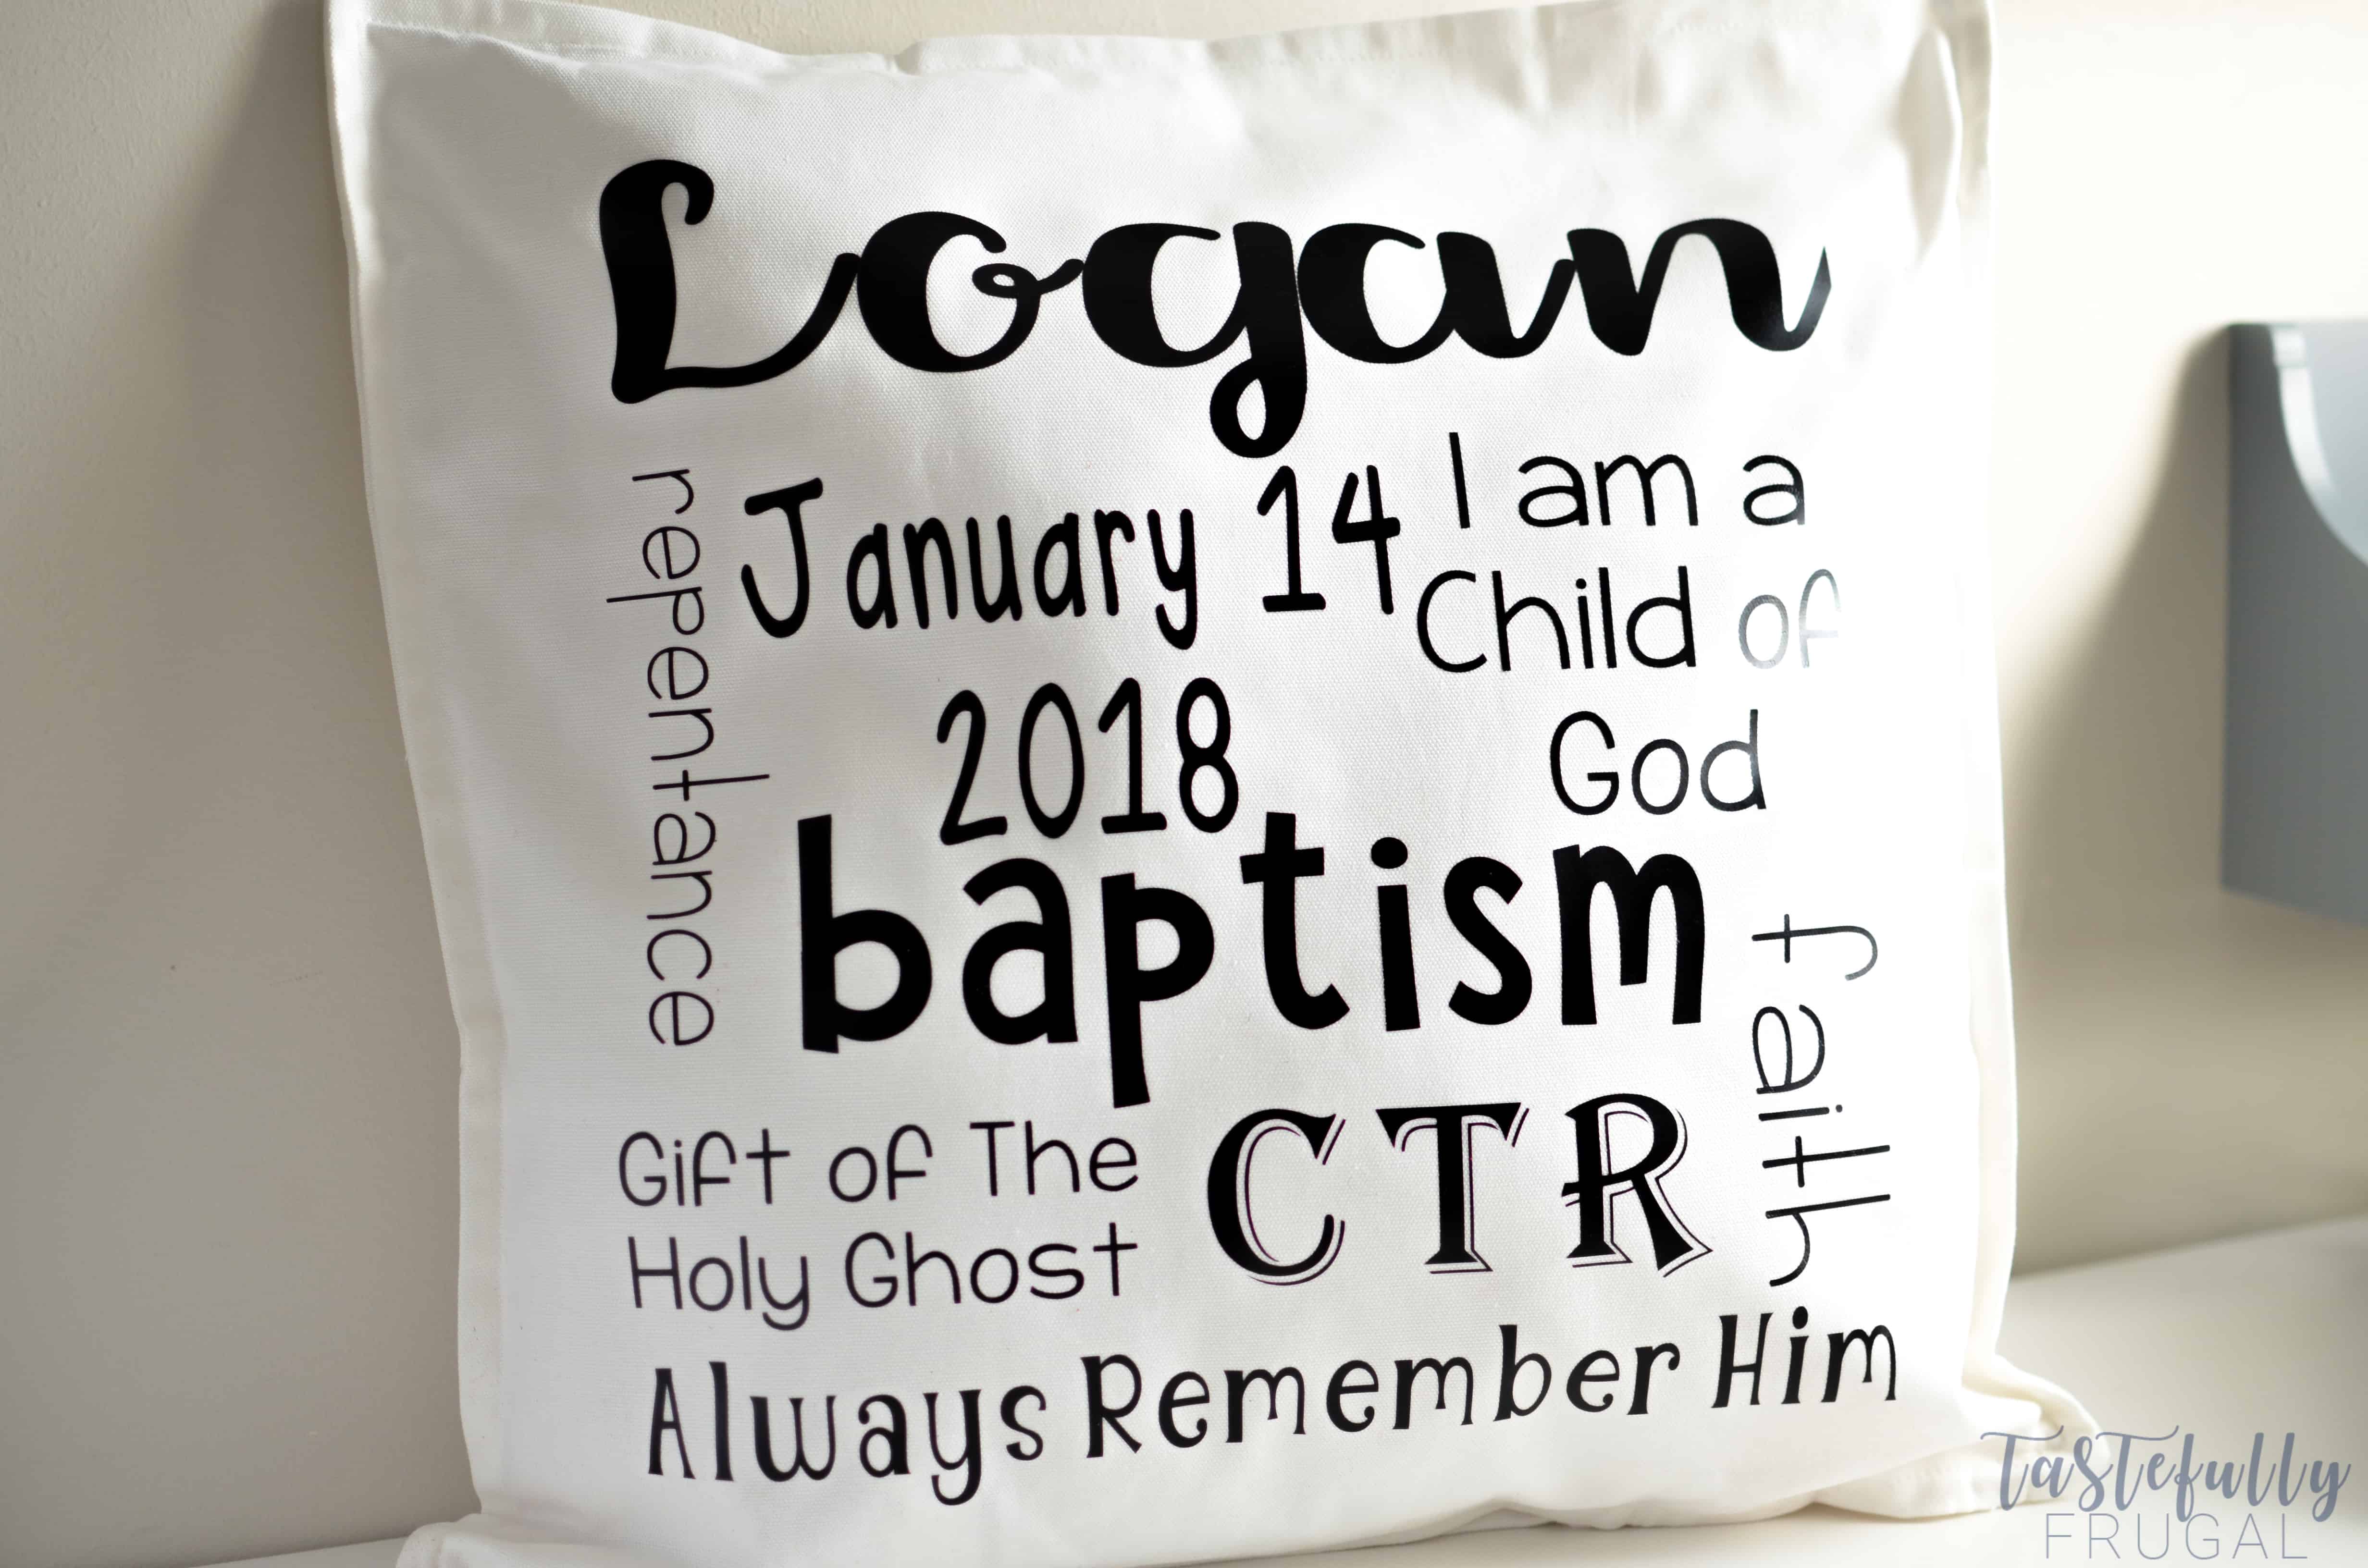
I married into a big family and we are lucky enough that our kids have cousins the same age. In fact all of his siblings had kids around the same time so when milestones come up they happen in multiples. Baby showers, graduations, baptisms. The last 6 months we’ve had several of our nieces and nephews get baptized. When I was thinking of gifts we could give I wanted to make something special the kids could keep and remember the day every time they saw it. After a search on google I decided these baptism pillows would be perfect!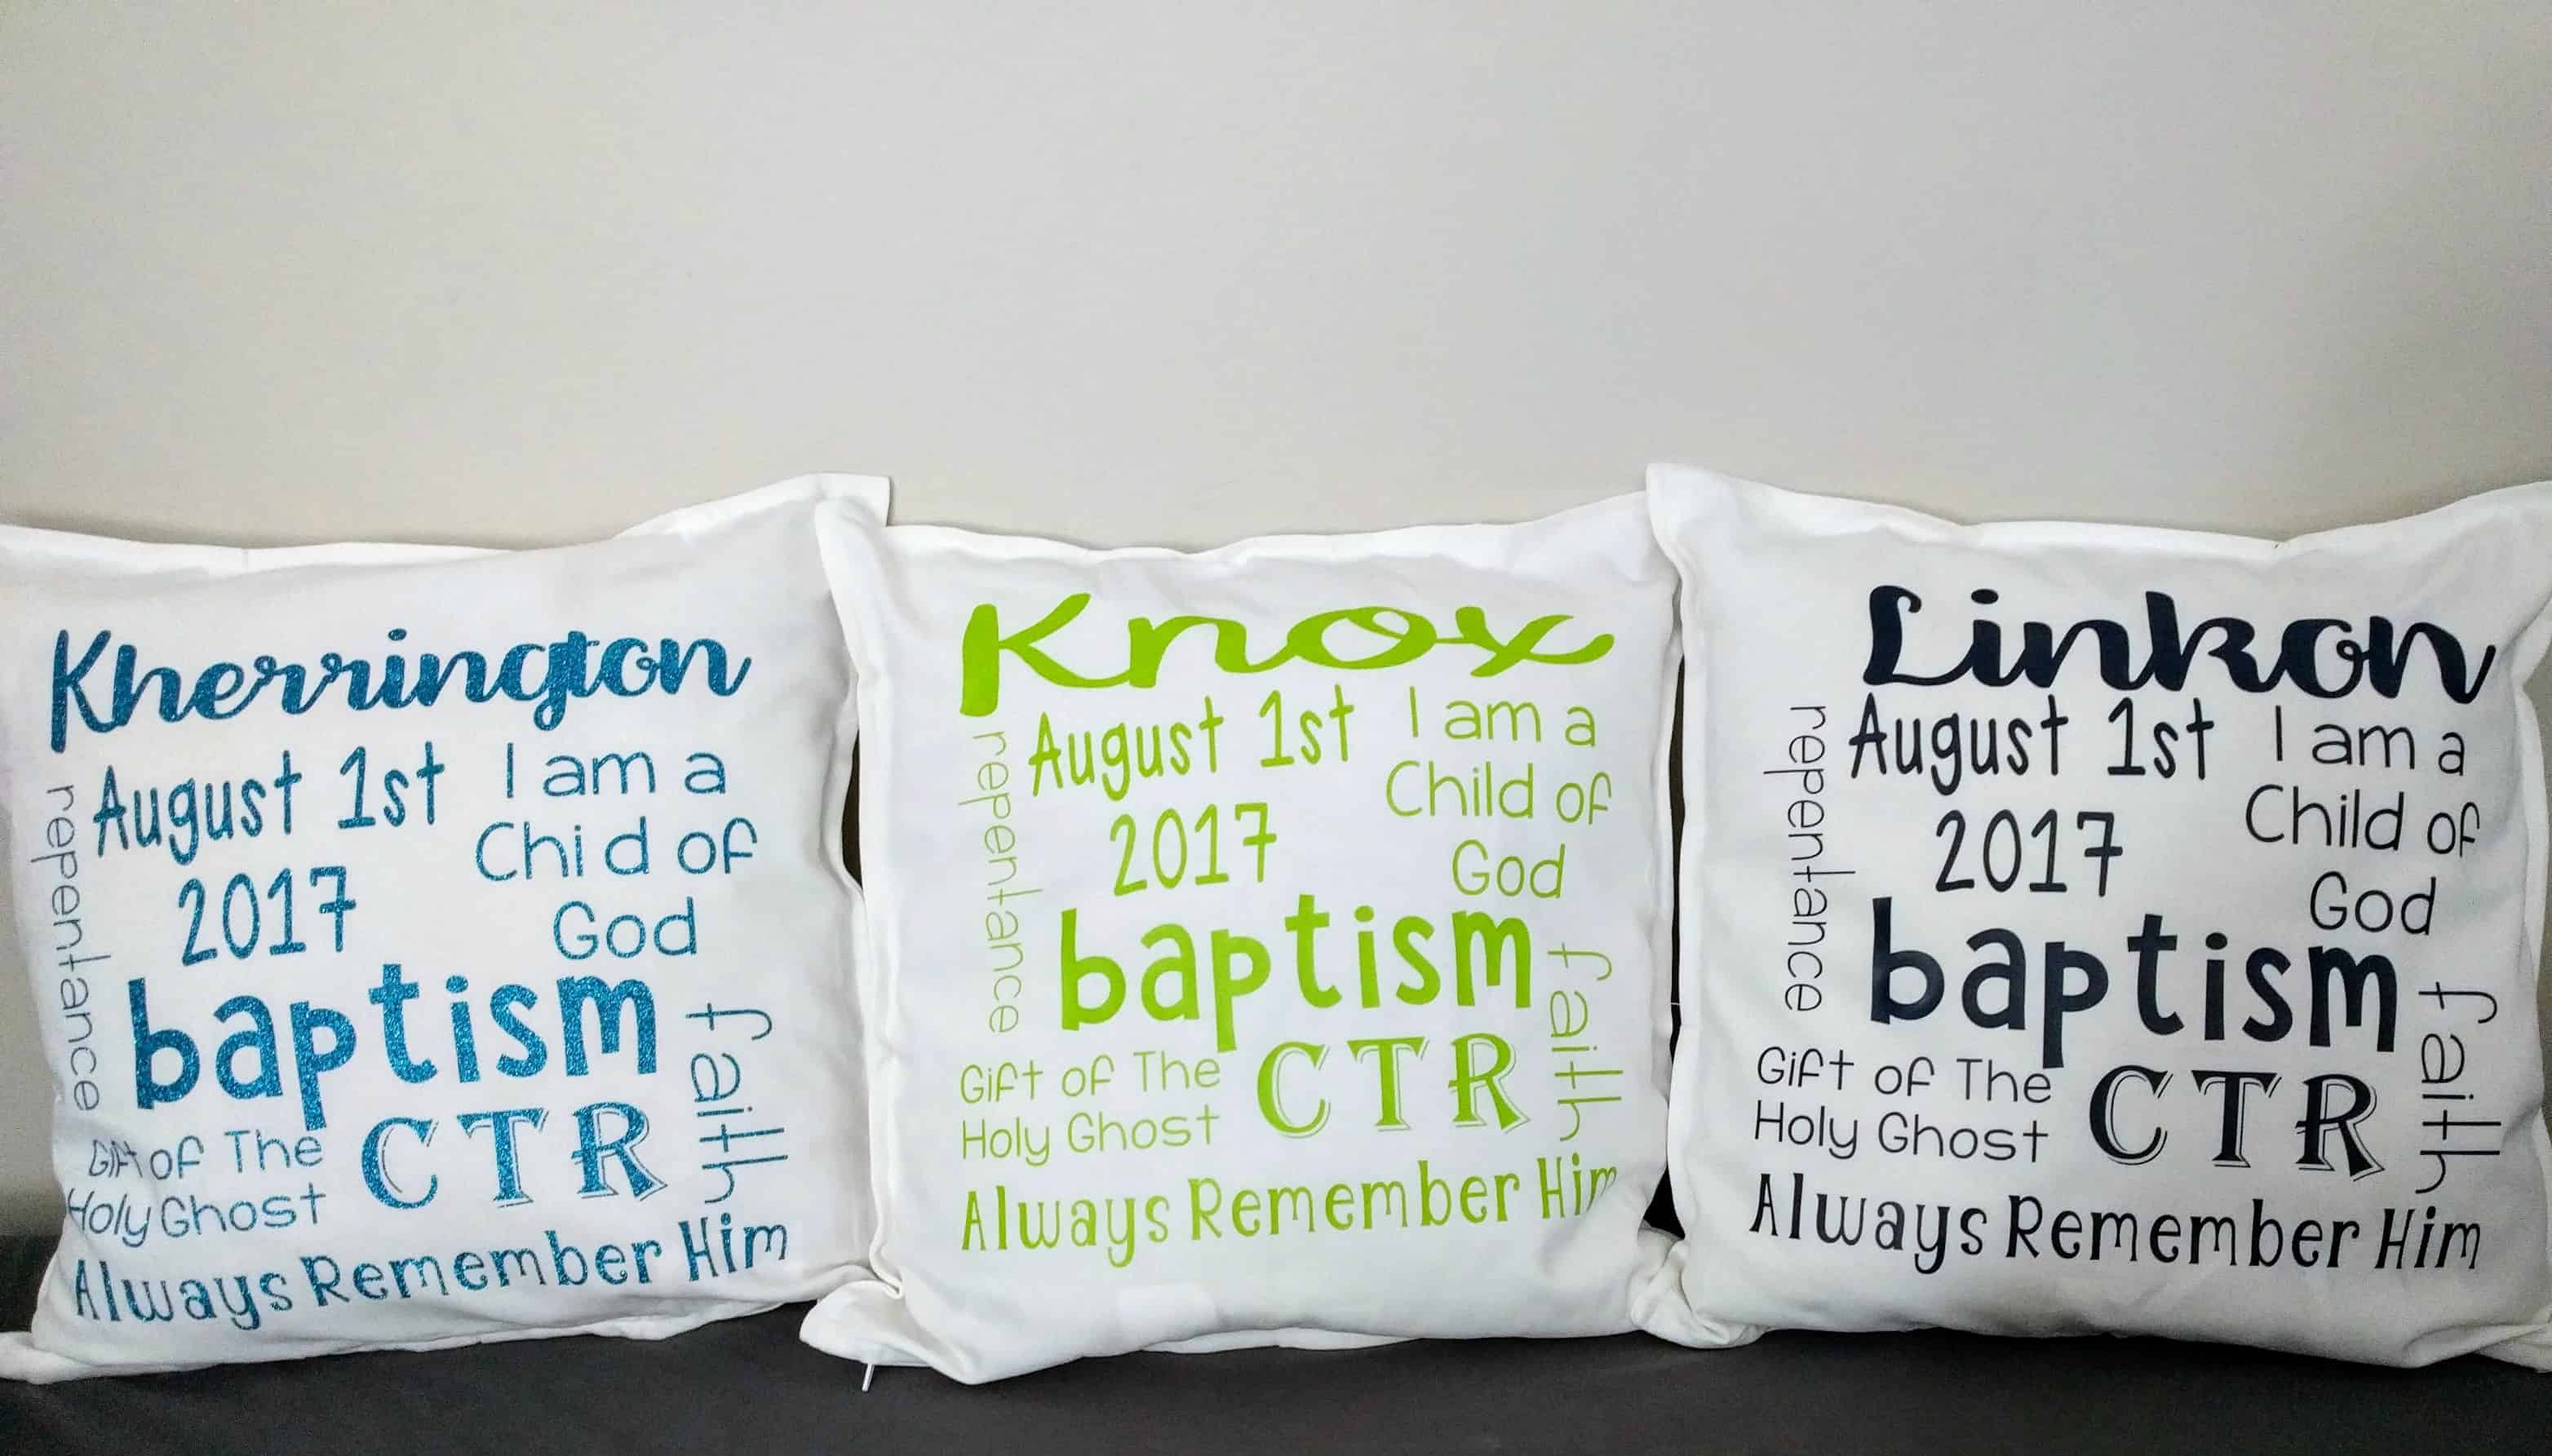
Not only are these pillows super cute but they are super affordable too! I used my favorite IKEA pillow inserts and covers and spent less than $7 on the pillow. The hardest part of making these pillows was the design but lucky you I have the design saved in Design Space so you don’t have to do that part! All you have to do is change the name and date and you’re set.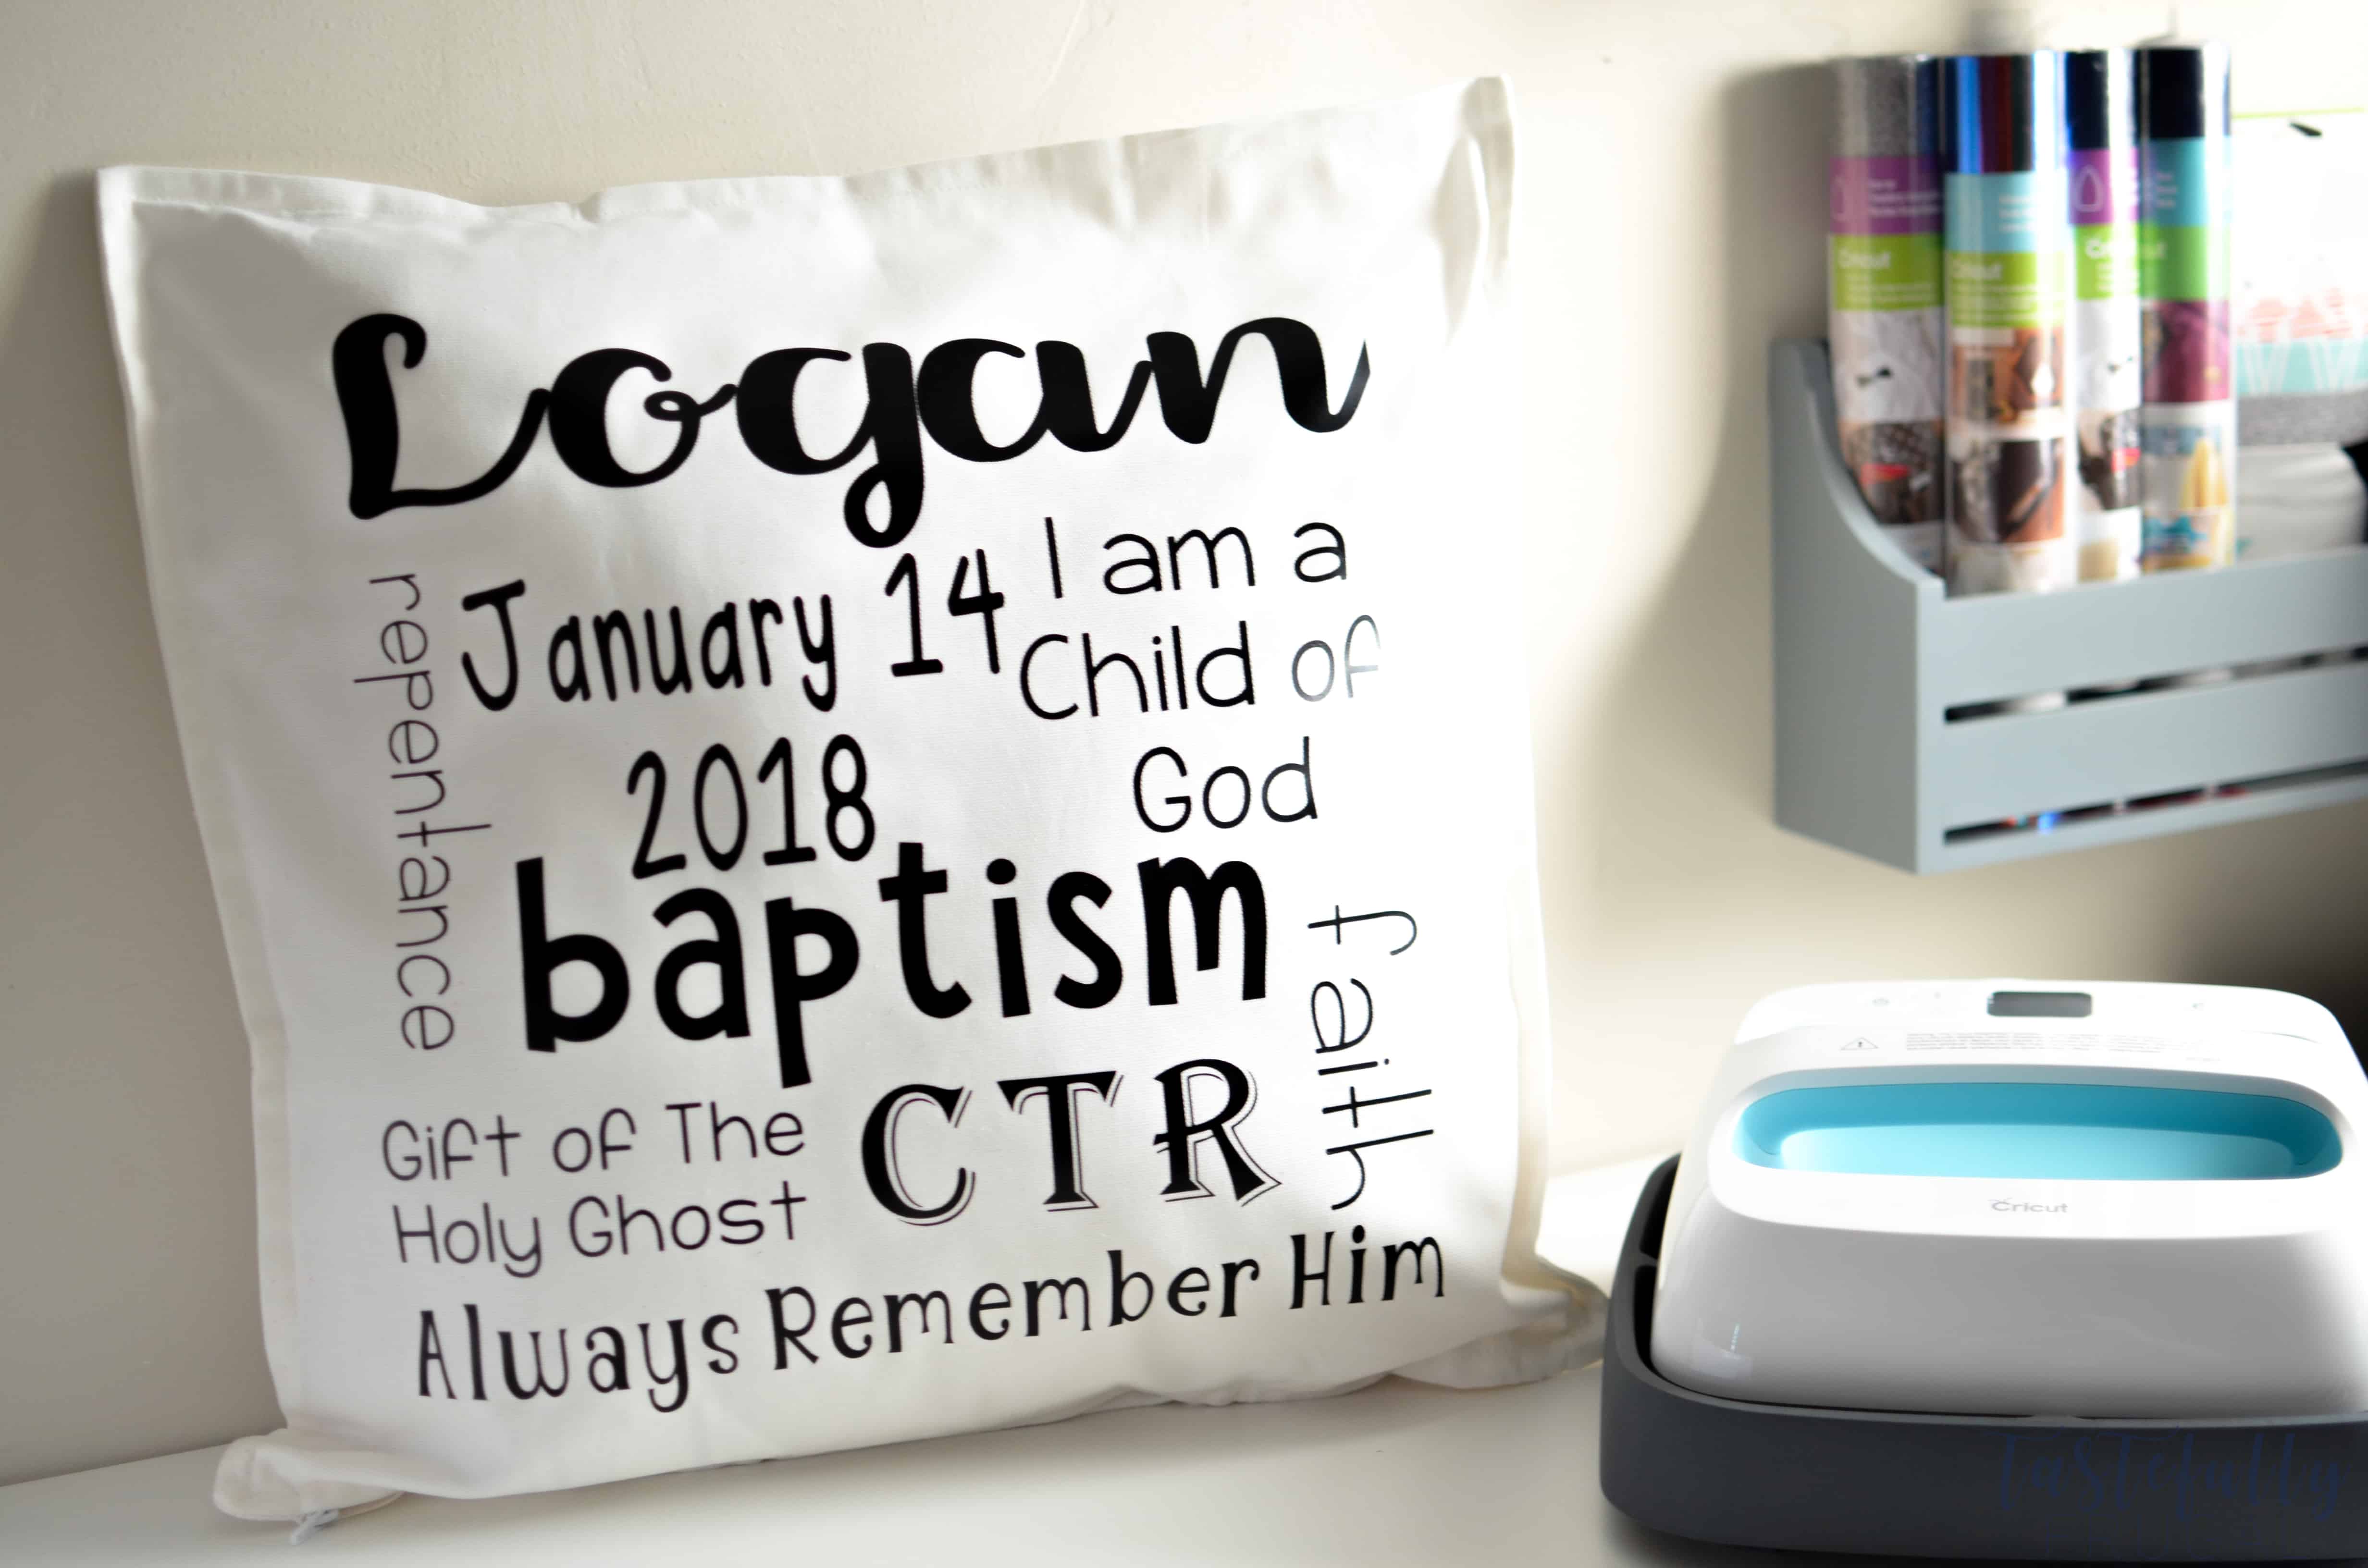
If you don’t have anyone being baptized but still want to know how to make this type of subway art you’re in luck too…I’m sharing the full tutorial for those too! Let’s get started!
SUPPLIES:
**When ordering from Cricut.com make sure to use promo code TFRUGAL to get 10% off and score FREE shipping!**
Pillow Cover (I used the Gurli Pillow Cover from IKEA)
Pillow Insert (also from IKEA)
Iron On Vinyl (I asked my niece and nephews what their favorite colors were and went with those colors)
StandardGrip (Green) Cutting Mat – 12″ x 24″
BrightPad (not required but makes it SO much easier to weed)
Tool Kit (again not required but makes weeding a lot easier)
EasyPress or Iron
DIRECTIONS:
If you are making this pillow open up this design in Design Space.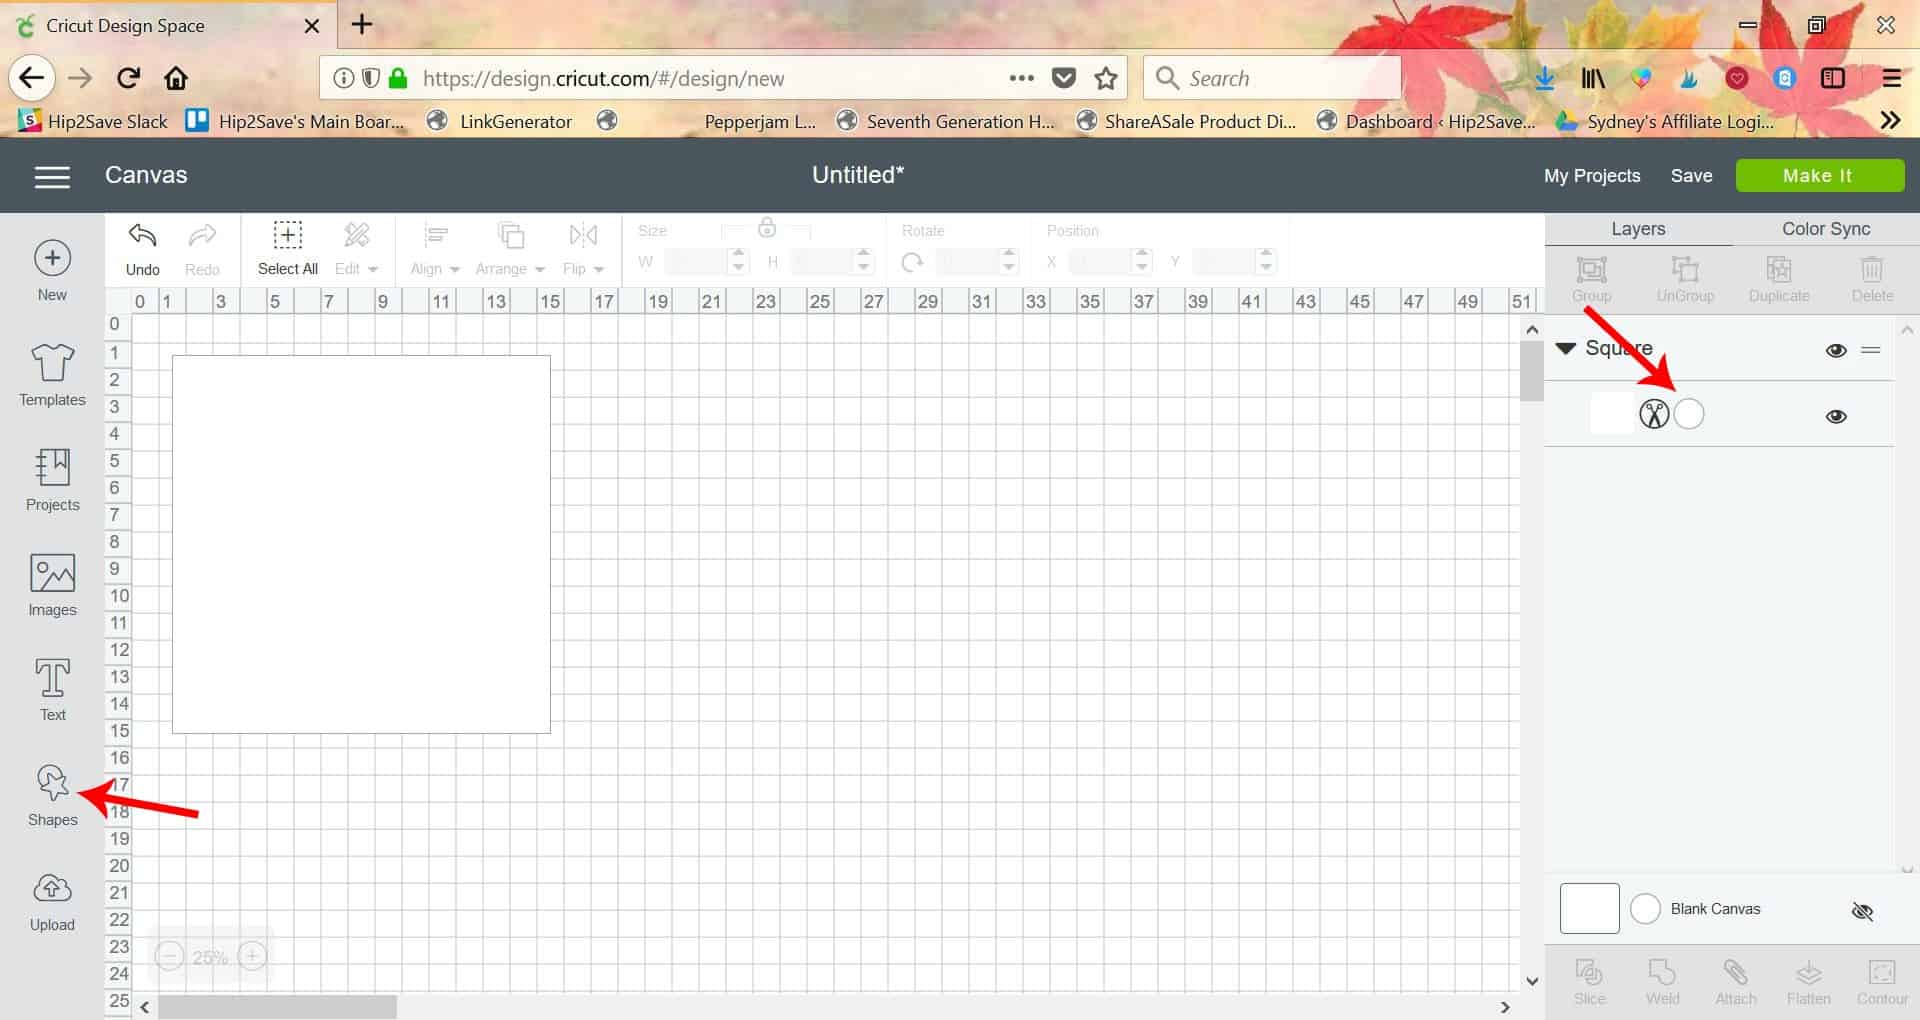
If you want to make your own subway art you’ll want to start by making a square (or rectangle if you want it to be a rectangle) in Design Space. I also like to change the color of the square to white so it’s easier to see the text. You won’t cut the square you’re just using it as a canvas for your design.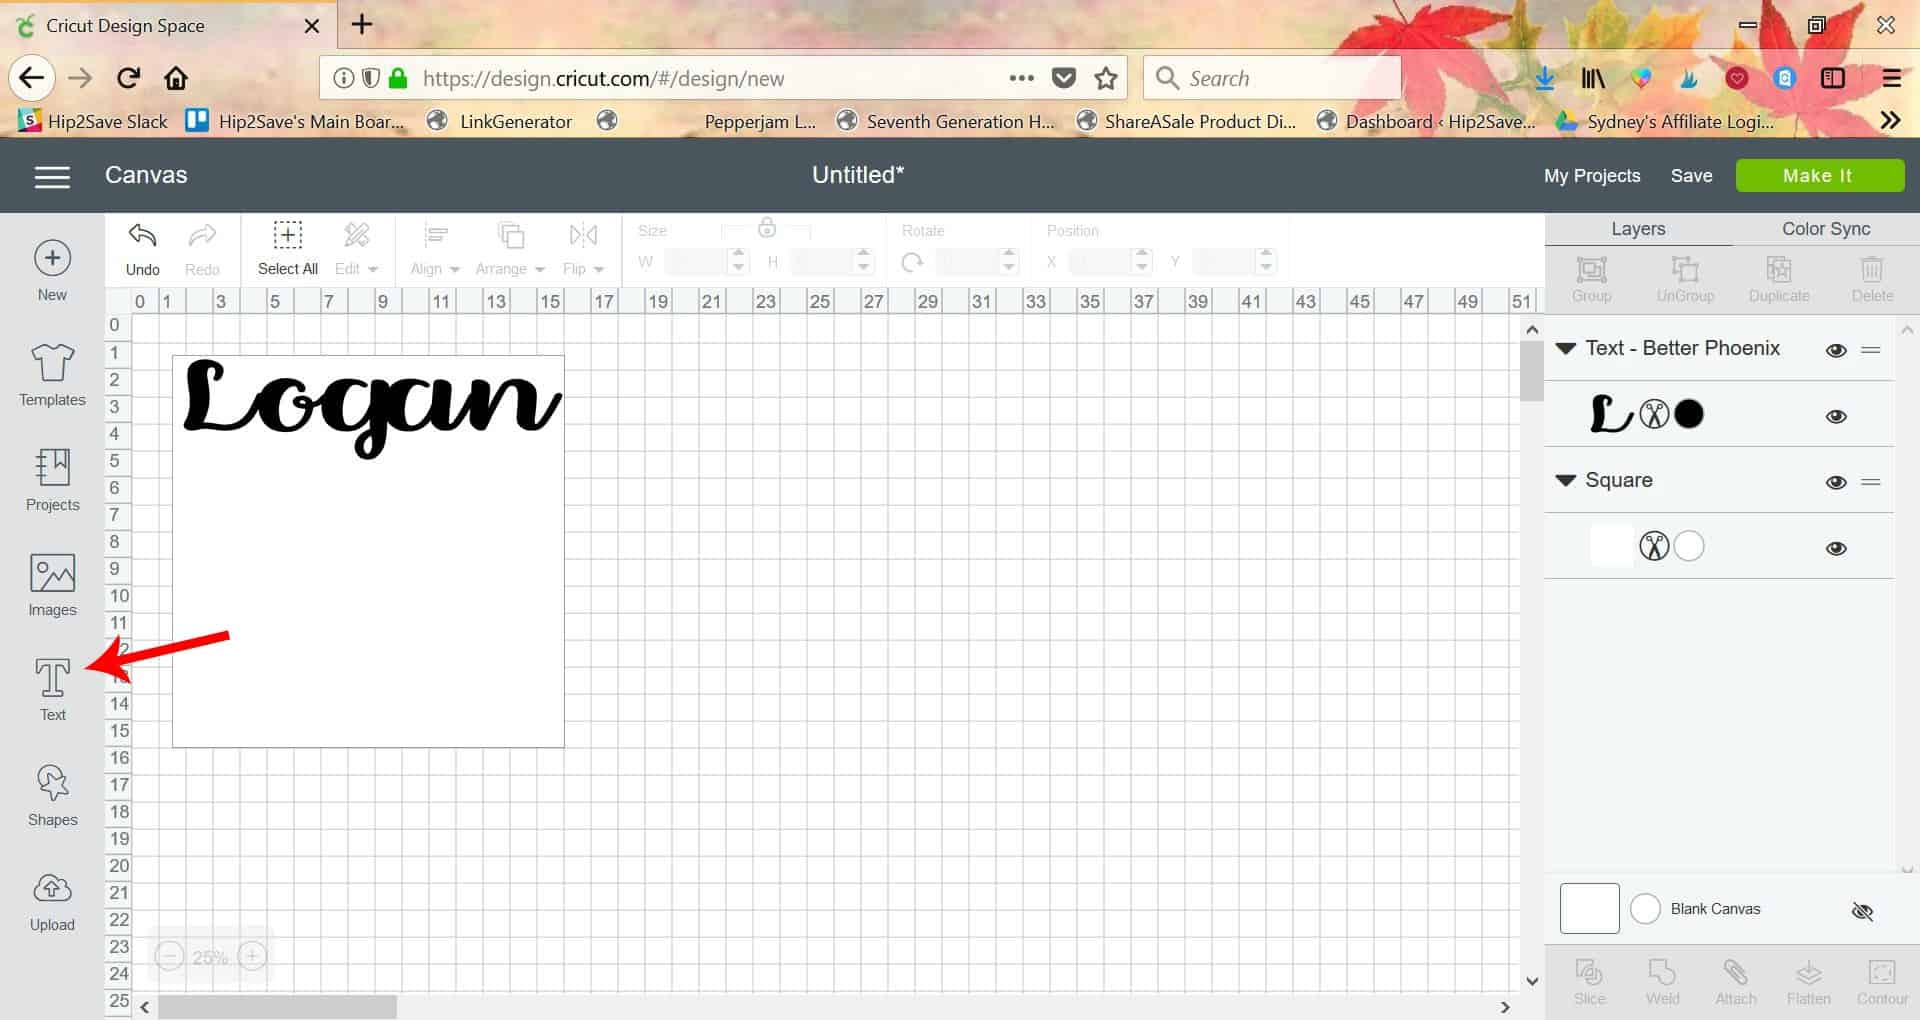
Start by adding the top line of your subway art. Adjust the size so it fits the width of your square.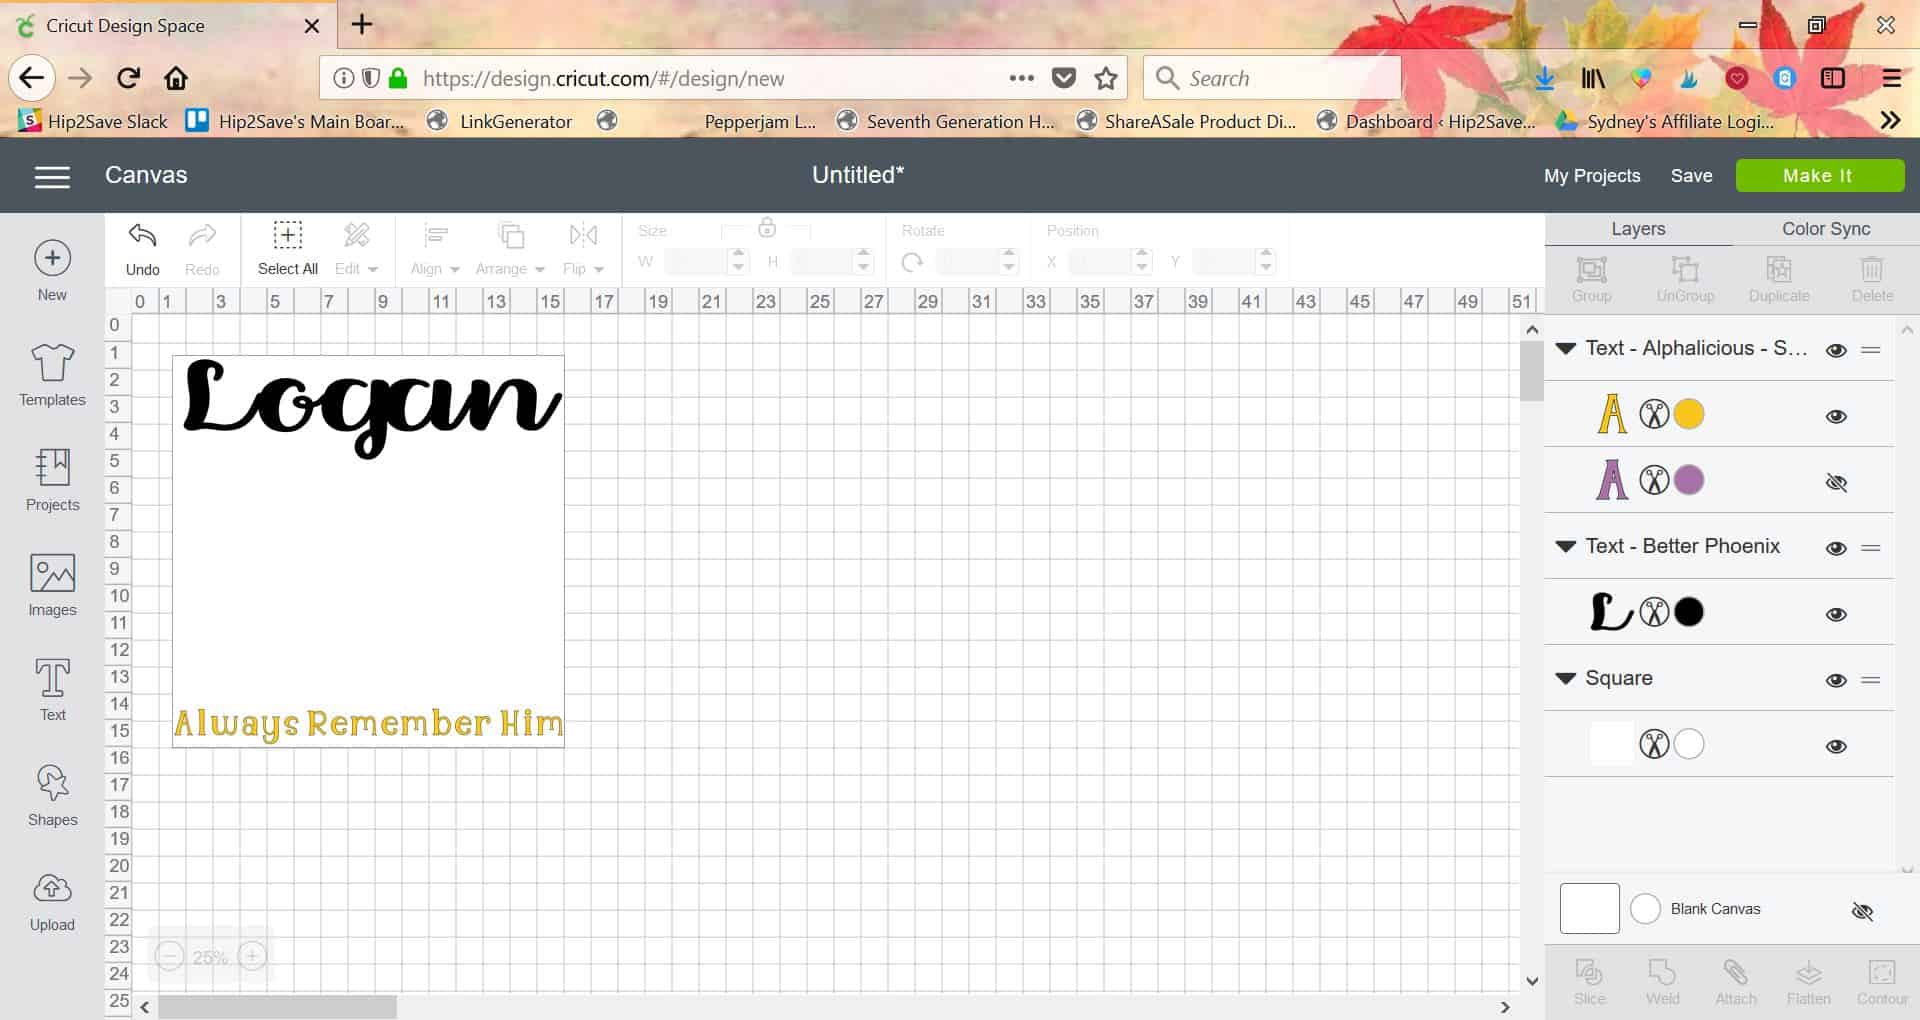
Next, you’ll want to do the bottom line. Just like the top line, fit the text so it fits the entire width of the square.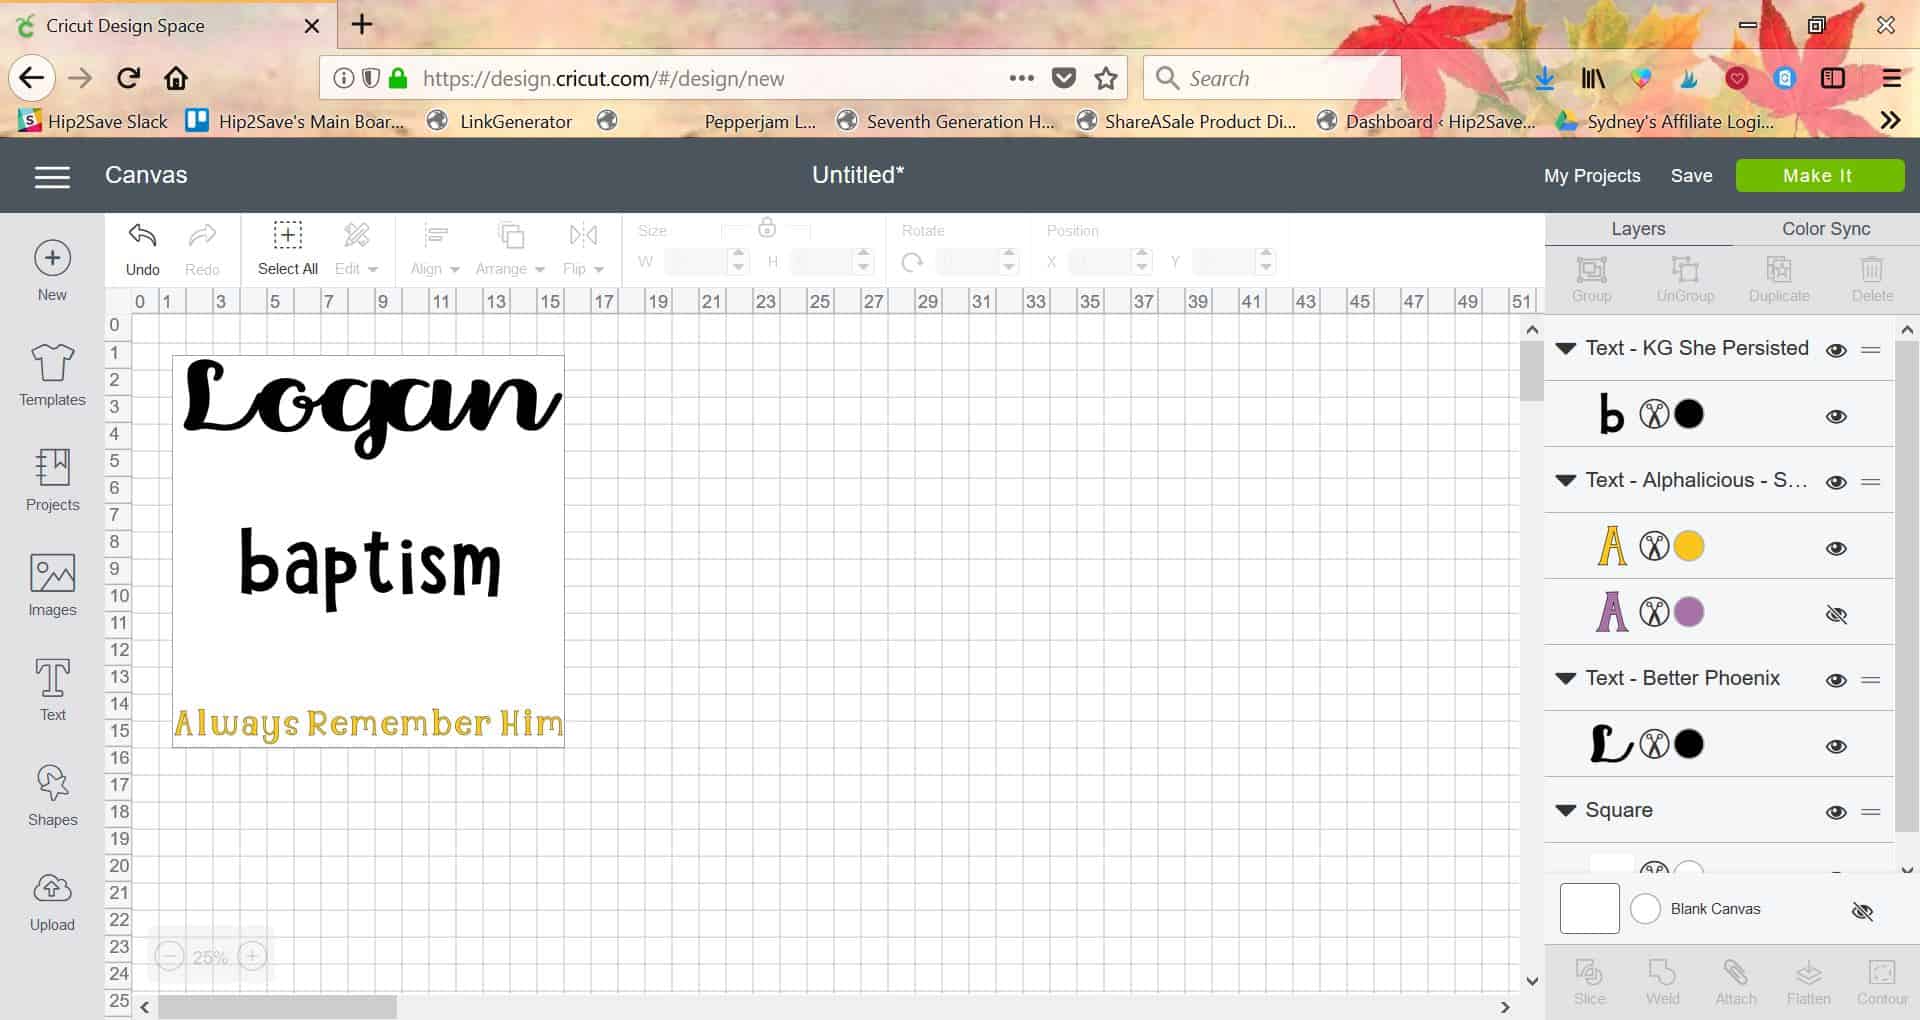
You’ll want to do the center-ish word next. Size it so that there is equal space on either side.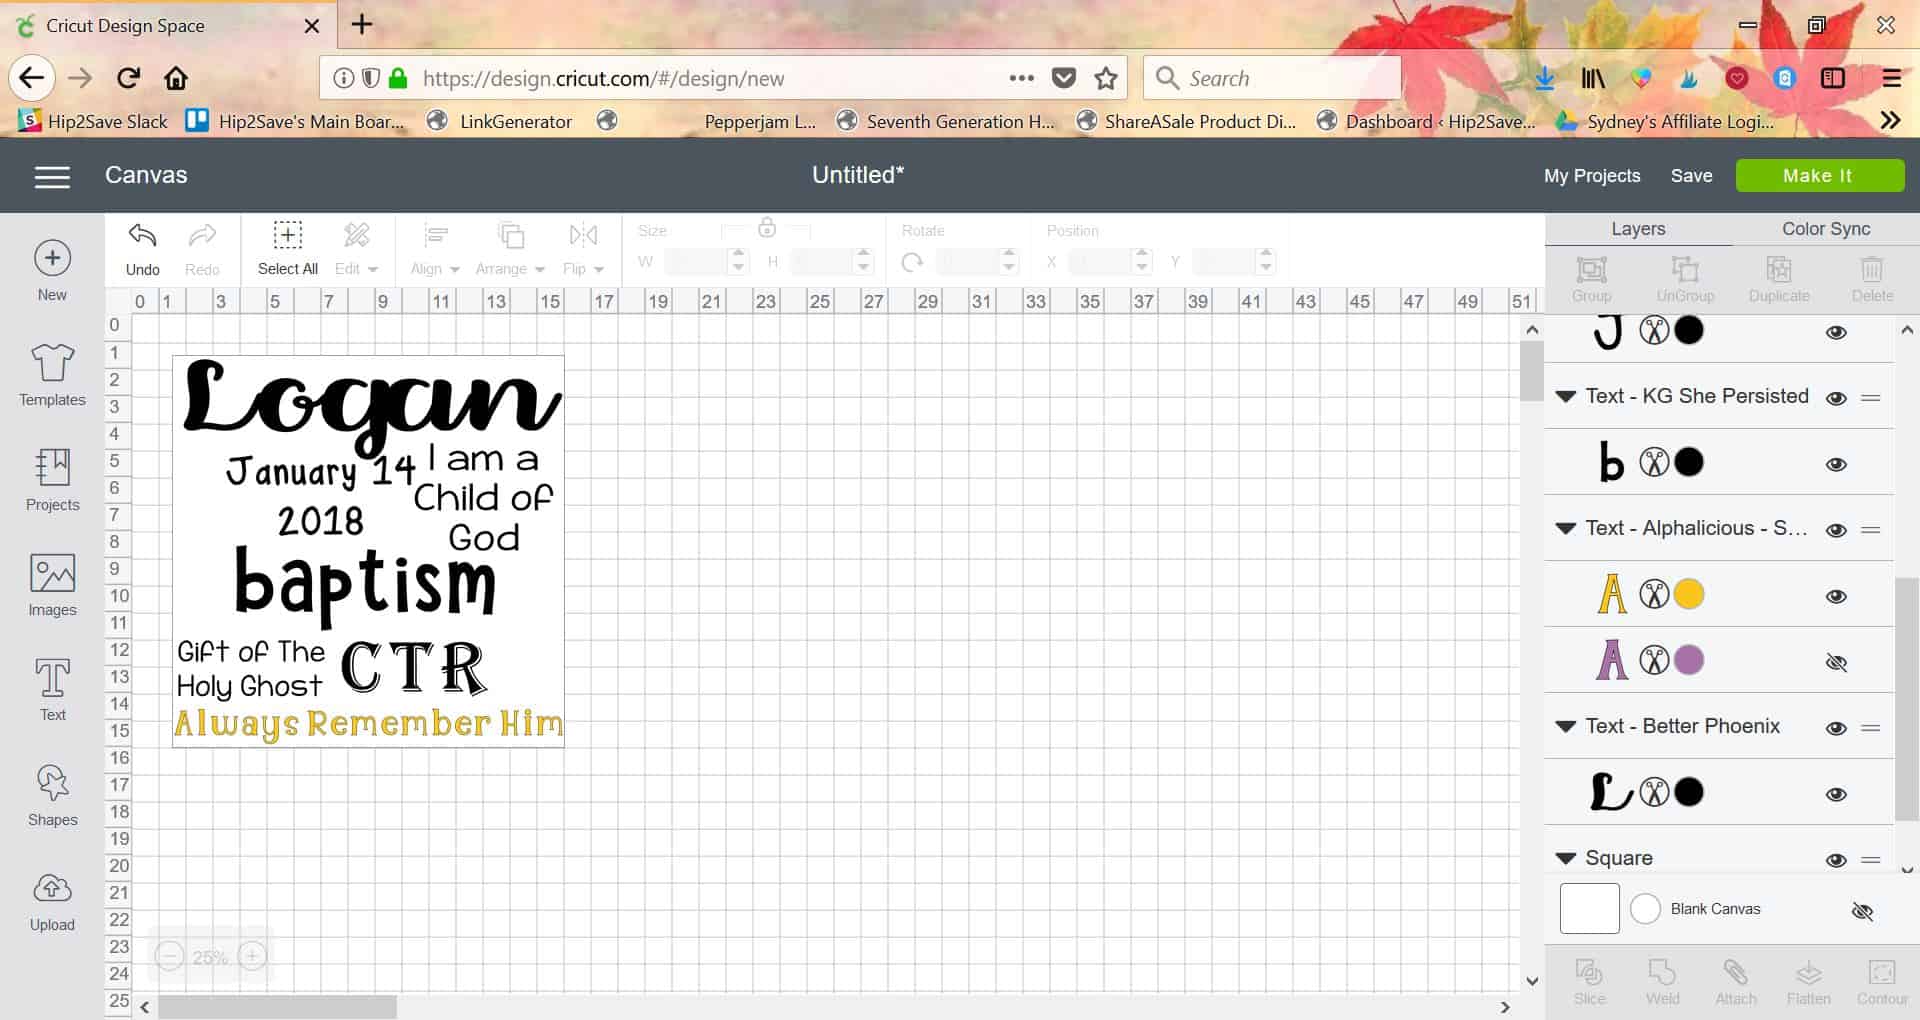
I found it was easiest to get all the words/phrases going the same direction in first. This is where you can play around with fonts and sizes. To add some dimension make sure each phrase is a different size.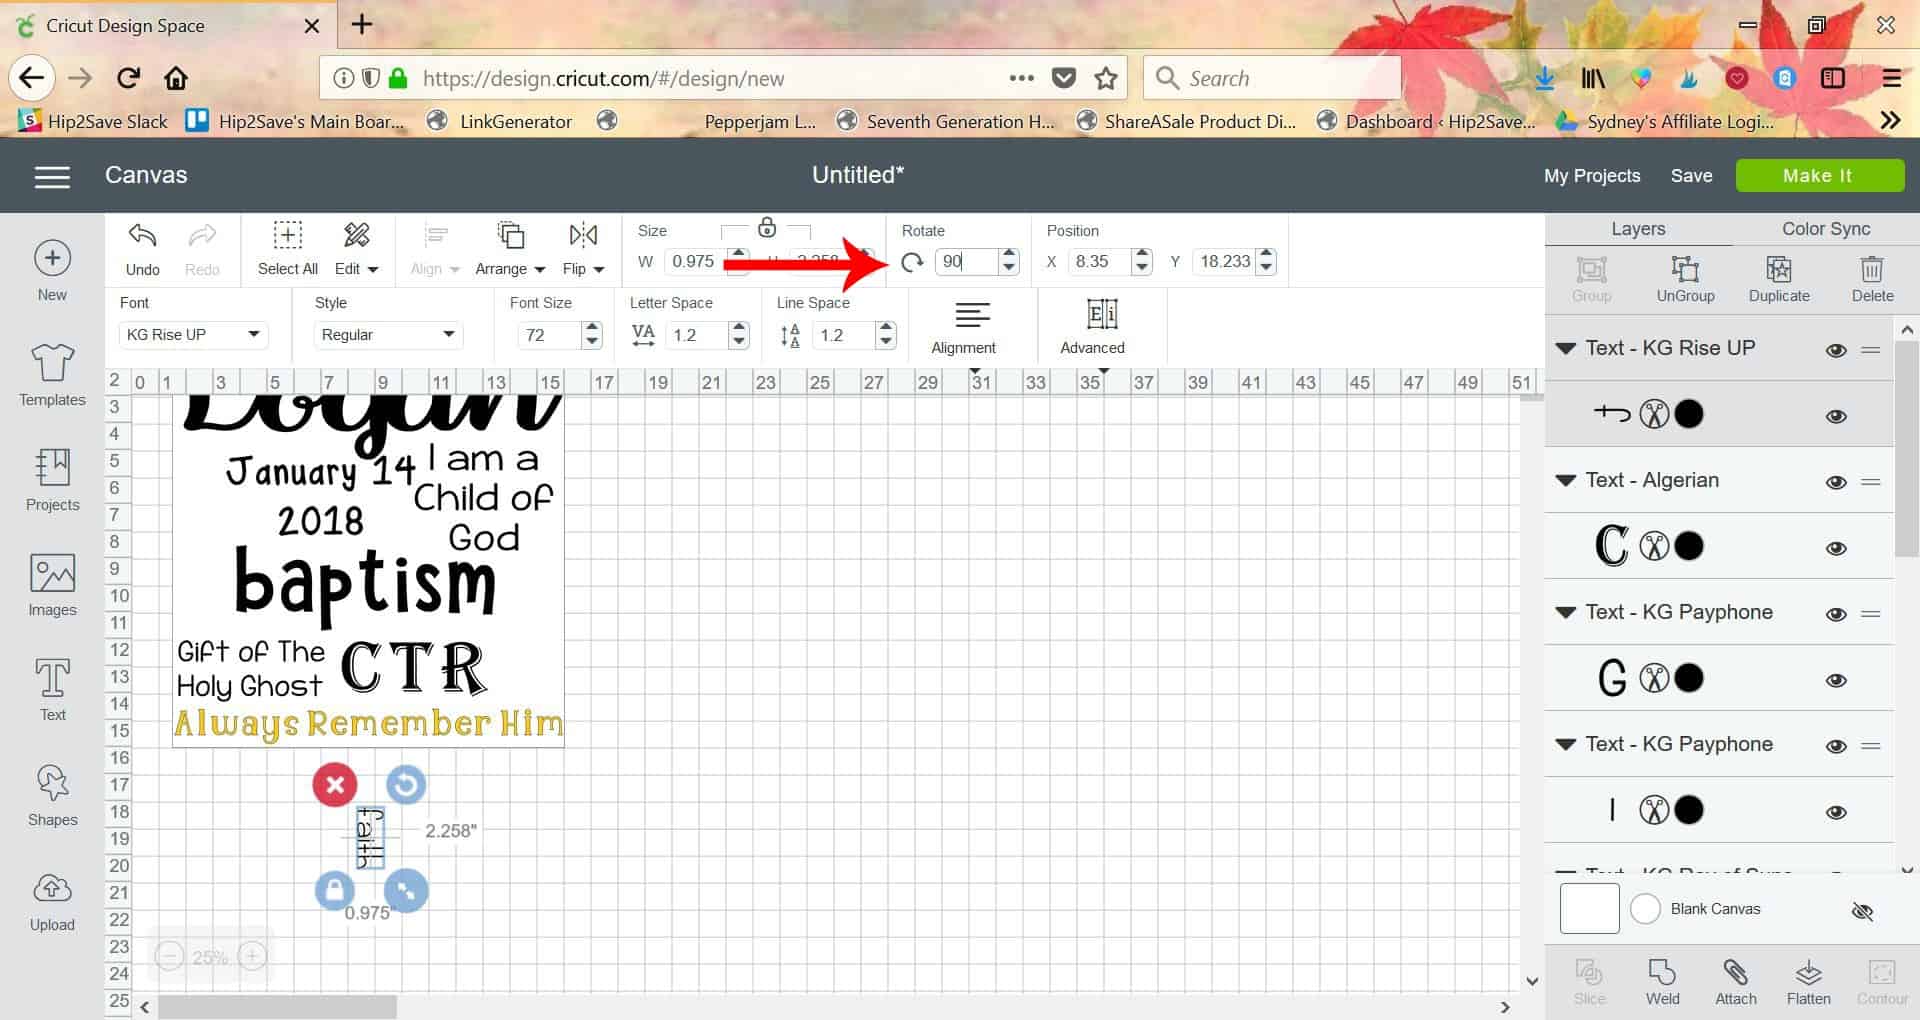
Then you’ll want to add your words/phrases that go a different direction. To do this add your text then click ROTATE in the top menu and type 90.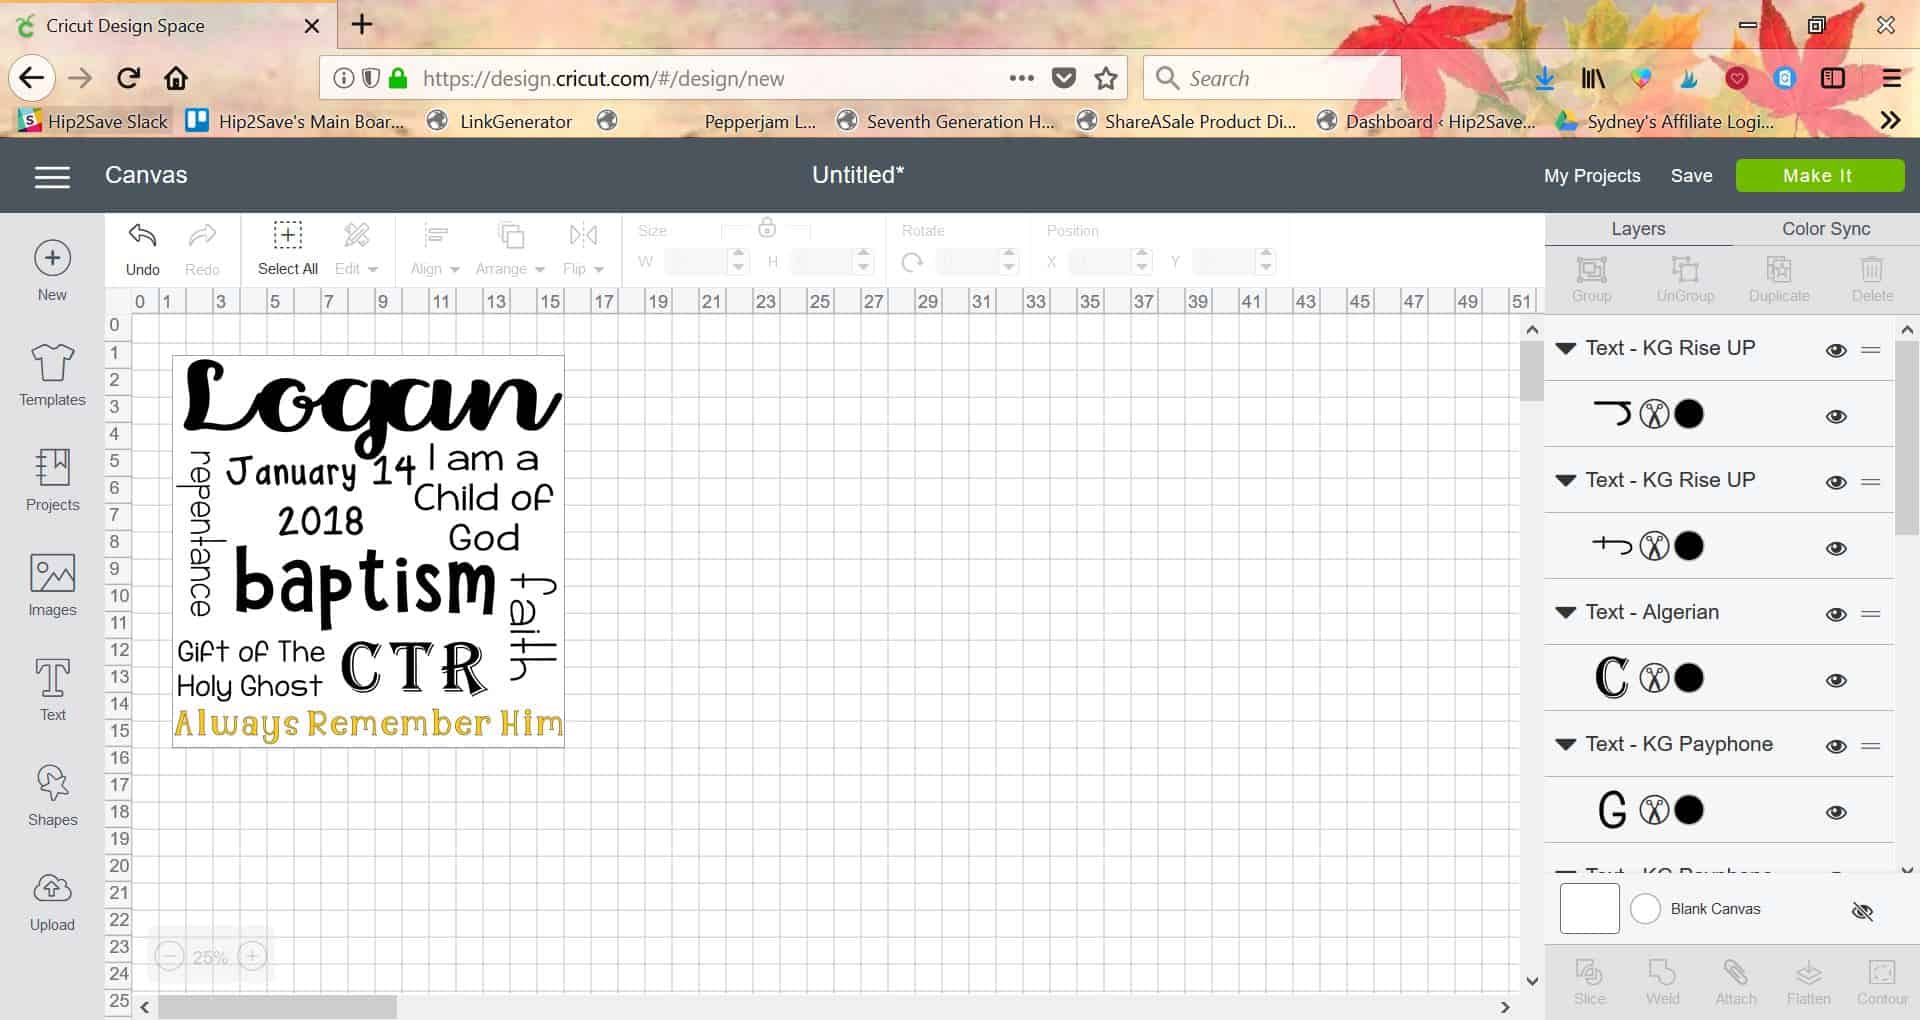
Size your text to fit in between the rest of your phrases. Repeat for the other side.
Change all the text colors so they are the same.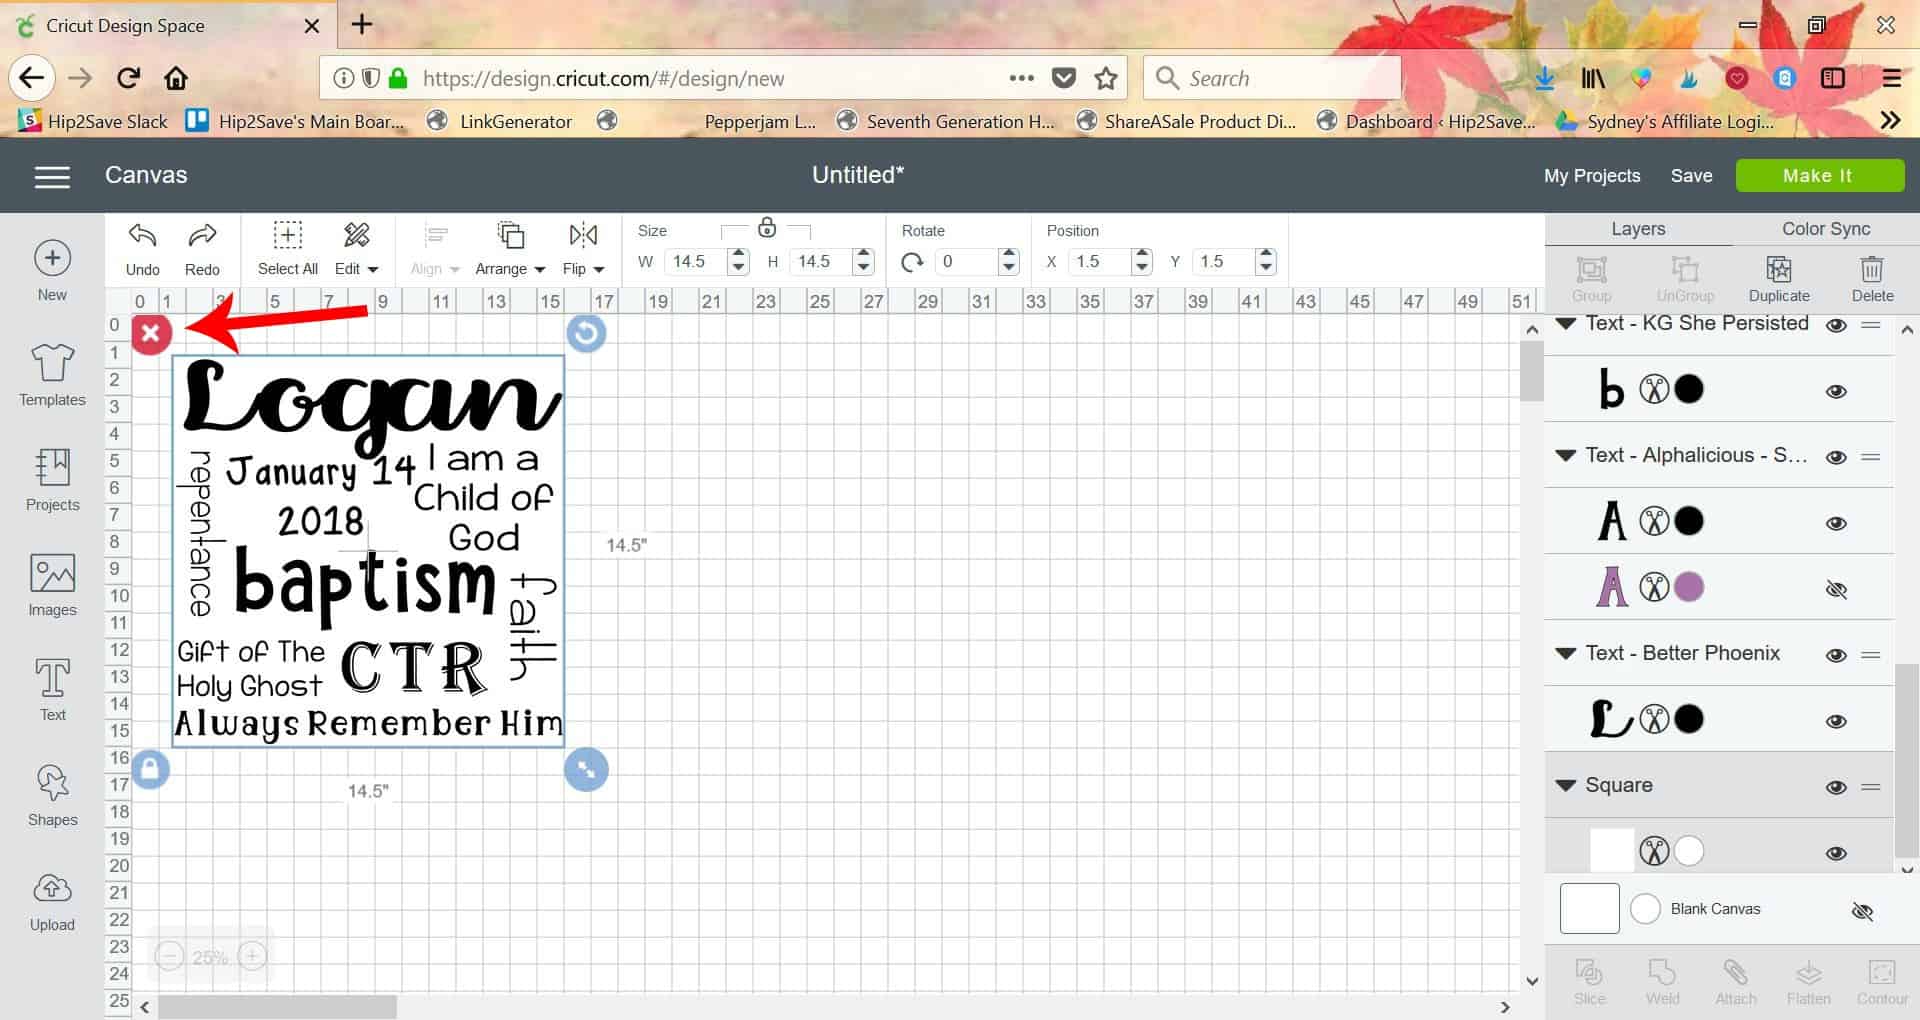
Remove the square from your canvas.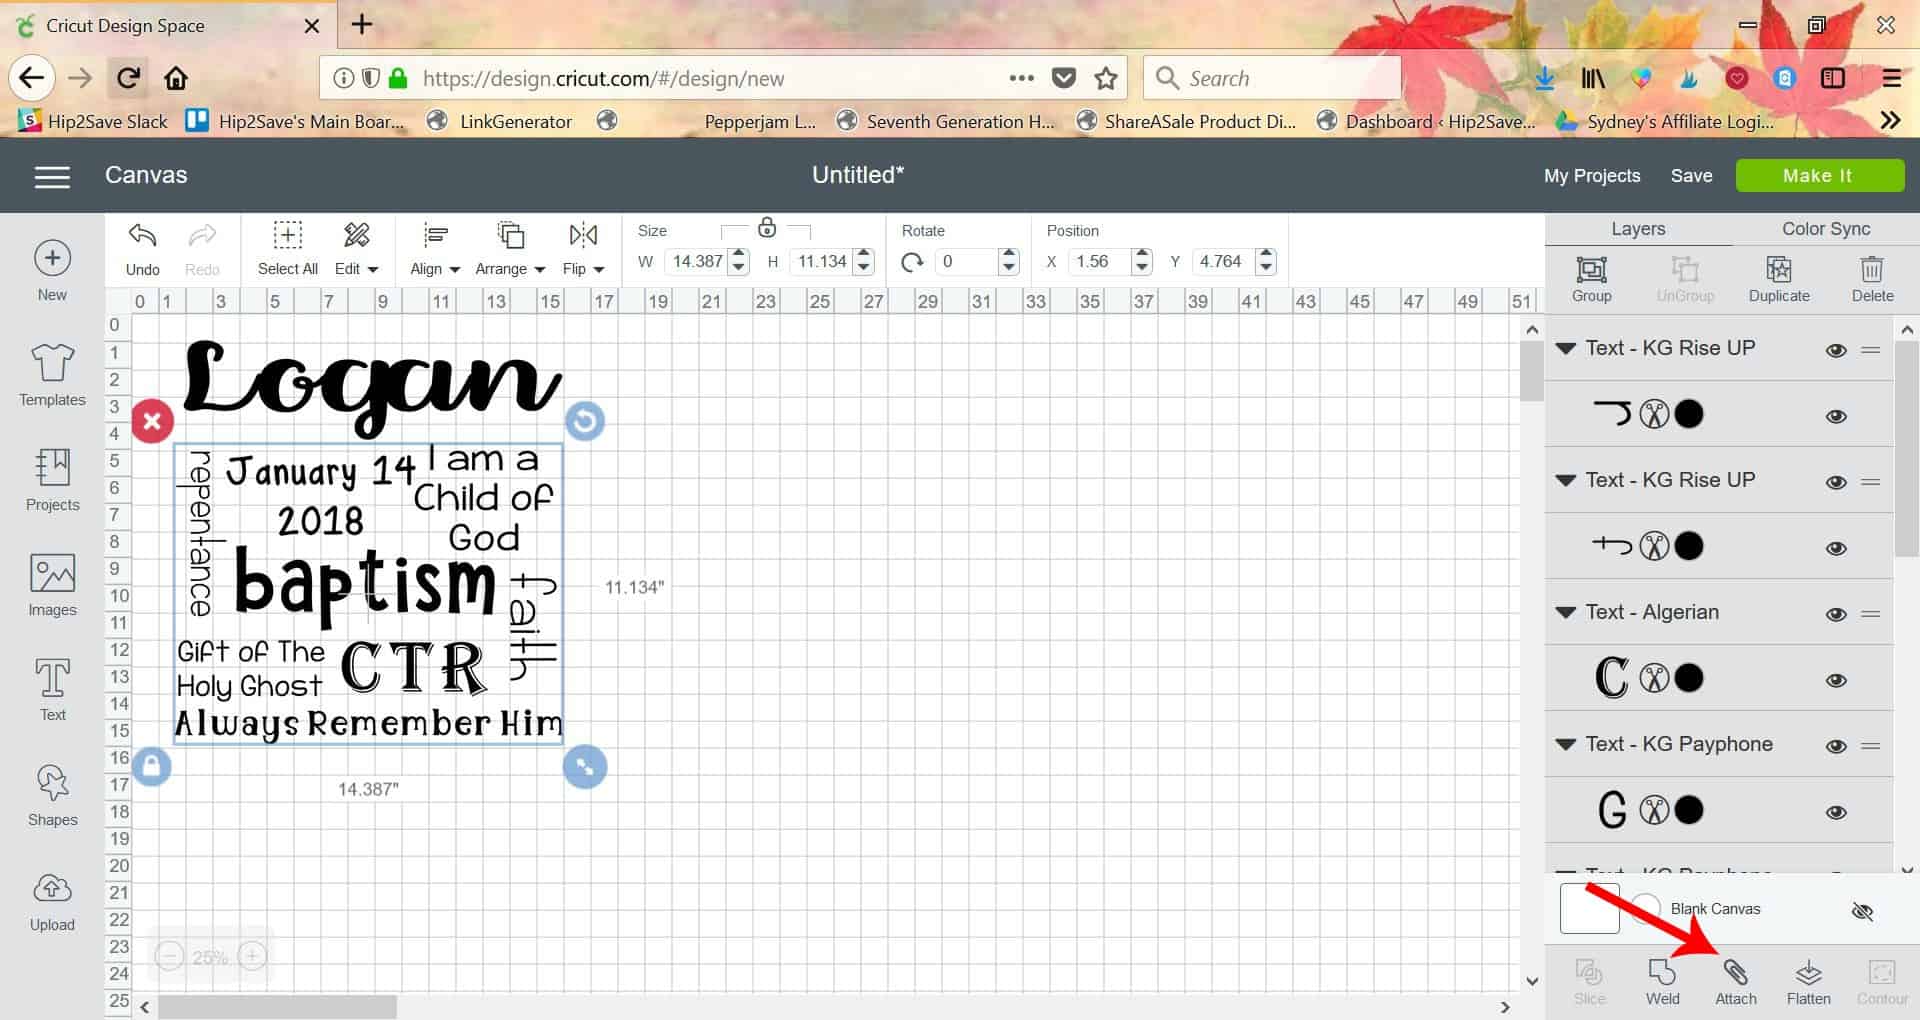
If you attach your whole design now it will be too big to cut on the Cricut (the design for this is 14″x14″ and Cricut can only cut up to 12″ wide. So you’ll want to attach each part in sections. I leave the name separate and attach everything else. You may need to move the name up so it doesn’t get selected in the attachment.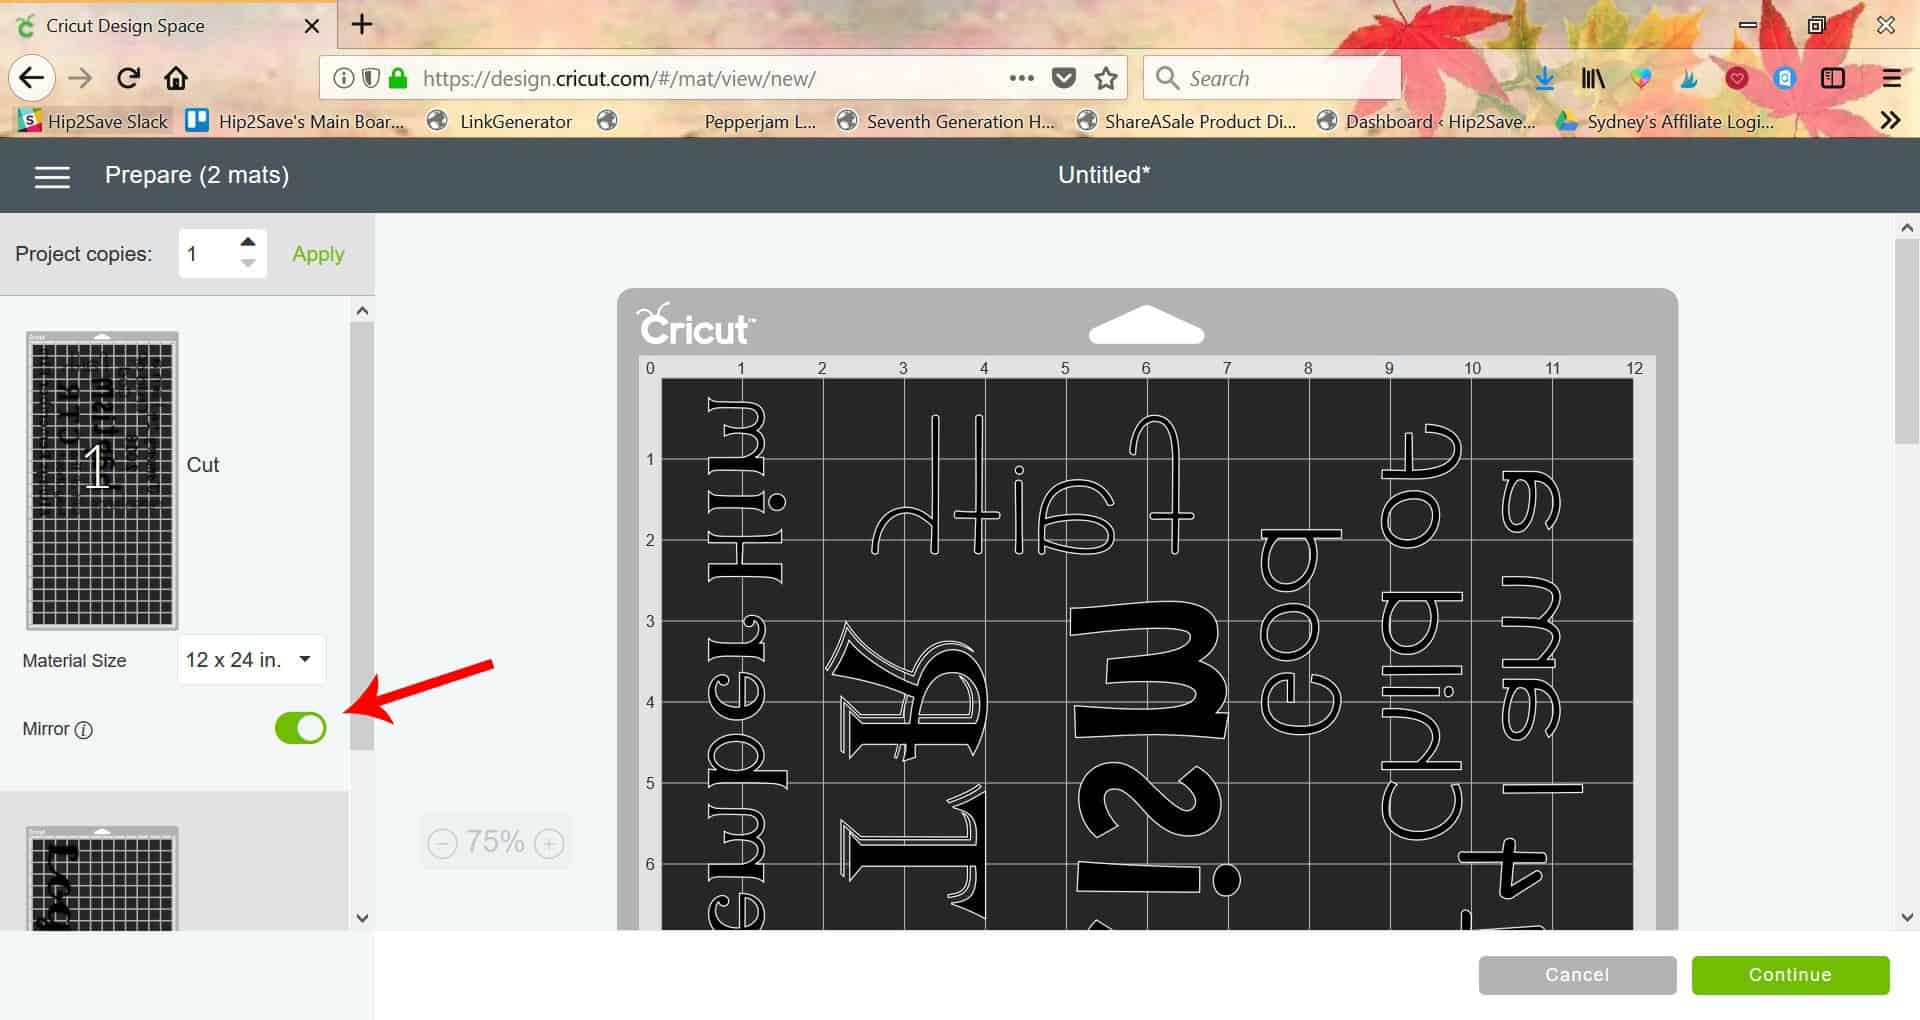
Click MAKE IT and send to your Cricut. ***Make sure to click MIRROR on the preview page***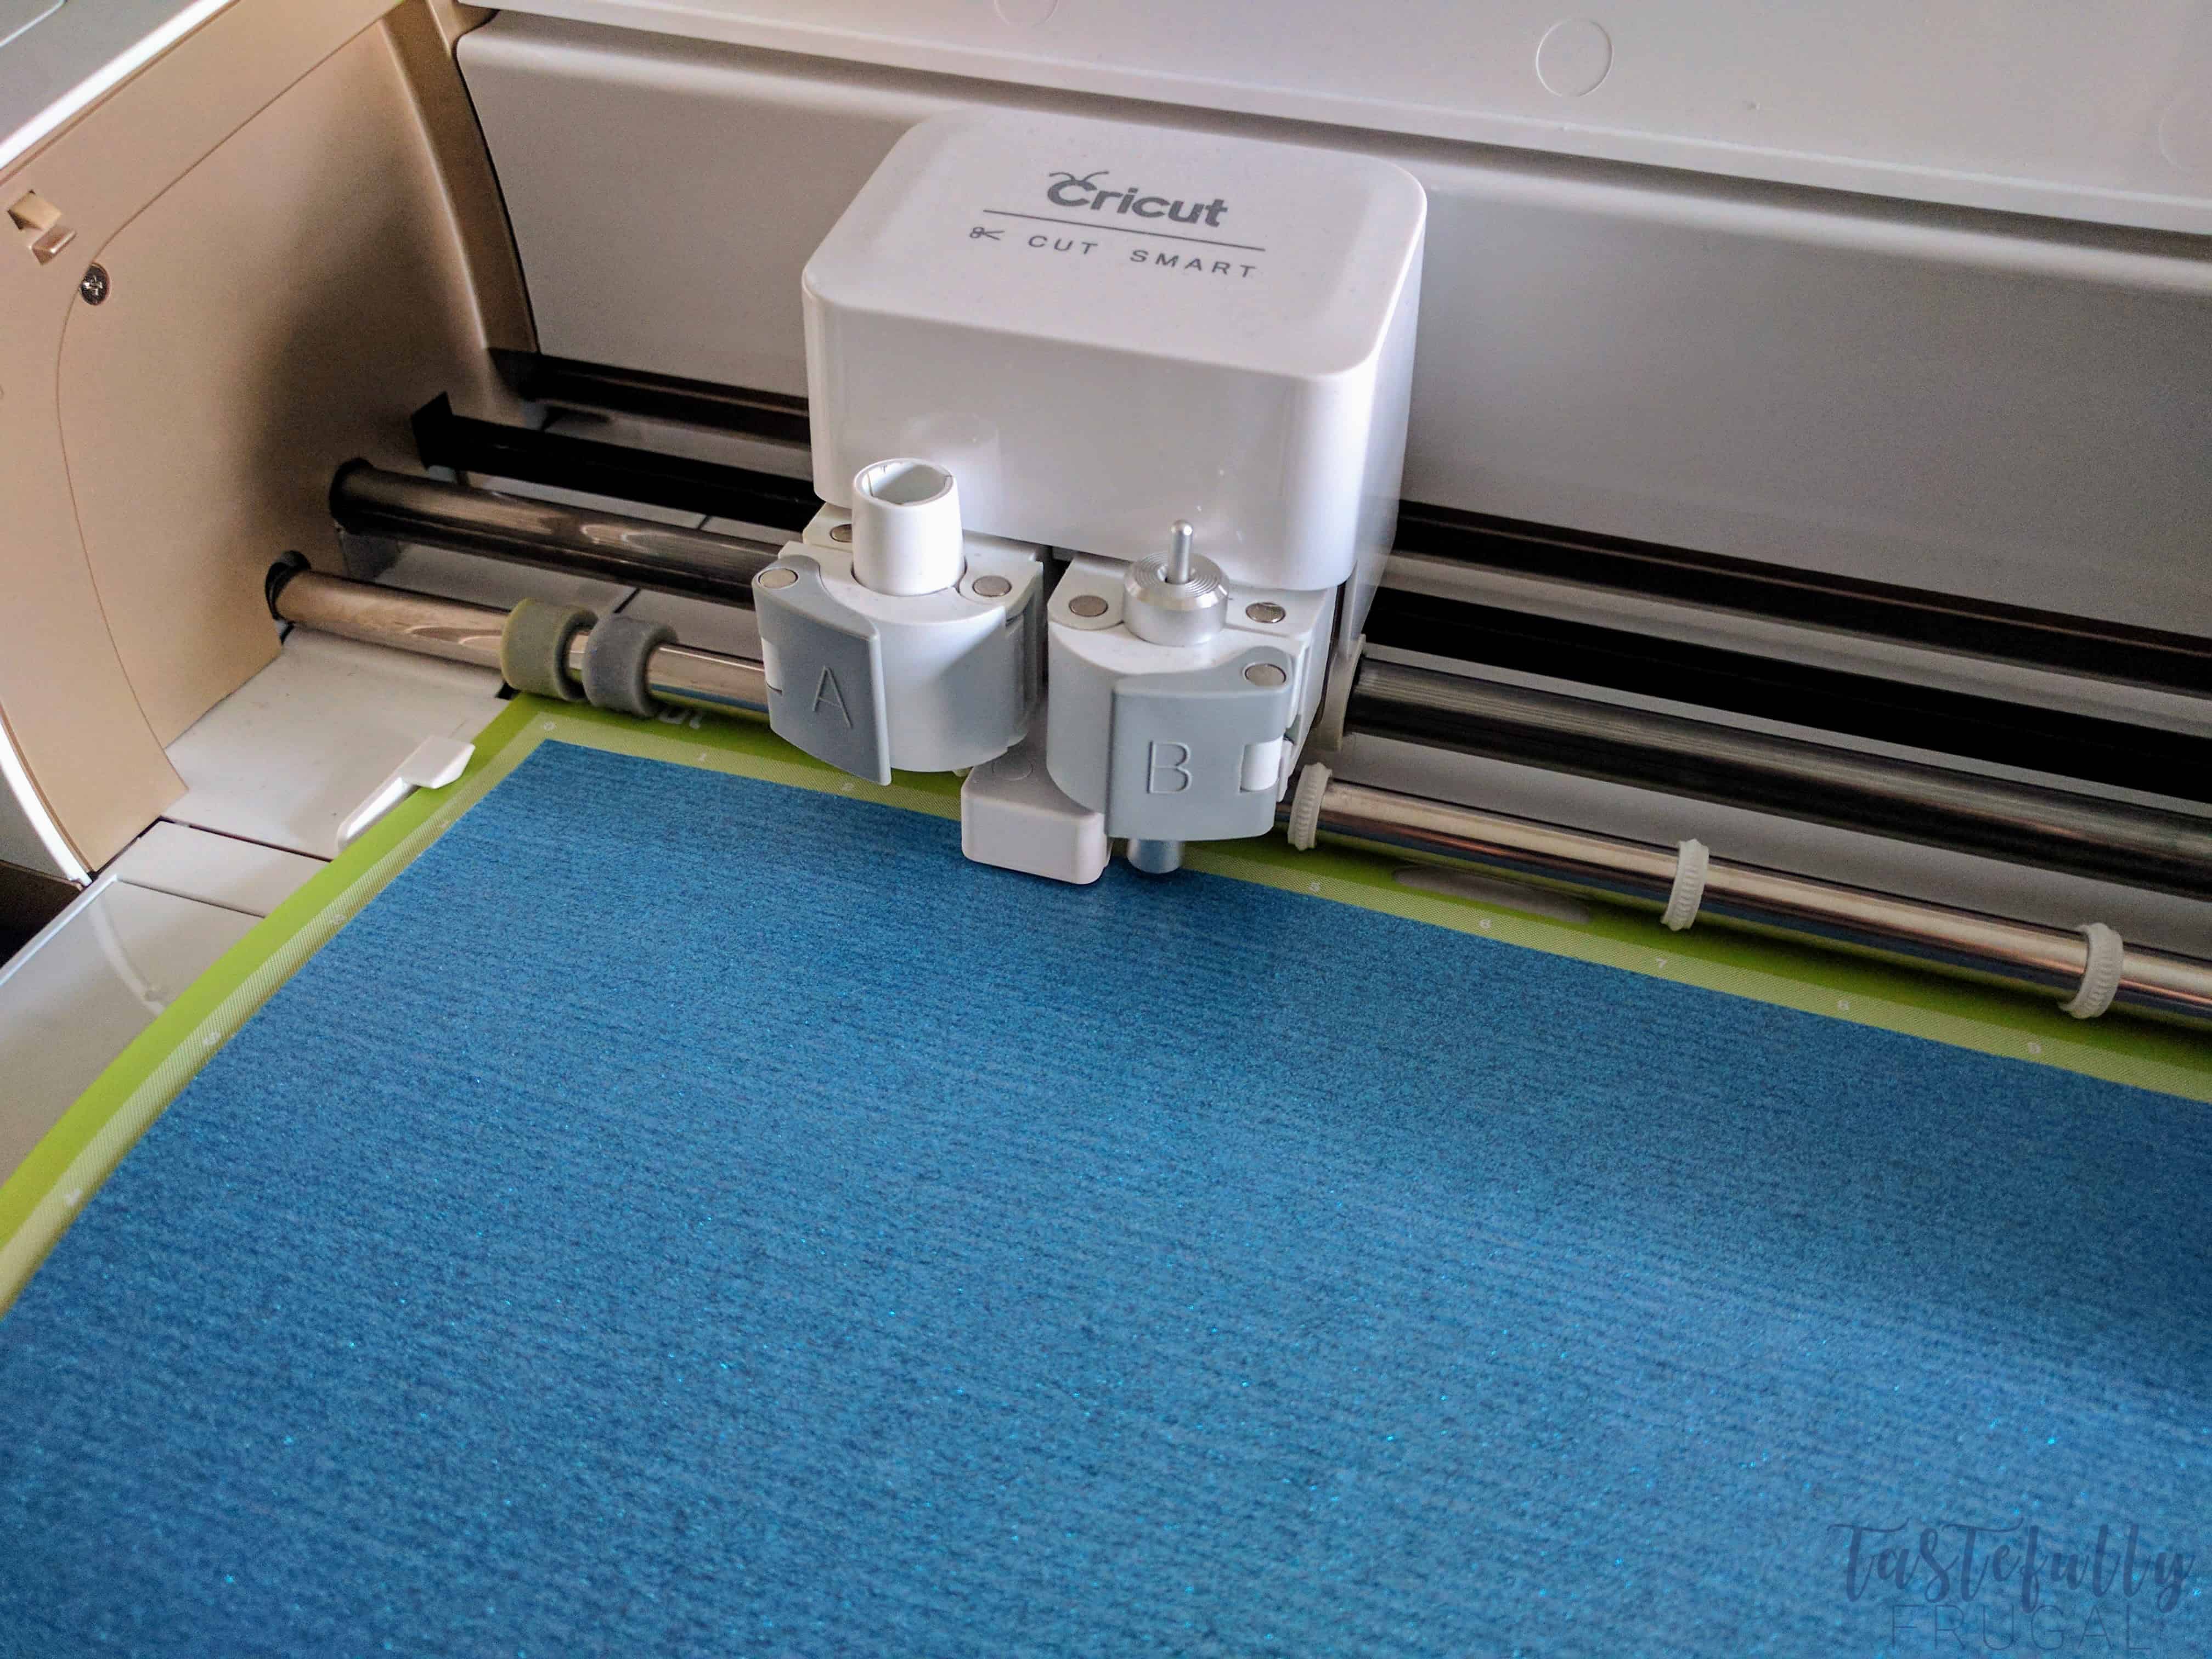
Cut your design out of iron on. You will have two pieces. One with the top line and the second, larger piece, with everything else.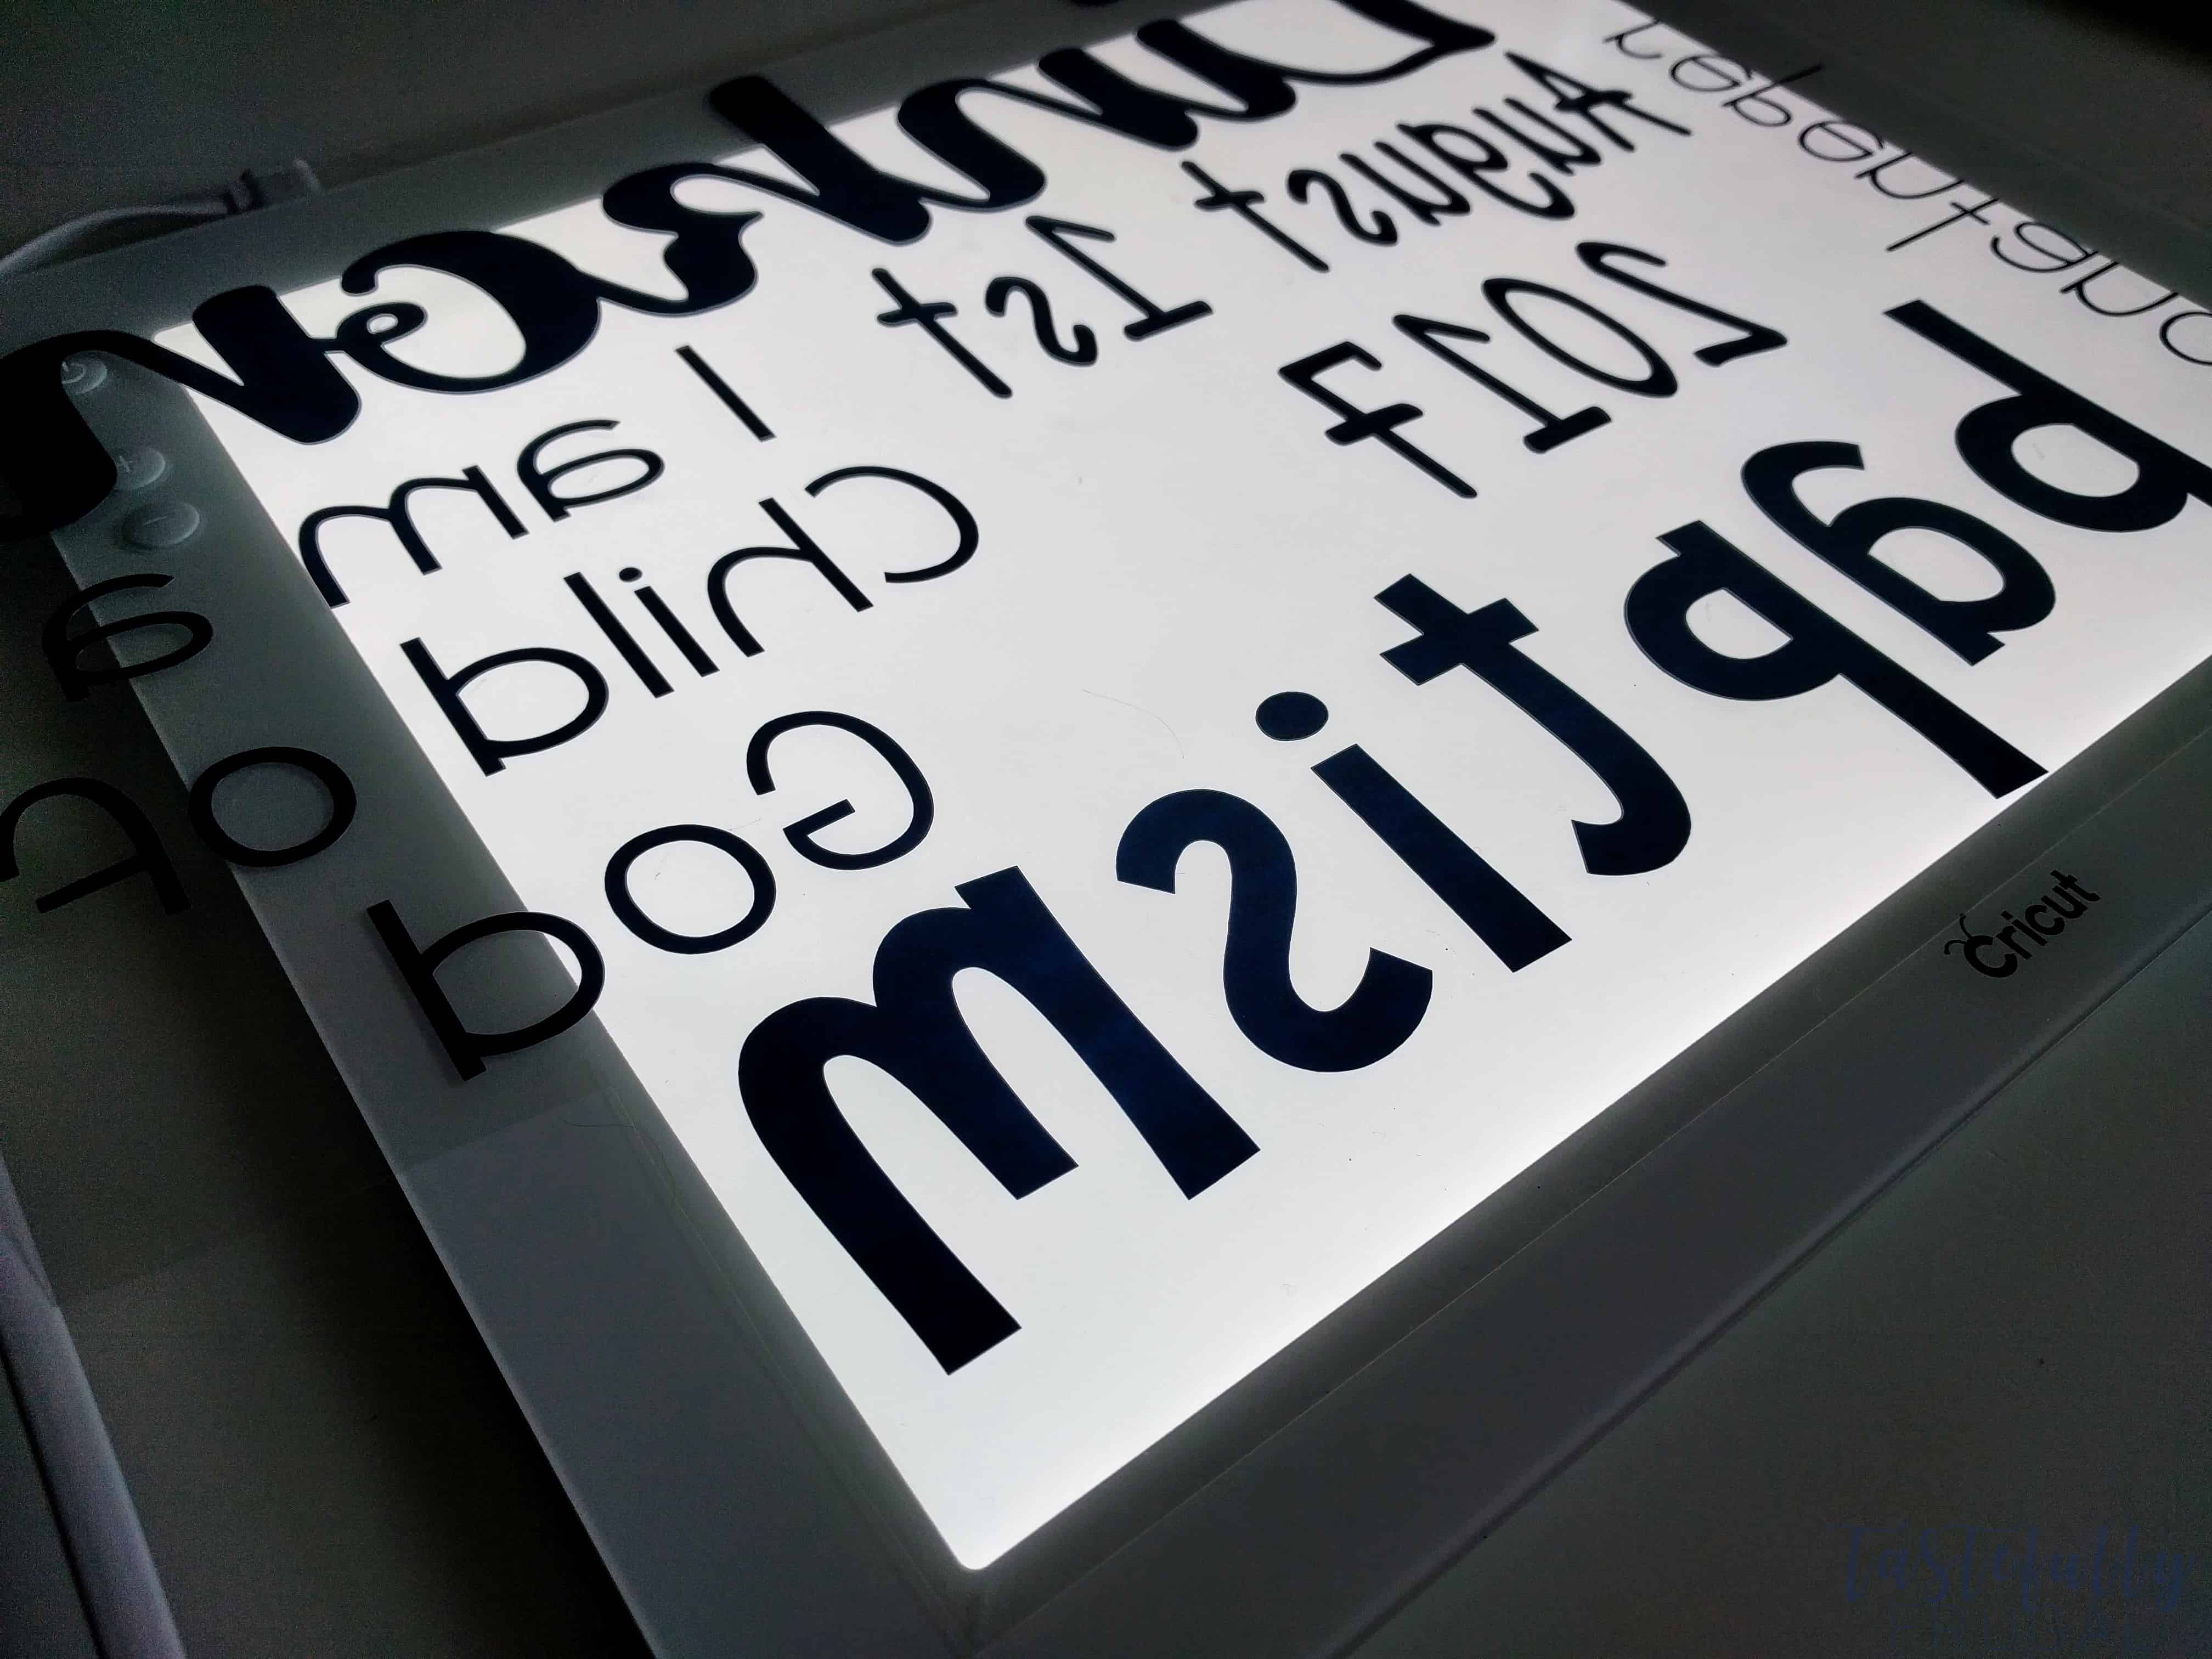
Weed your design. It is easiest to start in one corner (I usually start in the bottom left) and work up at an angle. I like to use the BrightPad, especially on big jobs like this, to make sure I don’t miss anything.
Iron your pillow case to get all the wrinkles out.
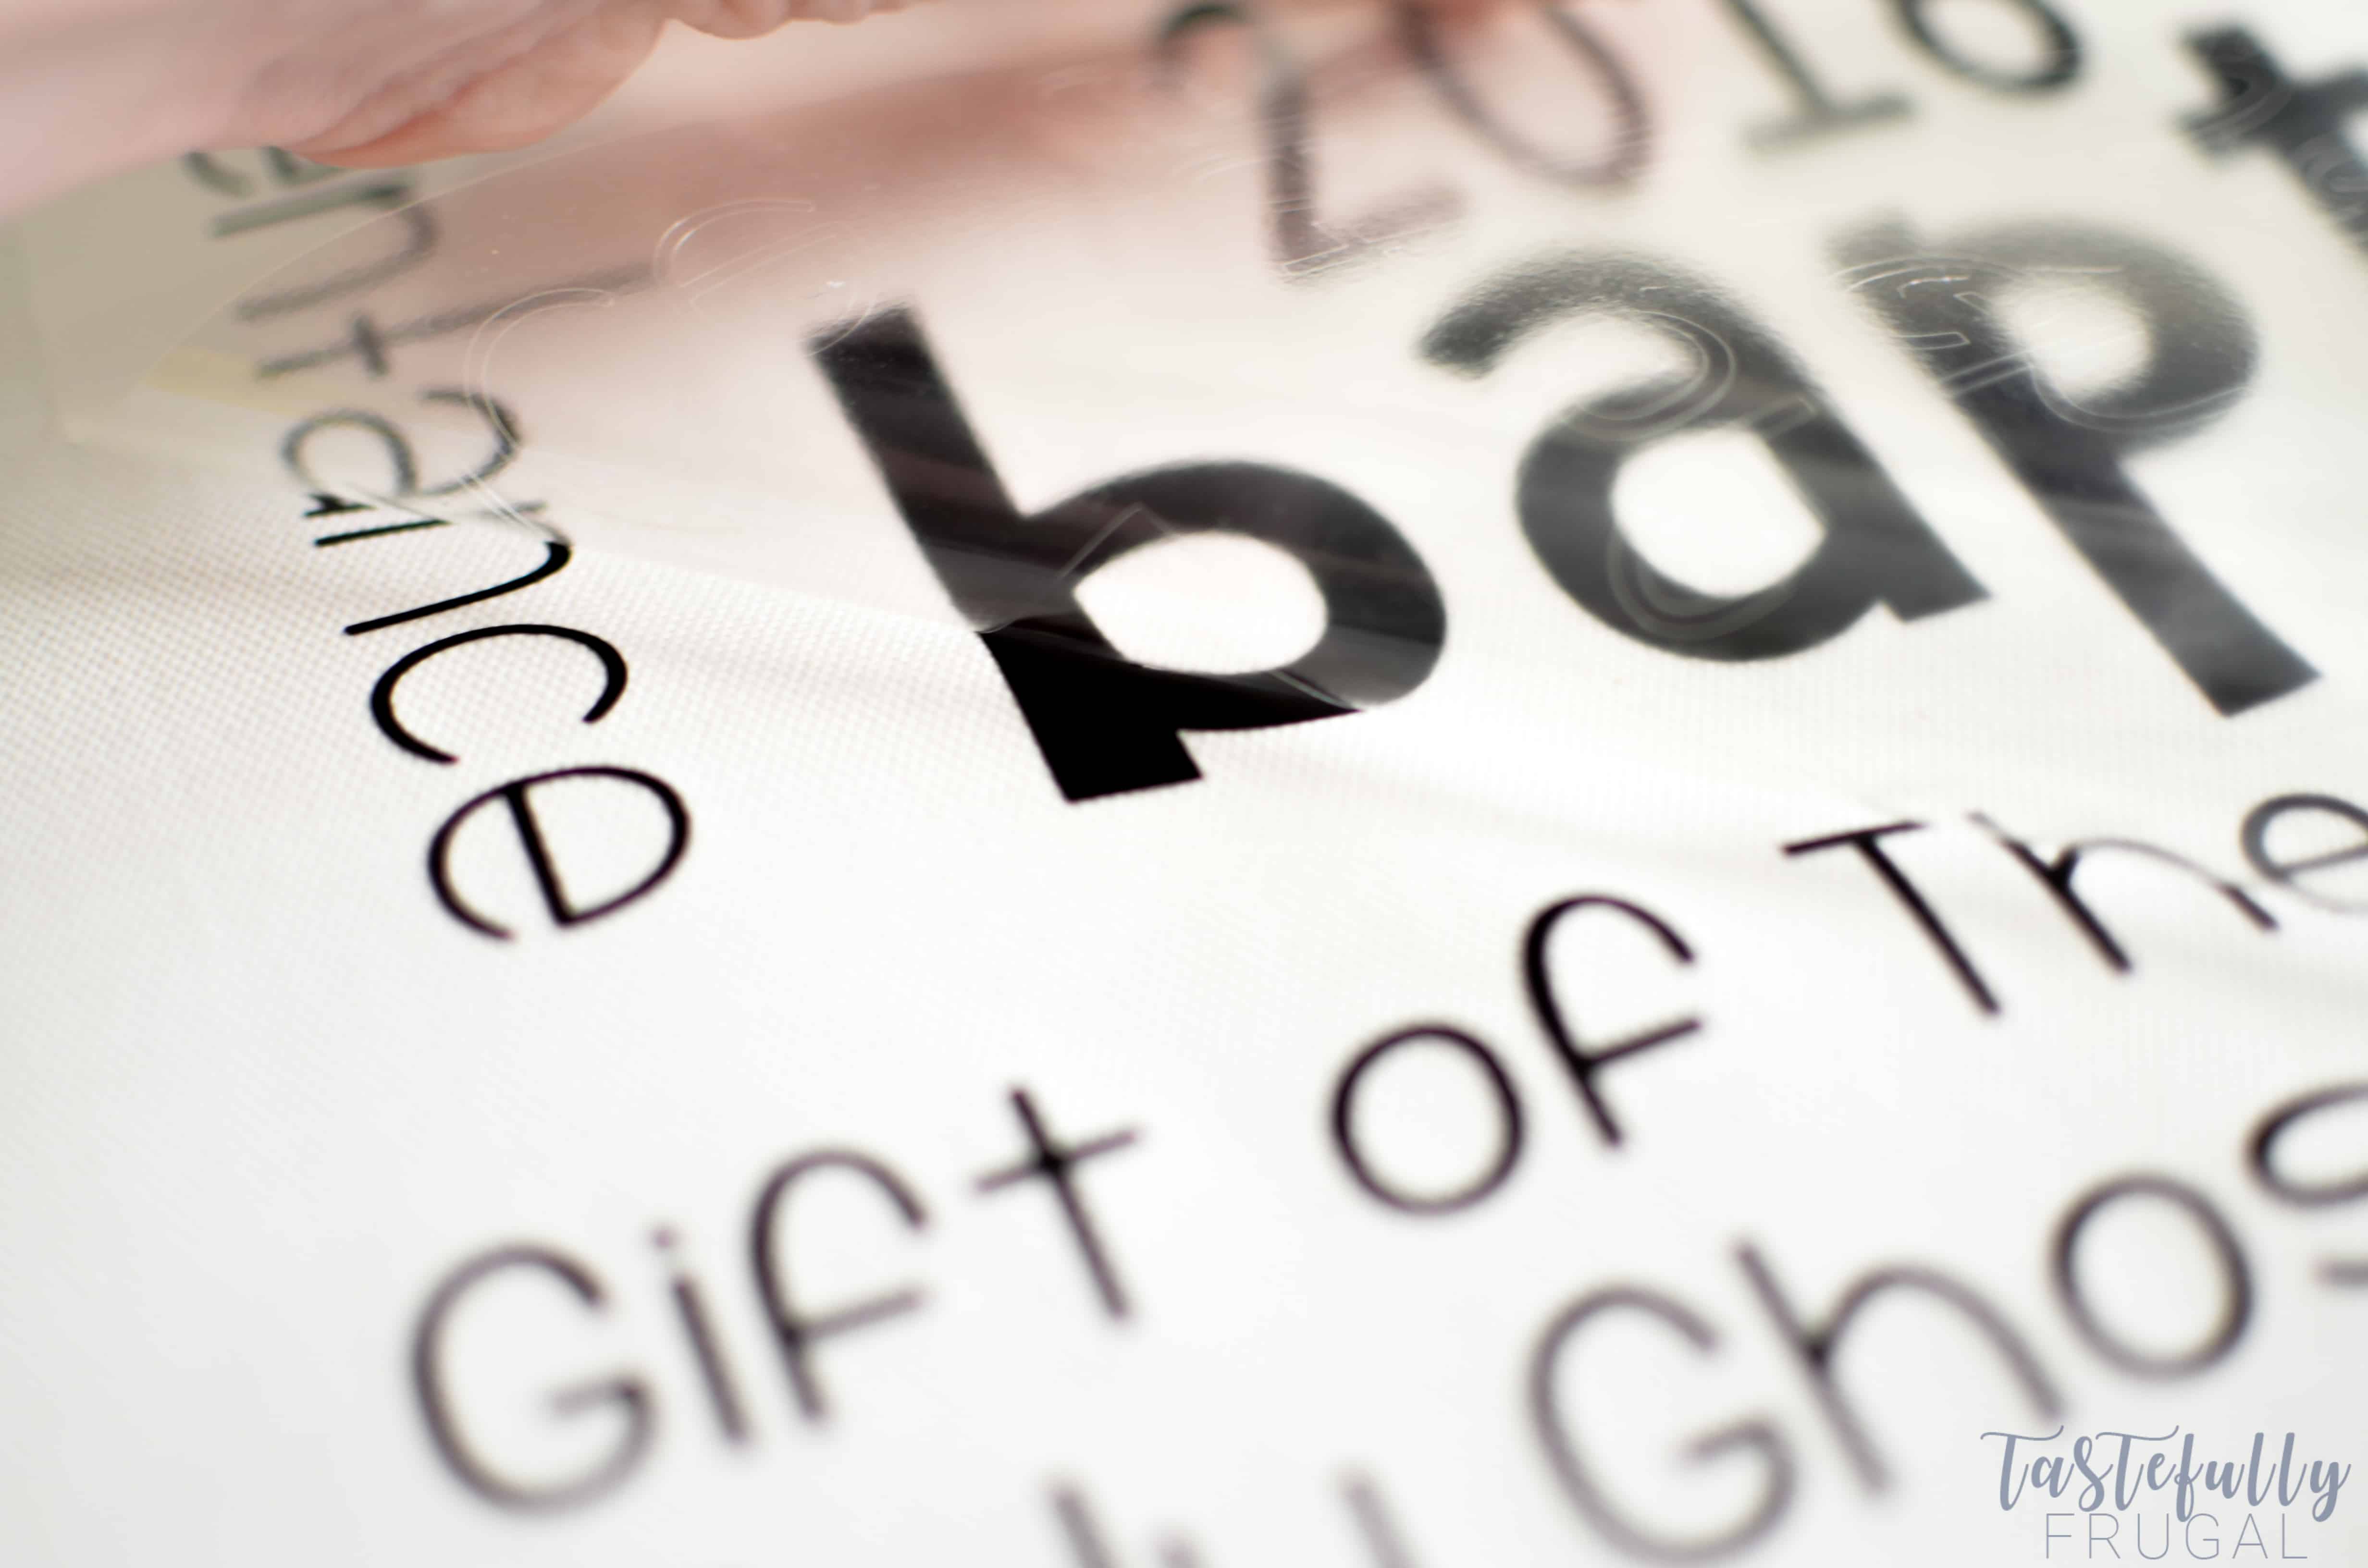
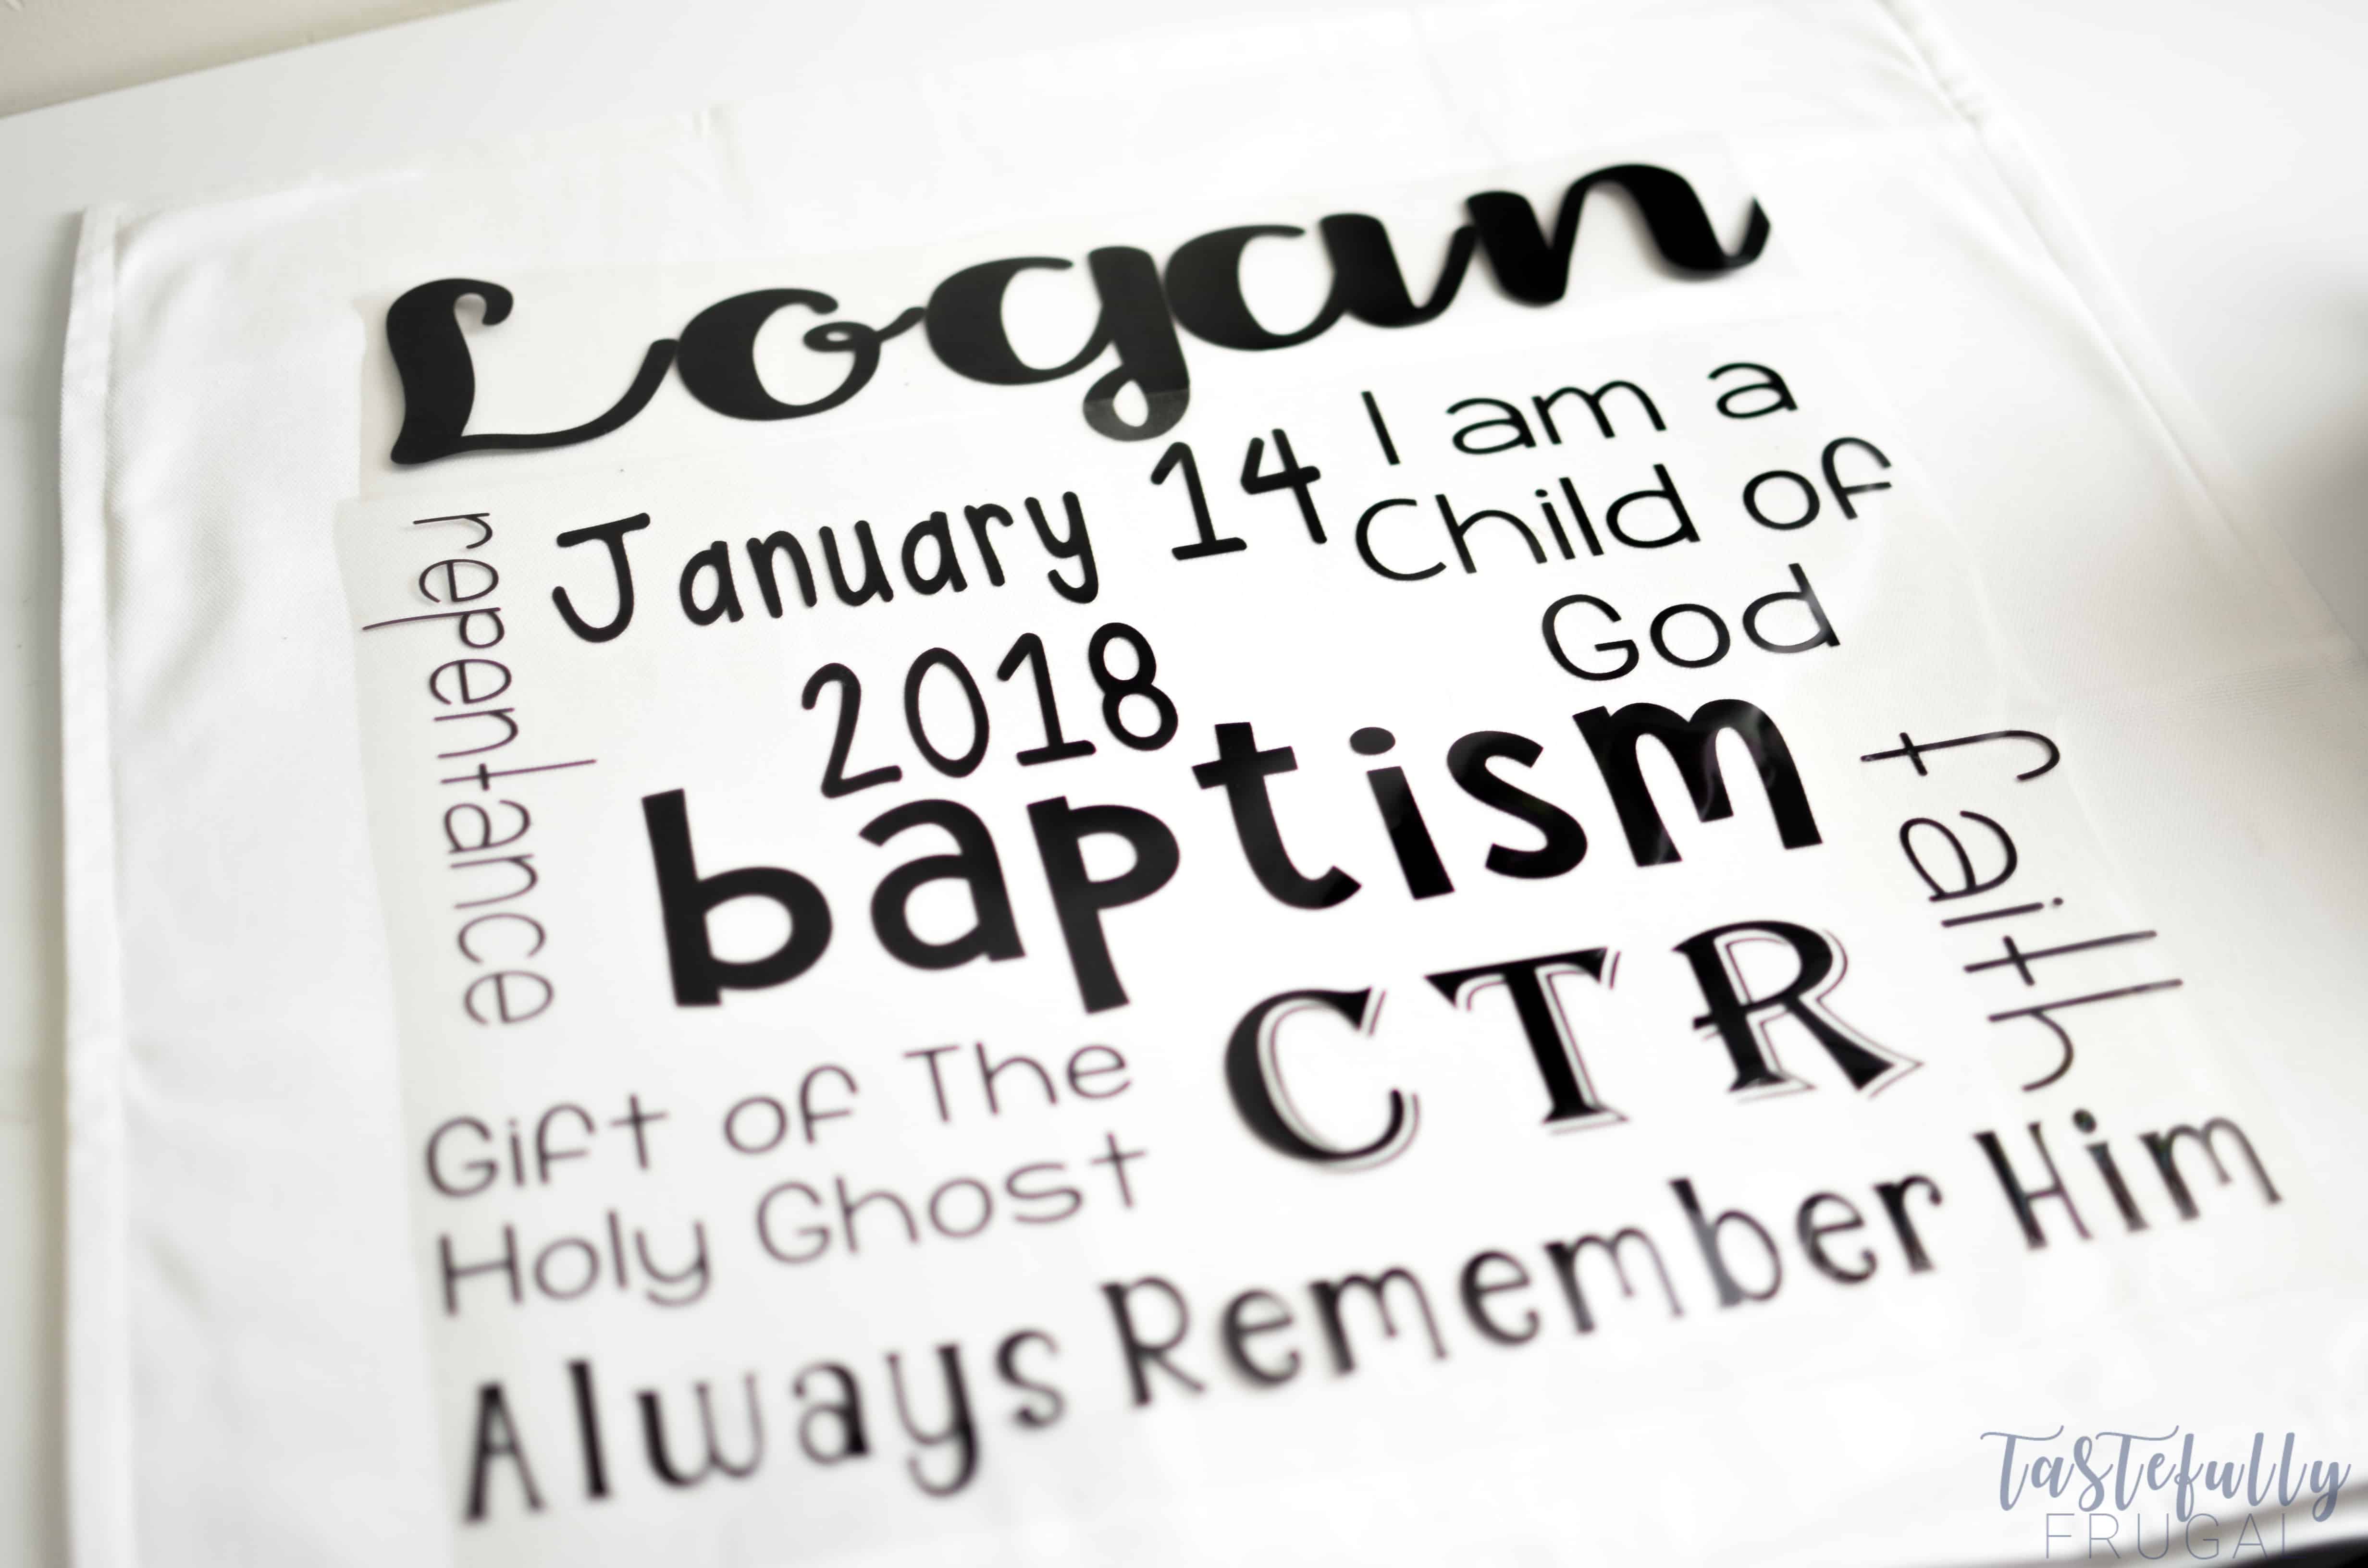 Line up your two pieces and cut off any excess plastic.
Preheat your EasyPress to 305°F and the time to 30 seconds.
Preheat your pillow with your EasyPress
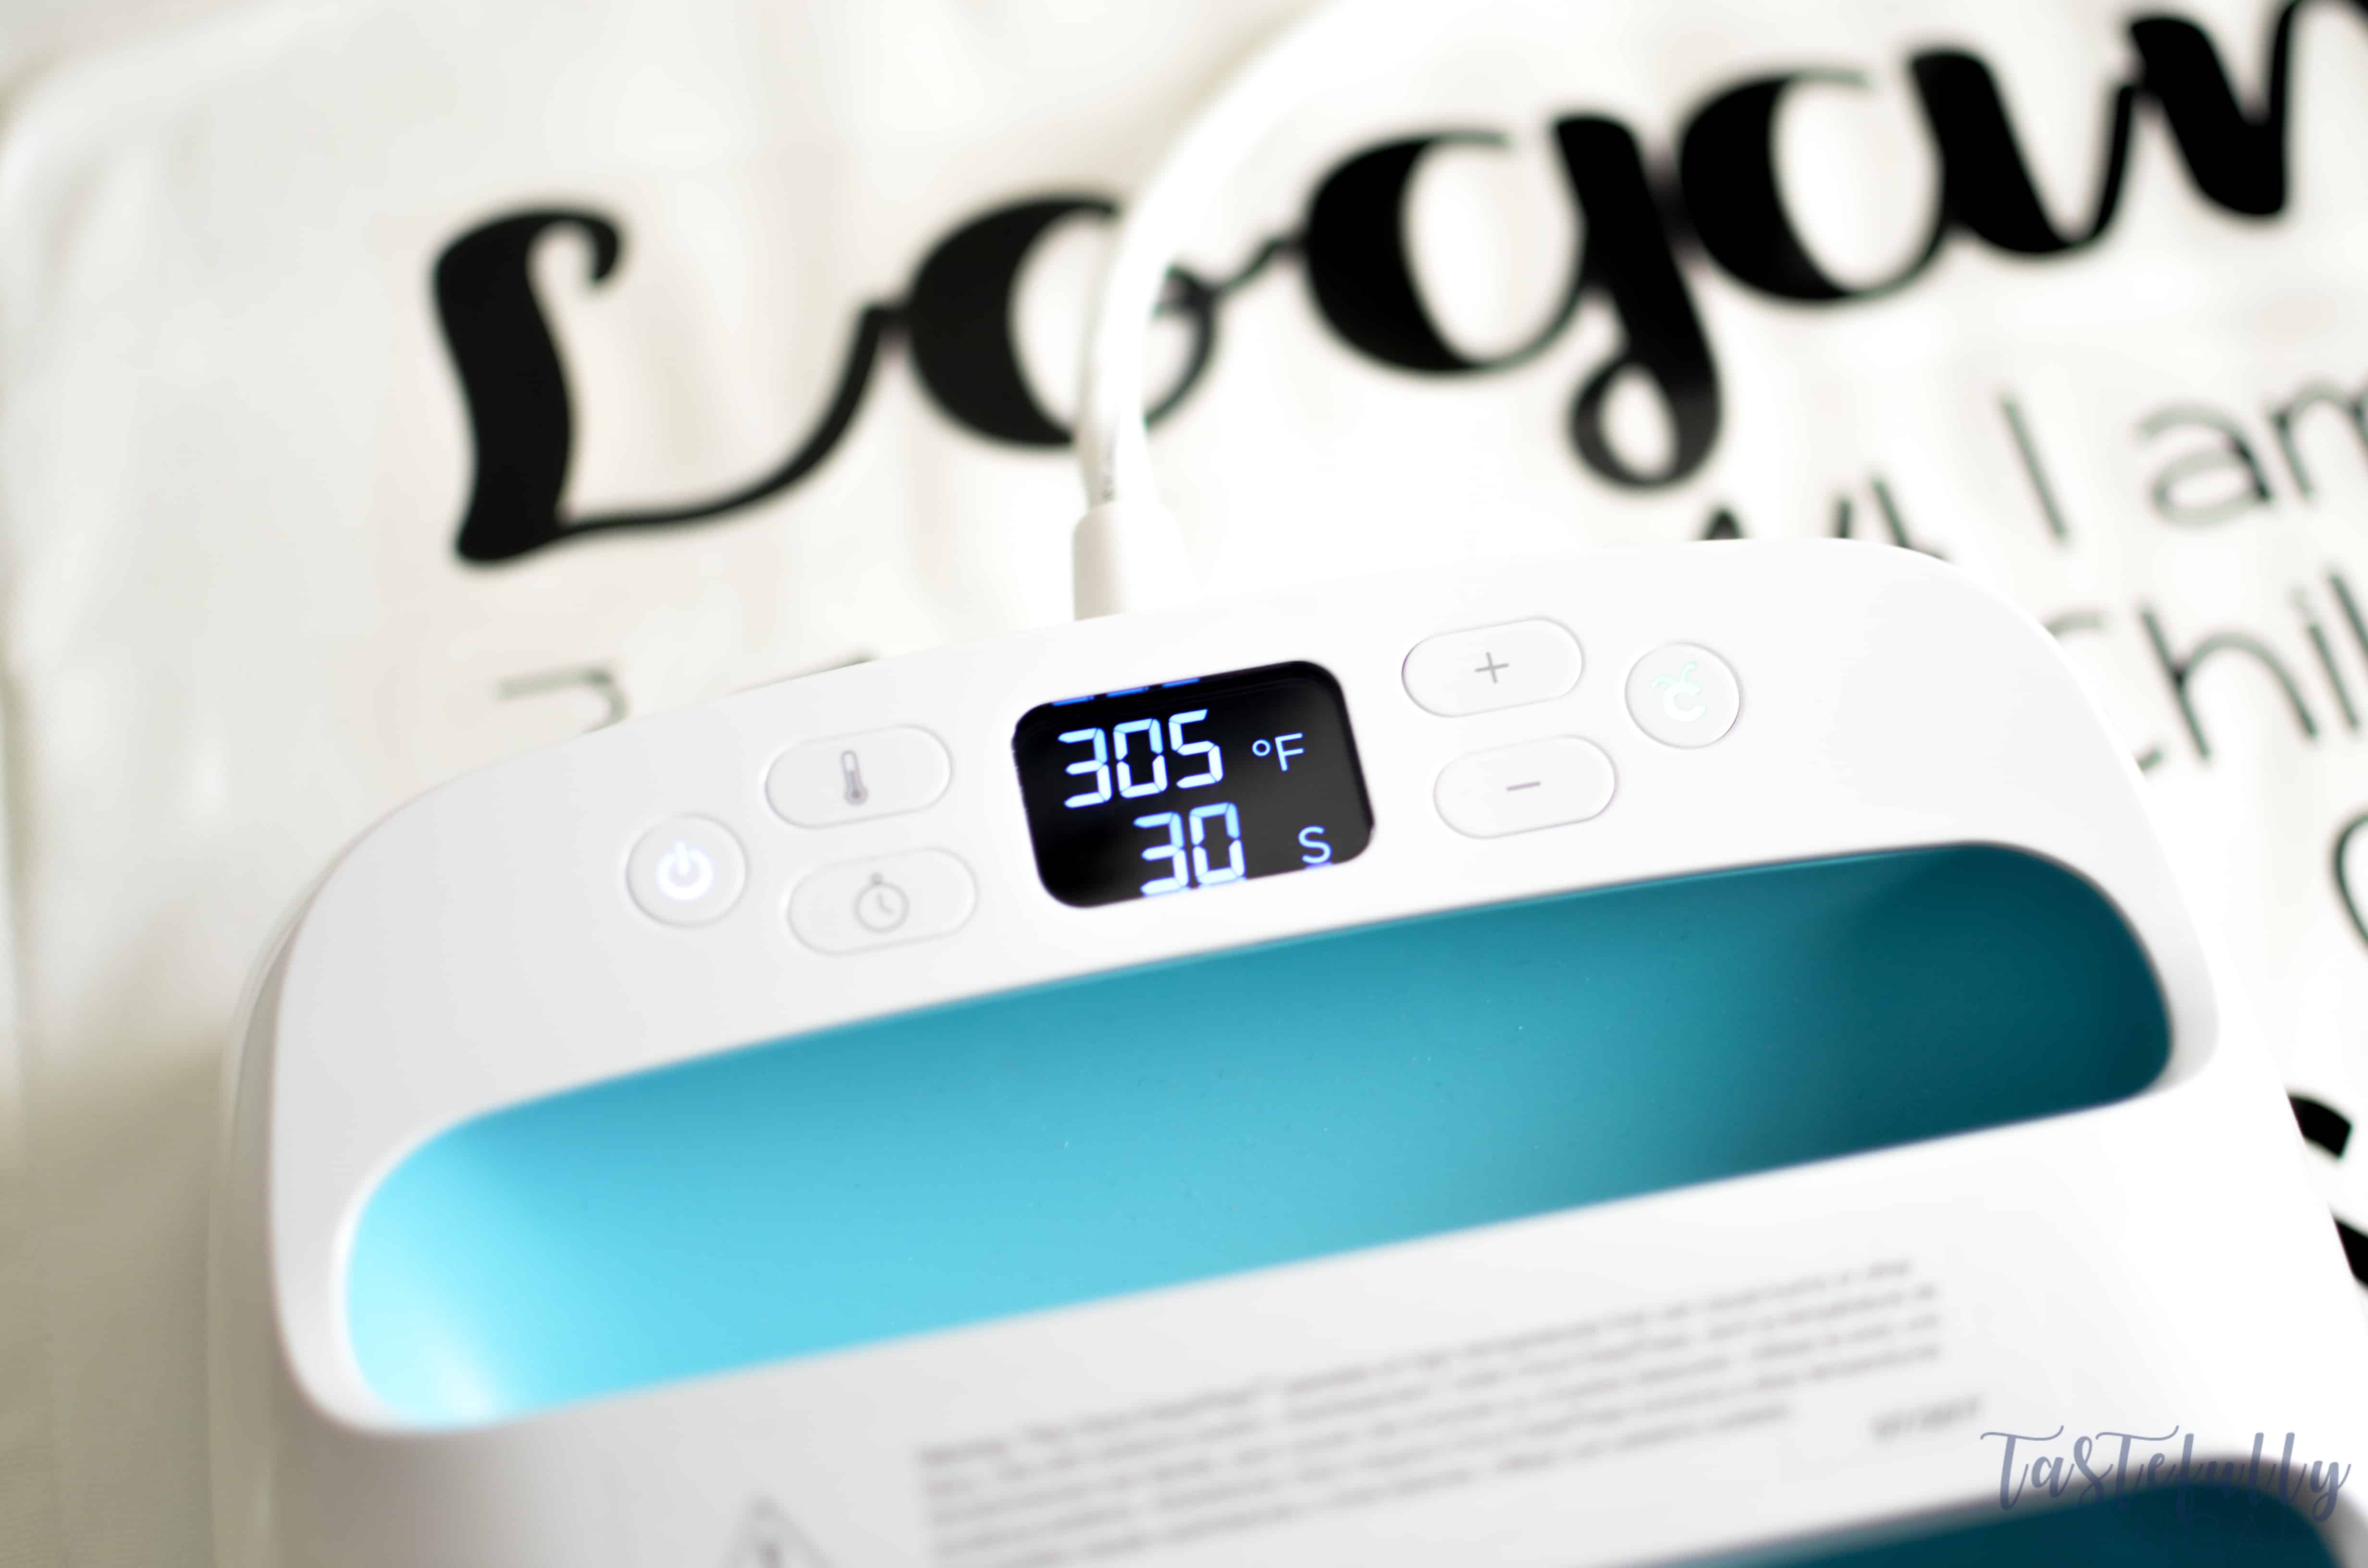 Line up your designs on the pillow case again and start your EasyPress in the top left corner. Add firm pressure and press the green C button to start the timer. For more detailed instructions on how to use the EasyPress check out this post.
Repeat 3 more times (move to the right first, then to the bottom left and lastly the bottom right).
Turn the pillow case over and repeat the last two steps.
 Slowly peel the plastic backing away from your pillow at a 90° angle.
 Insert your pillow and you’re done!
My niece and nephews have LOVED their pillows. One of them didn’t put it down his entire dinner after he got baptized! If you’d like to check out more ways you can use your Cricut check out these posts! Need help with your Cricut? Join our Cricut Support Facebook Group!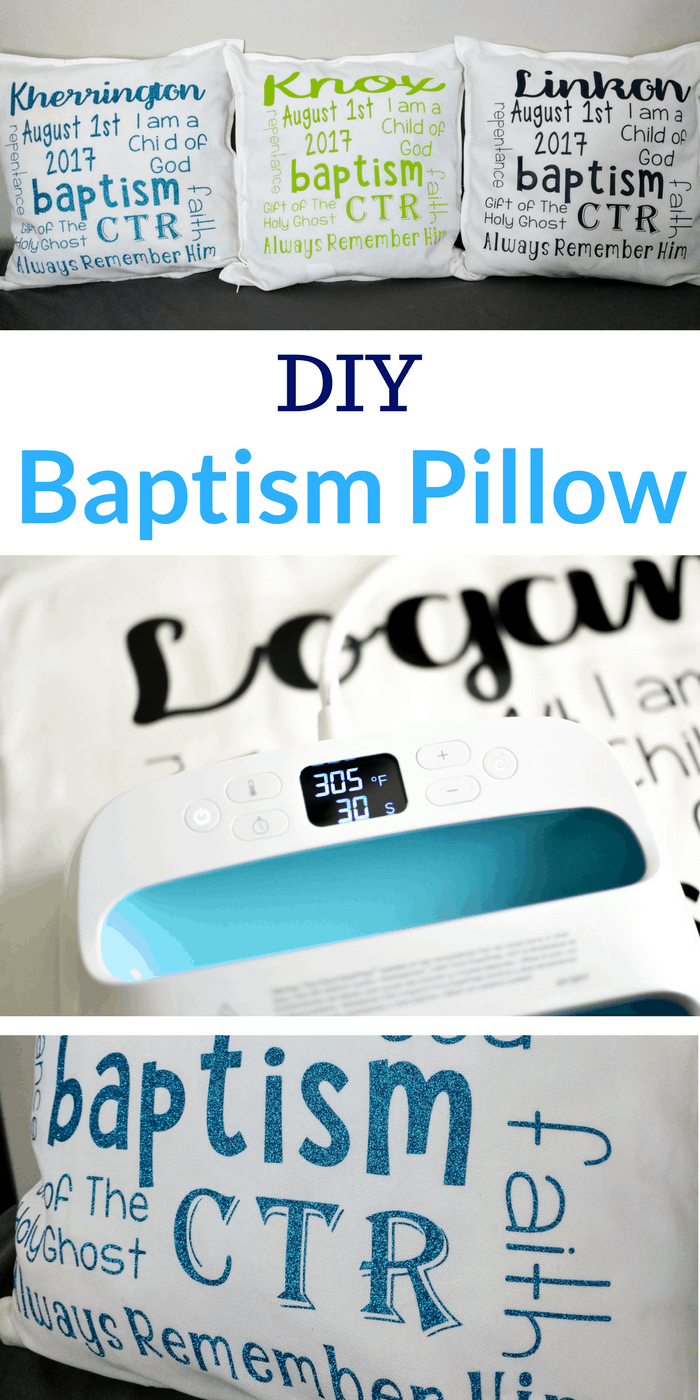


Leave a Reply