Check out these Valentine’s Day Party Ideas all made with Cricut!
One of my favorite things about holidays is getting together with friends and family. No matter what we’re celebrating, I love to have our home filled with friends and family. Last year we started the tradition of having fondue for dinner on Valentine’s Day and this year I wanted to add on to that tradition by having a whole Valentine’s Day party!
While I love entertaining, I don’t have a lot of time to plan or setup parties, especially now that I have four kids! Thankfully my Cricut did all the hard work for me! Really the hardest part was deciding WHAT I wanted to make for our party!
This is a sponsored conversation written by me on behalf of Cricut. The opinions and text are all mine.
Valentine’s Party Ideas with Cricut
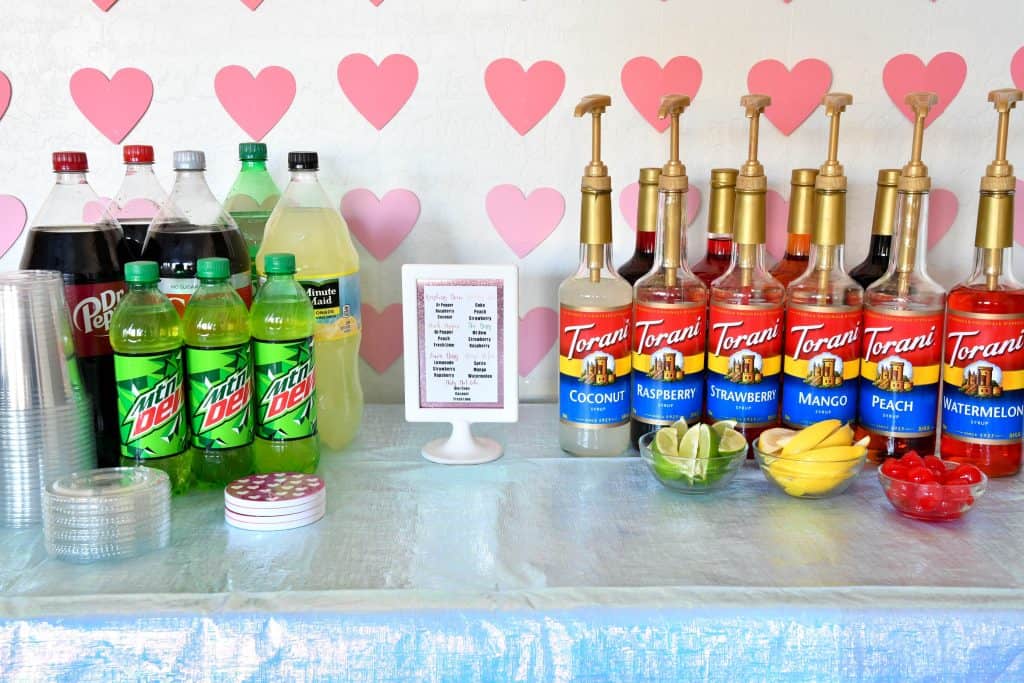
I decided to start with my favorite thing… soda! It’s not a party at our house without a fun little soda bar! This soda bar is super easy to recreate! Just pick up yours (and your guests) favorite sodas, a few syrups and fruits and you’re ready to go! If you want to print your own drink menu, you can find mine in Design Space here.
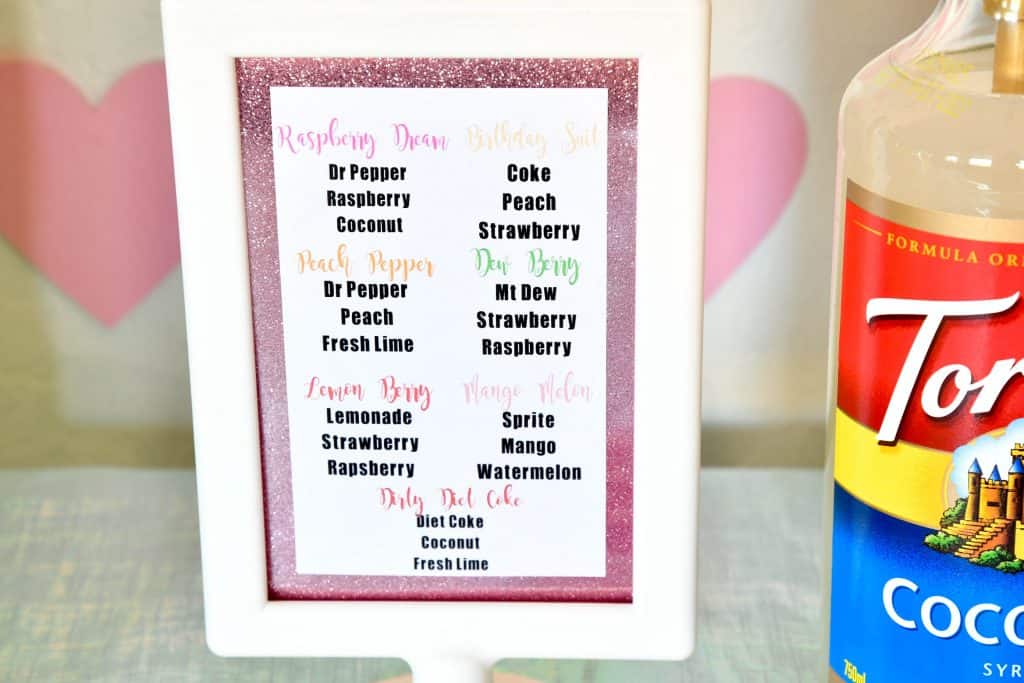
I just used the Print Then Cut feature and glued my menu onto sparkle paper.
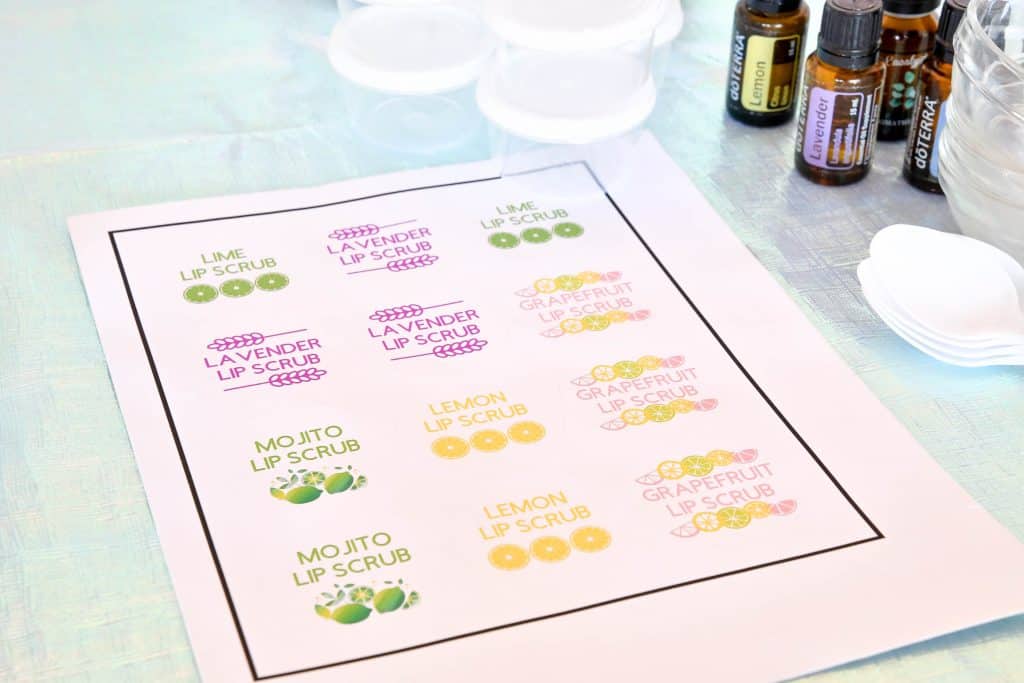
I also used the Print Then Cut feature (read more about how to use Print Then Cut here) to make the labels for our DIY Lip Scrub station. My boys got a TON of Nerf guns for Christmas so I know the guys will be busy with those but I wanted to plan something for the ladies to do too. Making your own lip scrubs is SUPER easy… and affordable!

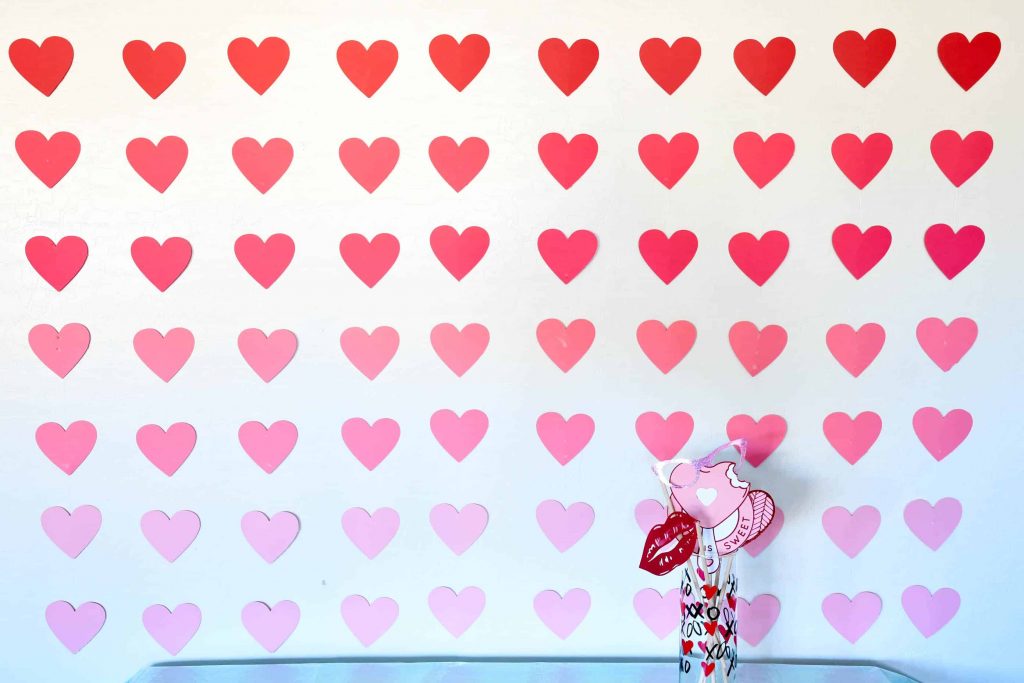
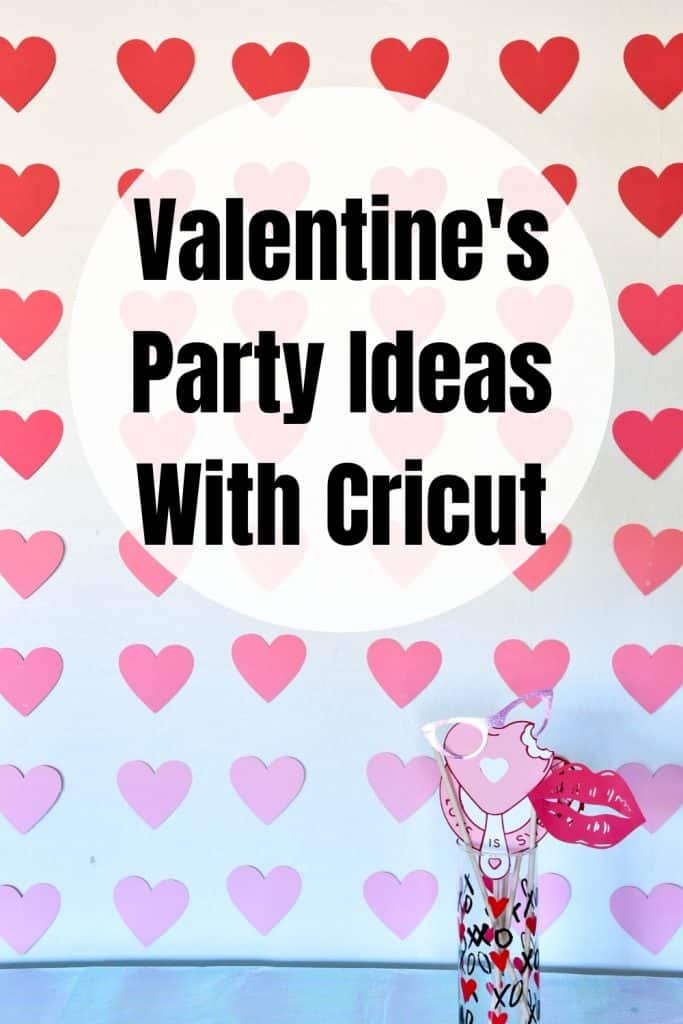
What kind of party would it be without decorations?! I used cardstock and a fun technique I learned a few years back in the Cricut offices to make this fun backdrop for all our tables AND the photo booth. I used the Red Tones cardstock pack from Cricut to get the perfect ombré affect with the hearts.
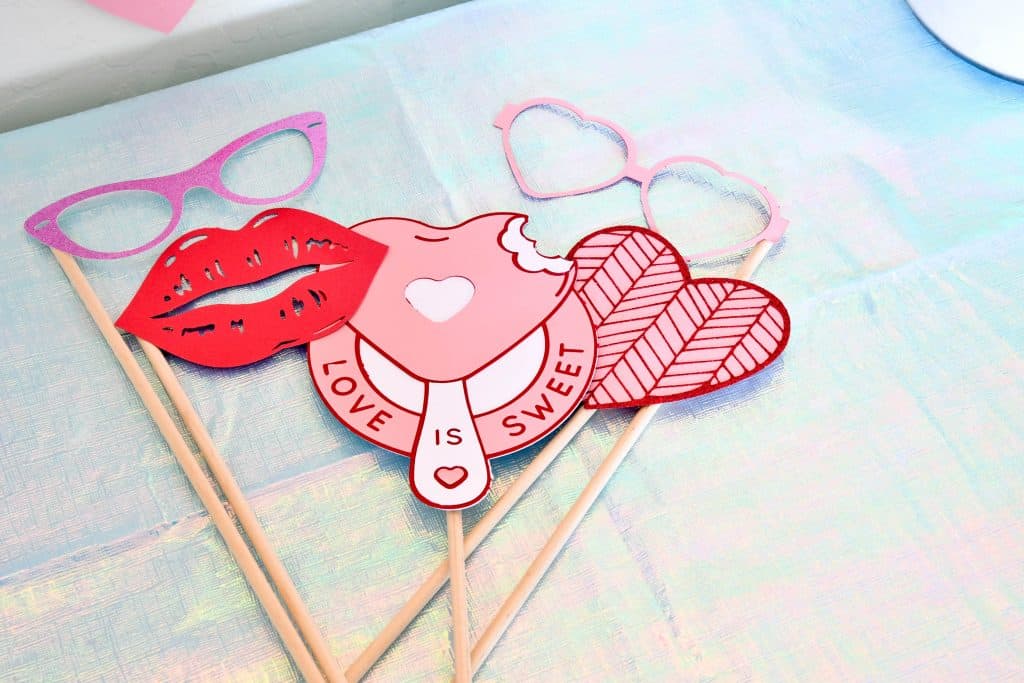
And if you have a backdrop you of course need to have photo booth props, am I right?! These were so easy and fun to make! I’ll share a post next week with everything you need to know about making photo booth props, but I’ll also share how to make these Valentine’s Day ones below.
PS If you need to get Cricut supplies and you’re shopping on Cricut.com, use code FRUGAL to save 10% and get FREE shipping on all $50+ orders. That’s on top of the 10% discount Cricut Access members get automatically!
Valentine’s Day Party DIY Lip Scrubs
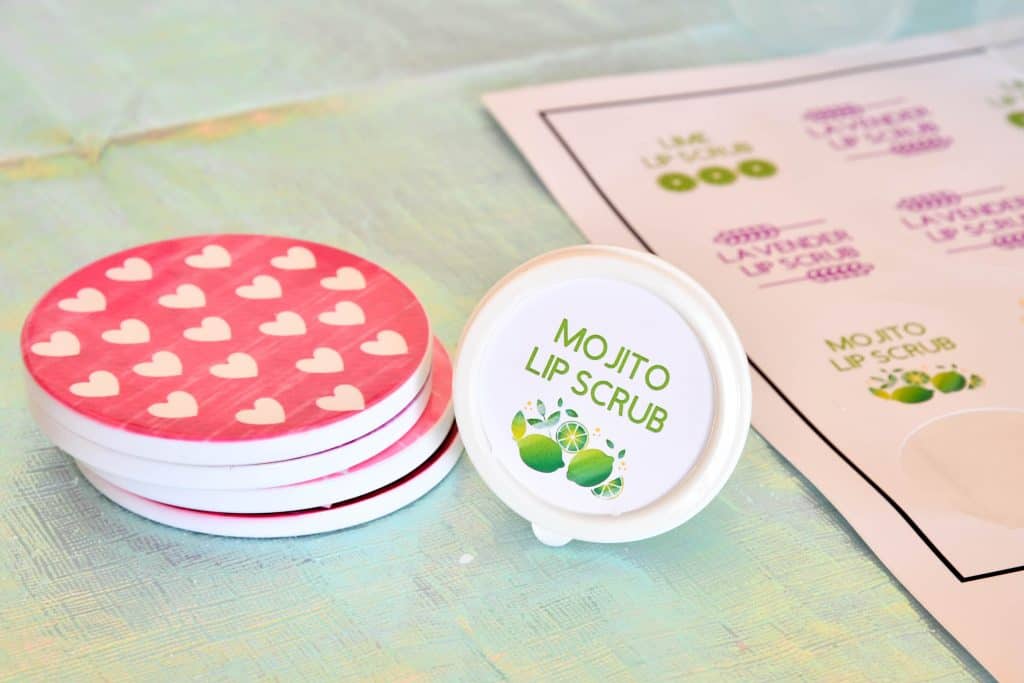
Making lip scrubs is the perfect activity for your Valentine’s Day party! You probably already have most of the supplies you need. And the ones you don’t you can buy for super cheap. You can totally customize the scents/flavors of your lip scrubs too (check out these fun Watermelon Lip Scrubs I made last year), with whatever essential oils (or flavor oils, or even Kool-Aid) you have in your house!
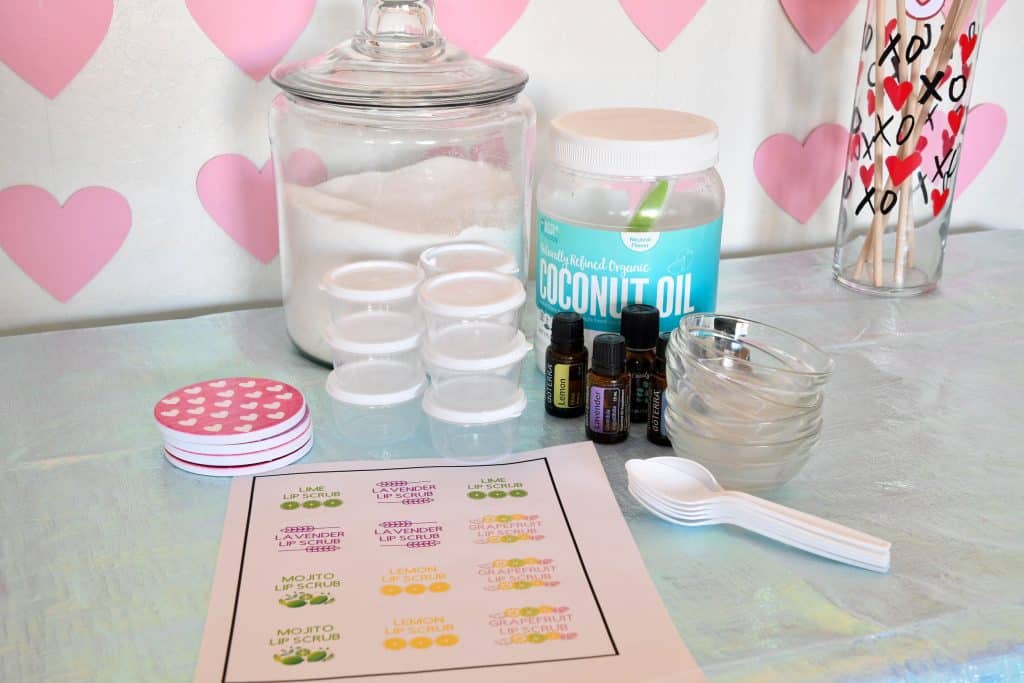
SUPPLIES:
Containers (I got a 10-pack of containers at the Dollar Store)
Sugar
Coconut Oil
Essential Oils
Bowl
Spoons
Labels (you can get the Design Space file for these labels here)
DIRECTIONS:
Mix 2 parts sugar to 1 part coconut oil together in a bowl until smooth (I used 4 spoonfuls of sugar and 2 spoonfuls of coconut oil to fill these containers).
Once smooth, add 5-6 drops of essential oils to your mixture and stir.
Spoon into container and place label on top of the lid.
Will store for up to 6 months.
Valentine’s Day Party Backdrop

A few years back, a few friends and I helped Cricut with decorations for a Winter event. My favorite part was the snowflake backdrop we made. It was such a simple project but added an extra level of intricacy to the decorations. I decided to use the same technique for this Valentine’s Day backdrop.
SUPPLIES:
Cardstock (I used the 2 sheets of each color in the 12×24 Red Tones cardstock bundle from Cricut)
6×6 flat square (I used chipboard)
Cricut machine (Explore Air 2 or Maker both work)
12×24 StandardGrip Cutting Mat
Tape (you’ll need a less sticky tape, like painter’s tape, and also a clear tape, like packing tape)
DIRECTIONS:
Open up this design in Design Space.
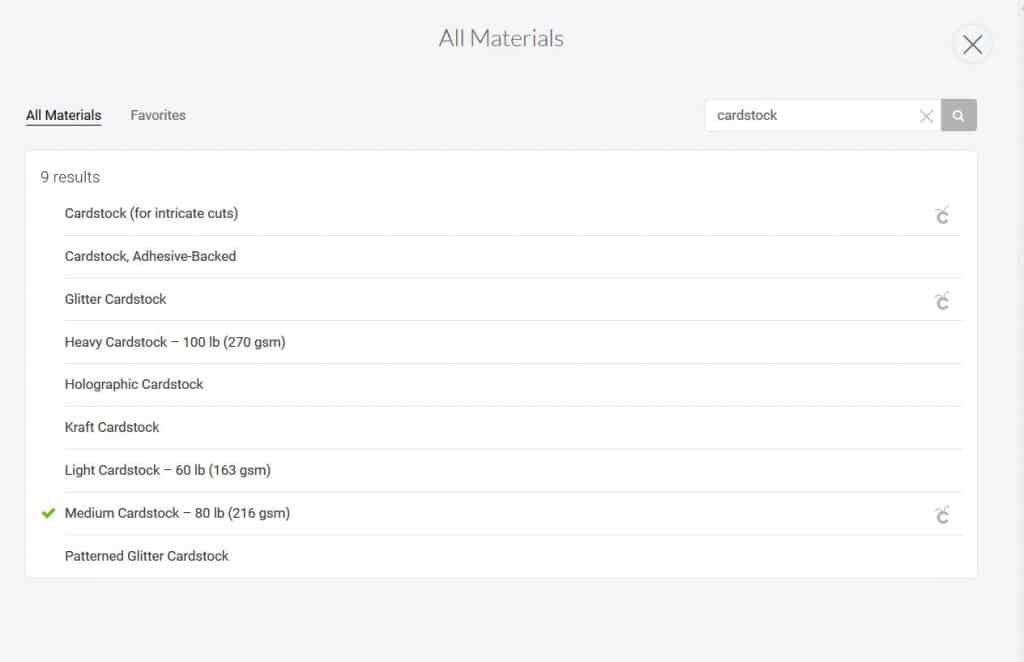
Load cardstock on 12×24 StandardGrip Mat and select 80lb Cardstock from the custom materials menu.
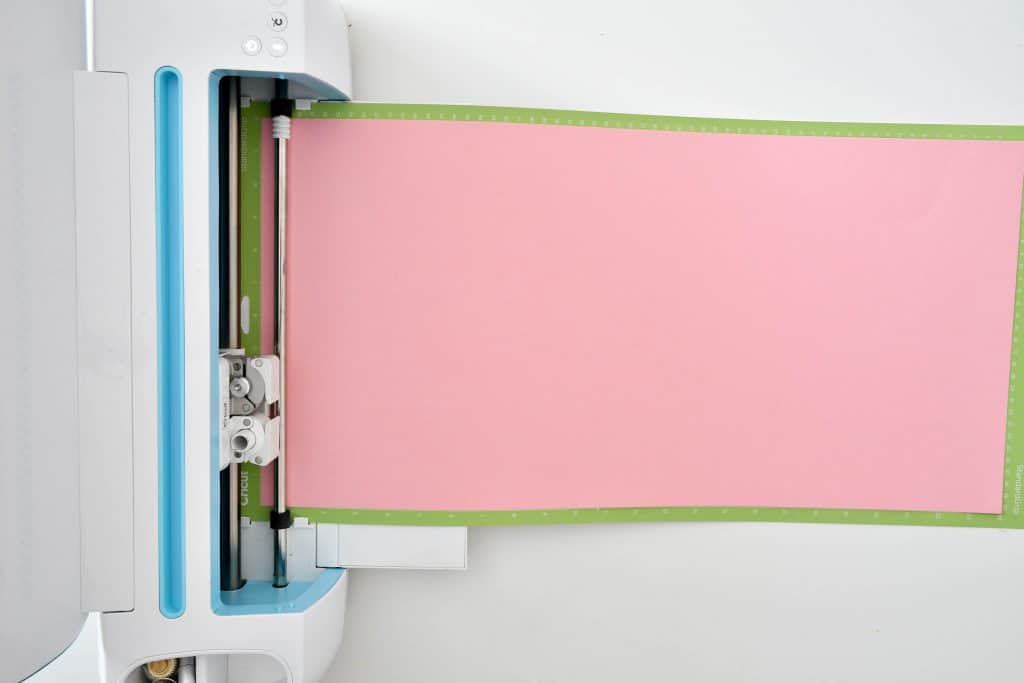
Cut out hearts with Cricut.
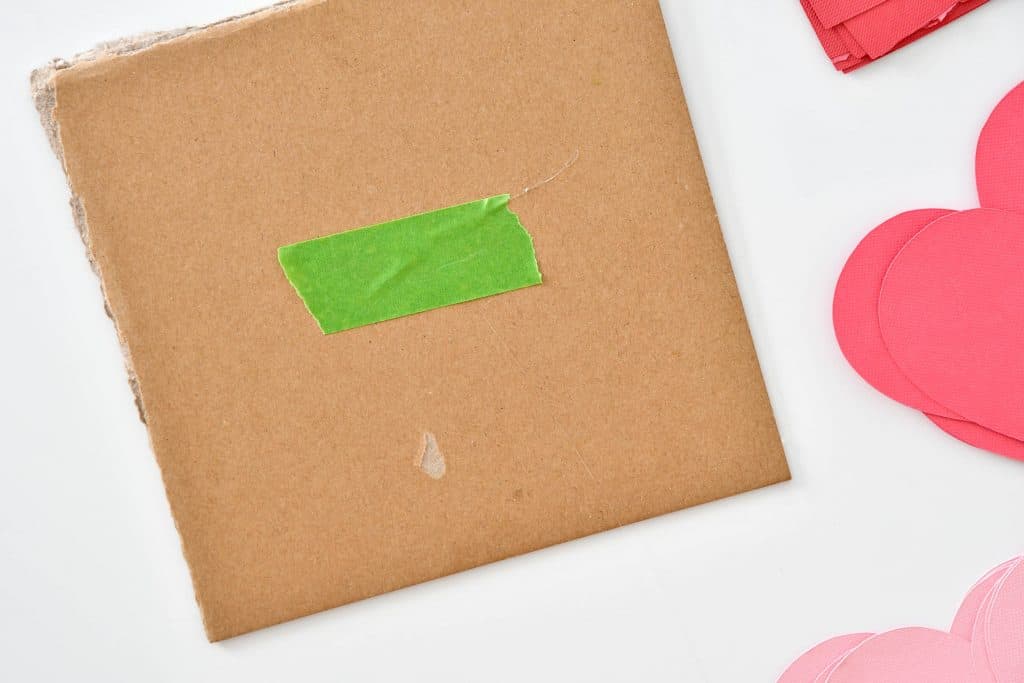
Tape fishing line in the middle of 6×6 square with painter’s tape and wrap it tight around to the center of the other side.
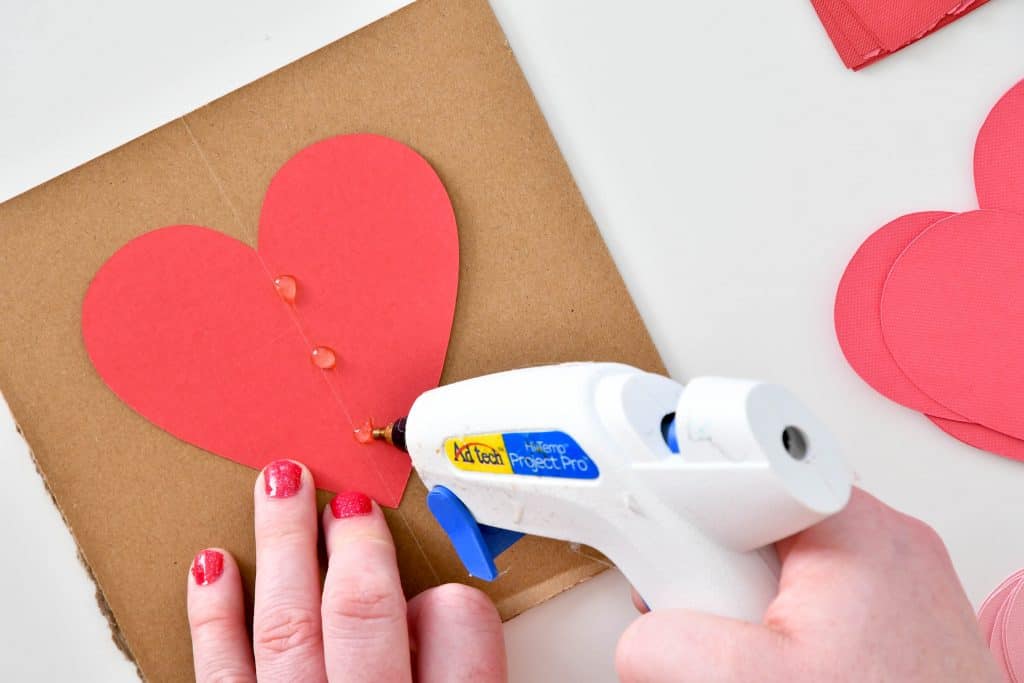
Put 3 drops of hot glue along the center of one heart and press fishing line on top.
Keeping fishing line pulled tight, flip over square, and put 3 drops of hot glue along the center of one heart and press fishing line on top in the center of square.
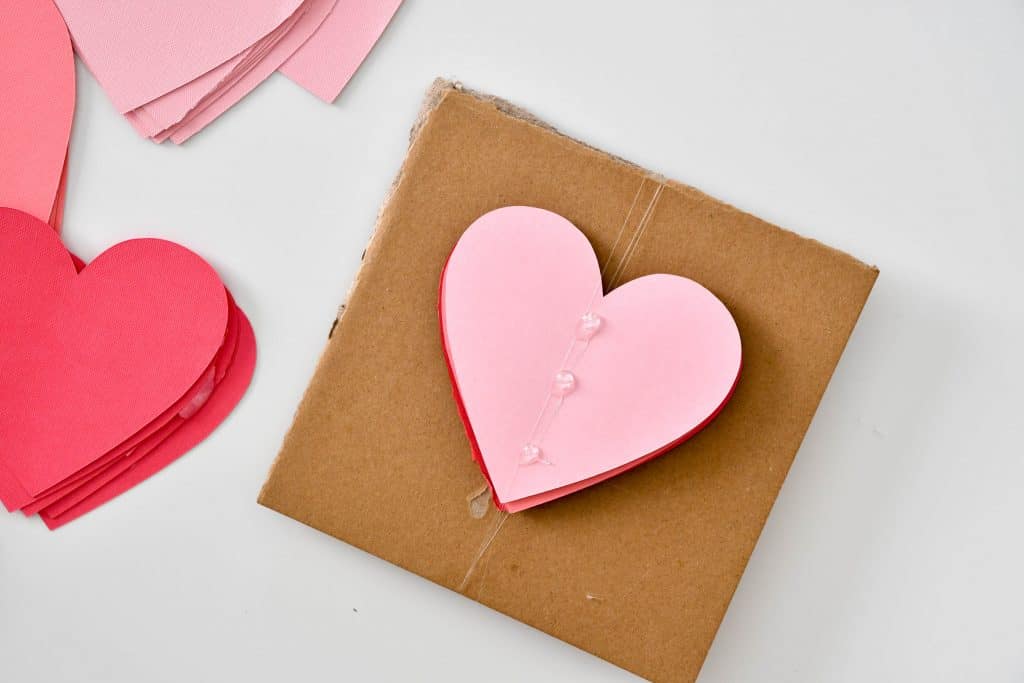
Wait for hot glue to dry (1-2 minutes) and repeat previous 2 steps with remaining colors. I did 2 of each color heart so 8 hearts total. This measured about 4ft tall. Once glue is dry on your final heart, cut fishing line and unwrap hearts from square.
Using a level, hang hearts on your wall and use packing tape to attach.
Valentine’s Day Photo Booth Props
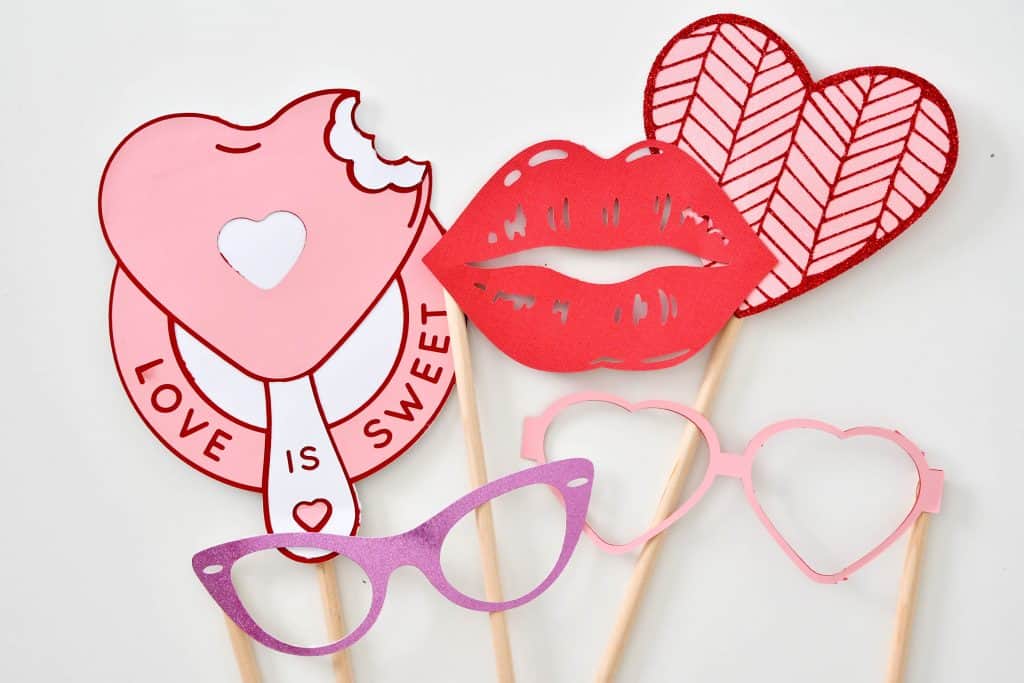
This was my favorite project of the whole party! My kids absolutely LOVE using photo booth props! I used a variety of materials to make these props. Thicker materials, like Kraft Board and Shimmer or Sparkle Paper work best, but if you are using cardstock, you can always add iron-on vinyl on top to make it sturdier (like I did with the heart glasses and heart).
SUPPLIES:
Cardstock (again I used the Red Tones cardstock pack from Cricut)
Iron-On Vinyl (I used Red Glitter and Pink Everyday)
Cricut machine (Explore Air 2 or Maker both work)
Art Glitter Glue (I love this brand because it dries quick, clear and holds up amazingly)
EasyPress 2 and Mat
DIRECTIONS:
Open up this design in Design Space.
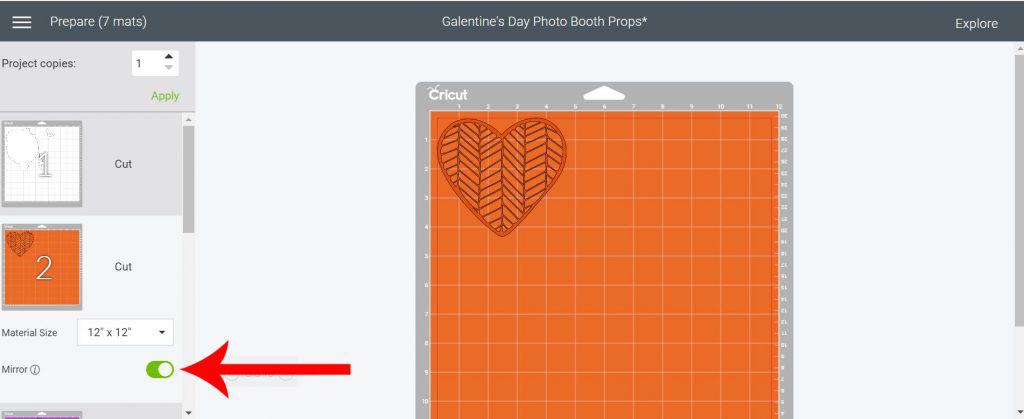
On the preview page, make sure to mirror the orange heart mat and the pink mat with the popsicle and heart glasses.
Load your first material on your mat and select the material from the drop down menu.
- I used Shimmer Paper for the purple glasses
- Kraft Board for the white parts of the popsicle sign
- Cardstock for the heart glasses, pink heart, lips and dark red on the popsicle design
- Glitter Iron-On Vinyl for the heart cutout
- Everyday Iron-On Vinyl for the heart glasses and pink part of popsicle design
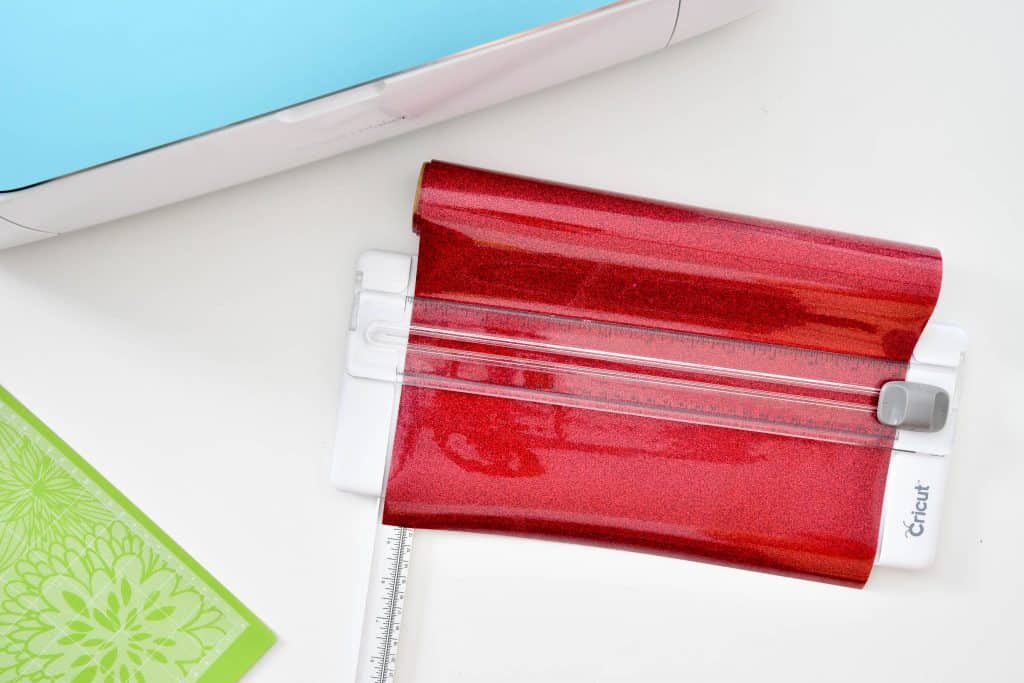
TIP: Use paper cutter to cut your materials down to size BEFORE putting them on the mat for less waste.
Cut out all pieces.
Assemble props.
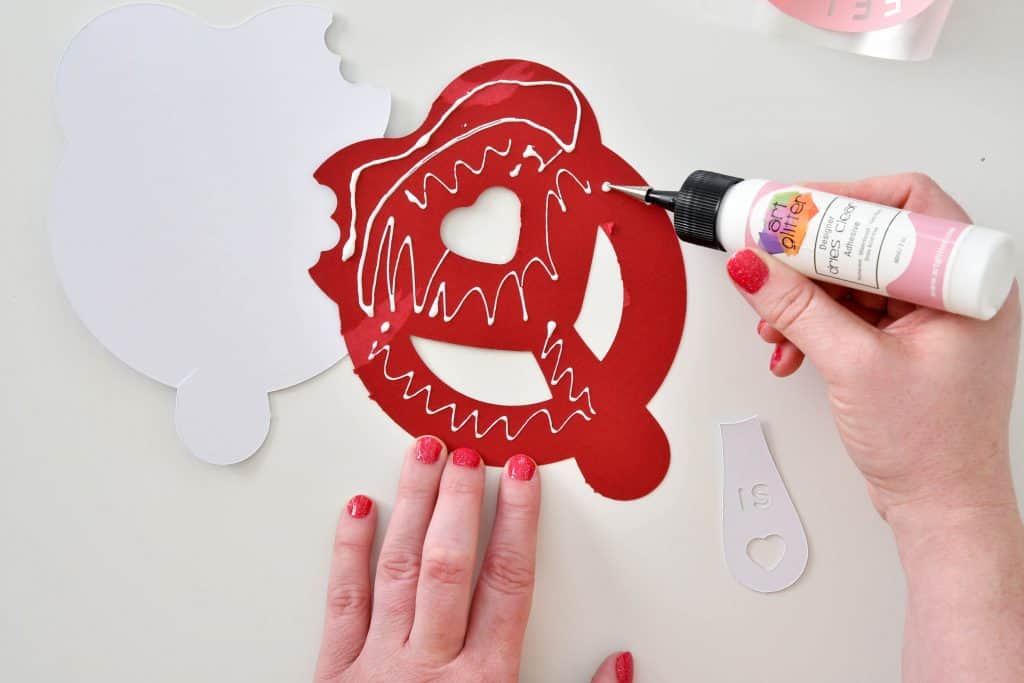
- For the popsicle you’ll use the Art Glitter Glue to glue the dark red on to the white Kraft Board. Then preheat your EasyPress 2 to 280°F for 30 seconds. Set the white/red design on the EasyPress mat and line up the light pink. Press for 30 seconds and cold peel (let plastic backing cool for 1-2 minutes before peeling).
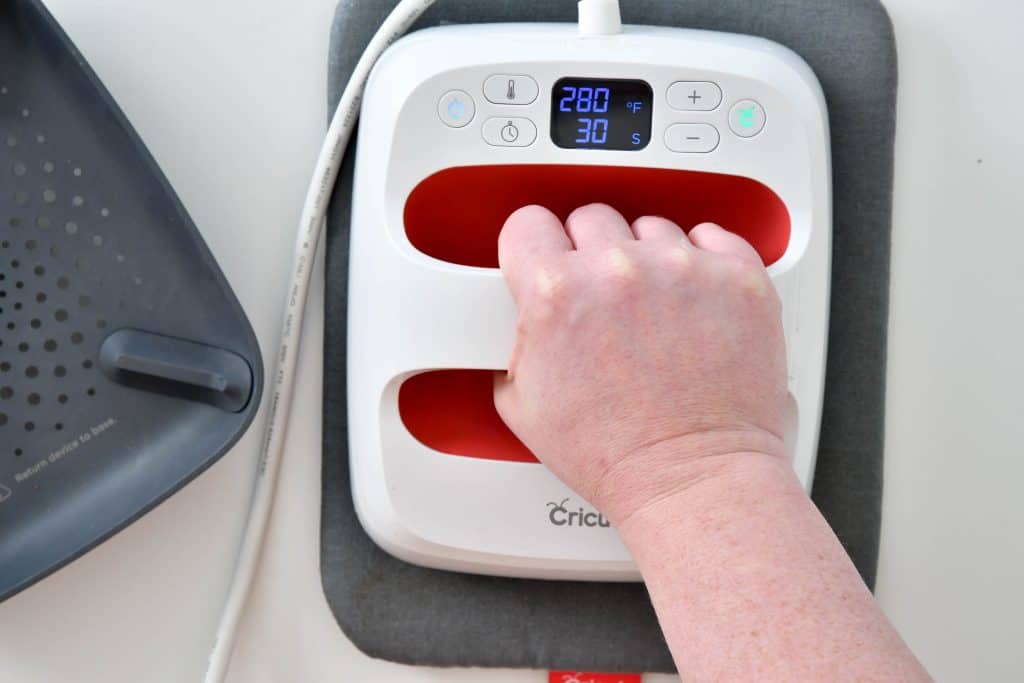
- For the heart – Line up red glitter heart on top of pink cardstock heart. Place on EasyPress mat and press at 280°F for 30 seconds.
- For the heart glasses – Line up pink iron-on on top of red glasses. Place on EasyPress mat and press at 280°F for 30 seconds.
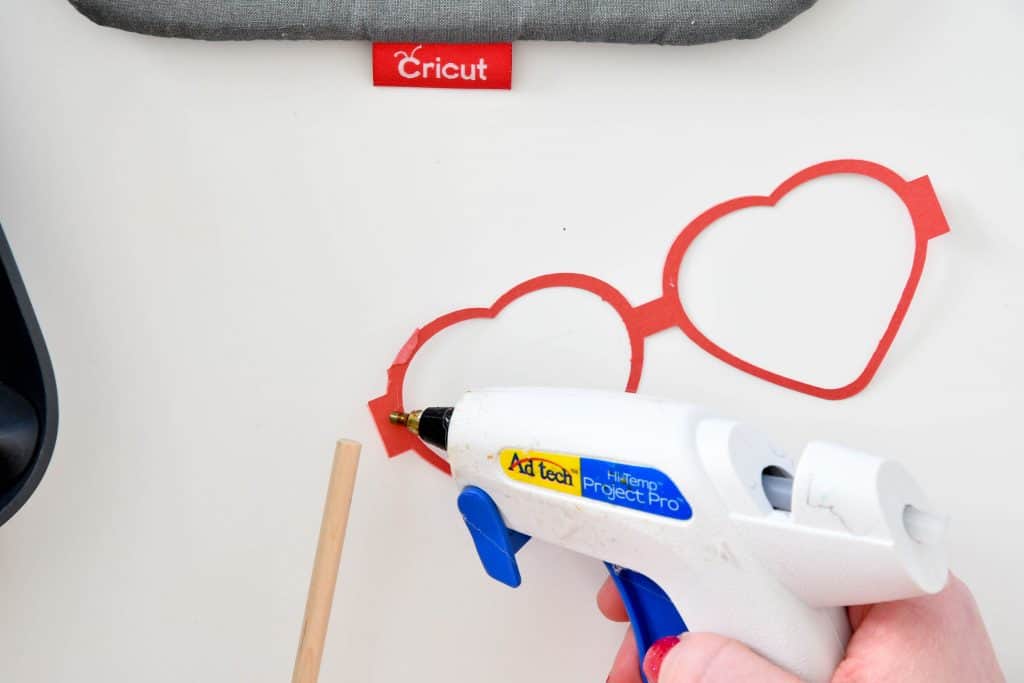
Use hot glue gun to attach wooden dowls to the back of the props.
I hope you found these Valentine’s Day Party Ideas helpful and learned how EASY your Cricut machine can make creating parties for y0ur friends and family. If you’d like to check out more ways you can use your Cricut check out these posts! Need help with your Cricut? Join our Cricut Support Facebook Group!


Pam Dana says
These all turned out so cute! I can’t wait to try a backdrop like this for St Patrick’s Day!