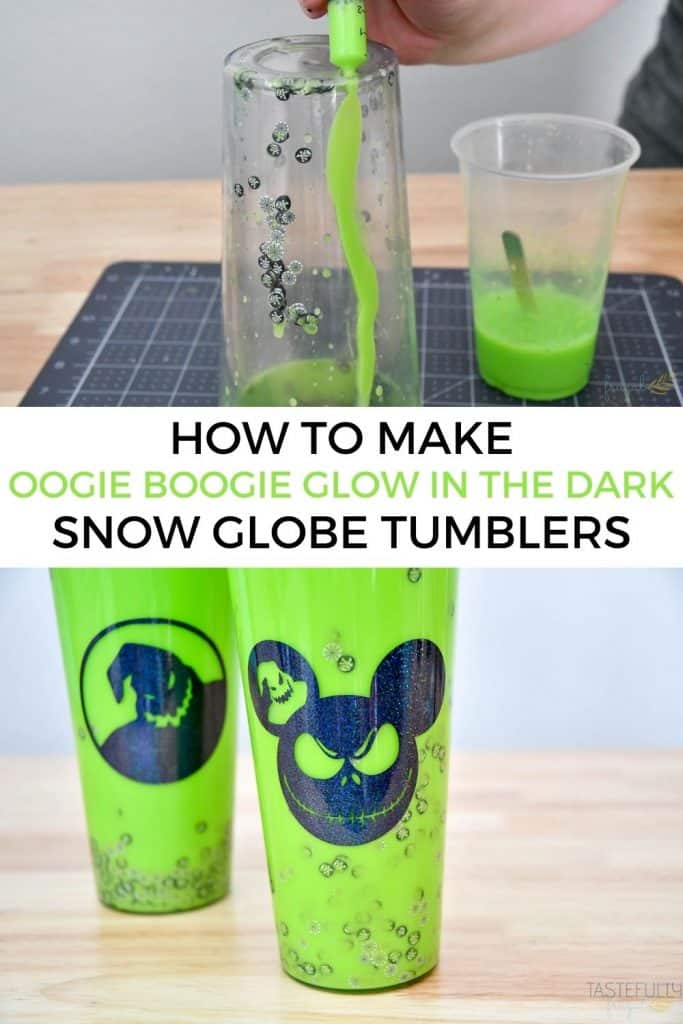
Learn how to make an Oogie Boogie Snow Globe Tumbler with paint and mica powder to make it the perfect cup for Halloween!
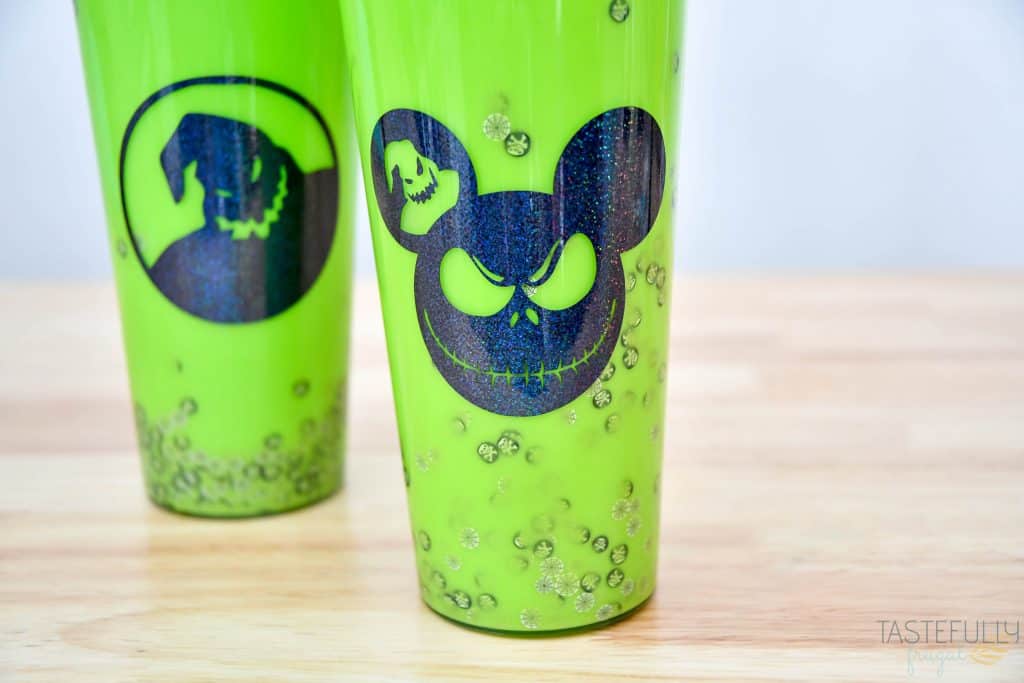
Have you seen the snow globe tumbler craze on Instagram and TikTok?! They remind me of the snow globes I was obsessed with as a kid. And my kids are just as obsessed with these tumblers as I was. They have been begging me to make some for months now! I finally gave in and got all the supplies we needed to make them.
Supplies To Make Snow Globe Tumblers
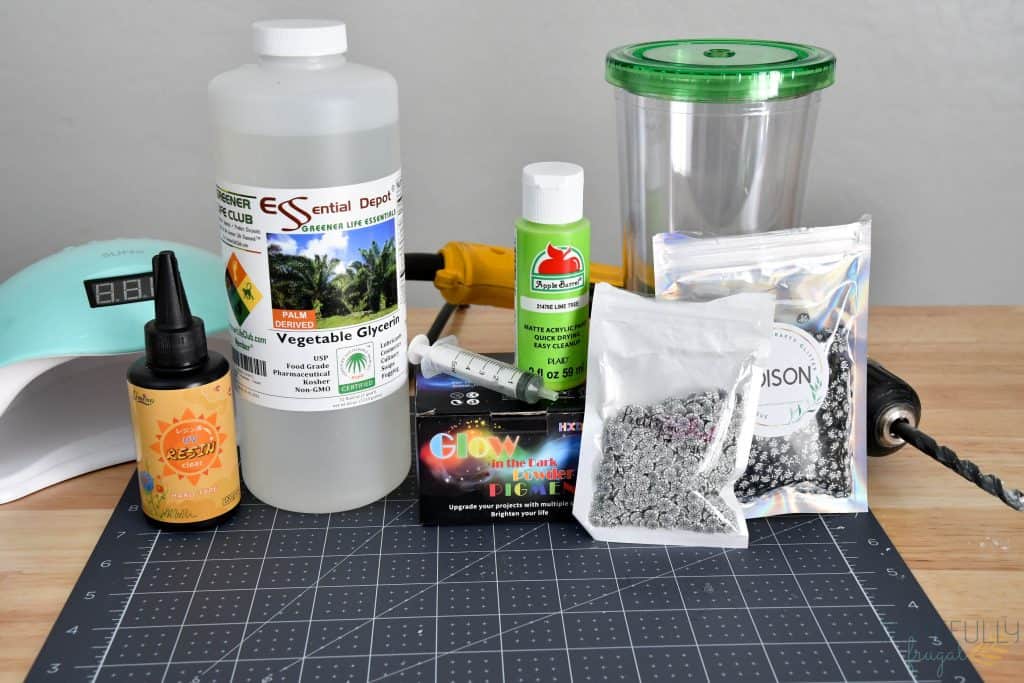
The supply list to make snow globe tumblers isn’t very long. And because of the small amounts of clay/glitter that you use, you can make several cups with one bag. Below is the list of supplies I used to make these tumblers. If you want to get everything from Amazon, check out this list in my Amazon store for everything you’ll need.
NOTE – you don’t need the paint and mica powder for snow globe tumblers if you want them to be clear/see through. These ingredients give the Oogie Boogie Snow Globe Tumblers more of a milky look.
- Double Wall Tumbler – These on Amazon work great or you can use these from Crafty Cups Boutique. Use code TF10 to save 10%
- Polymer Clay – I used the Poison Clay from Crafty Cups Boutique and the Spider Webs from Pretty in Pink Supply. Here are some options from Amazon too.
- Vegetable Glycerin
- Water
- Acrylic Paint – I used Apple Barrel in Lime Tree
- Mica Powder
- Hot Glue Stick
- UV Resin
- UV Lamp
- Drill with 19/64″ bit
- Adhesive Vinyl for front (I used this design from Etsy and the StarCraft Magic Deceit in Gun Metal from 143Vinyl. Use code TF5 to save 5%)
- Medicine cup or eye dropper for measuring
- Popsicle stick for stirring
- Xacto Knife to cut glue stick
How To Make Oogie Boogie Snow Globe Tumblers
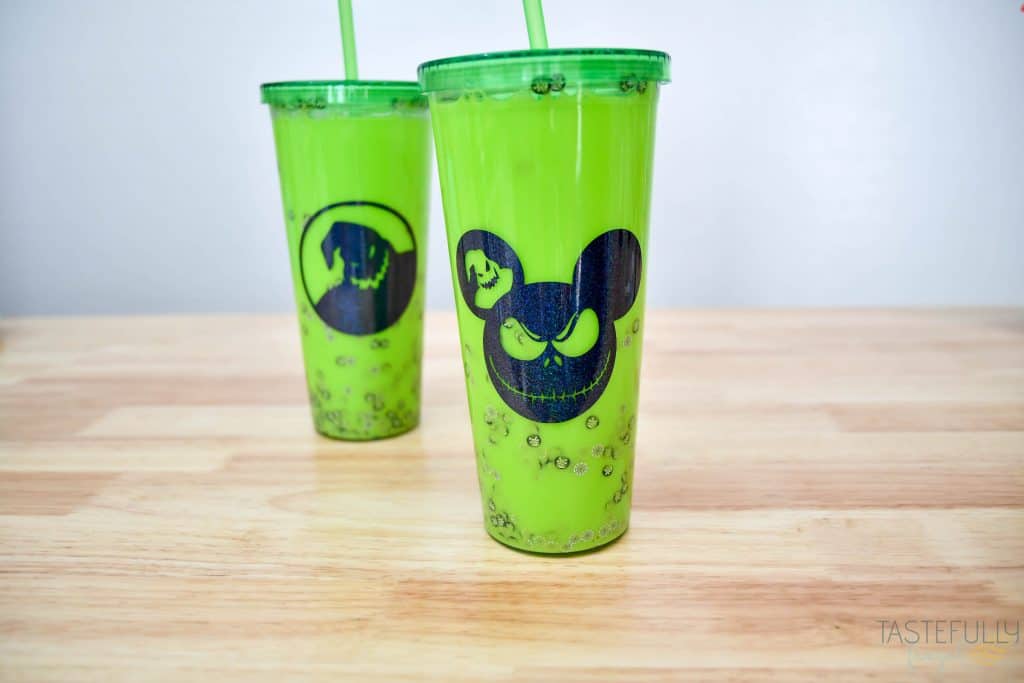
Making snow globe tumblers is one of the easiest projects to make. It can be a bit time consuming getting your polymer clay slices into the cup. But aside from that, this project takes less than 10 minutes to make, including cure time for the UV Resin. You can easily finish an Oogie Boogie Snow Globe Tumbler in less than 30 minutes. As long as you don’t have any interruptions from curious hands wanting to help (speaking from experience).
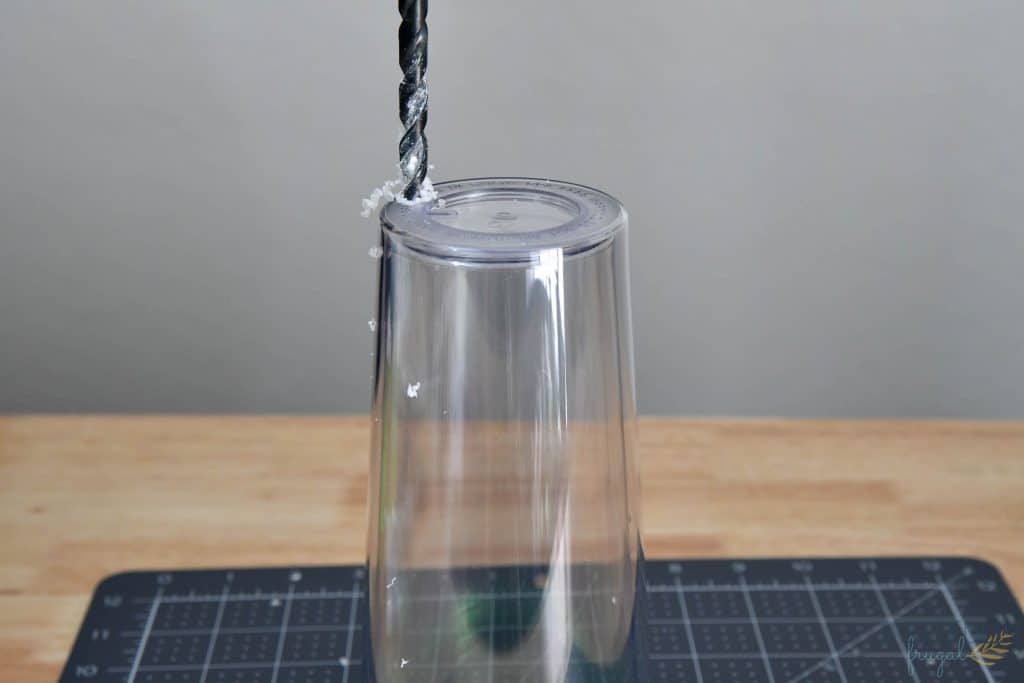
Step 1 – Drill your hole along the edge of your cup on the bottom. You want the hole you drill to be the same size as the glue stick you are going to seal it with. We used this Drill Bit Gauge to measure the width of our glue stick (if you’re using mini glue sticks they should all be the same width and the 19/64″ bit works great).
Before you start drilling look at your cup and see if one side of the double wall is wider than the other. If there is a wider side, drill your hole on that side.
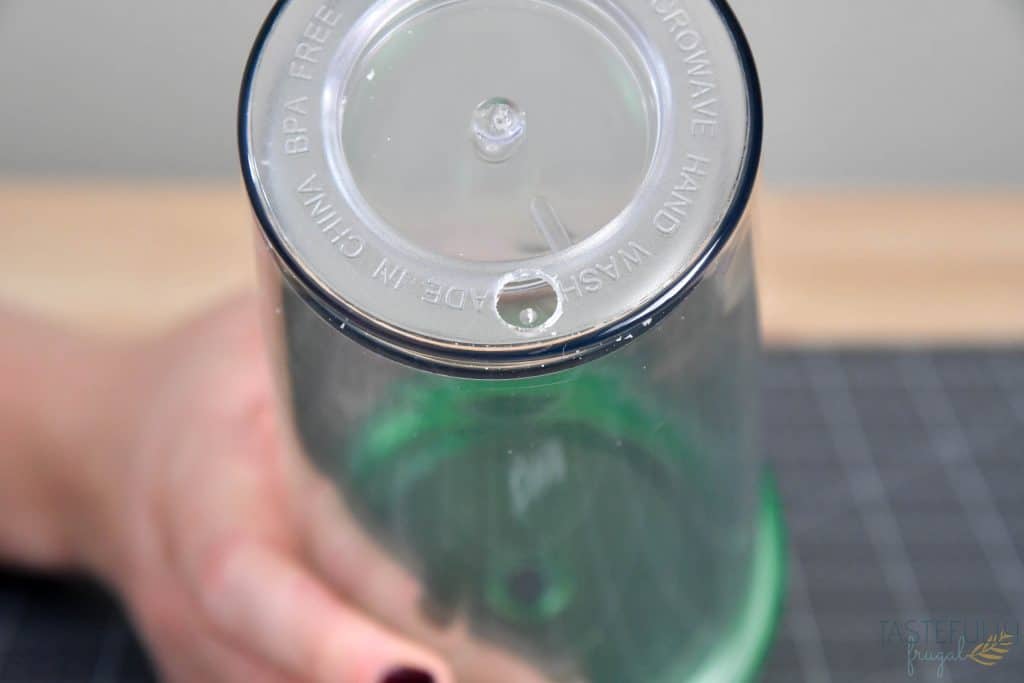
If you don’t have a drill, you can get pre-drilled tumblers from Crafty Cup Source.
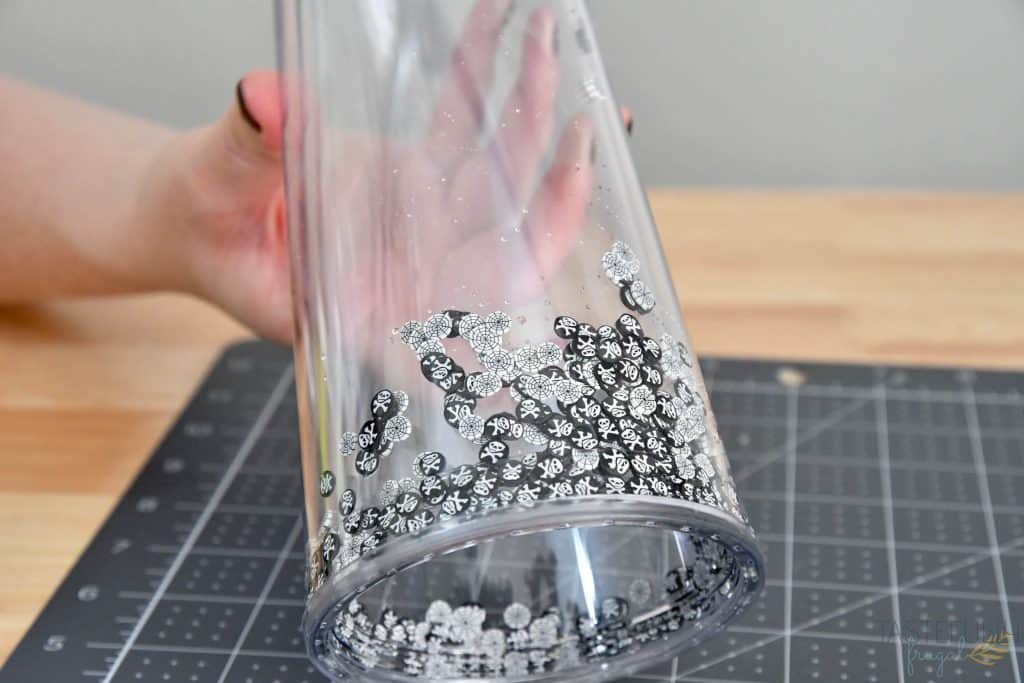
Step 2 – Start dropping your polymer clay slices into your cup. You can do all the same colors at once or alternate between colors/designs. I usually fill my cups up about 2″ with polymer clay slices.
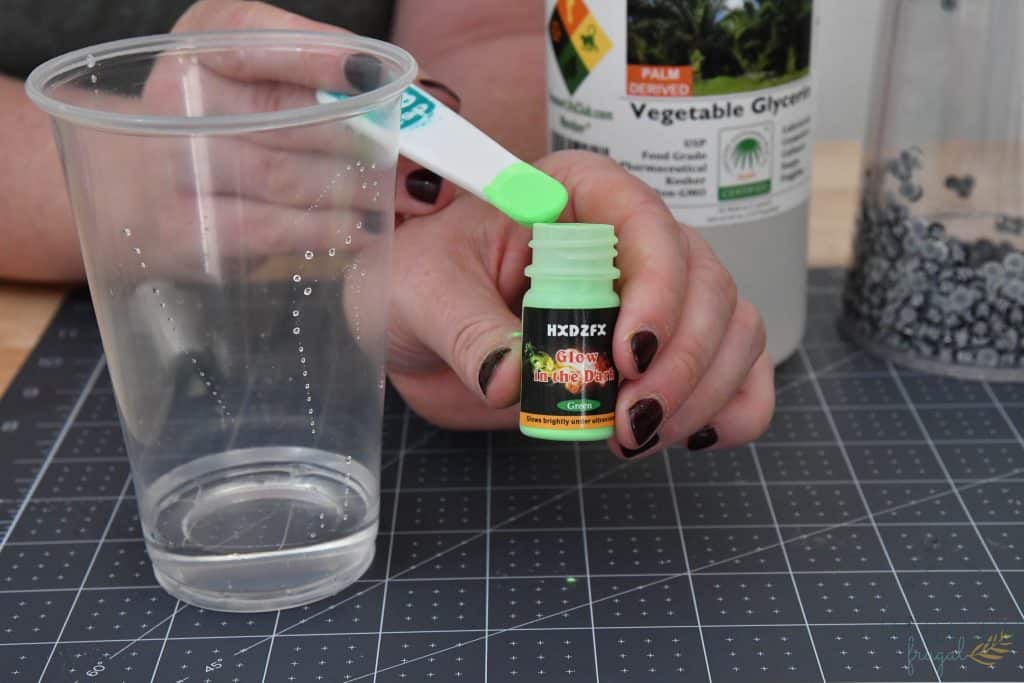
Step 3 – Mix up your glycerin, mica powder and paint. I used 50ml of glycerin, 1/4 tsp of mica powder and 3 drops of paint. Mix with a popsicle stick until smooth.
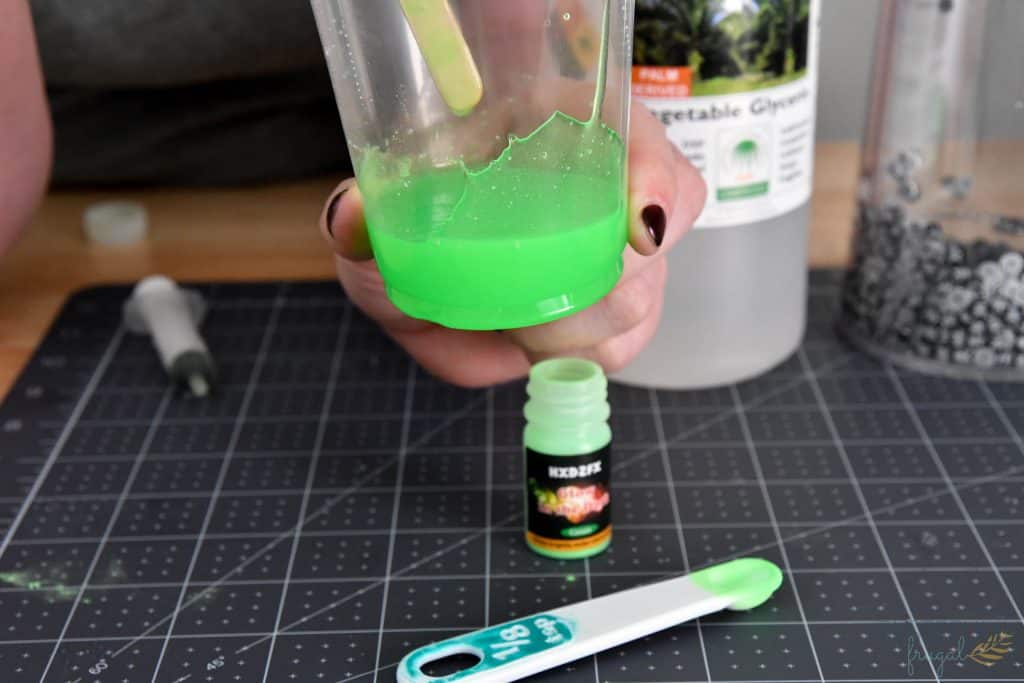
Step 4 – Mix in water. For these tumblers I do a 2 glycerin to 1 water ratio. So 25ml of water. Mix until completely smooth.
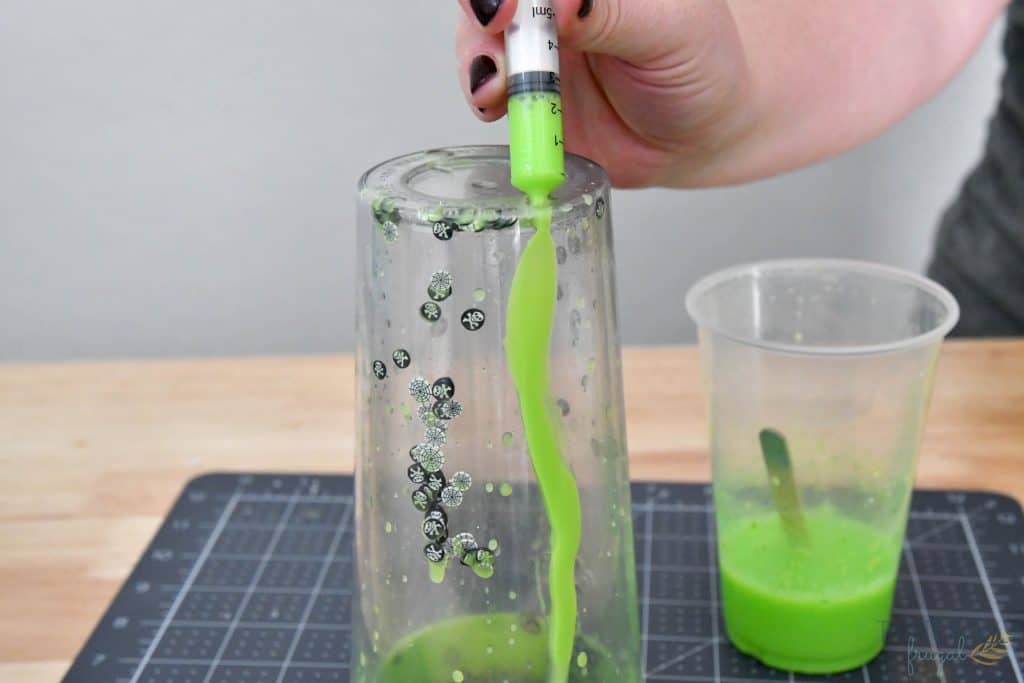
Step 5 – Use an eye dropper or condiment container to add water/glycerin mix into tumbler. Fill all the way to the top.
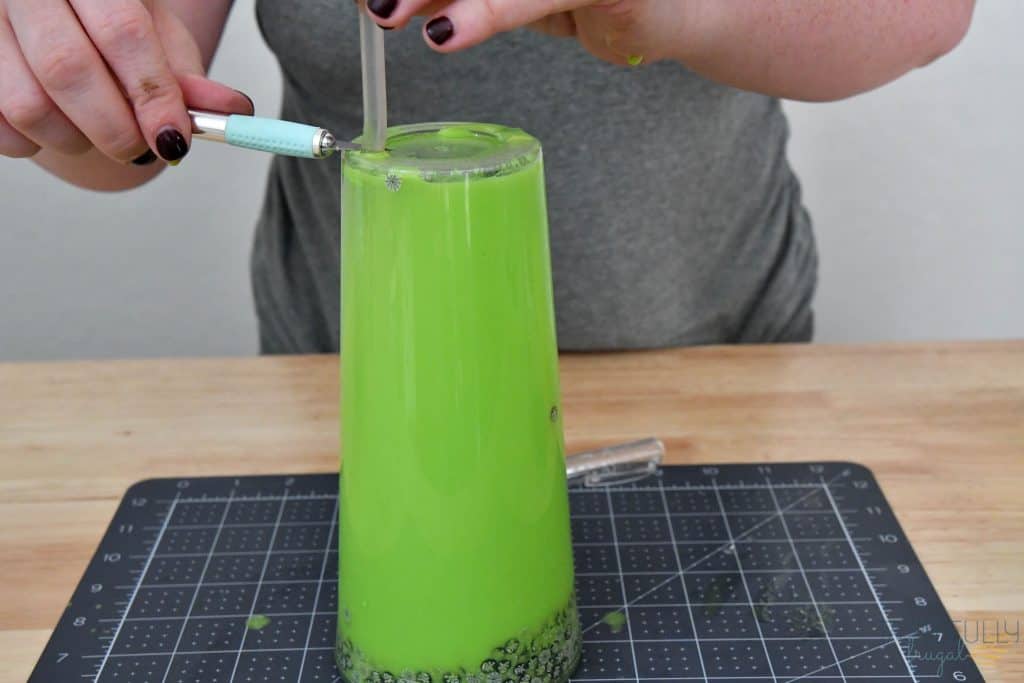
Step 6 – Press glue stick into hole and use an xacto knife to cut off glue stick so it’s flush with the bottom of the cup.
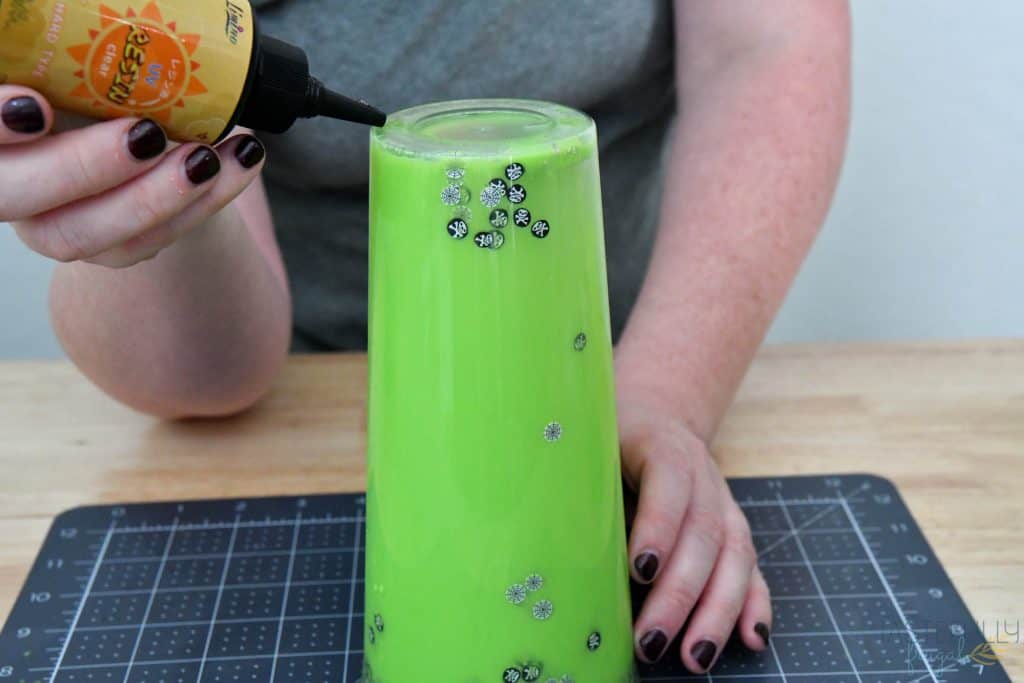
Step 7 – Put UV resin on top of glue stick and heat with UV lamp for 2 minutes. NOTE – UV lamps give off high amounts of UV light (like a tanning bed). Protect eyes and skin when using UV Lamp. ALSO make sure your UV resin bottle is far away from the light when it’s on so you don’t cure the resin inside the bottle.
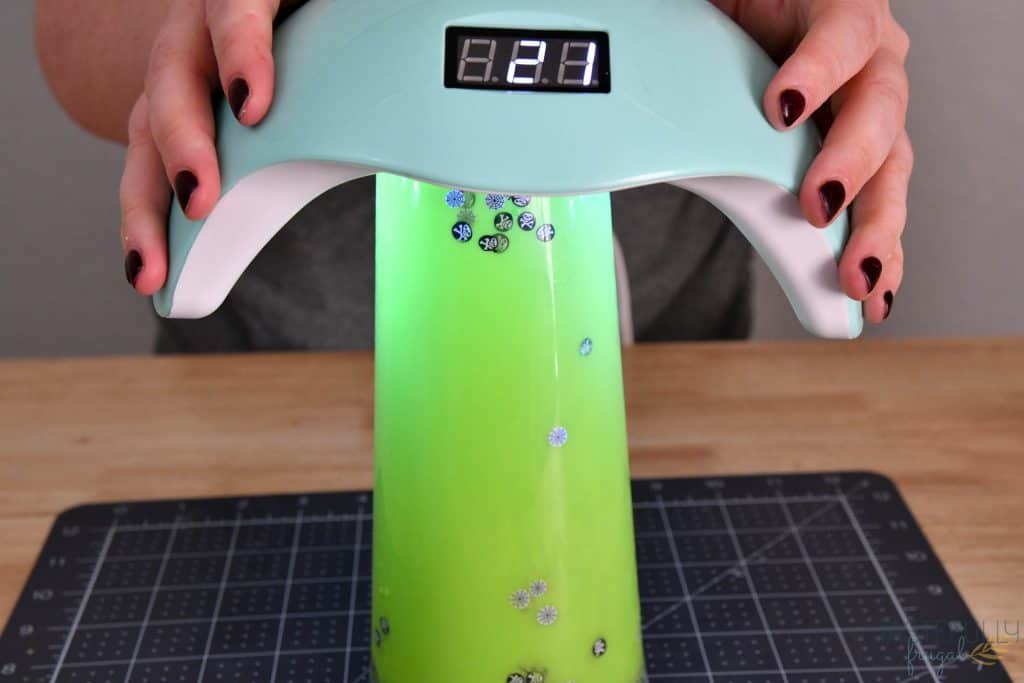
Step 8 – Place UV resin around the whole bottom edge and heat with UV lamp for 3-4 minutes until no longer sticky.

Step 9 (optional) – Cut design out of adhesive vinyl and place on the center of the cup. This video walk you through cutting the Magic Deceit Vinyl and tips for applying it to tumblers.
Care Instructions
You’ll want to let your tumbler sit for 24-48 hours before using. Especially if you are adding vinyl to the front. I recommend handwashing these tumblers as the heat from the dishwasher could cause breakage of the plastic.
If you are shipping snow globe tumblers, make sure to wrap them in bubble wrap and ship them in a box instead of a bubble mailer to prevent breaking. I also like to put fragile stickers on my packages to *hopefully* have a little more care in the shipping process.
Have you made snow globe tumblers before? I would love to see your creations! f you have any questions leave them in the comments and I’ll get back to you as soon as I can. Be sure to subscribe to my YouTube channel to check out all my video tutorials including projects and how to’s. For more Cricut projects and tutorials, check out these posts. For tips, tricks and immediate help, be sure to join our FREE Cricut Support Group.


Leave a Reply