Customize your Halloween pumpkins with these easy no carve ideas you can make with any Cricut machine!
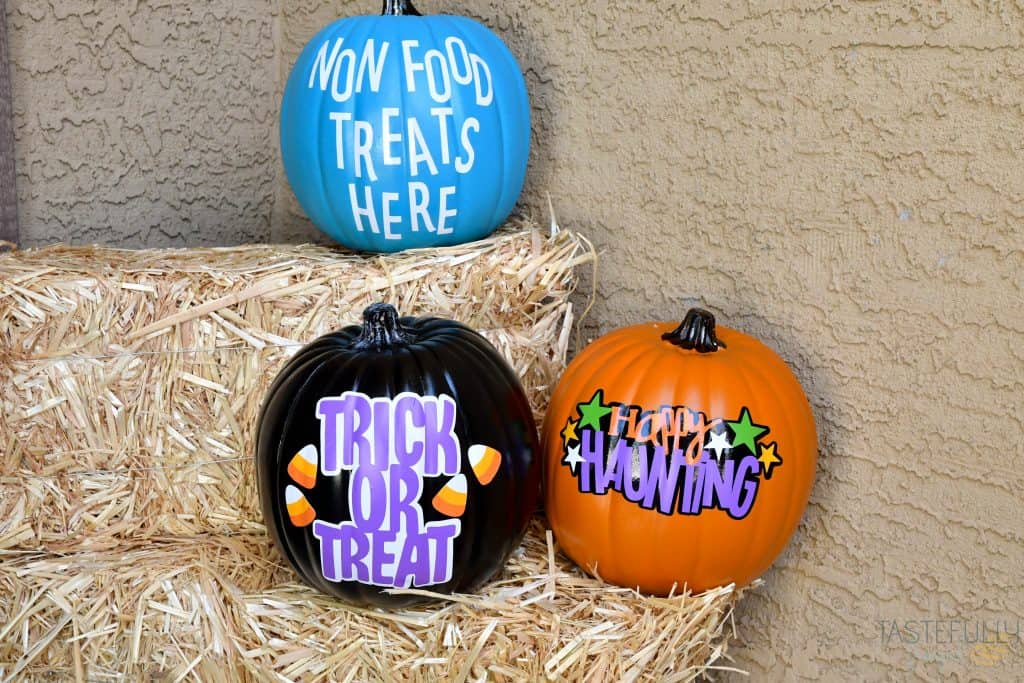
Halloween is my favorite holiday to decorate for! I like to go with a more fun approach then a scary or spooky approach, especially with having younger kids. Pumpkins are a necessity to my Halloween decorating but I am not so great at carving them (and I hate the guts you have to scoop out). I decided this year to save time, and make less of a mess, we would make no carve Halloween pumpkins.
No Carve Halloween Pumpkins Made Easy
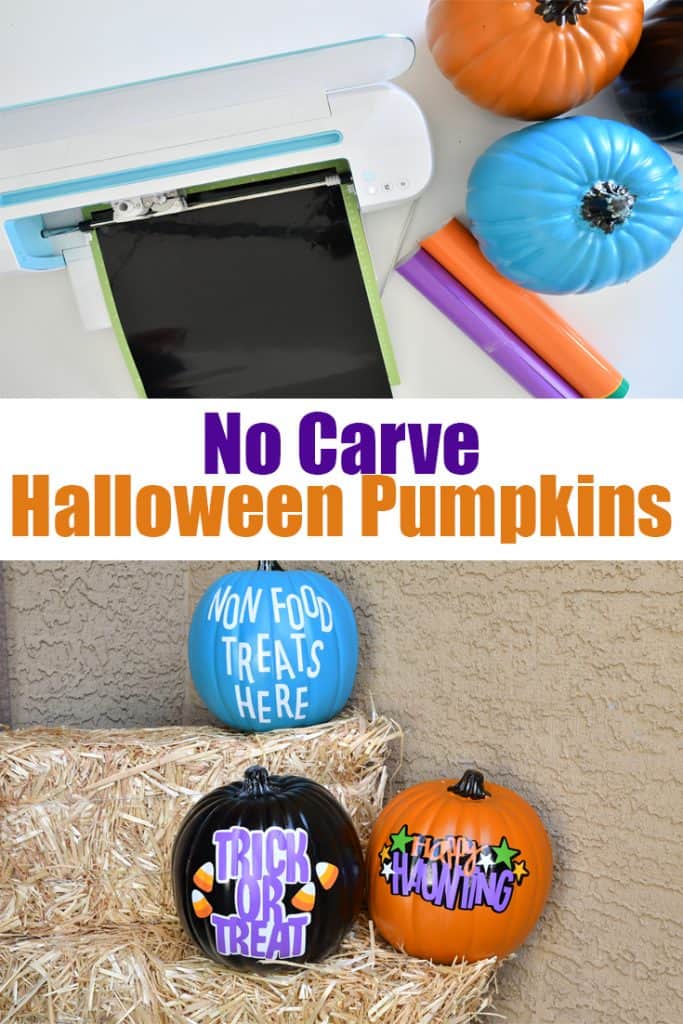
Cricut made making these pumpkins SO easy! From the ready to cut images in Design Space to the Premium Vinyl that is super forgiving and easy to work with, we were able to make all three pumpkins here in less than half an hour.
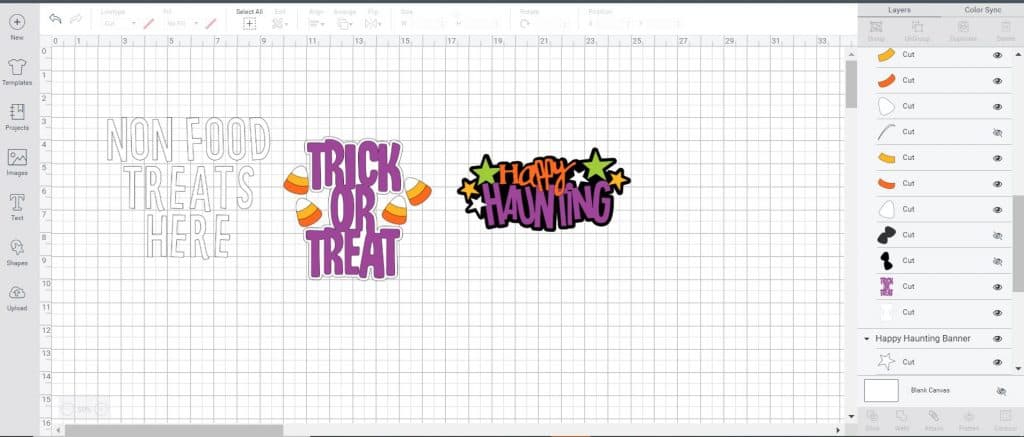
If you want to make these exact designs, here is the link to my Design Space canvas. All images are FREE in Cricut Design Space.
Tips & Tricks For Applying Vinyl To Pumpkins
These pumpkins are really easy to make, but these tips will making creating no carve Halloween pumpkins even easier!
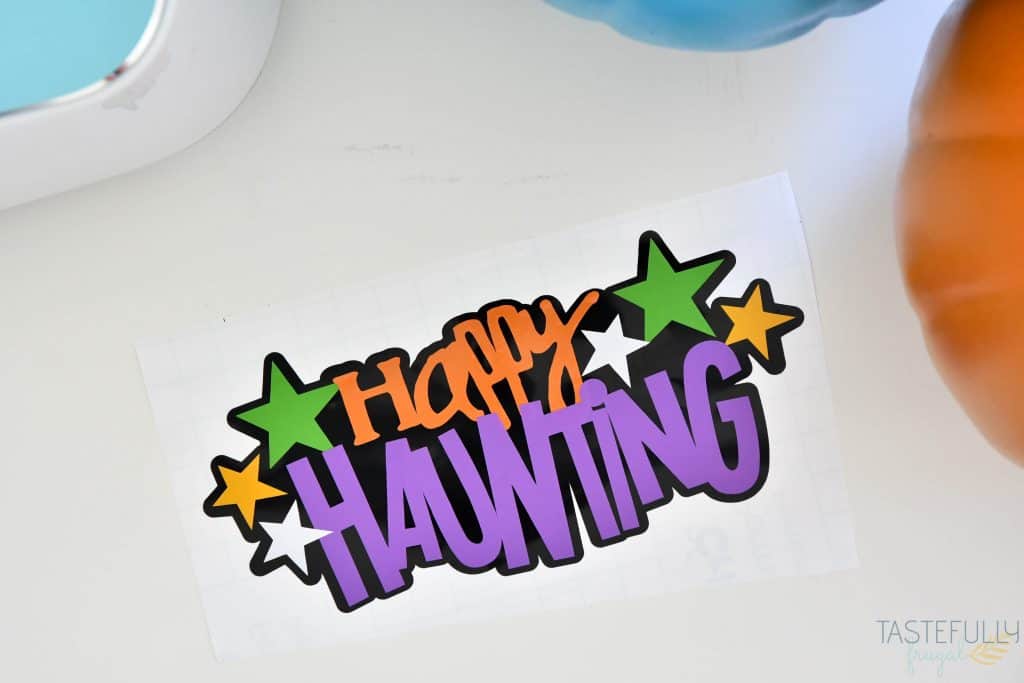
- Choose an image that has a background. Both the Trick or Treat and Happy Haunting have a solid background the words and images attach to. This makes applying them to the pumpkin a whole lot easier.
- Use painters tape to layer smaller pieces on to the backgrounds. Painters tape is sticky enough to get the vinyl off the backer, but won’t stick to the background you’re putting it on.
- If you are putting words on your pumpkin, pick a font that doesn’t have to be straight. I chose Boys Will Be Boys for the teal pumpkin because the letters are already a little sideways so it won’t look weird if they aren’t perfectly straight on the pumpkin.
- Use a blow dryer (or heat gun) to heat up vinyl and smooth out wrinkles once it’s on your pumpkin. We used a blow dryer on these since we had plastic pumpkins and didn’t want to melt them.
- Use Cricut Premium Vinyl (you’ll want to use Permanent if your pumpkins are going outside). I LOVE the premium line because it lays flat right off the roll, which makes weeding so much easier, and it’s really forgiving. If you do get wrinkles in the design, it’s very easy to smooth out.
No Carve Halloween Pumpkins Tutorial
Follow these steps to easily create your own no carve Halloween pumpkins!
SUPPLIES:
Pumpkins (I used 9″ craft pumpkins I found at Michaels)
Premium Vinyl (For these designs you’ll need: Black, White, Orange, Yellow, Green and Purple)
Cricut Maker (or Explore Air 2)
Blow Dryer
When ordering on Cricut.com, use code FRUGAL10 to save 10% and score FREE shipping on $50+ orders. That’s on top of the 10% discount Cricut Access members get automatically!
DIRECTIONS:

Open up this design in Design Space.
Send design to mat. ***NOTE the images are optimized for 9″ pumpkins, you may want to resize the designs if you’re making a larger or smaller pumpkin.***
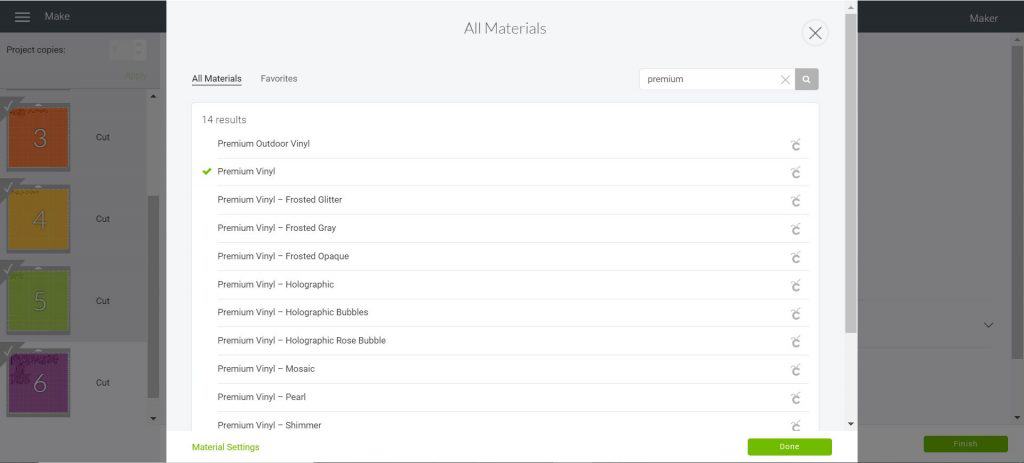
Select your machine from the drop down menu and PREMIUM VINYL from the materials menu.
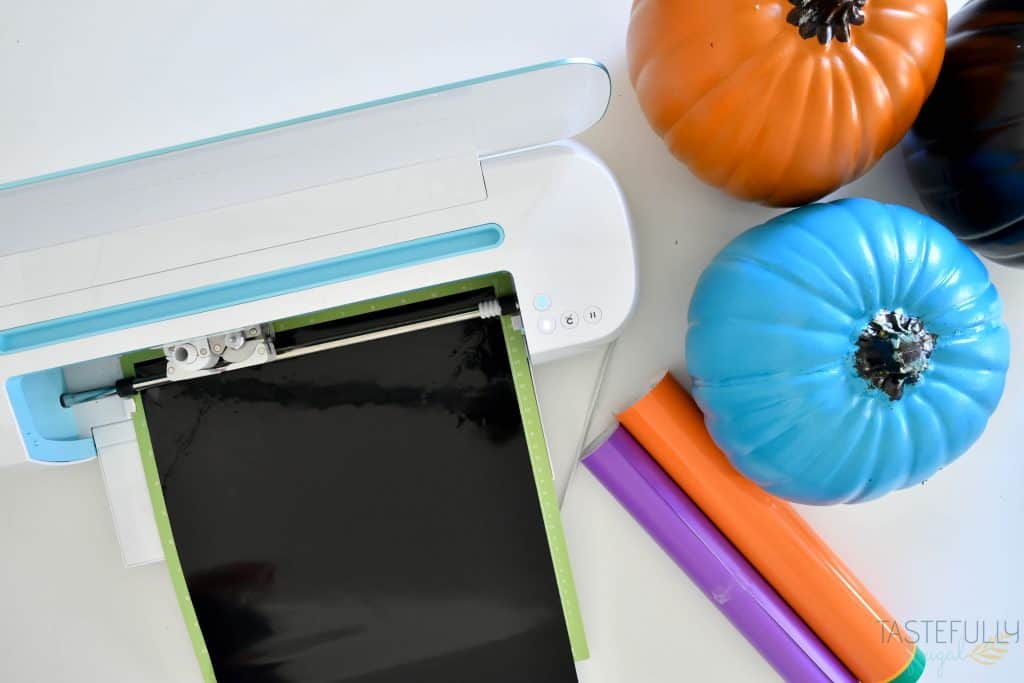
Put your first color of vinyl (the color the #1 mat is showing) on your StandardGrip Mat and load into machine.
Cut designs out.
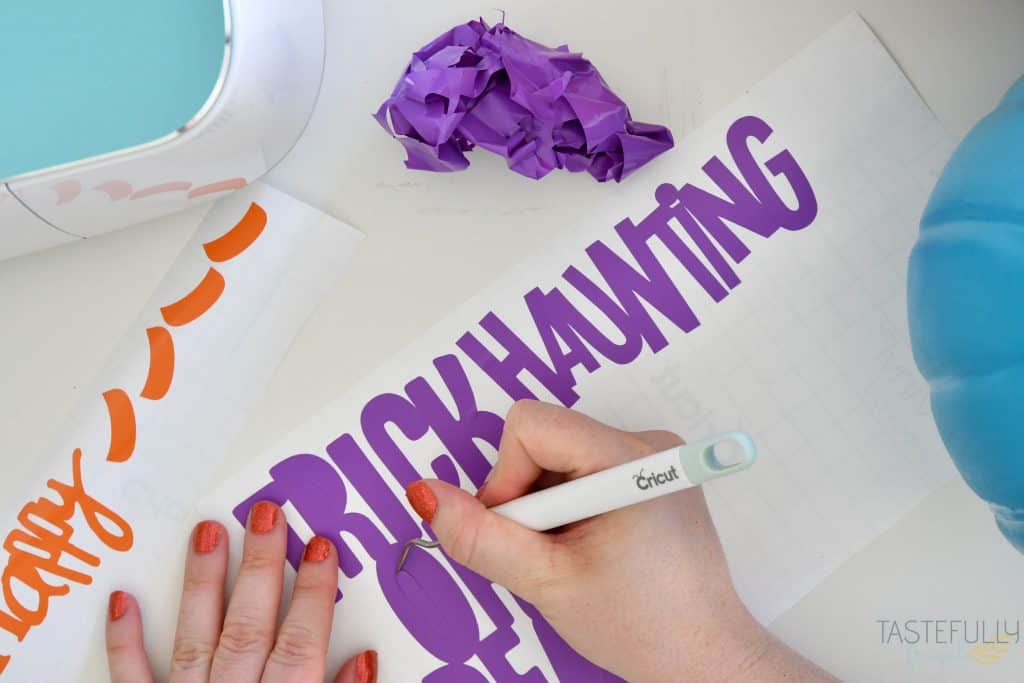
Weed excess vinyl from each sheet.
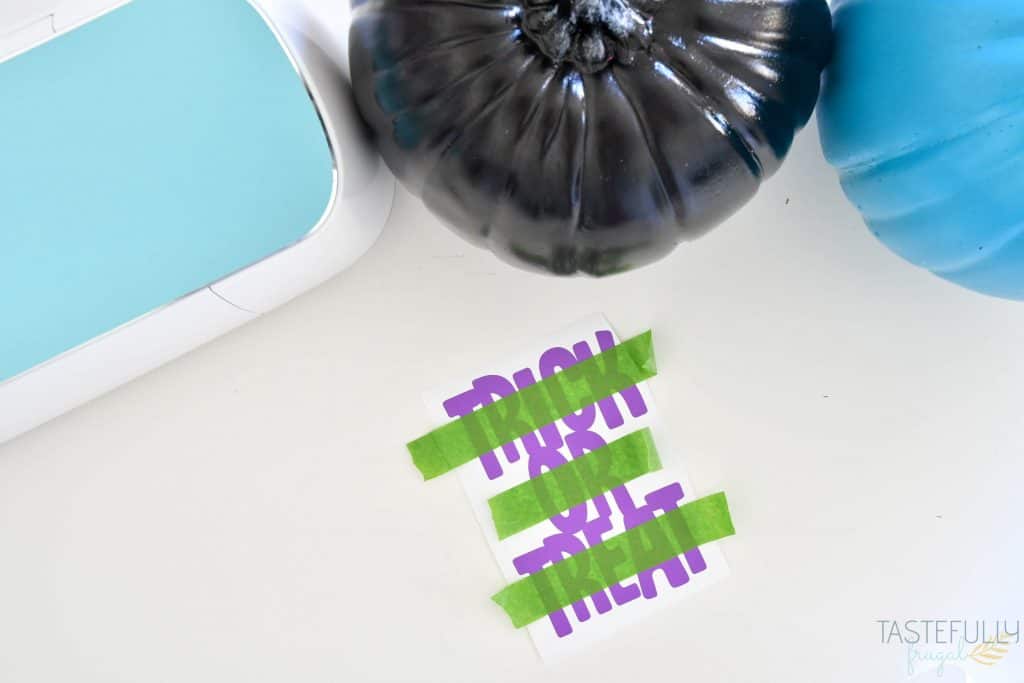
Use painters tape to layer vinyl designs on to their backgrounds.
- For Happy Haunting you’ll layer the orange green and yellow stars first, then the purple Haunting, orange Happy and lastly the white stars.
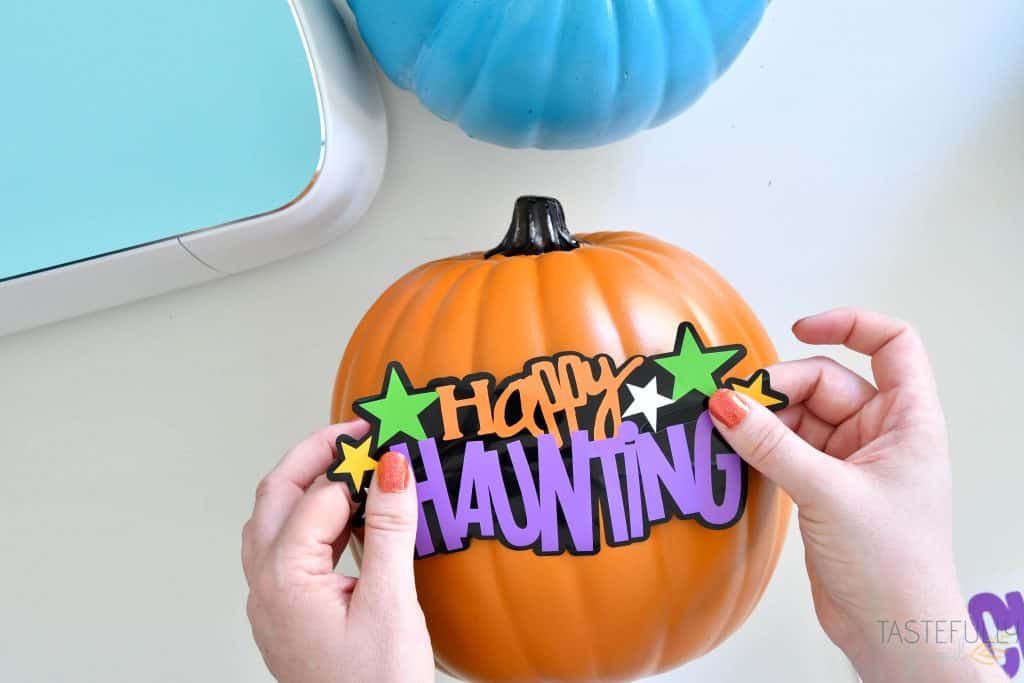
Apply your designs to your pumpkin.
- Line up your design on your pumpkin where you want it and then starting from the middle smooth your design down working outwards.
- Use blow dryer to warm up vinyl and smooth out wrinkles as needed.
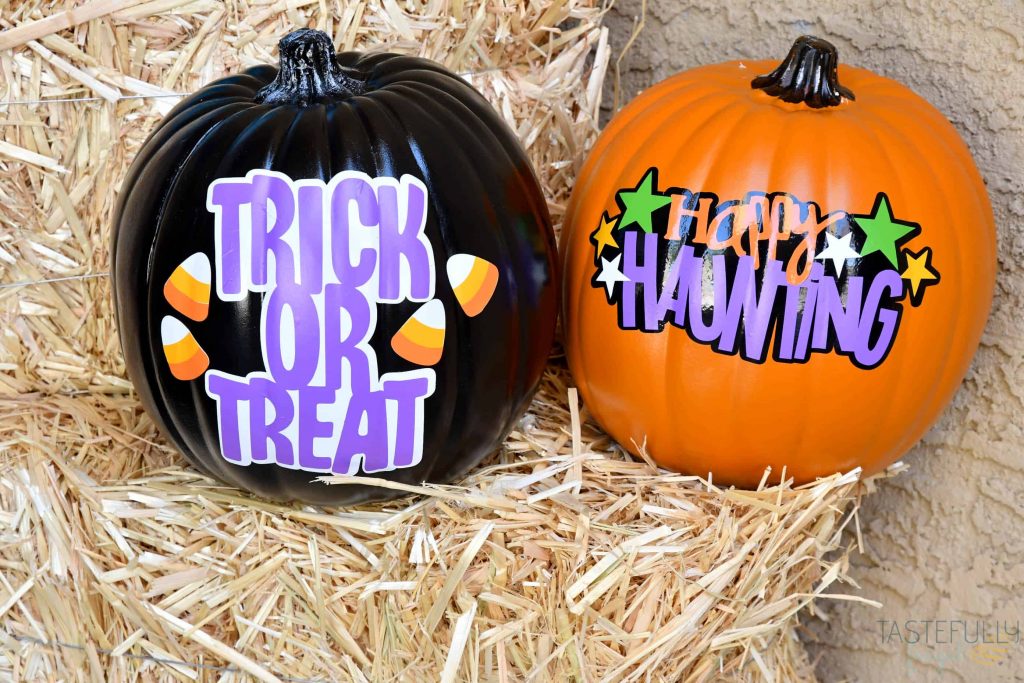
These no carve Halloween pumpkins make a great addition to our small front porch this year. Have you started decorating for Halloween yet? I’d love to hear about what you’ve made in the comments! If you’d like to check out more ways you can use your Cricut check out these posts! Need help with your Cricut? Join our Cricut Support Facebook Group!
This is a sponsored conversation written by me on behalf of Cricut. The opinions and text are all mine.


Leave a Reply