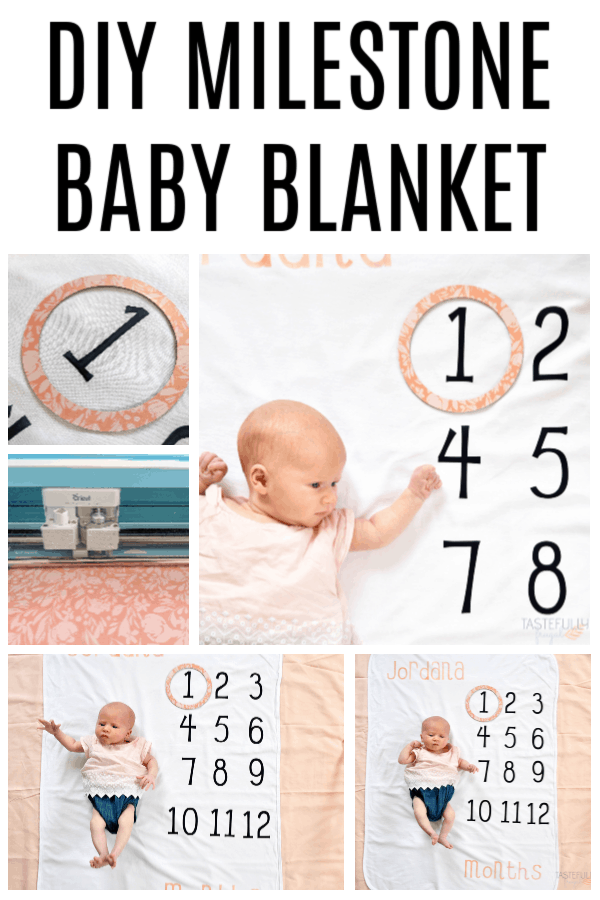
Make your own custom baby milestone blanket with your Cricut! This step by step tutorial includes a Design Space link so you can easily change the name to make it your own!
I have always loved seeing the pictures friends share with their babies on milestone blankets! Maybe it’s the mommy brain or but I always say I’m going to buy one for my babies but then don’t remember until they are 3 or 4 months old. Not this time! I bought the blanket I needed on Amazon before Jordana was born so I didn’t have any excuses.
I don’t like spending a lot of money on things I can’t use all the time, and a milestone blanket is no different. I wanted mine personalized and they can get expensive. So instead I paid $7 for the white blanket on Amazon and used supplies I already had on hand to make my own!
How Cricut Design Space Makes DIY Milestone Baby Blanket Easy
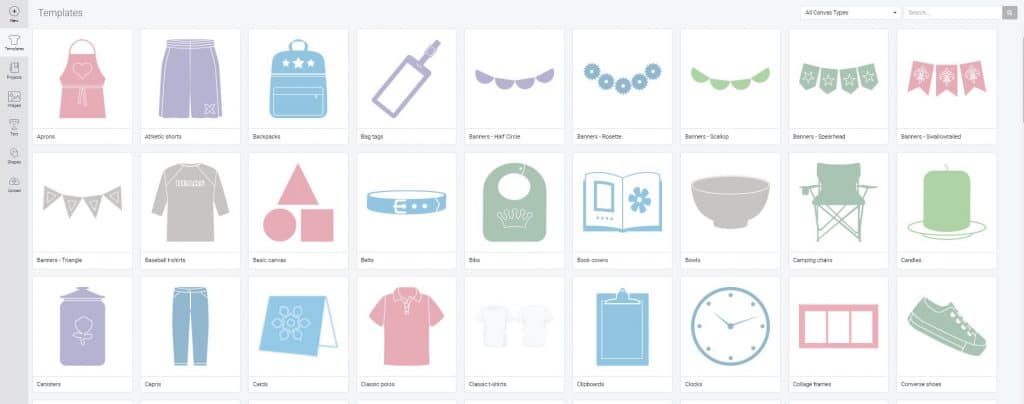
I get asked every time I share a larger than mat project, how I figure the size of the design. My number one tip is in Cricut Design Space to make a canvas the size of your project. There are several canvas templates available (like shirts, onesies, etc) but if I’m making a sign I like to just add a square/rectangle and make it the size of the project.
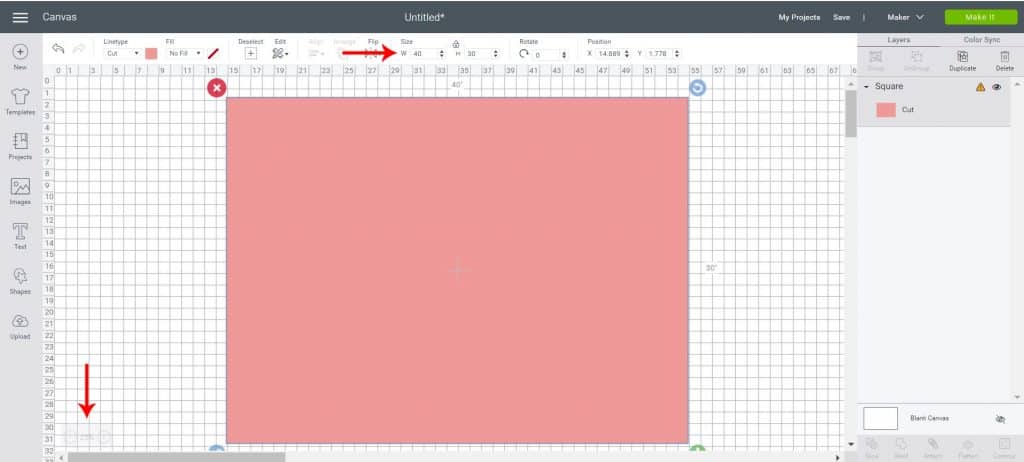
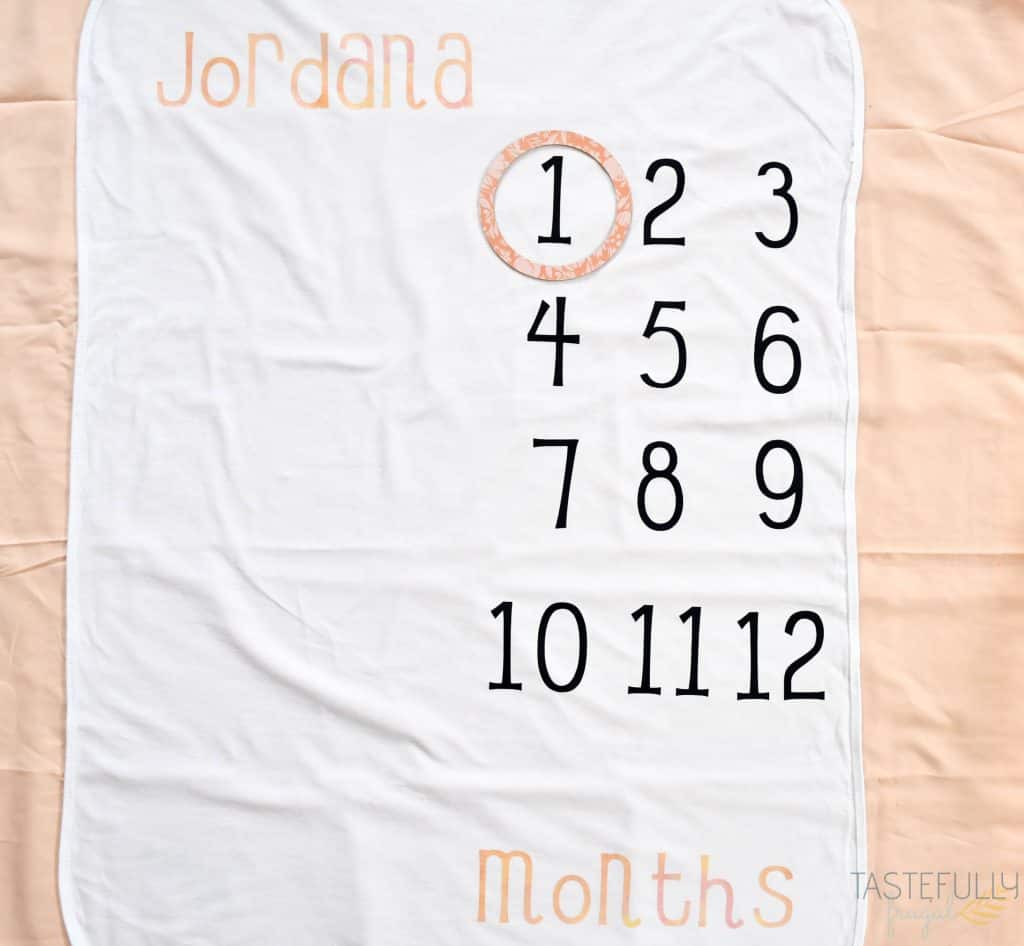
For this blanket I made a 30″x40″ rectangle and changed the canvas view to 25% so I could see the whole rectangle. I then added my numbers, the name and word MONTH and sized it to fit the blanket. Once your design is done, just change the visibility of the rectangle.
If you want to make your own JUST like this one, I’ve done all the work for you already! Just open this Design Space link and change the name and you’re all set!
DIY Milestone Baby Blanket Supplies
There’s not a whole lot you need to make these baby blankets. The best part is you don’t even have to leave your house to get it! You can buy everything from Amazon (or directly from Cricut).
- White Cotton Blanket – I’ve found cotton is easier to work with vs. muslin
- Iron-On Vinyl – I used Everyday Iron-On in Navy and this Patterned Iron-On
- Chipboard – for the month indicator
- Patterned Vinyl – for the month indicator
- Cutting Mats – you’ll need both the 12″x12″ and the 12″x24″ StandardGrip mat and the 12″x12″ StrongGrip mat
- Cricut Maker – if you don’t want to make the circle that goes around the month, you could use any Cricut machine for the rest of the project
- Knife Blade – for cutting chipboard
- Cricut EasyPress 2 – I used the 12″x10″ but you can use any size.
- EasyPress Mat – If you don’t have this, you can use a towel but you’ll get better results with the EasyPress mat
When ordering on Cricut.com, use code FRUGAL10 to save 10% and score FREE shipping on $50+ orders. That’s on top of the 10% discount Cricut Access members get automatically!
DIY Baby Milestone Blanket Directions
You can make your own blanket in less than 30 minutes. Let me show you how easy it is!
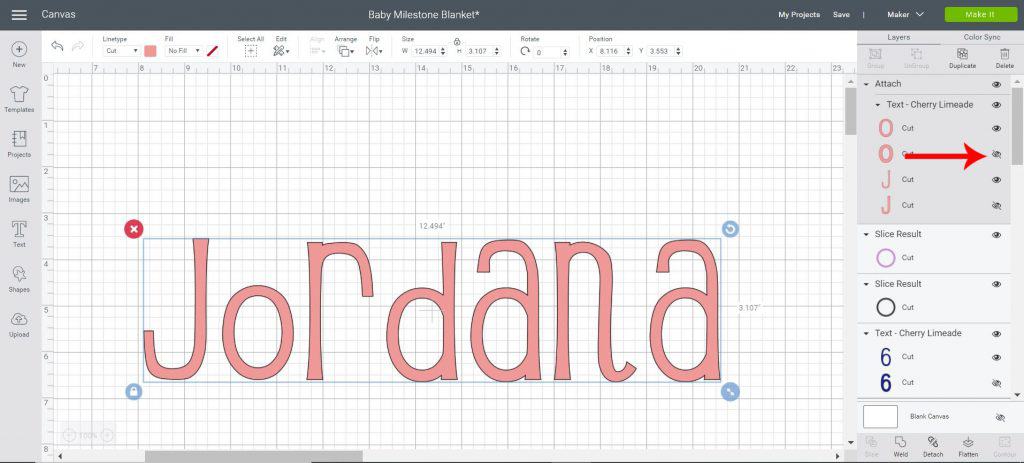
Open up this design in Design Space. You’ll want to make sure to change the name (unless your baby is named Jordana too). If you don’t want to have a name on the blanket, just change the visibility of the name.
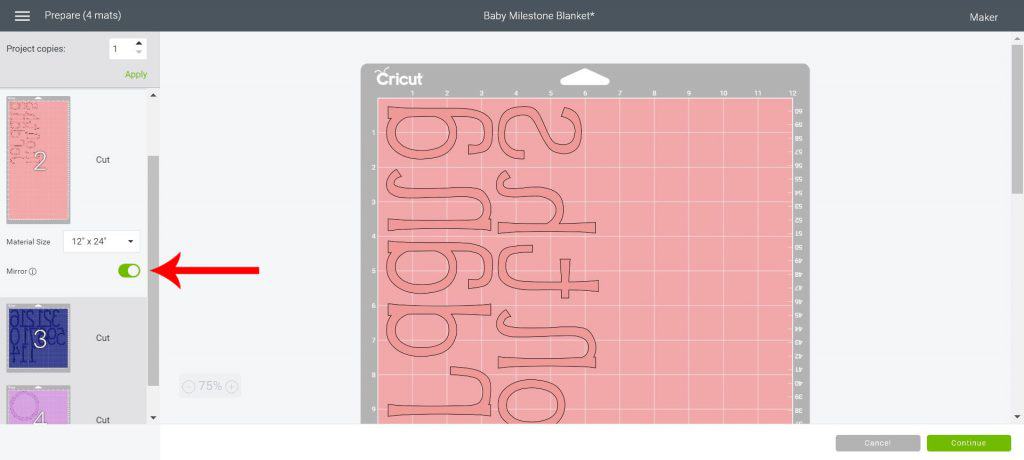
Send your design to mat. On the preview page make sure to mirror your iron=on mats (the ones with numbers and the name).
On the next screen, select your machine from the drop down menu and select your material. ***NOTE you’ll need to change your settings between each mat.
- Use Everday Iron-On for the blue
- Patterned Iron-On for the long mat with the name and MONTHS
- Chipboard with the brown circle
- Patterned Vinyl for the pink circle
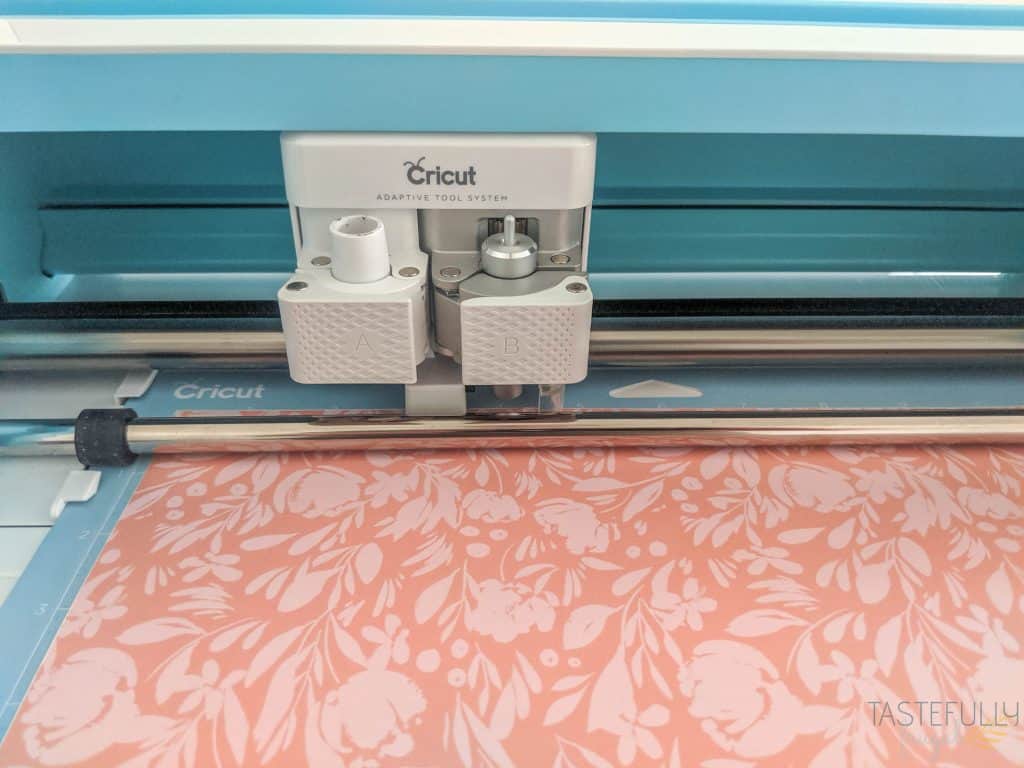
Load your supplies on the cutting mat, load mat into machine and cut.
- Everyday Iron-On you’ll want to load the iron-on shiny side down.
- Patterned Iron-On you’ll want to load the iron-on patterned side down.
- Chipboard, use the StrongGrip mat and attach the chipboard with painters tape.
- Patterned Vinyl, you’ll want to load the vinyl patterned side up.
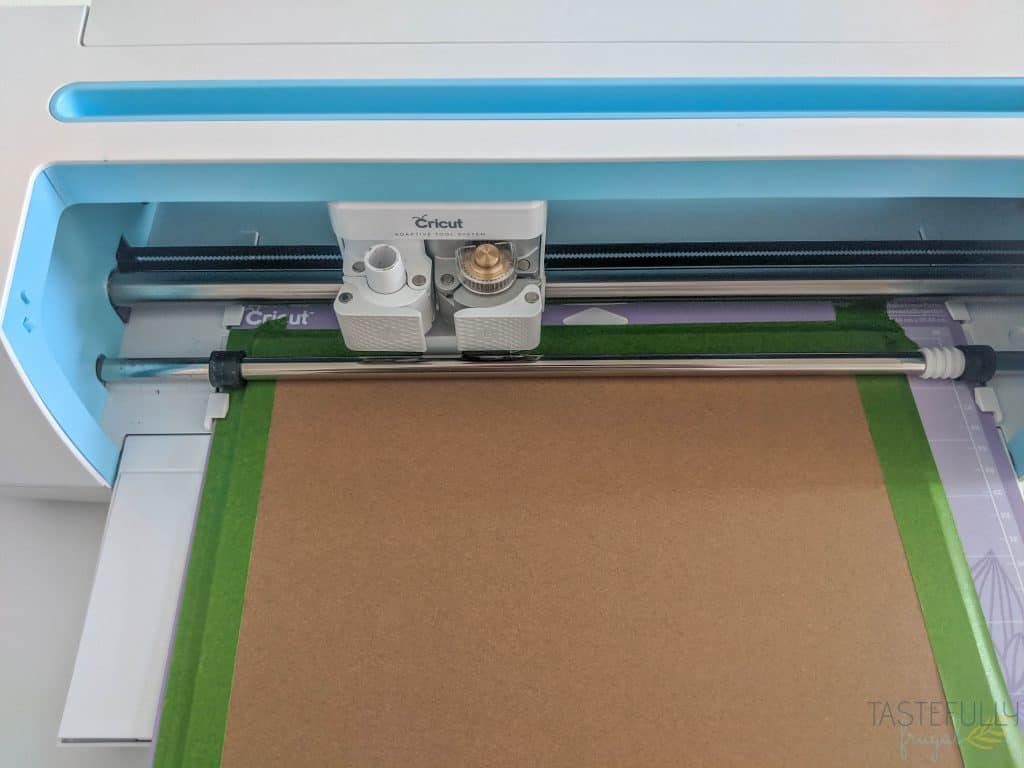
When it is time to cut the chipboard, you’ll be prompted to put the knife blade in the CLAMP B. ***ALSO MAKE SURE TO USE THE STAR WHEELS ALL THE WAY TO THE RIGHT SO THEY DON’T RUIN THE CHIPBOARD.
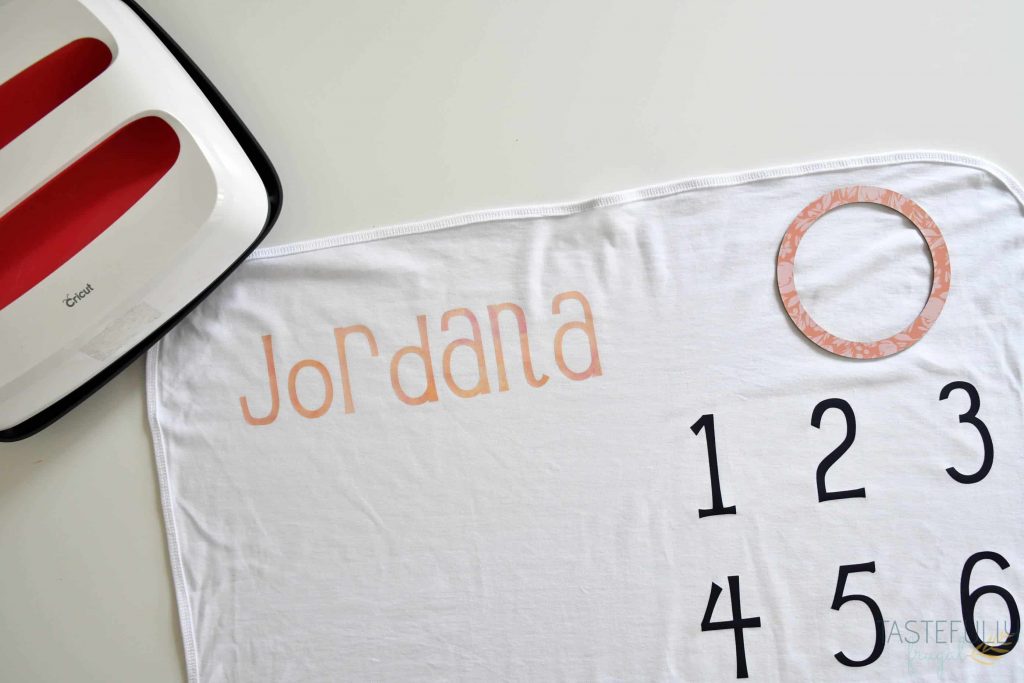
Weed excess iron-on and vinyl from the numbers, name and MONTH and pink circle.
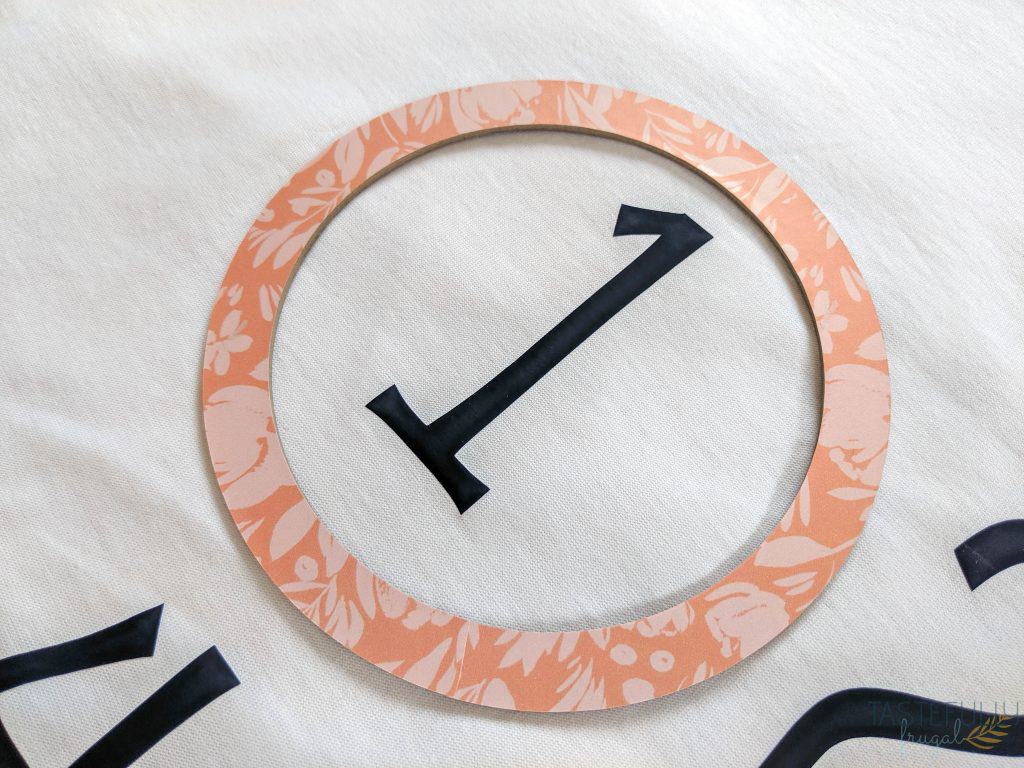
Attach patterned vinyl circle to chipboard circle.
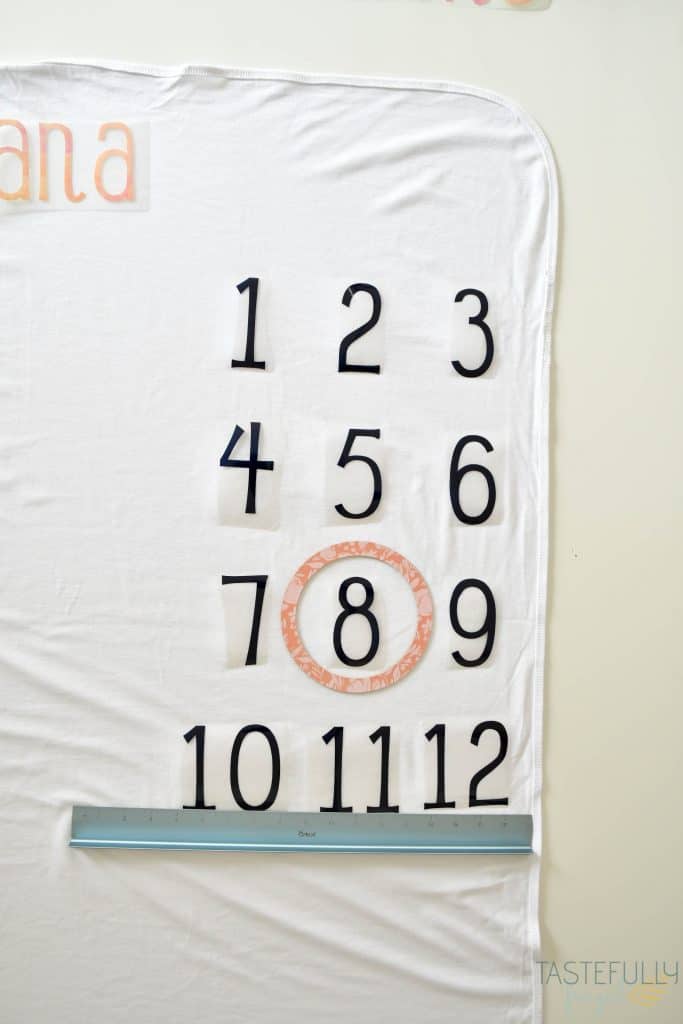
Line up your numbers, name and MONTHS on your blanket. I uesd my 18″ Cricut ruler to make sure everything was straight.
Preheat your EasyPress 2 to 315°F and 30 seconds (this is the temperature setting for the Patterned Iron-On). It’s always best to press your lowest temperature iron-on first because it takes longer to get the EasyPress to cool down then it does to warm up.
Place your EasyPress mat under your blanket where you want your name to go and preheat the blanket with the EasyPress 2 for 5 seconds.
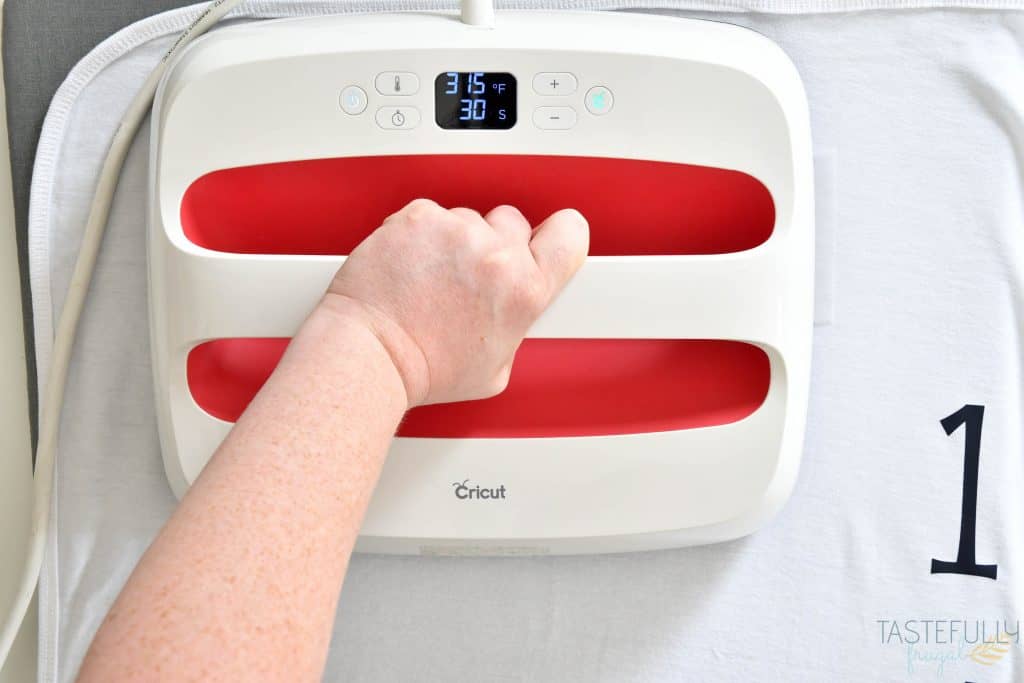
Line up your name and make sure it’s straight. Press with EasyPress 2 for 30 seconds.
Let cool for 1-2 minutes then peel plastic backing.
Repeat last three steps with MONTHS.
Change the temperature on your EasyPress 2 to 340°F and wait for it to reach temperature.
Move the EasyPress mat to where the first line of numbers will go and preheat blanket for 5 seconds.
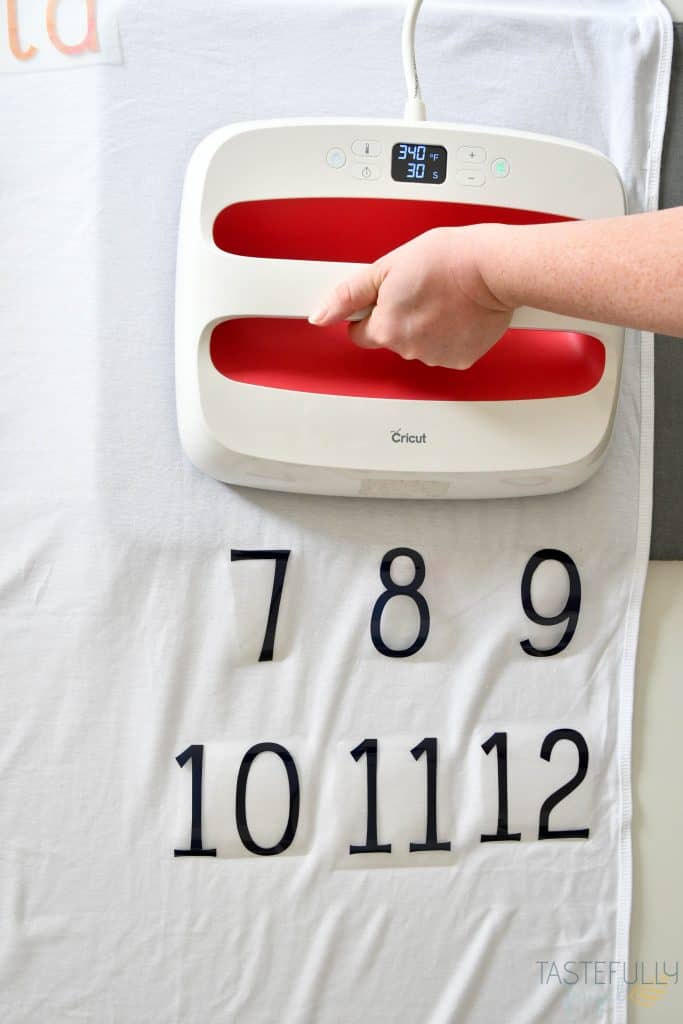
Line numbers back up and press for 30 seconds.
Let cool for 30 seconds then peel plastic backing.
Repeat last 3 steps with the other two rows of numbers.
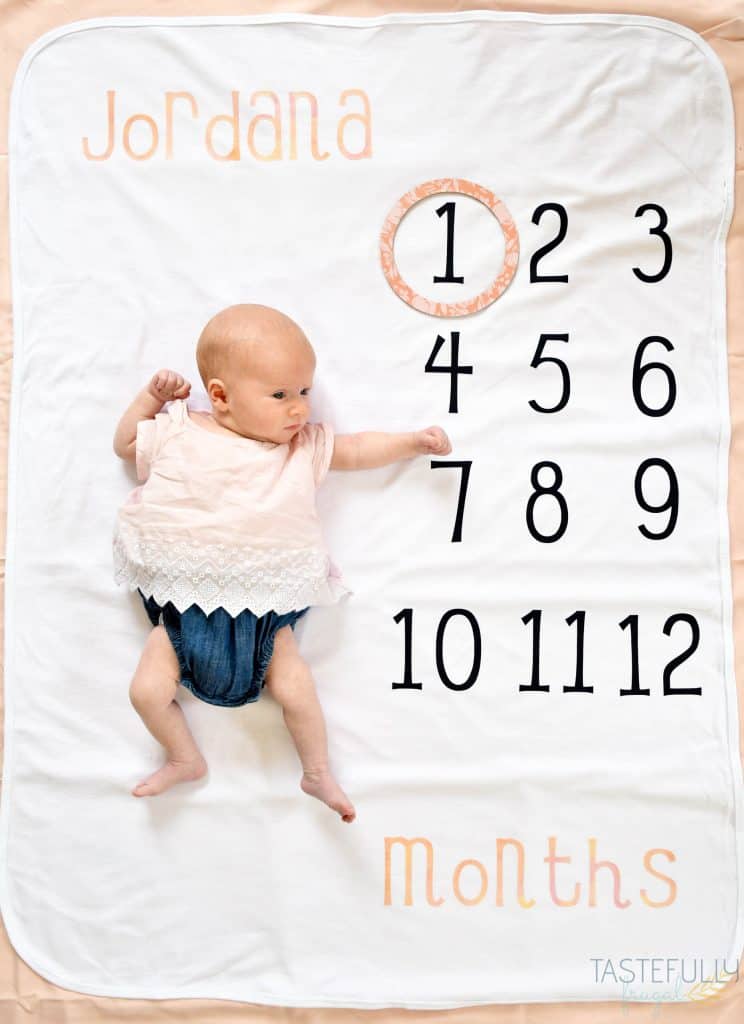
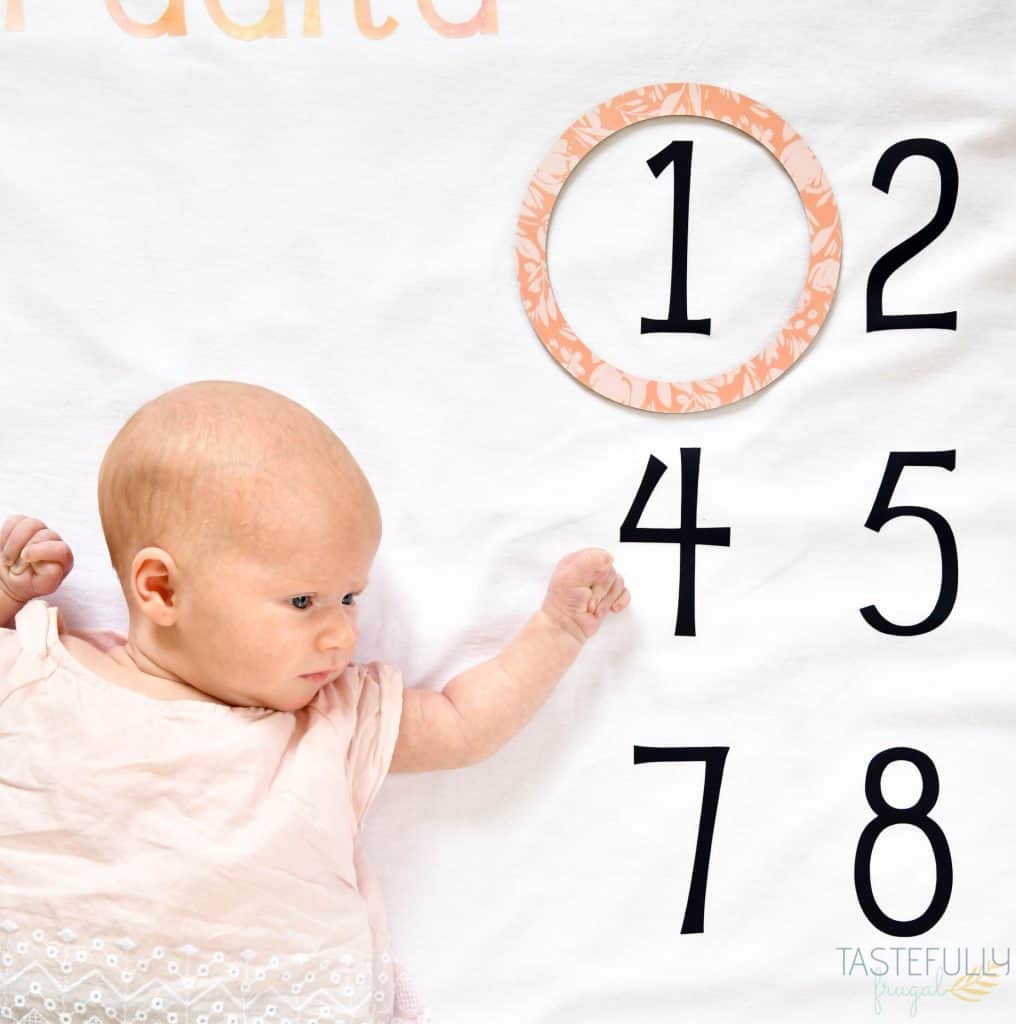
I couldn’t be happier with how this blanket turned out (and even more happy with how my sweet Jordana turned out)!
I’d love to hear about what you’ve made in the comments! If you’d like to check out more ways you can use your Cricut check out these posts! Need help with your Cricut? Join our Cricut Support Facebook Group!


Martha says
Can you use an iron?
Sydney says
Yes you totally can!
Catherine says
Love your blanket! How do you change the canvas view to 25%?
Sydney says
Thank you! In the bottom left corner of your canvas it says 100% and gives you a plus and minus size to change the percentage. I hope this helps 🙂