If you’re looking for an affordable heat press to make shirts and other HTV and sublimation projects with you’ve probably seen the HTVRont heat press on Amazon. In this post we’ll take a better look at this heat press and see how it stacks up to other heat presses available. Thank you to HTVRont for sending me this heat press to review. As always, all thoughts and opinions are mine alone.

I’m not going to lie, I didn’t have very high hopes for this machine going into this review. I have tried out some of the lesser expensive heat presses before and have not been happy with the results. They either don’t have even heat, don’t hold their temperatures or they break with a month or so of getting it. But I’m happy to report that I didn’t have any of these issues with the HTVRont heat press!
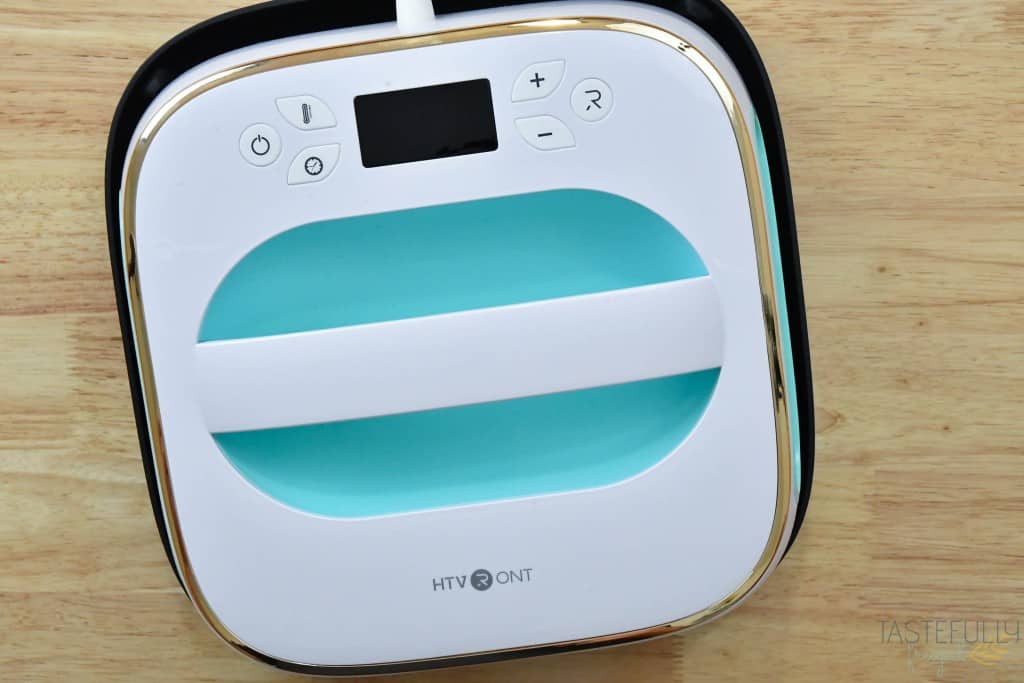
My first impression out of the box was that I absolutely love the color! The mint with the gold accents are really aesthetically pleasing to me. It’s also not super heavy which I was both happy and a little nervous about. I like that it’s light weight because it’s easier to use for those crafters with mobility issues and it makes it easier to transport if you wanted to craft on the go.
The concern I had about weight is that it wouldn’t have enough weight to give good, even pressure. But after testing it out a few dozen times I found that is not an issue at all. The HTVRont heat press gave consistent, even pressure at everything from low (295F) temperatures all the way up to high (400F) temperatures. Next let’s talk about what comes in the box.
What’s Included in the Box
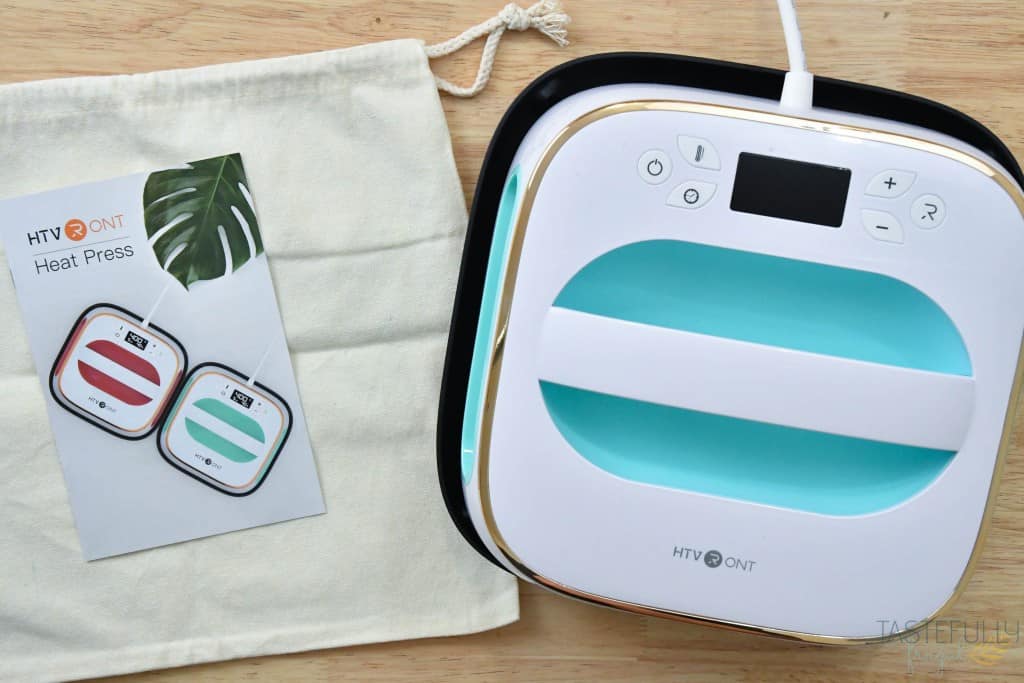
Very similar to the Cricut EasyPress, the HTVRont heat press comes with the safety base, owners manual as well as a drawstring tote that you can use as a storage bag (and/or a really great first test project)!
Other things you’ll want to have on hand when using your heat press are:
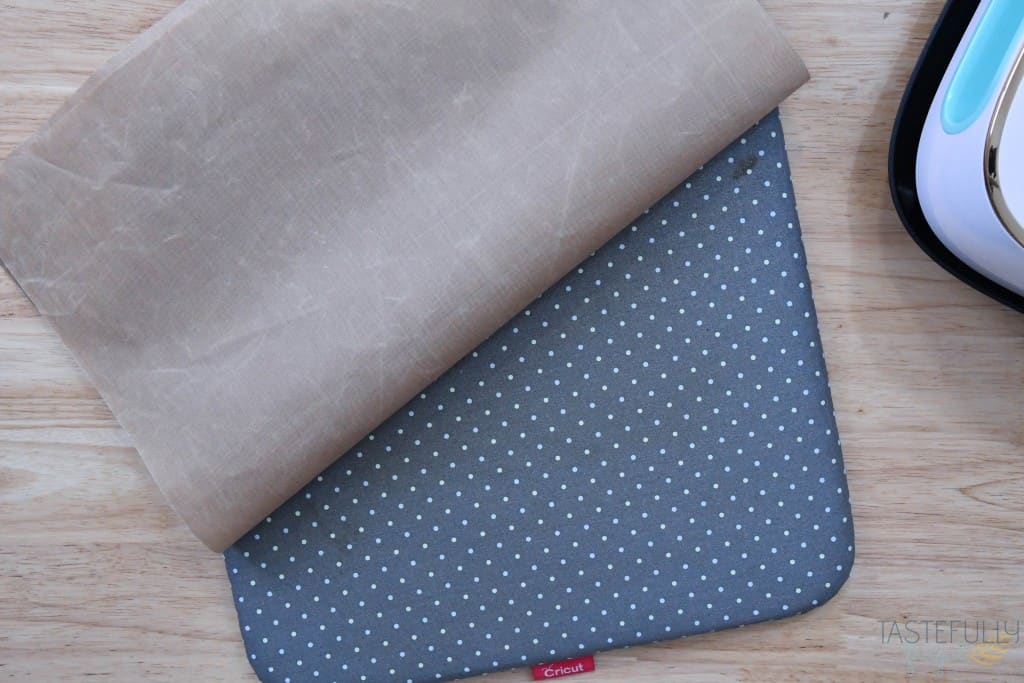
- Heat Mat/EasyPress Mat – this mat helps keep the heat in your project instead of having it pass through and onto your pressing surface. The HTVRont heat press mat is only $9.99 and you can often times find a coupon on Amazon to make it even less. If you don’t have a heat mat you can use a folded up towel.
- Teflon Sheet – You’ll use a teflon sheet if you’re pressing multiple layers of HTV. The teflon sheet protects the first layer from melting as you press the additional layers. If you don’t have a teflon sheet you can use the carrier sheet from your HTV to protect the pressed materials.
Machine Specs
Let’s take a quick minute to talk about the specs of this machine before we compare it to other heat presses. The dimensions of the HTVRont heat press are 10″x10″ and 11.5″x11.5″ with the safety base. I love the compact size because it makes it perfect for crafting if you’re limited on space.
The temperature range for this heat press is 70F-410F. You can set the timer from 1-999s.
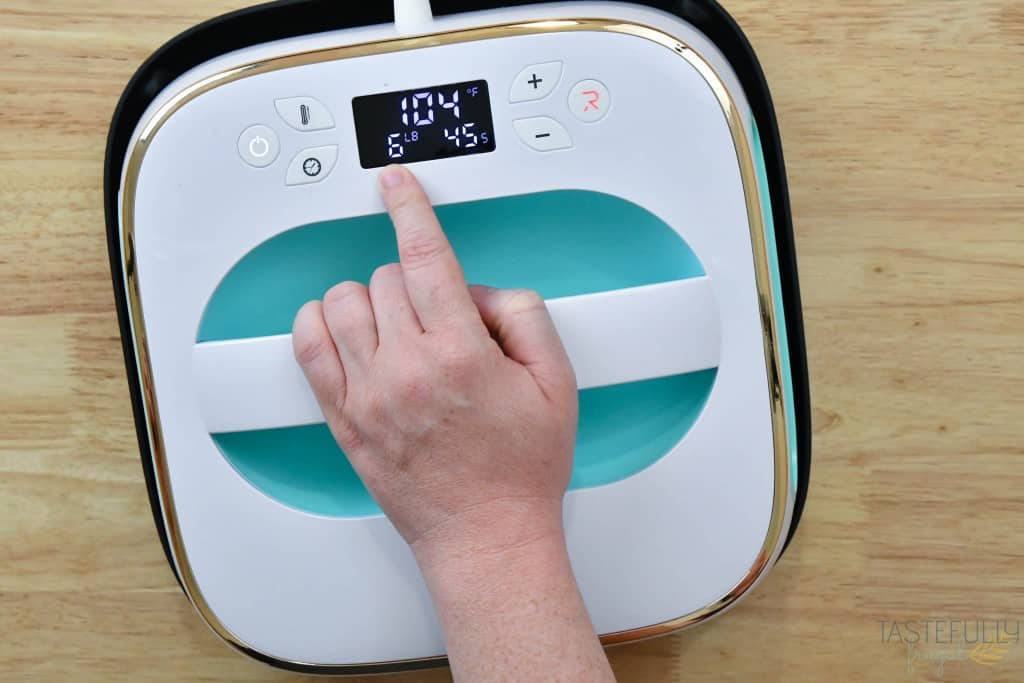
My favorite feature of this heat press is the pressure display. I’ve never seen on any heat press a display for the amount of pressure it’s using and this is SO helpful especially when you’re working with materials that need a lot of pressure (like Puff HTV). Most types of HTV will tell you how much pressure you need either on the packaging or on the manufacturer’s website. You’ll usually see light, medium and heavy pressure.
- Light pressure is 6-11lbs
- Medium pressure is 12-30lbs
- Heavy pressure is 30lbs+

How to use HTVRont Heat Press
So let’s see the HTVront heat press in action! I’ve been using this heat press for several weeks and have made well over a dozen projects and it really is so easy to use! If you are new to crafting, this heat press is a great one to learn on. It’s great for seasoned crafters too! To show you how it works let’s make a shirt!
Supplies:
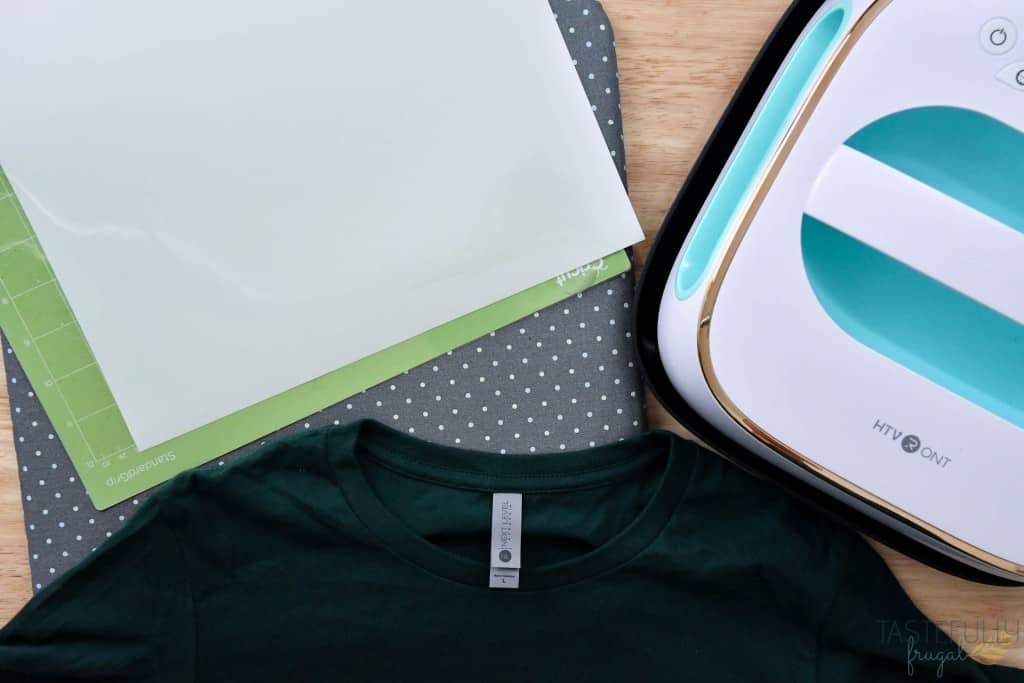
HTV use code HTVRONT0802 to save 10% or on Amazon
T-Shirt (see what shirts work the best for HTV here)
HTVRont Heat Press Use code HTVRONT0802 to save 10%
Directions:
Create your design in Design Space (or whatever design program you use) and size it to fit your shirt. If you’re not sure what size you need, this page is a great resource.
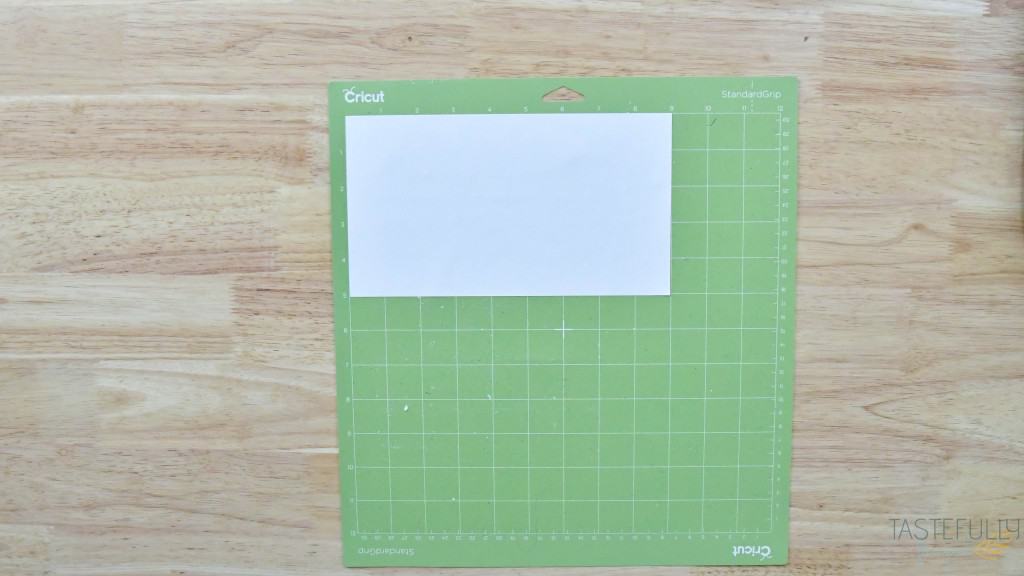
Cut your design out of HTV with your cutting machine. Make sure to mirror your design and put your HTV shiny side down on the cutting mat.
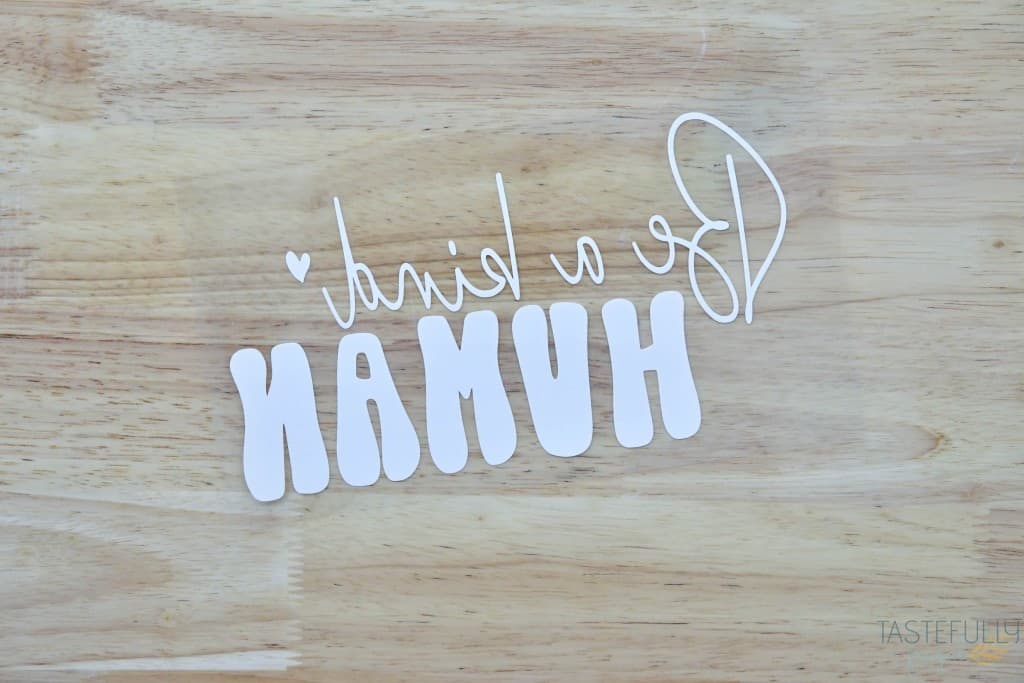
Weed away excess vinyl.
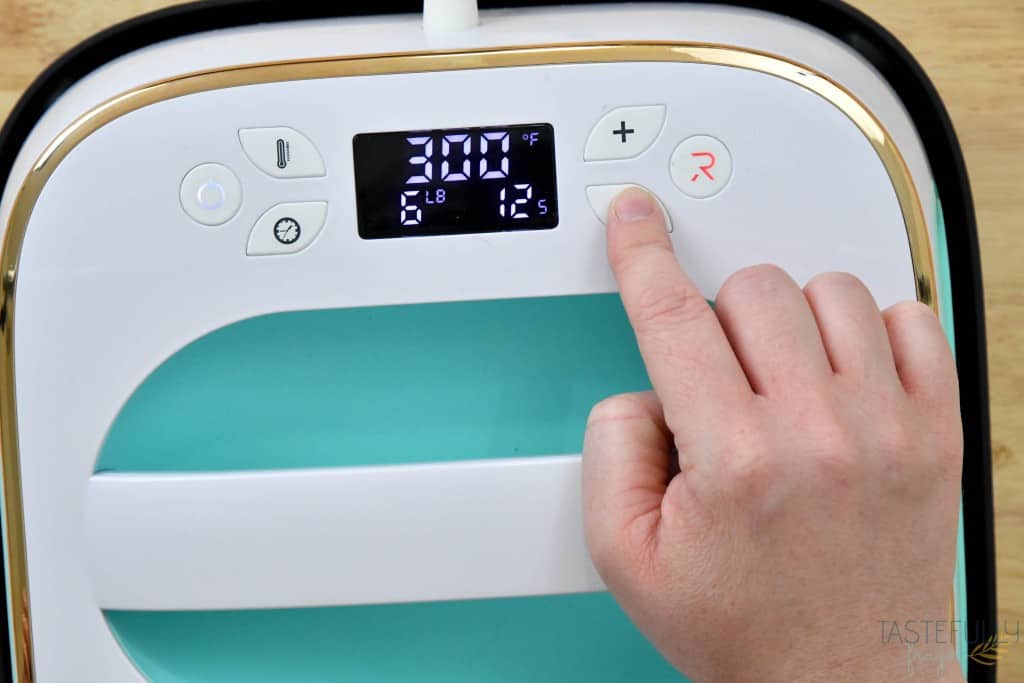
Turn on the HTVRont heat press and set your time and temperature. You do this by pressing the top temperature button and then the + or – button to adjust temperature. Then click the clock button and then the + or = buttons again to adjust time. You can find the recommeneded time, temperature and pressure for your HTV on the packaging or the website you bought it from. I’m using HTVRont Chameleon HTV and pressing at 300F for 12s with firm/medium pressure.
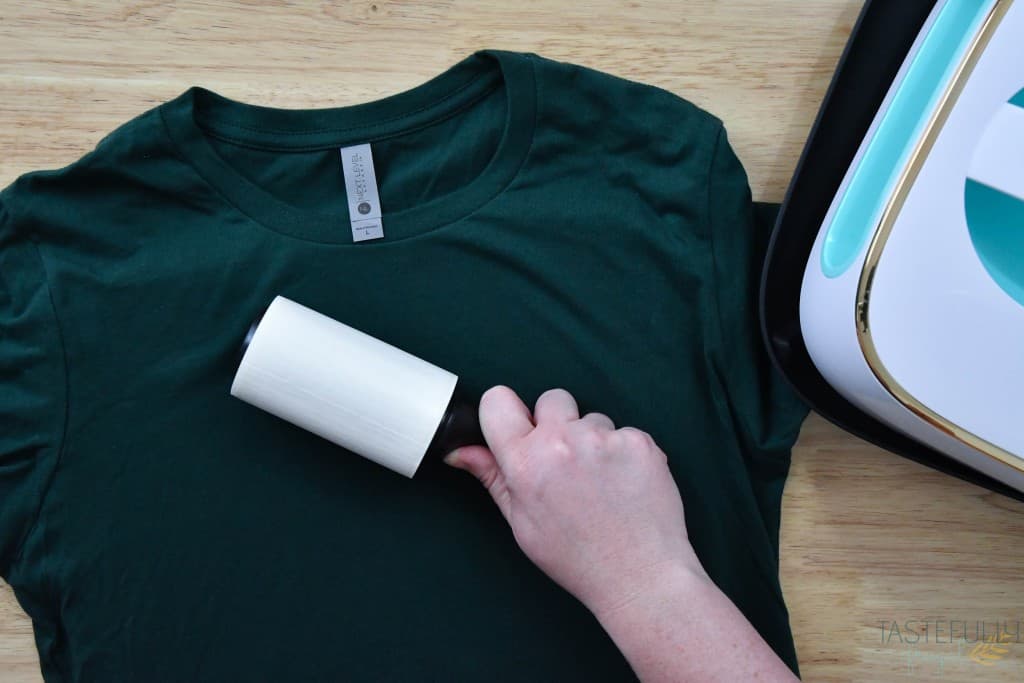
Prep your shirt by wiping it with a lint roller to remove anything that could effect your design. Put your shirt on the heat mat and then pre-heat with your heat press for 5 seconds.
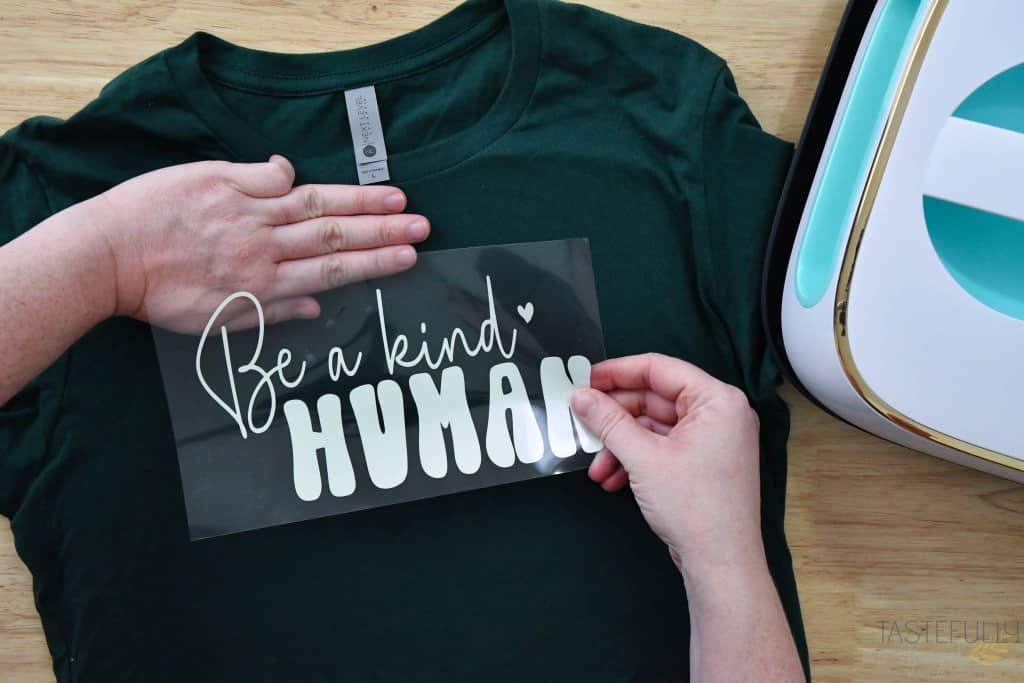
Line up your HTV design on your shirt and make sure it’s centered. I like to put my designs 3 finger lengths down from the collar.
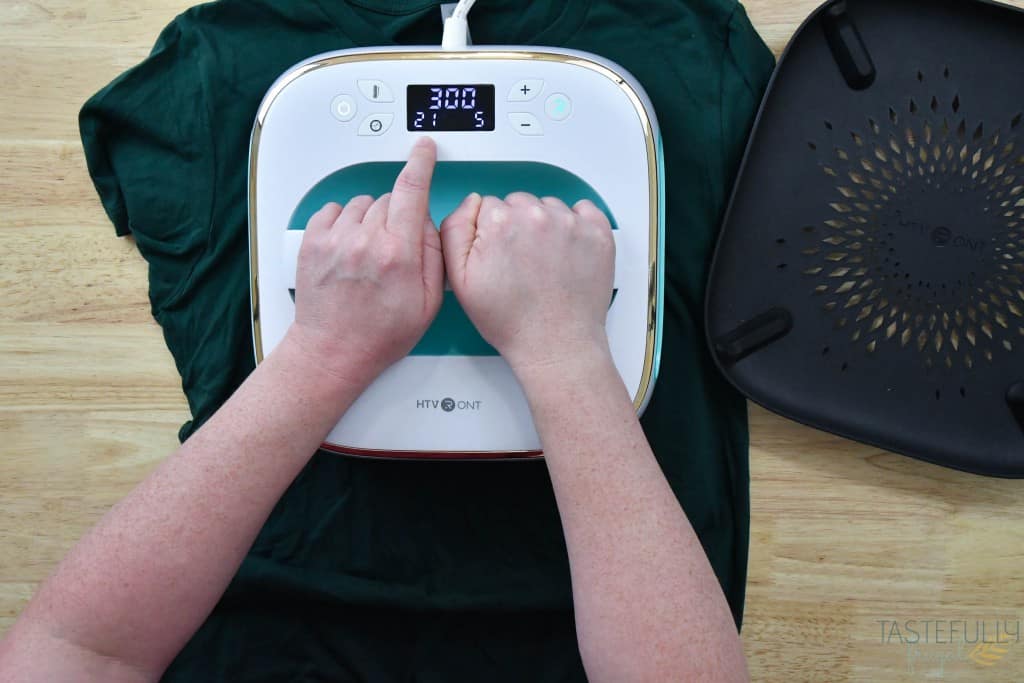
Put your heat press over your design and hit the R button on the far right side to start the timer. Keep an eye on the pressure gauge next to the timer button to make sure you’re giving the right amount of pressure.
Once the timer goes off, you’ll want to turn your shirt over and press on the back of the shirt for 5 seconds.
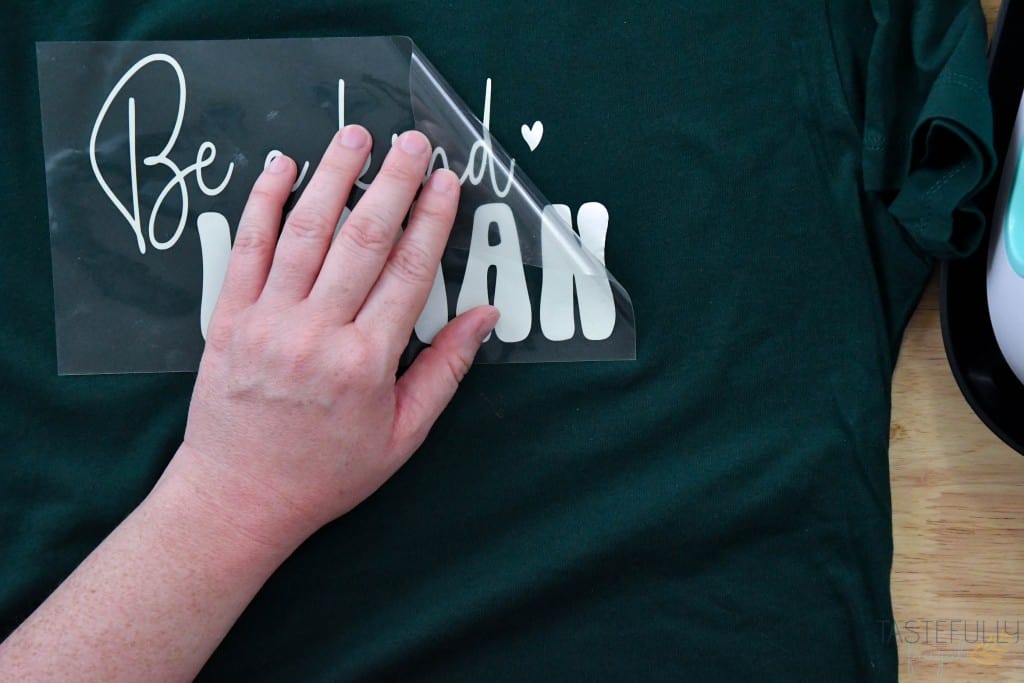
After you’ve pressed on the back, turn the shirt back over and if your HTV is a warm peel you can peel away the backer right away. The HTVRont Chameleon HTV is a cool peel so I let it cool for 2 minutes before peeling.
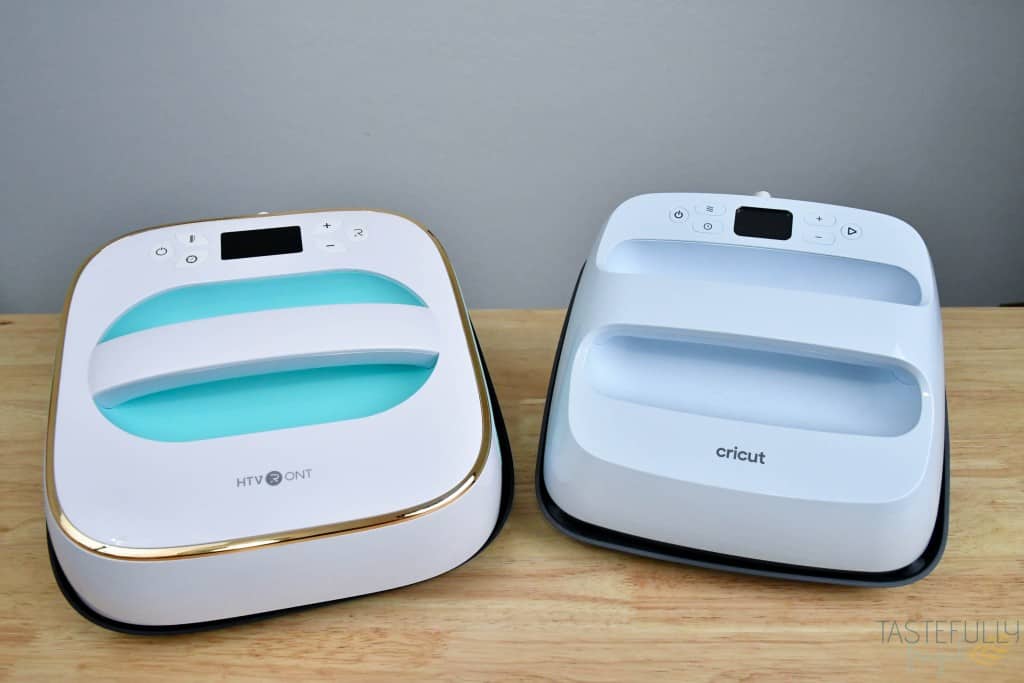
HTVRont Heat Press vs Cricut EasyPress
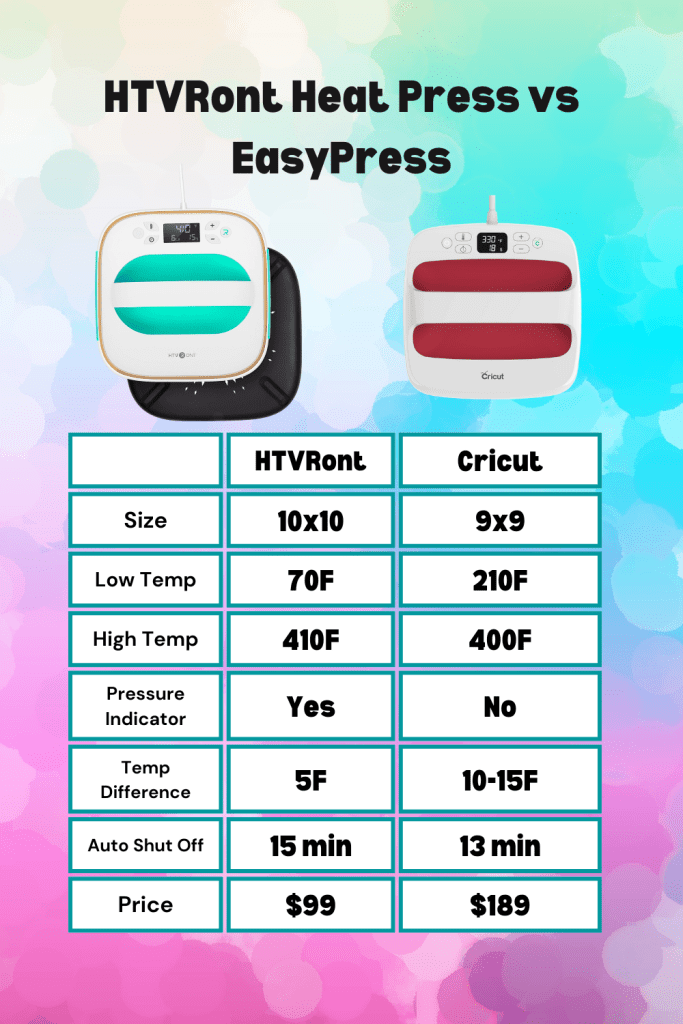
I know the question on most people’s mind when they see the HTVRont heat press is how does it compare to the Cricut EasyPress. The table below will show you a breakdown of the key features and how they compare.
If you have followed Tastefully Frugal for a while you know I am a diehard Cricut fan/lover/supporter. BUT I have to say, after using this heat press for the past few weeks I actually like it better than the EasyPress. Here are a few reasons why:
- It’s bigger. I know it’s only 1″ bigger but I’ve found that 1″ actually makes it so I don’t have to do multiple presses on most big shirt designs.
- It holds heat better. My EasyPress 2 drops temperature 10-15F EVERY time I press it. The HTVRont heat press only dropped temperature twice and it was only 5F.
- It’s less expensive. It’s half the cost of the Cricut EasyPress and sometimes less when it goes on sale!
The only thing I can’t compare is customer service. I haven’t had any issues with my HTVRont heat press so I can’t say whether or not their customer service is better/worse/similar to Cricut.
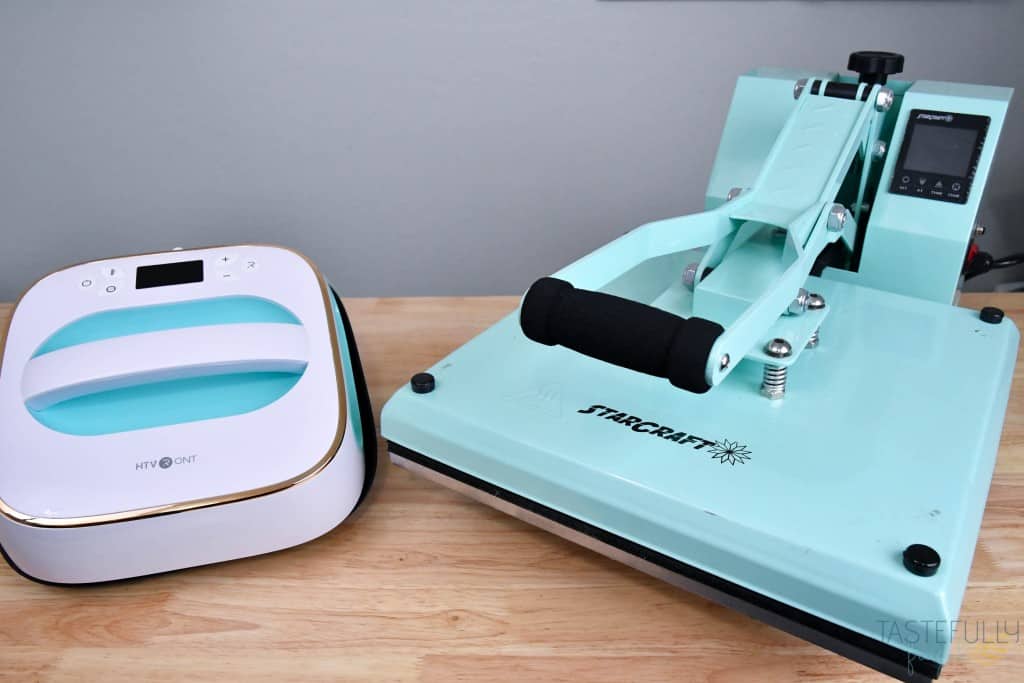
HTVRont Heat Press vs Other Heat Presses
My thoughts in comparing the HTVRont heat press to other traditional heat press, like clamshell or swing away, are similar to my comparison of these to the Cricut EasyPress (you can read my full breakdown and review here). I think the HTVRont heat press does just as good of a job applying HTV and sublimation designs on projects as these other heat presses.
I think if you’re limited on space, as I mentioned above, it’s the definite winner. And it’s by far the most affordable, quality, heat press on the market. The only reason I would choose a traditional heat press over this one is if I had an online shop where I was making dozens of projects at once. It is convenient to be able to press one shirt/bag/pillowcase/etc while prepping another project.
HTVRont does have a new Auto Press coming out that allows you to prep one project while working on another project and you can bet I’ll be ordering one as soon as they are available!
Like I said in the beginning, I went into this review not expecting to love this heat press as much as I do but I really do love it! The design, size and especially the control panel make crafting super easy! If you want to get the HTVRont heat press for yourself you can find them on Amazon or you can orderly directly from HTVRont. If you order from HTVRont, you can use code HTVRONT0802 to save 10%.
Be sure to subscribe to my YouTube channel to check out all my video tutorials including projects and how to’s. For more Cricut projects and tutorials, check out these posts. For tips, tricks and immediate help, be sure to join our FREE Cricut Support Group.


Leave a Reply