Learn how to use sublimation prints on vinyl to create flawless designs that are not only vibrant in color but also waterproof. Doing sublimation on vinyl is a great alternative to printable vinyl if you want your project to hold up for the long haul.
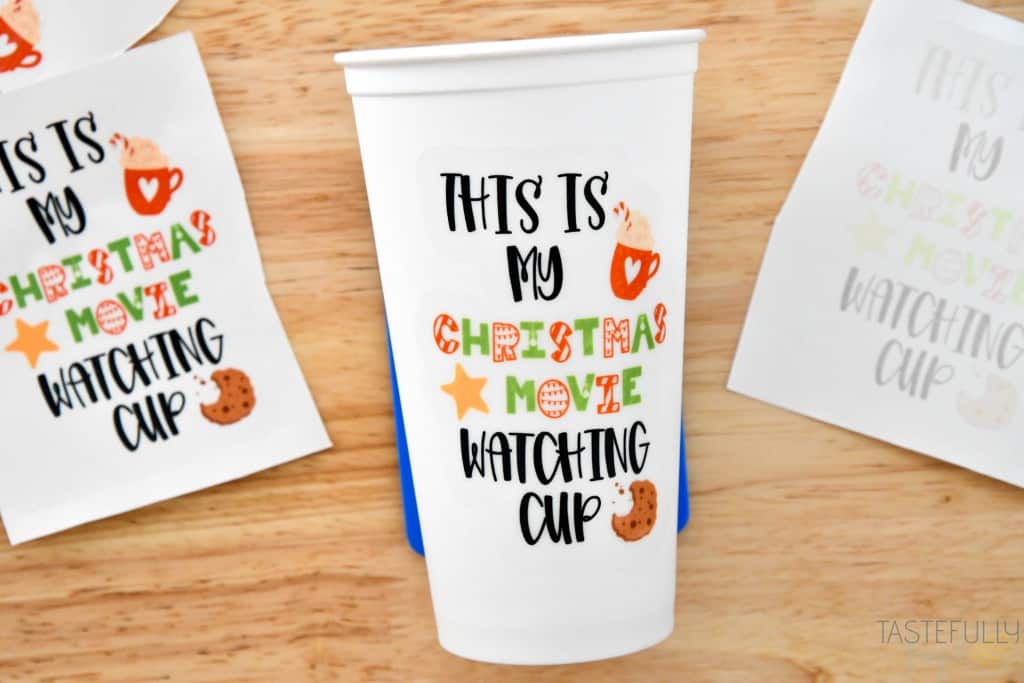
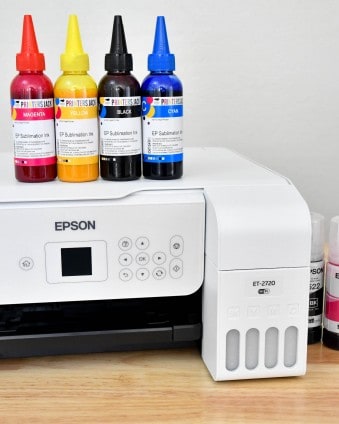
The more sublimation projects the more I realize how much I love it (and how easy it is)! Over the past six month since converting my Epson ET-2720 for sublimation (you can read all about how to convert an Epson printer for sublimation in this post) I have probably made over 100 projects and am still amazed every time when I pull the paper back.
The thing I love most about sublimation is how lasting the projects are. You don’t have to worry about the colors fading away when your project gets used or washed. It’s a game changer not only for your shirts, tumblers and mugs but for projects that you can’t heat up too!
What Kind of Vinyl Can You Sublimate On?
You can sublimate on both HTV and adhesive vinyl materials. Not all but some. This post will go over doing sublimation on adhesive vinyl. I have a post coming up in the next few weeks on sublimation on HTV too.
To be able to sublimate on vinyl it needs to be a permanent vinyl (not removable) and either white or clear. It can be glossy or matte, that doesn’t make a difference. Some of the types I’ve tried sublimation on and had good success with:
Why Sublimation Instead of Printable Vinyl?
This is a great question… sublimation on adhesive vinyl looks just like printable vinyl (or sticker paper), why do sublimation instead of that? The biggest reason for me is that sublimation on vinyl is waterproof while printable sticker paper isn’t. Yes, you can add a UV layer on top to make it waterproof but that’s extra supplies you have to buy.
Speaking of costs, adhesive vinyl is quite a bit less expensive than printable vinyl. For example, my favorite StarCraft printable vinyl is $12.99 for a 10 pack. You can get a 5ft roll of StarCraft HD Permanent Vinyl for $2.85.
Permanent vinyl is just that, permanent. As long as you let your project sit for 72 hours before using, that permanent vinyl can stay on for years! Printable vinyl just doesn’t have that longevity.
What Supplies Do I Need To Do Sublimation on Vinyl?
If you’re already doing sublimation it’s likely you already have everything you need for doing sublimation on vinyl. Here is a full list of everything we will be using to make these Christmas Movie Watching Hot Beverage Cups:
- Sublimation Paper and Sublimation Printer (or you can buy pre-printed sublimation designs if you don’t have a sublimation printer)
- Avery Permanent Vinyl in Clear
- Parchment Paper
- Heat Resistant Tape
- Spray bottle with water
- EasyPress or Heat Press (while the temperature setting is lower for vinyl, 350F instead of 400F, a household iron still won’t get that hot.)
- Sublimation Design – click here to get the This is My Christmas Movie Watching Cup or Mug design for FREE
- Blank to put it on – We are using these Hot Beverage Cups
If you’re shopping at 143Vinyl, use code TF5 to save 5% site wide.
How To Use Sublimation on Vinyl
You can check out my full YouTube tutorial for making these mugs, and some other fun holiday gift ideas you can do with sublimation, below.
When you are doing sublimation on vinyl you don’t necessarily have to use a cutting machine to cut the vinyl. You can cut an oval or rectangle (or any other shape) that is just a bit bigger than your sublimation design. For this project I did upload the design into Cricut Design Space and added a .26″ offset.
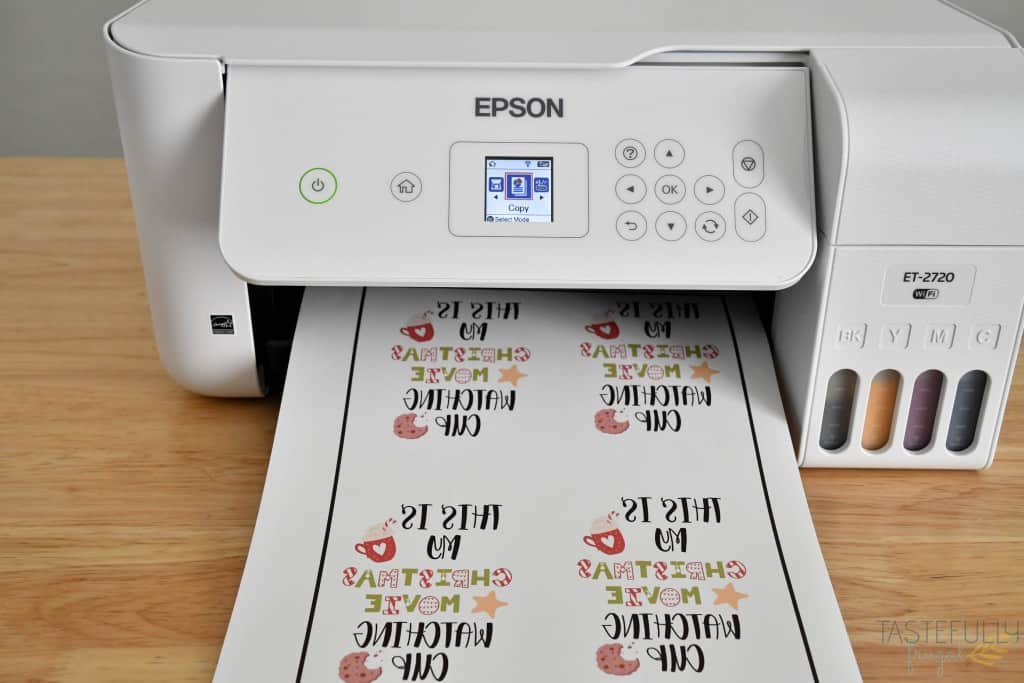
Measure the size of your cup, or whatever blank you’re using, and size your sublimation design to fit. Print your sublimation design and make sure you MIRROR your design.
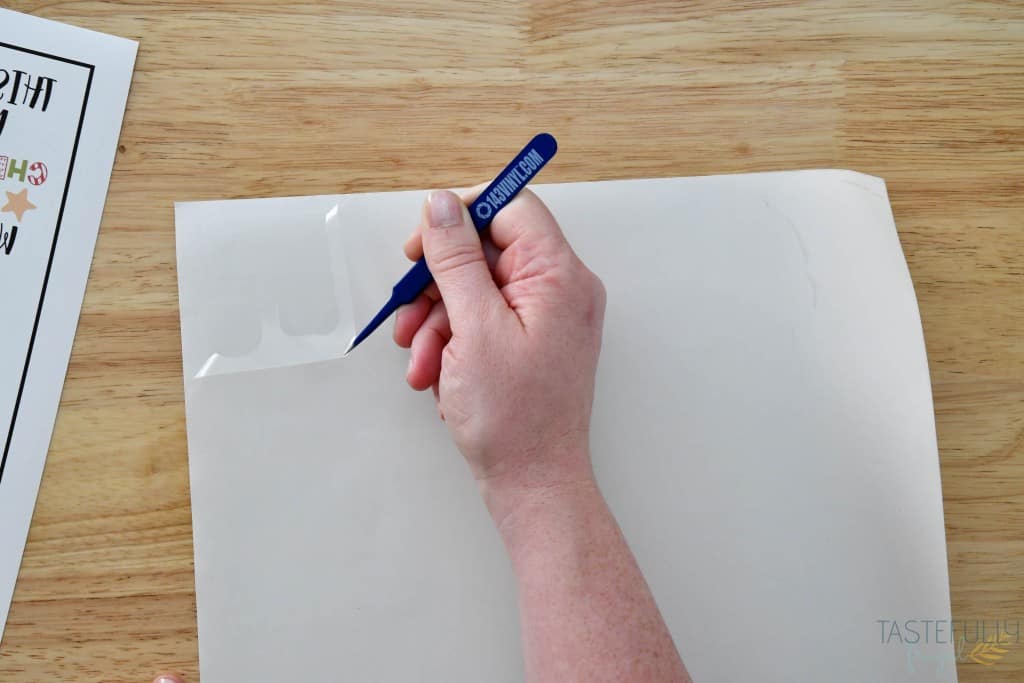
Weed away your the extra vinyl you won’t be using so you can tape your sublimation design on to the backer of the vinyl.
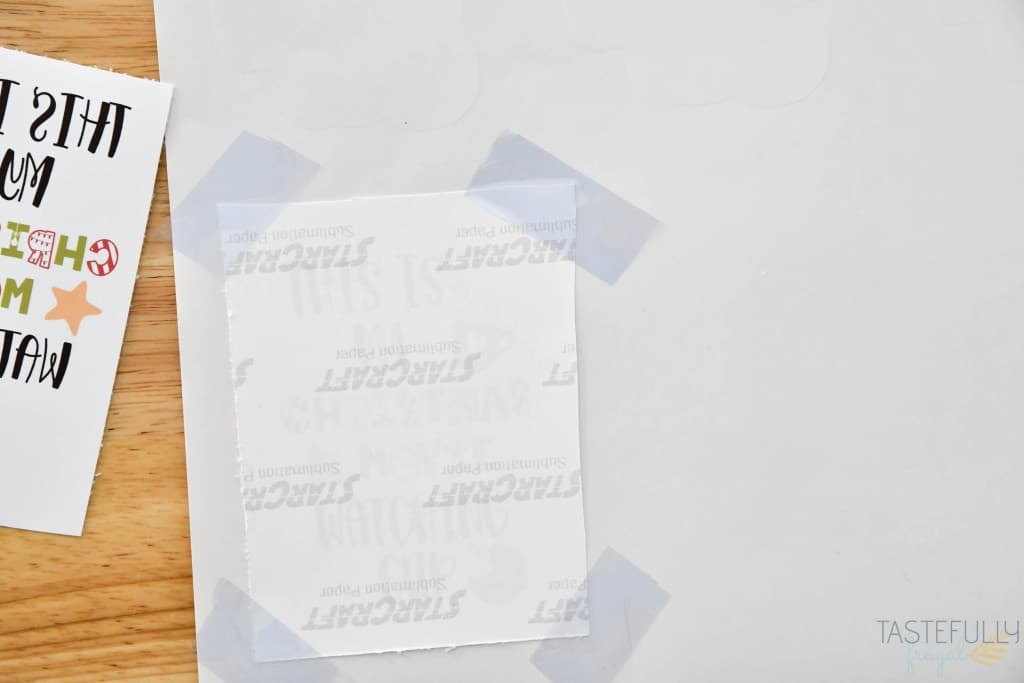
Use heat resistant tape to tape your sublimation design on to your vinyl. Make sure the design is facing the vinyl.
Preheat your EasyPress or heat press to 350F for 30 sec.
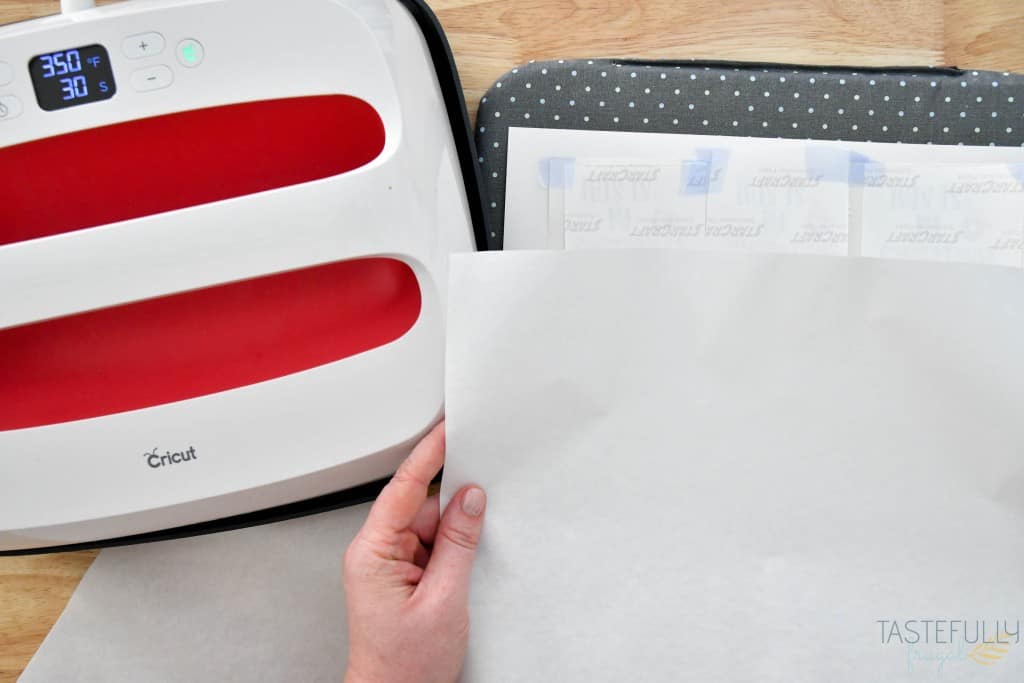
Put a piece of cardstock down to protect from bleeding. You’ll also want to put two sheets of parchment paper on top of the vinyl to protect the heat plate from blow out.
Press with firm pressure for 30 sec. Pull back parchment paper and make sure you can see the design through the back of the paper. It shouldn’t be as bright as the finished project but it also shouldn’t be really faint. The picture above is how dark you want it. If the design isn’t showing through, put the parchment paper back over top and press again for 10-12 sec and check again.
Let vinyl completely cool before removing the sublimation paper.
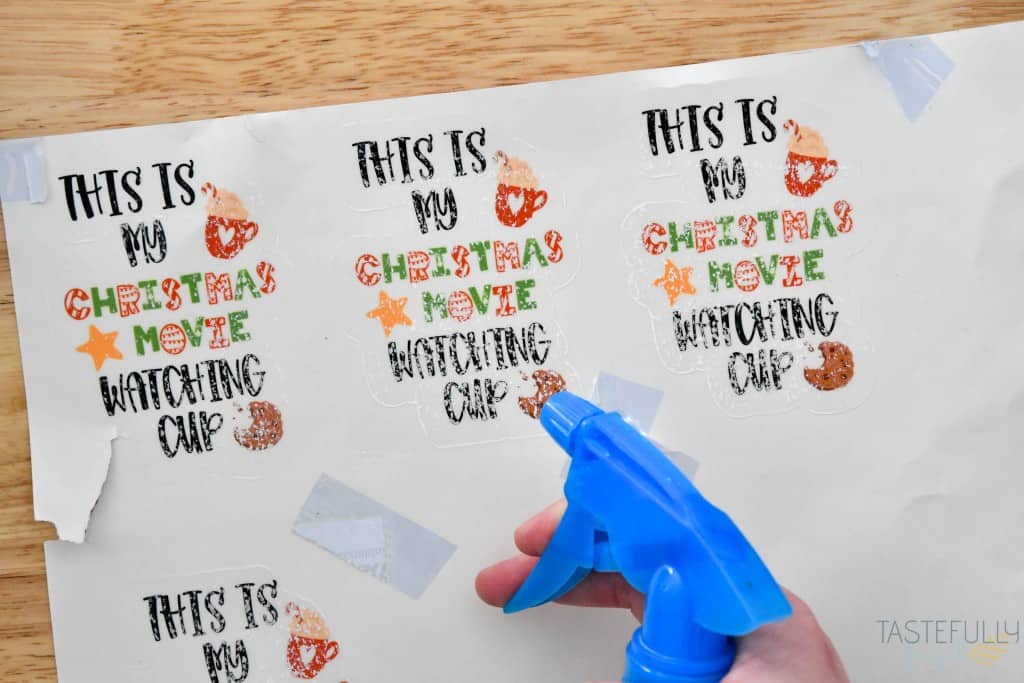
You’ll likely have paper residue left on the vinyl at this point. Use a spray bottle with water and a paper towel to wipe off the paper.

Place your design on your cup (or whatever blank you’re using).
Christmas Movie Watching Gift Ideas
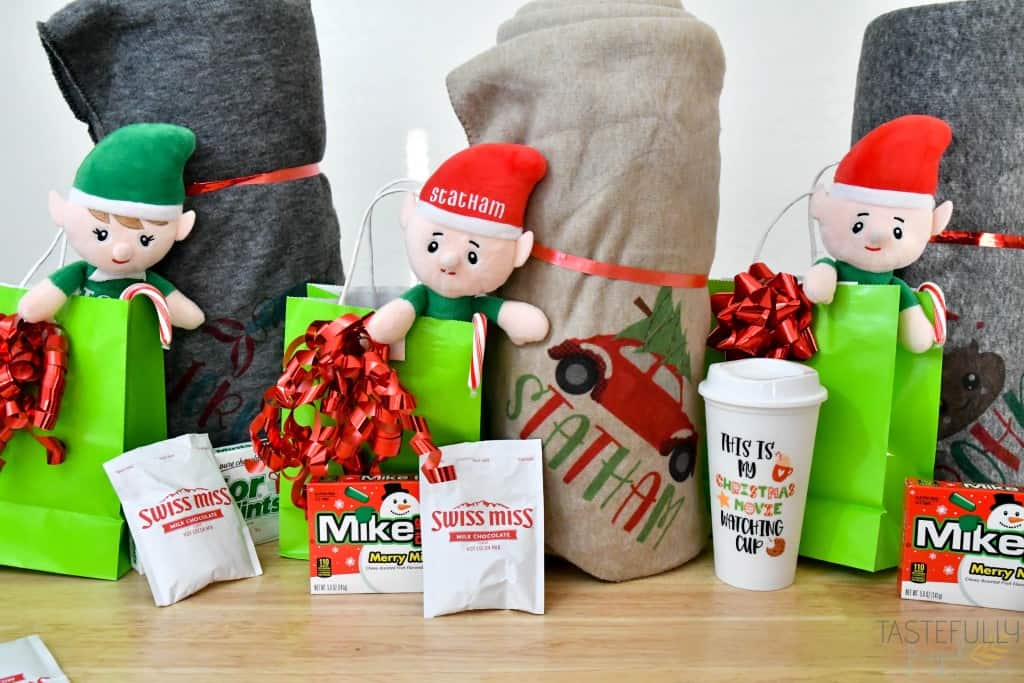
I made these cups to include with a sublimation blanket, elf and some goodies and surprised my kids with a Christmas movie watching party this last weekend. These would make great Christmas eve gifts too!
I hope you found this post helpful. If you have any questions I didn’t answer, please leave them in the comments and I’ll get back to you as soon as I can. To check out more sublimation tutorials and craft projects, be sure to subscribe to my YouTube channel. If you want to see the day to day life behind the scenes, and lots of project inspiration, give me a follow on Instagram or Facebook.


Leave a Reply