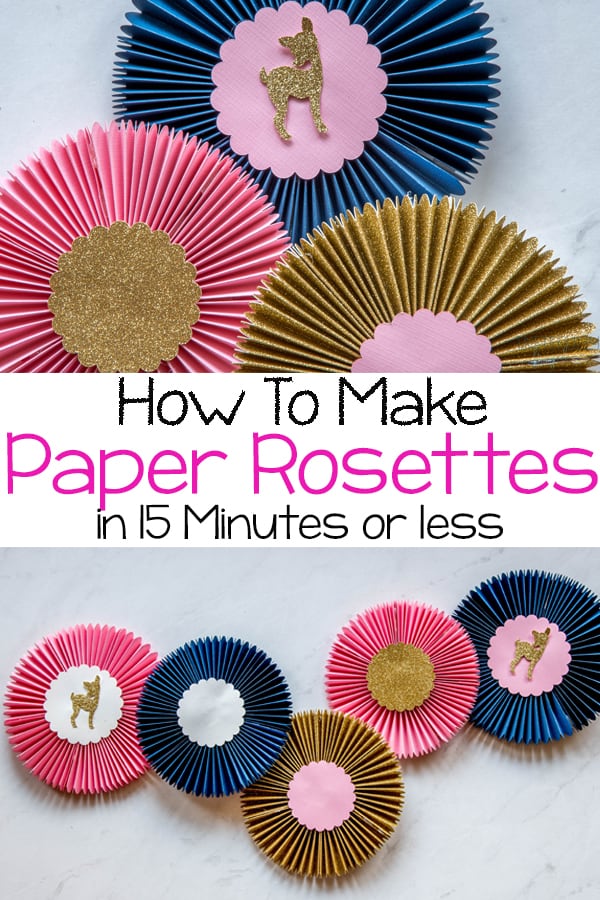
Learn how the Cricut Maker and Scoring Wheel makes creating paper rosettes quick and easy!
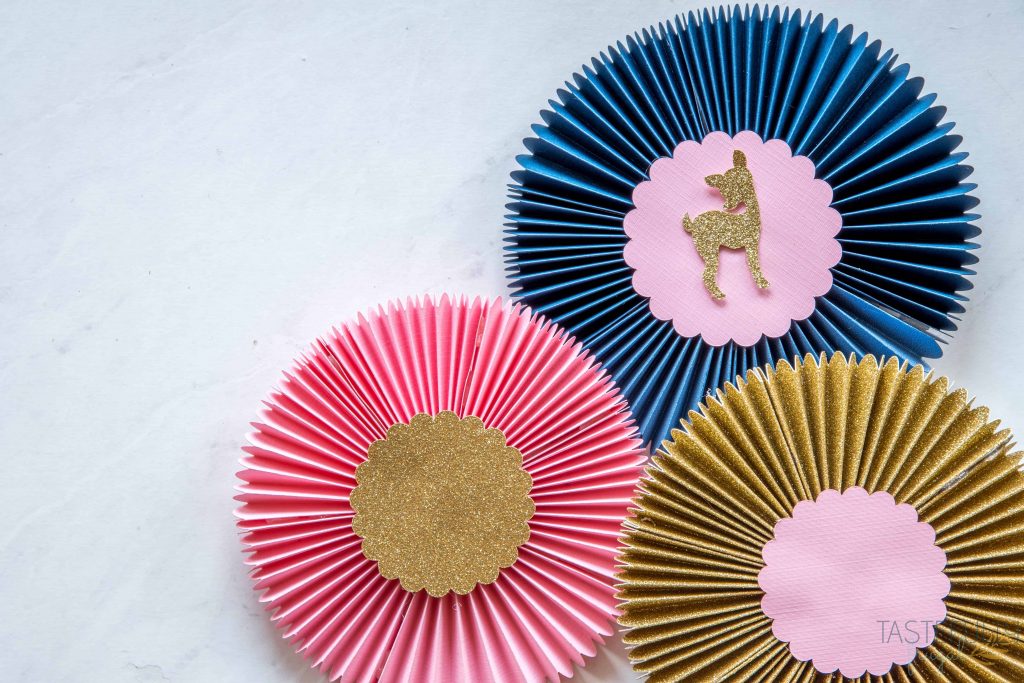
I have some super talented friends that throw the best parties. I’m always amazed at not only all the food and fun but also the decorations. I’ve wanted to make the paper rosettes they have for their backdrops but thought they were too hard to make. But not anymore!
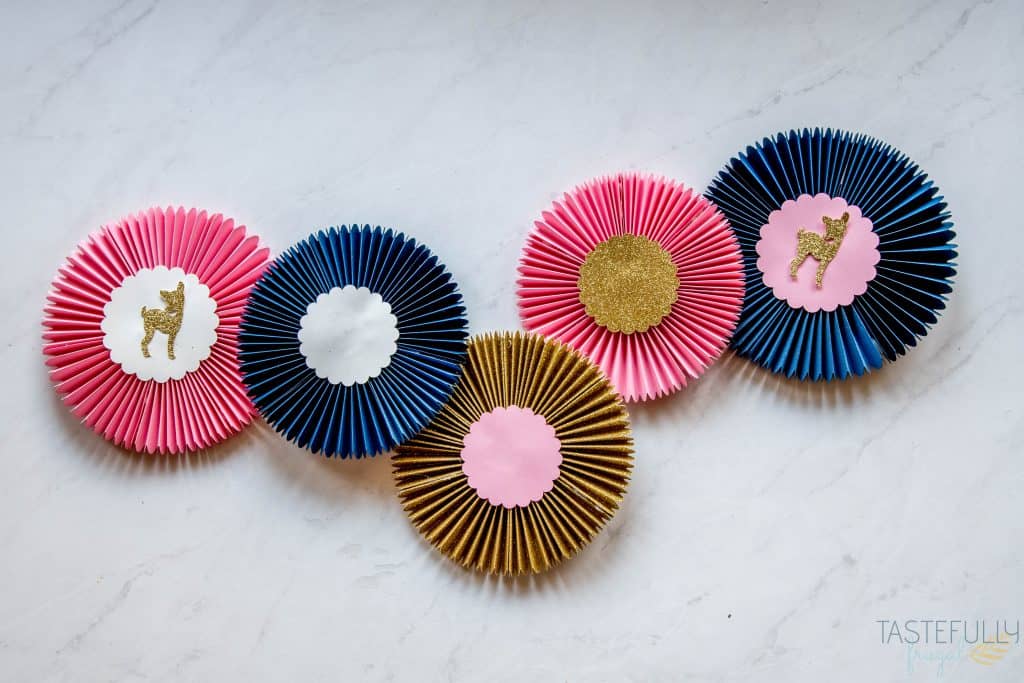
How To Make Paper Rosettes – The Easy Way
Thanks to Cricut, making paper rosettes has never been easier! There are several different designs in Design Space to choose from. Pair your favorite design with the Scoring Wheel and Maker and you can have paper rosettes made in 15 minutes or less!
How To Change The Size of Your Paper Rosettes
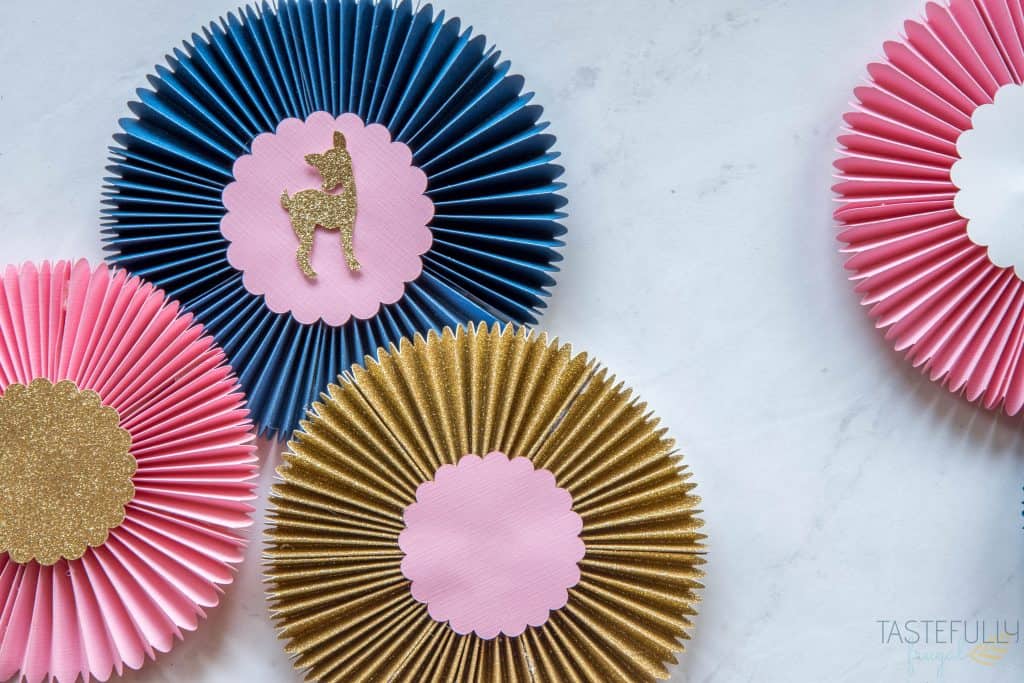
If you want to make your rosettes bigger (or smaller) you’ll want to change the width of your design. The larger rosettes that I made were 11.5″ long and were about 6″ in diameter when they were put together. If you want larger rosettes you can use 12″x24″ cardstock with the long LightGrip mat.
Best Type Of Paper For Rosettes
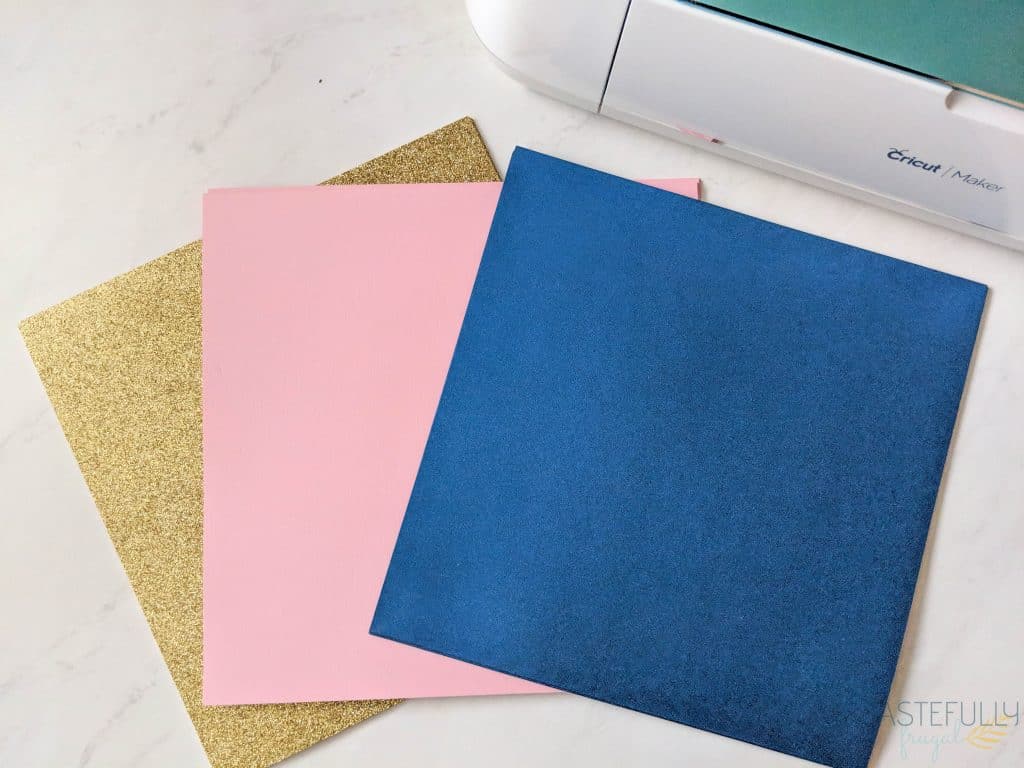
Since I found out how easy these rosettes were to make I’ve made quite a few. I’ve found the best material to use to make them is a medium 80lb cardstock. Regular paper rosettes were a little too flimsy in my opinion. Glitter cardstock, which are pictured here, are fun but a little harder to fold. BUT I will say the Double Scoring Wheel does a great job at creating deep crease lines that don’t crack when you fold them.
If you’re making a lot of rosettes you should check out the colors available on Cricut.com. You need two pieces of paper/cardstock for each rosette and that can add up at 99¢ a piece if you buy your paper in store. You can buy a 20 pack on Cricut.com for $9.99 PLUS if you need to get some other supplies you can save 10% and get FREE shipping when you use code TFRUGAL10 at checkout.
Supplies Needed For Paper Rosettes
In addition to your cardstock (or paper) you’ll need some sort of adhesive to put together your rosettes. I used Glue Dots to put together each individual piece and hot glue to put the whole rosette together. I’ve seen people use glue for everything, or hot glue for everything and they turned out just at great! Use whatever you have and like to work with.
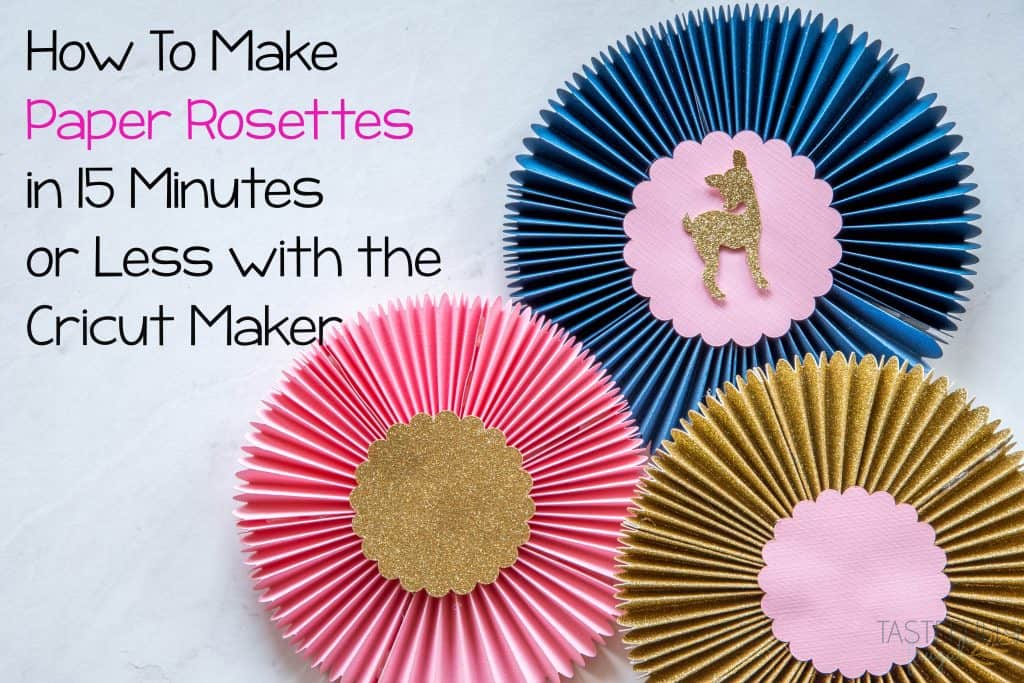
Paper Rosette Tutorial
SUPPLIES:
Cardstock – I used navy, pink, white and glitter gold
Glue Dots (or any adhesive)
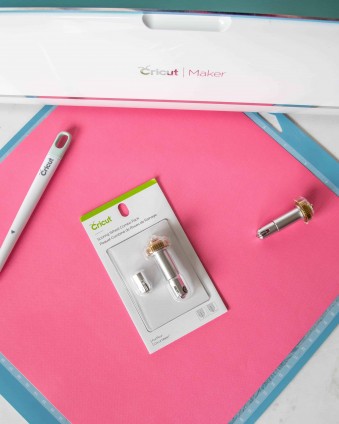
Scoring Wheel (you’ll want the combo pack if you’re doing regular and glitter cardstock)
DIRECTIONS:
Open up this design in Design Space.
Send to cut and load your LightGrip Mat with the first color.
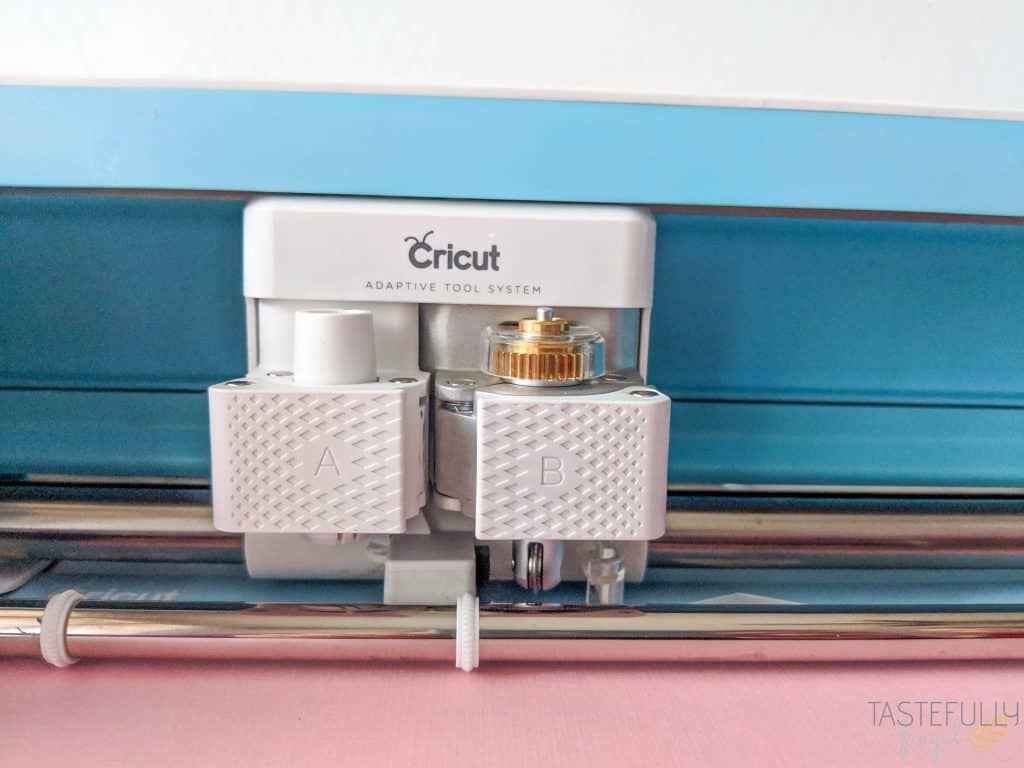
Select your material from the materials menu on the next page and make sure you have the right tool in your B clamp. I started with the white cardstock so I didn’t need the scoring wheel.
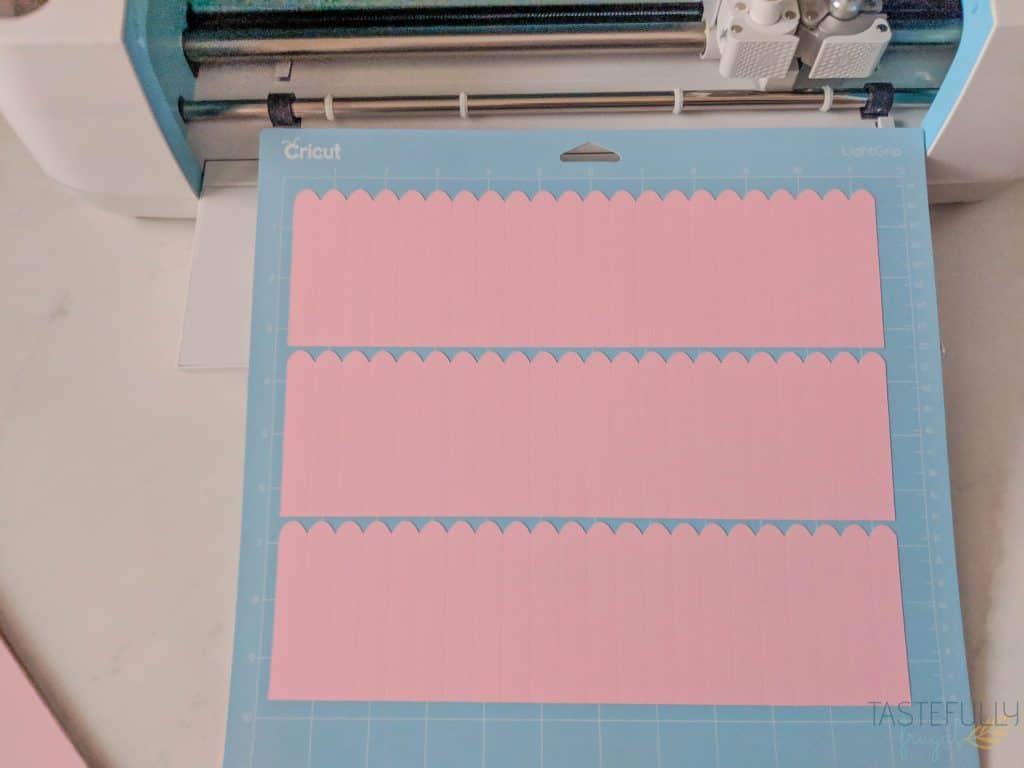
Cut all your pieces out. Pay attention to the on screen prompts on to what tool you need in the B clamp. For the long rosette pieces you’ll need the Scoring Wheel in the B clamp first.
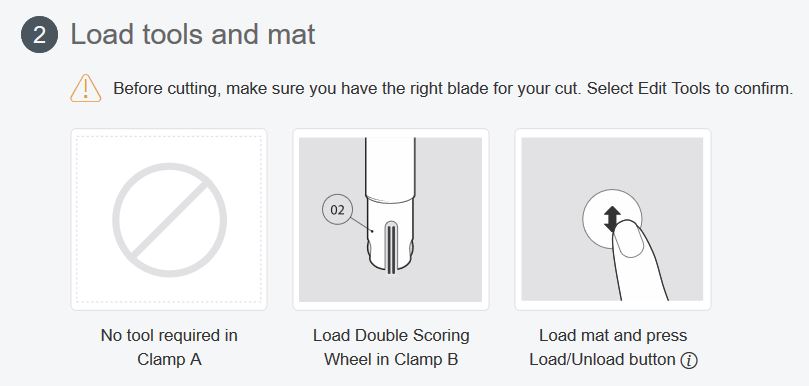
- When you are cutting glitter cardstock it will prompt you to use the double scoring wheel. For more information on the scoring wheels and how to change between the single and double tips check out this post.
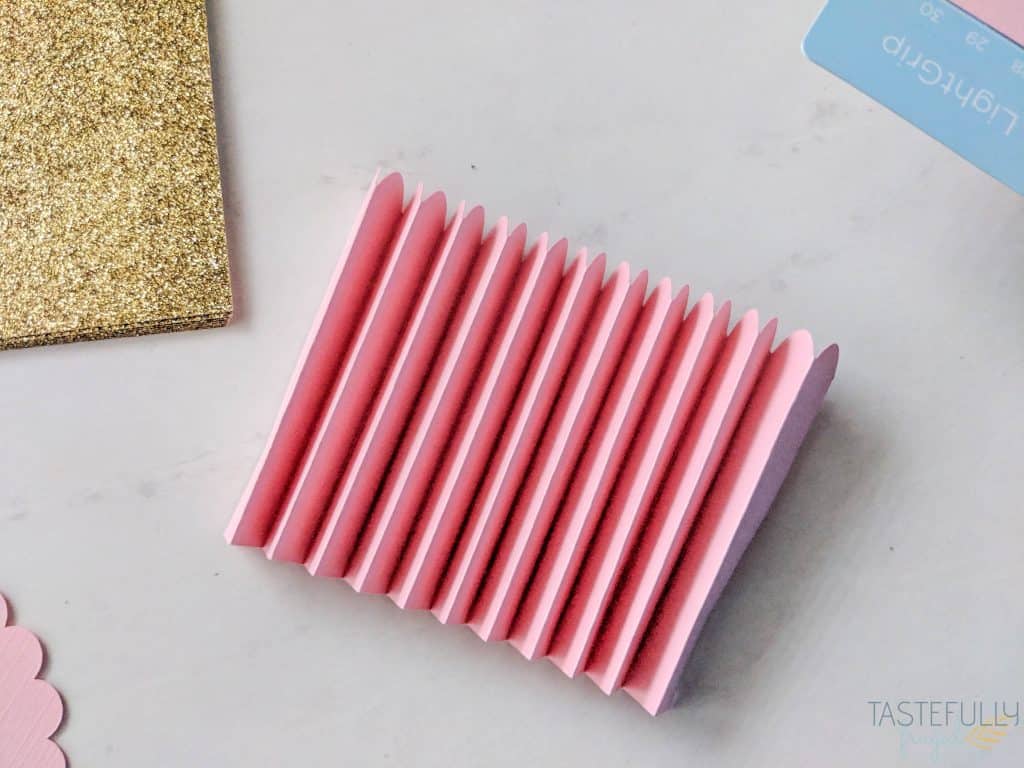
Once all your pieces are cut you’ll want to start folding the long pieces. Fold on the fold lines going back and forth so you have a fan looking strip when you’re done.
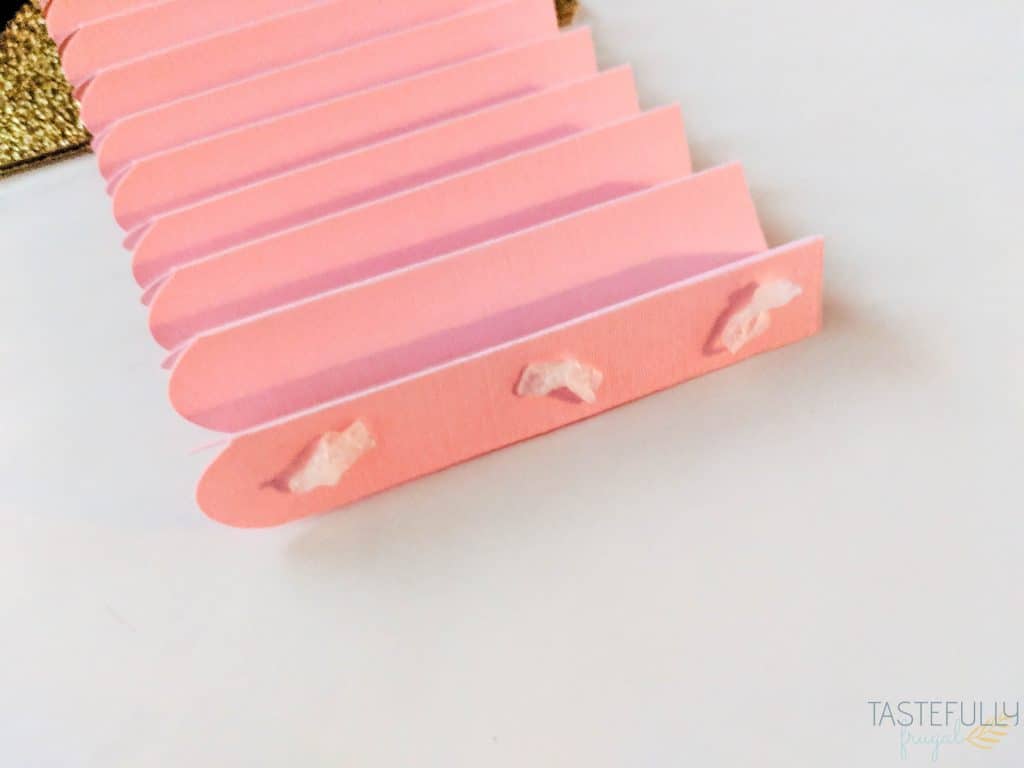
When all your pieces are folded you’ll attach them all by using Glue Dots. I used 3 for each piece.
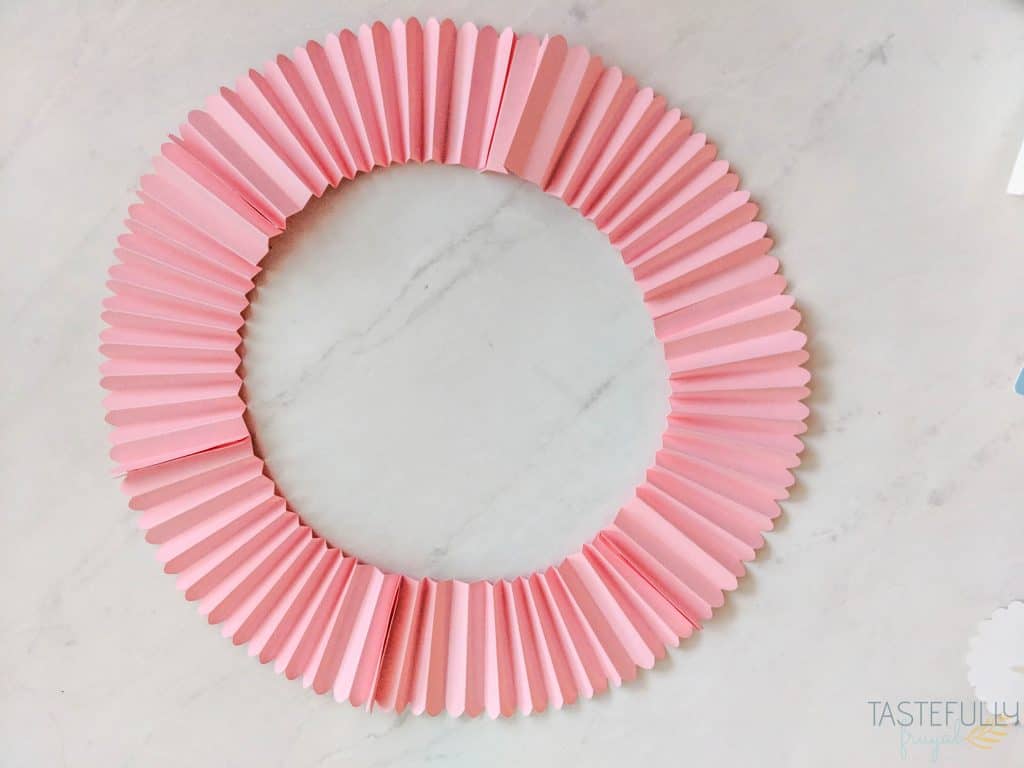
Once all 6 pieces are attached, lay them flat in a circle and start bringing them together. You’ll want to slowly gather each piece on the inside circle until you have them all gathered together and you have your rosette shape.
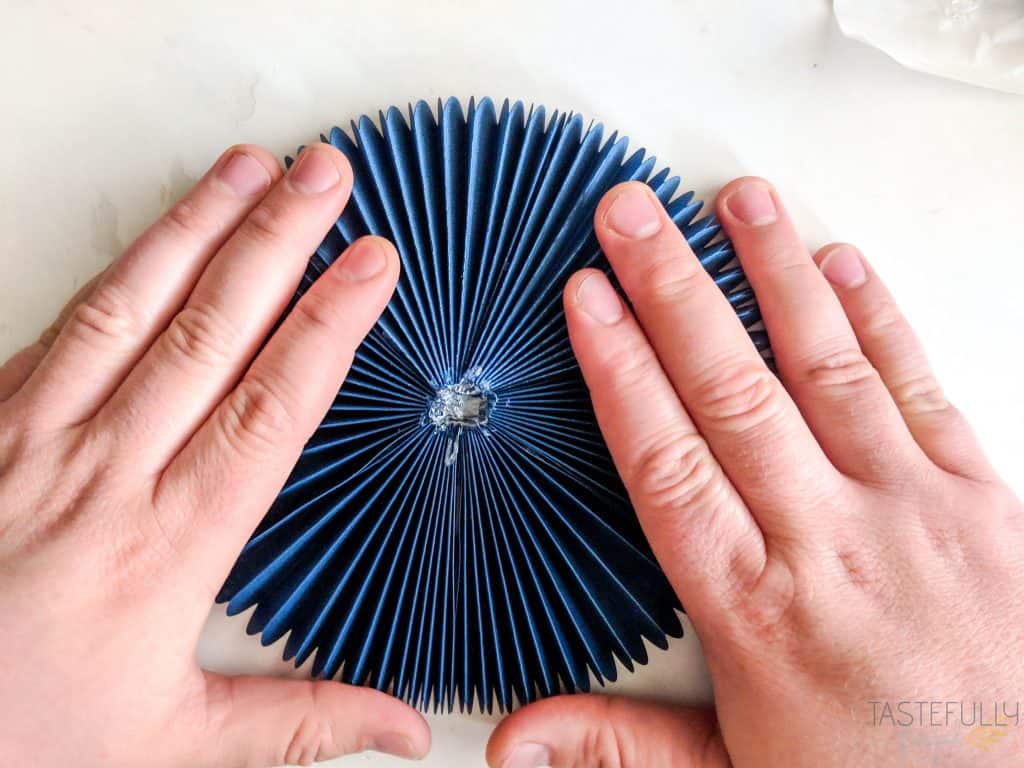
Put hot glue around the outside of the inner circle and attach your center piece. If you have design for your center piece (like the deer on mine) you’ll want to attach it to the center piece before you attach the center piece to the rosette. Hold until it dries for a minute or so.
Turn over rosette and fill the inner circle with hot glue. Use a popsicle stick or old pencil to try to get glue into the folds. Hold for 1-2 minutes to let dry.
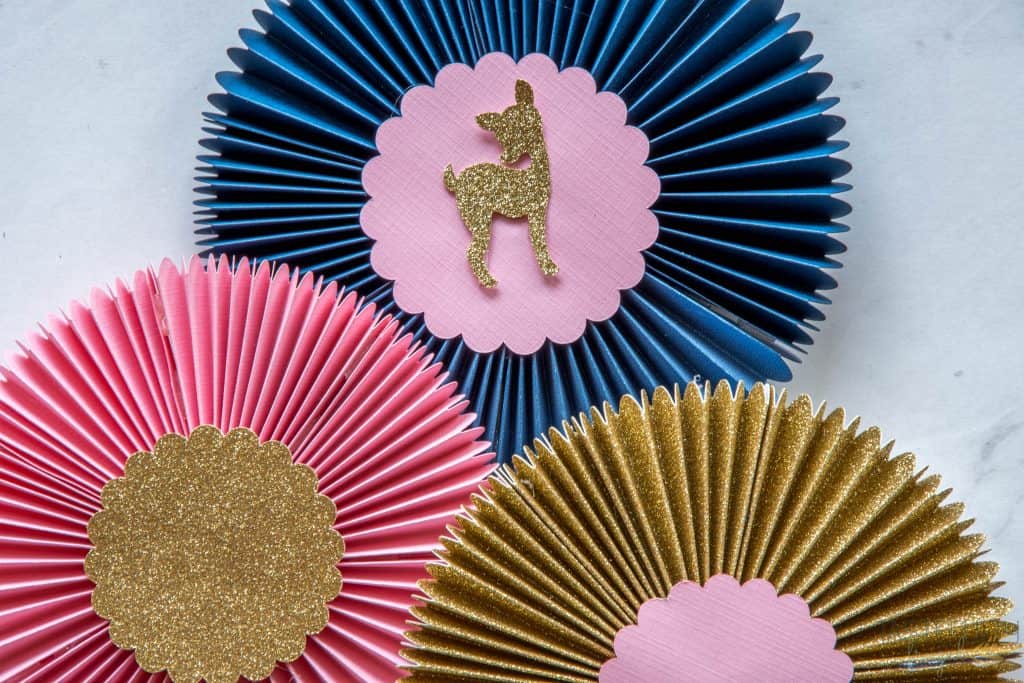
There you have it! Beautiful party decor you can customize to whatever your theme. If you’d like to check out more ways you can use your Cricut check out these posts! Need help with your Cricut? Join our Cricut Support Facebook Group!
This is a sponsored conversation written by me on behalf of Cricut. The opinions and text are all mine.


Leave a Reply