Learn everything you need to make flawless Infusible Ink Coasters every time!
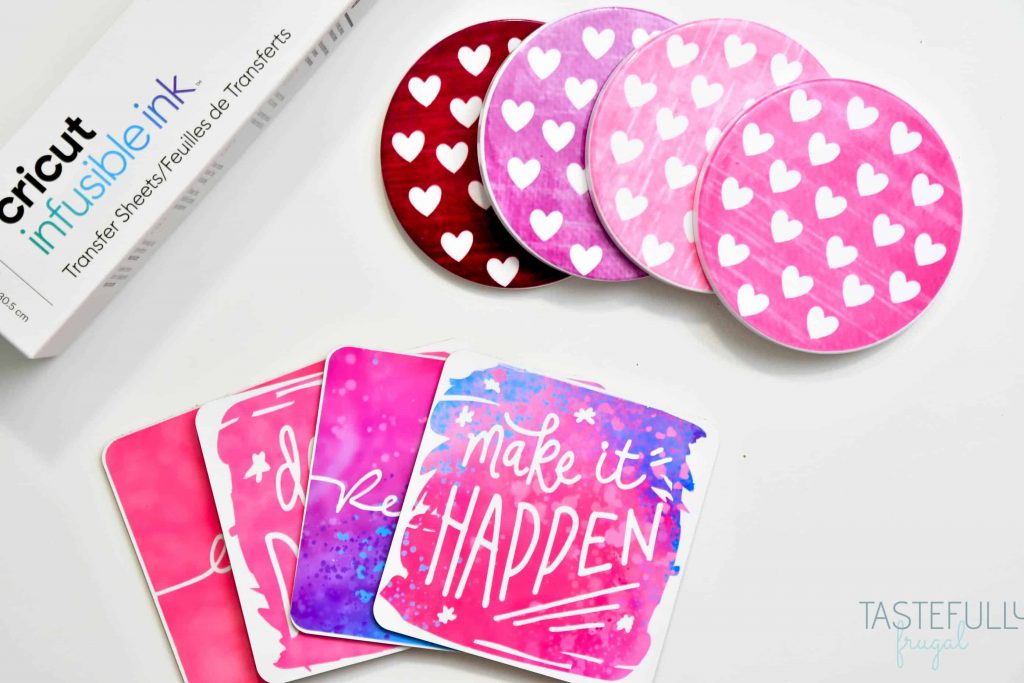
By now you all know my love for Infusible Ink! I’ve made everything from tote bags, to my baby’s first onesie and even last minute birthday party outfits for my boys. But I’ve made more coasters than anything!
I love having a craft room now and big craft table. I also love me some Mt. Dew. And I don’t want my love of Mt. Dew to ruin my love for my craft table so coasters save the day! And I have to make coasters for each season/holiday right?! Like I can’t use my Halloween coasters for Valentine’s Day! I’ve made 10 or more sets of coasters and have learned a few things. So today I’m sharing those with you!
What Coasters Can I Use With Infusible Ink?
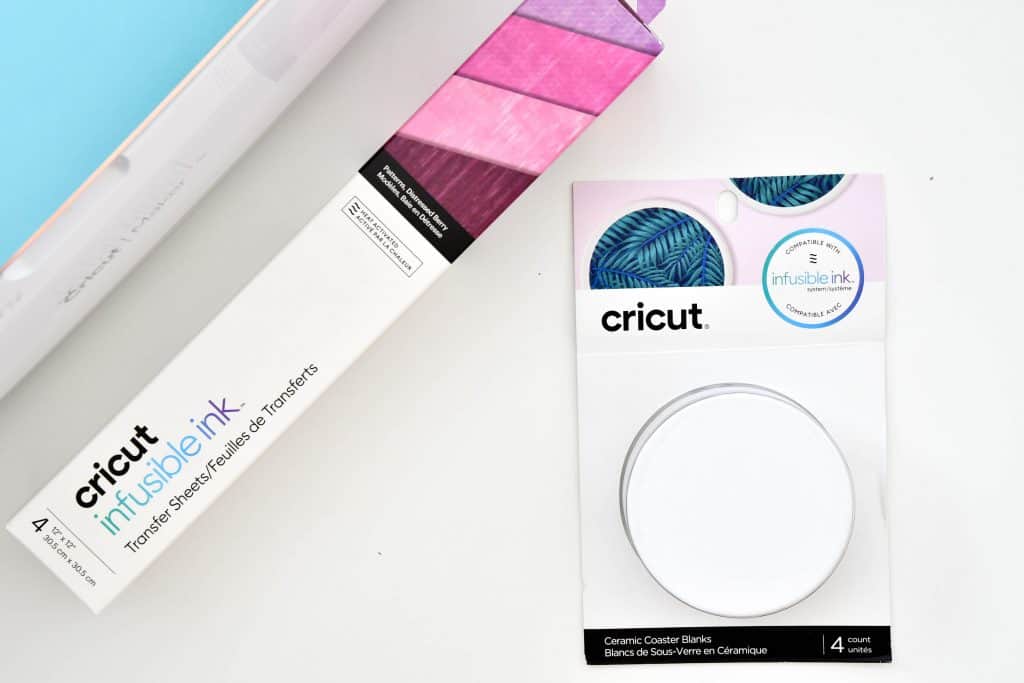
I’ve only had the chance to use 3 types of coasters with Infusible Ink and they all worked great! I’ve used both Cricut’s ceramic coasters and square coasters and these round cork coasters I found on Amazon. I personally love the square coasters the best!
How Big Of Design Do I Need For Infusible Ink Coasters?
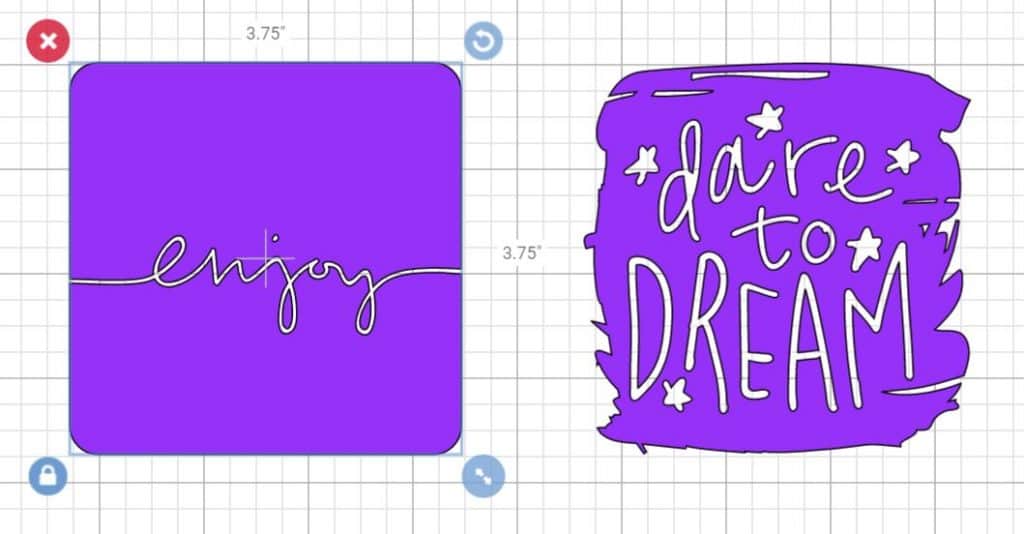
I’ve made the mistake of making designs too small (or big) and while they still turned out good they looked a little off. I’ve found that I get the best results when I stick to the following sizes for the overall design:
- Square Coasters – 3.75″ wide
- Round Coasters – 3.5″ diameter
Meaning you want the total width, or diameter to be exactly the sizes above to have them fit perfectly on your coaster.
What Do I Need To Do To Prep Infusible Ink Coasters
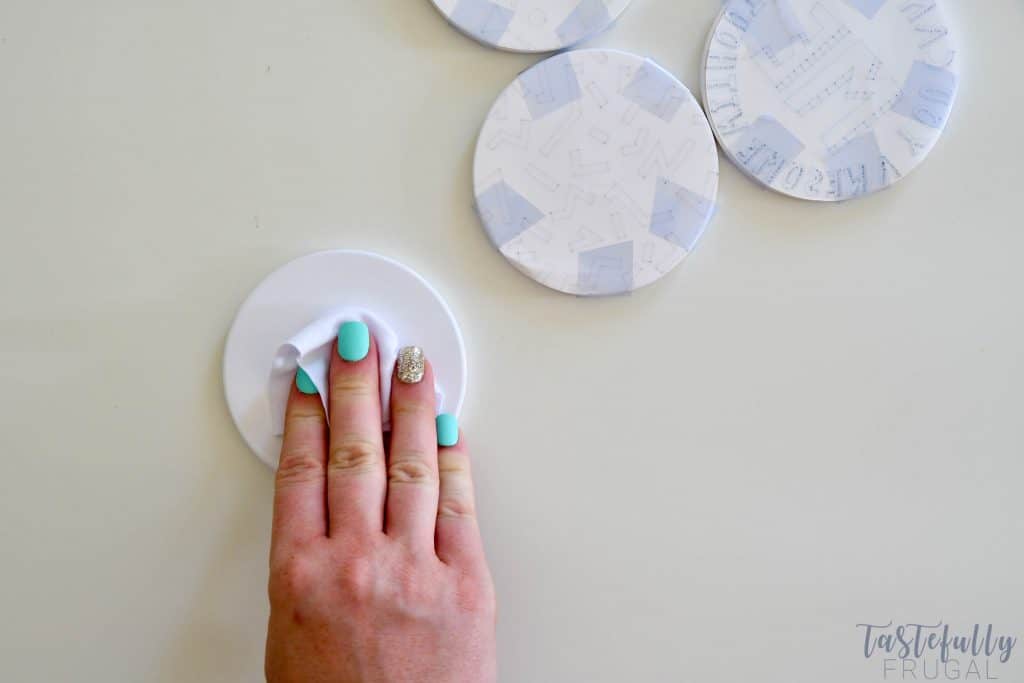
Really the only thing you need to do to your coasters before you put you Infusible Ink on them is to prep them with a lint free cloth. If you’re using Infusible Ink transfer sheets, there is a cloth inside the package. If you’re using the pens, I’ve used these cloths and they work great too.
You’re probably wondering what happens if you skip this step? There is a chance that nothing may happen but I’ve forgotten to do it twice and both times I had fading in spots from specks of dust that was on the coasters.
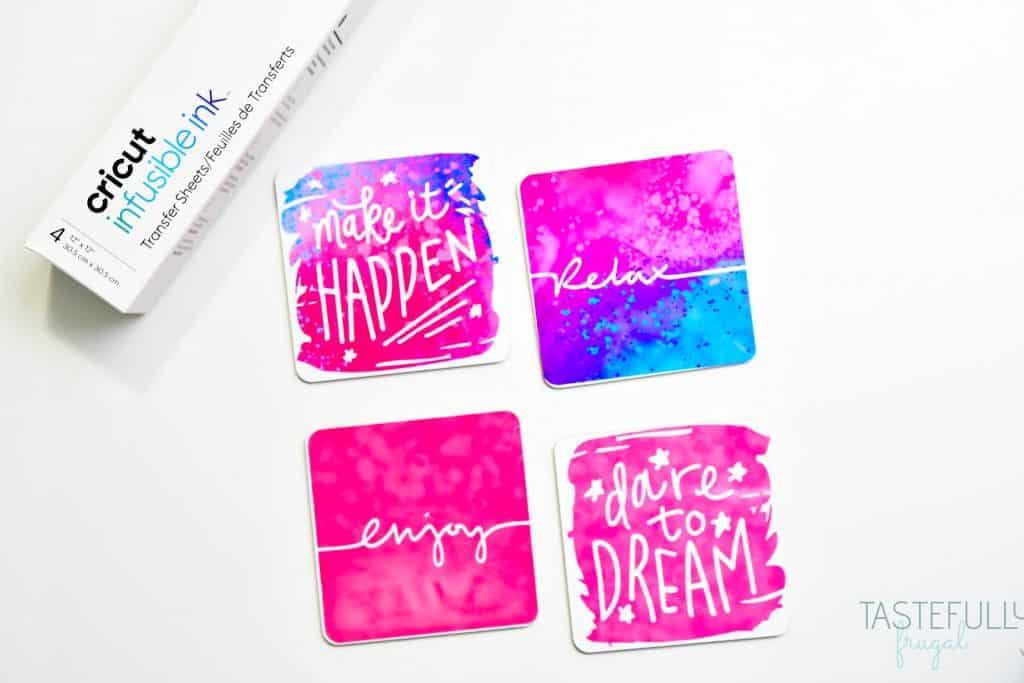
How Do I Make Infusible Ink Coasters?
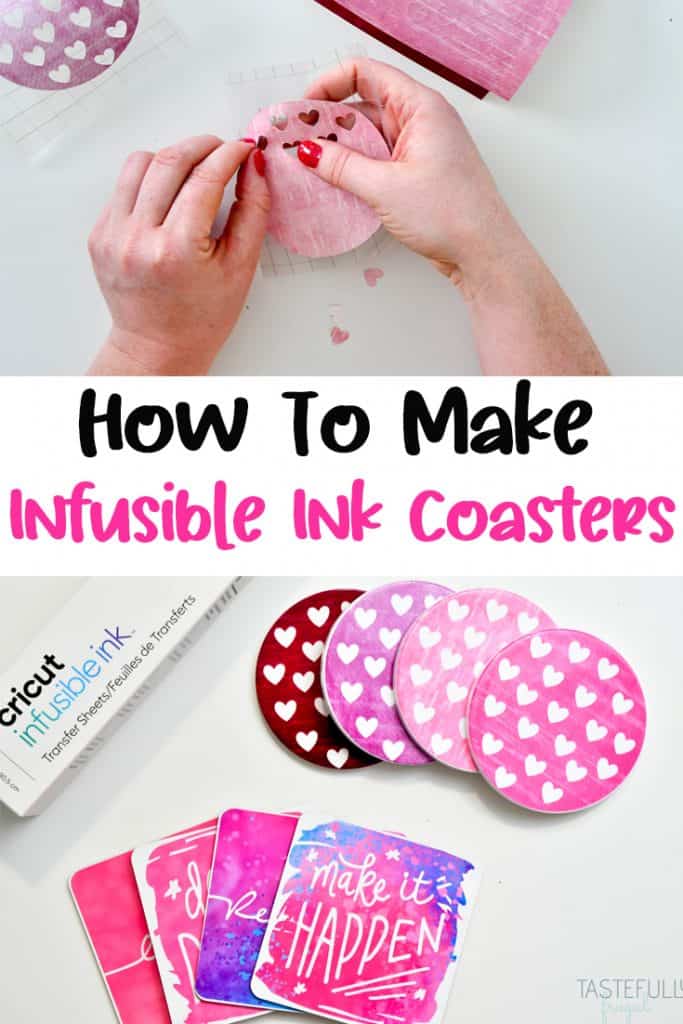
So now we’ve talked about what coasters to use, how big to make your designs and what to do to prep your coasters now let’s talk about how to make them! If you want to make these square coasters, here is the Design Space link for them. This is the Design Space link for the round heart coasters.
SUPPLIES:
Coasters (I used Cricut square and round ceramic coasters for this project)
Infusible Ink Transfer Sheets (I used Watercolor Splash for the square and Distressed Berry for the round)
Cardstock (to protect your EasyPress mat)
Butcher Paper (comes with Transfer Sheets)
Lint Cloth (comes with Transfer Sheets)
Cricut Machine (Explore Air 2 or Maker)
If you need to get Cricut supplies and you’re shopping on Cricut.com, use code FRUGAL to save 10% and get FREE shipping on all $50+ orders. That’s on top of the 10% discount Cricut Access members get automatically!
DIRECTIONS
Open up designs in Design Space (or make your own) and make sure to MIRROR your images on the preview mat.
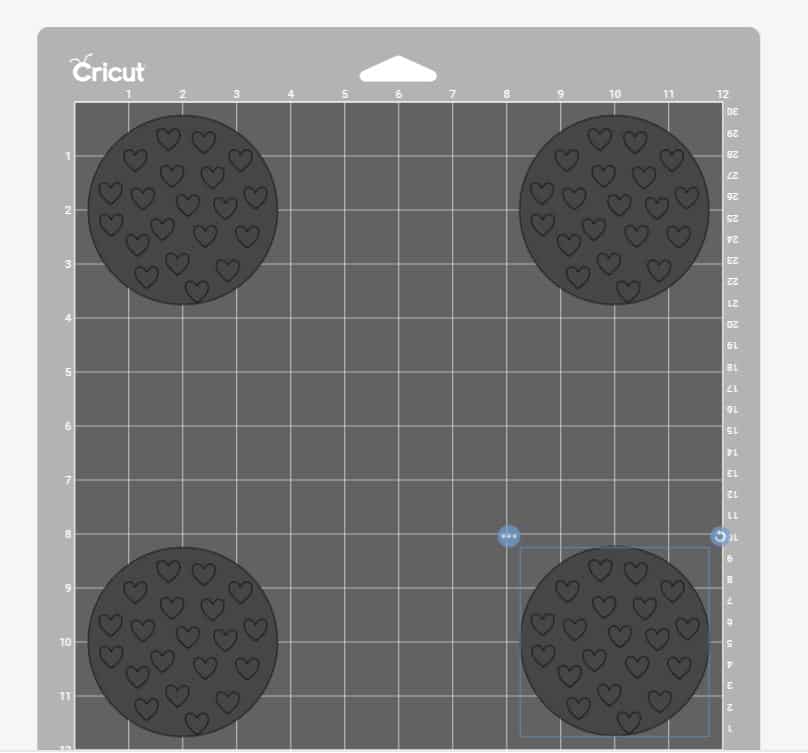
If you’re like me and want different colors on your designs you can move each design on to the same mat and then cut down your transfer sheets and put them in each corner. To move the designs, click the design and place it anywhere on the mat.

On the next screen select INFUSIBLE INK TRANSFER SHEETS from the drop down menu.
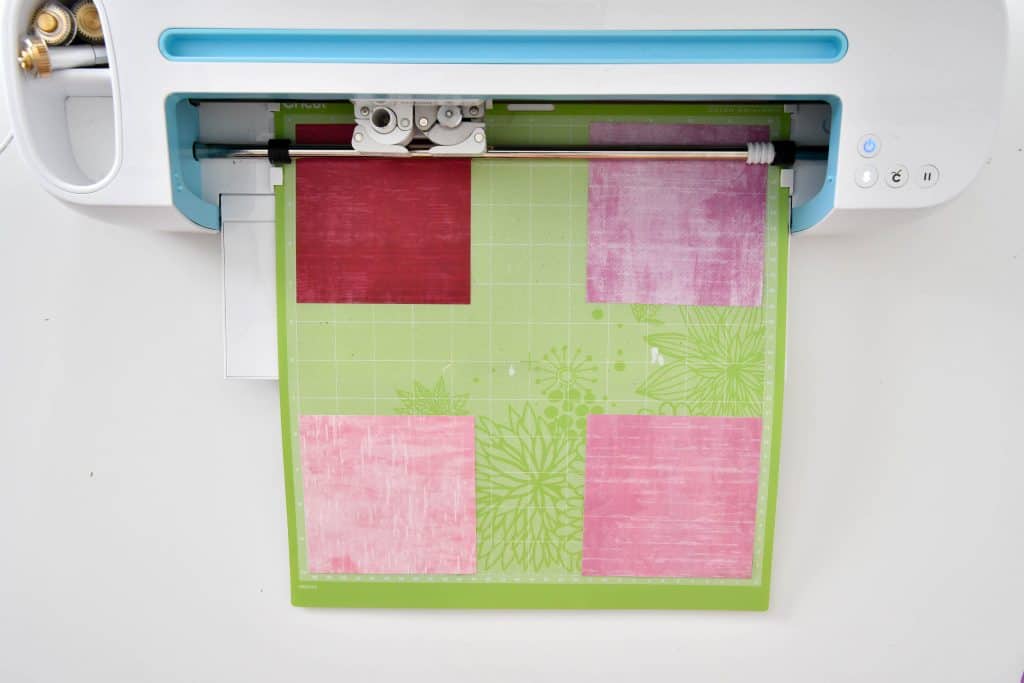
Load sheet on mat, color side up. Load mat into machine.
Cut out designs.
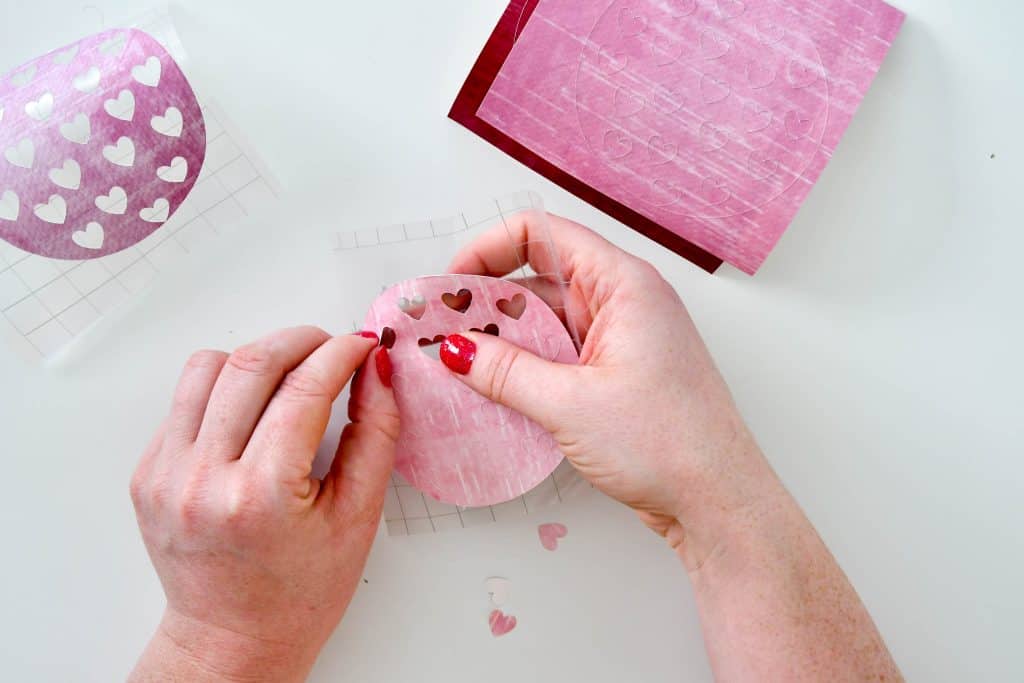
Use your fingers to weed design. NOTE DO NOT USE WEEDING TOOLS WITH INFUSIBLE INK. If you use the weeding tools, it can leave ink on your backing which will transfer to your coasters when you press it.
Preheat your EasyPress 2. 385°F for the square coasters, 400°F for round.
Clean your coasters with a lint free cloth.
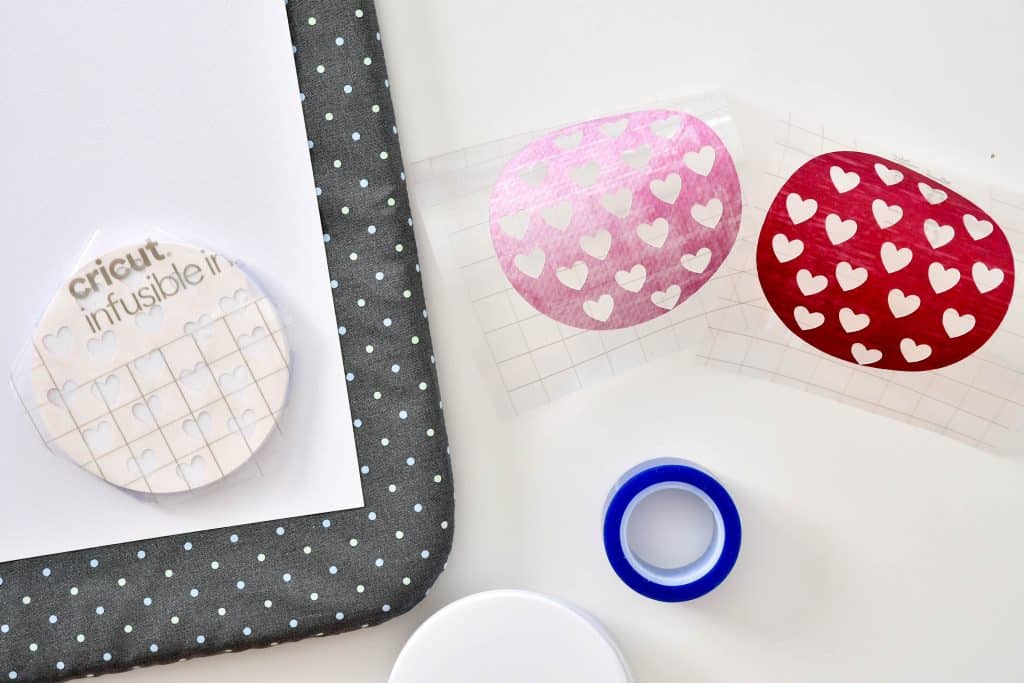
Place your Infusible Ink designs on to your coaster face down. Use heat resistant tape to secure to coaster to ensure design doesn’t move. NOTE MAKE SURE HEAT RESISTANT TAPE ISN’T COVERING ANY OF YOUR DESIGN. If it’s covering your design you won’t get a full transfer where the tape is covering and it will look faded.
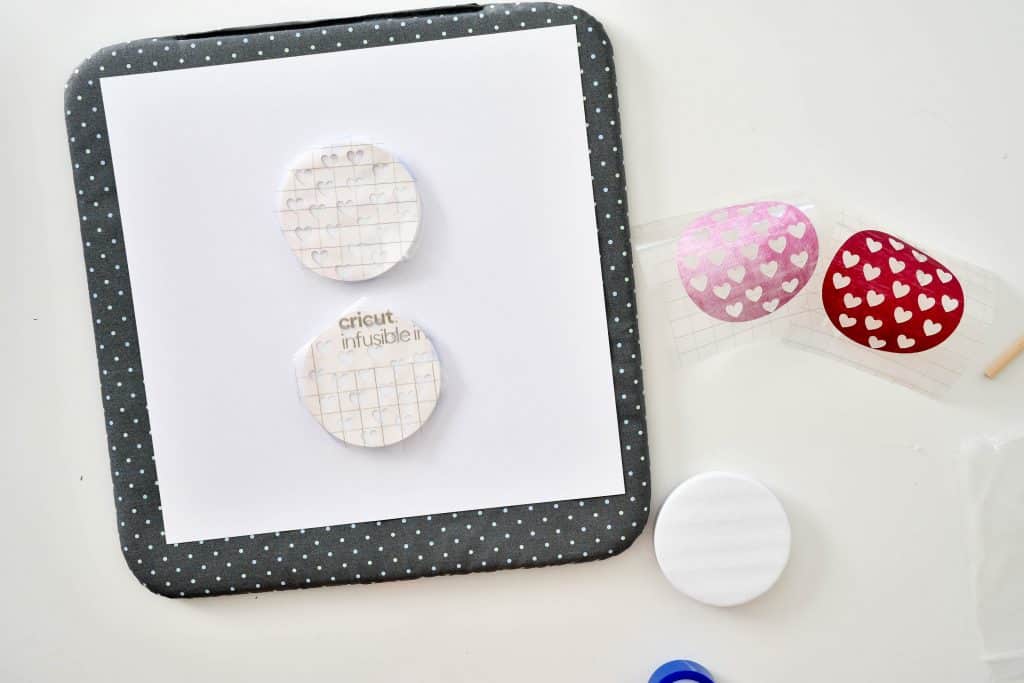
Put cardstock on EasyPress mat and then coasters design side up on top of cardstock.
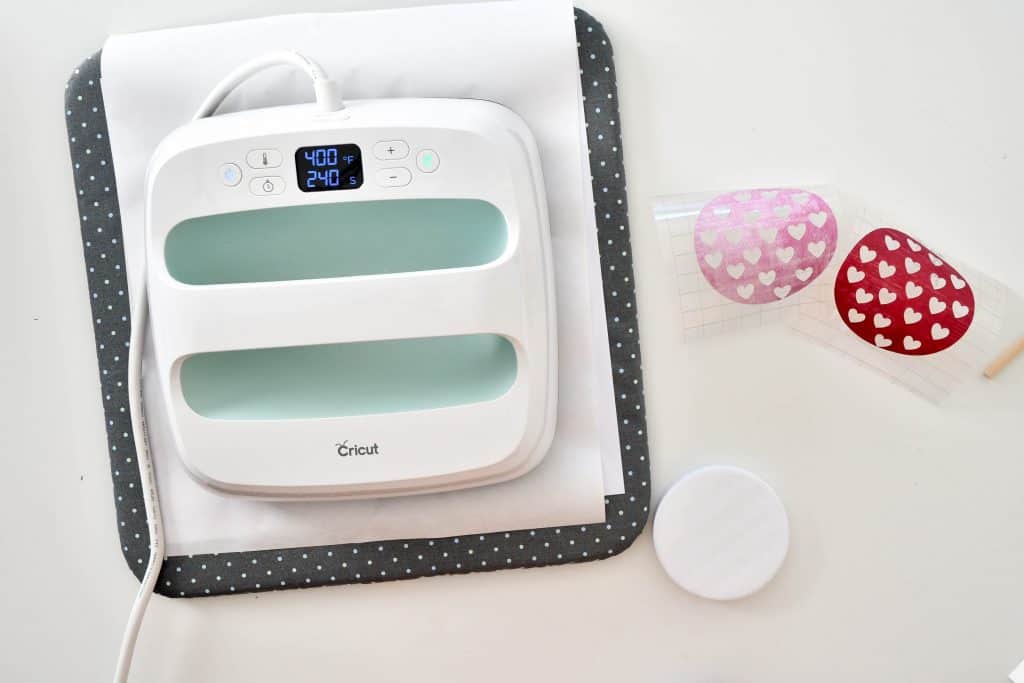
Place butcher paper over coasters. Put EasyPress 2 on top of butcher paper and press the Green C button for go. NOTE DO NOT MOVE EASYPRESS 2 AFTER YOU’VE PLACED IT ON TOP OF THE COASTERS. Time for the square coasters is 40 seconds. Time for the ceramic round coasters is 240 seconds.
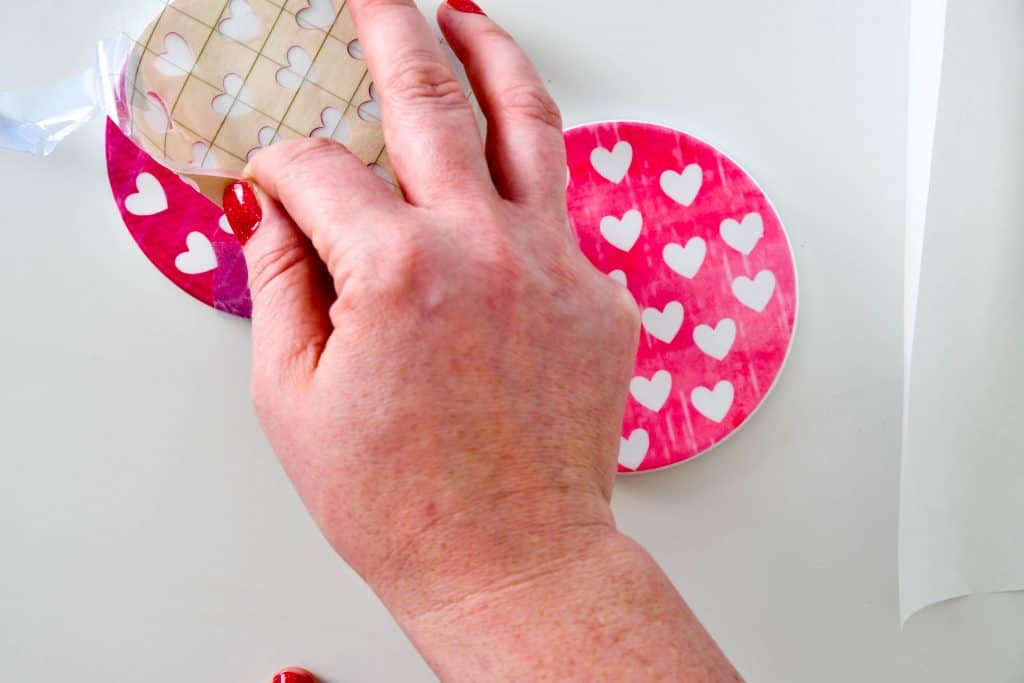
Remove EasyPress 2 and butcher paper. Let coasters cool for 1-2 minutes before peeling back backing.
I love making Infusible Ink coasters for my office and also to give as gifts! Have you made Infusible Ink coasters before? If you’d like to check out more ways you can use your Cricut check out these posts! Need help with your Cricut? Join our Cricut Support Facebook Group!


Cindy Boyer says
Hello,
My name is Cindy and I purchased the all seasons Craftfest pass. I’ve been working on trying to make the coasters in your sample, the retirement. My problem is that I can’t get the “slice” feature to be useable. It remains greyed out and unavailable. Please help. I’m sure I’m missing a step.
In Design Space I found the square coaster you did. I added that and the svg file you provided. I ungrouped your file and added to the square coaster after I removed the circle like you did. I then selected each individual coaster and center both ways. The slice feature wasn’t ever available.
I do get a little lost when you slice it twice too.
Cheerfully,
Cindy Boyer
[email protected]
Sydney says
Hi Cindy! Make sure that the image or phrase you are trying to slice is welded together so it’s only one layer. You can only slice two layers at a time. When you upload the designs into design space they will have multiple layers at first. SO you’ll want to select the full SVG design and then click weld. Then you should be able to slice the design from the coaster square. Let me know if that doesn’t work.