I received a BrightPad from Cricut in exchange for my review. As always all opinions are mine alone.
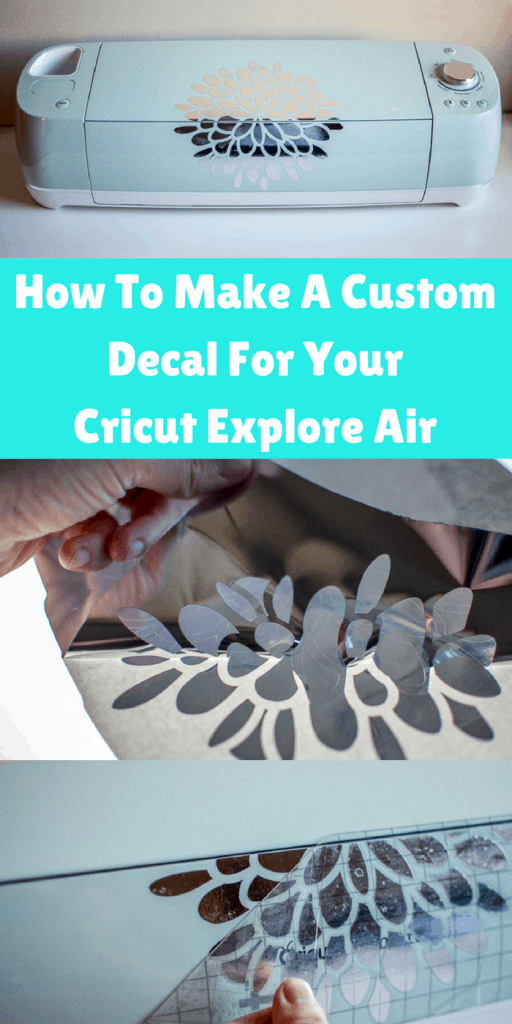
Add some color and pizazz to your Cricut Explore Air 2 with vinyl and making the weeding easier with the new Cricut BrightPad.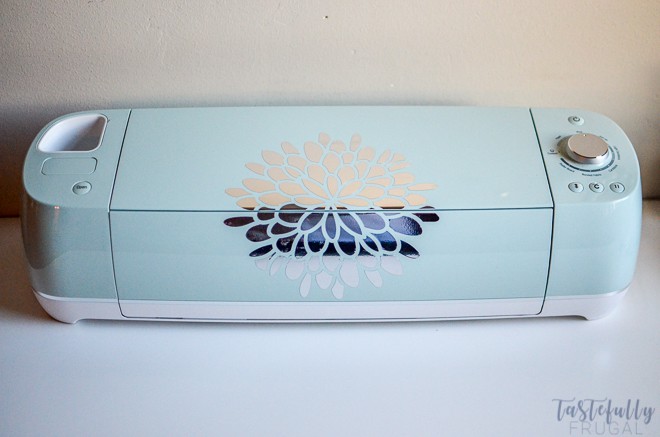
I’ve had my Cricut Explore Air 2 for just over a year now and, while I’ve used it for 100’s of projects I have yet to decorate Explore Air 2 itself. I’ve seen people who have put cute sayings or characters on their Explore Airs; some even put their business or blog names on them. While they all look good it just wasn’t me. Then one day when I was looking up designs on lovesvg.com I came across these cute flowers and I new they would be perfect for Explore Air 2. And with my new BrightPad it would be easy to weed the smaller pieces.
Supplies:
Essential Tool Kit (you’ll need scissors, weeder, scraper and trimmer)
Directions:
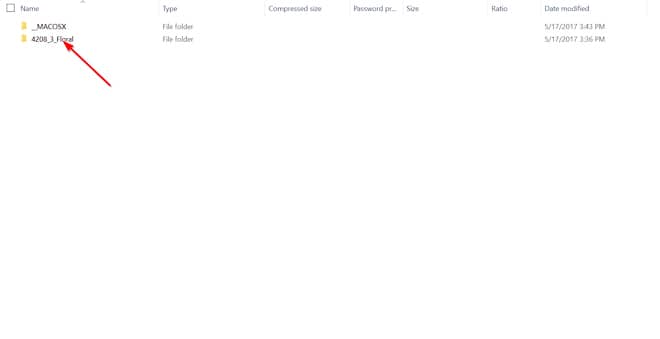 Download the 3 Floral SVG from lovesvg.com. In your download folder on your computer open the zip file (4208_3_Floral) and click the folder that has the same name.
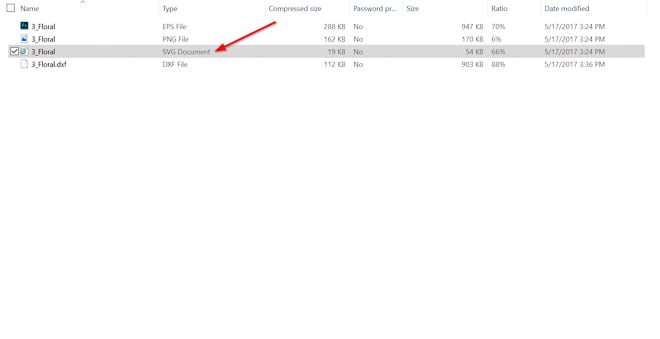 Select the SVG file and move to desktop.
 Open your Cricut Design Space and select New Project. Click Upload.
 In the upload menu select Upload Image.
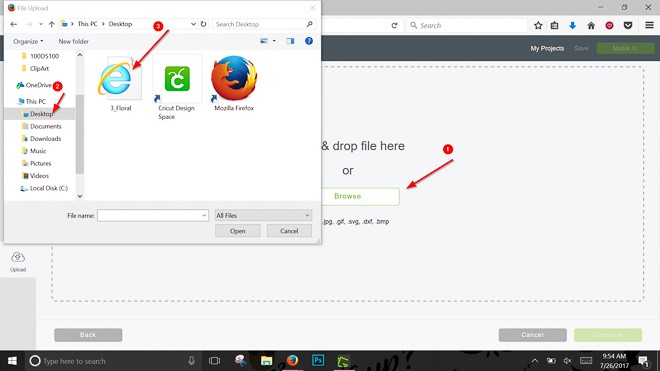 On the next screen select Browse, and then select desktop in the little window that pops up. Next select the SVG file that says 3_Floral.
 In Design Space the preview image will come up. On this screen click the green Save button in the bottom right corner.
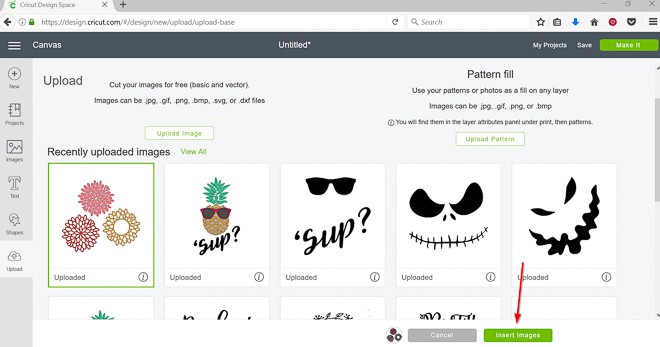 In the upload menu select the 3 flowers design and then click the green Insert Image button in the bottom right corner.
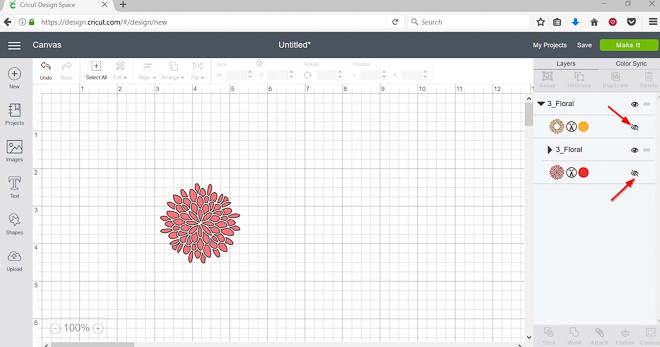 Once you have your flowers in design space you’ll want to decide which one you want on your Explore Air (I chose the pink one). Make the other 2 flowers not visible by clicking on the eye to the right of the design.
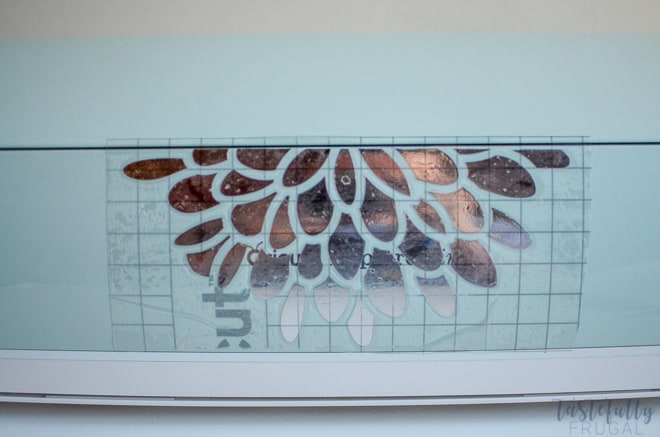
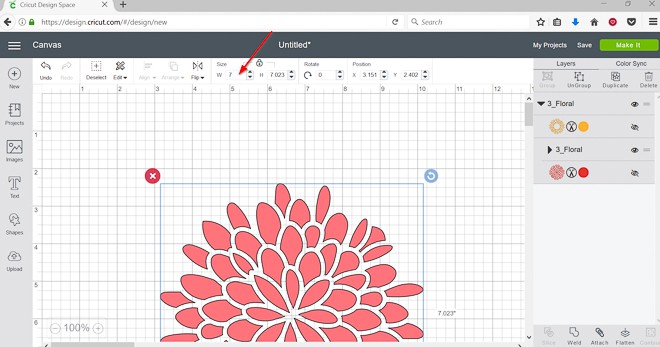 Change the width of the single flower to 7 and send to the mat.
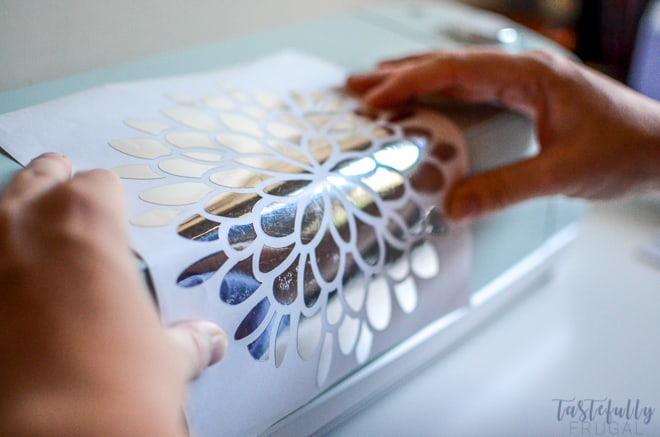
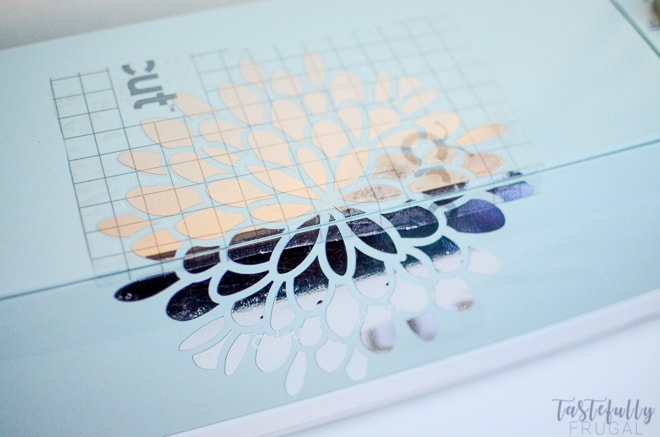
Attach adhesive foil to cutting mat and press the flashing C.
Once design is made cut around design to remove excess vinyl.
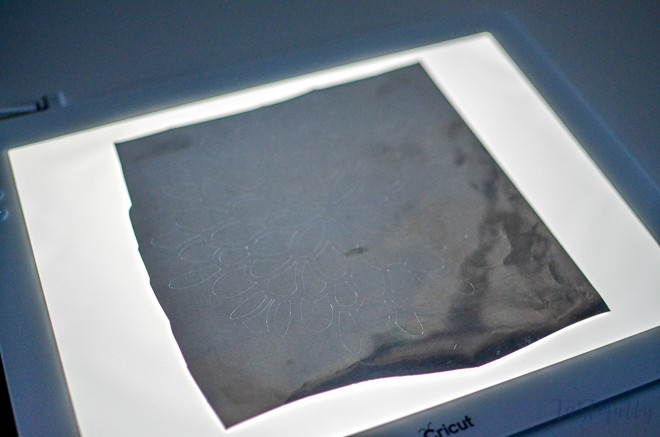 Place design on your Brightpad and hit the power button.
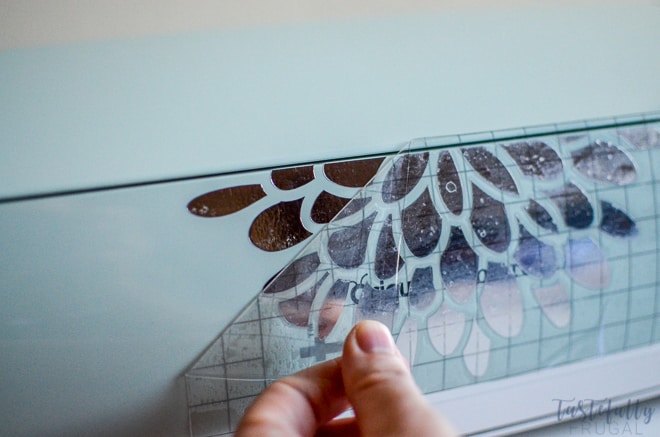
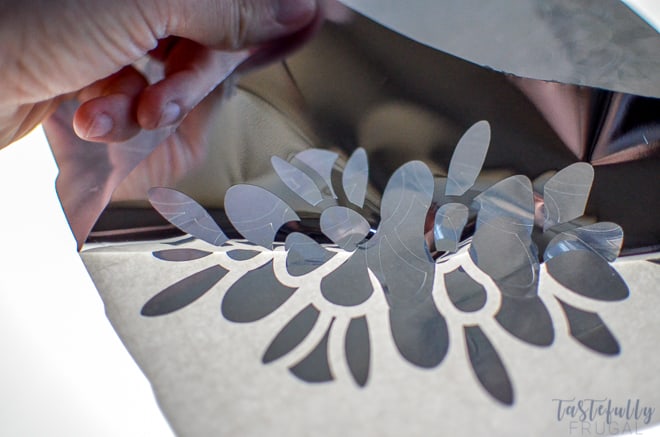 Using the weeder start to pull up vinyl starting in the bottom left corner and pulling at a 90° angle.
 Place design on your Explore Air machine and measure where you want it to go. Mark with a pen on the backing.
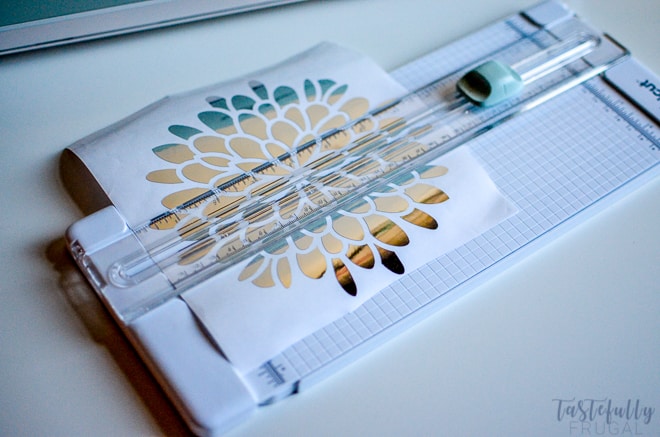 Place in the trimmer and cut along the line you measured.
 Attach transfer tape to the first piece of design and use the scraper to fully press the tape into the foil.
Peel backing back at a 90° angle away from transfer tape.
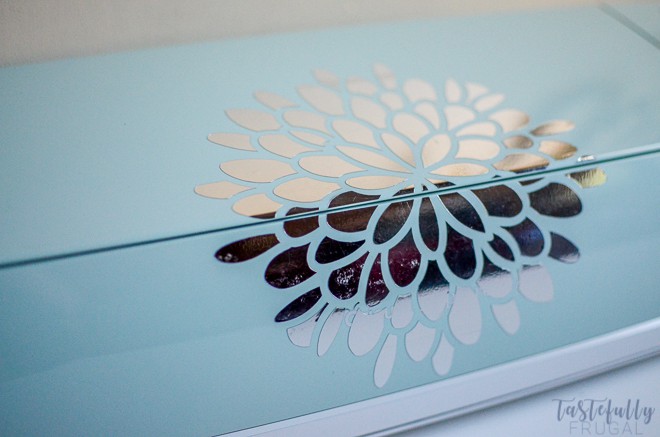
 Line up design to the top of the bottom lid of machine and press firmly to adhere.
 Remove transfer tape slowly at a 90° angle.
 Repeat previous 4 steps with the second half of design. Make sure to line up the bottom of this half to the top of the first half you applied.
 Now my Explore Air 2 is just as gorgeous as the projects it helps me create! And with the help of my BrightPad I was able to finish this project in less than 10 minutes. The Brightpad makes weeding, tracing and other tasks that have intricate deals so much easier. There are 5 brightness settings and has nonslip base to make sure your project stays where you put it.
I’ll be going live over on my Facebook page tomorrow, Thursday July 27th at 11am MST showing you how the BrightPad works and answering your questions about all things Cricut.
 Want to WIN a BrightPad to make your crafting easier?! I’ve teamed up with Cricut and we’re giving one lucky reader their very own BrightPad! Enter through the widget below.
PS There is a secret question that you can only get the answer to on the Facebook Live tomorrow that is worth an extra 5 entries to the giveaway so don’t miss out!
Check out more Cricut projects here.
Giveaway open to US and Canada residents ages 18+. Giveaway runs from 7/26/2017-8/3/2017. Winner will be notified by email and will have 48 hours to respond.


SandraM says
Can;’t wait to get me one. Excited to have the chance to win one.
Sydney says
You are going to love it!!
Nick says
This looks great. Would love to decorate my desk in some similar fashion 🙂
Sydney says
Thanks so much Nick! I would love to see what you do!
Daniel Lara says
The post helped me a lot. I can’t say how much it did but to be honest, what a novice circut explore user can do with his machine, I can do better now. The only credits goes to this post I think. 🙂
I have read several posts from the craft section of your site and found them much more helpful because of proper explanation with clear images and screenshots.
Thank you. Keep up the job! 🙂
Sydney says
Thanks so much for stopping by Daniel! This Cricut is such a fun craft tool to have! Let me know if you have any other questions as you learn 🙂