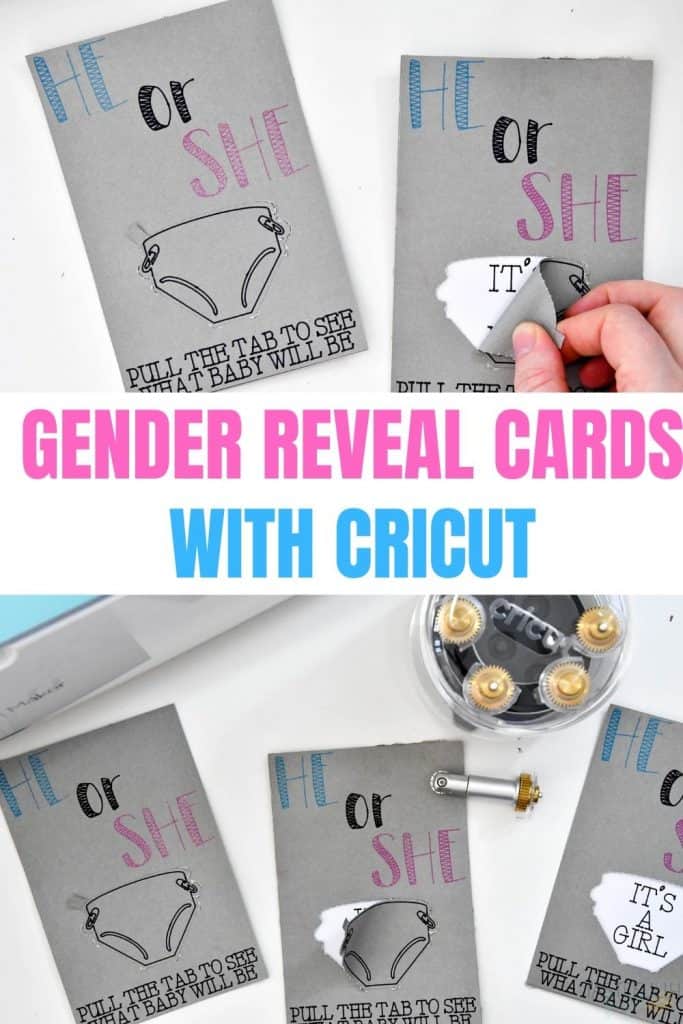
Make gender reveal cards with your Cricut Maker for friends and family that can’t be there with you to find out if your new baby is a he or a she!
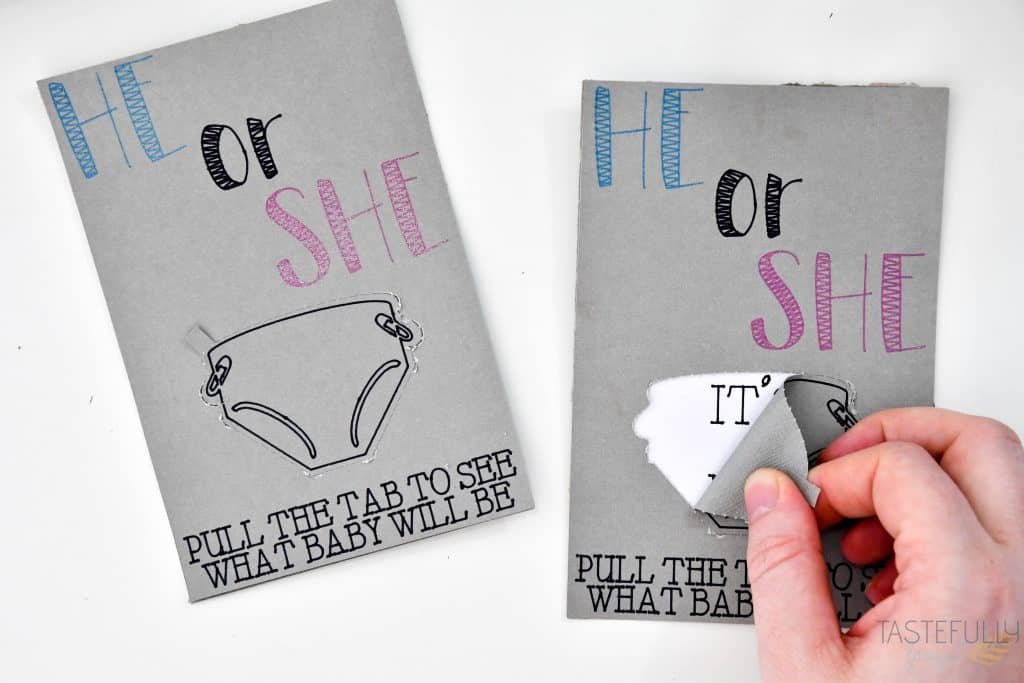
If you follow me on Facebook or Instagram you probably saw back in July that we are expecting baby #5 in a few months. We are really excited to grow our family but also a little sad that some of the fun things, like a baby shower and gender reveal party, won’t be happening this time around. We still wanted our friends and family to be part of the gender reveal so I decided to make these fun cards we could send out!
What Is The Perforation Blade?
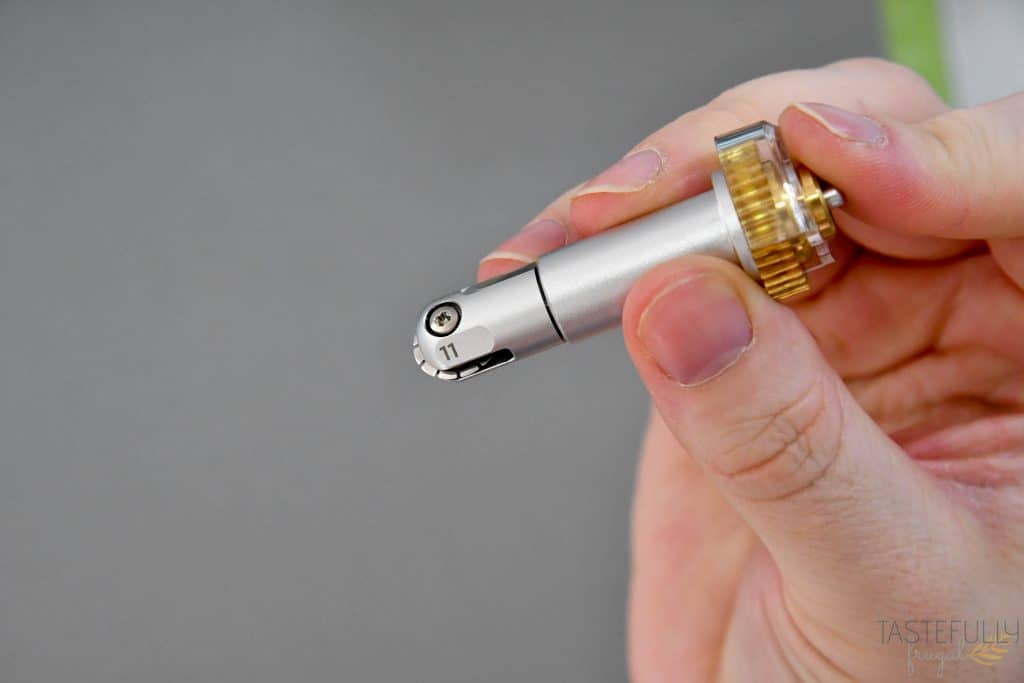
The best part about these cards is that they are fun for everyone! Thanks to the Cricut Perforation Blade, the recipient can pull away the diaper to find out if the baby is a he or she! The Perforation Blade is part of Cricut’s QuickSwap Housing family of tools that allows you to quickly and easily change the tool you are using in your Maker. If you want to read more about all the tools in the QuickSwap family, check out this post.
The perforation blade changes your cut line to a perforated cut line. This is the perfect tool for cards, pull away signs and even DIY raffle tickets like I used in last year’s baby shower (yes we just had a baby last year too! I know we’re crazy)!
What Supplies Do I Need To Make Gender Reveal Cards
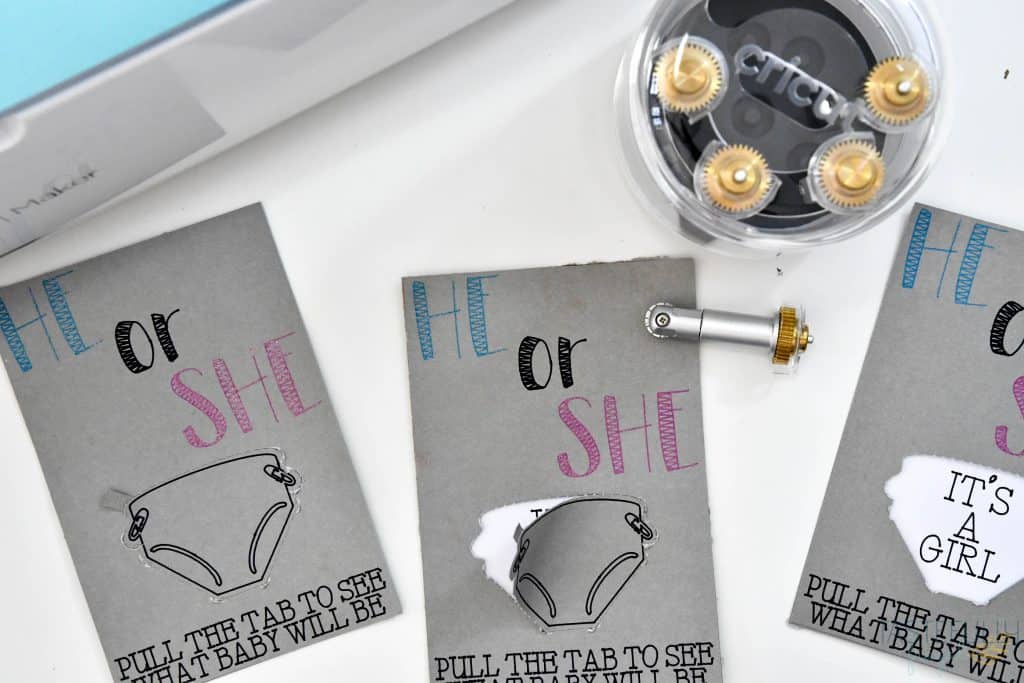
This is one of the quickest, easiest projects you will ever make on your Maker! All you really need is cardstock, pens, the perforation blade, Cricut Maker and some adhesive. But the type of materials you use definitely make a difference!
- Use a good quality, medium weight cardstock. I really like Cricut’s 12×12 cardstock.
- Use an adhesive that dries quickly and clear. Art Glitter Glue is my FAVORITE!
- Choose your pens wisely! If you are doing small lines, like we are on this card, you don’t want to use a marker or thicker Cricut pen, it will make your letters run together and look like one big mess. I used a Black .4 Fine Point Pen and Glitter Fine Point Pens here.
If you need to order Cricut supplies and you’re shopping on Cricut.com, use code SAVE10 to save 10% and get FREE shipping on all $50+ orders. That’s on top of the 10% discount Cricut Access members get automatically! Learn more about Cricut Access here.
DESIGN SPACE DIRECTIONS:
If you want to skip the first part of this tutorial and just make the cards, you can use this Design Space canvas.
The first thing you want to do when making these cards is add your card shape to the canvas. You can do this by adding a 4×6 rectangle. Since this is a three layer card you’ll want to duplicate that rectangle for the back.
Next, we’ll add our text. Add your first section and go to the TEXT box in the top toolbar. To filter fonts that are best for writing, click the FILTER button in the top left corner of the text drop down menu and select WRITING. For this card we are using KARLEY SKETCH and A CHILD’S YEAR.
You’ll also want to change the colors of your text too. You don’t have to select the EXACT color but for the blue make sure it’s blue, pink is pink etc. That way you’ll know when it’s time to write what color card to put in the clamp.
After you have your font added, you’ll want to add the diaper. You’ll want to add an image that has two layers. That way you can have the bottom layer be cut with the perforation blade and the top layer can be drawn with the pen.
To change the layers from cut to either draw or perforation, click each layer individually and change the cut type in the LINETYPE drop down menu in the top toolbar.
Select all layers of the front of the card and click ATTACH. This will make it so that your writing and perforation lines will cut on your card.
After we have the front of the card designed, we need to design the insert card and make sure the text lines up with the part of the card being pulled away. To do this you’ll want to duplicate the back of the card and make your duplicate 1/2″ smaller on all sides (so it will be 3.5″x5.5″). Change the color of this card as well so it will be cut on a separate piece of cardstock.
Add your text to this card (it’s a boy or it’s a girl).
Select both the text and the insert card and move them on top of the front of the card.
While you still have the insert card selected change the arrangement to SEND TO BACK.
Select the it’s a boy/it’s a girl text individually and change the arrangement to BRING TO FRONT. Resize wording to fit into center of the diaper.
Change the visibility of the front of the card so that the only the it’s a boy/girl and the insert card are showing. Click attach to so that the text is lined up on the center card where it will show when the diaper is pulled away.
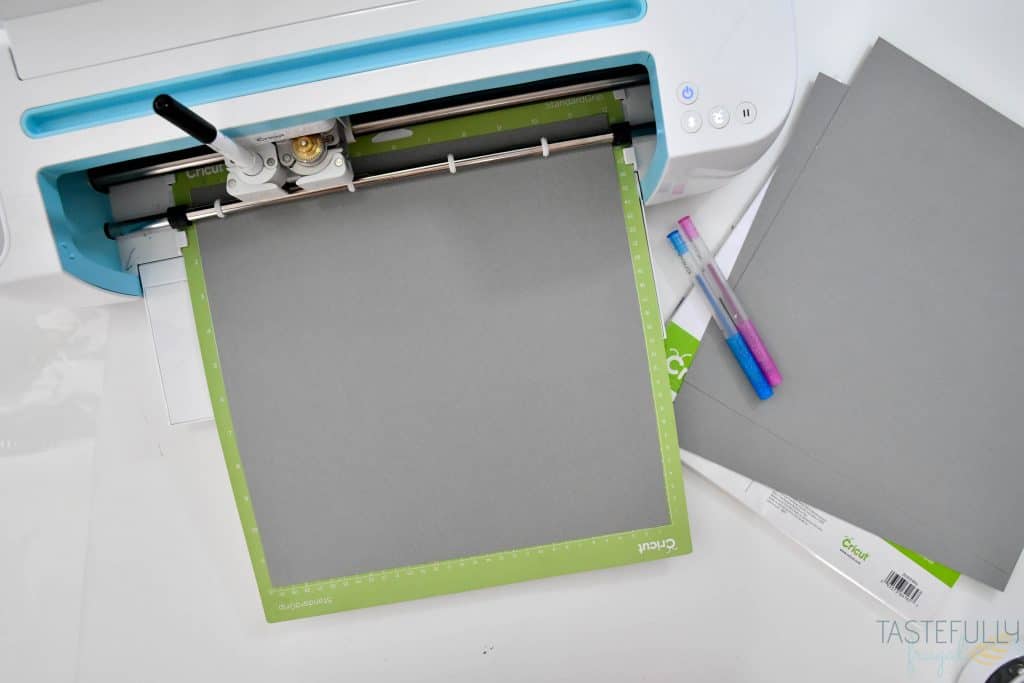
Bring the front of the card back to visibility and click MAKE IT to cut/draw your card! Be sure to follow Design Space prompts on which blade and pen needs to be inserted into each clamp. You’ll be prompted to change pen colors and the perforation blade and fine point blade several times.
DIRECTIONS FOR MAKING CARDS
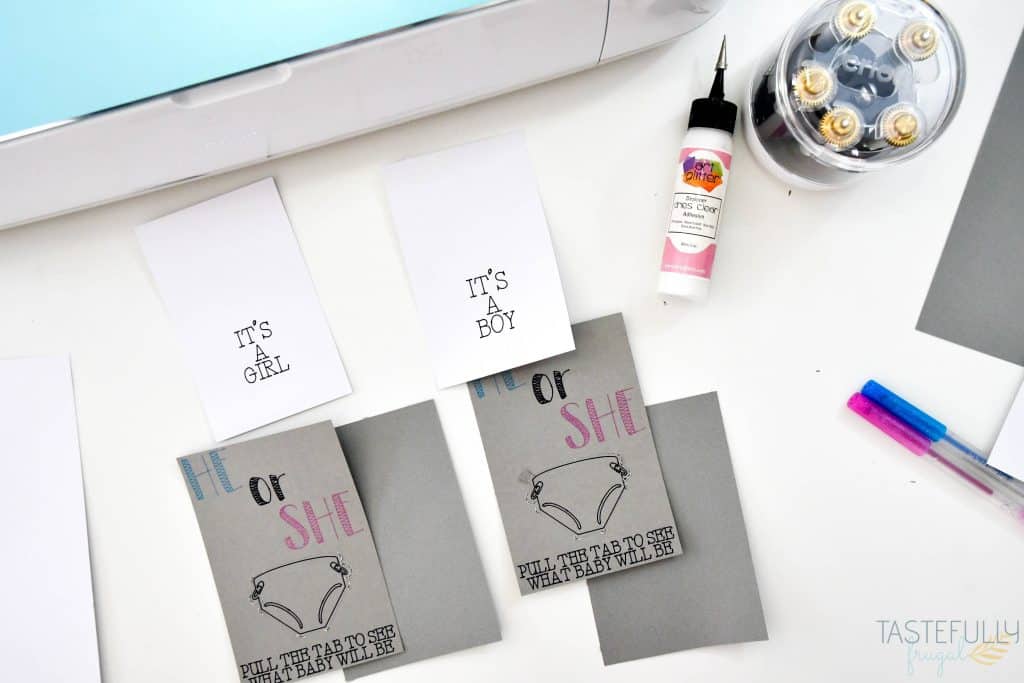
Once your designs are cut, it’s time to put the cards together! You’ll start by attaching the white insert card on the back cover of the card.

Next you’ll want to cut a small piece of scrap cardstock and create the pull tab. Start a small part of the perforation and glue the tab to the inside of the diaper.
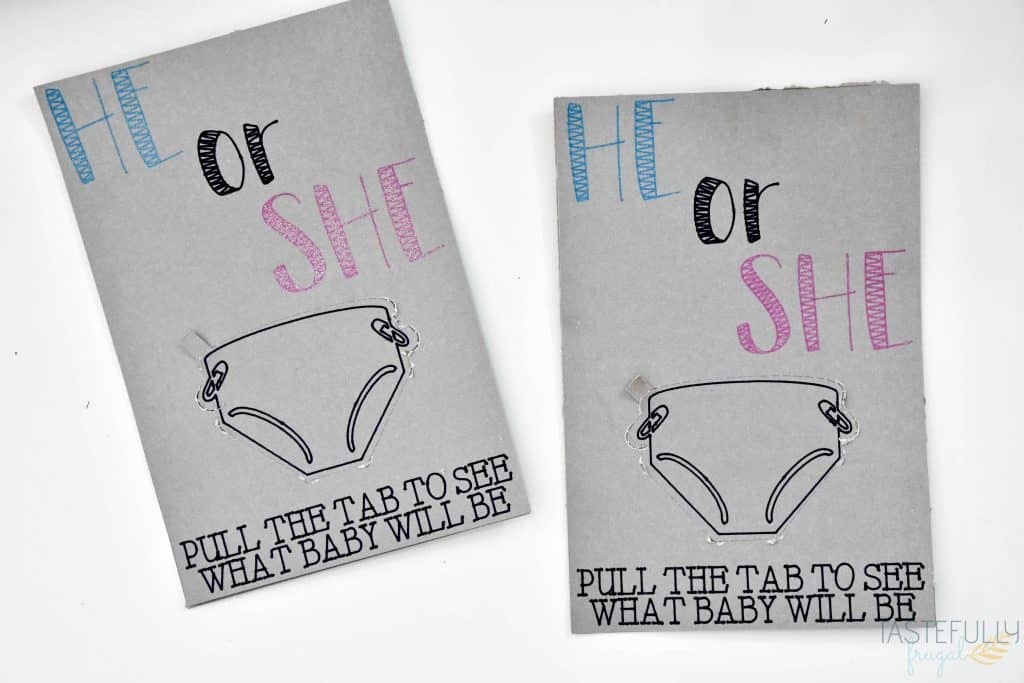
Finally you’ll glue the top of the card on to the back of the card.
Gender Reveal Cards
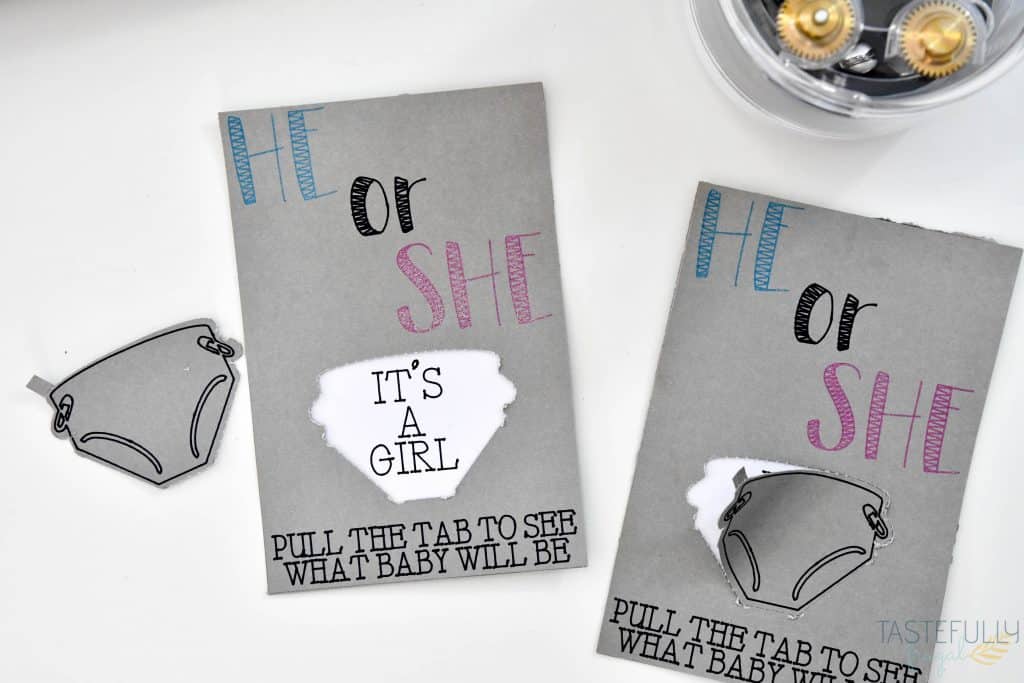
These cards are a fun, easy and affordable way to announce to your family and friends the gender of your baby! We are very excited to be having our third girl join our family in just a few short months!
Make sure to subscribe to my YouTube channel to check out all the video tutorials. For more Cricut projects and tutorials, check out these posts. For tips, tricks and immediate help, be sure to join our FREE Cricut Support Group.


Leave a Reply