Learn about the adaptive tool system for the Cricut Maker and the four NEW tools that were just announced today!
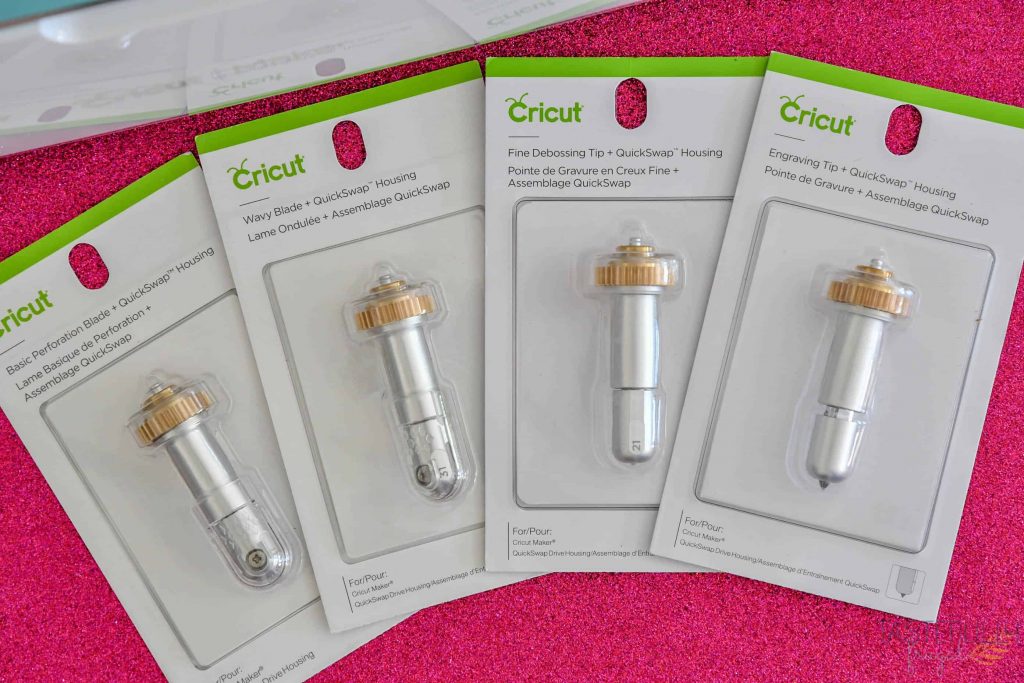
It’s been an exciting summer for Cricut fans with the announcement of Infusible Ink in June and today’s announcement of the four new tools for the Cricut Maker! The new tools all work with the adaptive tool system, which means you can use the same housing for all the tools and just have to switch out the blade. Currently the scoring wheel and double scoring wheel are available and today Cricut announced four more tools to the system. The Perforation Blade, Wavy Blade, Fine Debossing Tip and Engraving Tip.
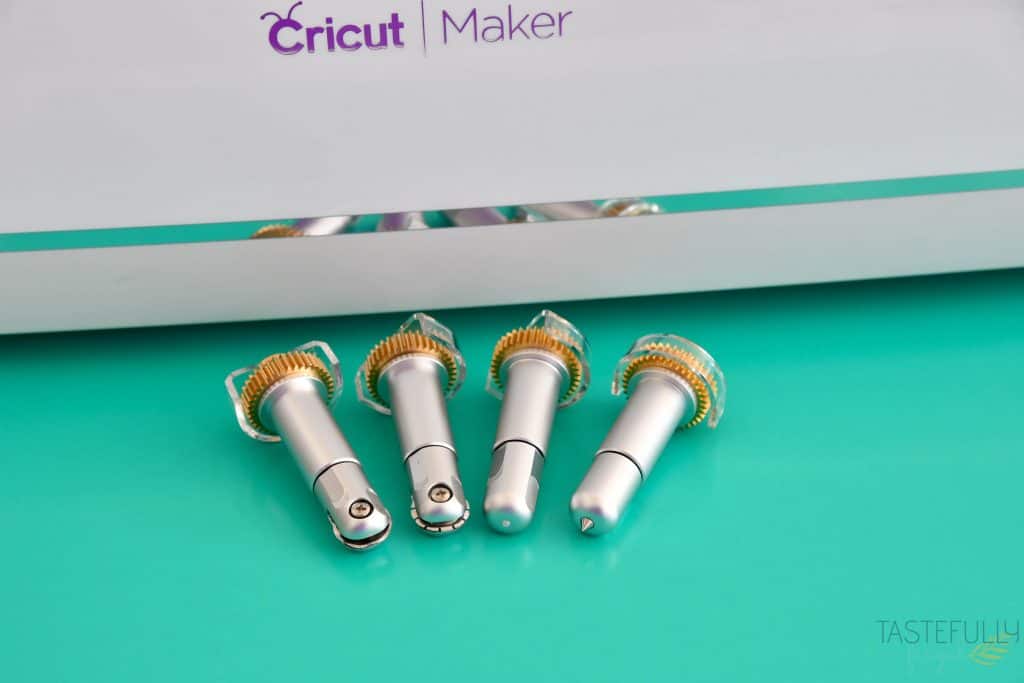
What Is The Cricut Adaptive Tool System?
The Cricut Adaptive Tool System is unique to the Cricut Maker and it allows you to swap out blades/tips without having to change the housing thanks to the QuickSwap Housing System. Not only does this make it easier to make multi dimensional projects but it makes them more affordable too. As long as you have one tool with the housing, you can just buy the other blades and tips. This definitely adds up as the pricing for the housing + tips are $44.99-$49.99, where you can buy just the tips for $24.99-$29.99.
Remember If you are ordering from Cricut.com make sure to use promo code FRUGAL10 to get 10% off and score FREE shipping on orders over $50! That’s on top of any sales and 10% discount Cricut Access automatically gets.
Where Can I Buy The Adaptive Tool System?
Currently you can buy the scoring wheel and double scoring wheel and housing on Cricut.com, Amazon, Michaels and JOANN stores. The four new tools, the Perforation Blade, Wavy Blade, Fine Debossing Tip and Engraving Tip will all be available on HSN on July 16th. I’ll update pricing as soon as I get it for HSN. Later this fall all tools and housing will be available on Cricut.com.
UPDATE: All tools are now available on Cricut.com here. You can use code FRUGAL10 to save 10% and get FREE shipping on $50+ orders. This is in addition to the 10% off Cricut Access members get every day!
What Can Each Tool Do?
The project possibilities are endless with the adaptive tool system! I’ve had the scoring wheels for a little over a year and you can read more about all their capabilities here. I just got my hands on the four new tools this last week and I can’t wait to share with you what I’ve made (I’m currently editing pictures and videos and full tutorials will be up next week). But to give you a sneak peek let me tell you a little bit more about each of the new tools.
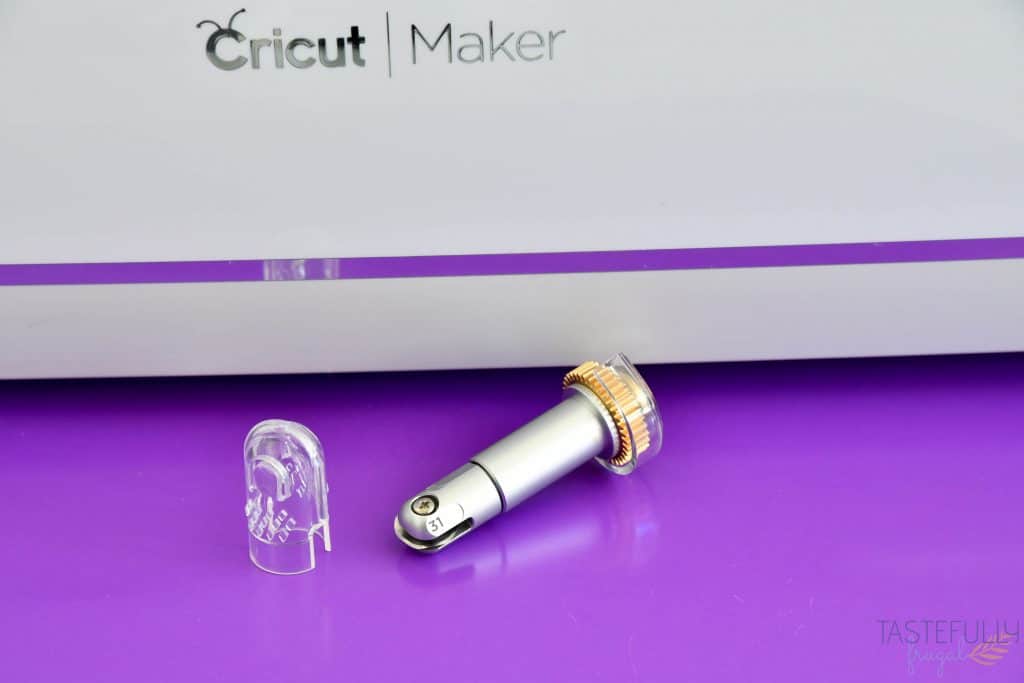
Perforation Blade
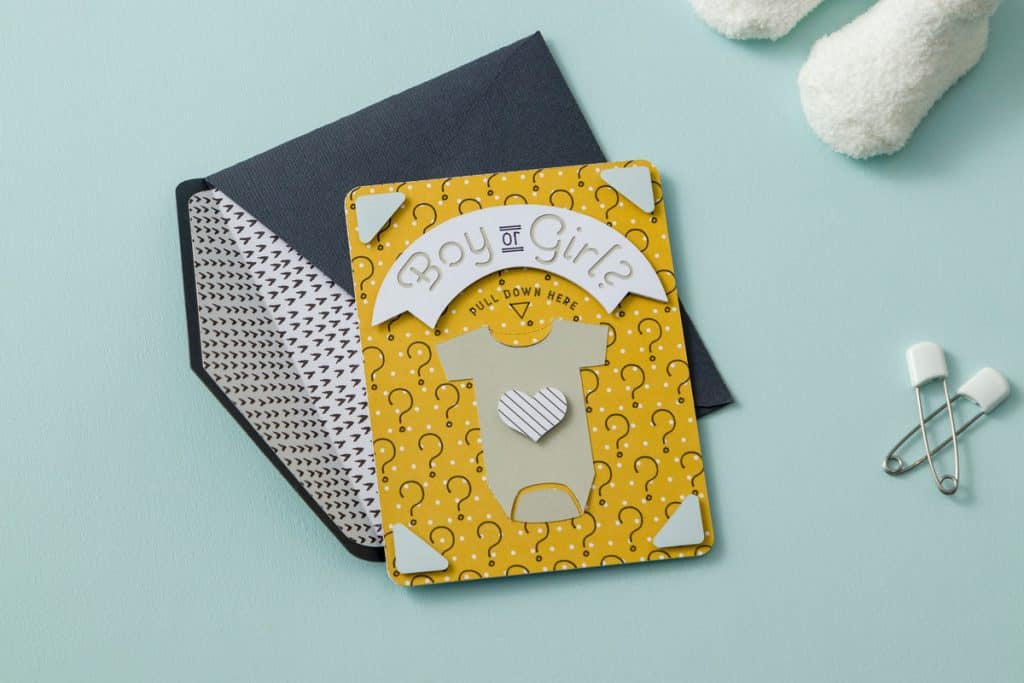
The perforation blade makes perfectly spaced perforation cuts. This makes making projects like raffle tickets, countdown calendars, tear-off projects and more easy to create and use. The perforation cuts make it so you can easily tear off without the need for folding before and the cuts are crisp and clean. I’m using the perforation blade to make diaper raffle tickets for a baby shower I’m throwing a friend later this month and I am LOVING how easy they are to tear apart.
Things to note when using the perforation blade:
- This blade is like a rotary blade where small designs and tight turns. It’s best to make sure your cut is at least ¾”.
- The Maker doesn’t control where the perforation lines will cut and each cut will be different.
Can be used with the following materials:
- Cardstock
- Paper
- More
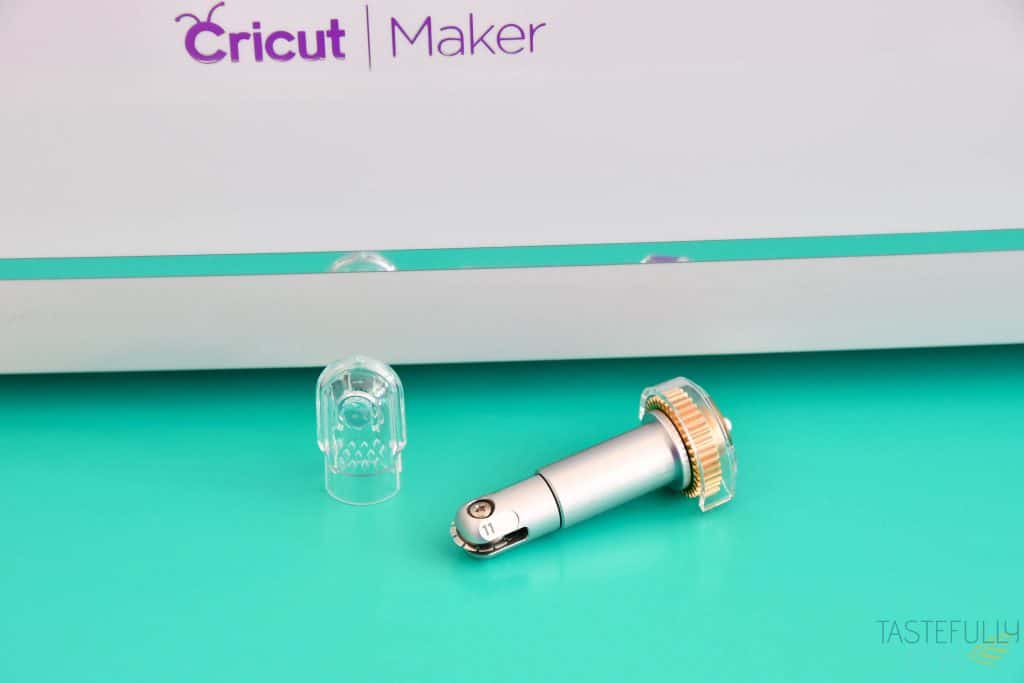
Wavy Blade
The wavy blade adds a whole new dimension to projects. You can add a whimsical edge to just about any material and creates a professional look to gift bags and tags, envelopes, cards, paper flowers and a whole lot more.
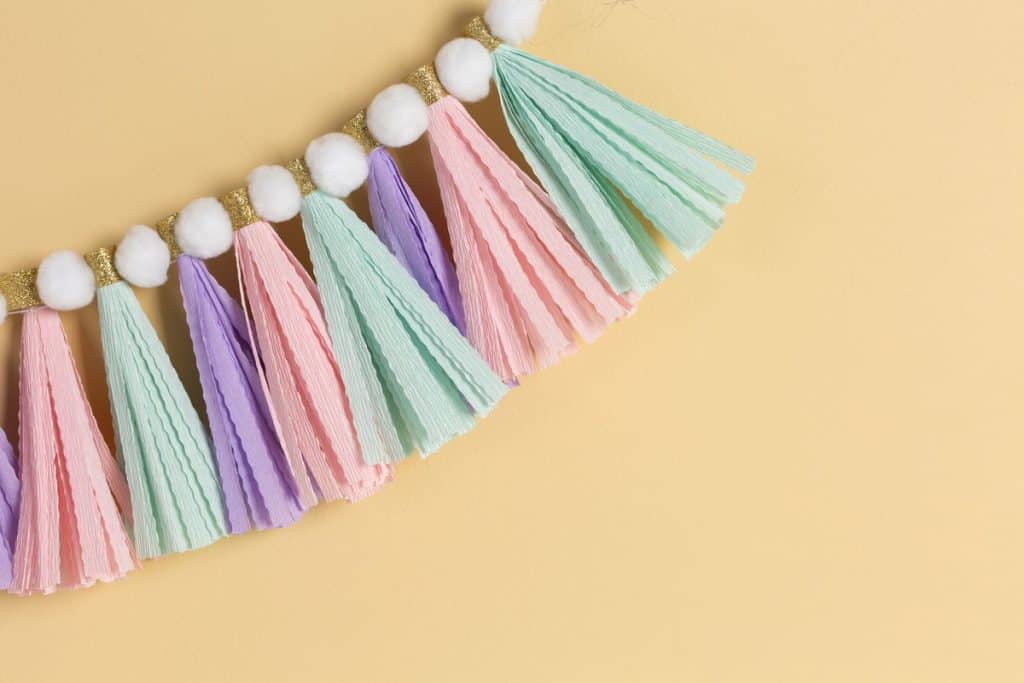
Things to note when using the wavy blade:
- This blade is like a rotary blade where small designs and tight turns. It’s best to make sure your cut is at least ¾”.
- The Maker doesn’t control where the waves will cut and each cut will be different.
- In Design Space you will see a regular cut line, but when you change it to WAVY you will see the word WAVY underneath the line
Can be used with the following materials:
- Iron-On Vinyl and Vinyl
- Felt
- Paper
- Cardstock
- Acetate
- Crepe Paper
- Fabric
- More
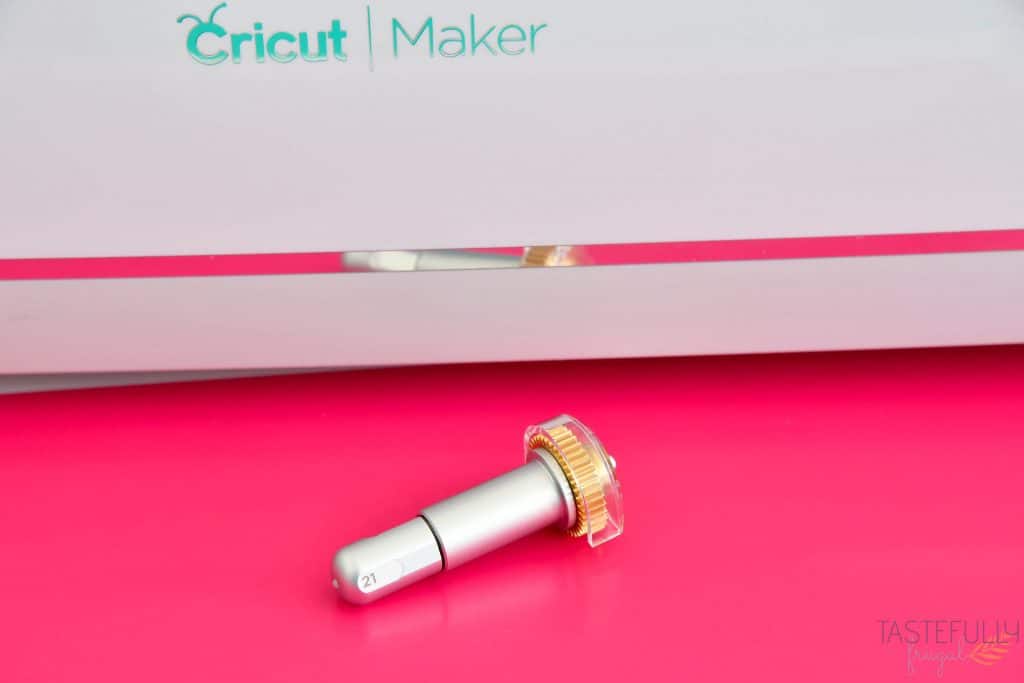
Debossing Tip
If you were sad to see the Cricut Cuttlebug no longer available, then you are probably most excited for this tip. The debossing tip can be used to add professional looking debossed designs (debossing is where the design is pushed down into the material, embossing is where it is raised up) to invitations, envelopes, home decor projects and more. Unlike the folders with an embossing/debossing machine, you can choose where you want each debossing mark to go to create a truly custom, one of a kind project.
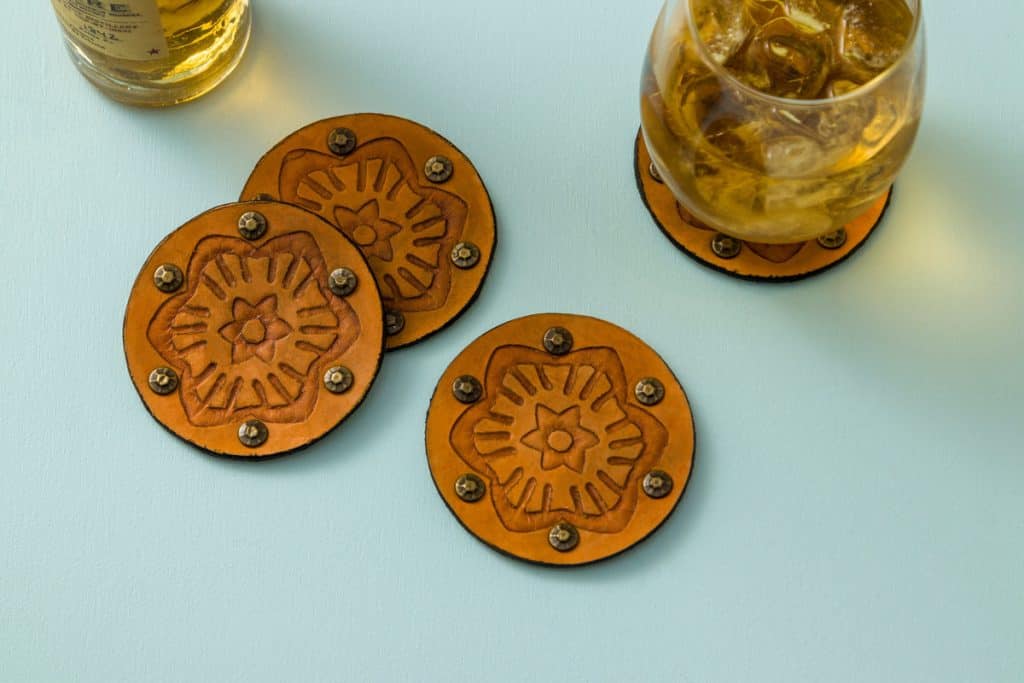
Things to note when using the debossing tip:
- If you are doing a larger project, you may notice that every few minutes the debossing tip may pick up and spin. This is totally normal and is done to prevent the tip from going dull.
- If you are using tooling leather, make sure to wet it with a damp towel first and allow to dry before you use the debossing tip.
- You may notice black wear marks on the side of the tip overtime. These are normal and will not affect how the tip works.
Can be used with the following materials:
- Poster Board
- Kraft Board
- Paper
- Cardstock
- Faux Leather/Leather
- Basswood
- More
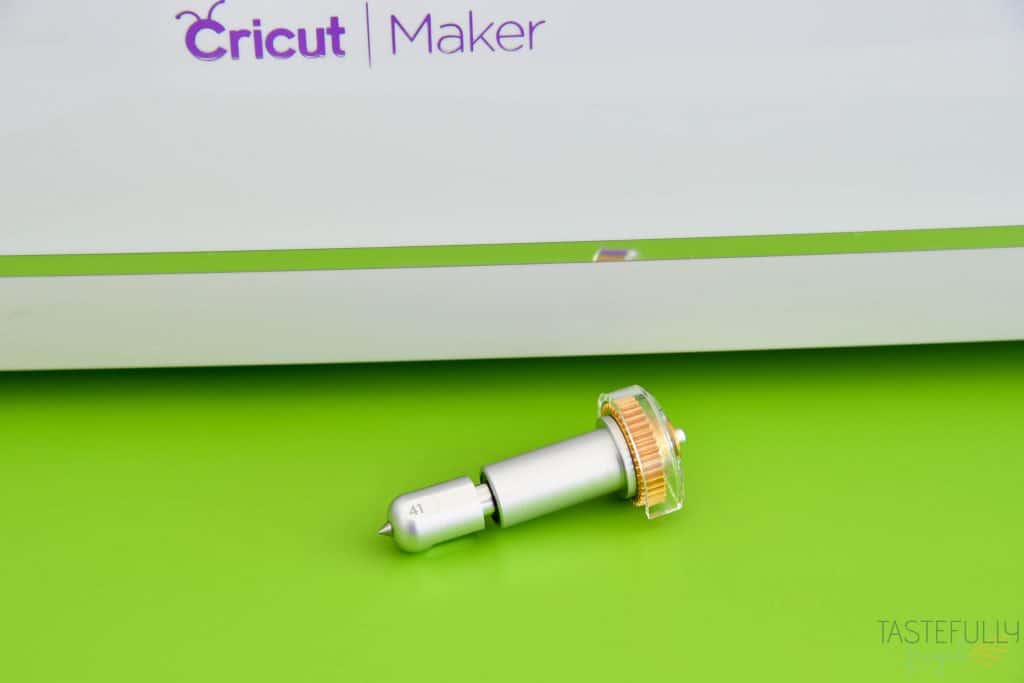
Engraving Tip
This has been something I know a lot of Cricut crafters have been asking for for a long time! A tool that engrave designs into delicate surfaces without cracking or damaging. And the engraving tip is finally here! You can engrave monograms, designs, embellishments and more on to the most delicate materials including acrylic, aluminum and more!
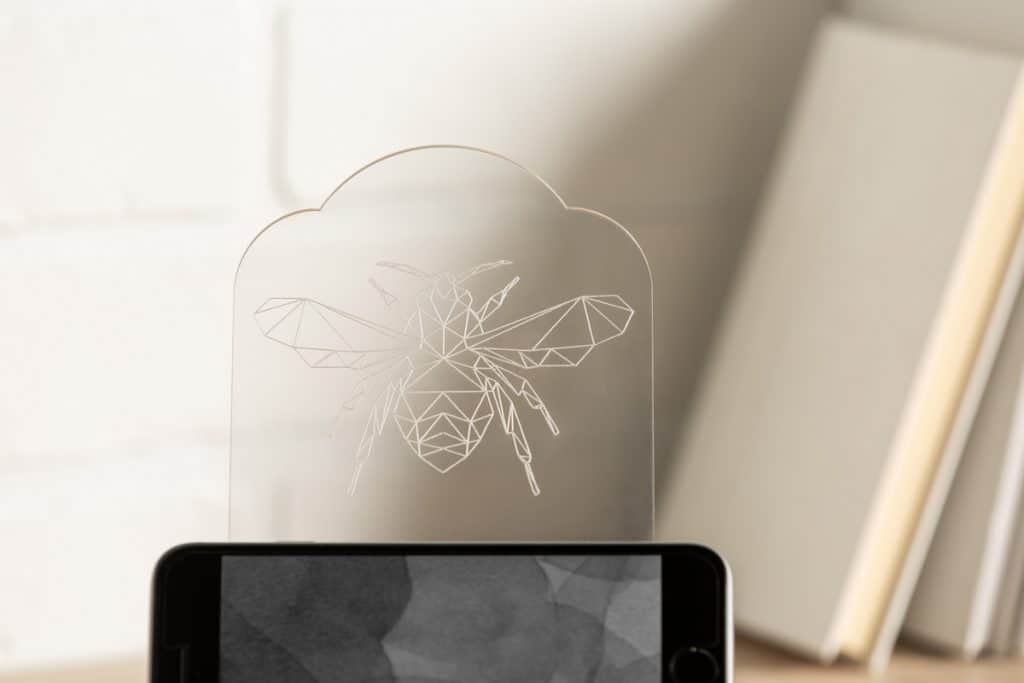
Things to note when using the engraving tip:
- DO NOT use engraving tool on glass! For the same look/affect you can use acrylic.
- Tape what you are engraving down to the mat, just like you would with the knife blade, to ensure design is not ruined during the engraving process.
- If you are doing a larger project, you may notice that every few minutes the engraving tip may pick up and spin. This is totally normal and is done to prevent the tip from going dull.
- You may notice black wear marks on the side of the tip overtime. These are normal and will not affect how the tip works.
Can be used with the following materials:
- Acryclic
- Aluminum
- Cricut Metal Sheets
- More
Like I said earlier, I have only had a few days to play around with these but wanted to get you all the details so your creative juices could start flowing! Tune in next week for full projects and tutorials for all the new tools! Which tool are you most excited about??
If you’d like to check out more ways you can use your Cricut check out these posts! Need help with your Cricut? Join our Cricut Support Facebook Group!



Leave a Reply