Get an in-depth look at the new Cricut Mug Press and learn how to get started crafting with it!
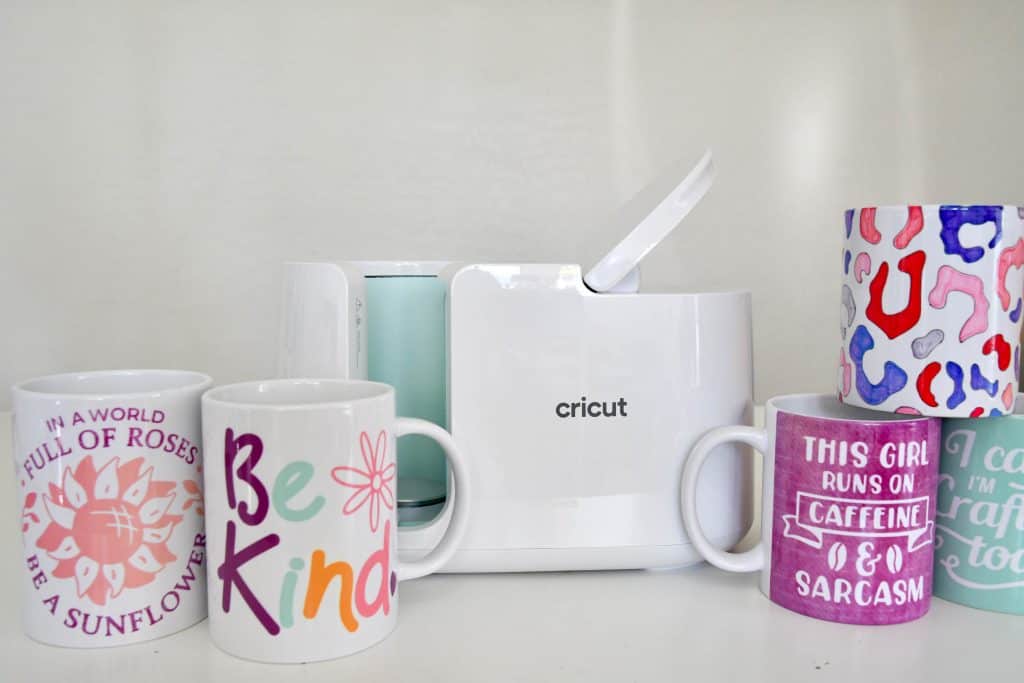
This morning Cricut released the newest addition to the Cricut family, the Cricut Mug Press! I’ve had the chance to learn how to use it over the past few weeks and I can’t tell you how excited I am for this machine! It makes creating mugs SO easy! Whether you make mugs for gifts, for yourself, or even if you have a shop (or want to start a shop) to sell mugs, the mug press is a great addition to your craft room! In this post I want to answer the questions I’m sure you have about this great little machine including:
- When and where can I buy it?
- What supplies do I need to use it?
- How do I use it?
Let’s hop on in and get started! PS if you prefer to learn by video check out my YouTube video and review below.
When and Where Can I Buy A Cricut Mug Press?
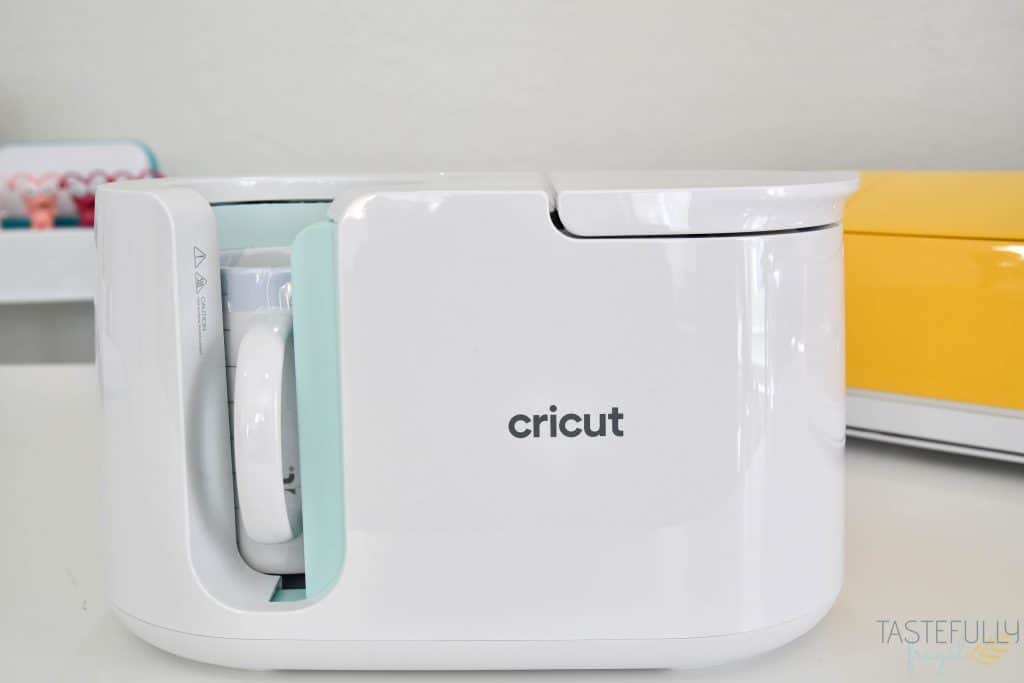
The Cricut Mug Press will be available to purchase directly from Cricut.com and anywhere Cricut machines are sold in the US starting THURSDAY MARCH 11TH. You can purchase it in store or online at your favorite retailers this day too. The Cricut Mug Press has an MSRP of $199.
If you’re going to be ordering Cricut supplies and you’re shopping on Cricut.com, use code SAVE21 to save 10% and get FREE shipping on all $50+ orders. That’s on top of the 10% discount Cricut Access members get automatically! Learn more about Cricut Access here.
Do I Need To Use Cricut Mugs with the Cricut Mug Press?
Nope, you don’t! But don’t go running out to the dollar store to stock up on mugs just yet. You do need to use mugs made for sublimation with the mug press and they need to be between 11oz and 16oz. They also need to be straight mugs, curved or rounded mugs won’t fit.
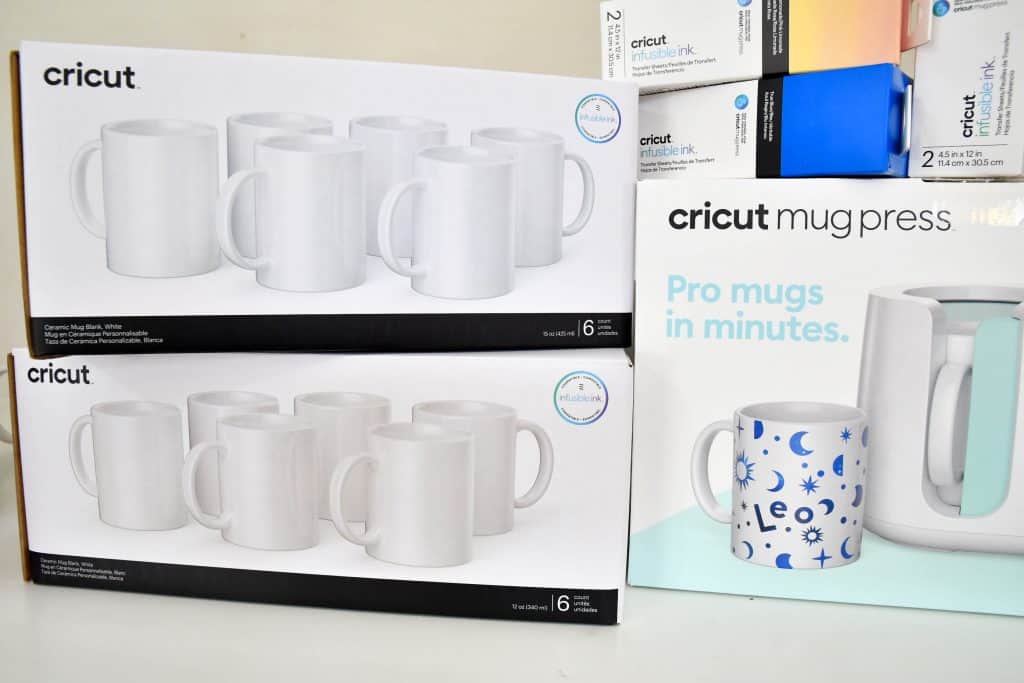
One of the hard things with sublimation mugs is they are not available in stores and you often times have to buy them in large packs (like 36+). With the Cricut Mugs you can buy them in single packs, 2 packs, 6 packs and even bulk packs (bulk packs are only available for purchase online). You can see all the size and design options for mugs here.
Cricut mugs are also specifically designed for use with the Cricut Mug Press. Not all sublimation mugs are created equal and if you get a bad batch the Infusible Ink might not fully adhere to your mug.
There are also newly sized Infusible Ink Transfer Sheets that are made specifically for making designs for mugs. You can cut these sheets on ANY Cricut machine.
What Supplies Do I Need To Use The Mug Press?
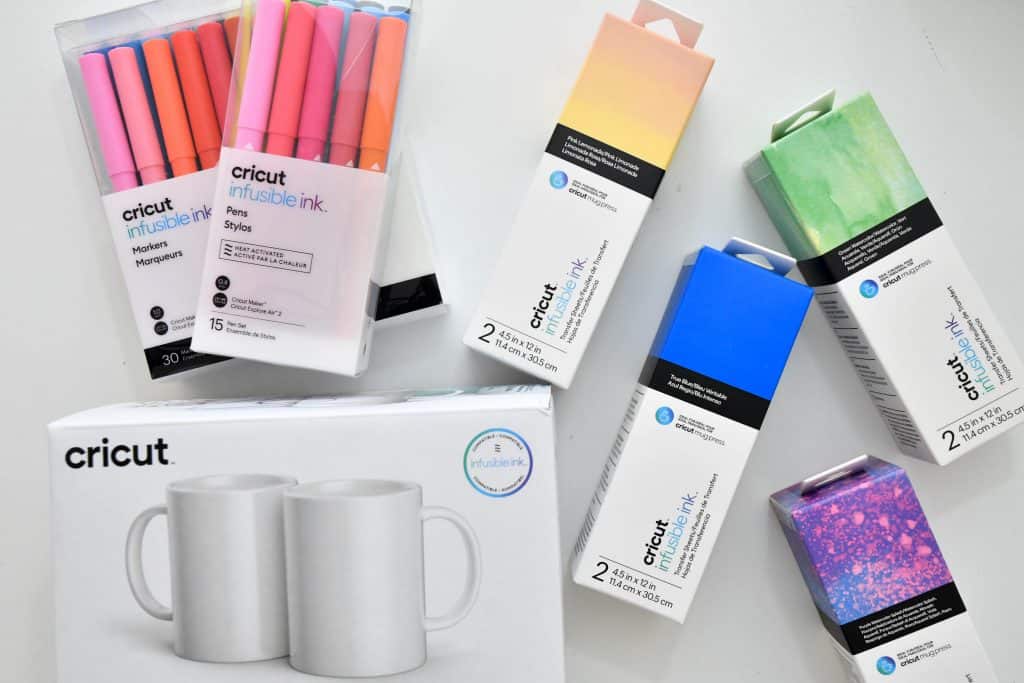
If you’re already crafting with Infusible Ink you likely already have everything you need to use the Cricut Mug Press (except the mugs of course). If you haven’t tried Infusible Ink before don’t be intimidated, it’s one of my favorite materials to work with and it’s super easy to use. You can learn more about Infusible Ink in this post.
When you are using the Cricut Mug Press you’ll want to have the following supplies:
- Infusible Ink Transfer Sheet OR Infusible Ink Pens/Markers
- Laser Copy Paper – If you are using Infusible Ink Pens/Markers
- Butcher Paper – ONLY if you are doing a design with Infusible Ink Pens/Markers
- Cutting Mat – Use the StandardGrip (green) mat for the Transfer Sheets and the LightGrip (blue) mat for the pens on copy paper
- Cricut Cutting Machine
- Heat Resistant Tape
- Cricut (or sublimation) Mug
- EasyPress Mat (or a towel) – you’ll want to put your mug on the mat after it’s pressed to let it completely cool and to prevent it from getting ink on your work surface.
Can I Use Iron-On Vinyl With Cricut Mug Press?
No, you can’t. The temperature settings for the Mug Press are set for Infusible Ink which is much higher than for iron-on vinyl. If you try to use iron-on vinyl in the Mug Press it will ruin your mug and could ruin your machine.
Do I Have To Use Design Space with Cricut Mug Press?
Yes and no. You do need to connect your Mug Press via USB to a computer or laptop when you first get it to register your machine and update any firmware for the Mug Press. Once you have registered your machine, you do not need to use Design Space again to use it!
***NOTE – You do need to connect your Mug Press to a compute or laptop when you first use it. You can not register your Mug Press using a phone or tablet.
How Do I Register Cricut Mug Press?
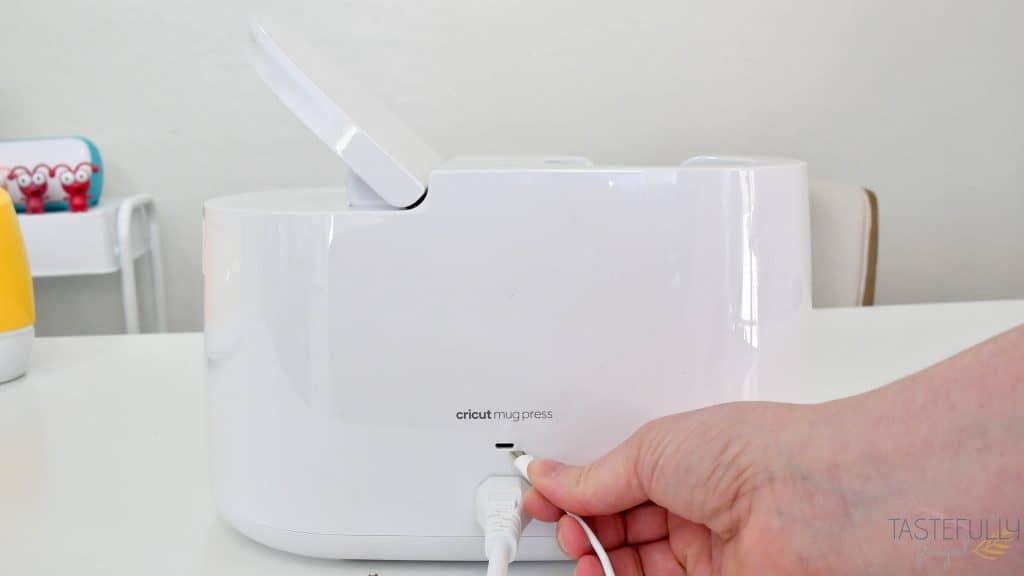
Your Mug Press comes with an owners manual, power cord and USB cord. Connect the power cord to your Mug Press and the wall and then connect the USB cord from the Mug Press to your computer or laptop.
Turn on your Mug Press by pressing the power button on top. Go to Cricut.com/Setup and follow the on-screen prompts to register your machine. It only takes about 1-2 minutes to register.
How Do I Use Cricut Mug Press?

Using the Cricut Mug Press is literally as easy as turning it on and pressing the lever down! The Mug Press does all the work for you and even has it’s own timer so you don’t have to keep track of time. There are 5 white lights by the power button that will flash as the machine is pressing. When your mug is done you will hear a beep and then you can lift the handle and remove your mug.
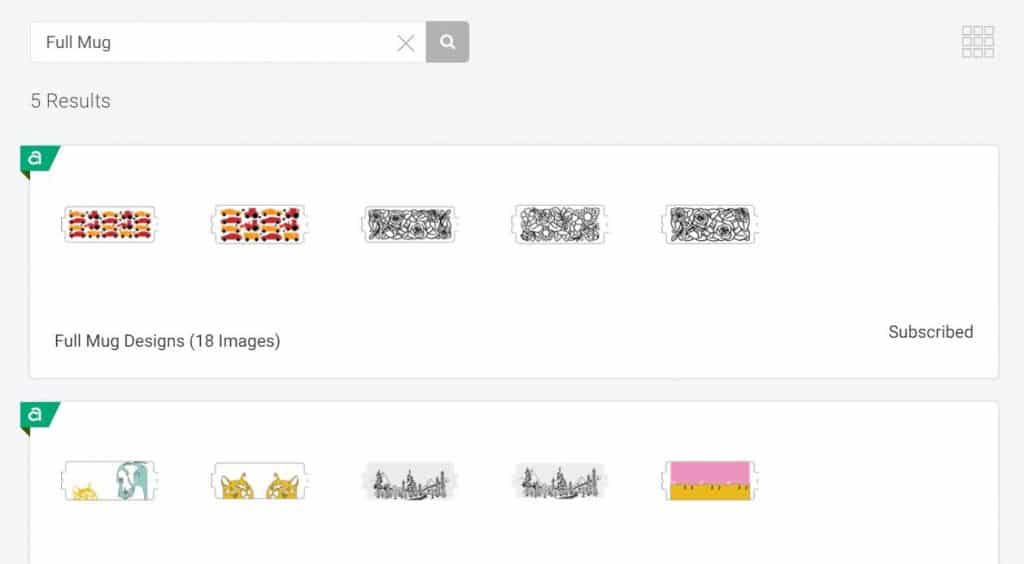
There are dozens of pre-made designs in Design Space sized for both the small and large mugs or you can create your own design. To see all the designs, search IMAGES – IMAGE SETS – FULL MUG to see all the different image sets with Mug Designs.
Let’s make a mug and create our own design from start to finish with both transfer sheets and then one with pens!
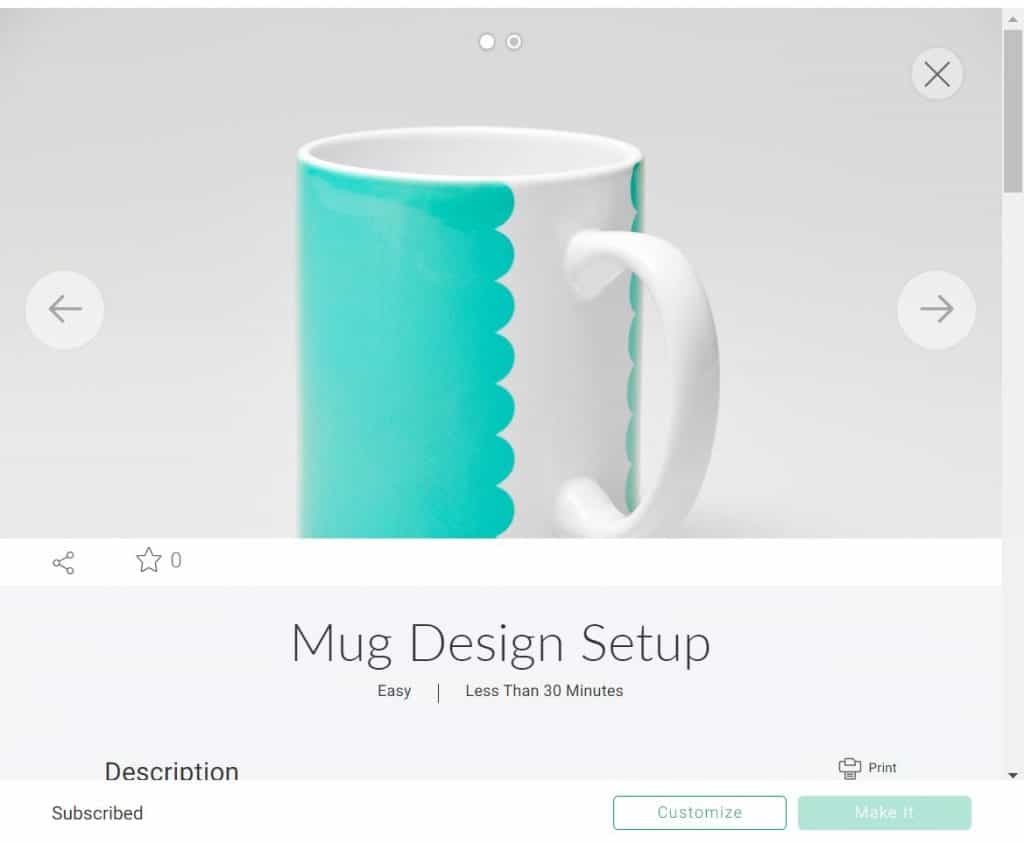
Click this link and open this project to get start with a blank mug wrap. You can select what type of edge you want your wrap to have (straight, wavy, scallop, etc) as well as if you are making a small or large mug.
Once you have your edge selected click CUSTOMIZE.
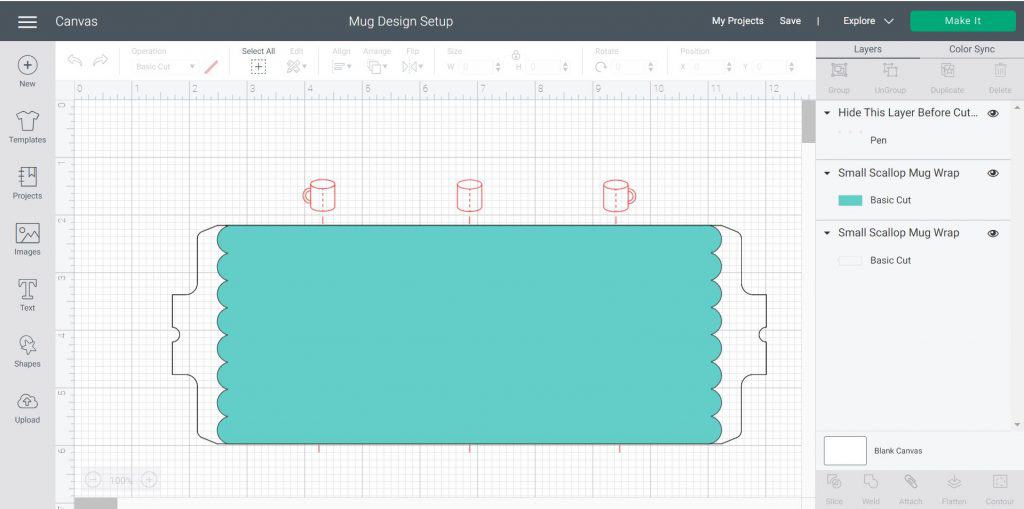
On your canvas you’ll see your wrap with 3 layers:
- Layer 1 – you will change the visibility on once you are ready to cut. It shows you where to line up your design if you want it to be on the left/right side of centered.
- Layer 2 – The wrap – This is where you will line up your design.
- Layer 3 – Full wrap – this layer is set to double cut so that it fully cuts through the transfer sheet, not just a kiss cut. This makes applying your design and lining it up on the mug super easy!
Go to images (or you can add text) and find the design you want to use and add it to your canvas.
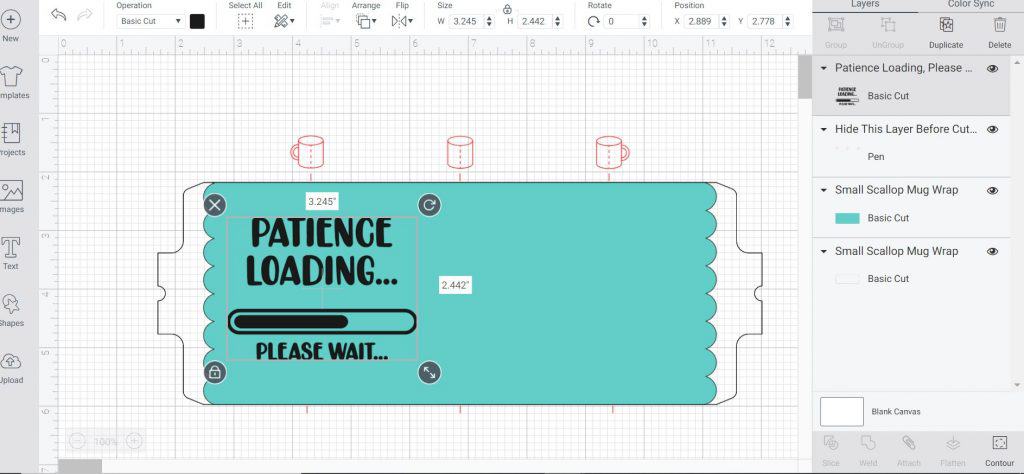
Move your design over the wrap where you want it to be centered on your mug. You’ll also most likely need to make your design smaller. I’ve found that designs 3-3.25″ wide fit perfectly and you’re able to read them completely on the side or center of the mug.
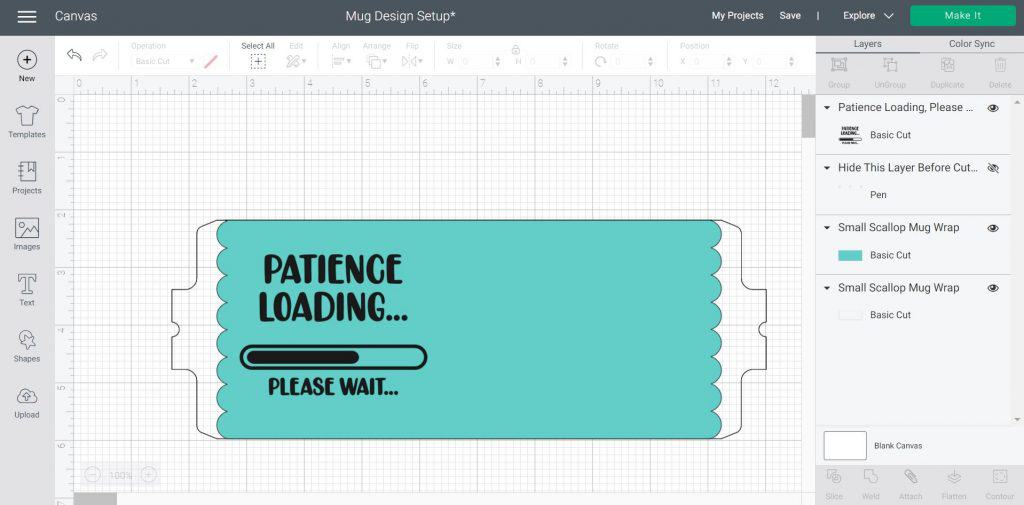
Once you have your design lined up and sized correctly, change the visibility of the alignment tools so that you only have the two wrap layers and your design left.
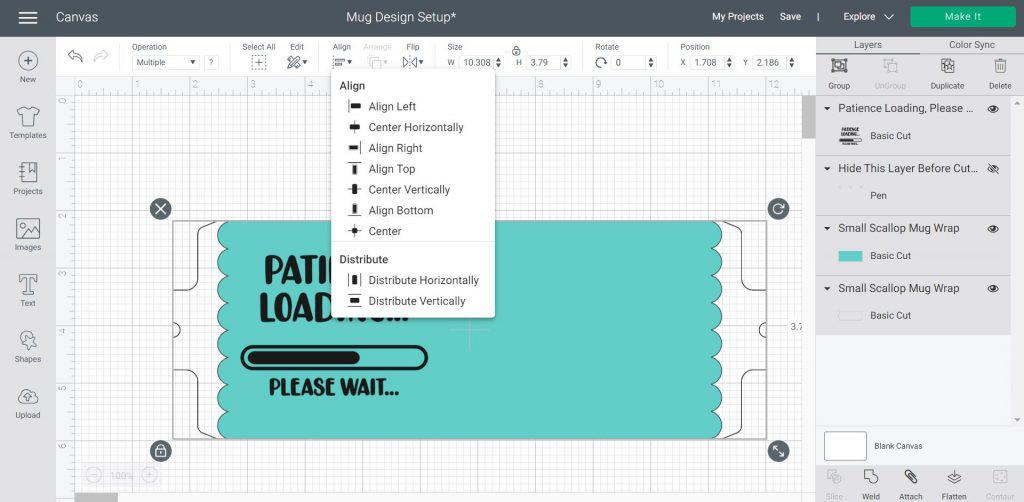
Select all three layers, click the ALIGN tool up at the top and then ALIGN CENTER VERTICALLY.
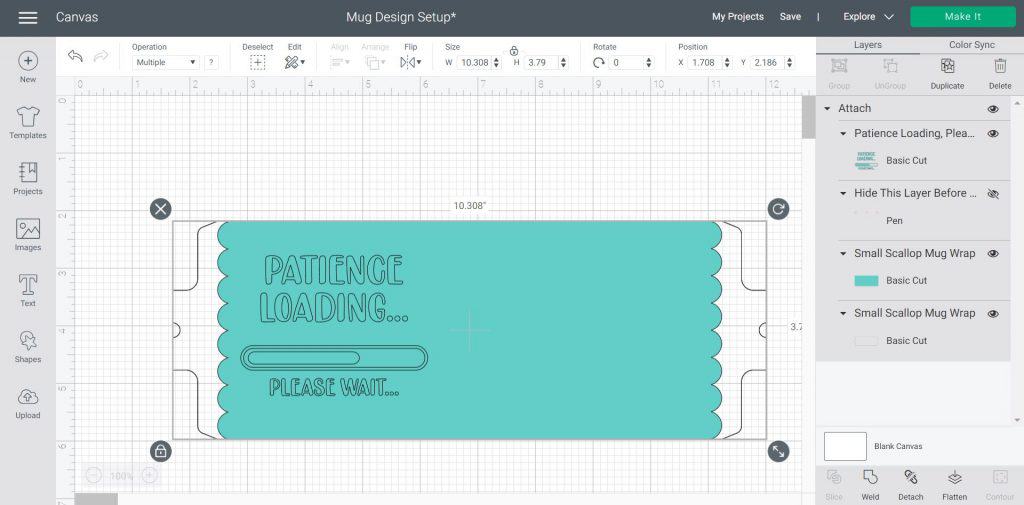
Once your design is centered on your wrap, select all three layers again and click ATTACH. Then Make It.
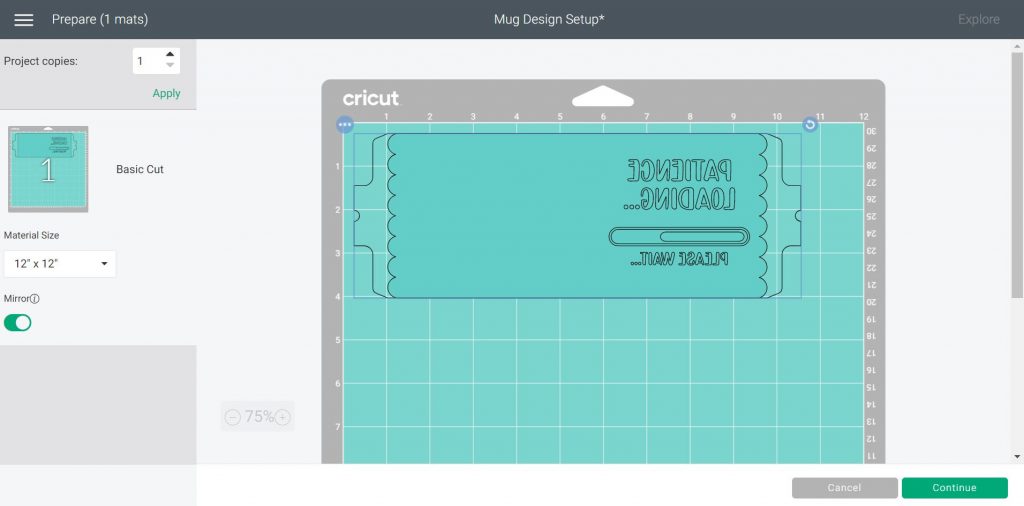
On the preview screen make sure you MIRROR your design and click continue.
On the next screen, select your material – INFUSIBLE INK TRANSFER SHEETS. I have also found that if you change the pressure to MORE you get a cleaner cut with the Transfer Sheets.
Put your transfer sheet on the mat, colored side up and load your mat into the machine when the arrow light is blinking. When the C button flashes, press it to cut out your design.
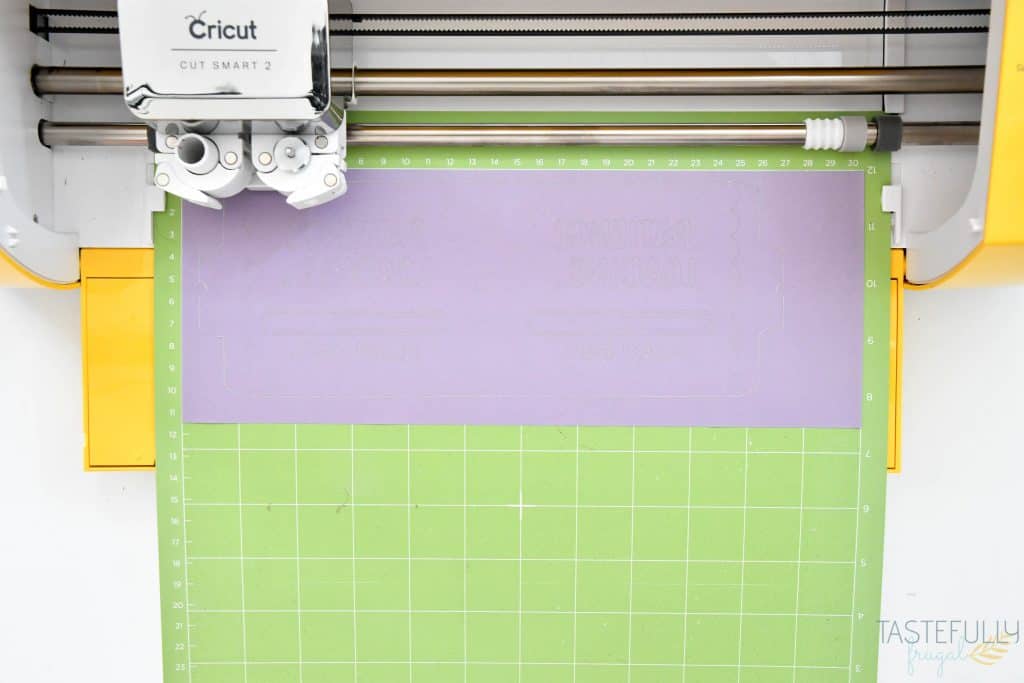
When your design is done cutting, click the flashing C light and unload your mat.
Remove your transfer sheet from the mat by flipping the mat over and pulling the mat away from the transfer sheet.
Weed excess pieces of design with fingers. Turn on Mug Press and let preheat.
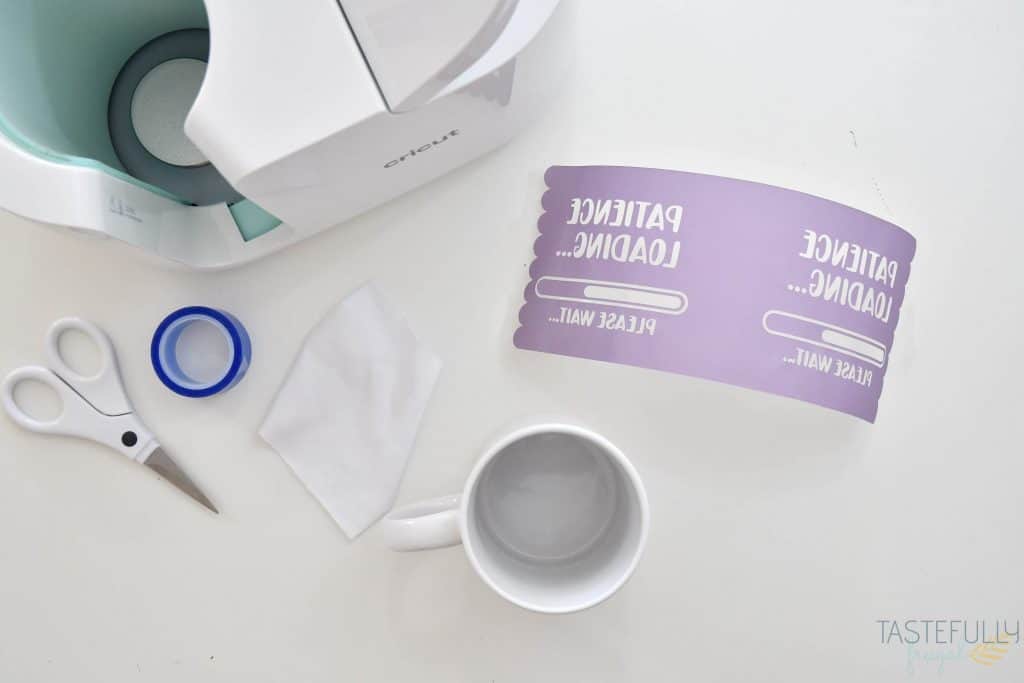
Clean mug with lint free cloth.
Start at handle and press your transfer sheet around the mug keeping it pressed tight to mug to prevent wrinkling and/or fading with pressing.
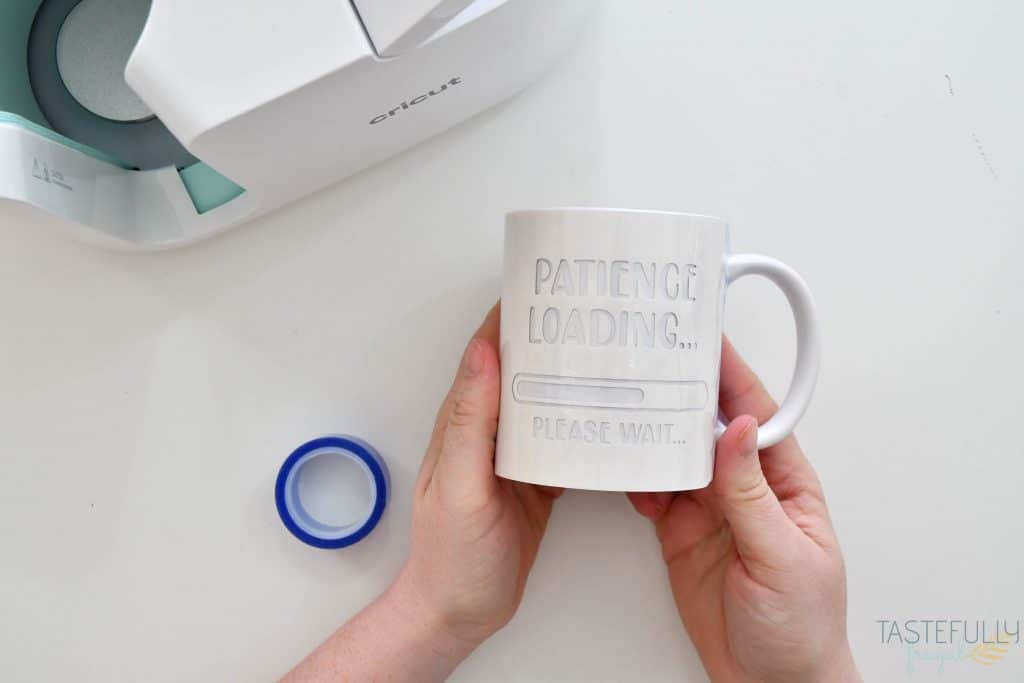
Use heat resistant tape to attach transfer sheet to mug. BE SURE TO MAKE SURE HEAT RESISTANT TAPE ISN’T TOUCHING YOUR DESIGN OR IT COULD LEAD TO FADING.
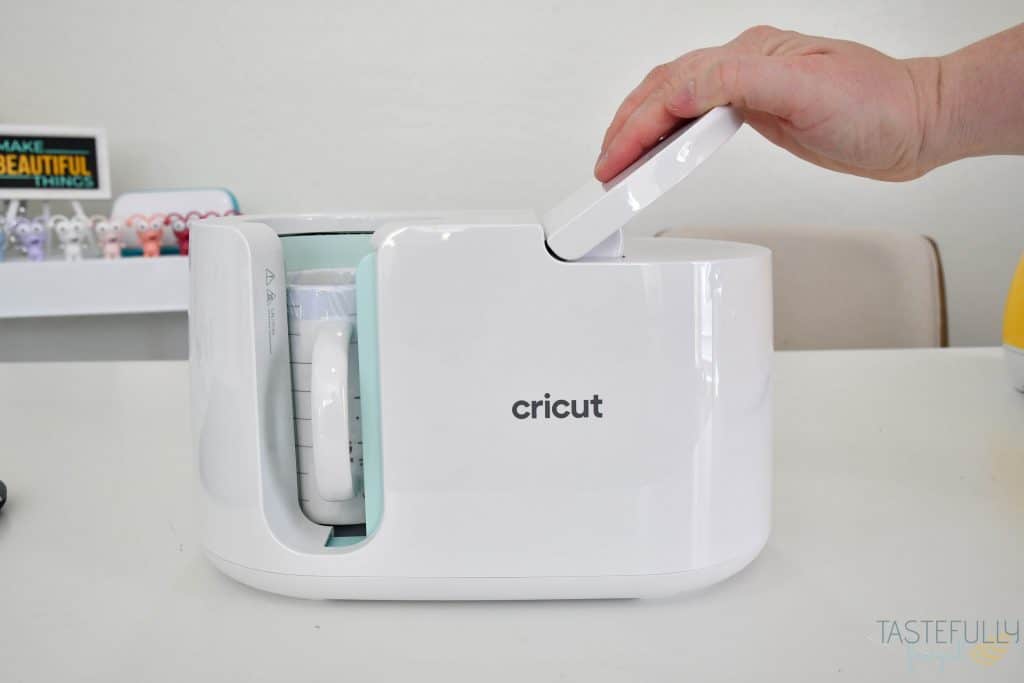
Put mug in Mug Press once it is preheated and press down handle. Mug Press will countdown with flashing lights on top until the design is fully pressed. Mug Press will beep when it’s finished.
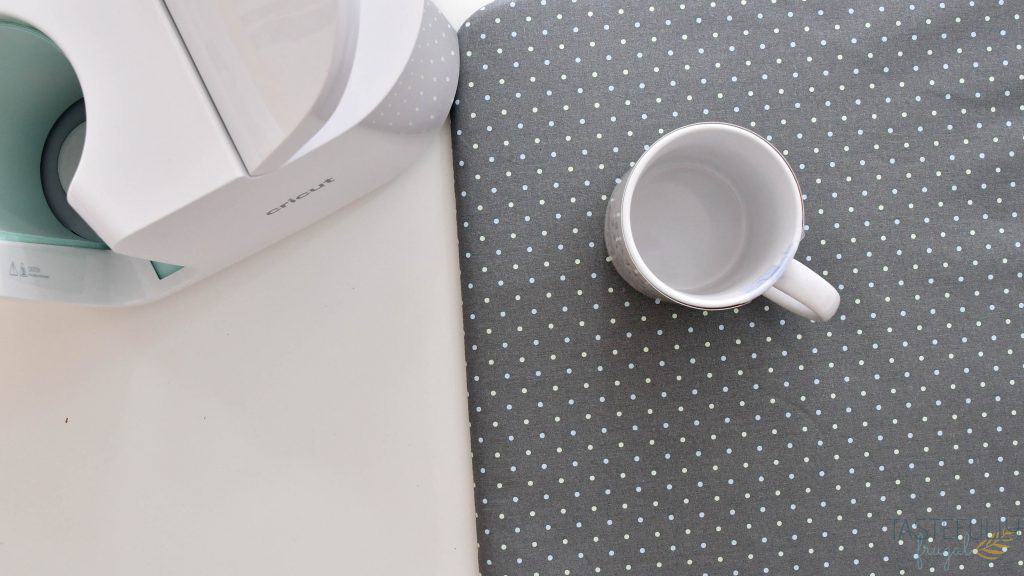
Remove mug carefully from Mug Press and put on EasyPress mat to completely cool.
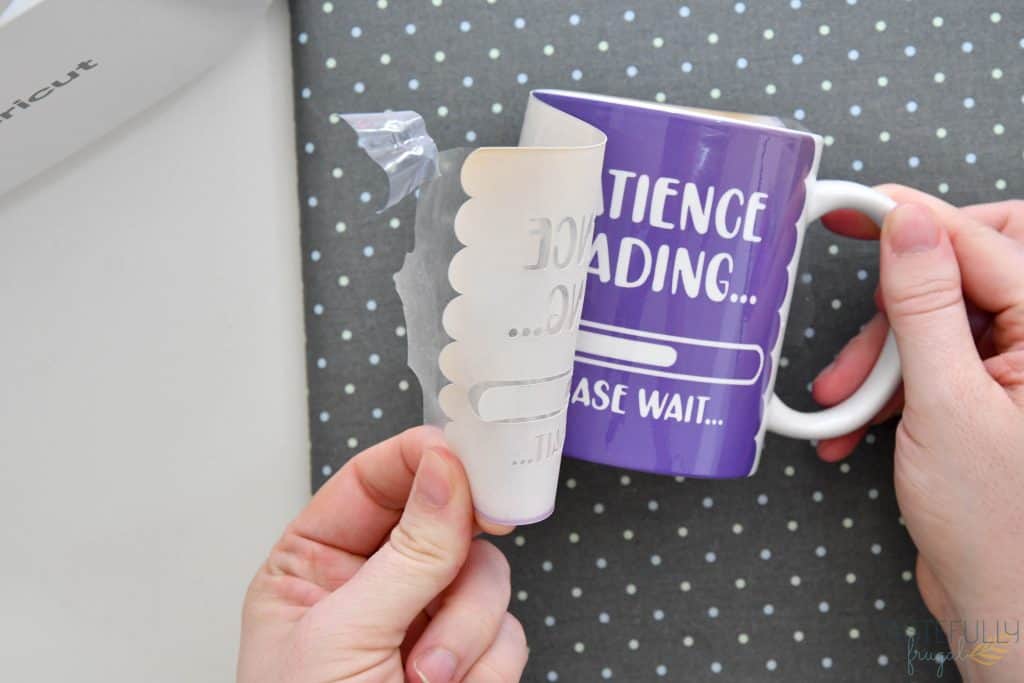
Once cooled, removed backing and transfer sheet.
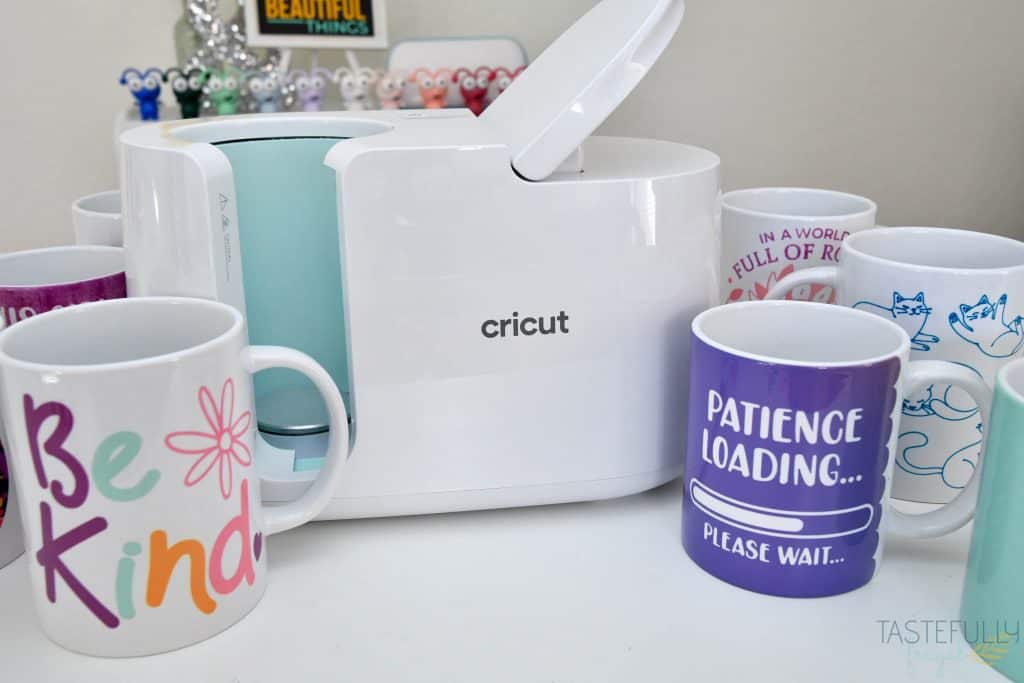
Creating mugs doesn’t get any easier than this! If you have any questions I didn’t answer about the Cricut Mug Press or how it works, please leave them in the comments below and I’ll get back to you as soon as I can. Make sure to subscribe to my YouTube channel to check out all the video tutorials. For more Cricut projects and tutorials, check out these posts. For tips, tricks and immediate help, be sure to join our FREE Cricut Support Group. You can also join my Infusible Ink group to get answers to questions and share your projects!






Sandi Jensen says
Please enter me into the drawing!
Diane says
for people who use sublimaion paper, sublimation ink and a printer, can this be used in the mug press.
Sydney says
Yep you can use sublimation prints with the Mug Press. Just be sure to use sublimation mugs or the Cricut Mugs