Learn all about Cricut lingo and what it means in this beginners’ guide to Cricut machines and Design Space.
This post is sponsored by Cricut. All thoughts and opinions are 100% mine alone.
I remember when I got my first cutting machine and I was reading blog posts on how to use it and I was so confused by some of the instructions. ‘First weed your design. Then apply transfer tape and then burnish.’ What in the world does all that mean?! I had no idea when I started crafting that I had to learn a whole new language but it definitely seemed that way. If you’re new to Cricut and not quite sure what all these terms mean, this beginners’ guide to Cricut lingo is for you!
Beginners’ Guide to Cricut Lingo Explained
There are some words and terms that are Cricut specific (like perf or Cutie) and other terms that are pretty much the same no matter what kind of cutting machine you use (like weed or burnish). I’ve gathered a list in our Facebook groups (you can join our FREE Cricut Support Group, Cricut Joy Help Group or Infusible Ink Tips Groups by clicking the links) of the most commonly asked terms and will be explaining them below. I’ve broken them down into 5 different categories:
- Machine and Equipment terms
- Design Space terms
- Materials and Accessories terms
- How To Craft terms
- Extras
Machine and Equipment Terms
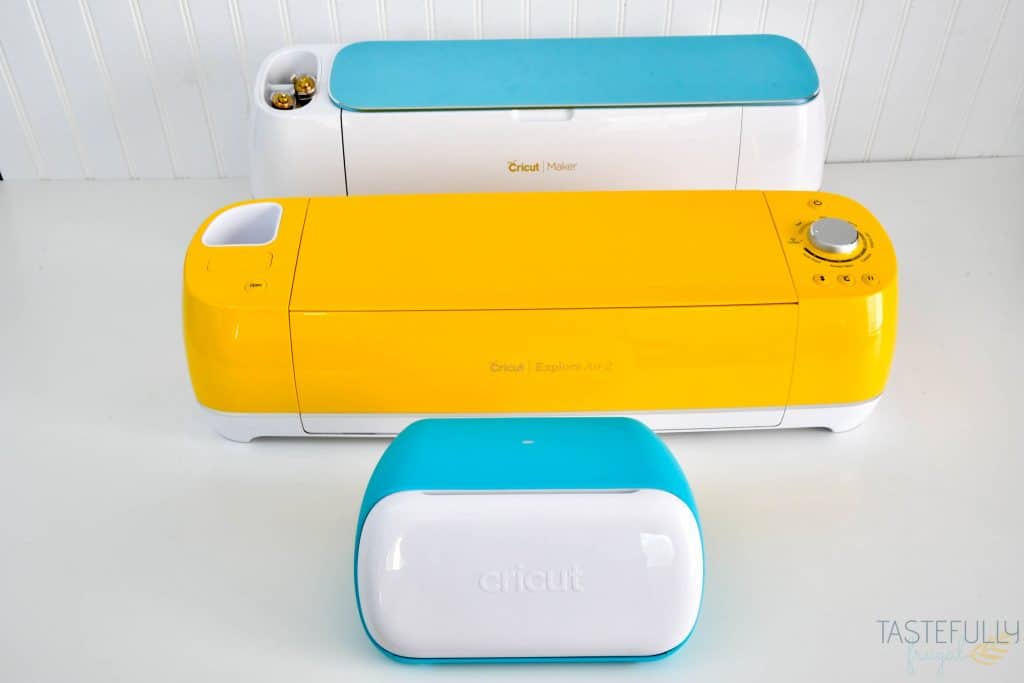
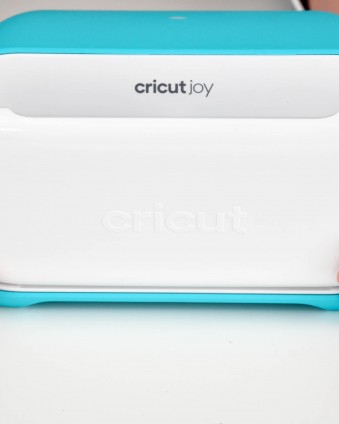
There aren’t a lot of unique terms when it comes to the machines and different equipment you use when you get your Cricut but there can be some confusion on what each thing does. To get an in-depth review of all 3 Cricut machines (Explore Air 2, Maker and Joy) you can check out this post.
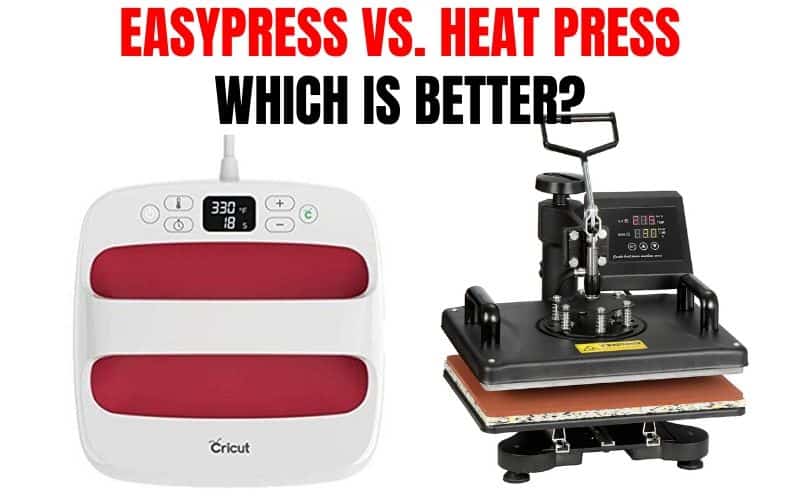
Another commonly asked question I get asked is what is the difference between a heat press and EasyPress? Are they the same thing? They do basically the same job, heating your material to get it to stick or apply to whatever you’re putting it on. The main difference is how the pressure is applied. With a heat press, there is often a handle you use to add the pressure and that’s it. With an EasyPress you add the pressure manually by pressing on the press. If you want to check out my thoughts on which is best and why you would want an EasyPress or heat press, check out this post.
Beginners’ Guide To Cricut Design Space Terms
When you’re first learning Design Space there can be a lot of things that make you pound your head on your table (speaking from experience). As Cricut crafting evolves and more features are added there are even more Design Space terms to learn how to use. But don’t worry, once you understand what certain features mean, they become really easy to use and create with!
I often get asked what is Design Space or if you have to use Design Space to use your Cricut. Design Space is the program that you use to create your designs that your Cricut machines brings to life. There are other design programs you can use to design but you would need to download your designs from that program and upload them to Design Space to have your Cricut machine cut out the design. I did an in-depth on how Design Space works, you can check out for more information on how to use it create projects. Let’s take a look at a few of the most commonly asked terms when it comes to Design Space.
Cricut Access – Whether you are just starting out using your Cricut or have been using your machine for awhile you have undoubtedly heard about Access a time or two. And I’m sure you’ve seen the small green “a” on certain images and fonts in Design Space. Cricut Access is a membership that gives you access to tons (like 100,000+) images and fonts in Design Space and some other really cool benefits too. If you see that little green “a” next to a font or image it is included with Access membership. If you want to learn about the different plans and see if it’s worth it, you can check out this post I wrote comparing the different plans and some other design options to determine if it’s worth it for you and your crafting.
Multi-Layer Fonts – You can filter fonts in Design Space to help you find the right font for your project. Your filter options include My Fonts (fonts you have on your computer. Here’s a post showing How To Add Your Own Fonts to Design Space.), Single Layer, Writing, and Multi-Layer. Multi-Layer fonts are fonts that have two or more layers. They are ideal for cutting and are great if you want to add some dimension to the text your adding to your project.
Offset – Offset is kind of like Multi-Layer fonts, it gives your text and even designs a background that you can cut out as a whole or slice. The offset feature is great to use when you’re making stickers.
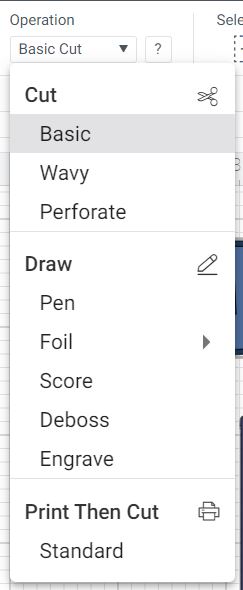
Operation Type – This feature allows you to change what your Cricut does with your design. The options you can choose are:
- Basic Cut – Use blade to cut design
- Wavy – ONLY FOR MAKER – Use Wavy blade to add some curls to your design. Learn more about the Maker Tools here.
- Perforate – ONLY FOR MAKER – Use Perforation blade to cut tear away designs (You can see it in action on these Tear Away Gender Reveal Cards)
- Draw – Pen – use Cricut pens to draw or write your design.
- Foil – Use the Foil Transfer Kit to add foil to your design. Learn more about the Foil Transfer Kit in this post.
- Score – Make score lines to easily fold cards and boxes. You can use the Scoring Stylus with the Air 2 or the Scoring Wheels with the Maker. Unfortunately there is not a tool you can use with the Joy to score.
- Deboss – ONLY FOR MAKER – Use to deboss designs. Learn more about the Maker Tools here.
- Engrave – ONLY FOR MAKER – Use to engrave designs on your projects. You can see how I use the engraving tip to make Disney Nightlights here.
- Print Then Cut – This is where your design will be print out on your home printer first and then you Cricut will cut out the design. This is a great option for multi-color detailed designs. I have used the Print then Cut feature to make invitations, cards, gift tags, character shirts for my kids, stickers and more! You can learn how to use Print then Cut here.

Slice – This is where you take two designs and slice them together. You’ll have 3 different layers when you do this.
Attach and Weld – These two functions have the same job, to attach multiple parts of a design together, but are used for different reasons. Learn when to use weld and attach in this video.
Flatten – Use this feature to put multiple layers of design into one layer. You’ll use this when using the print then cut feature to make it so the Cricut only cuts out the border not each single part of the design (especially important when making cards and gift tags or any design with lots of letters or small pieces).
Mirror – This reverses the image and cuts it backwards. You’ll use this EVERYTIME you are working with Iron-On Vinyl, HTV or Infusible Ink.
File Types Explained
Another commonly asked questions with terms is what files can I upload and what do they mean? Let’s break down the top 3 file types you can use in Design Space!
- SVG – This is a type of file you can upload into Design Space to use for crafting. It stands for Scalable Vector Graphic. It’s one of the most popular files to upload and is the most versatile. Each part of an SVG is it’s own layer so if you want to remove a certain part, change the size or color, it can easily be done.When you upload a JPG or PNG file, it comes in one piece so it’s harder to change certain parts of the design on their own.
- JPG – This is another popular file format you can upload to Design Space. It stands for Joint Photographic Experts Group (after the group that created this type of file). These files are great for print then cut projects (don’t worry I’ll explain what this means in just a bit too) and can be used as cut only designs with some work too. Learn more about uploading images and how to clean them up in this post.
- PNG – This file format is similar to the JPG but often has a transparent background which makes it easier to turn it into a cut only image in Design Space. PNG stands for Portable Graphics Format.
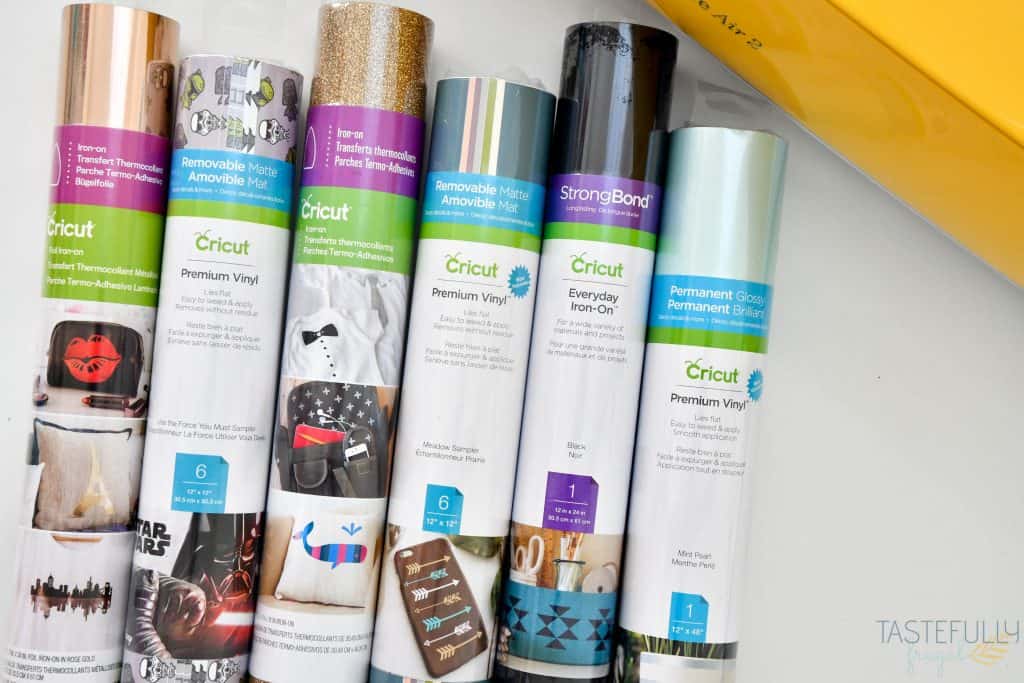
Materials and Accessories Terms
Let’s talk about the different materials terms and accessory terms you hear about. Note a lot of these are Cricut-brand specific and may have another names for different companies.
- HTV- This is short for heat transfer vinyl and is another name for Iron-on Vinyl. It comes in a variety of different colors, types, patterns and more. You can learn more about how to use HTV here.
- Transfer Tape – This is used with adhesive vinyl to take your vinyl off the backing and onto your project. There are lots of different brands and types of transfer tape out there. I’m working on a comparison post as we speak on the different types and which ones work best.
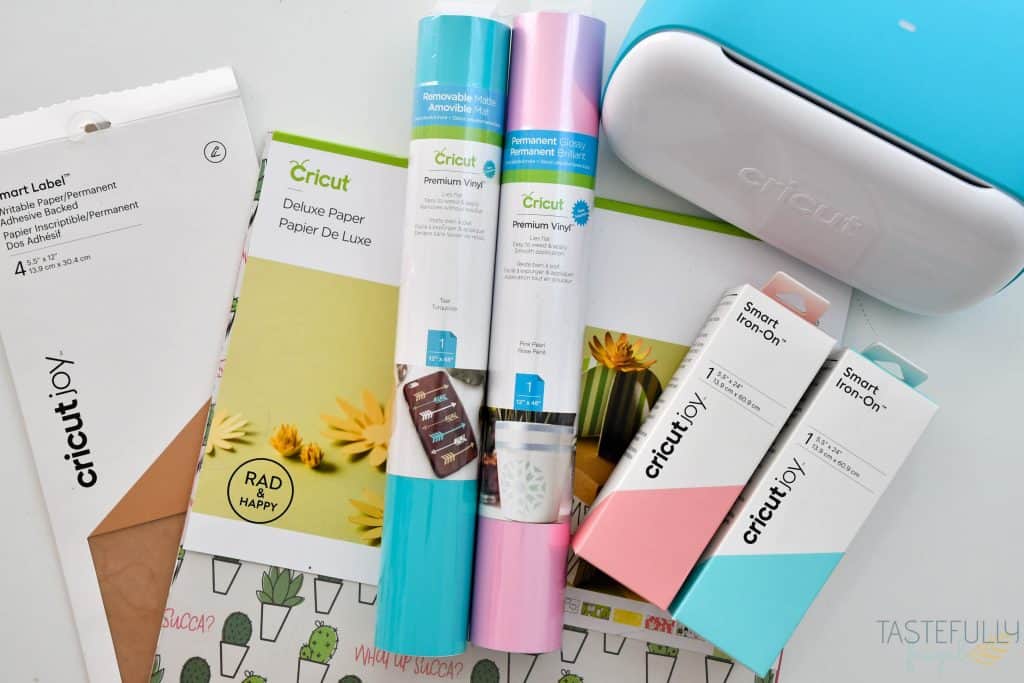
- Smart Materials (Smart Vinyl, Smart Iron-On, Smart Label etc) – Smart materials are materials created specifically for the Cricut Joy and are made to be cut without a mat. You can learn more about how to use Smart Materials here.
- Paper Thin Faux Leather – This leather like material is thin, like cardstock and can be cut in any Cricut machine
- True Control – There is a True-Control Knife and Weeding Set. Both of these are great tools to have and make crafting a whole lot easier. We’ll get to what weeding means in the next section. The true control allows you to easily change the blade and pressure on these hand tools.
- 651 – This is a common term for permanent vinyl. 631 in often used with removable vinyl. These terms come from the brand Oracel, and the numbers are how they name their different types of vinyl.
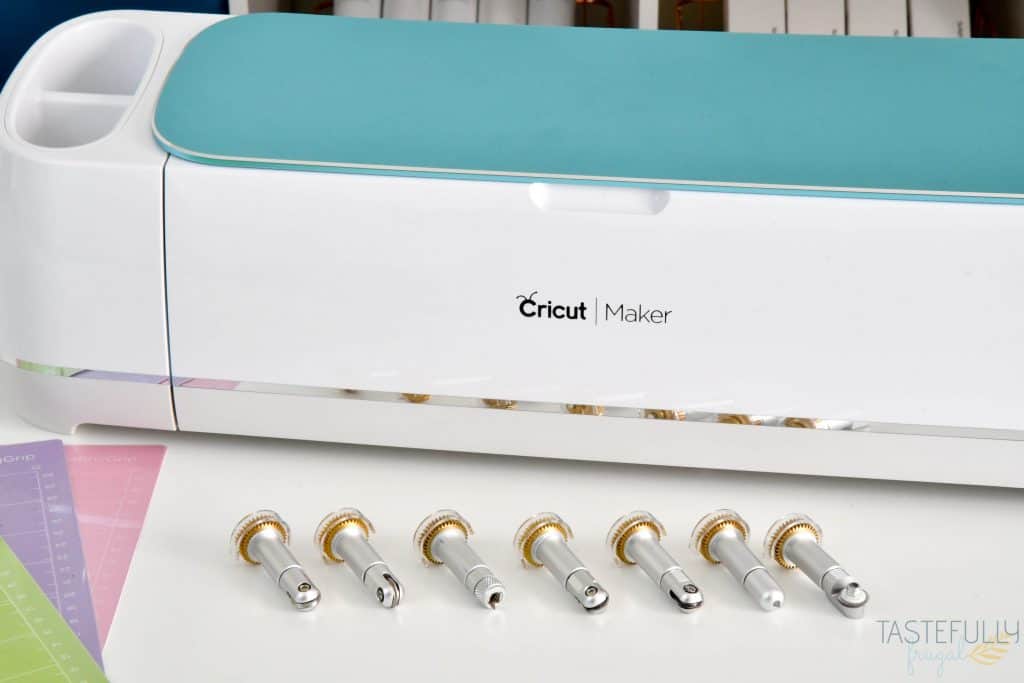
- Quickswap Tools – These are used in the Maker machines and you can easily change the blade or tip with this housing unit. Learn more about the Quickswap tools and how to use them here.
- Blanks – This term is referring to anything that you put your Cricut projects on. Wood signs, mugs, shirts, flags etc.
- Brayer – This tool is used to help lay materials flat on to the cutting mat. It’s great for keeping wrinkles and bubbles from happening.
If you’re going to be ordering Cricut supplies and you’re shopping on Cricut.com, use code SAVE21 to save 10% and get FREE shipping on all $50+ orders. That’s on top of the 10% discount Cricut Access members get automatically! Learn more about Cricut Access here.
Beginners’ Guide to Cricut Craft Terms
This is probably where the most commonly asked questions are when it comes to learning how to craft with Cricut. Let’s take a look at the foreign language of Cricut crafting terms!
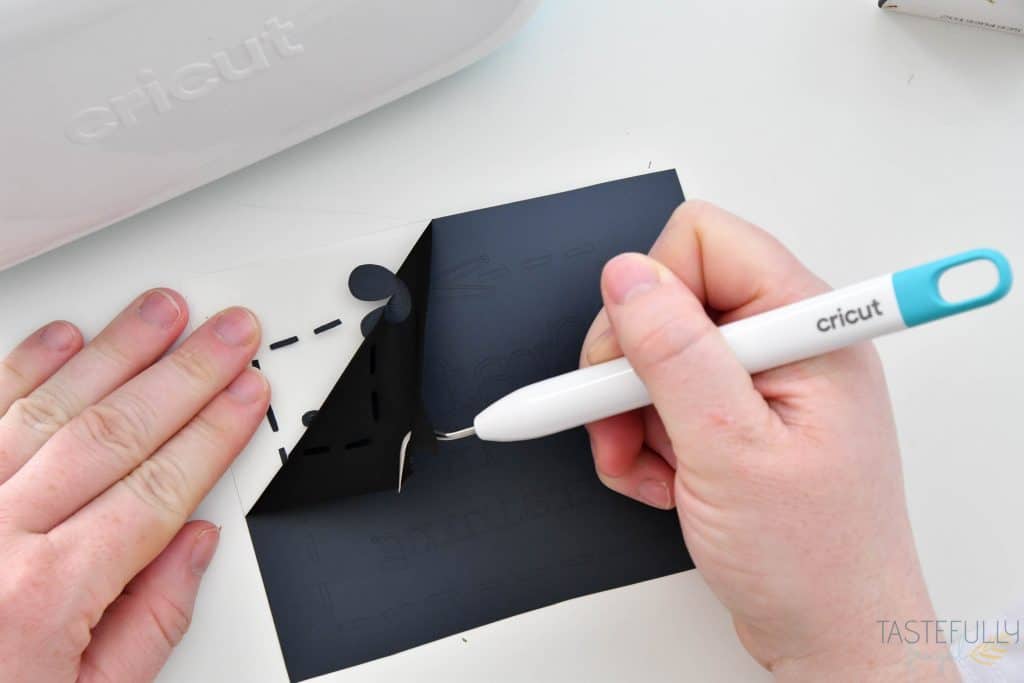
- Weed- This is when you remove the excess material from around your design. You do this before applying transfer tape to vinyl or before pressing with HTV or Infusible Ink.
- Burnish – This term is used when talking about pressing the transfer tape on to your vinyl and/or when pressing your vinyl and transfer tape on to your blank. Often times a scraper is used to burnish but you can use your fingers or a credit card too if you don’t have a scraper tool.
- Mask – when you apply transfer tape to your vinyl.
- Transfer – when you use transfer tape to place your vinyl on your project.
- Layer – When you put multiple pieces of material (vinyl, htv etc) on top of each other to create a design.
Cricut Extra Terms
Here are some fun extras I get asked about too!
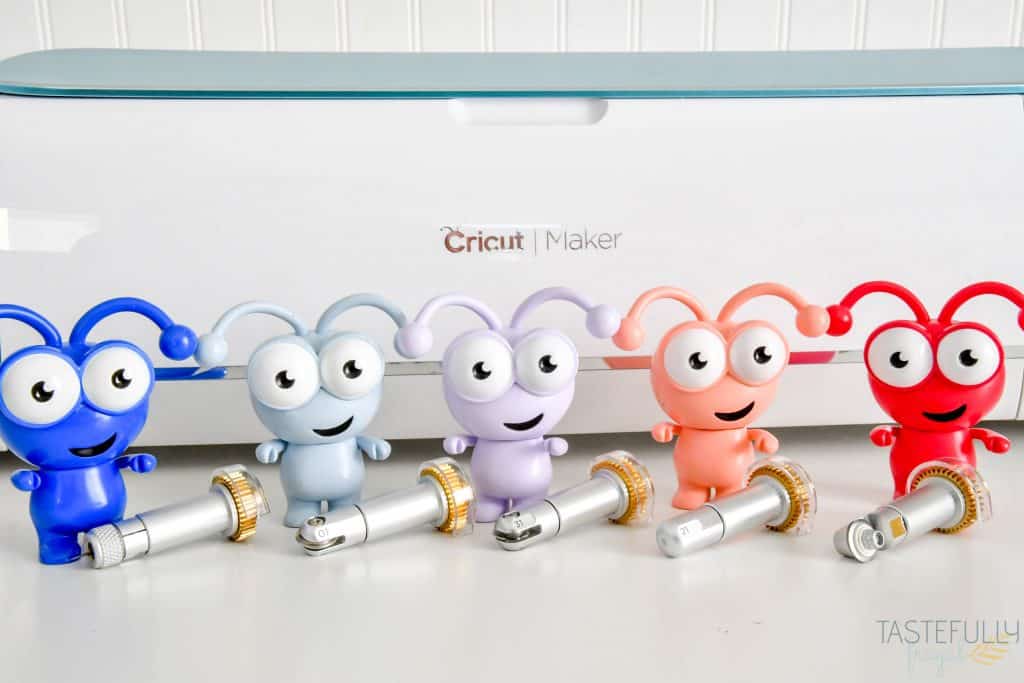
- Cuties – Fun little characters often included in mystery boxes. Think of them of the crafting equivalent of Funko Pops.
- Mystery Box – These are surprise packages that you can buy directly from Cricut! They have a variety of materials, supplies and sometimes Cricut cuties. Be sure to follow my Facebook page to get notified when a new mystery box is released.
I hope this post gives you a better idea of what some commonly used Cricut terms are and gives you motivation to start crafting! PS – If you’re going to be ordering Cricut supplies and you’re shopping on Cricut.com, use code SAVE21 to save 10% and get FREE shipping on all $50+ orders. That’s on top of the 10% discount Cricut Access members get automatically! Learn more about Cricut Access here.
Be sure to subscribe to my YouTube channel to check out all my video tutorials including projects and how to’s. For more Cricut projects and tutorials, check out these posts. For tips, tricks and immediate help, be sure to join our FREE Cricut Support Group.


Leave a Reply