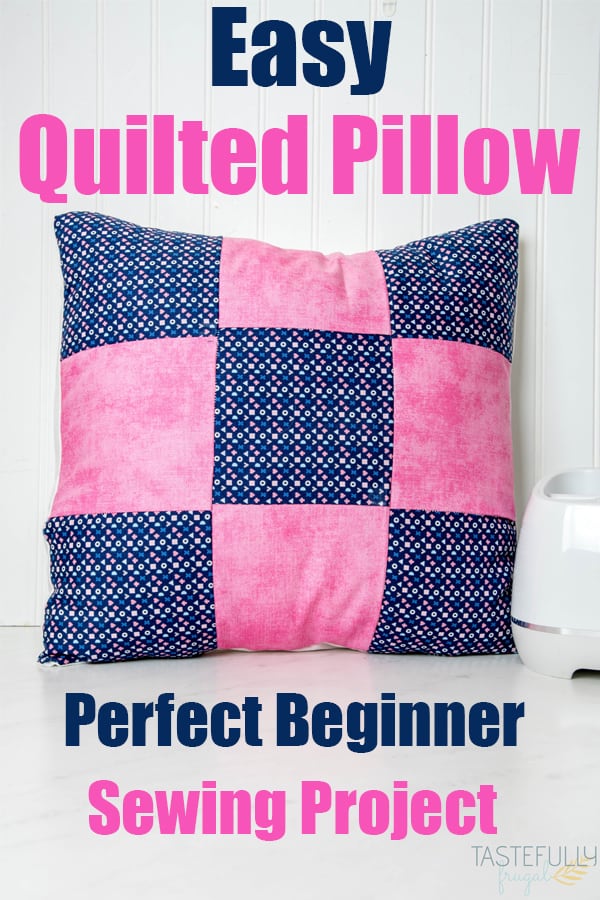
Learn how easy it is to create your own fabric designs and projects with the English Paper Piecing Patterns in Cricut Design Space. Plus a step by step tutorial for this quilted pillow. It’s the perfect beginner sewing project for your Cricut Maker!
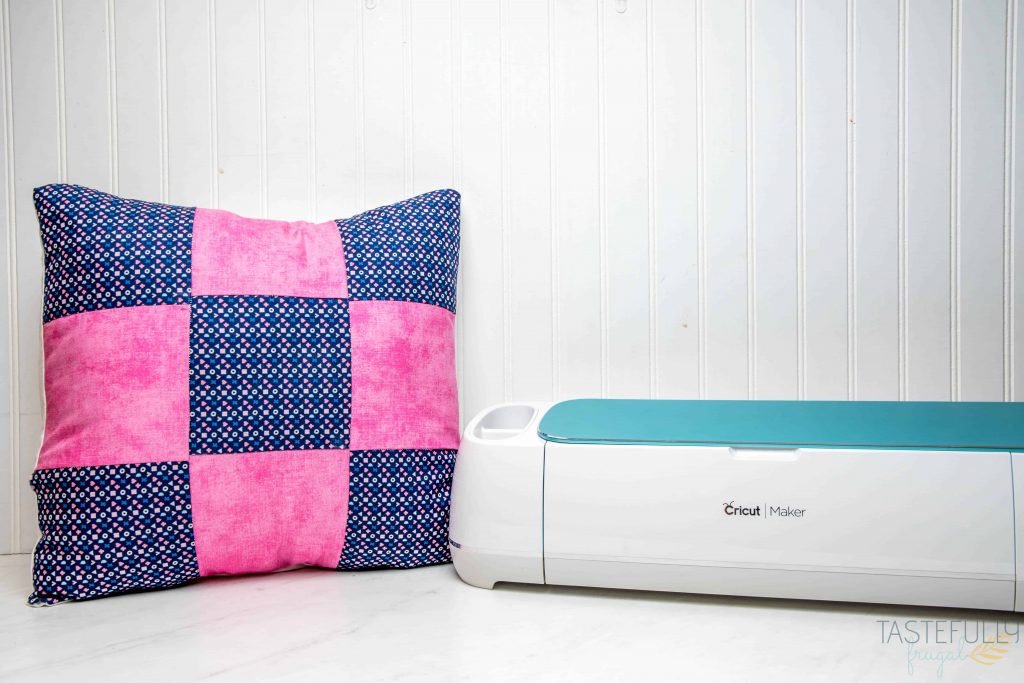
Did you know that there are English Paper Piecing Patterns (or EPP) in Cricut Design Space?! I found out about them a few weeks ago when I was looking for a hexagon for a different project and came across the hexagon shape. When I searched QUILTING in Images I was amazed at all the different shapes and sizes available!
How To Use English Paper Piecing Patterns
You can use the English Paper Piecing Patterns to create custom quilt (or any fabric project) designs. Whether you’re looking to do a big or small project, English Paper Piecing is easy to do.
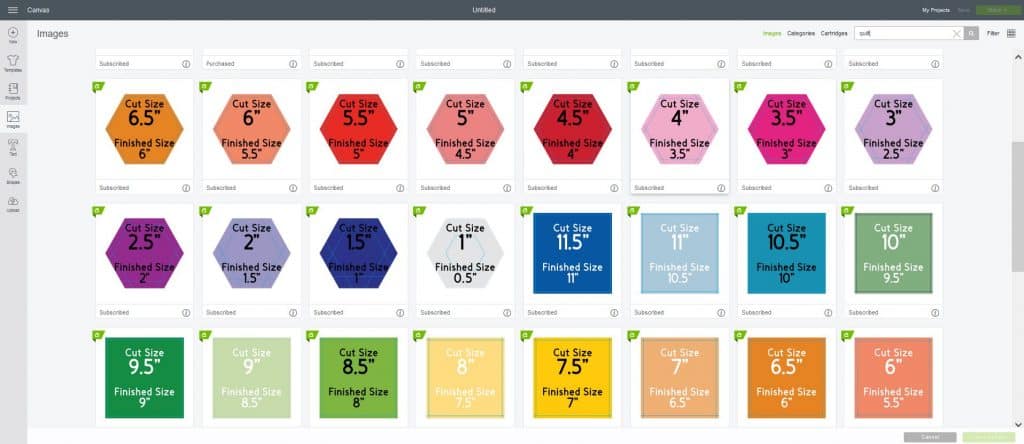
First, you select the shape and size you want from the images. After you select the correct size you’re pieces will open in Design Space. You’ll notice that there are anywhere from 2-20 pieces that get added with each image.
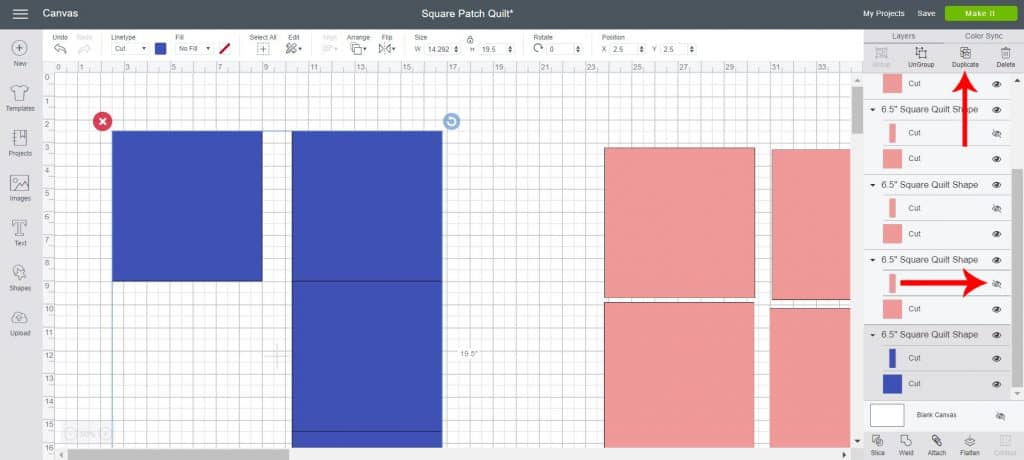
You can change the visibility of certain pieces, duplicate and change the color of the duplicated pieces to easily make your shapes ready to be cut out of different fabric.
Quilted Pillow With EPP
I’ve only made two quilts so I wanted to start with an easy first project for my EPP journey. I decided on a pillow for a few reasons. One, it’s a smaller project with less pieces. And two, I already had a pillow insert at home so all I had to do was make the pillow itself.
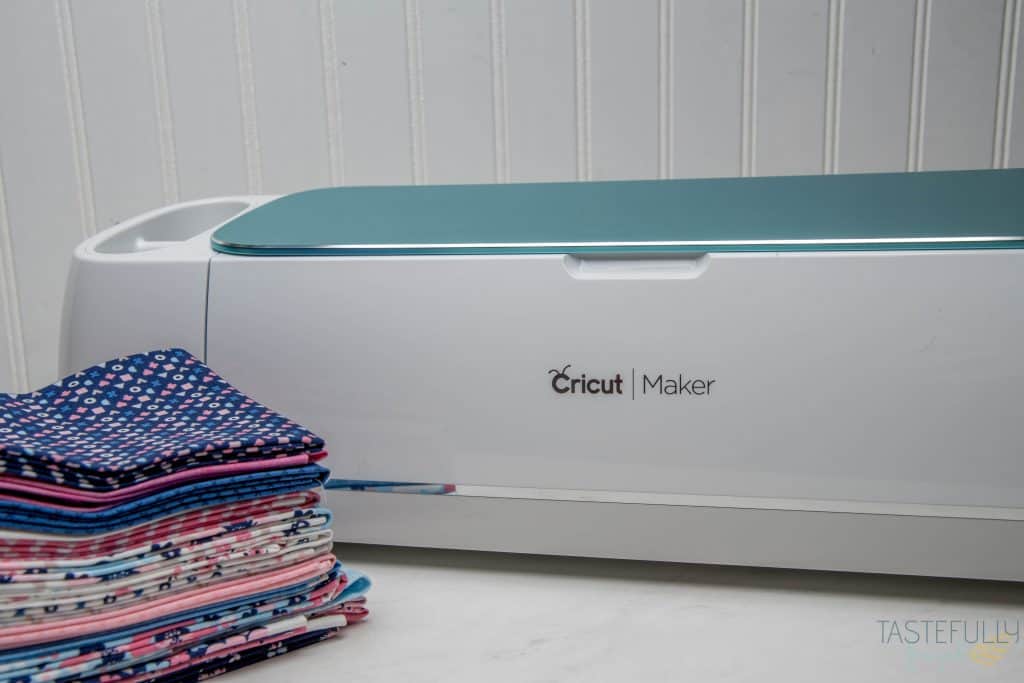
I had leftover fabric from the baby shower I did last month so I used those pieces to make my quilted pillow. You’ll want to choose two fabrics that look well together. This blue patterned fabric and a solid pink fabric complimented each other perfectly. And I had leftover white fabric from one of the quilts so my total cost for this project was $0!
SUPPLIES:
Fabric – 2 coordinating colors, preferably a solid and pattern (you’ll need two 8″x20″ pieces for this pillow)
White Fabric for the back (you’ll need two 18″x16″ pieces)
EasyPress 2 (or iron)
Thread
Pillow Insert (I like the $2 IKEA inserts)
When ordering from Cricut.com make sure to use promo code TFRUGAL10 to get 10% off and score FREE shipping on orders over $50!
DIRECTIONS:
Open up this design in Design Space.
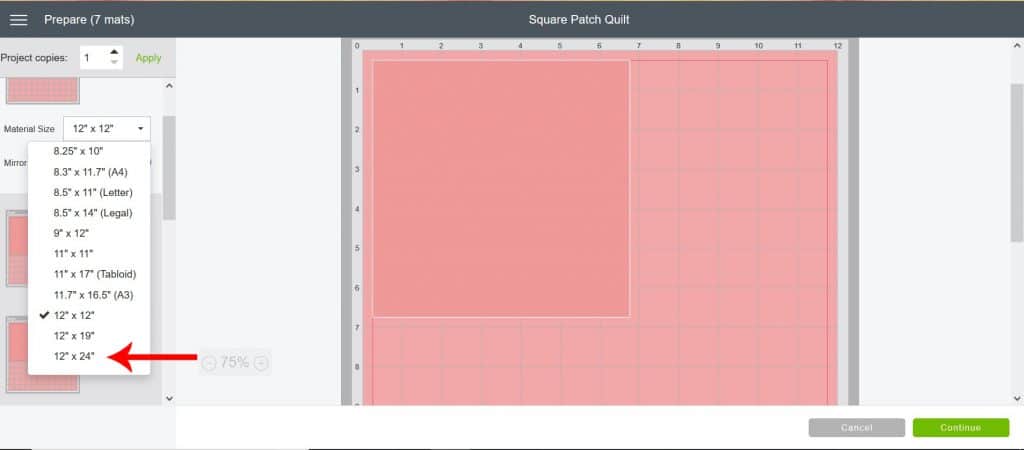
Click Make It and change your mat size to 12×24.
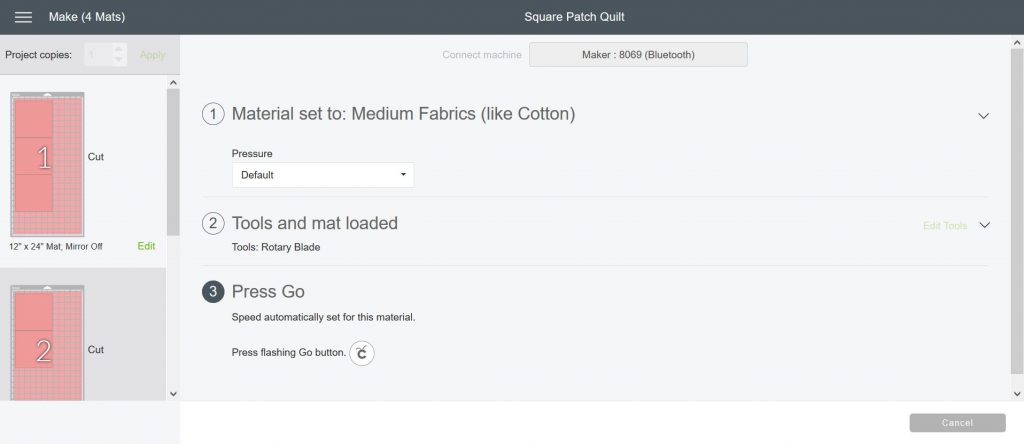
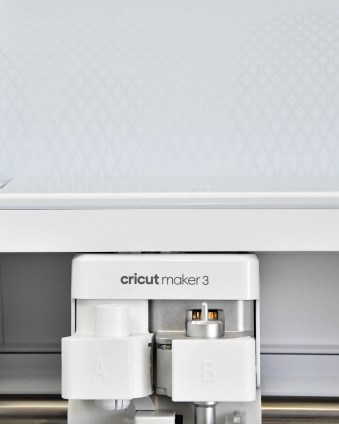
Select Medium Fabric and insert your rotary blade into the B clamp.
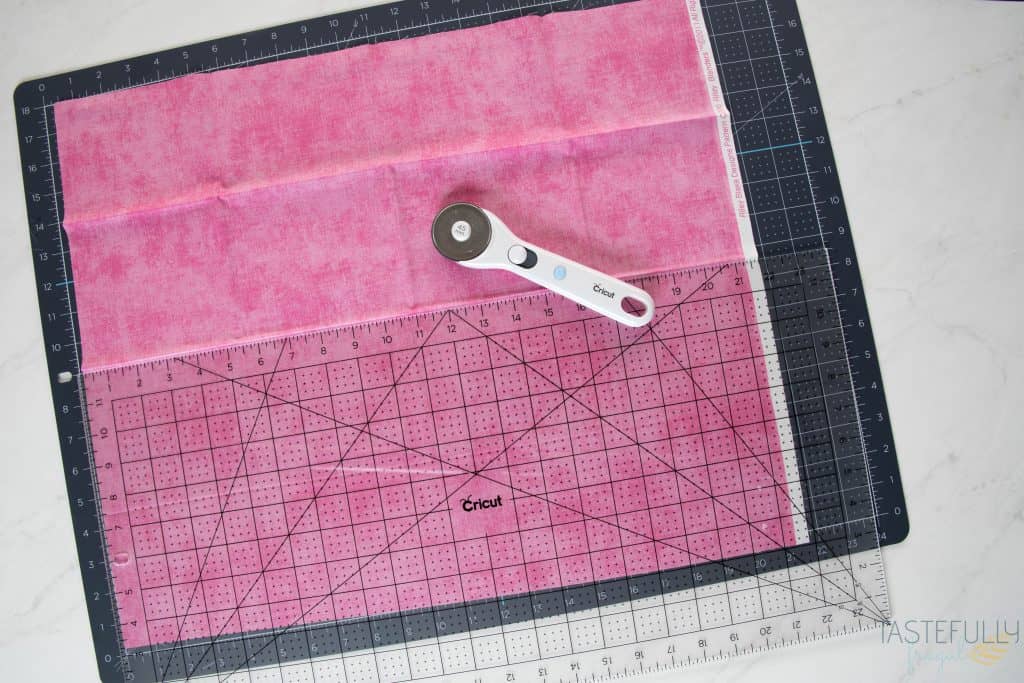
Cut your fabric down to size. If you are using fat quarters, like I did, you’ll want to cut them in half length wise. A self healing mat, acrylic ruler and rotary cutter make this SO easy.
Use your EasyPress 2, or an iron, to get out fold lines or wrinkles.
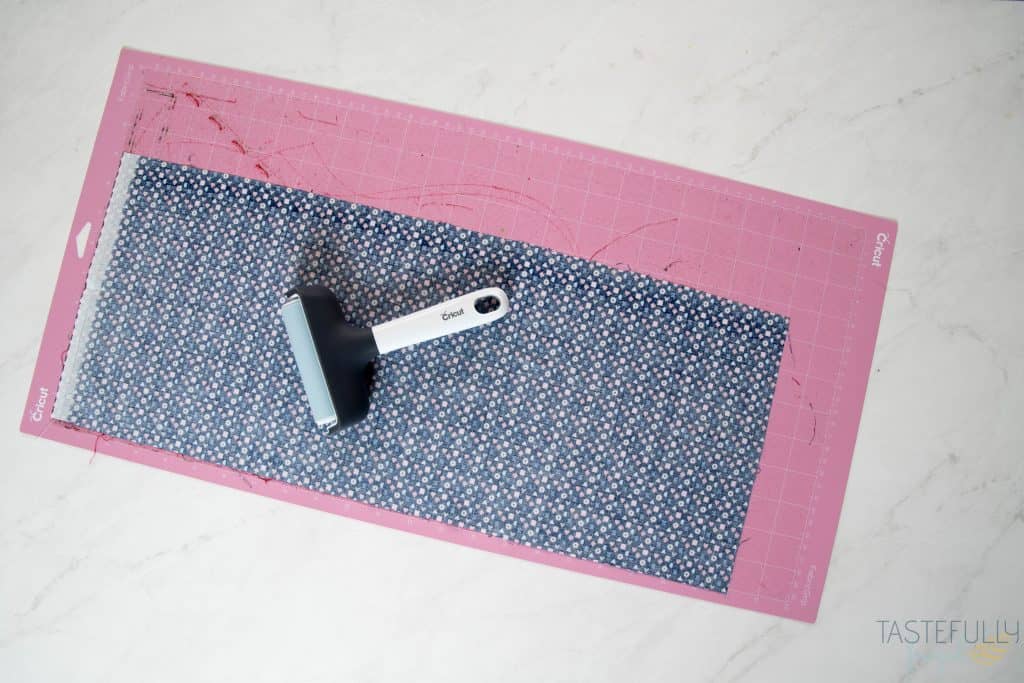
Put your fabric design side down on your FabricGrip mat. Use the brayer to smooth out any wrinkles.
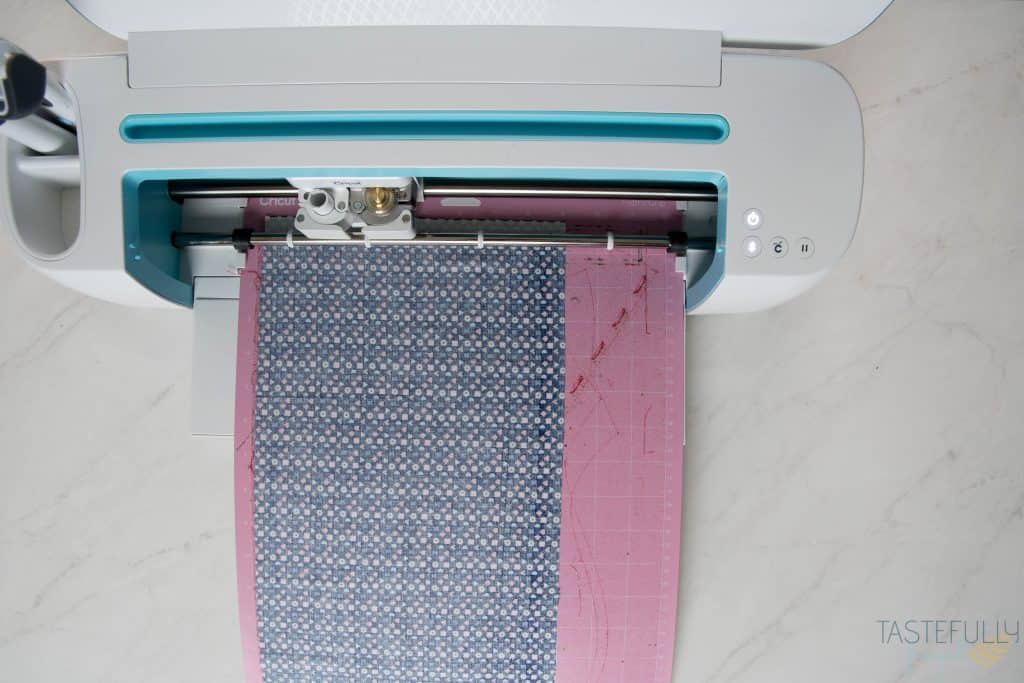
Load mat into Maker and press the flashing “C” button.
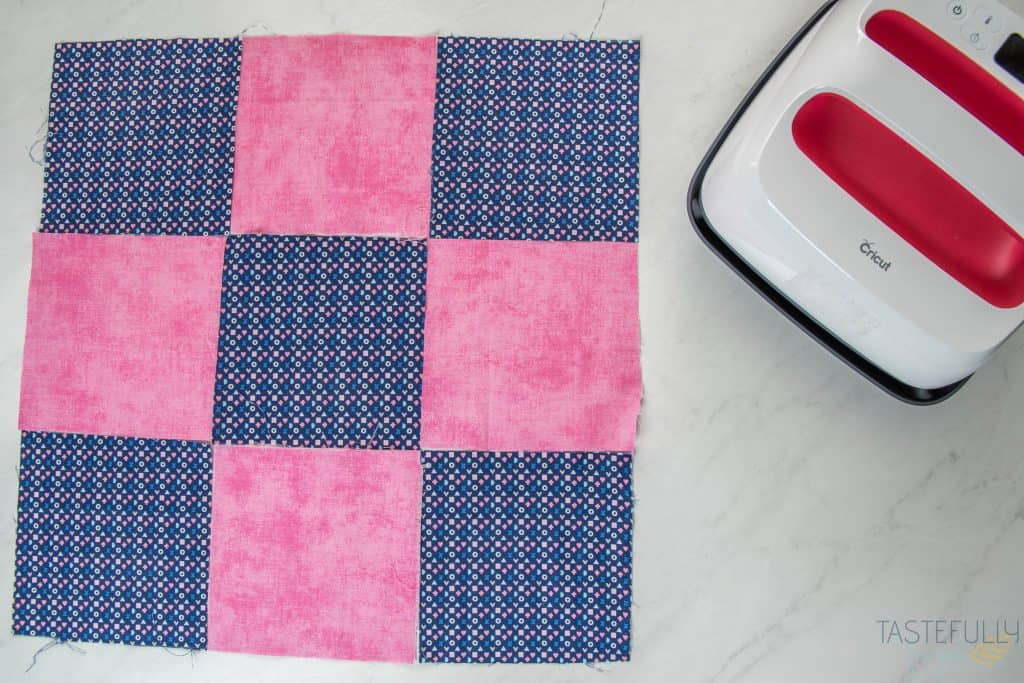
Cut out all pieces and line up designs. You’ll want to make sure if you’re using a patterned fabric that all the pieces are going the same direction.
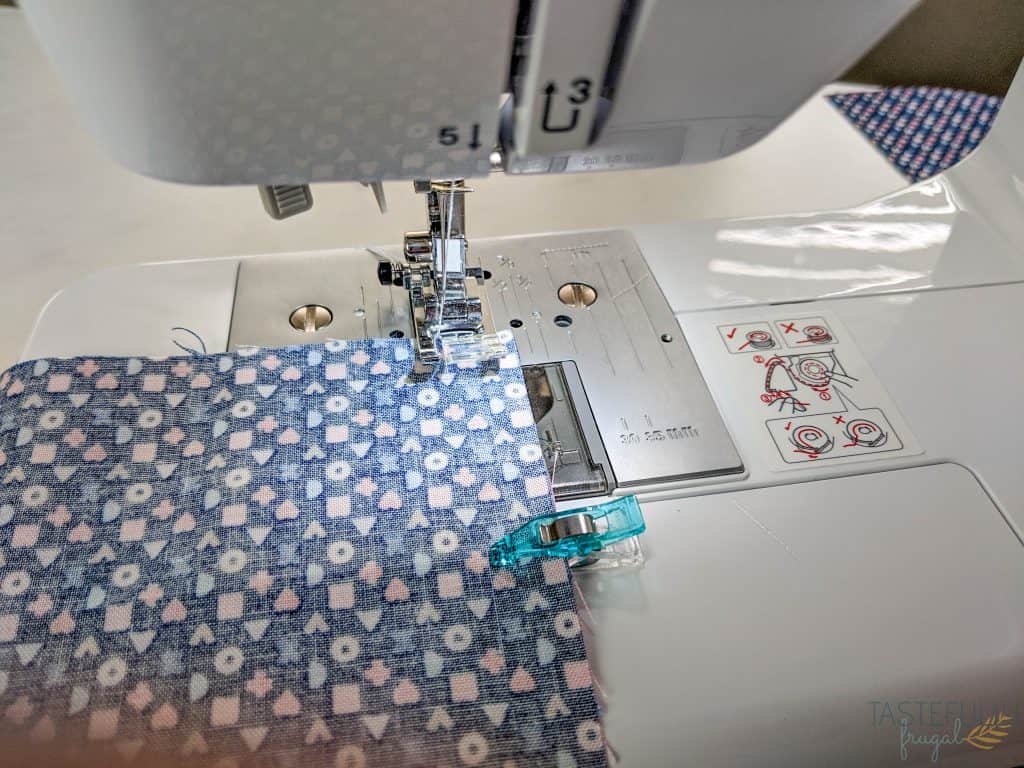
Make your rows. You’ll want to put the first two squares together patterned sides touching and sew a ½” inseam. Open up and pin the third piece to the middle piece patterned sides touching sew a ½” inseam. Repeat with remaining two rows.
Sew your rows together. Line up the top row with the middle row and pin together, fabric sides touching. ***MAKE SURE THAT THE PATTERNED PIECES ARE GOING THE SAME DIRECTION. Sew a ½” inseam. Repeat with third row.
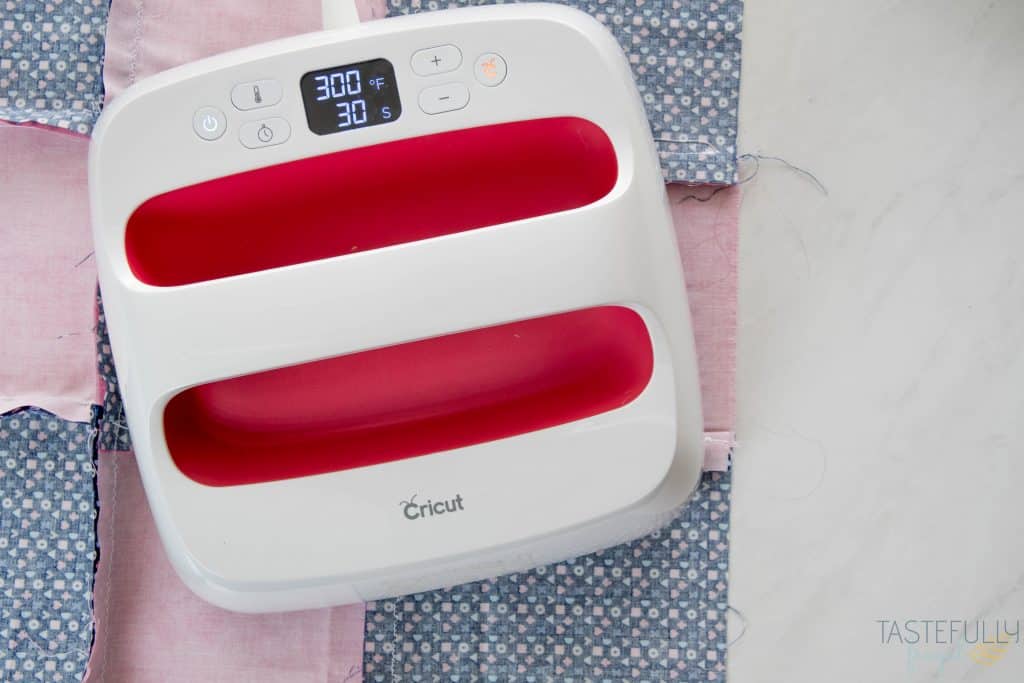
Use your EasyPress 2 (or iron) to press seams down.
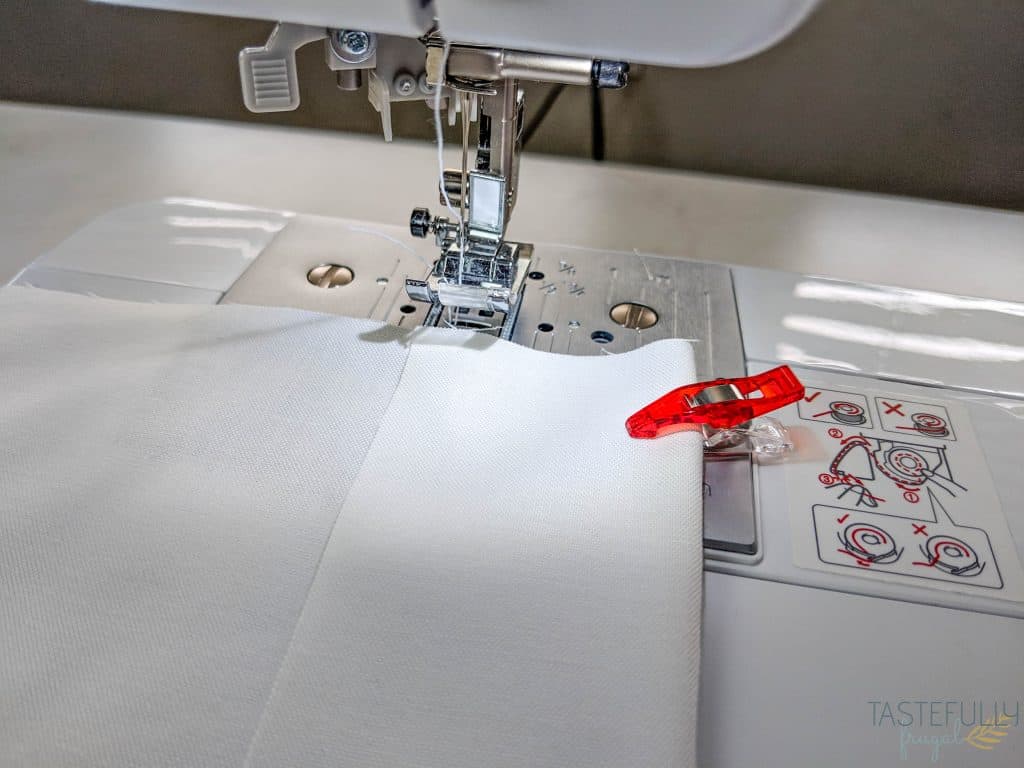
Create a 2″ hem on both pieces of your white fabric and sew.
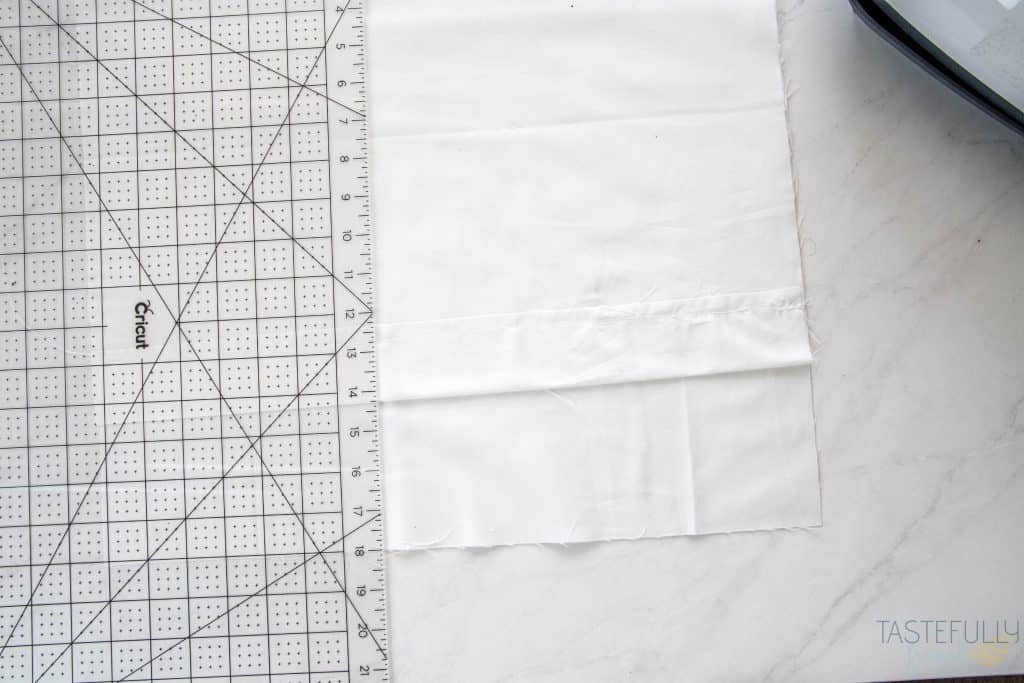
Line up white fabric pieces to create an 18″x18″ square. Make sure the outside pieces are touching. Pin pieces together.
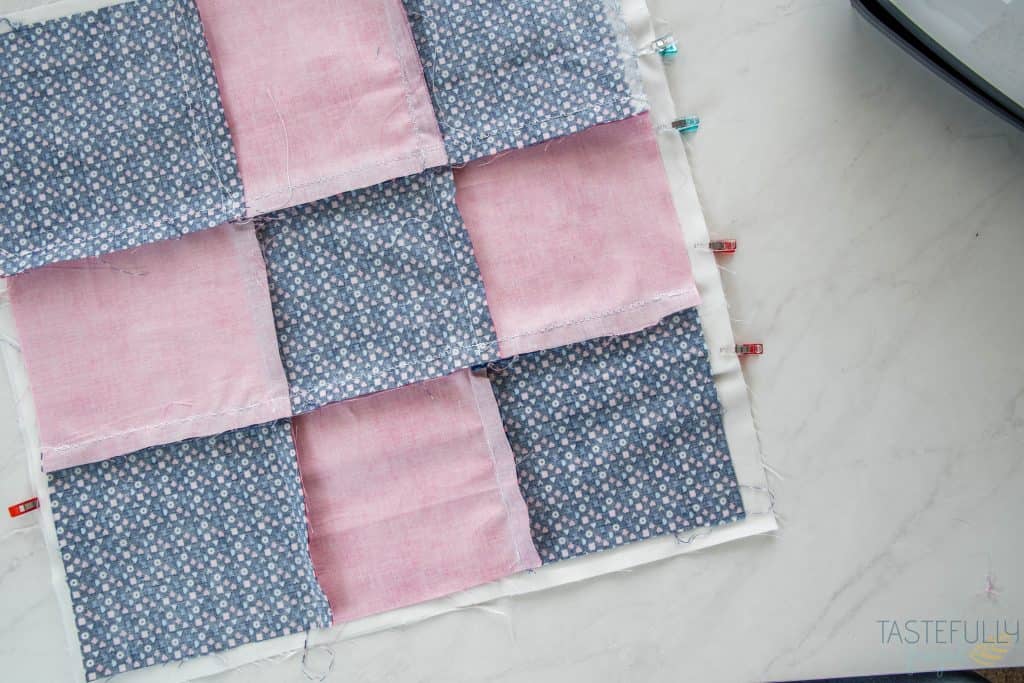
Flip over and pin quilted pillow top on top of white pieces, patterned side down.
Sew around all 4 corners.
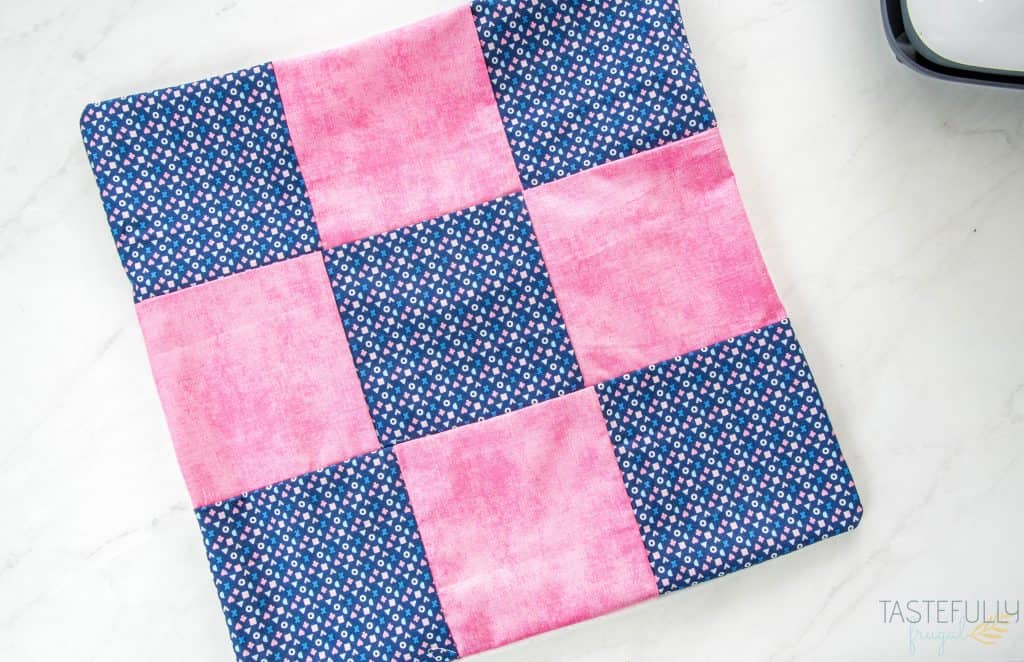
Reach inside the envelope of the white pieces and turn inside out. Make sure to reach all corners and push through.
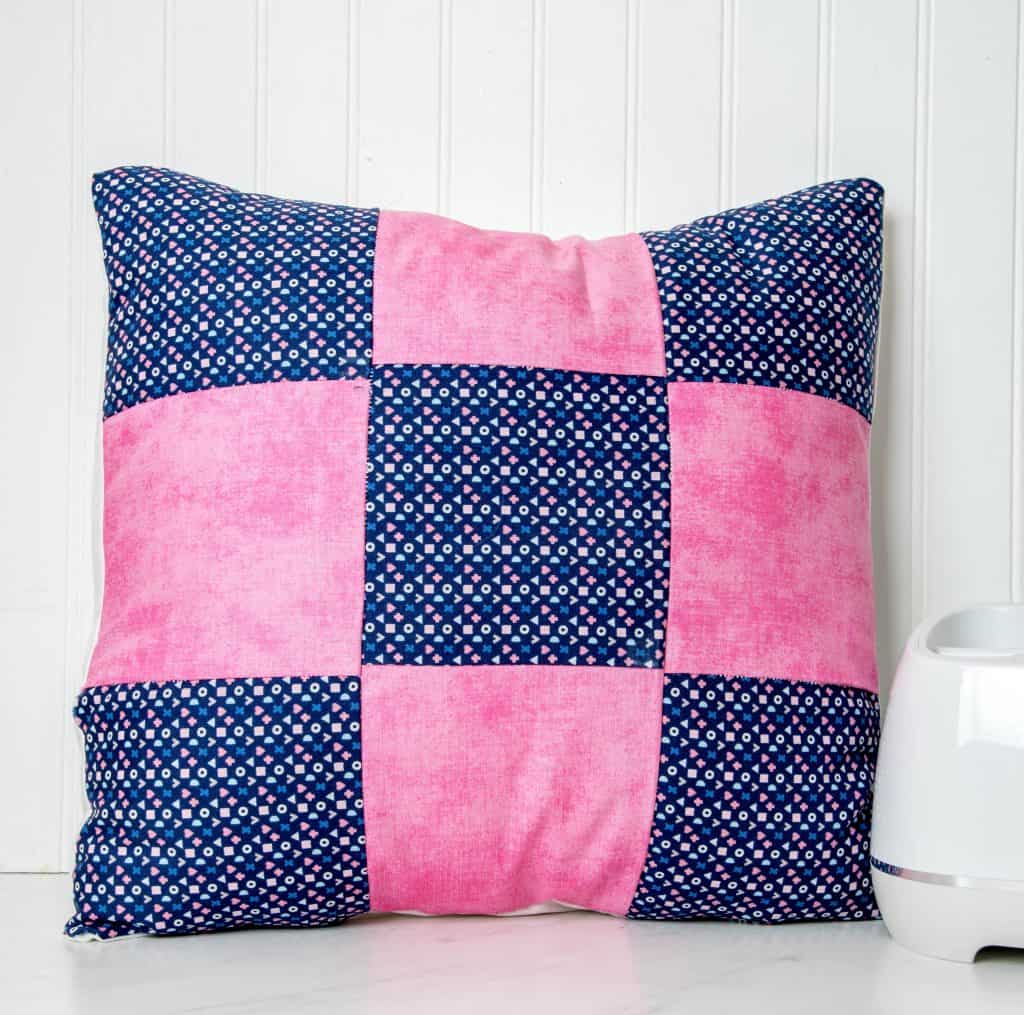
Put pillow insert in and fluff.
Easy Sewing Project For Beginners
And there you have it! This is the perfect beginner sewing project for anyone who wants to try their hand at cutting fabric with their Cricut Maker and sewing.
If you’d like to check out more ways you can use your Cricut check out these posts! Need help with your Cricut? Join our Cricut Support Facebook Group!
This is a sponsored conversation written by me on behalf of Cricut. The opinions and text are all mine.


Leave a Reply