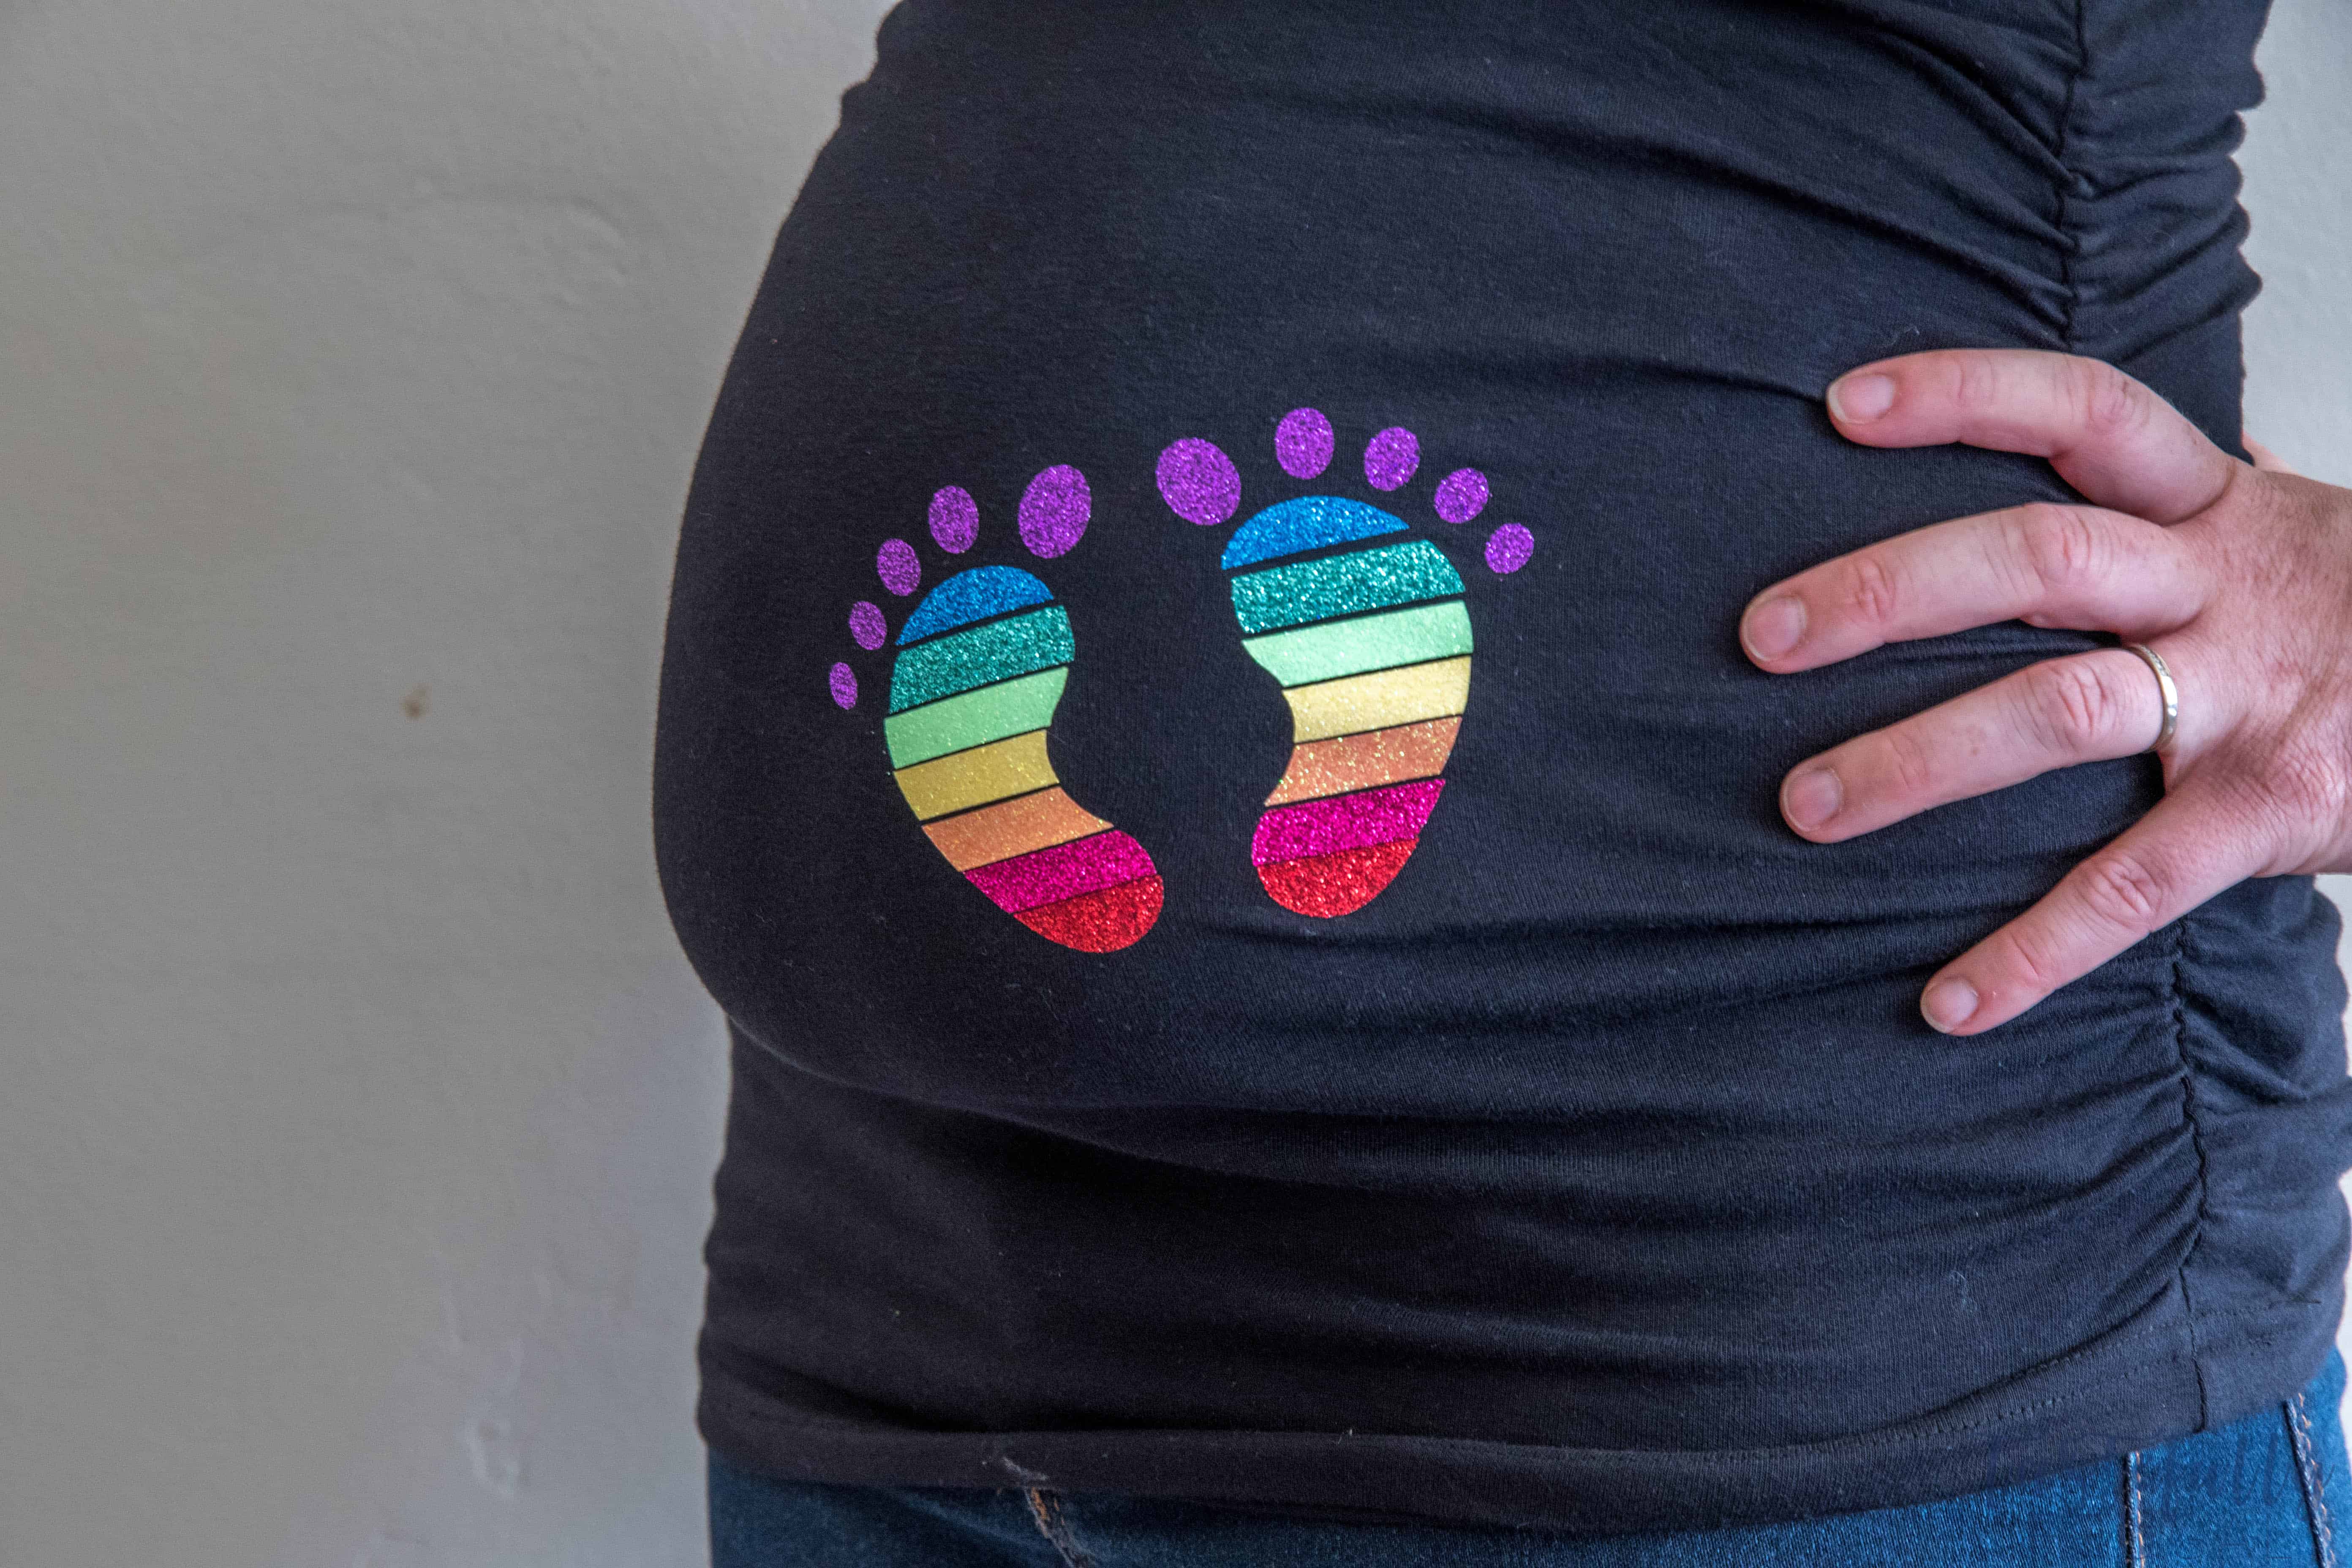
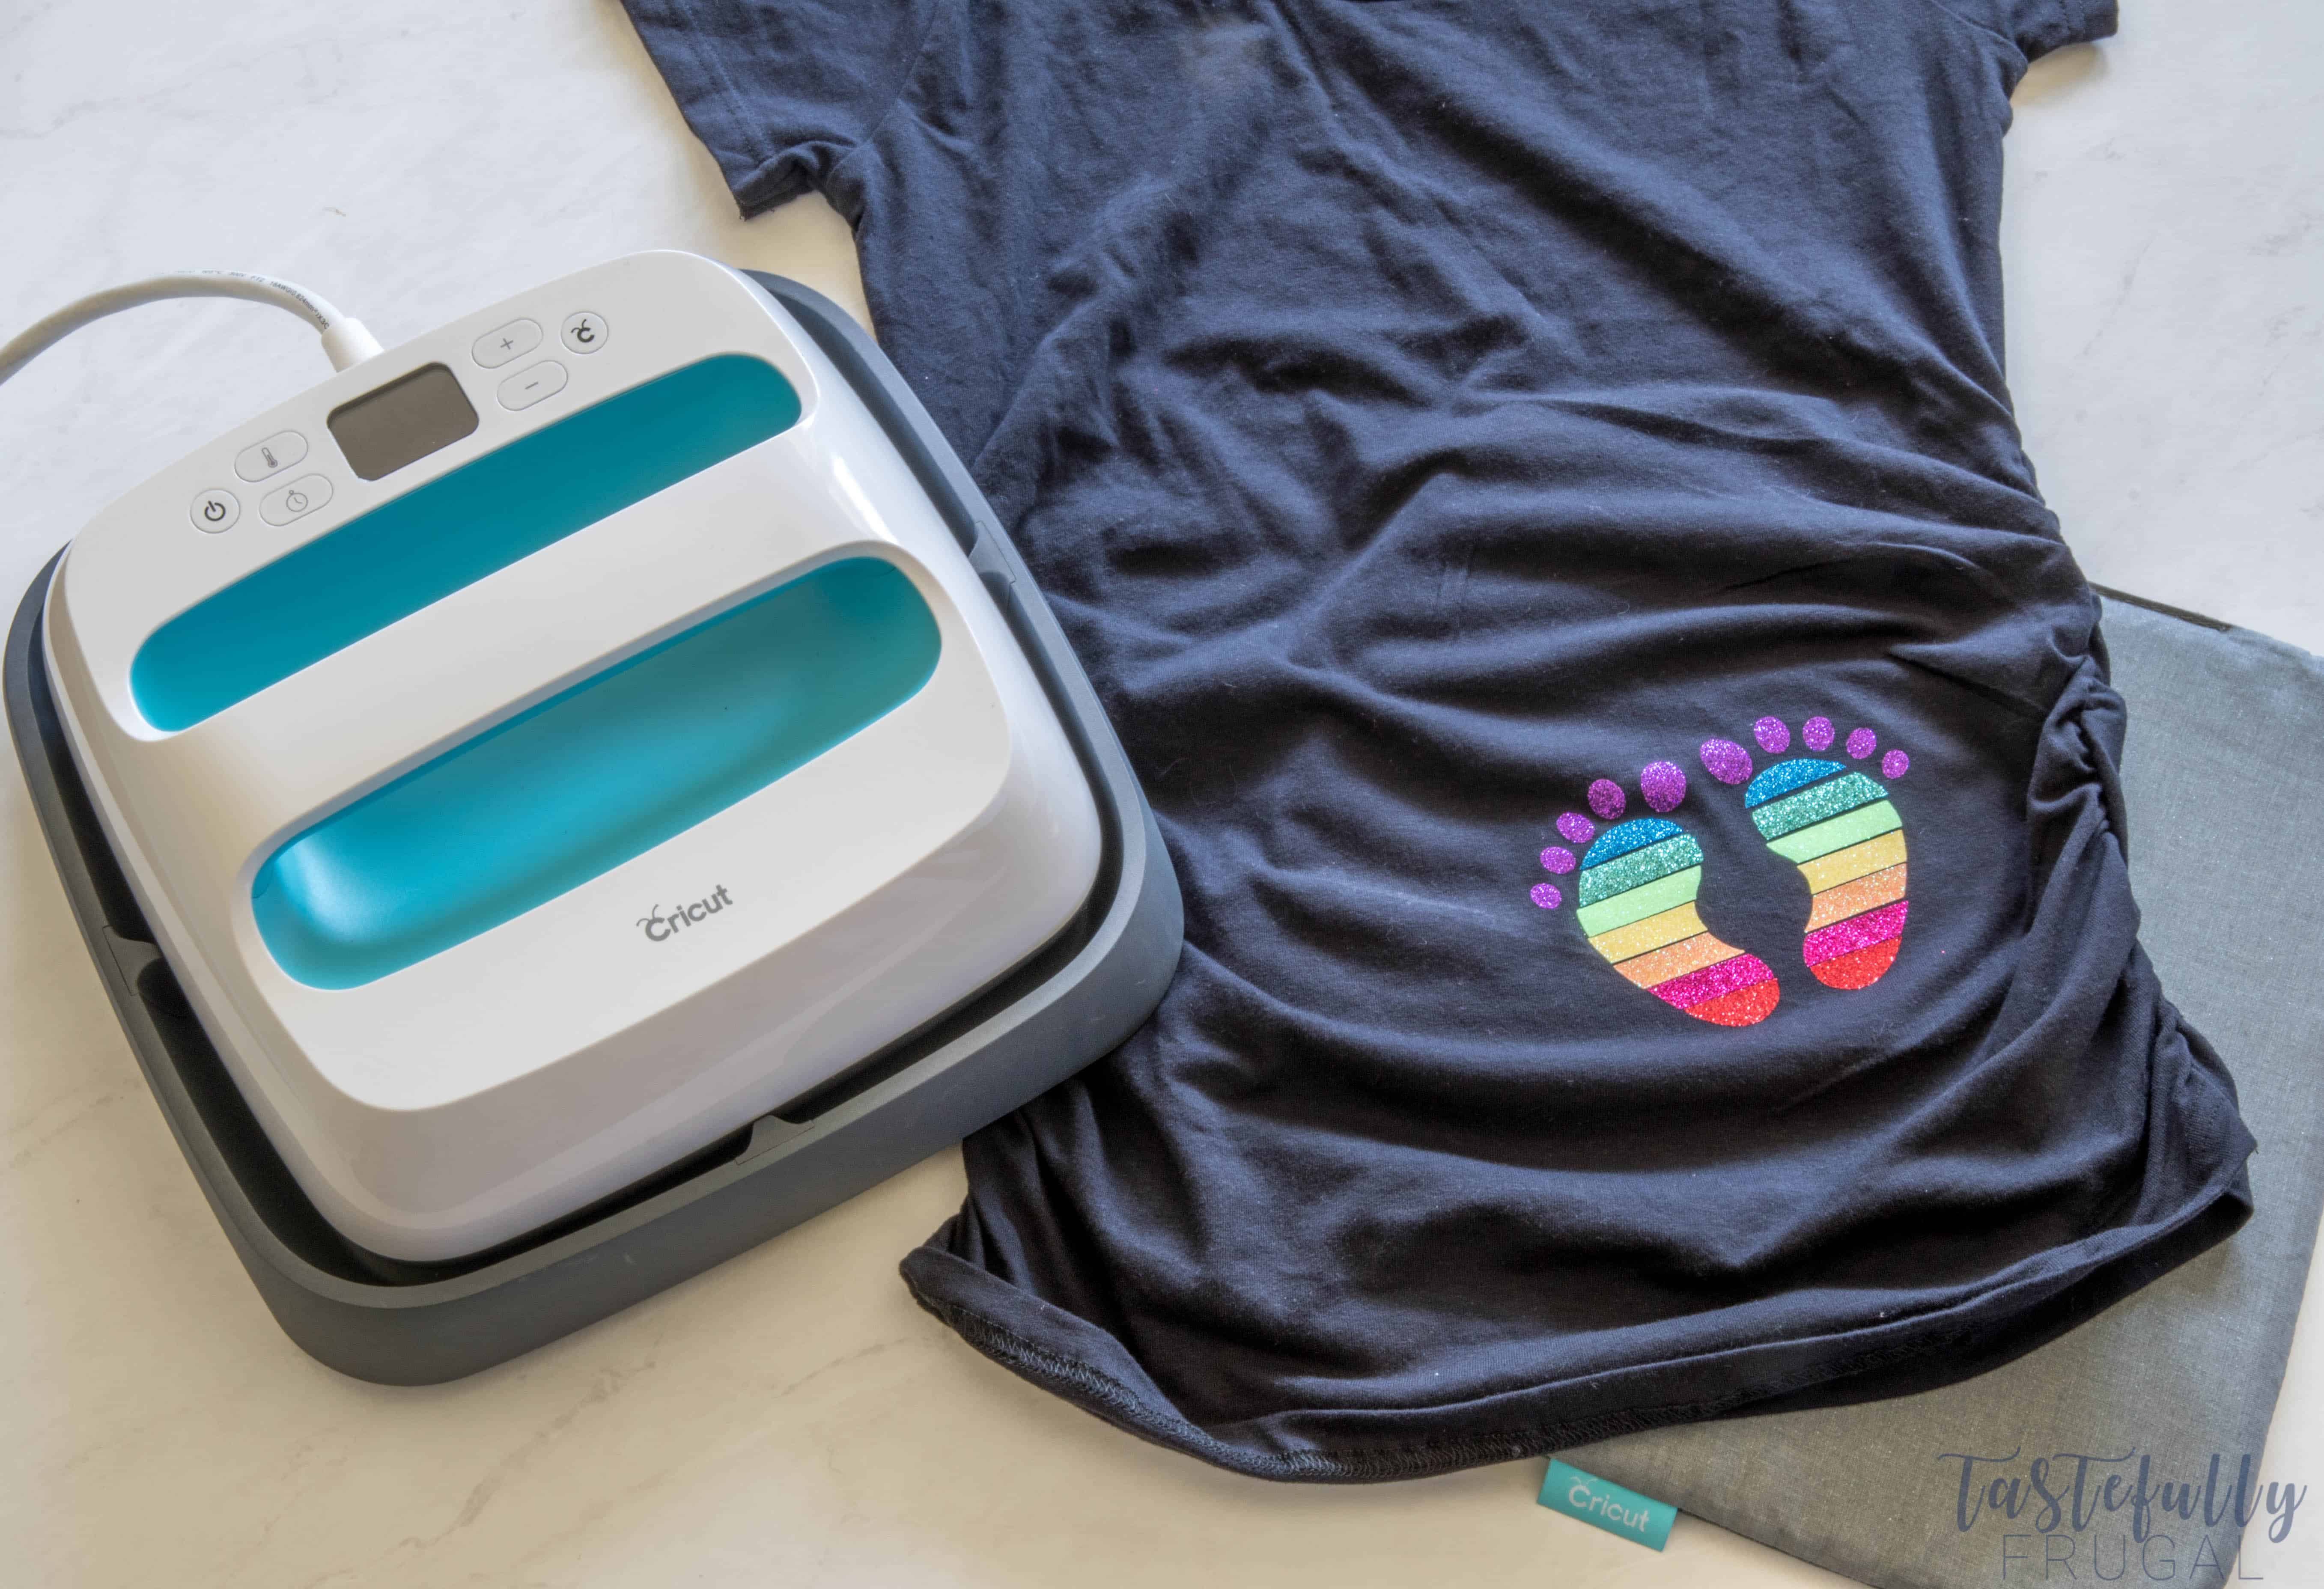
If you’re expecting, or know someone expecting, a rainbow baby, this shirt is the perfect project! It would make a great pregnancy announcement or gift.
When we got pregnant with Mahle I was very hesitant to make an announcement. We had lost our baby before her at 13 weeks and I didn’t want to get our (and our friends’ and family’s) hopes up just to be heart broken again. I wish I would have thought of making this shirt back then because it would have been the perfect way to announce our pregnancy. I actually never really made an announcement before our gender reveal at 20 weeks.
Having a rainbow baby is both an exciting and nerve wracking time. You are SO excited for your new little bundle of joy but also so nervous every day of the 9 months leading up to their birth. I designed this SVG for a friend and made her the shirt to wear to her baby shower. So when Carolina and Angie invited to me join this month’s Craft Lightning Challenge featuring iron on products I knew this was the perfect time to share this project with other mamas to be out there that may want this shirt too.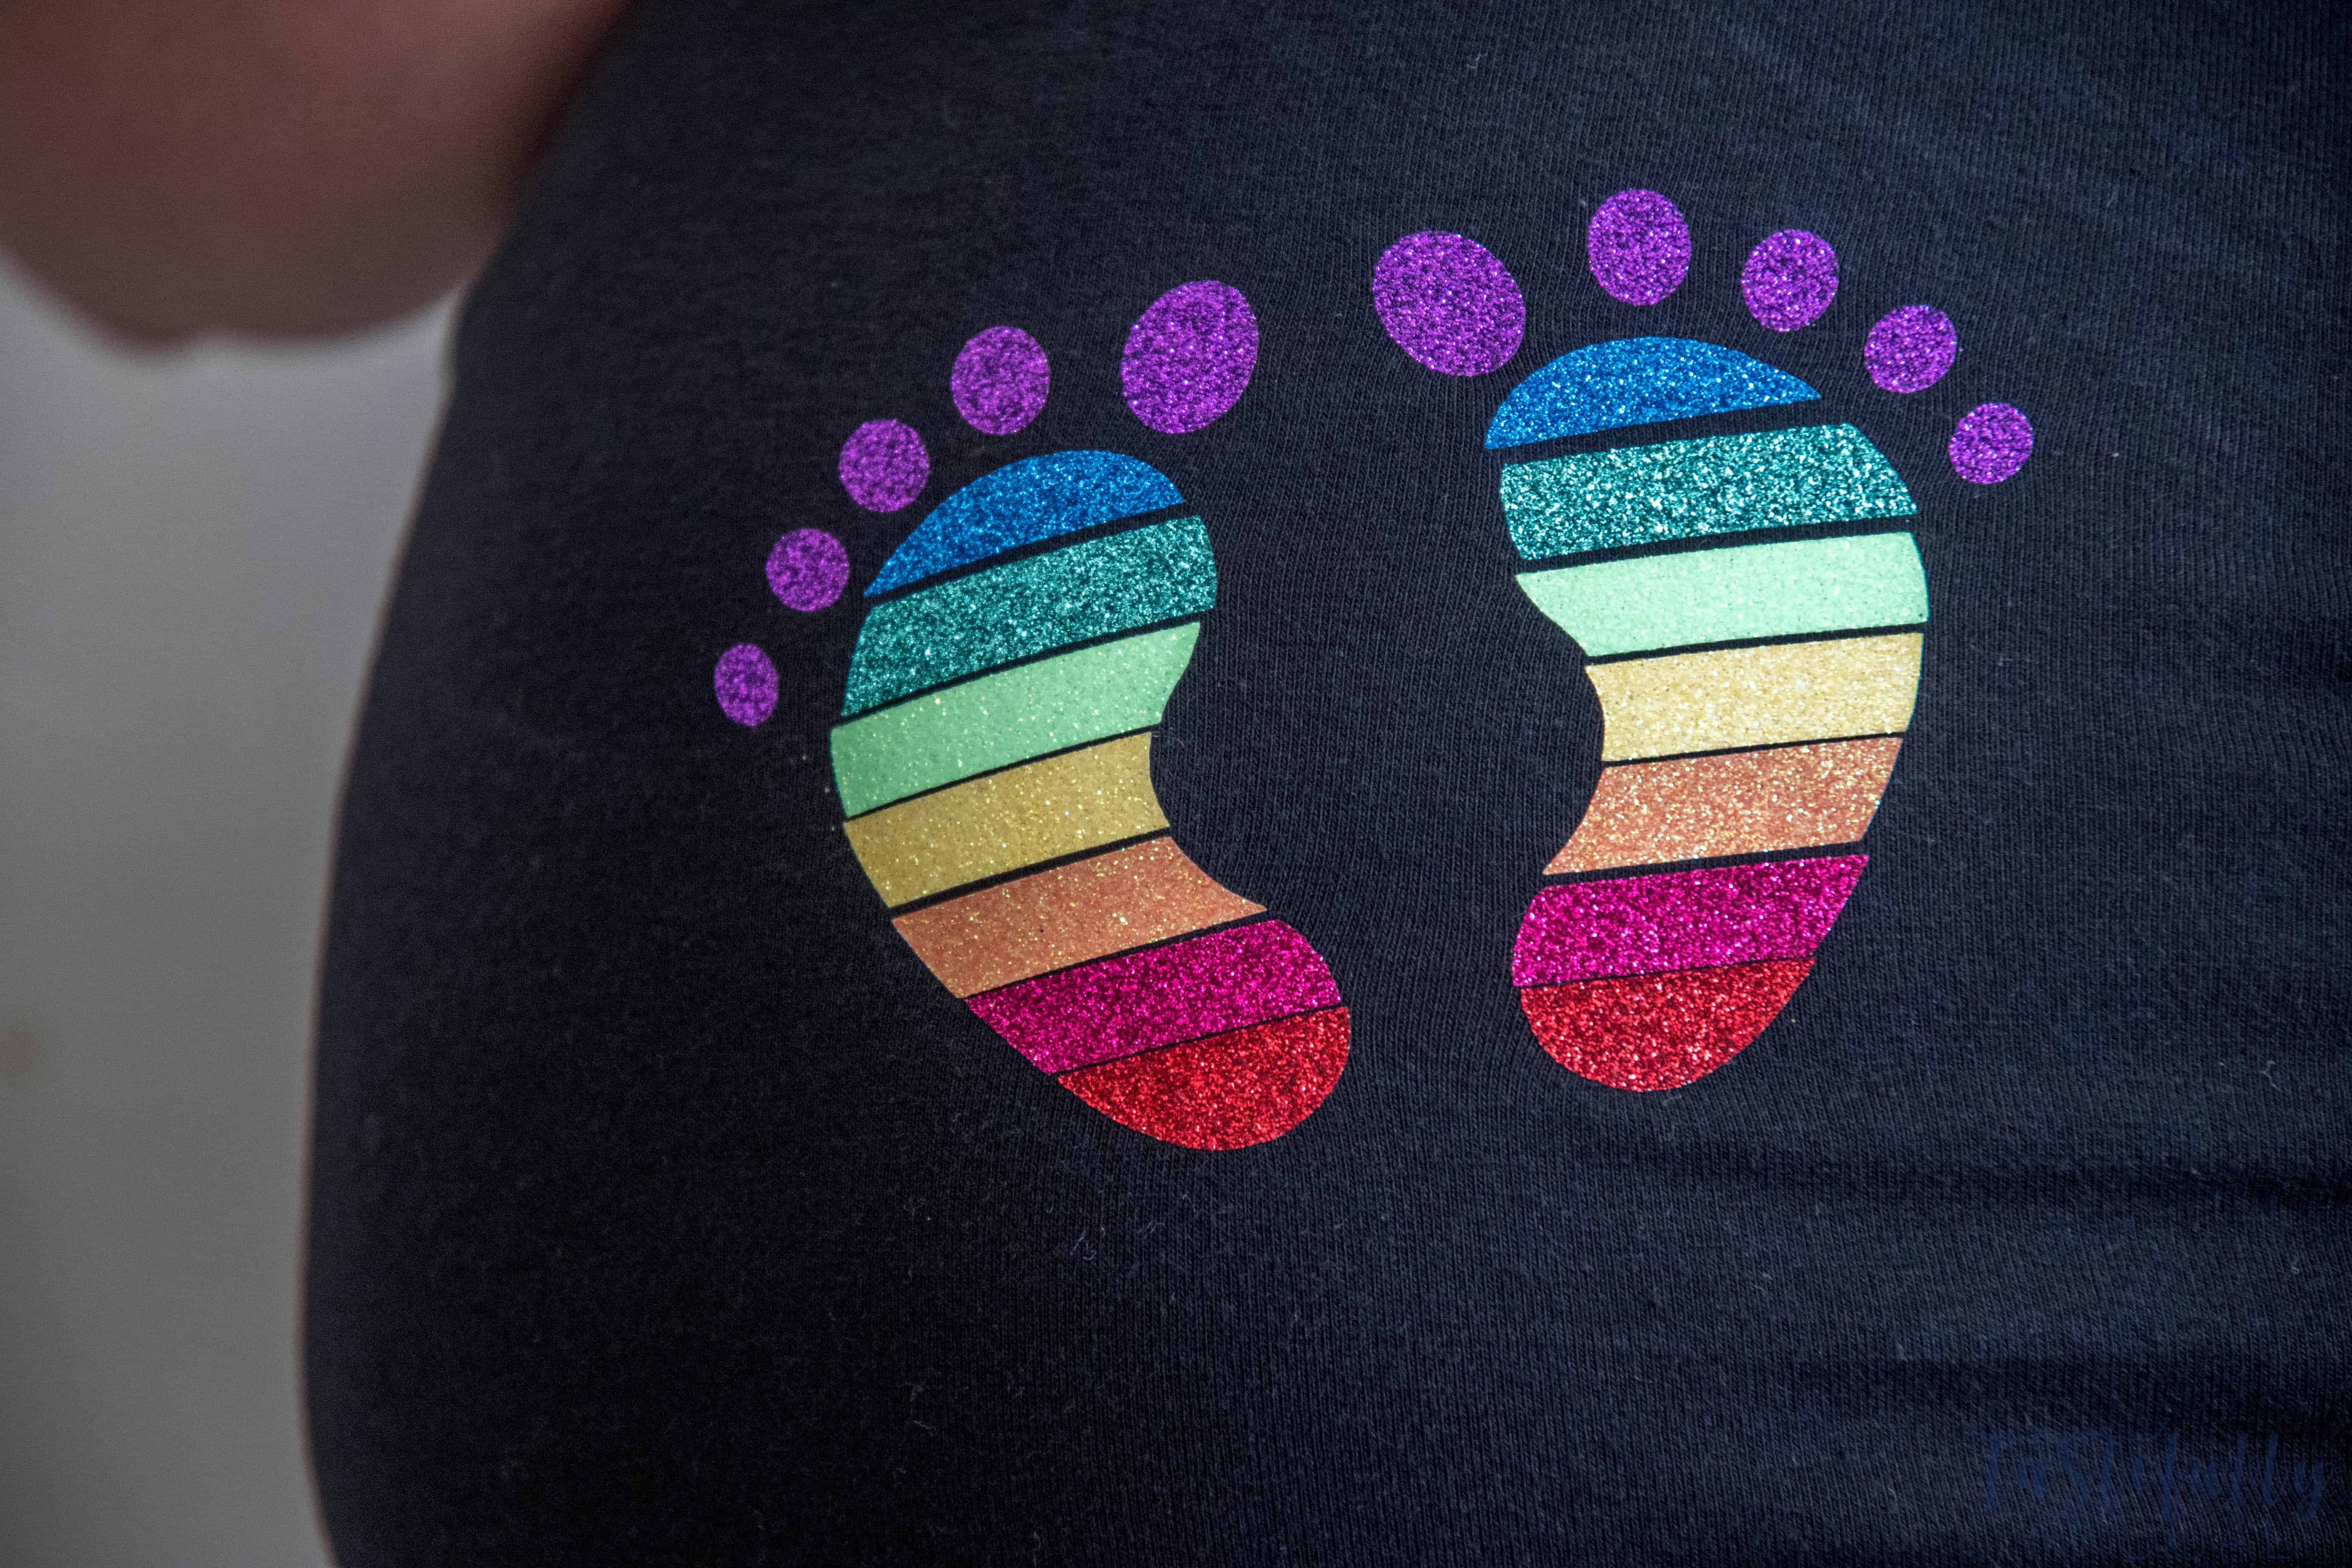
AND, to make making this shirt even easier, you can enter to win a Cricut EasyPress Bundle at the end of this post!
SUPPLIES:
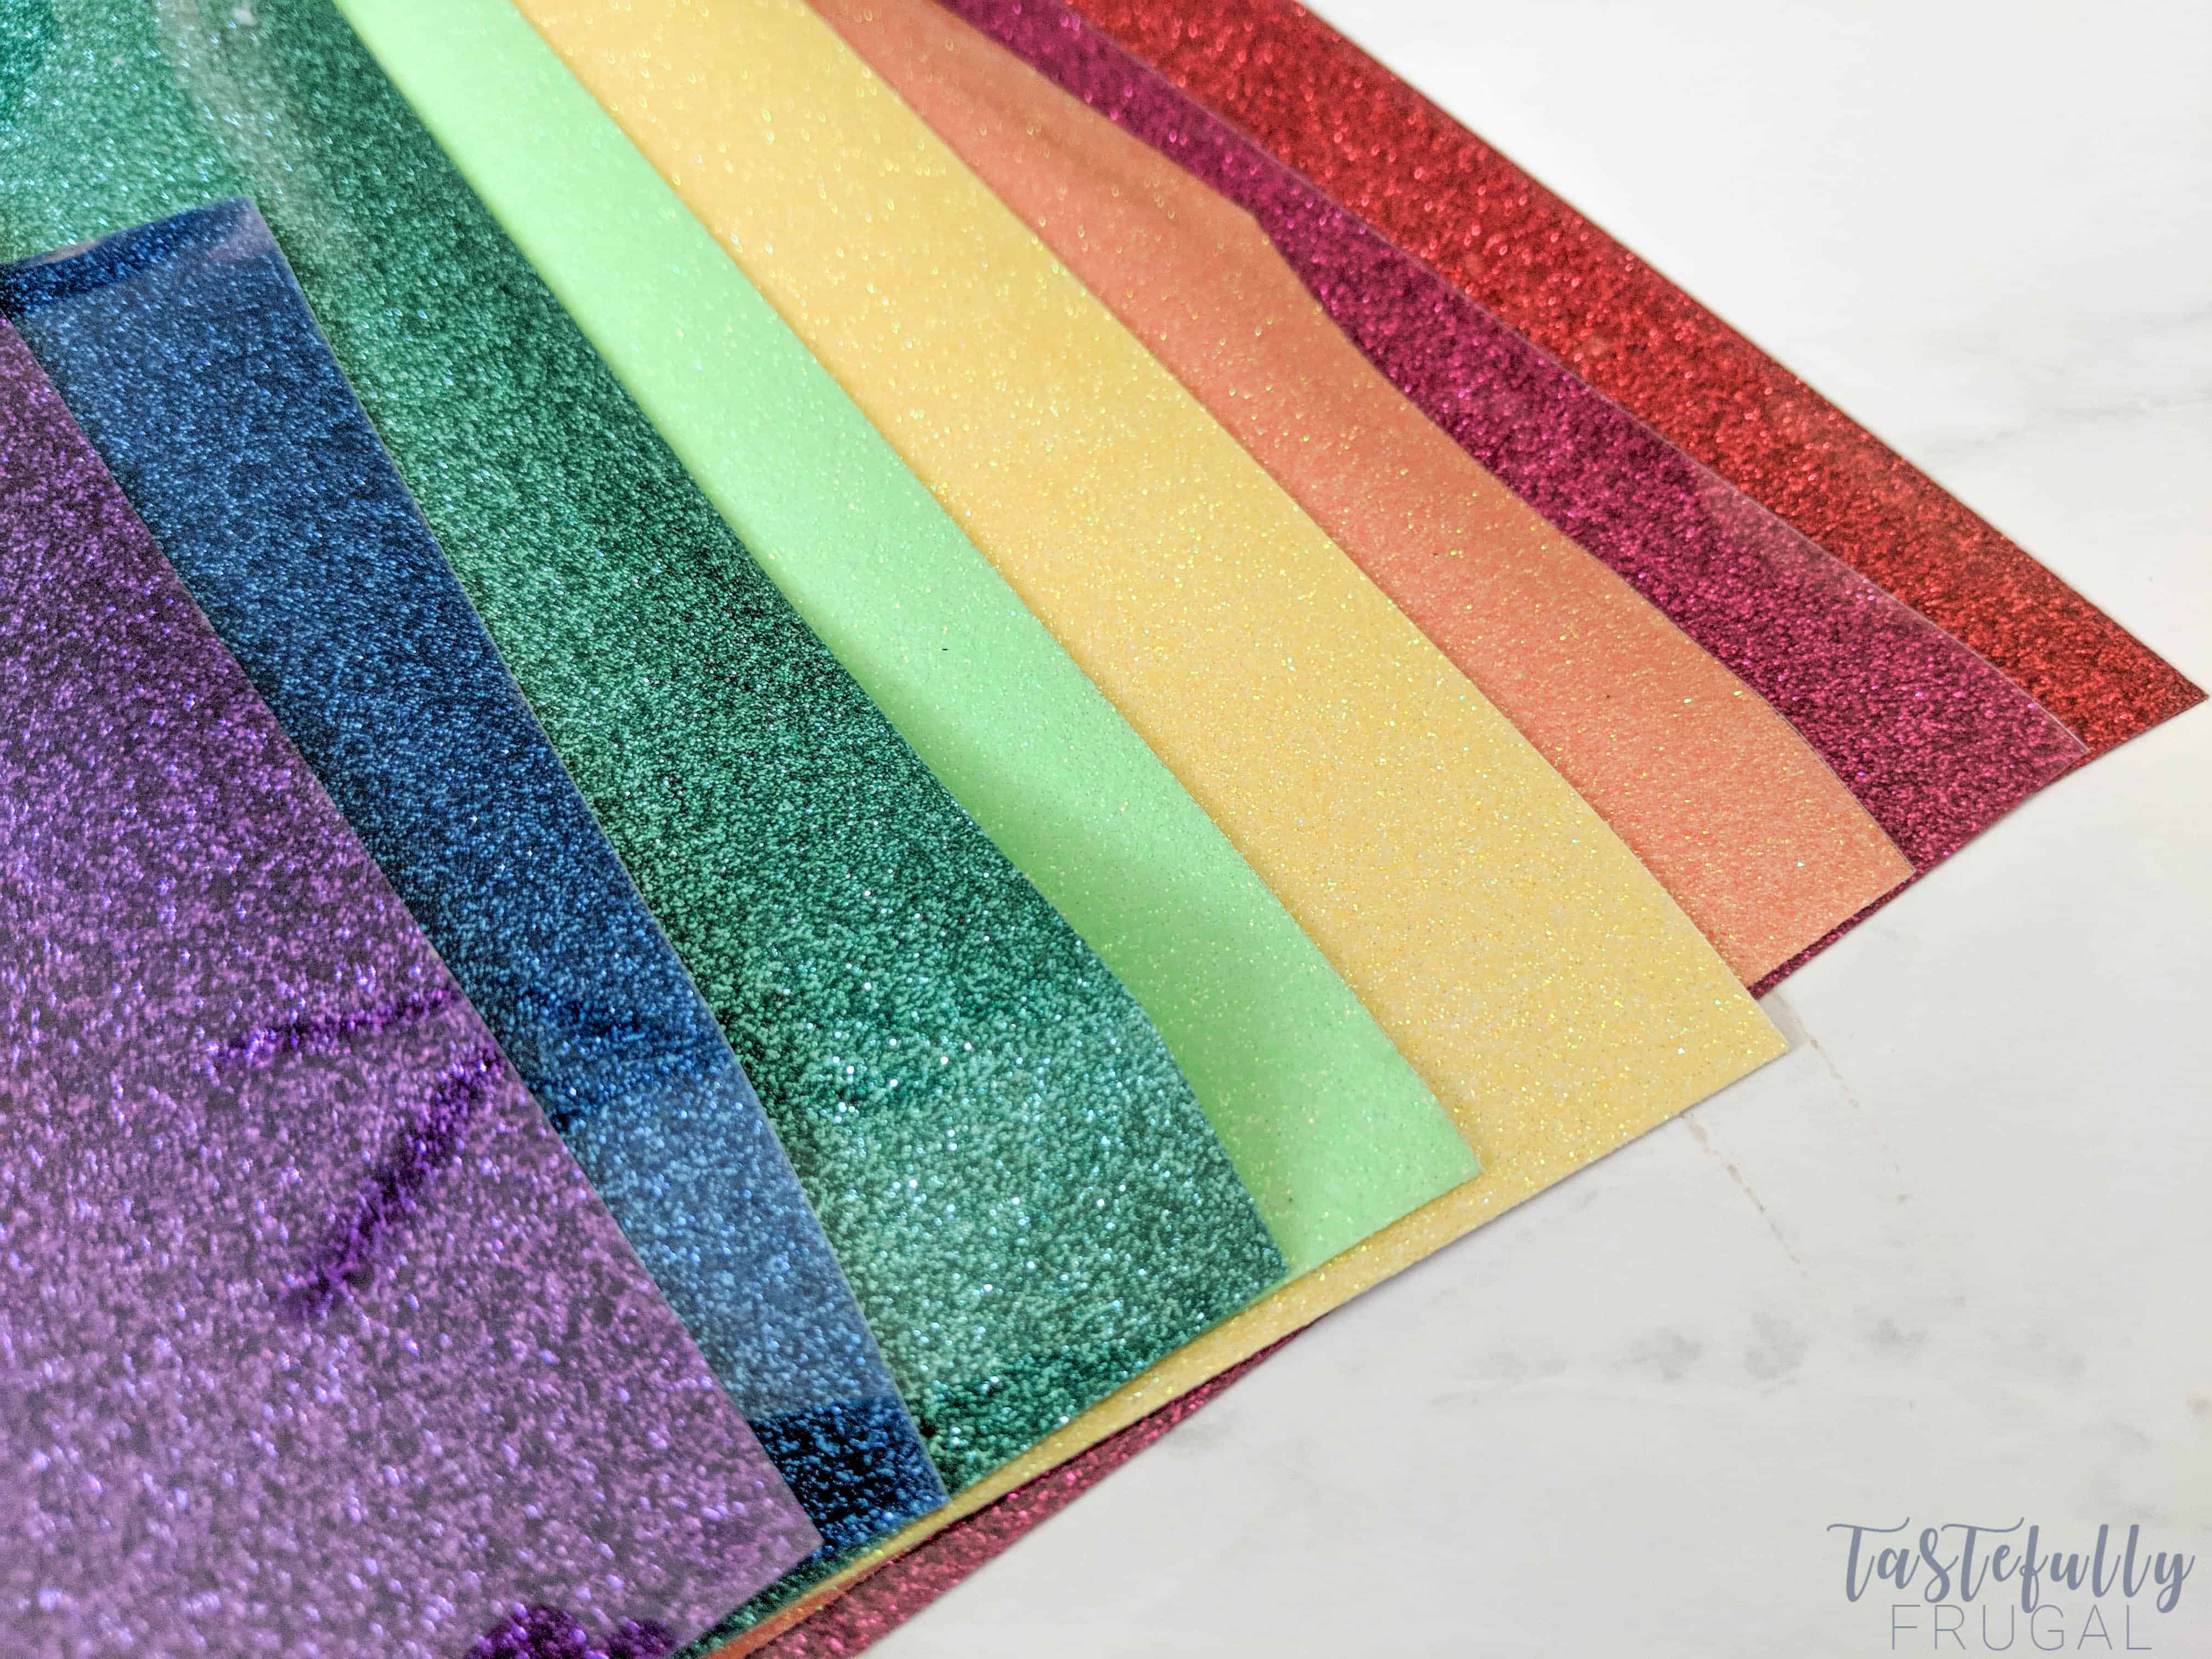
Glitter Iron On (you’ll need red, orange, yellow, green, blue and purple)
Maternity Shirt (this is the brand I get from Walmart and I love the quality and it’s super affordable too)
Baby Foot Print SVG – FREE to download here
Essential Tool Kit – optional but makes weeding and preparing the pieces for this project SO much easier!!
Cricut Maker or Explore Air Machine
IF YOU’RE BUYING FROM CRICUT.COM, MAKE SURE TO USE CODE TFRUGAL TO SAVE 10% AND SCORE FREE SHIPPING.
DIRECTIONS:
Open Cricut Design Space and upload the Baby Foot Print SVG (this post walks you through uploading images to design space).
Send to be cut. Since the colors are already made in the SVG your pieces will already be divided into separate mats.
Choose Glitter Iron On from the materials list and cut designs. Weed all pieces.
You’ll want to cut the plastic backing as close to the iron on as possible so you can press all at once.
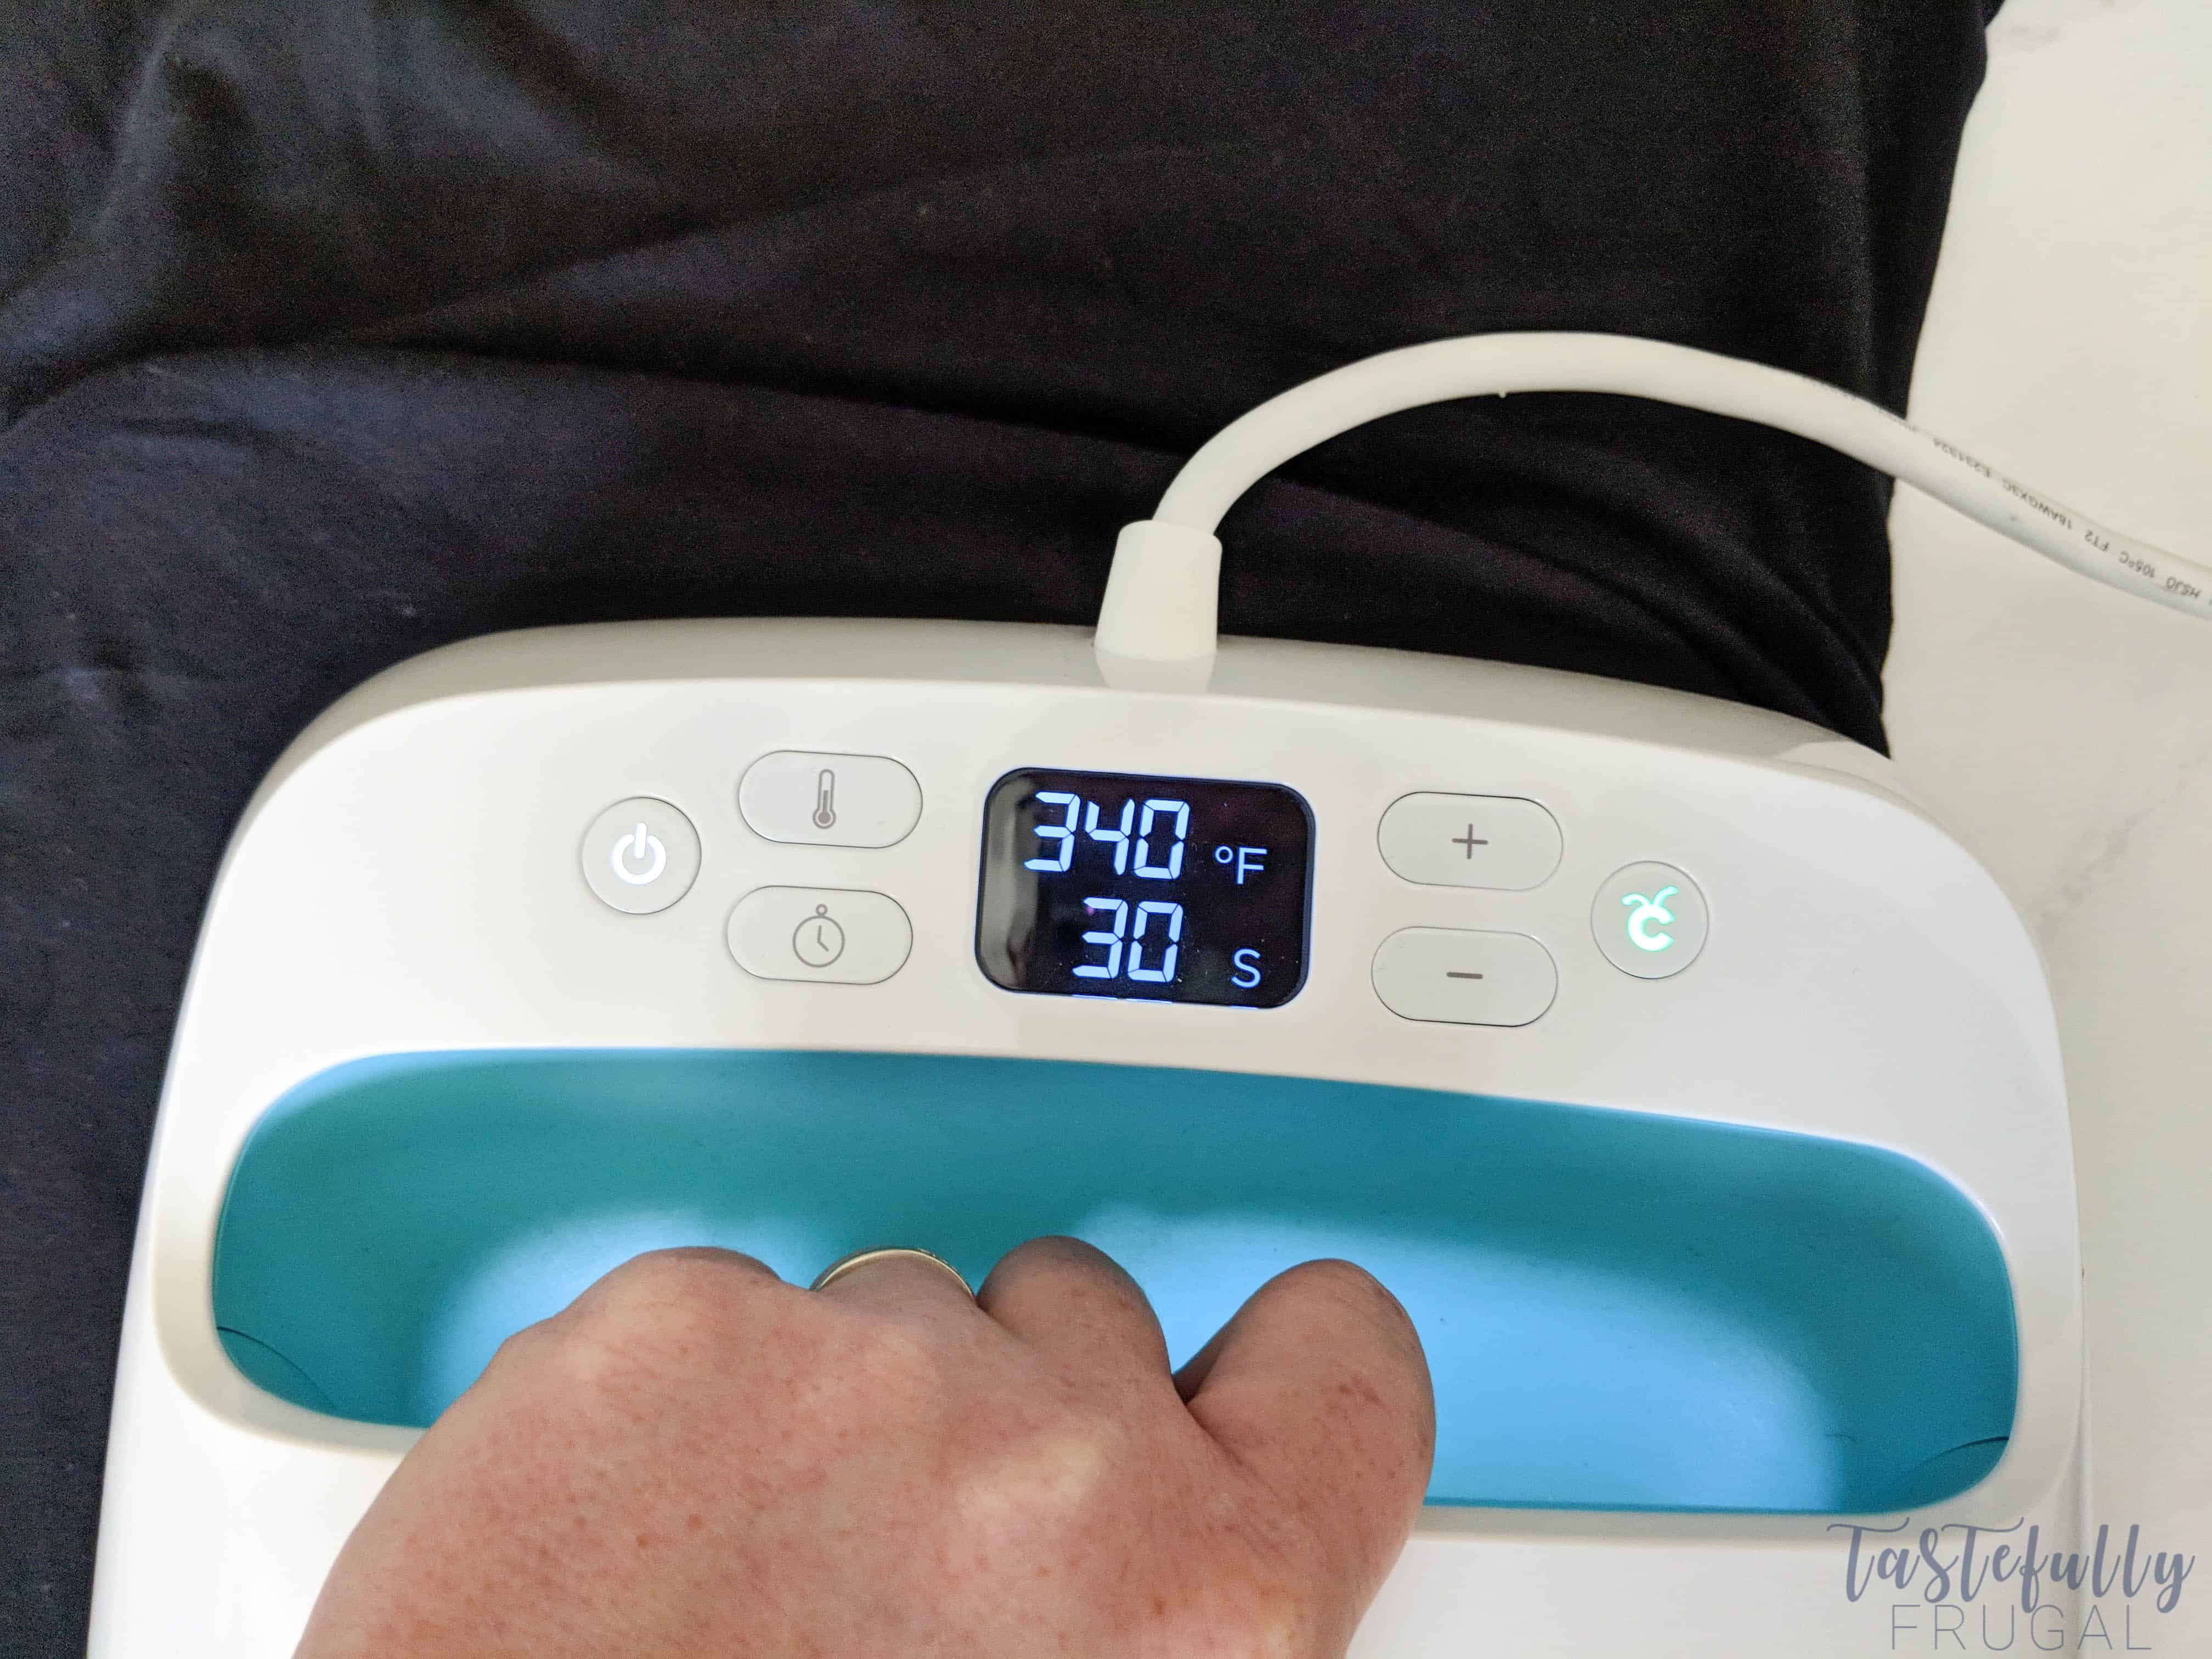
Preheat your EasyPress to 340F, place your EasyPress mat under your shirt and preheat the bottom part of your shirt for about 15 seconds. ***This is longer than I usually preheat for but it takes awhile to arrange the pieces so that’s why I preheat for 15 seconds.
You’ll want to line your pieces up about 6″ from the bottom of your shirt and 4″ from the left side of the shirt.
Press with medium pressure on EasyPress for 30 seconds, turn shirt over and press with medium pressure for 15 seconds. Then carefully peel plastic backing off each piece.
If you’d like to check out more ways you can use Cricut products check out these posts! Need help with your Cricut? Join our Cricut Support Facebook Group! And don’t forget to check out the other fun iron on projects made this week and enter to win an EasyPress, EasyPress Mat and an iron on bundle below! Good Luck!





corinna says
the download link to the svg file does not work. links to another page
Sydney says
Oh no Corinna, I’m so sorry! It’s fixed and working now. Thank you SO much for letting me know!
Mandy says
I saved the svg and I cannot get it to open in my design space! 🙁
Sydney says
Oh no! I’m sorry I’m just seeing this, I had a baby in August and just getting to comments. If it’s still not working, email me and I’ll see if we can get it fixed. [email protected]