This post is sponsored by Cricut. All thoughts and opinions are mine alone.
Make this fun buffalo plaid reindeer pillow in 5 minutes or less with the Cricut Maker – no sewing skills needed!
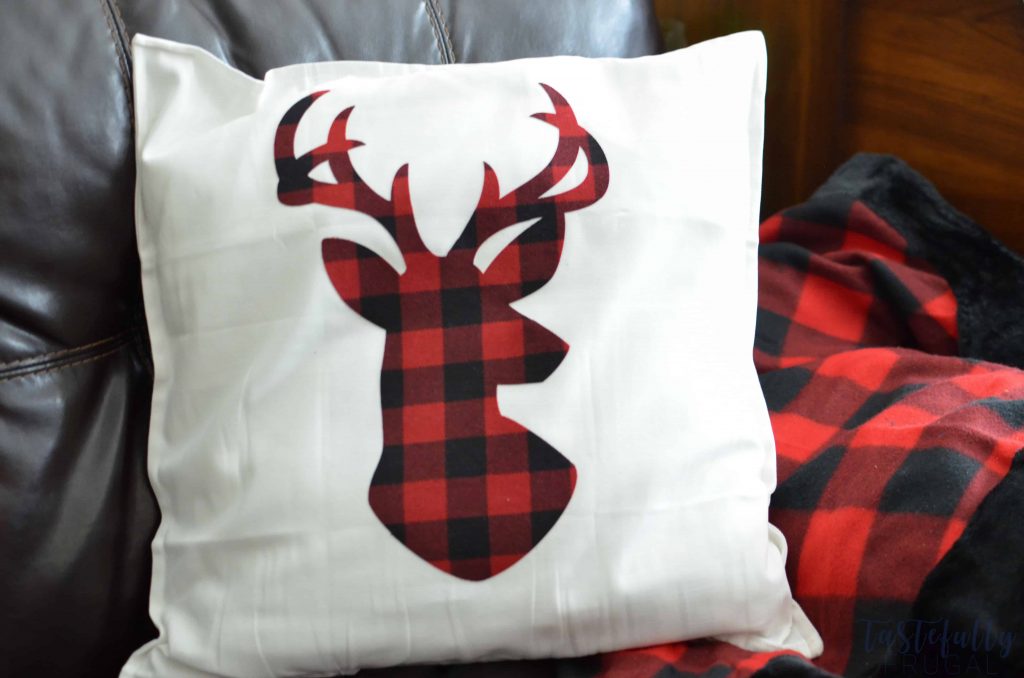
I have always loved buffalo plaid but I’m especially loving it this holiday season! I have seen so many cute ways to dress up Christmas trees, mantles, front porches and more with buffalo plaid. If it was up to me, my whole home would be red and black checks – but I know my hubby wouldn’t be a fan. So I’ve decided to add a few pieces here and there. The first piece I made was this cute reindeer pillow.
This was SO easy to make! And super affordable too! I used my favorite IKEA pillow inserts and covers that cost less than $7 for both and the fabric I had leftover from another project – remember how I said I love buffalo plaid! I also had Heat’n’Bond left over from my no-sew towels this summer. I’ve seen similar pillows online for $30+ so this cost me less than 1/3 of what it would have cost to buy it. Plus making is so much more fun than buying!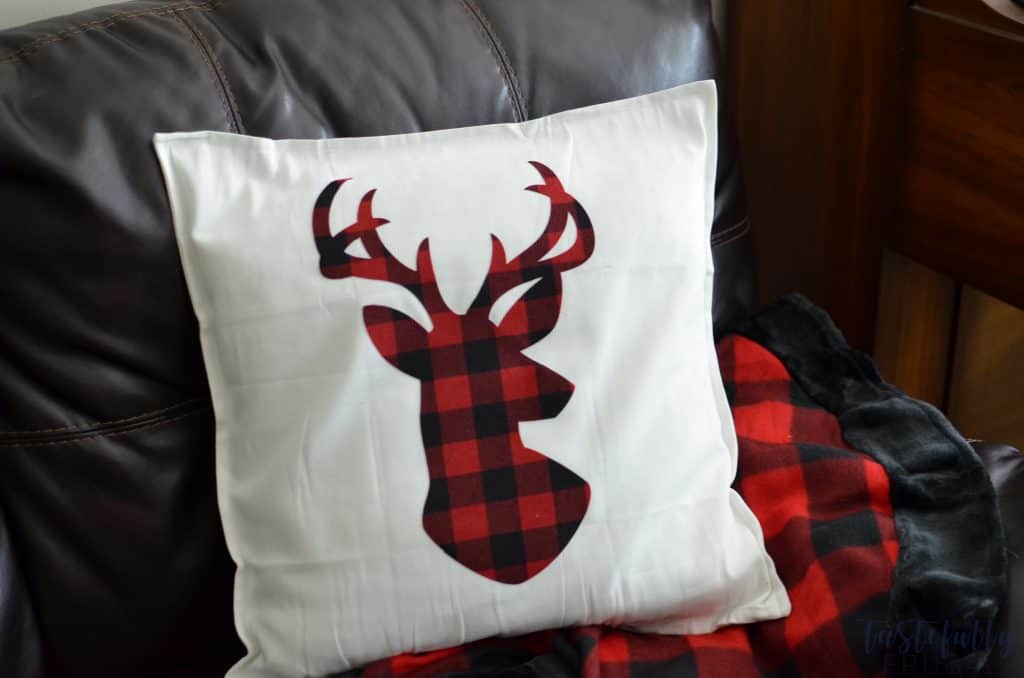
Thanks to the Cricut Maker and EasyPress it took me less than 5 minutes to put this pillow together! I found the reindeer in Cricut Design Space and thanks to the rotary blade in the Maker, it was cut out in less than a minute! The rotary blade makes cutting fabric so much easier! I remember when I was younger my grandma loved to sew but she hated cutting out the patterns; she always said it took twice as long to cut the pattern as it did to sew it! I wish she was here today to see and use the Maker. There are also 50 free projects available with the maker and several more available for purchase from Simplicity, Riley Blake Designs and more!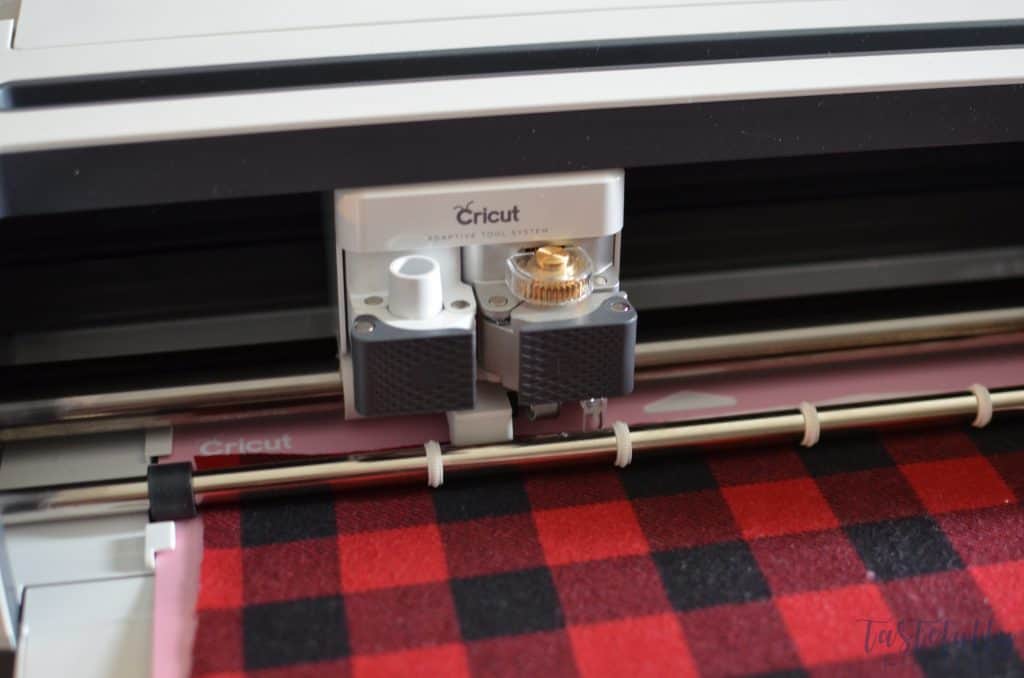
I’ve never learned how to sew but now with the Maker I’m starting! Not only are there patterns on Cricut Design Space but also step by step instructions on how to make each project! So even if you’re a beginner, like me, you can still make these projects. They even have projects broken down for different skill levels so you if you are new to sewing you don’t get yourself into a project that may be a little more difficult. I can’t wait to share with you my first sewing project a little later this week too! Can you guess what fabric I’ll be using?! 😂 But first let me show you how to make this pillow!
Supplies:
Buffalo Plaid Fabric (I got mine from Joann’s)
Pillow Cover (I used the Gurli Pillow Cover from IKEA)
Pillow Insert (also from IKEA)
12″x24″ Pink Cutting Mat (if you’re using a smaller pillow you can use a 12″x12″ pink mat)
Directions:
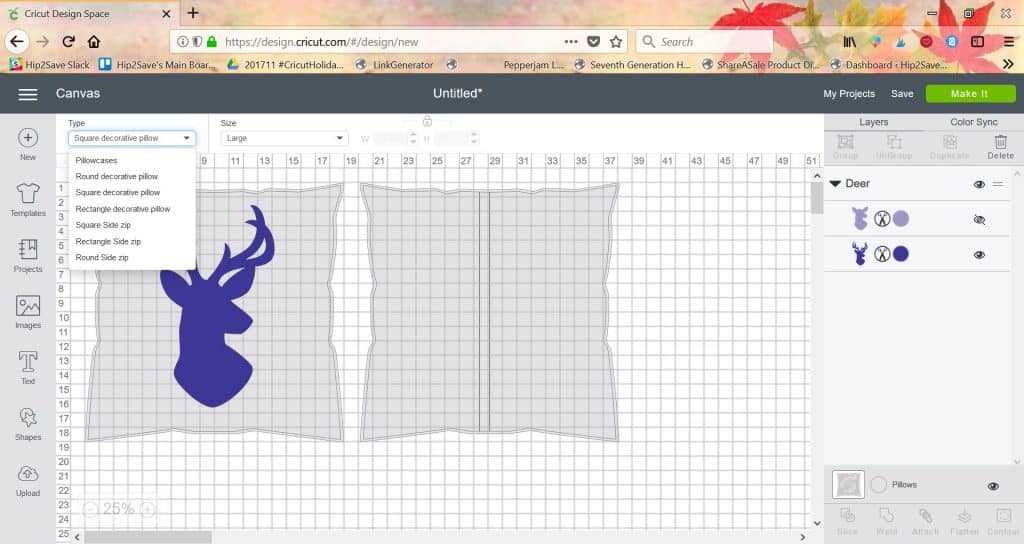
Open up this project in Design Space and adjust the size of your reindeer if needed. My pillow was 20″x20″ so my reindeer is about 9″x14″. TIP- when trying to decide how big to make an image, go in to TEMPLATES and pick from over 100 different options including pillows, shirts, doors, windows, flip flops and more!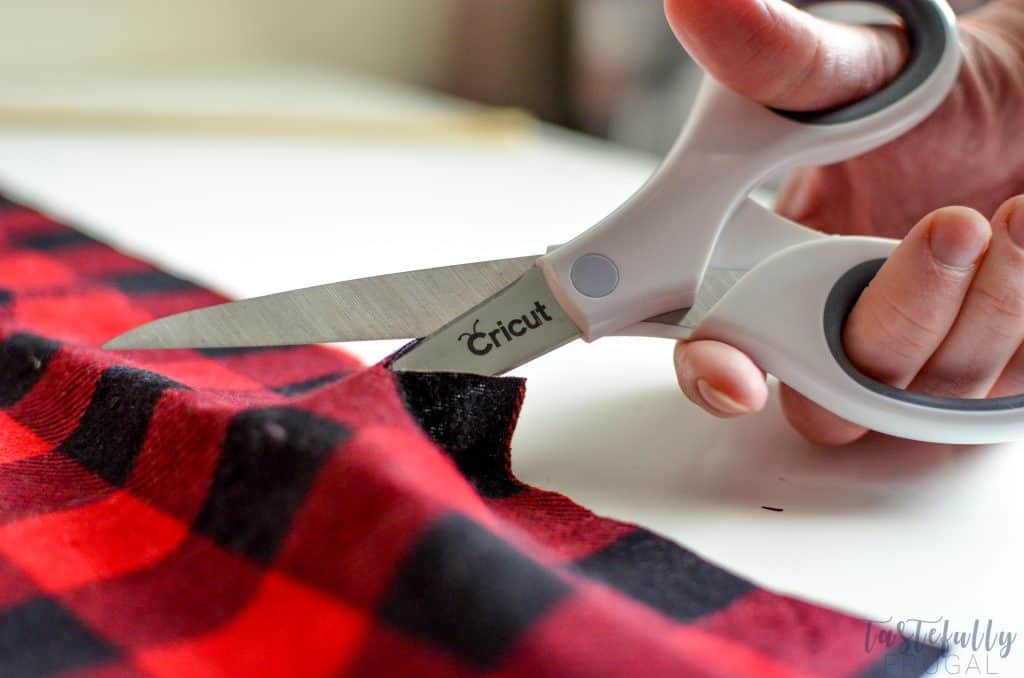
Measure a few inches extra (I did 10″x15″) and cut a piece of Heat’n’Bond. Attach to the back of your fabric with the paper side away from your fabric. I used my EasyPress set at 300° for 25 seconds to attach the Heat’n’Bond to my fabric.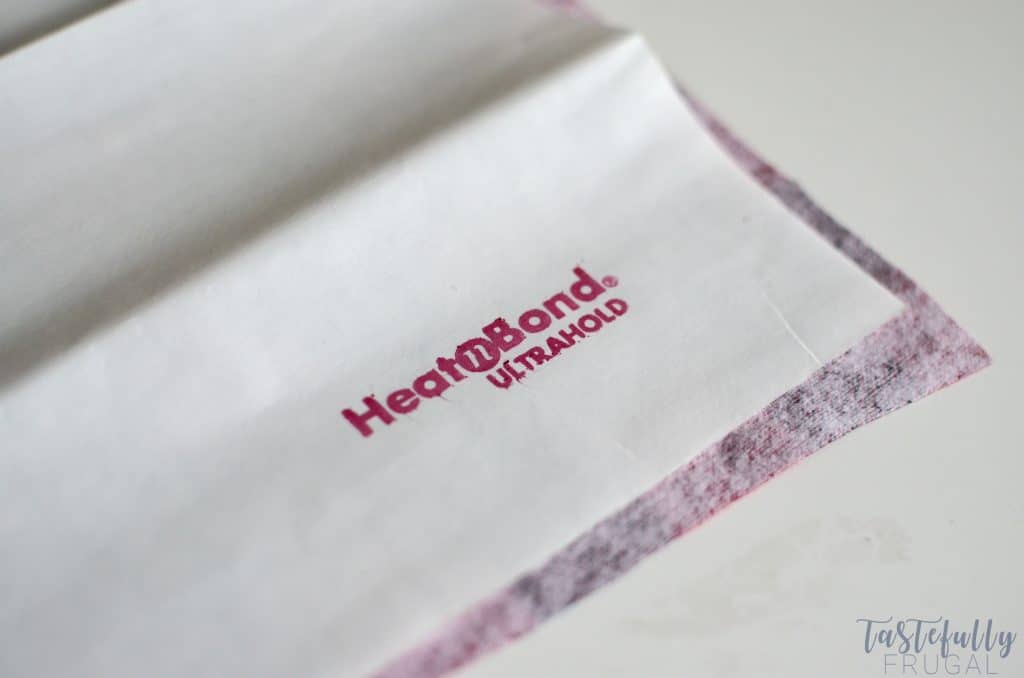
Attach the fabric with Heat’n’Bond to your pink cutting mat fabric side up.
Send project to be cut. **Make sure you have your rotary blade in the B clamp on your Maker**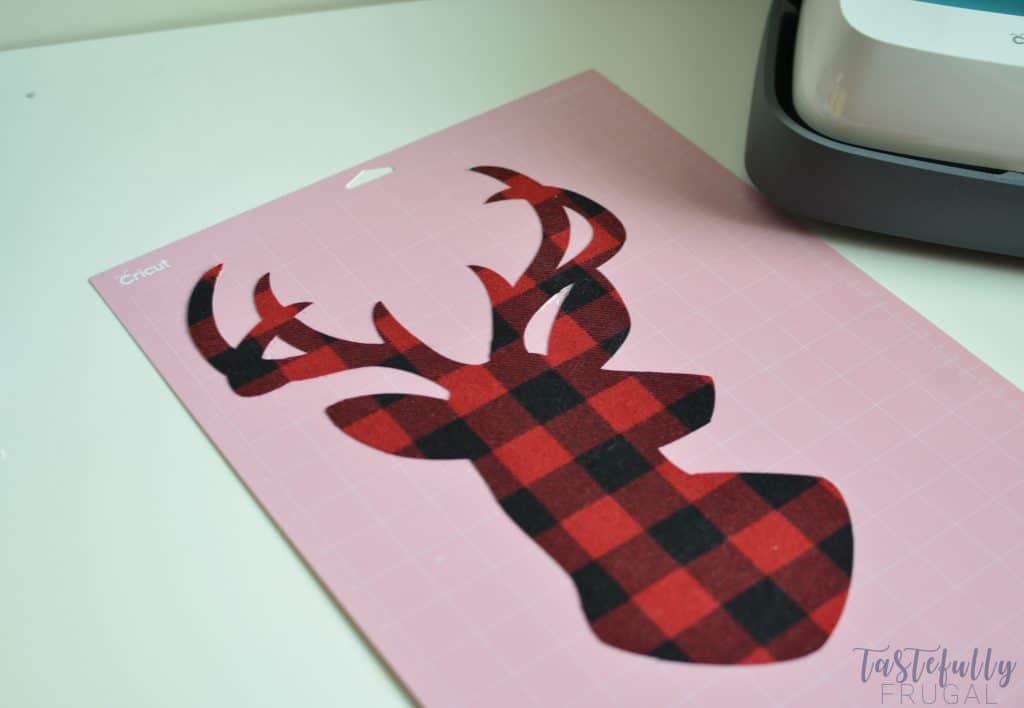
Preheat your pillow case with your EasyPress for about 5-10 seconds.
Place your reindeer on your pillowcase and use a ruler to measure center.
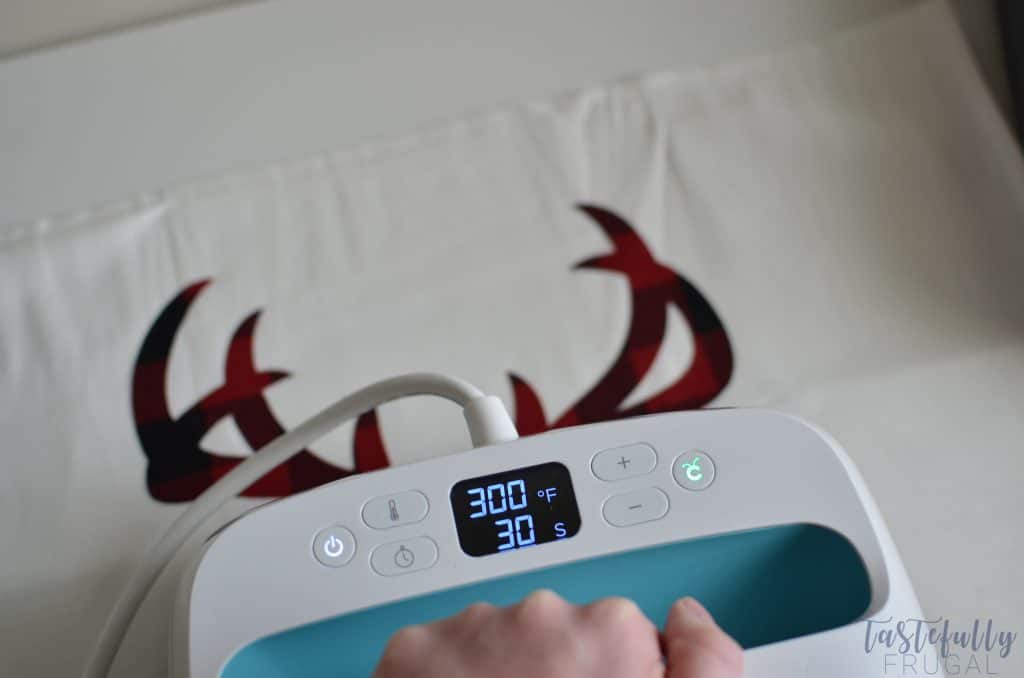 Apply EasyPress with medium pressure to your reindeer and apply (300° for 30 seconds). If your reindeer is larger than 9″x9″ you’ll have to do this step twice, once for the top, once for the bottom. **Make sure you are doing this on a strong surface, like kitchen countertops**
Flip pillowcase over and repeat previous step.
Are you a fan of buffalo plaid? How do you incorporate it into your decor?! I’d love to see pictures! Share in the comments or over on our Facebook page, Tastefully Frugal. Looking for my Cricut tips, tricks or just a place to show off your projects? Join our Cricut Support Group on Facebook!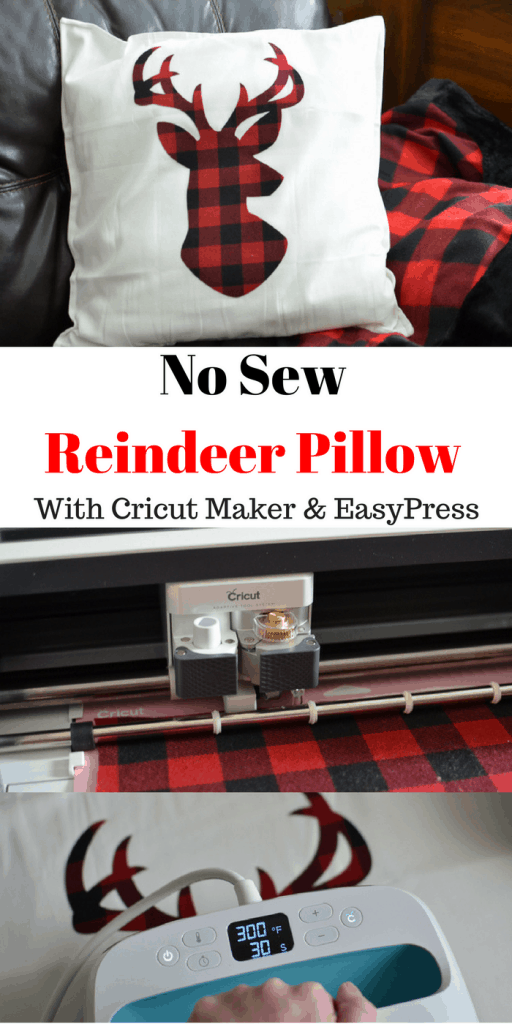
This is a sponsored conversation written by me on behalf of Cricut. The opinions and text are all mine.


Ruthie says
Love this Sydney!! I’d love to make this soon!
Susan Johnson says
Wow! it’s great. This pillow is very beautiful. Thanks for sharing.
Jamie says
You did a great job! Thanks for your step-by-step guideline! Can’t wait to design my own one.