See how to make your own customized beach towels for less than $10 with no sewing involved. All you need is fabric, Heat’n’Bond and your Cricut Explore Air.
 When you were a kid do you remember all the kiosks they had with personalized key chains, license plates, cups and more? Were you like me where you would spin that thing around and around trying to find your name? Having a somewhat unique name I rarely found anything with my name on it and was totally bummed. My kids all have really unique names and I know that we will never find those license plates with their names on them; if they want something personalized mama is going to have to make it for them.
My boys are only 14 months apart so we often get two of everything which usually ends up in a fight over whose is whose. This happened almost every time we went to the pool last year and after a long day of swimming they were not in the mood for negotiating. I decided to fix that this year and get them their own personalized towels. I looked online and to buy towels I was looking at $30+ per towel. There was no way I was spending that kind of money on towels for the pool! So I decided to make my own.
There are plenty of tutorials on how to sew names into towels but this mama has yet to master that craft. So I decided to use a little Heat’n’Bond and my Cricut Explore Air to make my own; no sewing needed. I’m going to save you a lot of headache and frustration if you read the directions below. I had to try 4 different settings before I got the cut pressure right so that the fabric wasn’t ripping. It was a good thing I got fat quarters for $.97 at Walmart or I might have been a little bit upset at all the fabric that got mangled in the process.
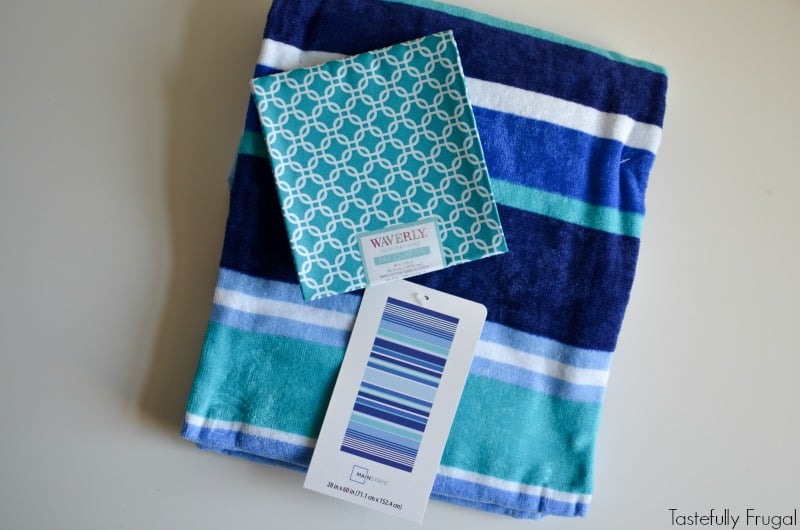
Towel (I got our towels at Walmart for $5)
Fabric (I got fat quarters at Walmart for $.97)
Light Grip Cutting Mat (use code CRICUTANNIVERSARY to get FREE shipping)
Iron or Heat Press (This is the heat press I have and love it)
Rotary Cutter (or Fabric Scissors)
DIRECTIONS:
In Design Space add text and type your names.
Change font to a thick font that is easy to cut (I used Cricut Font & Basic Shapes).
Measure your towel and decided how big you want your names to be. I decided on 11″ long for my towels.
 Using your rotary cutter to cut your fabric.
Cut Heat’n’Bond with scissors to fit fabric.
 Using your iron (or heat press) apply sticky side of Heat’n’Bond to fabric. ***Make sure the fabric is attached strongly to the Heat’n’Bond. I made that mistake the first time and the fabric ripped. I suggest pressing down for at least 15 seconds with strong pressure.***
 Apply fabric with Heat’n’Bond attached to Light Grip Cutting Mat paper side down.
 Set dial on Explore Air to custom and choose FABRIC-PRINTABLE in design space.
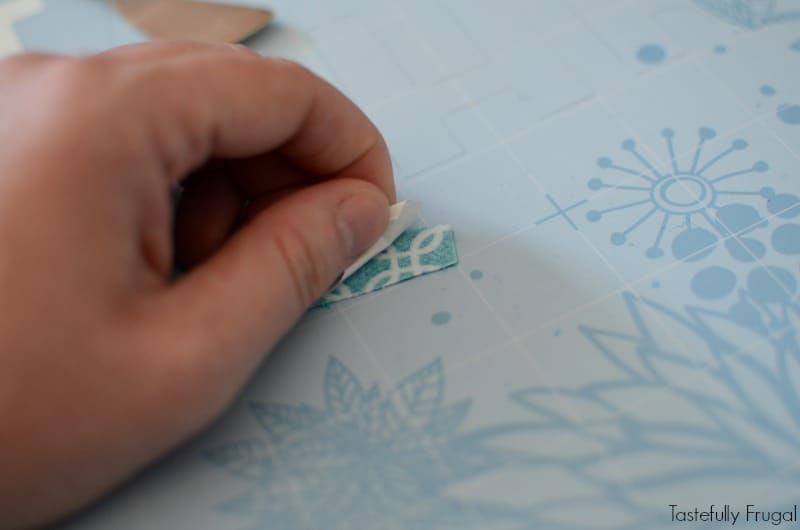 Peel paper backing from Heat’n’Bond off fabric. The back of the fabric will be smooth with the Heat’n’Bond.
Preheat towel for 5-10 seconds with iron or heat press.
Line up letters on towel.
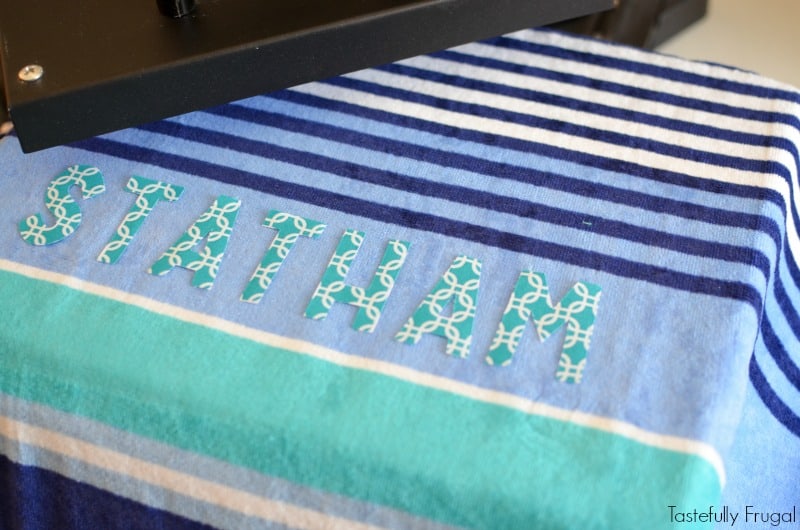 With iron press down with strong pressure for 30-45 seconds. If using heat press set at 300°F and press for 30 seconds.
 There you have it; custom beach towels for a fraction of what they cost to buy! Now there will be no fights over whose towel is whose anymore. What other things could you personalize to make your life easier?
Want to check out other things the Cricut Explore Air can do? Check out this post for 35 more projects using fabric, balsa wood, leather and more!
This is a sponsored conversation written by me on behalf of Cricut. The opinions and text are all mine.



Mary says
What a great idea! I did not know my cricut could cut fabric! I am Pinning this for later!
John says
Very unique ideas I loved it are they Turkish towels or just regular beach towels? Thanks for this great post