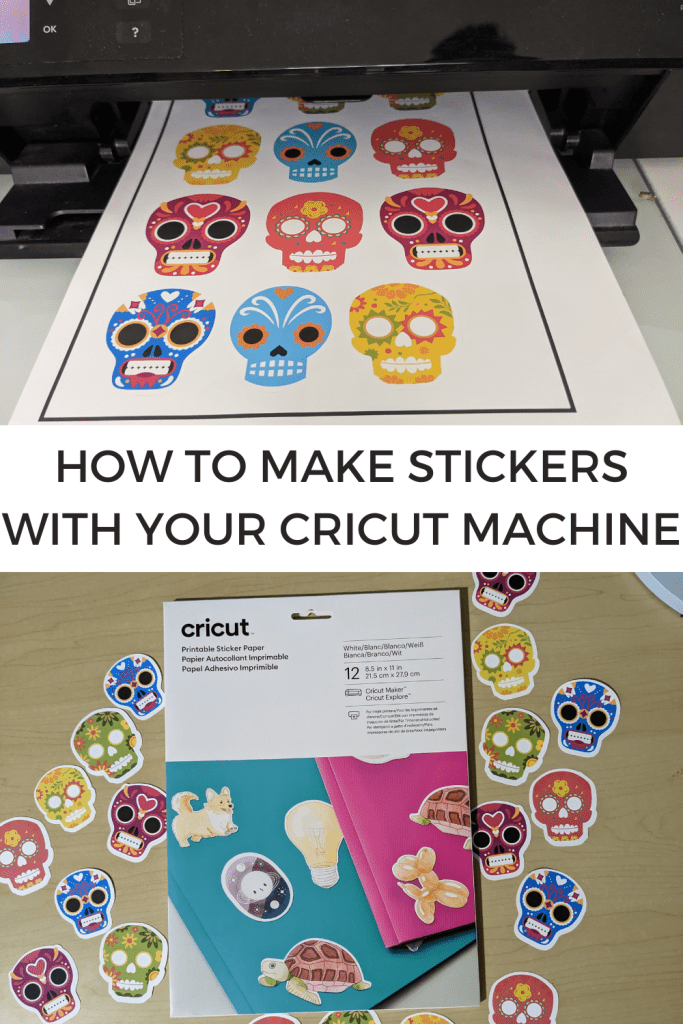
I’m sharing my best tips and tricks for how to make stickers with your Cricut including the best materials, printers, design tips and more!
This post was sponsored by Cricut. All opinions are mine alone.
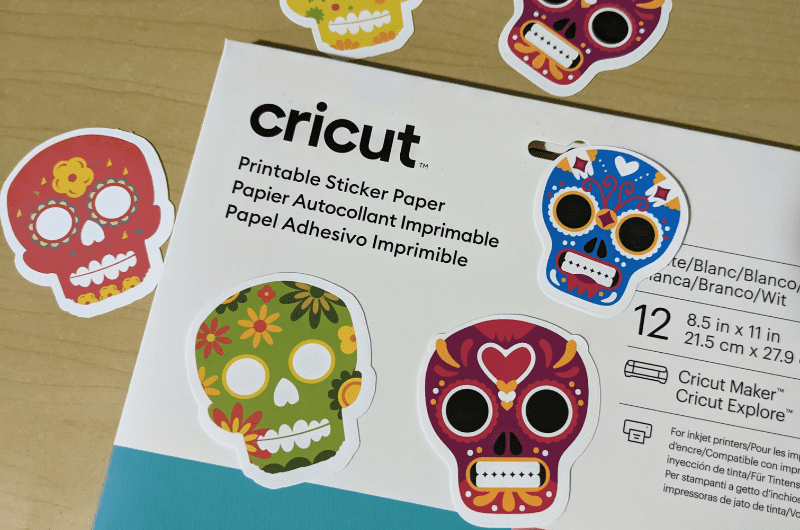
One of the easiest projects you can make with your Cricut machine is stickers! There’s no weeding, no transfer tape, no heat, you just design, print and then cut. If you’re just starting out with your Cricut, or if you are looking for easy projects to make and sell, stickers are a great choice! In this post I’ll share with you everything you need to know to get perfect stickers every time including:
- What Cricut machines can make stickers
- Best materials to use
- Best printer to use
- Design Space tips for stickers
- What cut settings to use
- How to make waterproof stickers
What Cricut machine can make stickers
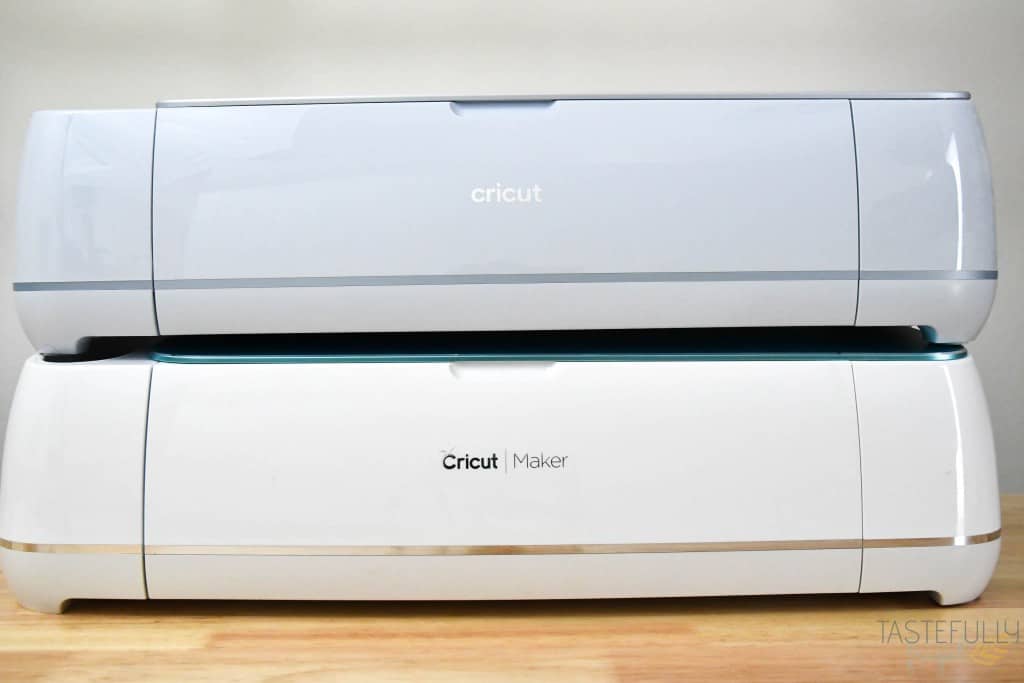
If you want to make print then cut stickers like we’re making today you’ll need one of the Cricut Explore or Maker family machines. The Cricut Joy doesn’t have the sensor to scan for print then cut. If you have the Joy and want to make stickers, you can use adhesive vinyl and layer them or use the SmartPaper to draw and cut designs.
Best Materials for Stickers
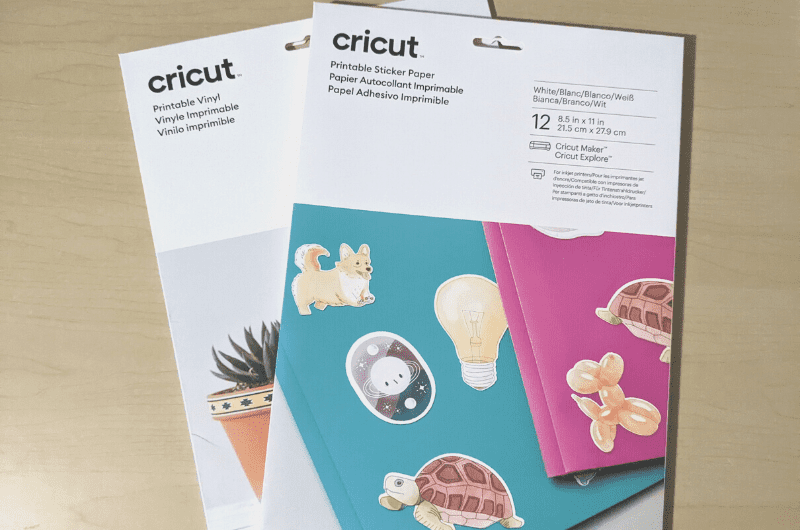
There are a lot of options when it comes to sticker paper to use with your Cricut machine. Some definitely do work better than others. My personal preference is either the Printable Sticker Paper or Printable Vinyl. The printable sticker paper is a little bit thicker than the printable vinyl and I’ve found I prefer to use it for flat surfaces, like laptops and notebooks. Printable vinyl is great if you want to make water bottle stickers.
Best Printer for Making Stickers
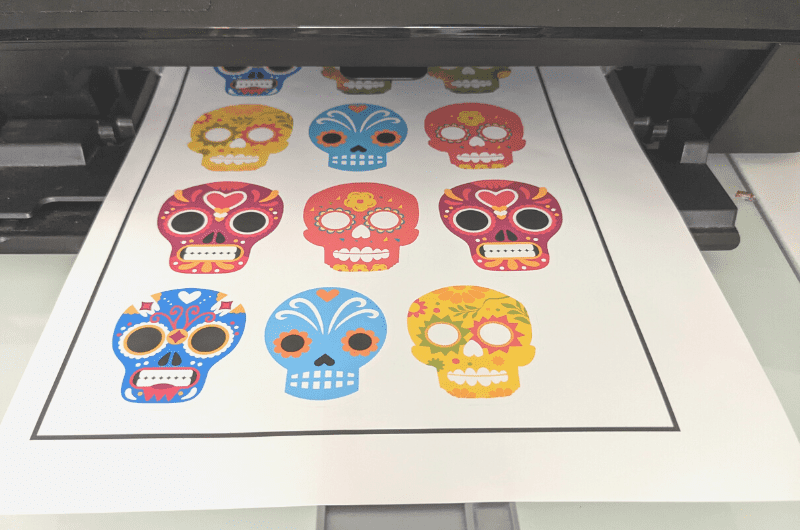
Printable materials are generally thicker than regular copy paper so a rear feeding printer is best for making stickers. If you have a front feeding printer, like most HP Envy printers, you can still make printable stickers. You just want to make sure you only have one sheet loaded at a time and help guide the printable material into the printer at first. I’ve used several printers in the past 8 years since I started crafting with my Cricut and my two favorites for printable materials are:
- Epson ET-2720 (more budget friendly)
- Canon TS9521 (this is the BEST printer for crafting)
Other Supplies for Making Stickers
Aside from your printable material and printer there are a few other things you need to make stickers (you probably already have them):
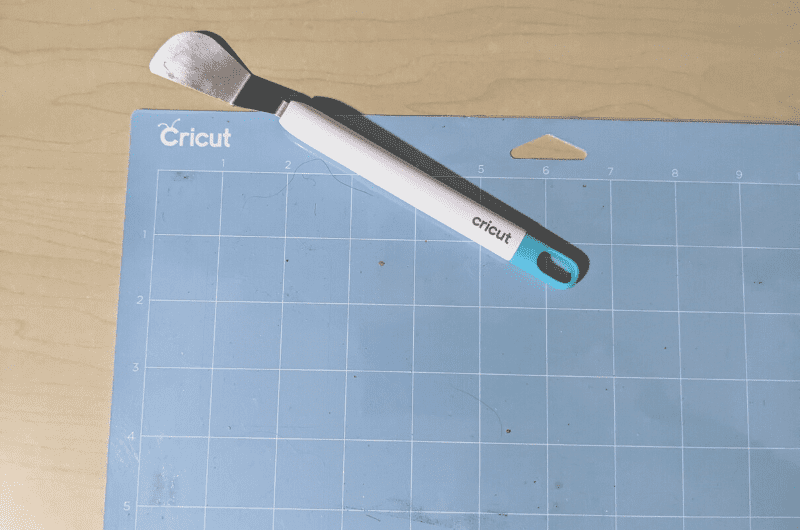
- LightGrip Cutting Mat
- Spatula Tool
- Optional: Laminate sheet or clear sealant for waterproofing (I’ll explain more about the below)
If you’re shopping for supplies on Cricut.com, use code SYDNEY10 to save 10% and get FREE shipping on all $50+ orders. That’s on top of the 10% discount Cricut Access members get automatically! Learn more about Cricut Access here.
What Size Do I Make Stickers
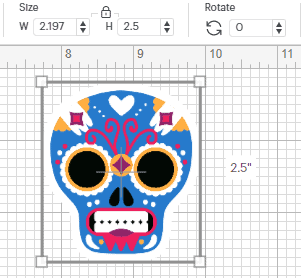
This one is totally up to you. I’ve found though that usually between 2.5-3” is the best size for almost everything I make.
Design Space Tips for Making Stickers
When you are using the Print then Cut feature in Design Space to make stickers there are a few extra steps you’ll want to take to ensure you get the best quality print and cut for your stickers. If you are new to using Print Then Cut check out this post for more information and a few more detailed tutorials.

Tip 1 – Most designs default to the cut setting. Make sure you change the line type from CUT to PRINT.

Tip 2 – Make sure to add an offset to your stickers. This will make it so you have that extra bit of white (or you can change the color to whatever you want) space around your stickers. I’ve found a .15 offset is the perfect size for stickers. If you have a color offset, make sure it is also sent to PRINT.

Tip 3 – Sticker paper is not a cheap product. To make sure you’re getting the most stickers out of each sheet, add a rectangle to your canvas and size it 6.75”Wx9.25”H. This is the max size you can do a print then cut image. I like to change my rectangle color to anything but white.
Once you have your rectangle on your canvas, move your designs over on top of the rectangle and try to fit as many as possible. You do want to leave a little room for cutting but try to have as little of the rectangle color coming through. You can also rotate your designs around to fit more on the sheet.

When you have everything where you like it, delete the rectangle, select all your sticker designs and then click attach.

Tip 4 – Once you have everything attached make sure to click the FLATTEN button in the bottom right toolbar. This will make it so only the outside edge of your designs are cut and not every piece of the design.

Tip 5 – When you’re ready to print I always print using system dialog. This way you can change the printer settings to get the brightest and best colors. While each printer I can’t say the exact settings for each model but a few things to keep in mind:
- Turn off high speed print if you have the option
- Select the best paper quality option (photo paper is usually the best for HP printers)
- Select BEST color quality
- Make sure your black & white print setting is turned off.
What Cut Settings to Use
Because all printable materials are made differently I definitely suggest doing some test cuts with your materials before printing and cutting a whole sheet. You can do this by adding a 1-2” star on to your Design Space canvas and have the machine cut that out of your printable material. If you are using the Cricut brand printable materials, I’ve found that the settings for Printable Sticker Paper and/or Printable Vinyl work great.
If you’re using another brand, start with the PRINTABLE VINYL setting and see if it cuts all the way through. If it’s not deep enough, or too deep, you can change the pressure from default to more or less.
If you want to make stickers to sell, you’ll want to make sure the backer of the sticker cuts through too. I’ve found that the MEDIUM CARDSTOCK setting works best for this.
How to Make Waterproof Stickers
If you’re stickers are going to be used anywhere that might get wet, you’ll want to make sure your stickers are waterproof. There are two ways to do this.
- Add a waterproof laminate sheet on top of your stickers BEFORE cutting. Make sure you have your laminate sheet cut down smaller than the black registration marks though because they may interfere with the sensor being able to read the lines.
- Use a clear sealer spray, like Krylon, AFTER you cut. You can spray this on in light motions after you cut your stickers. Make sure to let them dry at least 2 hours, preferably over night, before using them after adding the sealer spray
Printable Sticker Troubleshooting
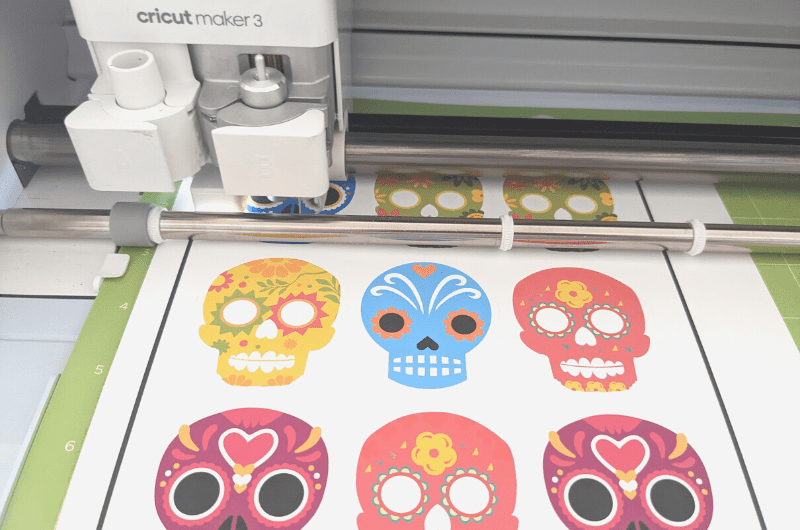
If you’ve tried making stickers in the past and had trouble getting them right there is likely an easy fix. Here are the most common problems we see in our Free Cricut Facebook Group and how to fix them:
Q: My stickers aren’t cutting right.
A: This is most likely a calibration issue. You’ll want to recalibrate your Cricut machine for Print then Cut. This post walks you through step by step how to do that.
Q: My Cricut isn’t reading the registration marks.
A: This could also be a calibration issue, like above, or it could be because there is something blocking the lines (either too much light or if you’re using a laminate cover over the top). Try to close your lid to have less light come in.
Q: My whole design is getting cut out, not just the offset.
A: This is caused if the design is not flattened on the canvas. Go back to your Design Space canvas, select your design, and click the flatten button in the bottom right toolbar.
I hope you found this post helpful and it gives you the confidence you need to start making stickers! Be sure to subscribe to my YouTube channel to check out all my video tutorials including projects and how to’s. For more Cricut projects and tutorials, check out these posts. For tips, tricks and immediate help, be sure to join our FREE Cricut Support Group.


Leave a Reply