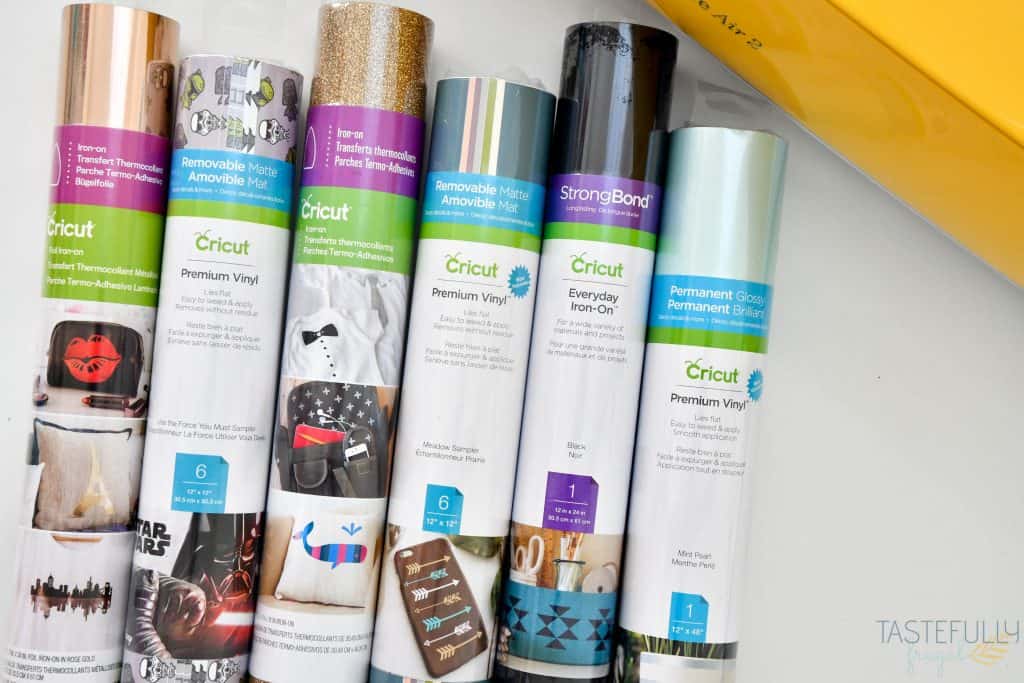
Are you new to the Cricut world and not quite sure what vinyl you should use for your craft projects? This post will cover ALL the different types of vinyl and iron-on (HTV) and answer your questions including what you can use them on and how to use them!
This post is sponsored by Cricut. All thoughts and opinions are mine alone.
One of the funnest (and most overwhelming) part of crafting with a Cricut is the endless amount of materials and projects you can make with them! Even the most basic project usually has several possibilities with the type of vinyl you can use.
One of the most common questions we get in our Cricut Help Facebook Groups is ‘What vinyl do I use for xxx project?’. And often times there are several different replies with a wide variety of answers. There are two main types of vinyl – adhesive vinyl and iron-on vinyl (or HTV). Today I want to break down the basics of vinyl and htv and go over what materials you can use them with as well as the different varieties of each material. Let’s jump in!
Vinyl vs HTV – What Should I Use?
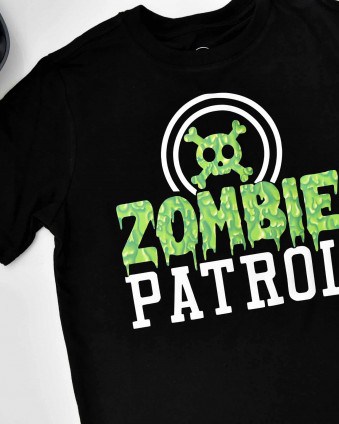
A basic explanation is anything that has a HARD surface (like mugs, cups, signs, car windows, shadow boxes, etc) you are going to use ADHESIVE VINYL on. Anything with a SOFT surface (like shirts, bags, blankets, pillows, etc) you are going to use HTV on. While there are exceptions to the rule, and some materials you can use either material on, to keep things simple when you’re first starting out just remember:
- HARD surface = Adhesive Vinyl
- SOFT surface = HTV or Iron-On Vinyl
If you’re going to be ordering Cricut supplies and you’re shopping on Cricut.com, use code SAVE21 to save 10% and get FREE shipping on all $50+ orders. That’s on top of the 10% discount Cricut Access members get automatically! Learn more about Cricut Access here.
How Do I Use Adhesive Vinyl?
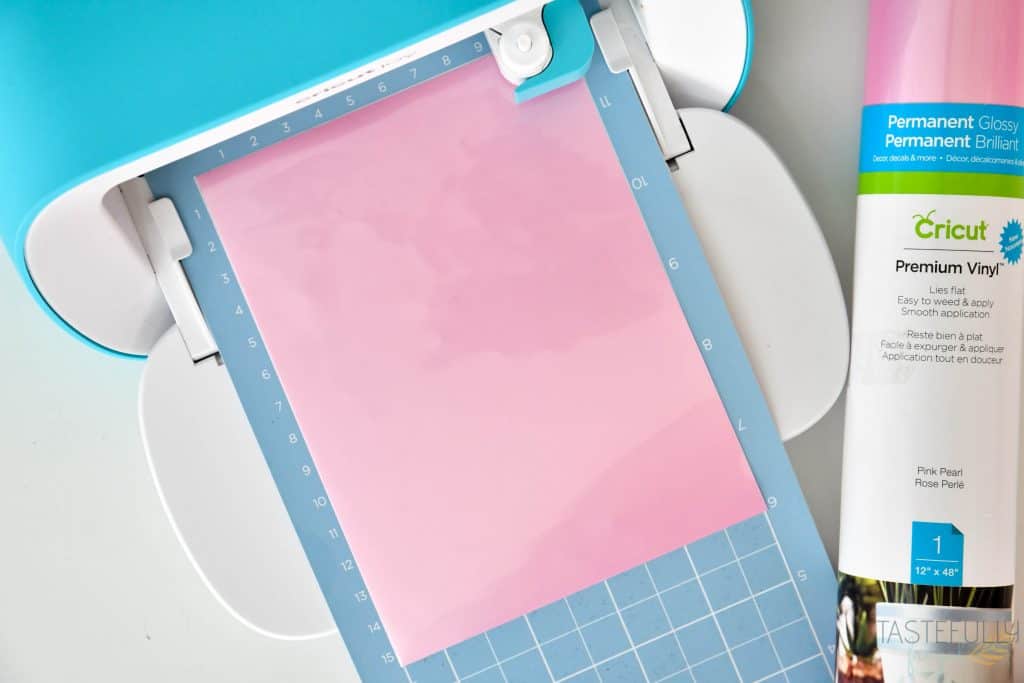
Adhesive vinyl, in my opinion, is a great material to start using with your Cricut if you’re a beginner. It is less expensive than HTV and you don’t need a heat source (like an EasyPress or heat press) to apply it. Check out these tips to get the most out of your adhesive vinyl projects:
- Use the LightGrip (blue mat) or StandardGrip (green mat) when cutting adhesive vinyl
- Place your vinyl color side UP on your mat
- Make sure you select your specific type of adhesive vinyl (we’ll go over these in just a minute) from the materials drop down menu in Design Space. This will insure you get the cleanest cuts.
- When your Cricut has cut your design and your mat is unloaded, turn your mat upside down and peel the mat away from the vinyl to avoid wrinkling or ruining your design.
- Use a weeding tool and start in the upper left corner to get rid of excess vinyl. Keep your vinyl as close to a 90degree angle as possible when you’re peeling it away to prevent it from sticking to your design.
- Make sure your surface for your project is clear of any dirt or dust. Use either a lint free cloth or rubbing alcohol to clean your surface before applying vinyl.
- Use transfer tape to apply your vinyl to your project
Tips for Applying Transfer Tape
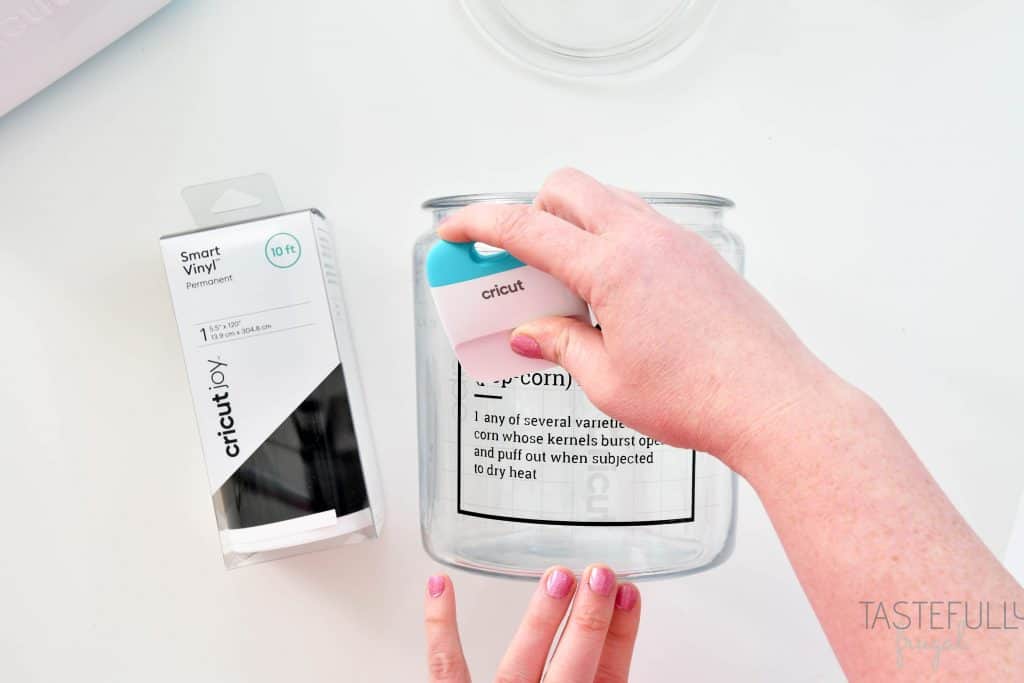
When you’re working with adhesive vinyl you have to use some sort of transfer tape to get your design off the backer sheet and on to your project. Sometimes working with transfer tape can be a struggle because you either can’t get your vinyl to stick to the transfer tape or you can’t get your transfer tape off of the vinyl once you stick it on your project. Check out these tips to make working with transfer tape a whole lot easier:
- Only use StrongGrip transfer tape on thicker adhesive vinyl like GLITTER.
- Start on the shortest side of your design and slowly press your transfer tape down perpendicular to your vinyl. This will help keep out wrinkles from ruining your design.
- Use a scraper tool (this one is my favorite) to press your transfer tape on to your vinyl. I like to start in the middle of the design and press up across the design and then starting at the middle again, press down across the design.
- Repeat previous step on the back of the vinyl.
- Peel your vinyl’s backer away from the transfer tape slowly. If vinyl is not sticking to the transfer tape, put backer back down and press again with scraper tool.
- If after pressing a second time and vinyl is still not sticking, use a blow dryer to heat up the vinyl on the backer and on the top of the transfer tape for about 10 sec. Check out this video to see how I do it.
- If your working on a curved surface (like a cup or mug), cut slits in your transfer tape around your design to get it to easily stick to your surface.
What Types of Adhesive Vinyl Are There?
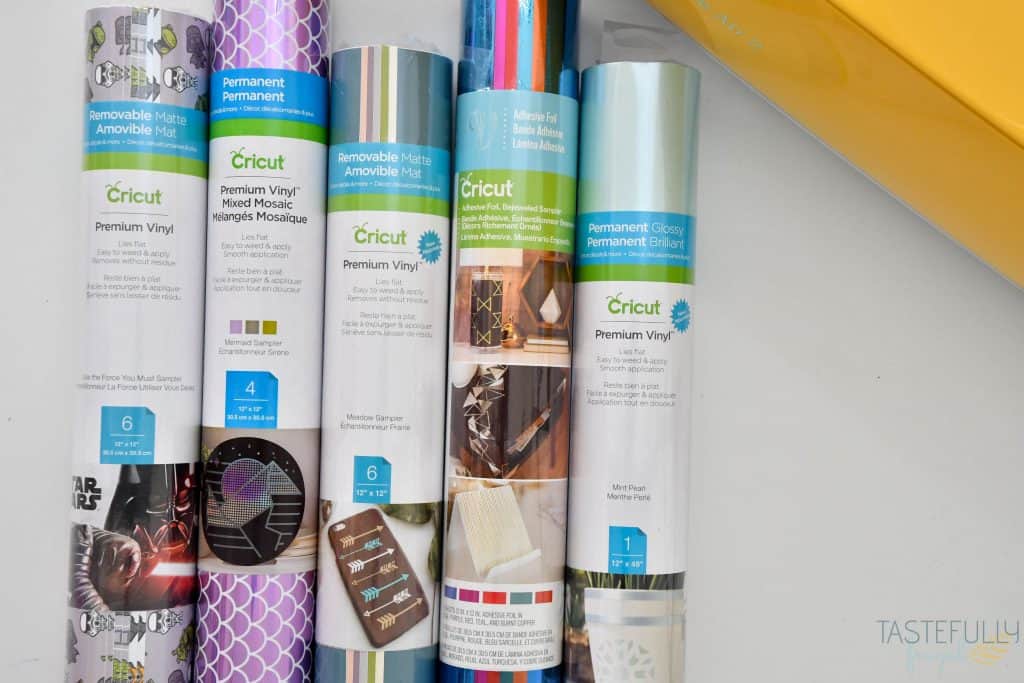
There are a ton of different types of adhesive vinyl. From permanent to removable, holographic to mesh, even patterned; there is an ever growing list of types of adhesive vinyl. Here are the most popular and the types of materials/projects you might use them for:
- Permanent Vinyl – perfect for outdoor use. Water and UV-resistant
- Removable Vinyl – removes without leaving a residue up to 2 years. Great for decorating rentals or on bins you will want to change (school teachers love this type of vinyl)
- Smart Vinyl – You can cut matless with Cricut Joy. Can also be used on other Cricut machines but will need a mat.
- Patterned Vinyl – Fun patterns to add dimension to your projects. Everything from buffalo plaid to flowers and even licensed designs like Disney and Marvel
- Glitter Vinyl – adds sparkle to designs. Do not use with small/intricate cuts
- Holographic Vinyl – adds a multi-color finish to designs.
- Foil Vinyl – Adds sparkle to designs.
- Mosaic Vinyl – Variety of cut outs and designs
- Stencil Vinyl – Use to make stencils for painting or etching.
How Do I Use HTV (Iron-On Vinyl)?
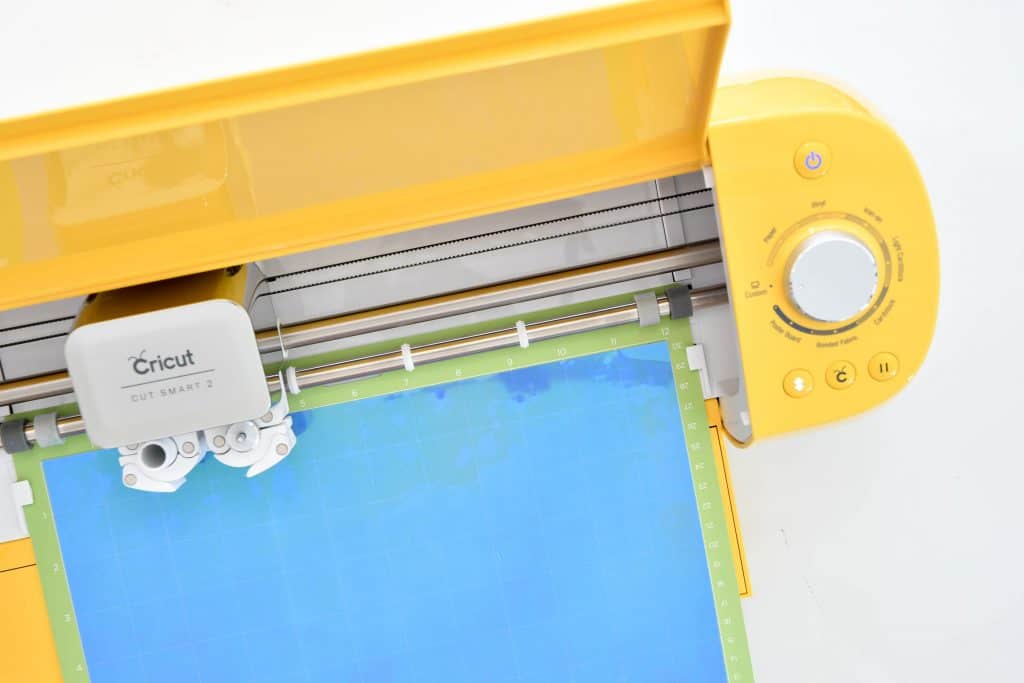
Like the name implies, HTV is applied to your project with heat. You can use a household iron to do this but for best results that last without peeling and wrinkling I suggest using either a heat press or EasyPress. You can read about the difference between the two and which one I like better in this post.
If buying a heat press or EasyPress isn’t in the budget for you but you still want to try your hand at using HTV, check out this video for tips on applying HTV with a household iron.
I personally prefer to use HTV over vinyl because I think it’s easier to work with when it comes to weeding and applying (again, as long as you have a heat source that can get to the correct temperatures). Here are my tips for making projects with HTV a breeze:
- ALWAYS MIRROR YOUR DESIGN ON THE PREVIEW SCREEN. If you don’t your design will be backwards.
- Use a StandardGrip mat when working with HTV and apply your HTV shiny side DOWN on the mat.
- Just like with adhesive vinyl, Make sure you select your specific type of HTV from the materials drop down menu in Design Space. This will insure you get the cleanest cuts.
- Don’t use glitter HTV on small intricate projects; it does not cut or apply well.
- Check out this heat guide to find the correct temperatures and times you should be pressing for based on the type of HTV you’re using and what you’re pressing it on.
- For best results, don’t layer HTV more than 3 layers. Some types of HTV shouldn’t be layered at all (see below).
What Types of HTV Are There?
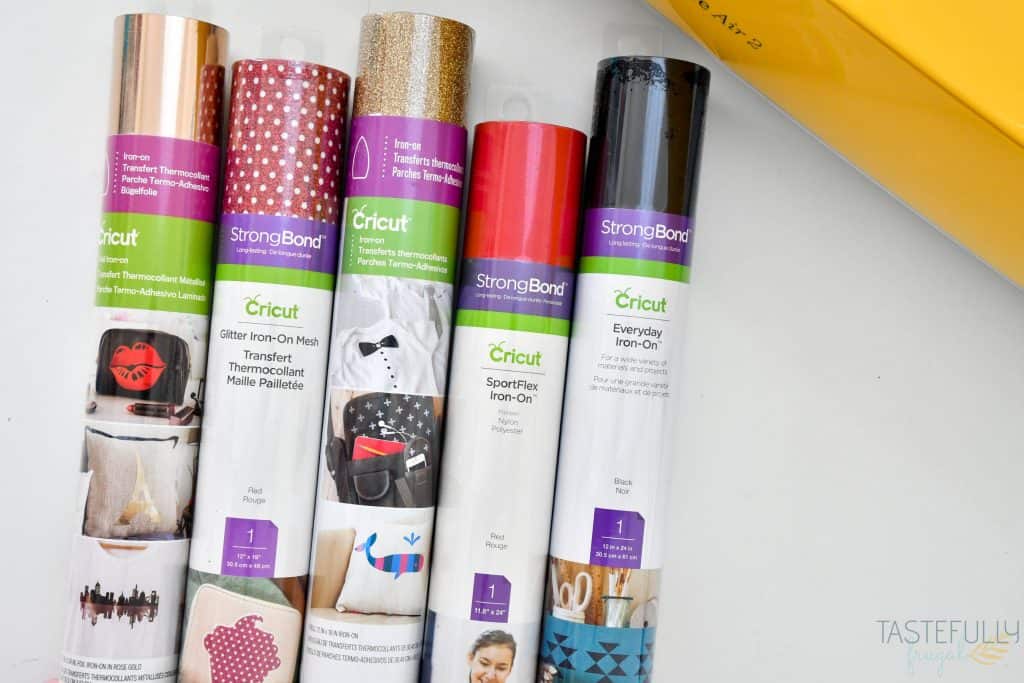
There are just as many, if not more, types of HTV as there adhesive vinyl. Some types work better on certain materials while others can be used on just about anything you can apply heat to. For example, SportFlex is made specifically for Nylon or Rayon materials that have some stretch to them. Check out this list to see what type of HTV is best for your projects:
- Everyday Iron-On – best for use on widest variety of materials. Lasts 50+ washes. Can be layered up to 3 times
- Glitter Iron-On – adds sparkle to designs. Do not use with small/intricate cuts. Do not layer
- SportFlex Iron-On – best for tech fabrics like polyester and nylon (think athletic wear). Do not layer.
- Express Iron-On – applies at a lower temperature and less time. Can be layered up to 3 times.
- Smart Iron-On – You can cut this HTV matless with Cricut Joy. Can also be used on other Cricut machines but will need a mat.
- Patterned Iron-On – Add design and texture to iron-on projects. Can not be layered
- Specialty Iron-On – Do not layer these types of iron-on
- Foil Iron-On – lowest heat setting. Make sure to do a cool peel.
- Holographic Iron-On – adds a multicolor finish to designs.
- Mesh Iron-On – Gives a mesh look to project. Turn any shirt into a jersey!
- Mosaic Iron-On – Variety of cut outs and designs available including glitter, mesh and everyday.
What Vinyl Should I Use – Your Questions Answered
I hope this gives you a better idea of the differences between vinyl and HTV as well as when you should use them. If you’d like to see some easy beginner projects using vinyl and HTV, check out this post.
If you’re going to be ordering Cricut supplies and you’re shopping on Cricut.com, use code SAVE21 to save 10% and get FREE shipping on all $50+ orders. That’s on top of the 10% discount Cricut Access members get automatically! Learn more about Cricut Access here.
If you have any questions I didn’t answer, please leave them in the comments below and I’ll get back to you as soon as I can. Make sure to subscribe to my YouTube channel to check out all the video tutorials. For more Cricut projects and tutorials, check out these posts. For tips, tricks and immediate help, be sure to join our FREE Cricut Support Group.


Leave a Reply