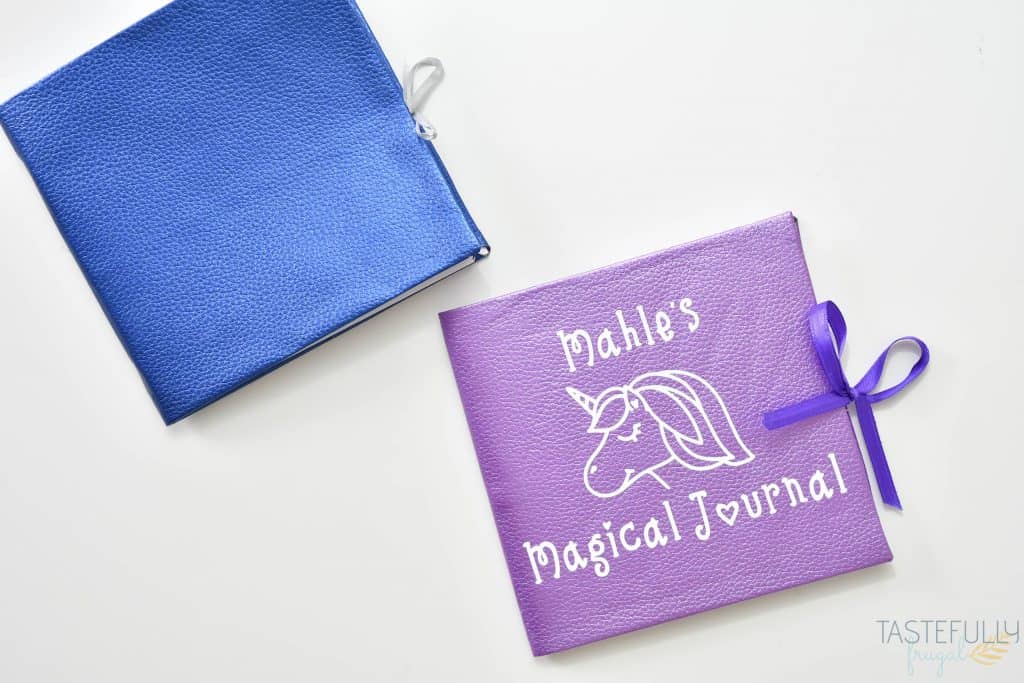
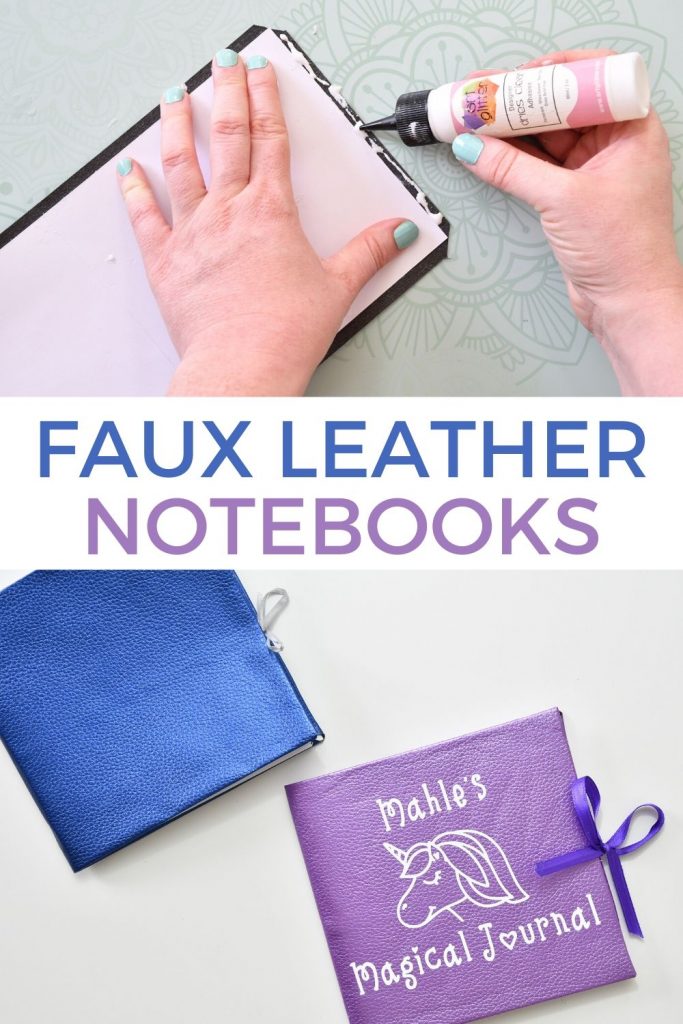
Make a faux leather notebook quickly and easily with your Cricut machine!
Today 651Vinyl launched a new line of Faux Leather and I can’t tell you how excited I am! There are over 20 colors/designs available and they all are not only gorgeous, but they cut like butter! I had the chance to try out a few pieces a few weeks ago and I wanted to share with you how EASY it is to make projects, like this notebook, with faux leather!
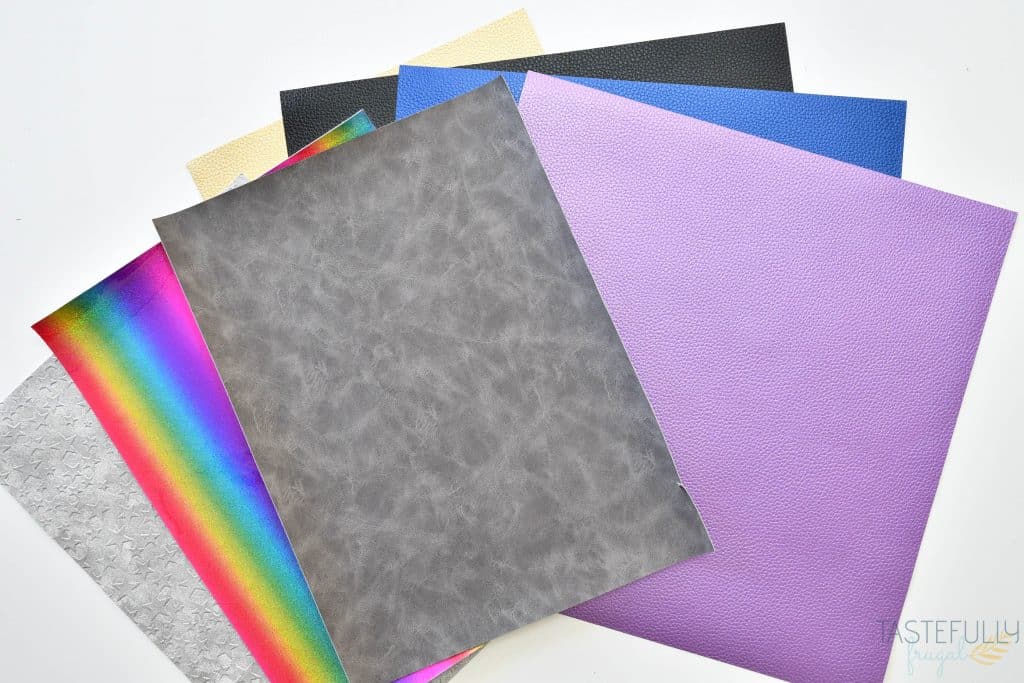
What Cricut Machines Can Cut Faux Leather?
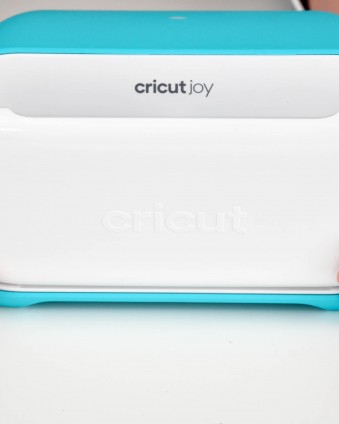
I tried out the pebbled faux leather, faux suede and textured faux leather on all three Cricut machines. All machines (including the Joy) cut the pebbled faux leather and suede perfectly! The Maker and Explore Air 2 cut the textured faux leather beautifully too! The only issue I had was with the rainbow faux leather on the Joy. It was too smooth and no matter what I did I couldn’t get a clean cut. BUT it cut great on the Air 2 and Maker!
You can check out 651Vinyl’s cut setting recommendations here. I used a StandardGrip mat with all the different types and did Faux Leather with the default pressure on the Air 2 and Maker and Faux Leather with MORE pressure on the Joy.
Where Can I Get Faux Leather?
There are several online retailers that sell faux leather, but not all faux leather is created equally. I’ve used a few different manufacturer’s of faux leather and I can say I have been most impressed with this line from 651Vinyl. The 12×12 sheets are cut to size perfectly and it’s really easy to work with. 651Vinyl has faux leather sheets for $4.29 and you can use code GET5 to save an additional 5% off all orders. Check out all the colors and designs here.
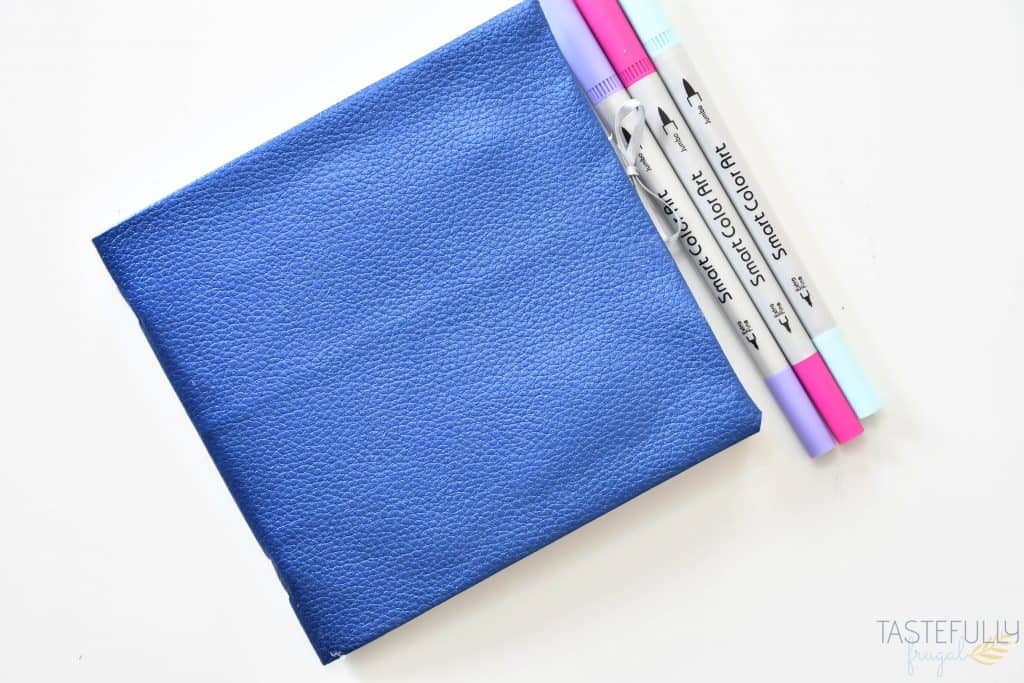
What Can I Make with Faux Leather?
Faux Leather is quickly becoming one of my favorite materials to work with. It’s for sure in the top 5. There are a lot of design possibilities available for Faux Leather including:
Today I’ll be walking you step by step on how to make these Faux Leather Notebooks (or photo journals).
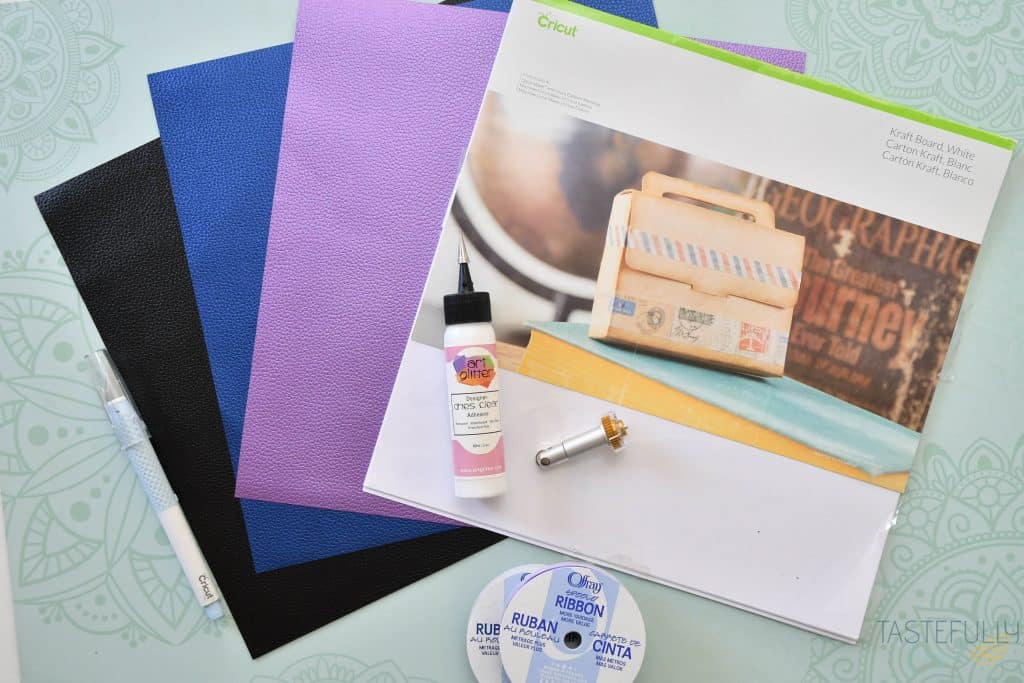
SUPPLIES:
- Faux Leather (use code GET5 to save 5% on 651Vinyl)
- Kraft Board
- Cardstock or Paper (I used 12×12 cardstock because it was easy to cut to the same size as my notebook since the faux leather was also 12×12)
- Ribbon
- Art Glitter Glue (this is my go-to adhesive for paper, cardstock, faux leather, poster board, really anything and everything! It dries fast and clear and the hold is AMAZING)
- Cricut Maker with Fine Point Blade and Double Scoring Wheel
- StandardGrip Mat
- Self-Healing Mat (or surface you don’t mind getting dirty)
- True Control Knife
- Cutting Ruler
- Paper Trimmer
- Stapler
If you need to get Cricut supplies and you’re shopping on Cricut.com, use code TFSPRING to save 10% and get FREE shipping on all $50+ orders. That’s on top of the 10% discount Cricut Access members get automatically! Learn more about Cricut Access here.
DIRECTIONS:
Open up this design in Design Space. I sized the design to be able to perfectly cut two notebooks out of one piece of faux leather and kraft board.
Click Make It. On Materials Menu select KRAFT BOARD for the white sheet and FAUX LEATHER for the purple sheet. Note you DON’T HAVE TO USE PURPLE FAUX LEATHER FOR THIS DESIGN, I JUST MADE THE RECTANGLE PURPLE BECAUSE THAT WAS THE COLOR I WAS USING.
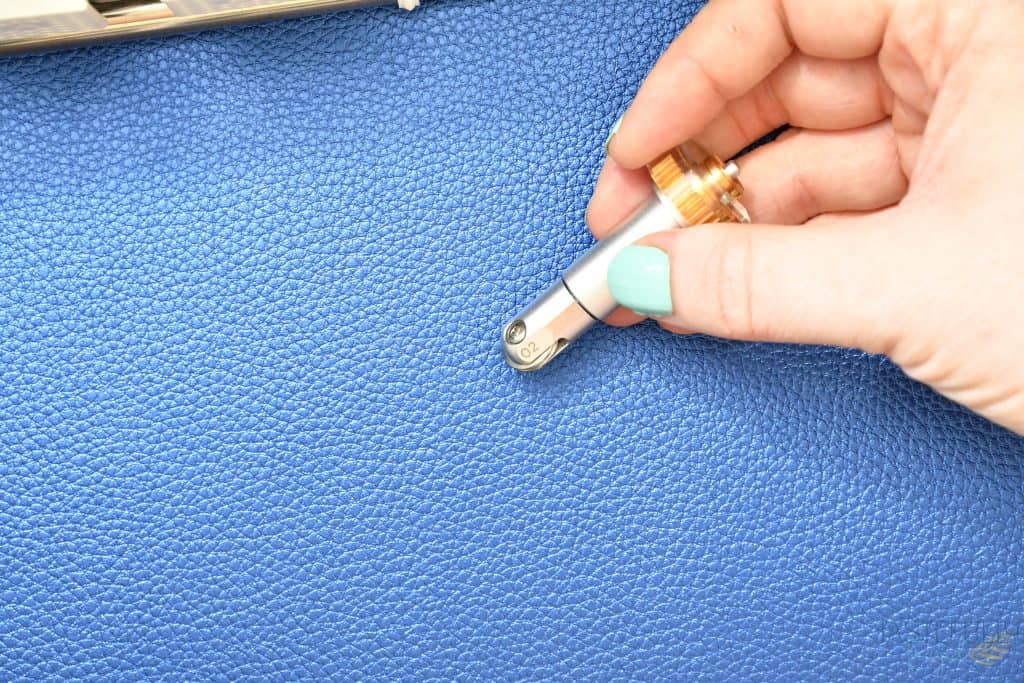
Insert the 02 Scoring Wheel into the B Clamp.
Load your kraft board onto your StandardGrip mat.
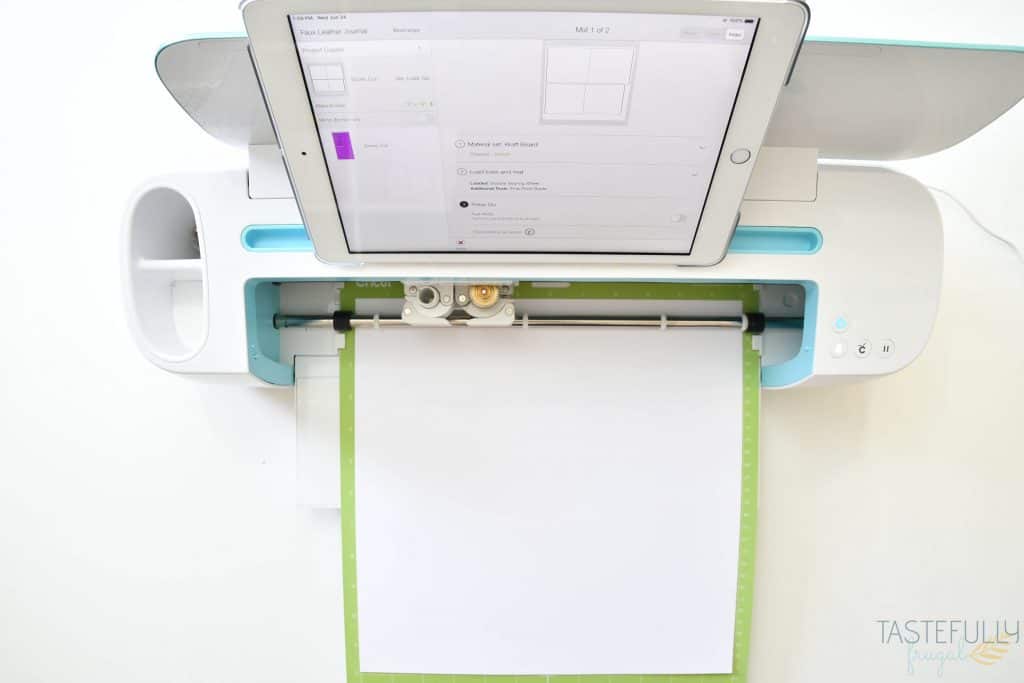
Load your mat into your Cricut machine when the arrow buttons are flashing. Press the C button when it starts to flash to begin.
The scoring wheel will score your lines first. Then you C light will start flashing again. This is when you’ll want to remove the scoring wheel from the B clamp and insert the fine point blade into the B clamp. Press the flashing C light to begin the cut.
Click the flashing arrow light when the cut is done to remove the mat.
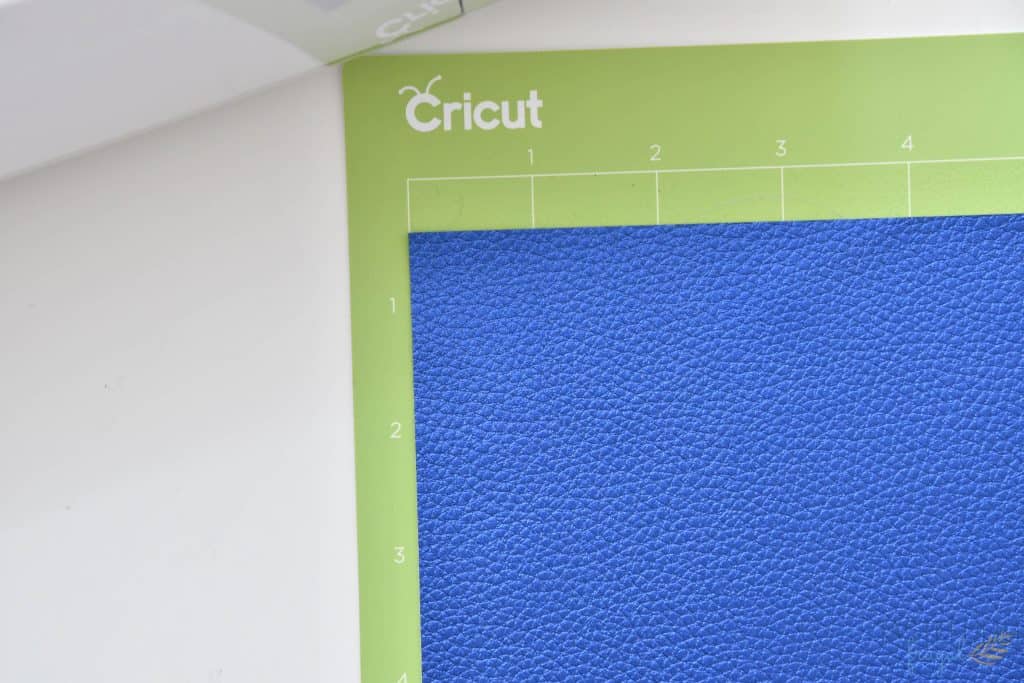
Because we only have a 12×12 piece of faux leather we are going to trick the Cricut into thinking we have a larger piece. You’ll want to load your faux leather on your 12×24 StandardGrip Mat about 1/2″ below the top of the gridline. This is where the cut begins and it will allow you to get the perfect 12×6 cut. **Make sure to change your material setting to FAUX LEATHER before loading your mat.
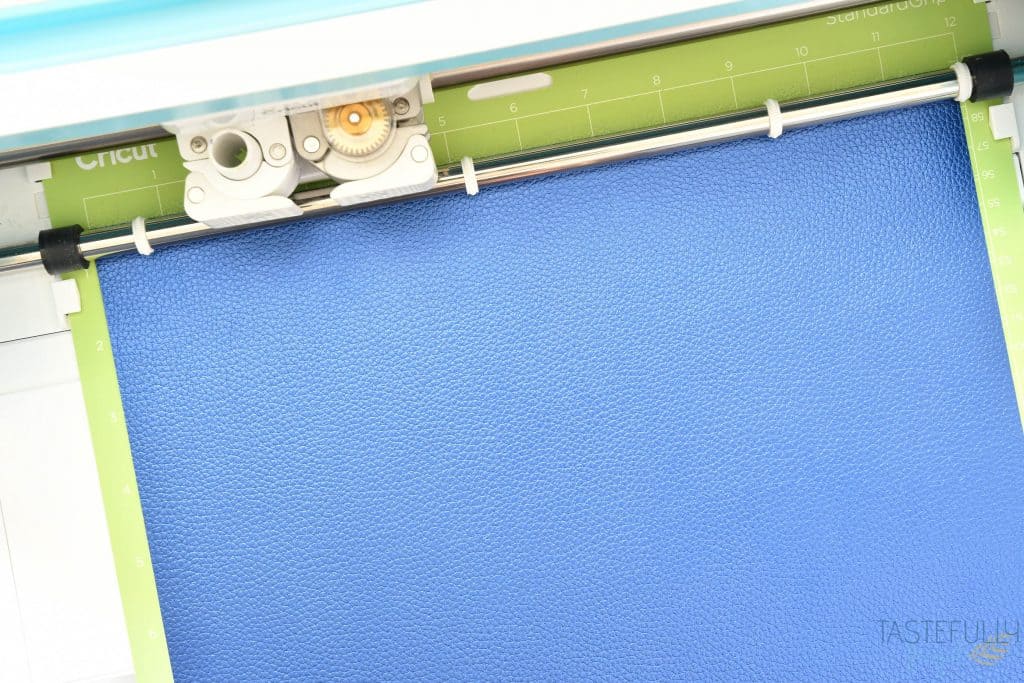
Insert the 02 Scoring Wheel into the B Clamp. Load your mat when the arrow light starts to flash. Press the C button when it starts to flash to begin.
The scoring wheel will score your lines first. Then you C light will start flashing again. This is when you’ll want to remove the scoring wheel from the B clamp and insert the fine point blade into the B clamp. Press the flashing C light to begin the cut.
Click the flashing arrow light when the cut is done to remove the mat.
Putting Together The Notebook
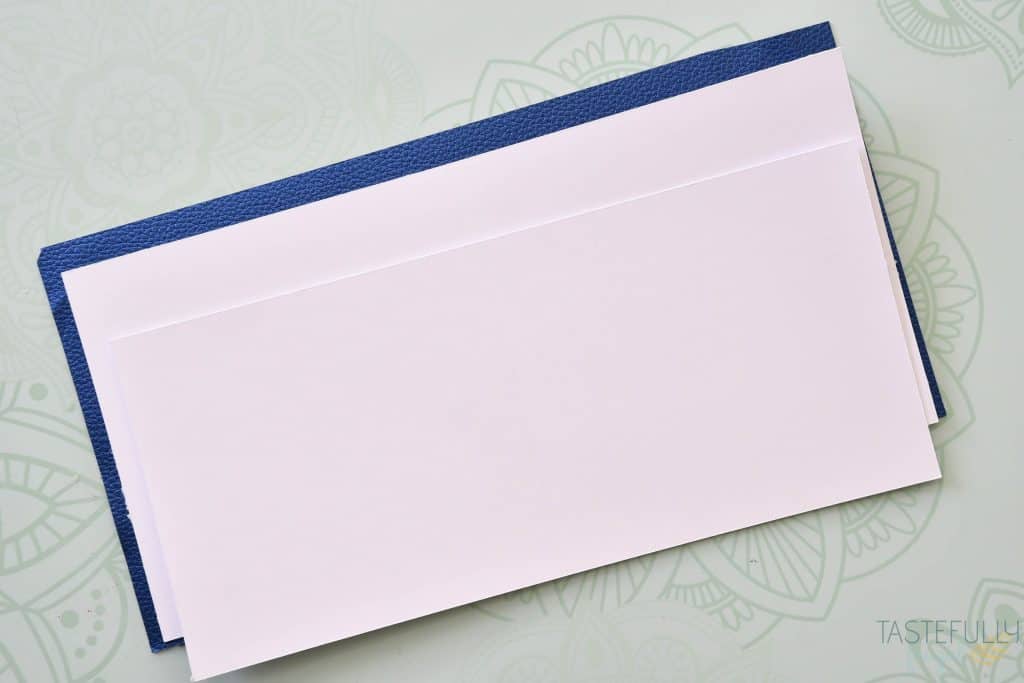
Set up your three pieces (two kraft board and one faux leather) on the Self Healing Mat. Fold all pieces along the score lines.
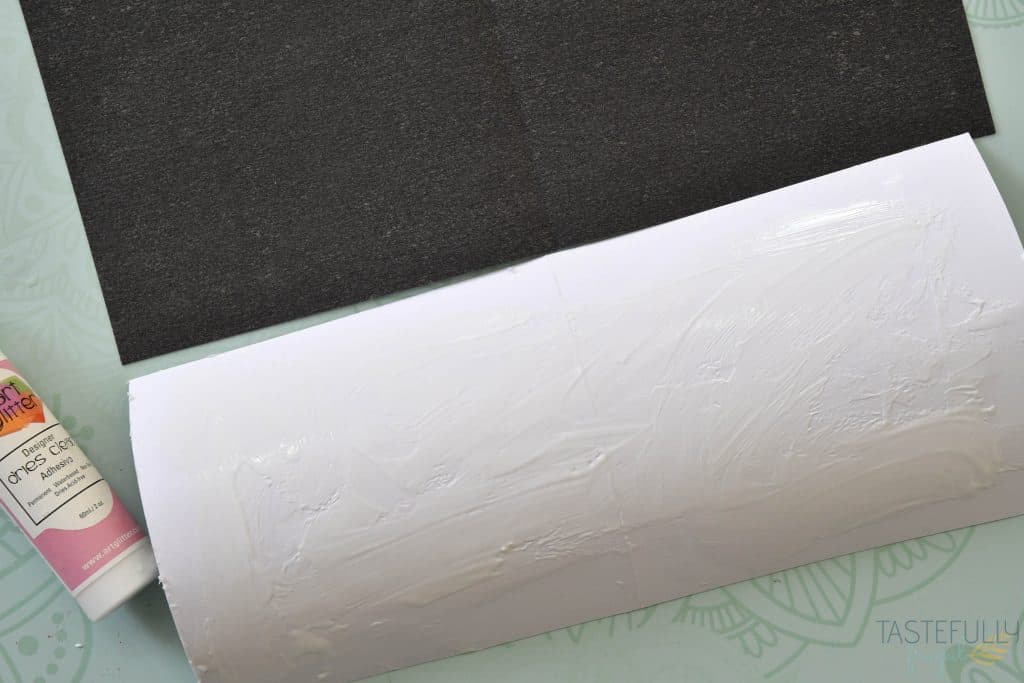
Flip over your faux leather and the larger rectangle of the kraft board. Use Art Glitter Glue and cover the kraft board completely making sure to get all the edges covered.
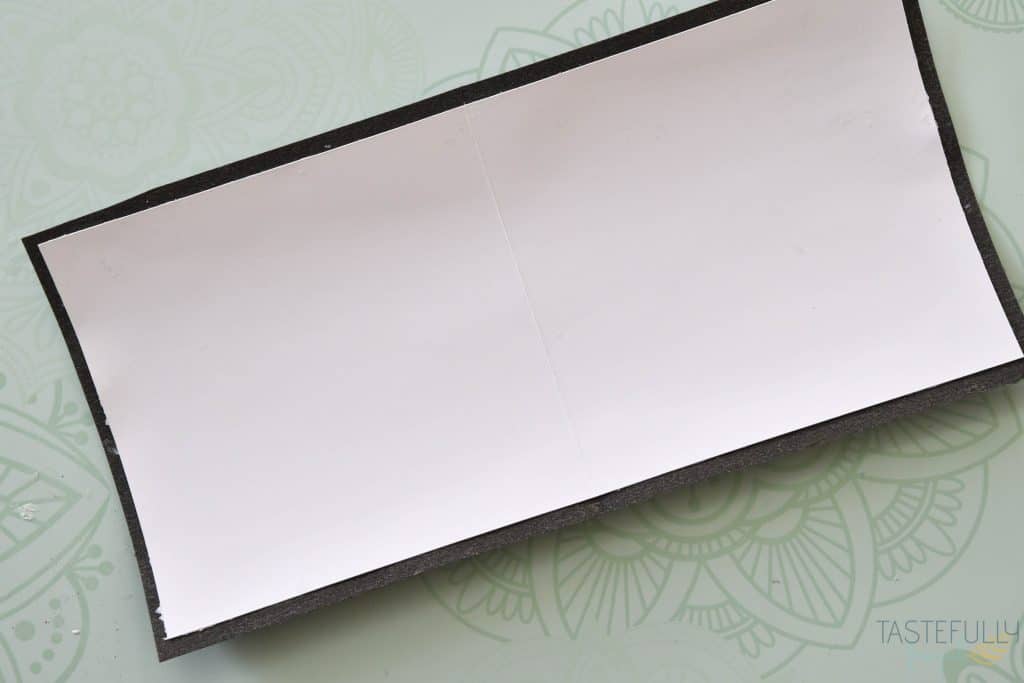
Line up the rectangle on the faux leather so the score lines are centered and press firmly so the Art Glitter Glue can adhere to the faux leather and the kraft board.
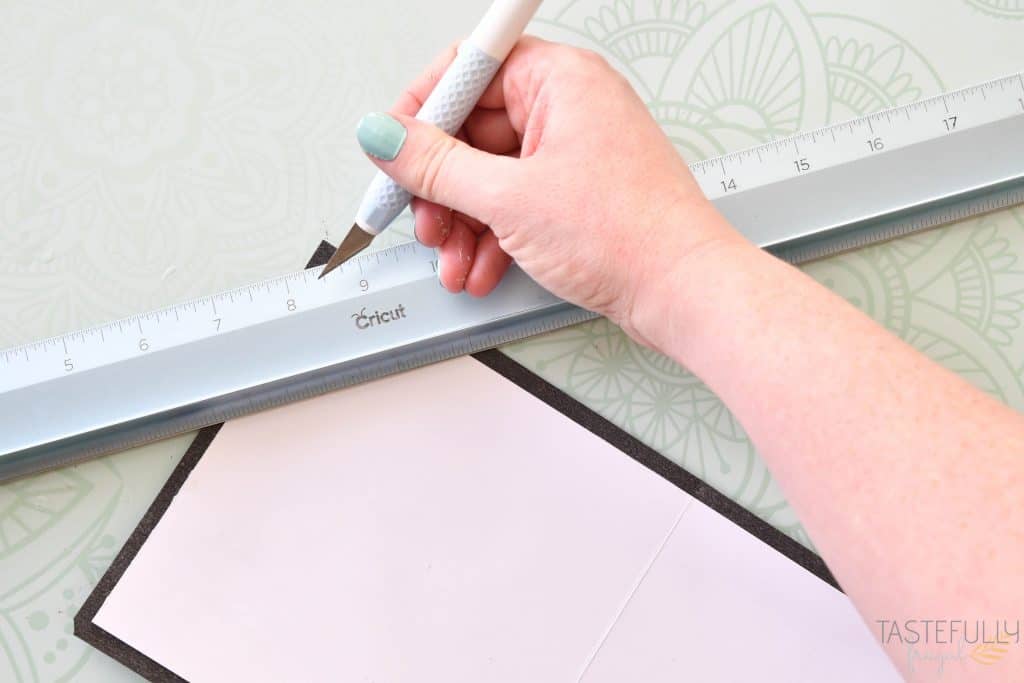
Take your cutting ruler and True Control Knife and cut the corners of the faux leather off at an angle. Do this to all 4 corners.
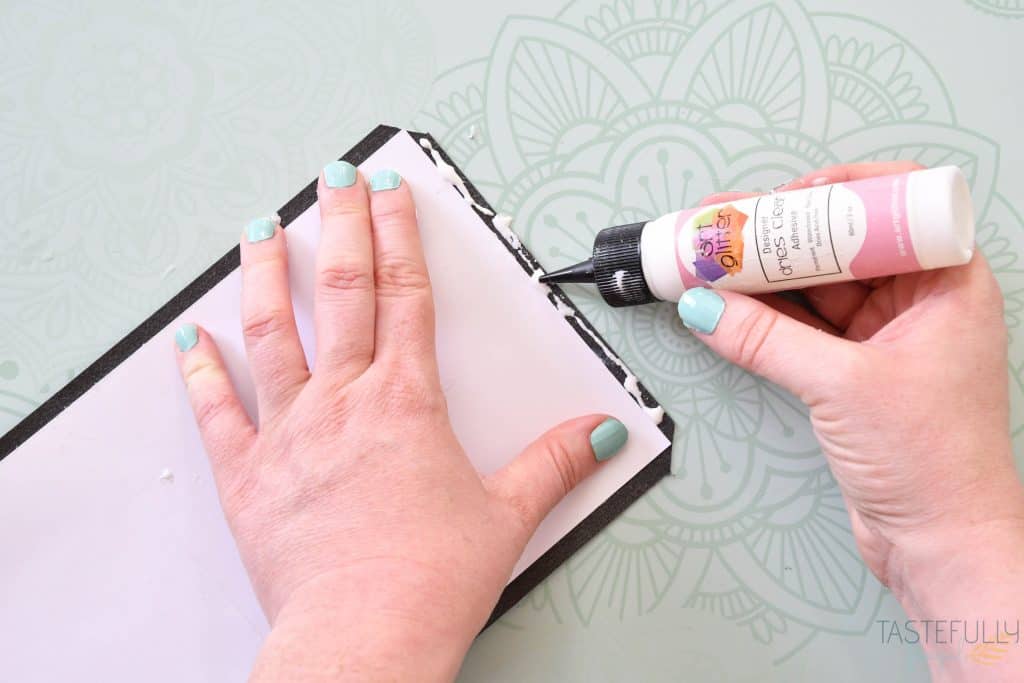
Starting with the short sides, put Art Glitter Glue on the faux leather and fold it over on to the kraft board. Repeat with all four sides.
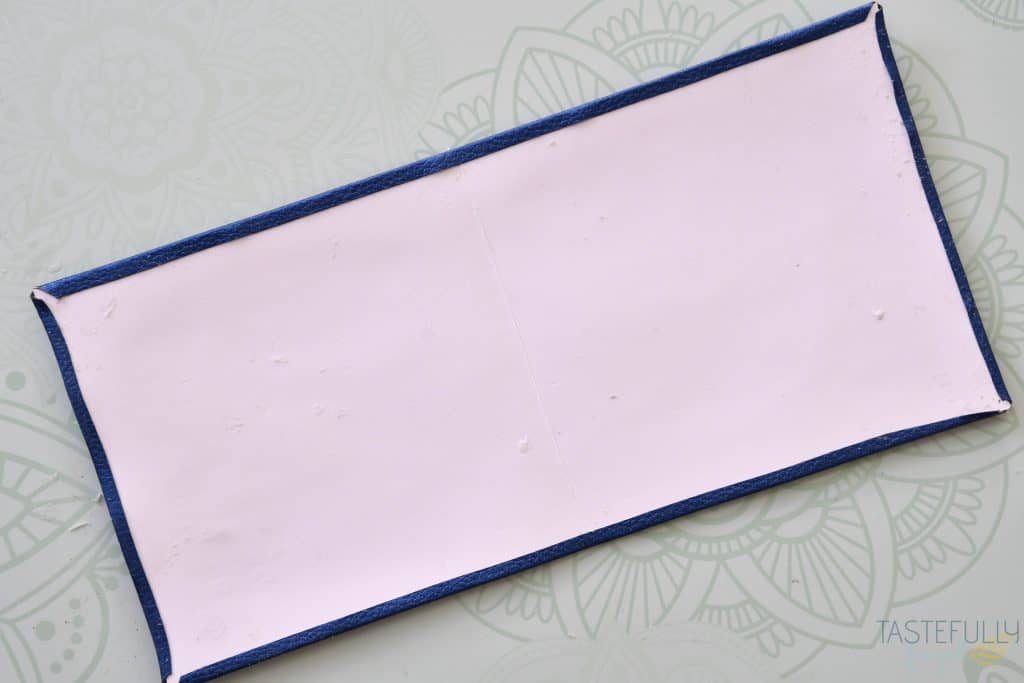
Measure your ribbon 24″ long.
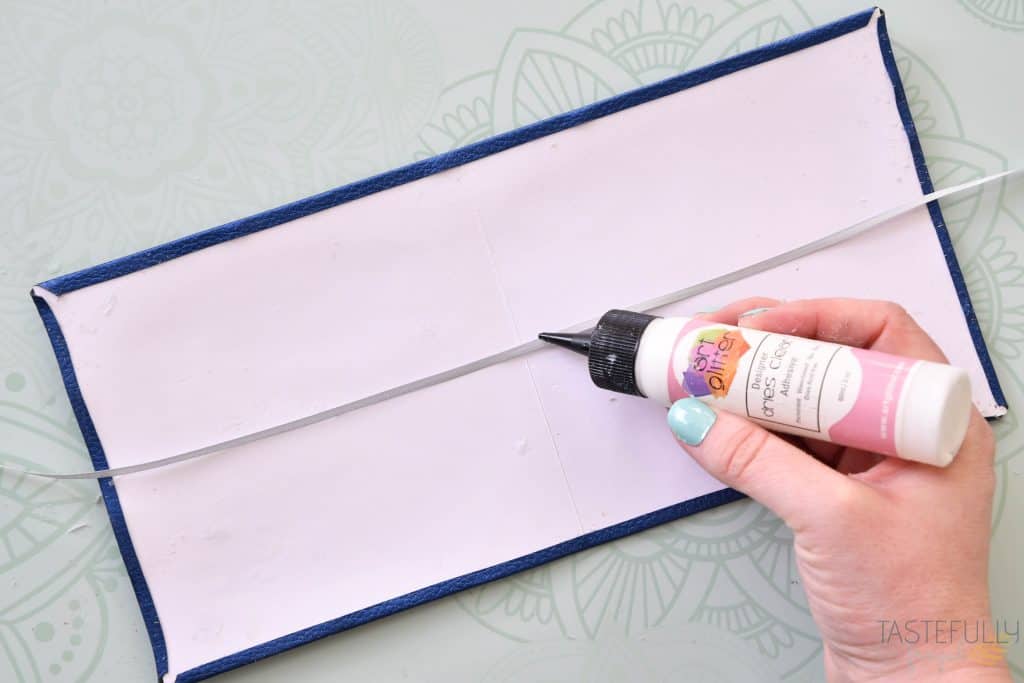
Find center and place in center of the kraft board. Run a small line of Art Glitter Glue along the full width of the kraft board and press your ribbon on to the glue.
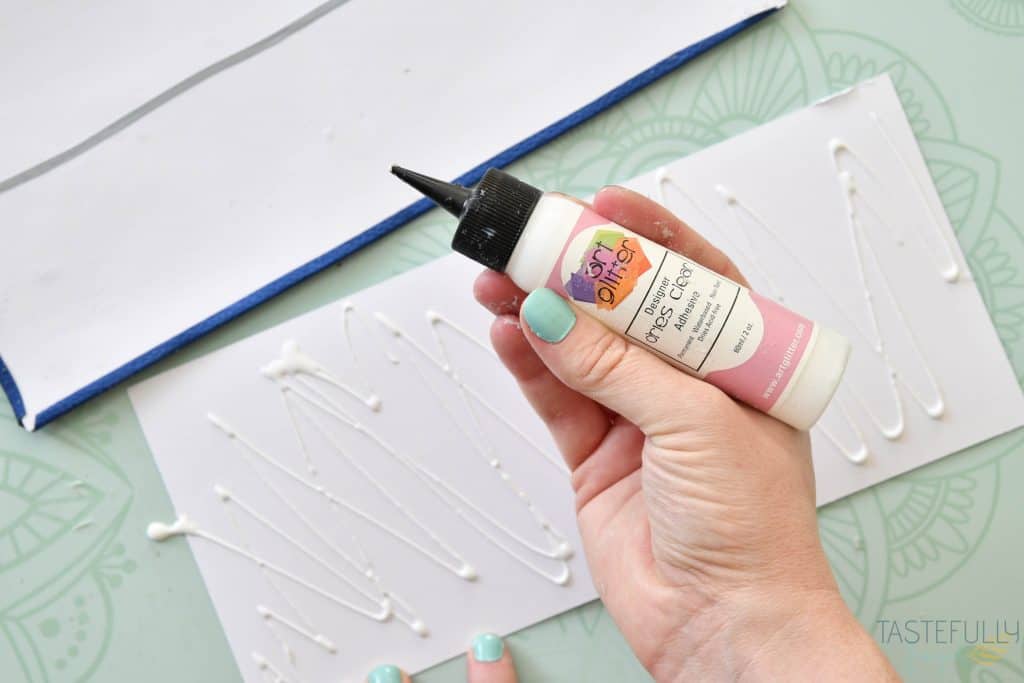
Cover the smaller kraftboard rectangle with Art Glitter Glue and place on top of the ribbon. Press firmly so the two kraft boards are fully adhered.
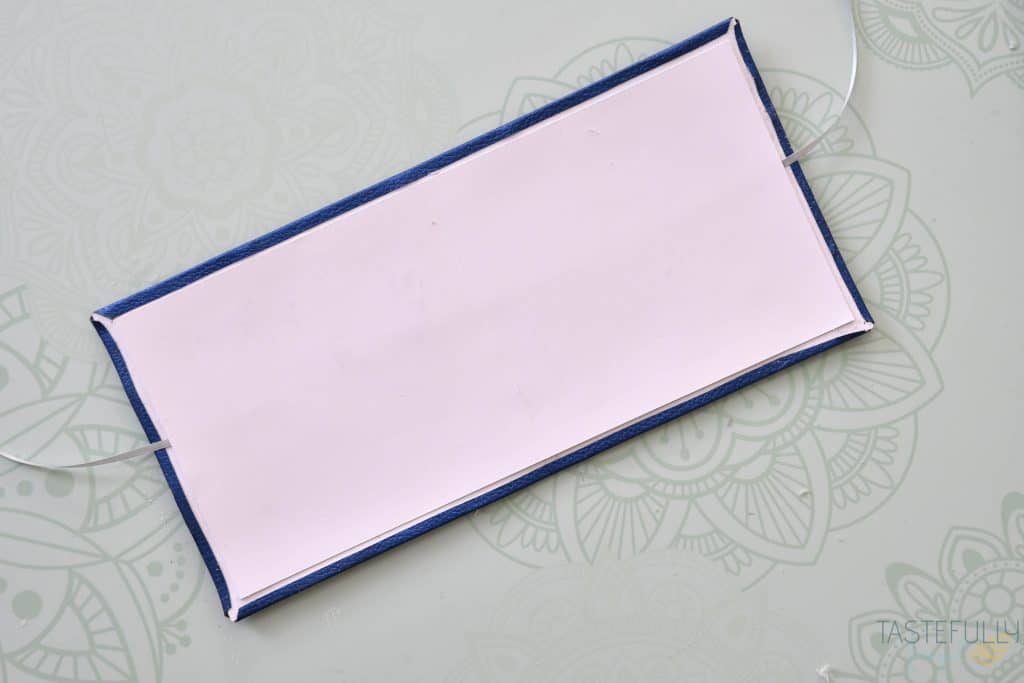
Now it’s time to cut your insert paper.
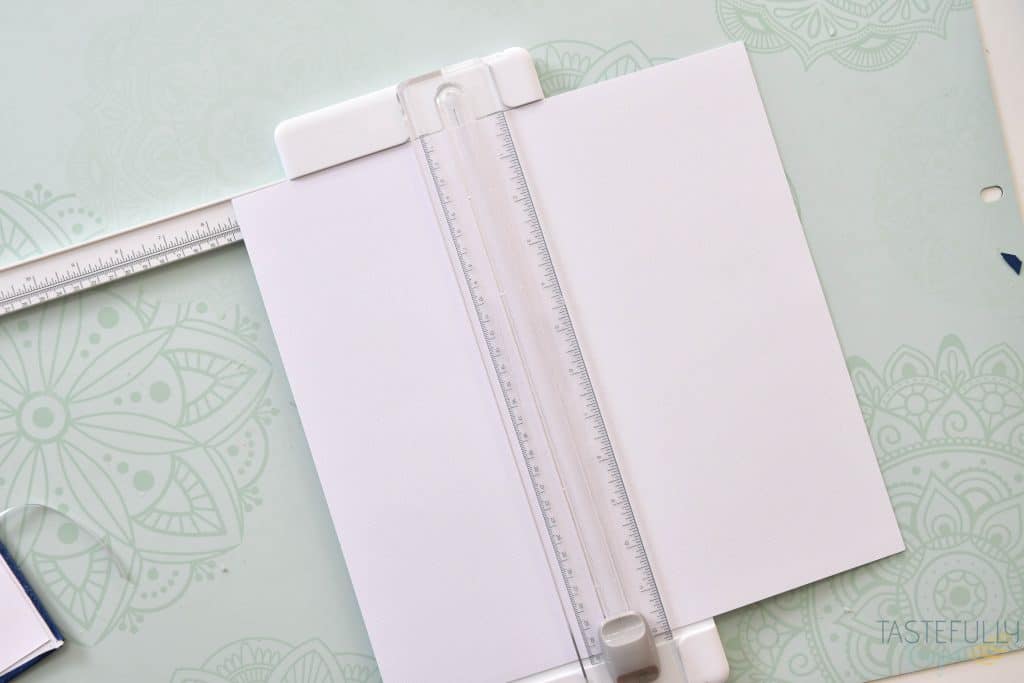
Use a paper trimmer to cut your paper down to 11″x5.5″ pieces. I used three 12×12 pieces of cardstock and got two 11″x5.5″ pieces out of each sheet.
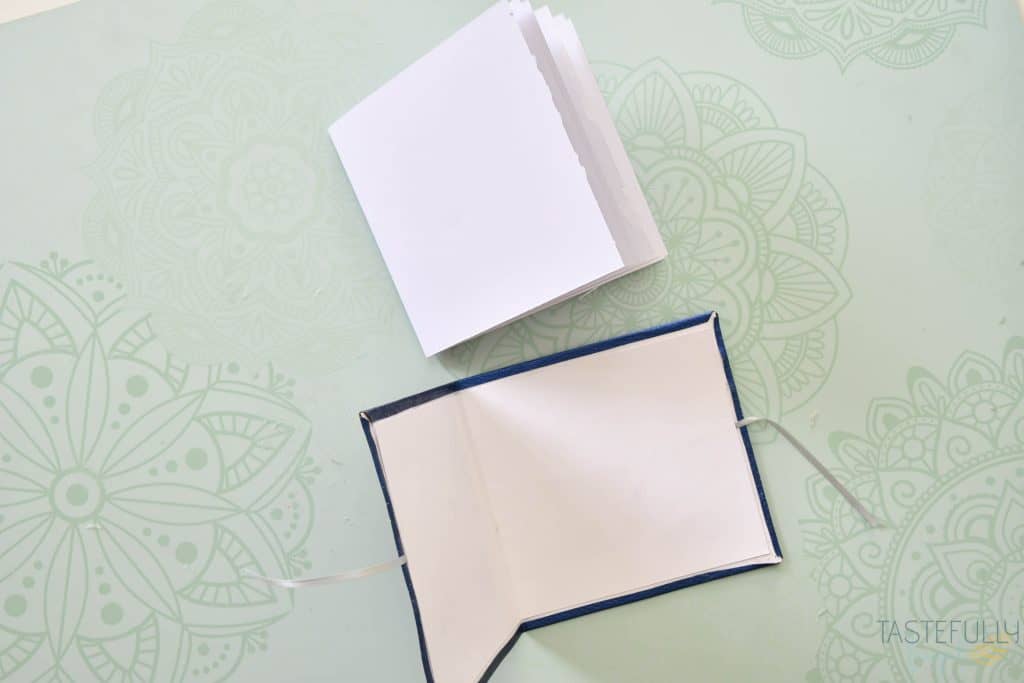
Fold pieces in half. You will now have 12 sheets of paper. Line up the fold on the fold line of the kraft board.
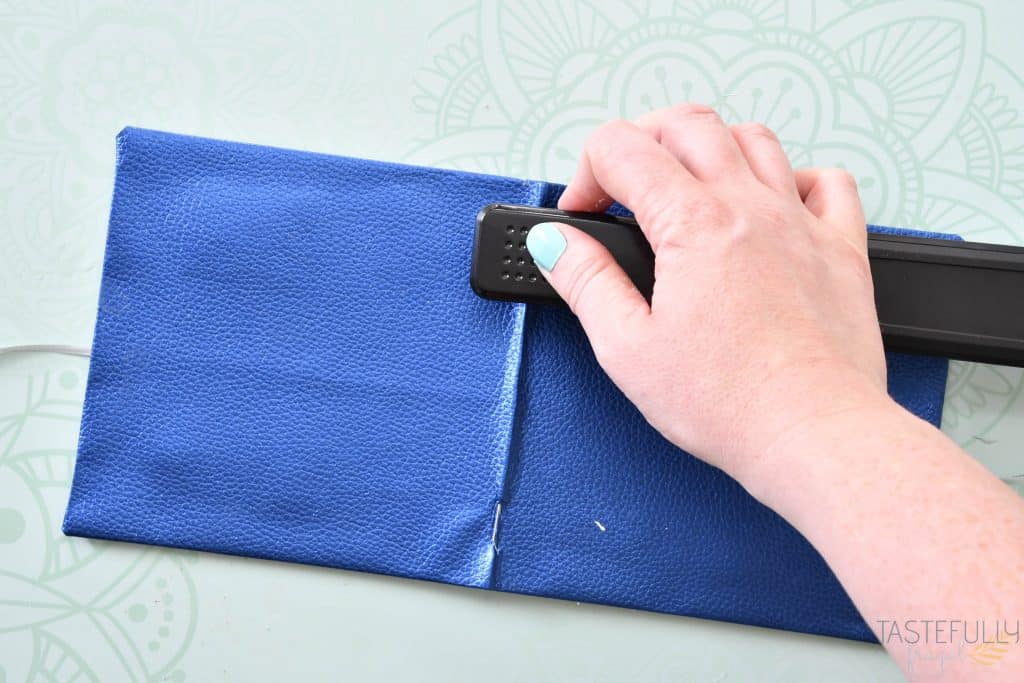
Flip notebook over and use a stapler to staple through the faux leather all the way through the pages.
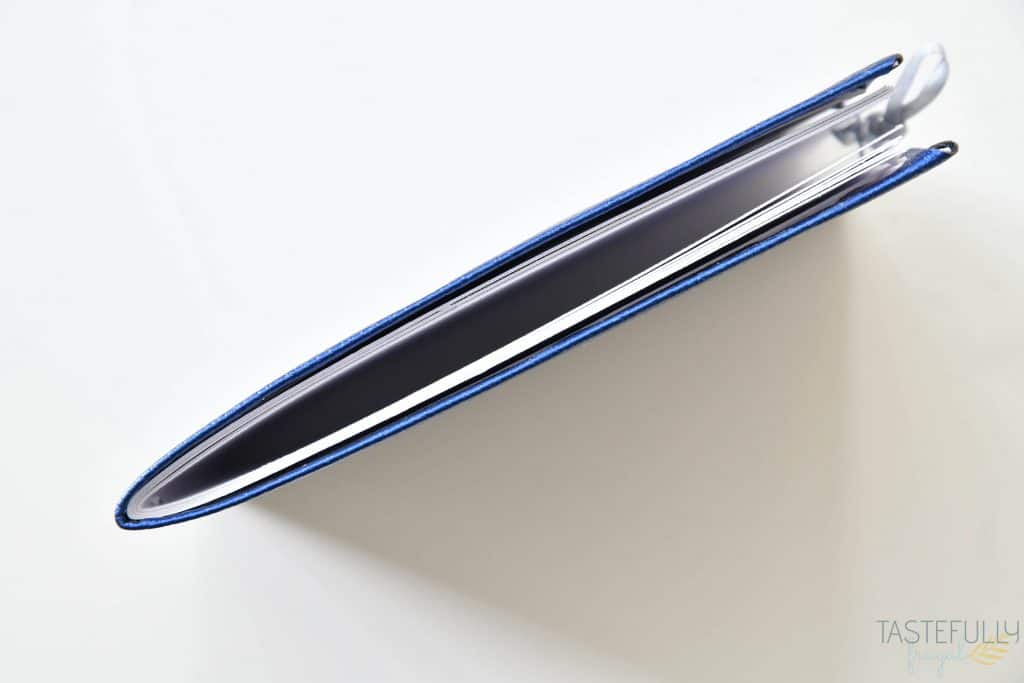
Tie your notebook shut with the ribbon.

This is a super easy project for both beginner crafters as well as advanced Cricut users. You can totally create this project with the Air 2 and a scoring stylus as well, you just may need to use more pressure on your fold lines.
Make sure to subscribe to my YouTube channel to check out all the video tutorials. For more Cricut projects and tutorials, check out these posts. For tips, tricks and immediate help, be sure to join our FREE Cricut Support Group.


Leave a Reply