Learn how to apply iron-on vinyl to backpacks. PLUS how you can help kids who are in foster care too!
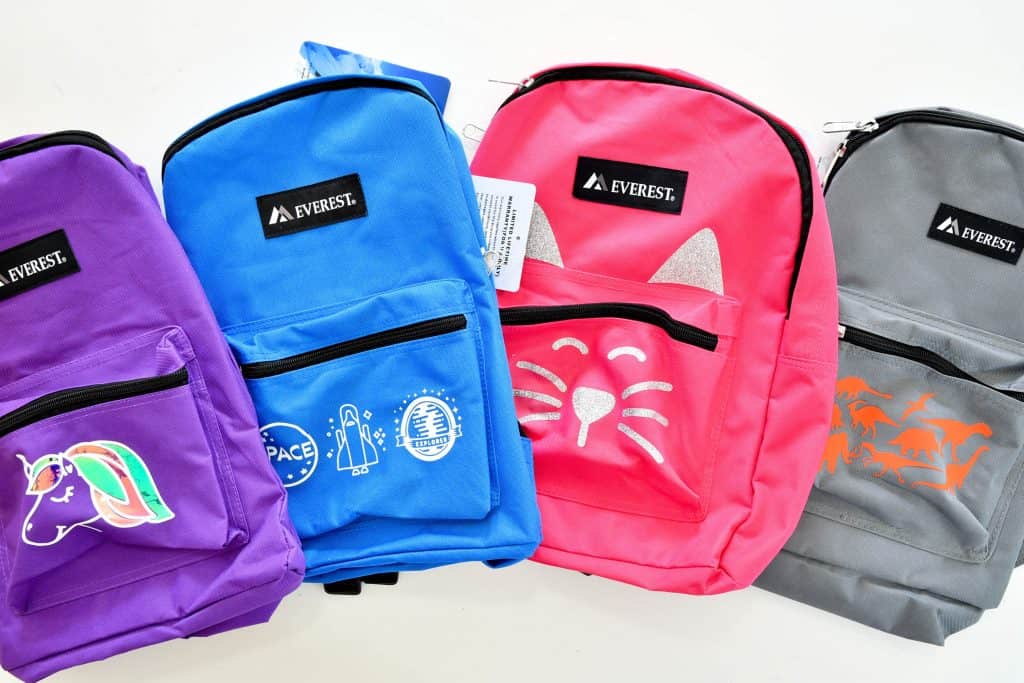
If there is one thing I’ve learned as a mom over the past eight years is kids really love anything personalized. This is probably what I use my Cricut machines for more than anything else. Whether it’s adding their name to their lunch box, making Star Wars shirts or even custom bookmarks, my kids love when I can make something for them that no one else (including their siblings) have. And it’s one thing I can consistently say yes to, which makes it a win-win.
This is a sponsored post written by me on behalf of Cricut. All opinions are 100% mine.
So when I heard about the Blue Ribbon Project and their Backpacks of Love program, I knew it was something I wanted to help with. Each year over 400,000 kids are in foster care across the US. There are several times when these kids go to their foster home with just the clothes they are wearing. So the Blue Ribbon Project started the Backpacks of Love program to help bring a little happiness to these kids during such a scary time.
How Can I Help?
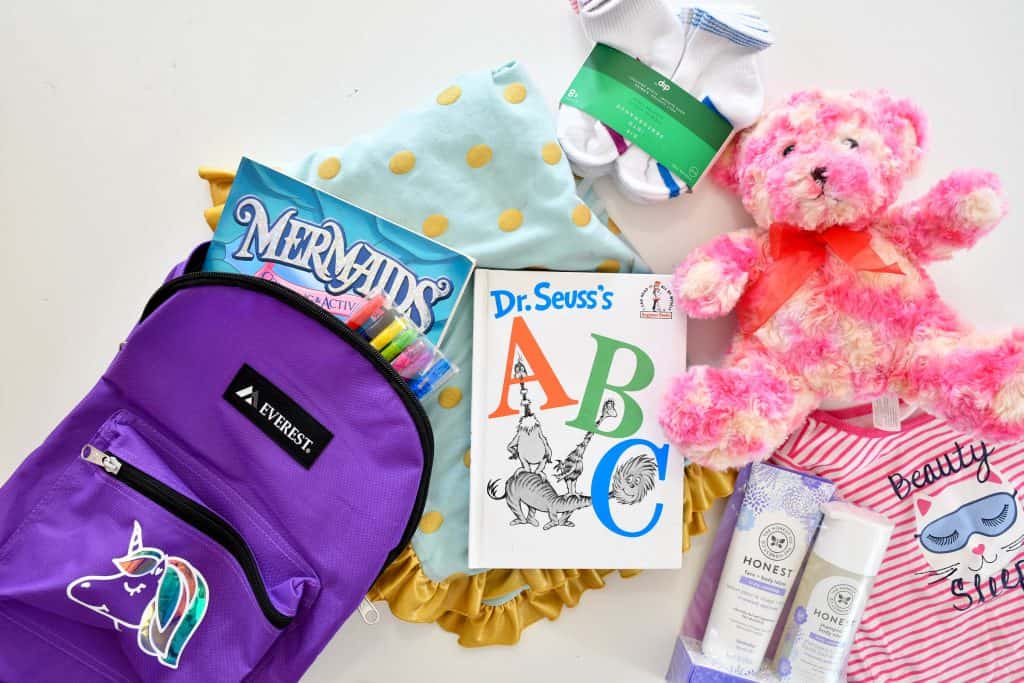
They have put together lists for boys and girls of every age of things they may need and that will help them transition into a foster home. You can find all the lists here. Then you just add as many things as you can to a backpack and mail it to the Blue Ribbon Project or drop them off at local Maryland locations. If you want to have supplies shipped to you, you can buy the backpacks I used on Amazon here, and you can check out my Amazon shop for a ton of ideas of things you can order to add to the backpacks. If you want to add a little extra to the backpacks themselves, learn how you can personalize them below.
How To Apply Iron-On Vinyl To Backpacks
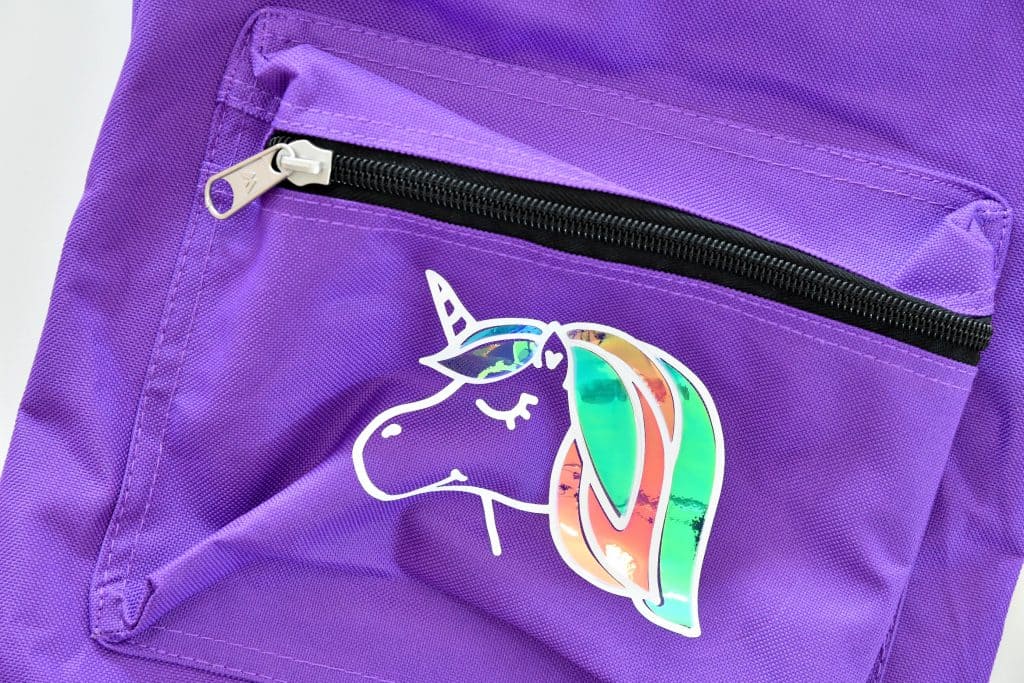
I personalized my kids backpacks last year for the beginning of the school year and learned a few things that helped making these backpacks a little easier.
- Make sure to put your EasyPress Mat in the inside of the SMALL pocket (if you’re adding iron-on to the pocket). This will prevent the inside of your pockets sticking together from the heat.
- Use the EasyPress Mini. Because of the zipper and seams on the backpack, it’s hard to get the full direct heat from the EasyPress on to your design. If you don’t have the EasyPress Mini, use the top part of your EasyPress and make sure you’re pressing below the seam and zipper for full contact.
- DON’T OVERHEAT. It’s better to press for a little longer on the correct heat setting vs. heating your EasyPress hotter. It will only ruin your backpack
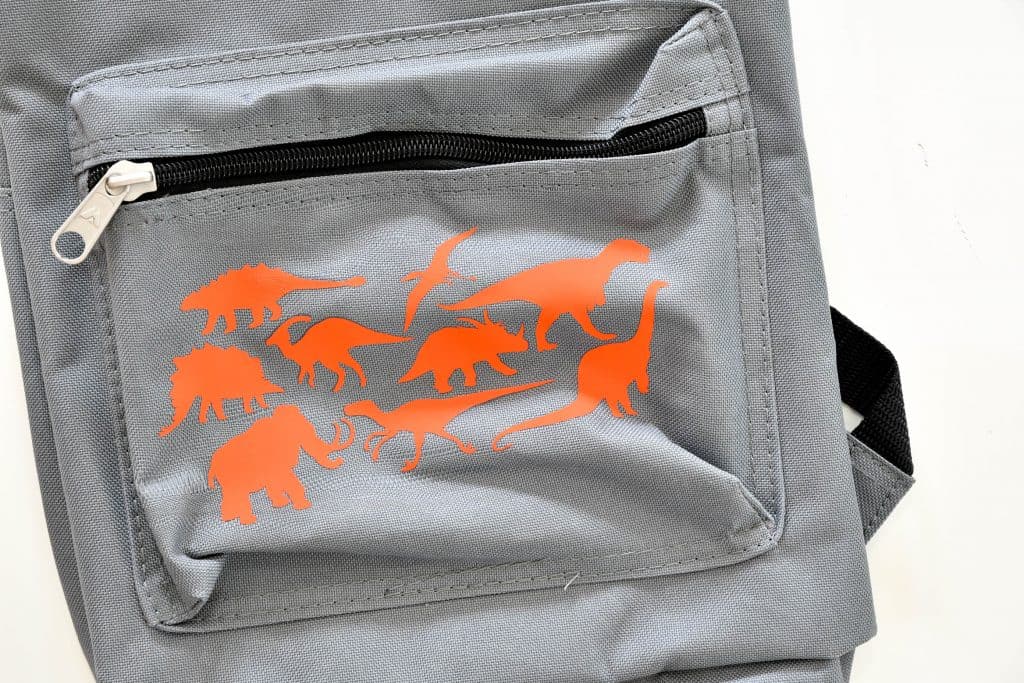
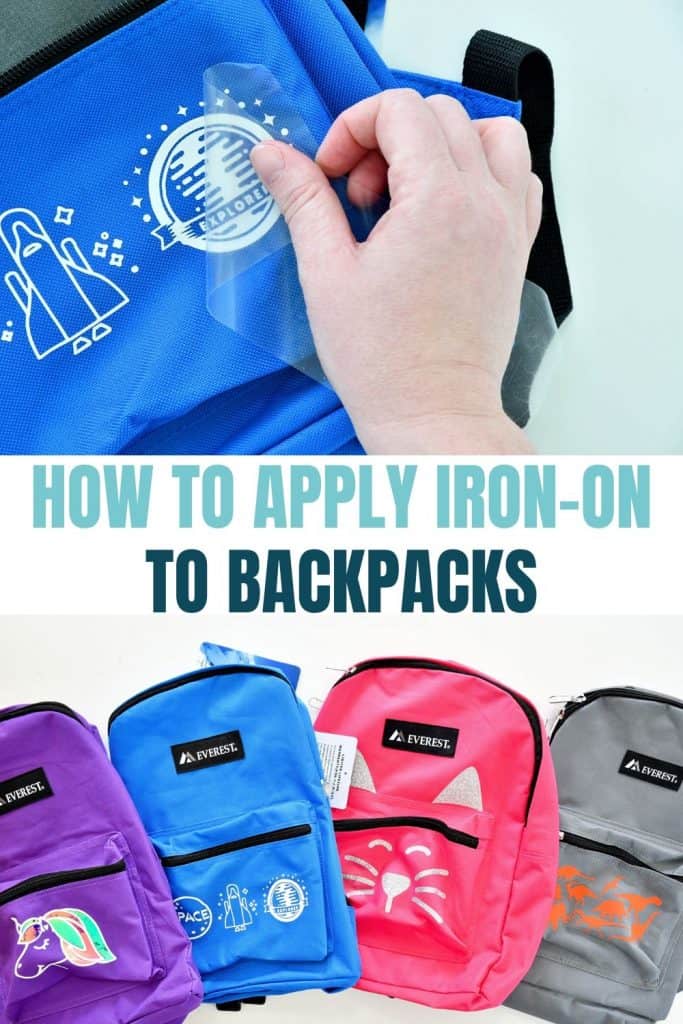
Now let’s talk about designs. You’ll want to keep your designs somewhat simple. While adding iron-on vinyl to backpacks is a fairly easy project, it can easily be ruined if you have multiple layers that need to be pressed.
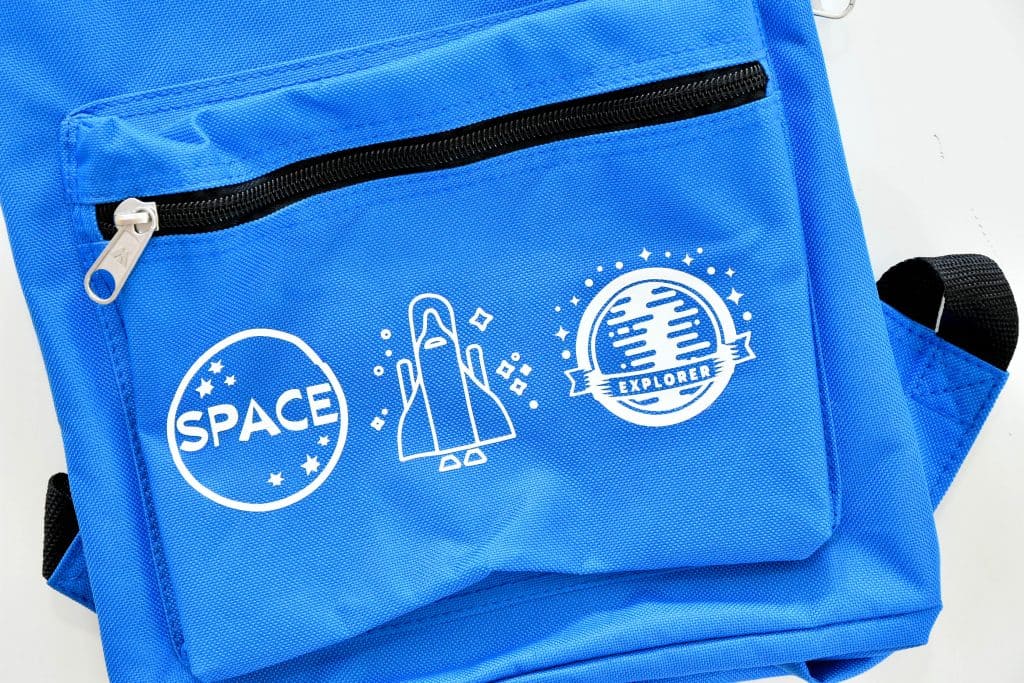
Of the four designs I made here, all but one are single layer designs. Get the Design Space Canvas for each design in the supply list below. NOTE if you’re doing a design with multiple colors, make sure you are using Everyday Iron-On as your base layer.
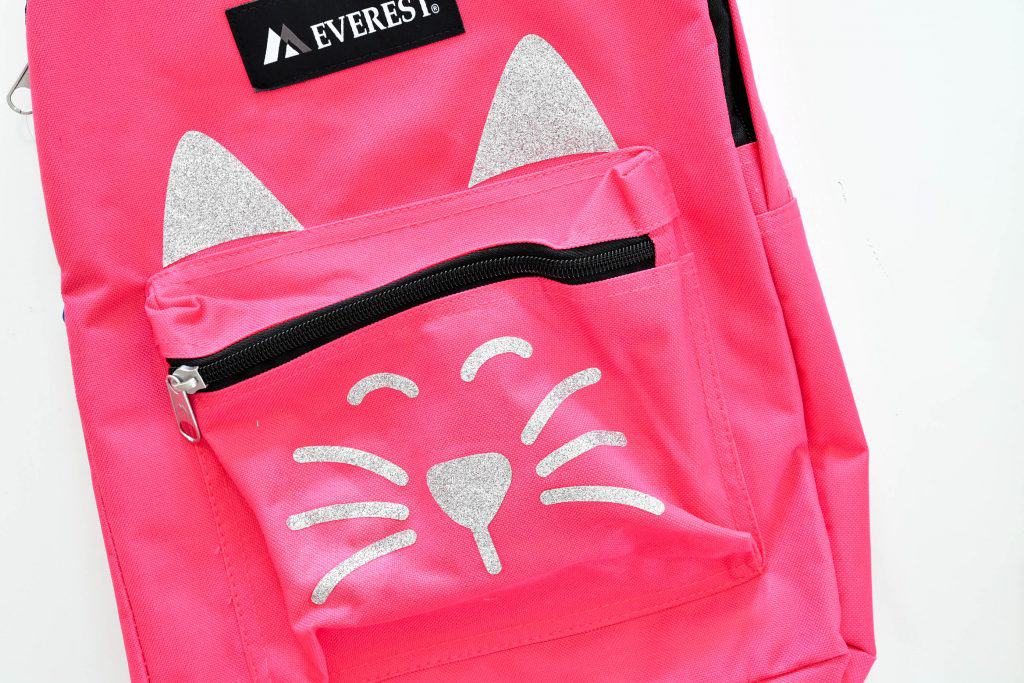
Also, if you’re going to be using glitter iron-on, be sure to do a larger design, like the cat design here. Designs will small pieces can easily get lost with glitter iron-on.
SUPPLIES:
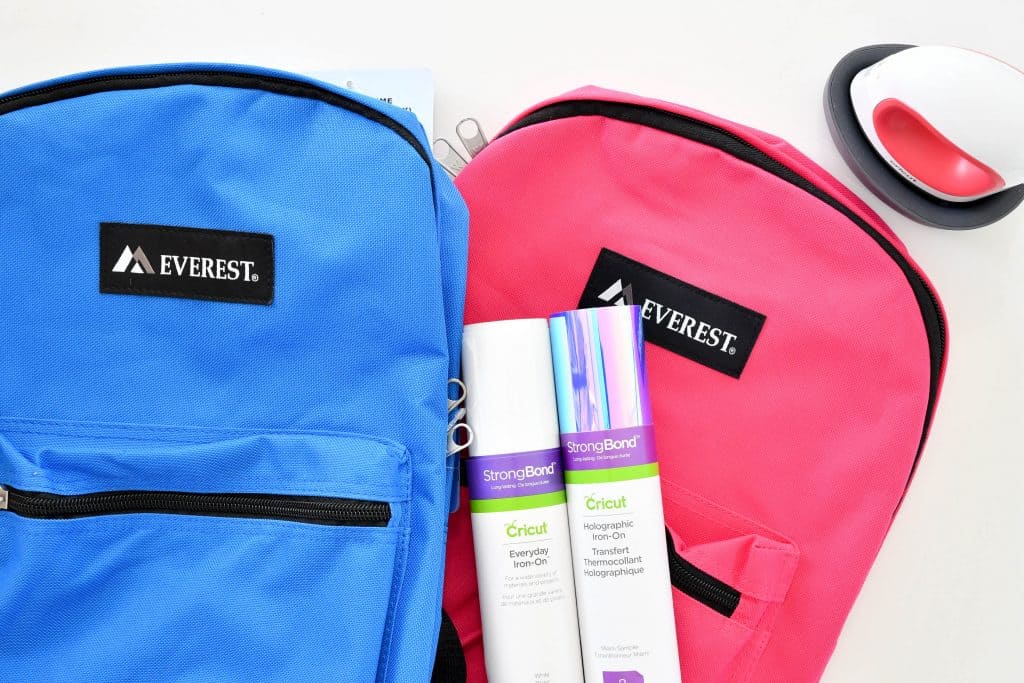
Backpack (These are the ones I used)
Iron-On Vinyl (I used Everyday Iron-On in white and orange, Glitter Iron-On in silver and the Miami Holographic Iron-On Sampler)
Cricut Machine (you can use either the Air 2, Maker or Joy)
If you need to get Cricut supplies and you’re shopping on Cricut.com, use code FRUGAL to save 10% and get FREE shipping on all $50+ orders. That’s on top of the 10% discount Cricut Access members get automatically!
DIRECTIONS:
Create design in Design Space (or open up one of the designs above) and size for backpack. Click MAKE IT. ***NOTE I measured the pocket of my backpack and took ¾” off both sides for the design width. Also make sure the height isn’t too big or small when you change the width. All the designs above are sized to fit a backpack pocket.
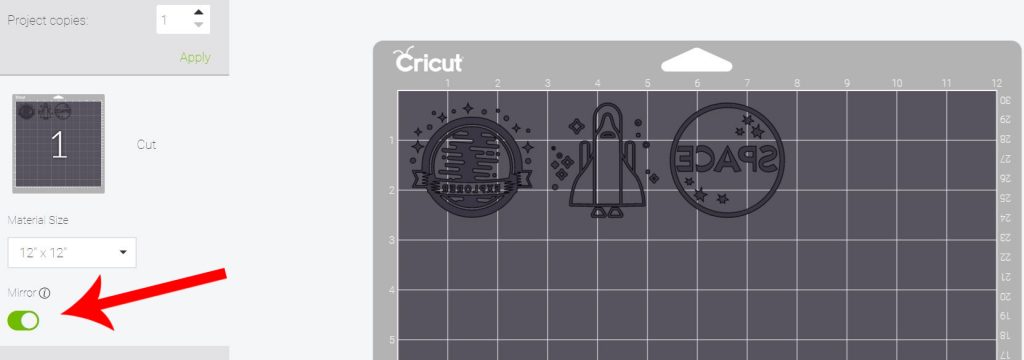
On the next screen, make sure to MIRROR your design. Click continue.
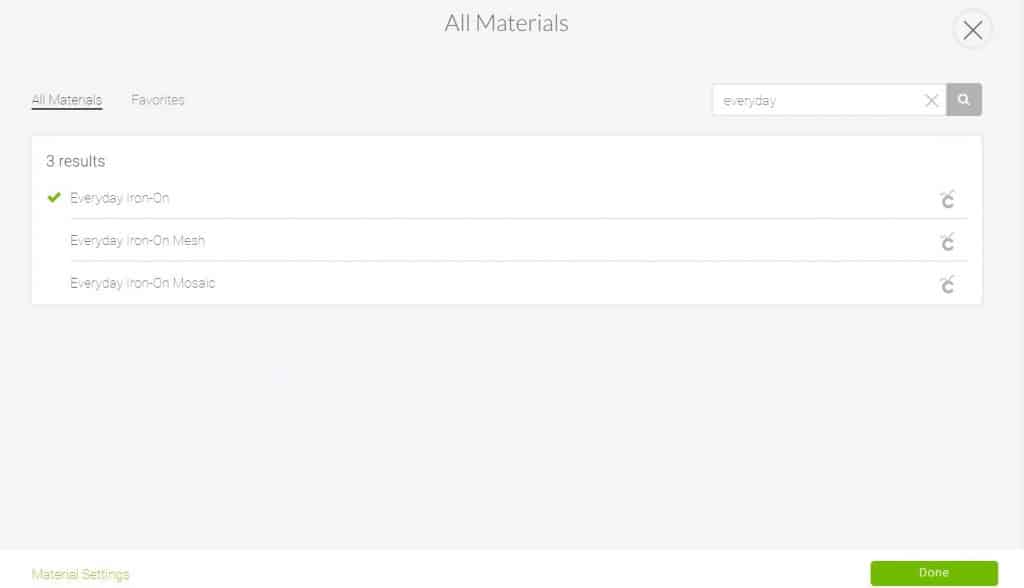
Select your type of material from the drop down menu.
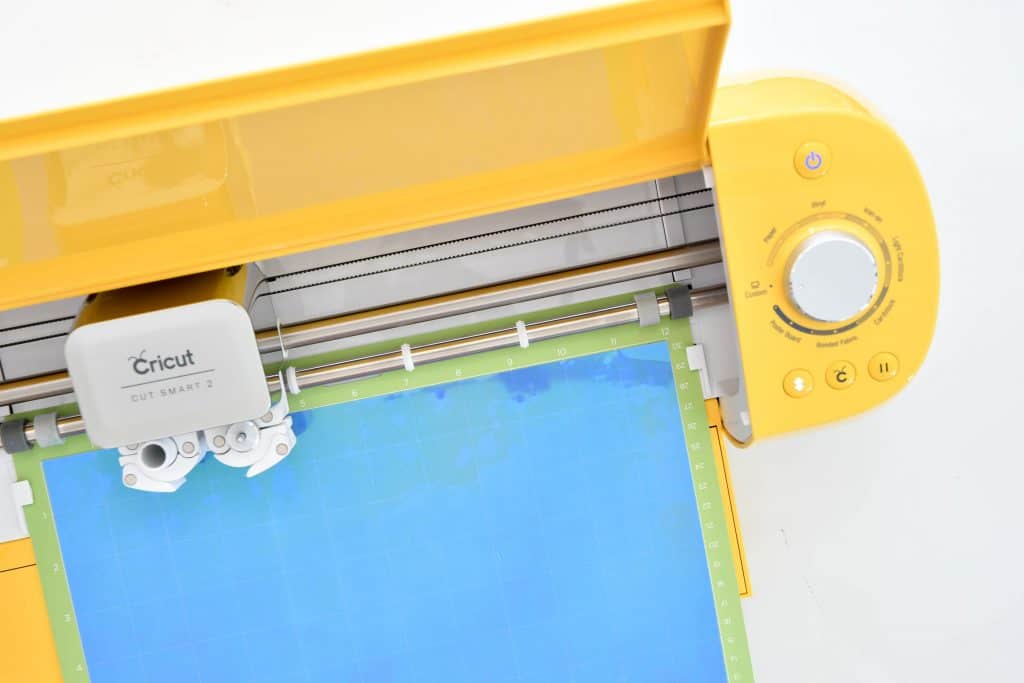
Load your iron-on vinyl onto your StandardGrip mat shiny side down and load into your Cricut when the arrow lights blink. Click the flashing C button to begin cutting.
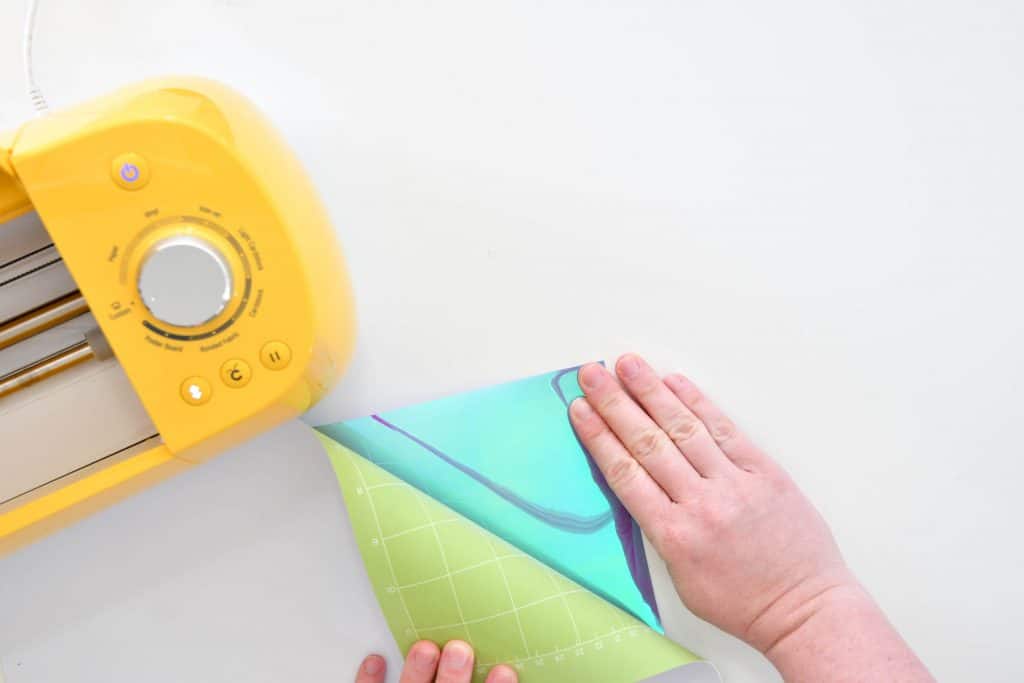
Remove mat from Cricut once it’s done cutting and remove the iron-on vinyl from the mat by flipping the mat over and peeling it back.
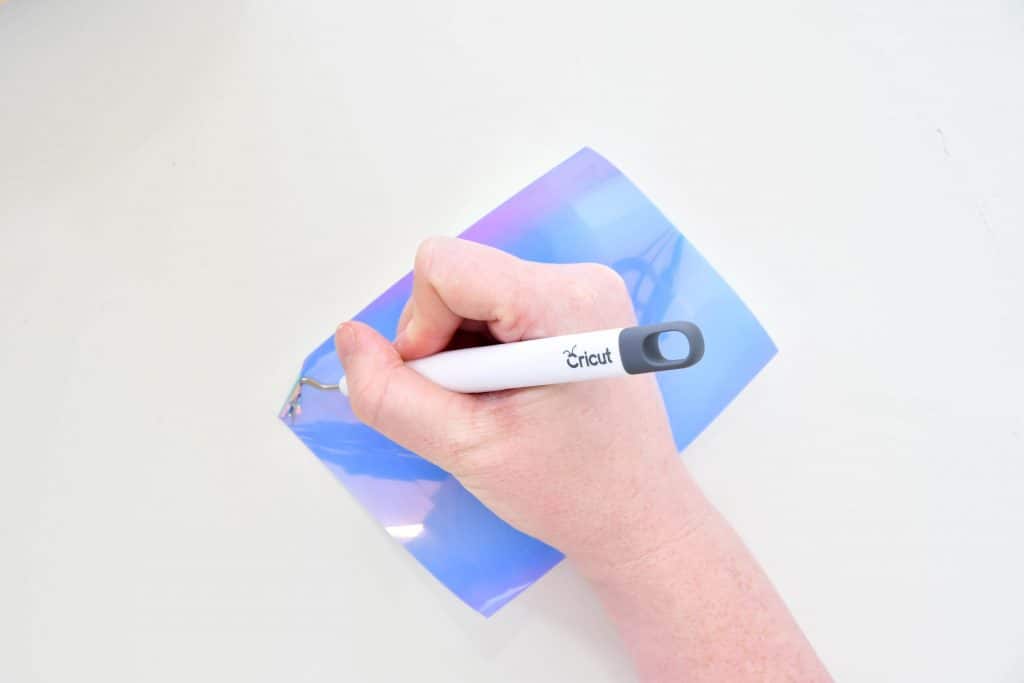
Use weeding tool to remove excess vinyl.
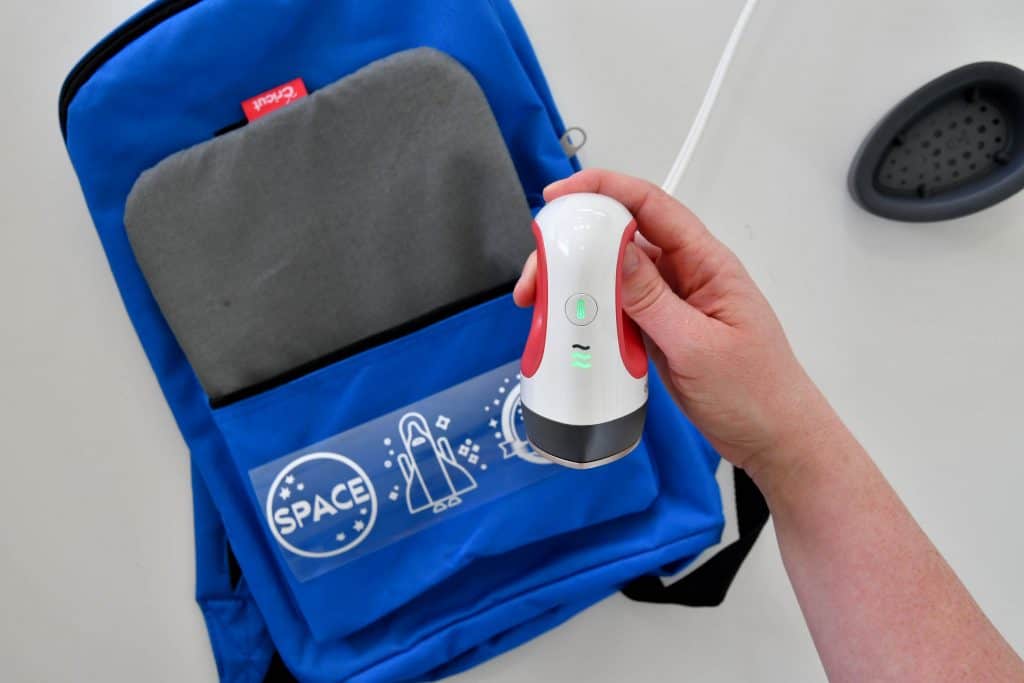
Heat EasyPress Mini to 2 bars and put EasyPress mat into backpack pocket.
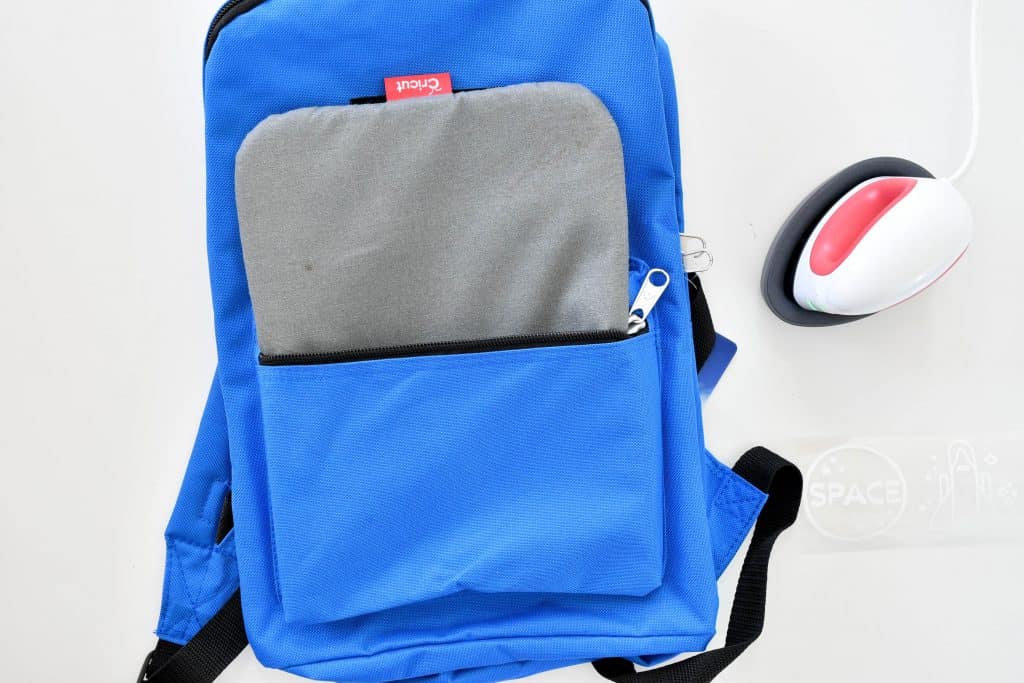
When EasyPress Mini is heated, preheat your backpack pocket for 5 seconds.
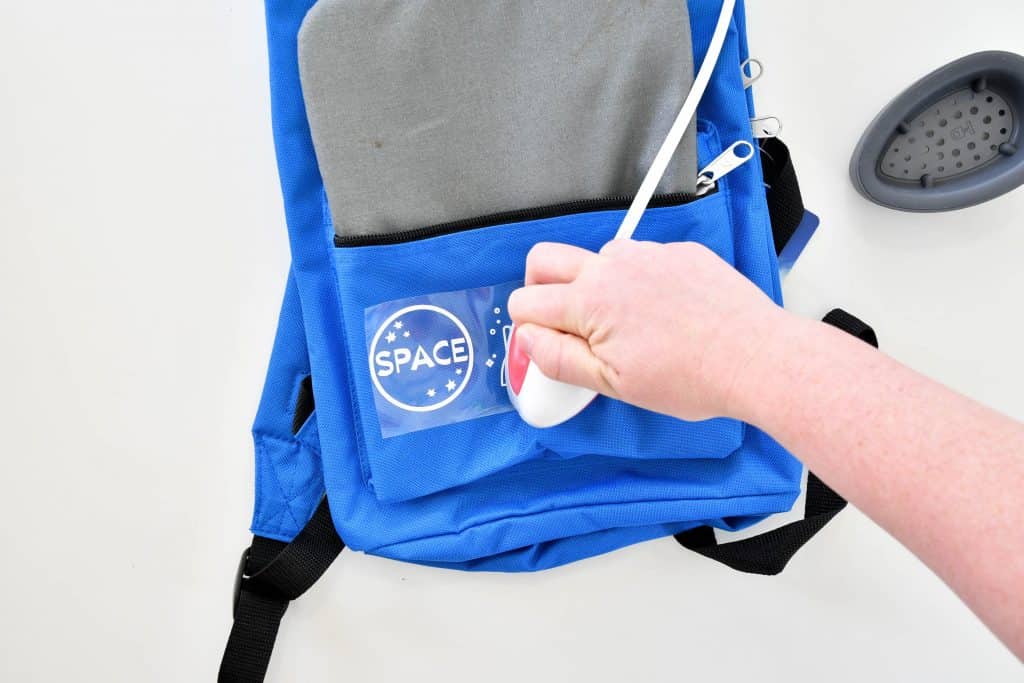
Line up design on backpack and press with EasyPress Mini for 25-30 seconds on each section. I do this in 2-3 sections depending on the size of the design.
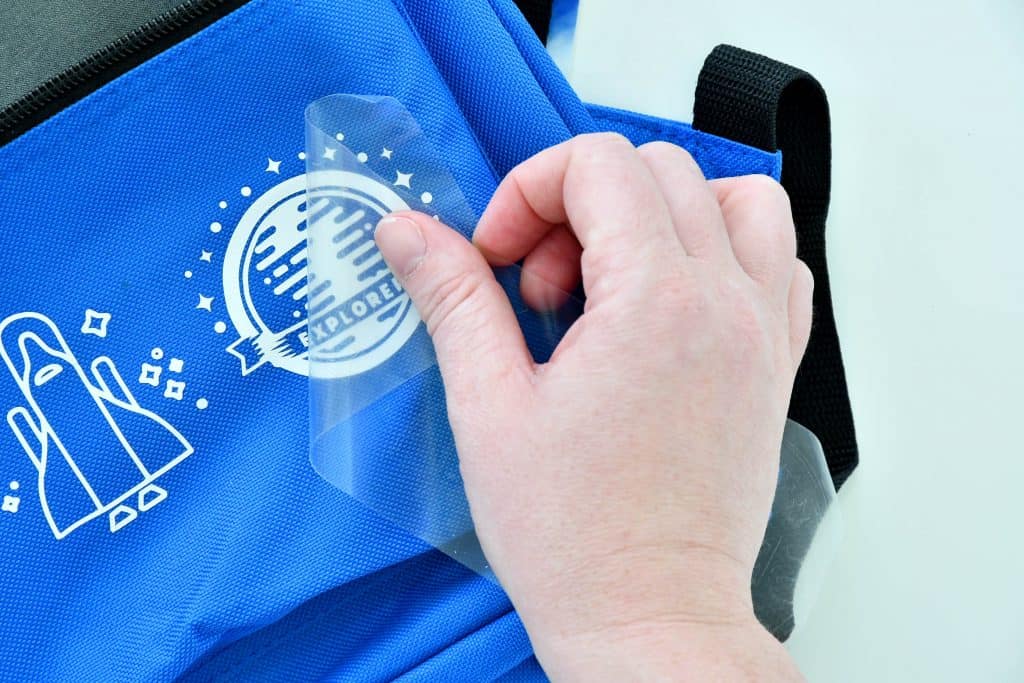
Slowly peel plastic backing away from design starting in the top left corner.
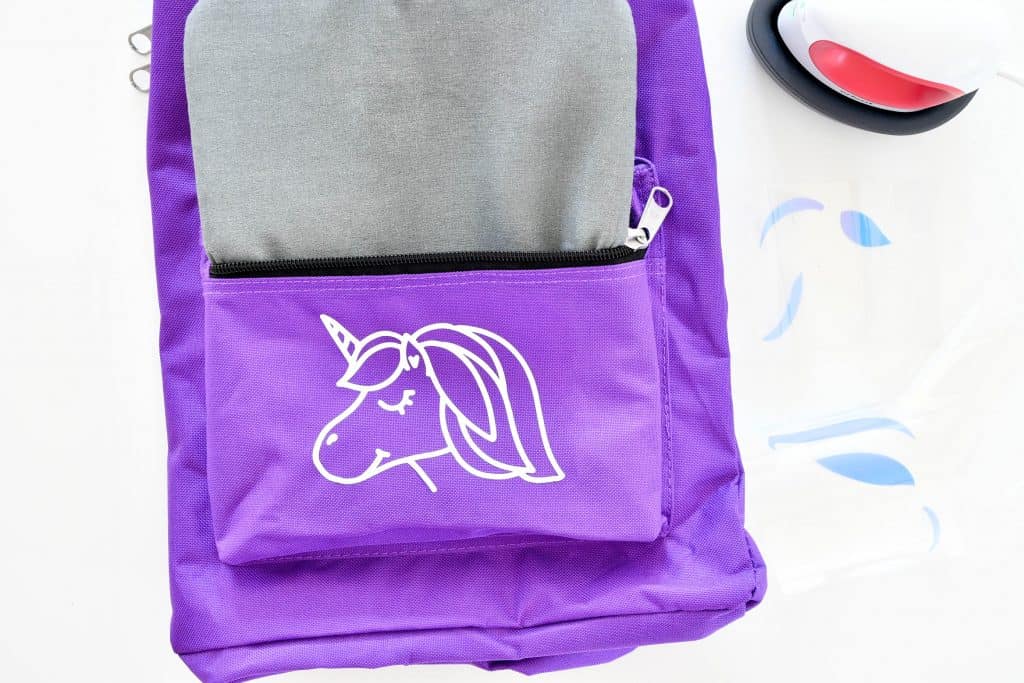
Repeat the last two steps with 2nd layer if you have it.
Apply Iron-On Vinyl To Backpacks
Easy peasy! Now you have personalized backpacks your kids can use OR that you can send to the Blue Ribbon Project! Click here to learn more about the Blue Ribbon Project.
Make sure to subscribe to my YouTube channel to check out all the video tutorials. For more Cricut projects and tutorials, check out these posts. For tips, tricks and immediate help, be sure to join our FREE Cricut Support Group.


elly camron says
This content is very helpful for me. Thanks for sharing