Make DIY Thanksgiving Apron for you and your turkey squad this Thanksgiving. Plus check out 5 reasons why I absolutely LOVE my Cricut Explore Air 2.
This is a sponsored conversation written by me on behalf of Cricut. The opinions and text are all mine.
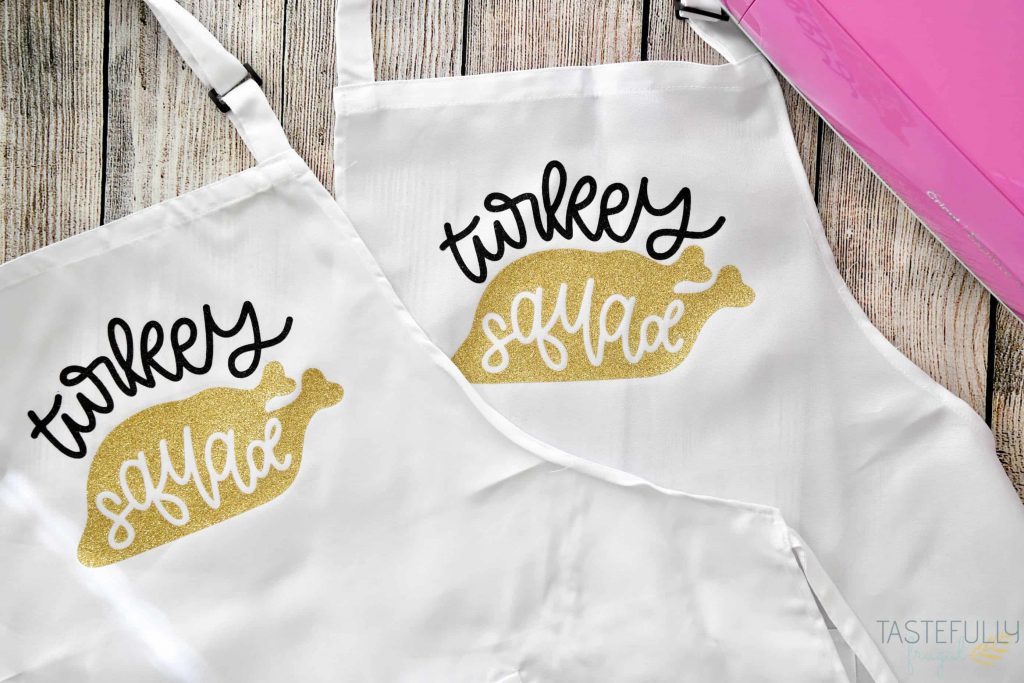
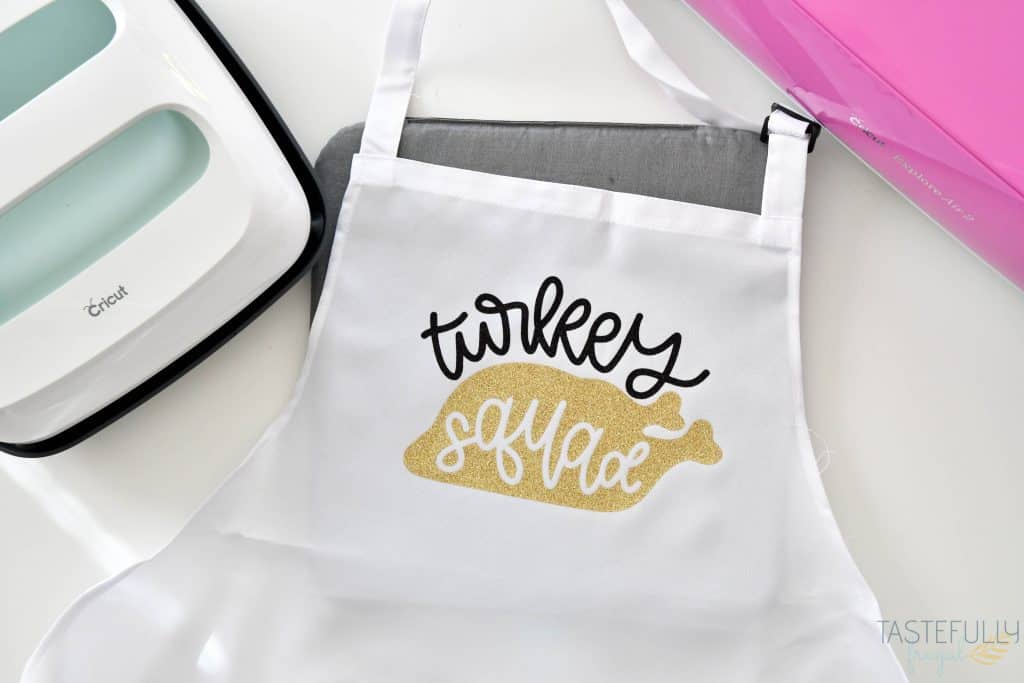
I’m more excited for Thanksgiving this year than I ever have been because it will be our first time doing a big family dinner. In years past it has just been my husband, kids and I but since we moved to Arizona we are getting together with my sister-in-laws and their families. We’re going to be getting together the whole day so I decided to make the three of us these matching DIY Thanksgiving Apron!
When I was talking to one of my sister-in-laws about how I made the aprons, they asked about the Explore Air 2. It made me realize I’ve written posts about my Maker but I’ve never done a post about the Explore Air 2! If you’ve been debating about what cutting machine to get, The Explore Air 2 may be the machine for you! Let me tell you why I love it!
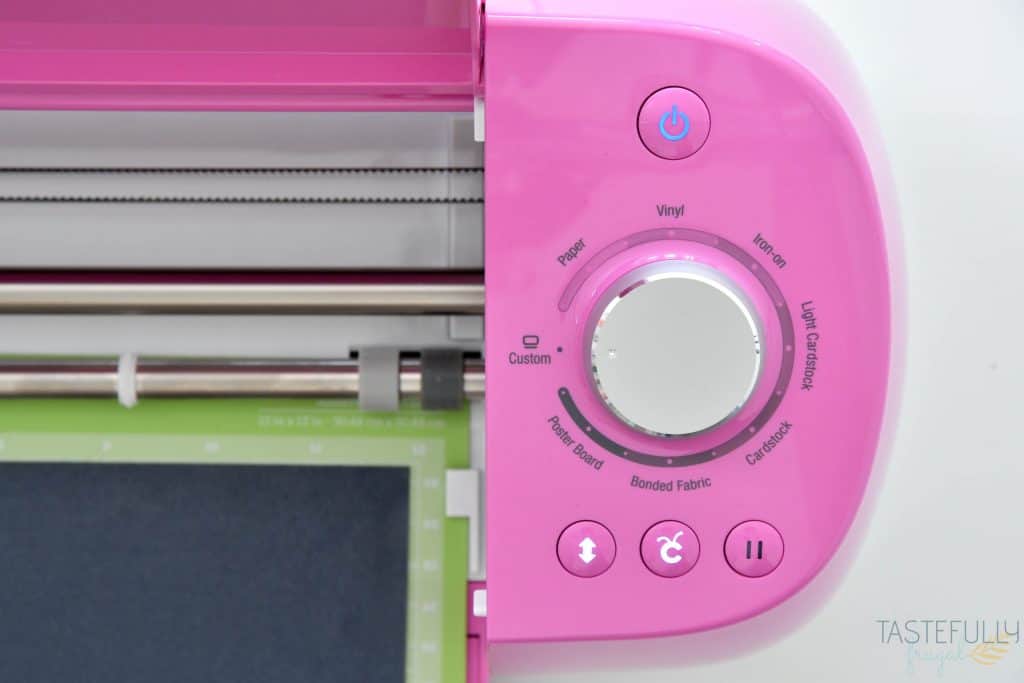
The Materials Dial
I love that the dial on the Explore Air 2 takes all the guess work out of how deep you need your blade to cut. Before I had a Cricut, I had a Silhouette machine and I can’t tell you how many projects I ruined because I had the blade depth wrong. The dial on the Explore Air 2 has so many materials set for you AND if you don’t see the material you’re cutting, just switch it to custom and select your material in Design Space before you cut!
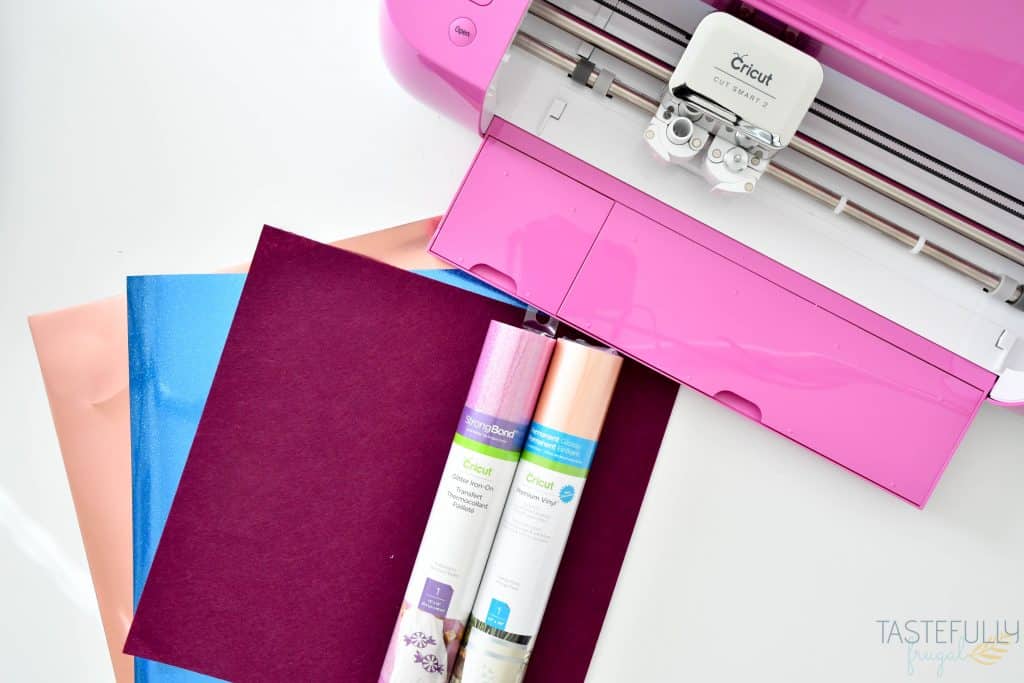
The Materials It Can Cut
While we’re talking about materials, let’s talk about ALL the things the Air 2 can cut! Holy Batman there are a TON! You can check out the full list here, but there are over 100 materials you can cut with your Explore Air 2 including:
- Vinyl
- Iron-On
- Paper (printer paper, scrapbook paper, deluxe paper and more)
- Faux Leather
- Bonded Fabric
- Balsa Wood
- Burlap
- Canvas
This was one of the things that sold me on the Explore Air 2 when it came out! There were SO many things I could cut with it!
Bluetooth Enabled
This was the number one selling feature for me! When I first got the Explore Air 2 we were in a tiny 2 bedroom town home and finding a place to set up my machine and computer close enough to connect it was tough. Since the Explore Air 2 has bluetooth I was able to connect it to my computer (and phone) and could cut from anywhere in the house. When you are connecting your machine and it asks for the password, just enter 0000 and it will connect!
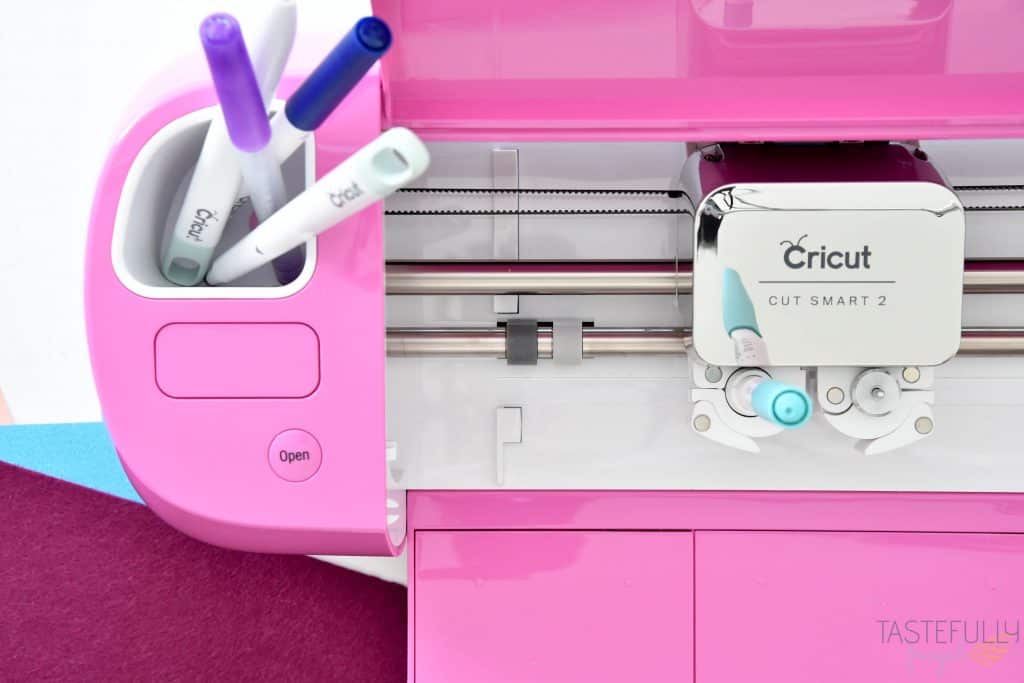
Ability To Write and Score
I love that I can write and/or score AND cut at the same time! Thanks to the second clamp, I don’t have to switch my blades out with the pens on the Explore Air 2, which makes making things, like cards SO easy!
Ability To Cut From My Phone And Other Devices
This was another super cool feature I was really excited about when I got my Explore Air 2. The Cricut Design Space app can be used on any Android or Apple device and you can make projects straight from your phone! This makes it SO much easier when you are limited on space and/or have little ones that like to ‘help’.
I also really like how affordable the Explore Air 2 machines are. At just over $200 (under $200 on sale), it makes it one of the most affordable cutting machines on the market. You can check out all the colors and bundle packages available here. And if you are wanting to order other supplies from Cricut, you can use code WINTER10 to save 10% and get free shipping on $50+ orders (doesn’t work on machines).
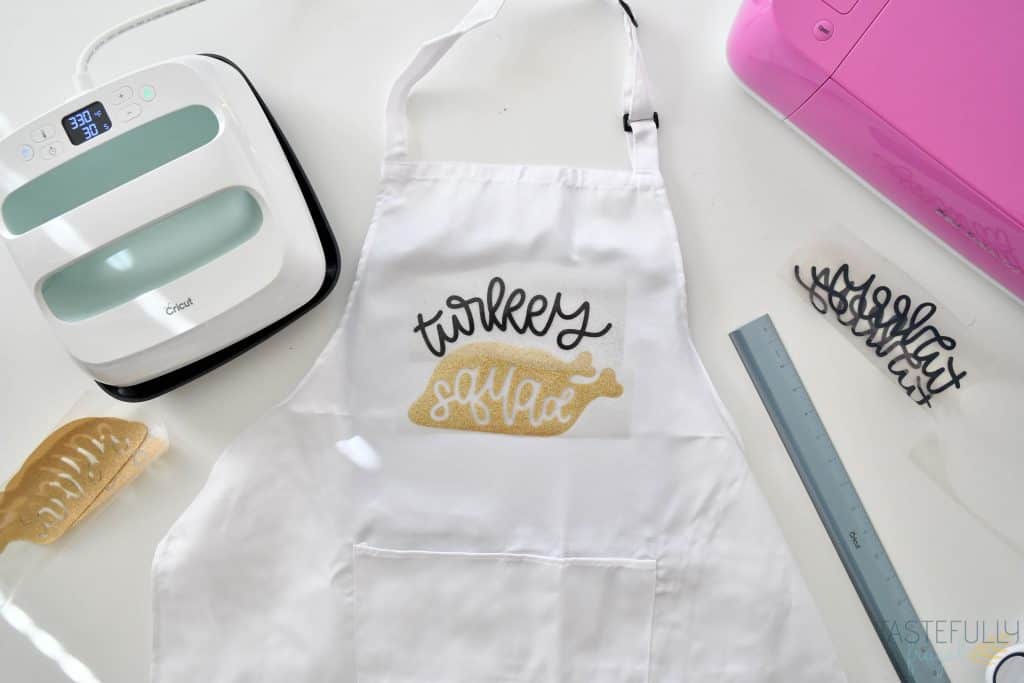
DIY Thanksgiving Apron
Now lets talk about these cute aprons! I got the aprons off Amazon and they come in a two pack for only $8.99. For the price I was a little worried about the quality but they are actually really nice AND they are 100% polyester, which means you MAY be able to use Infusible Ink on them! I’m going to try this weekend and I’ll let you know what happens.
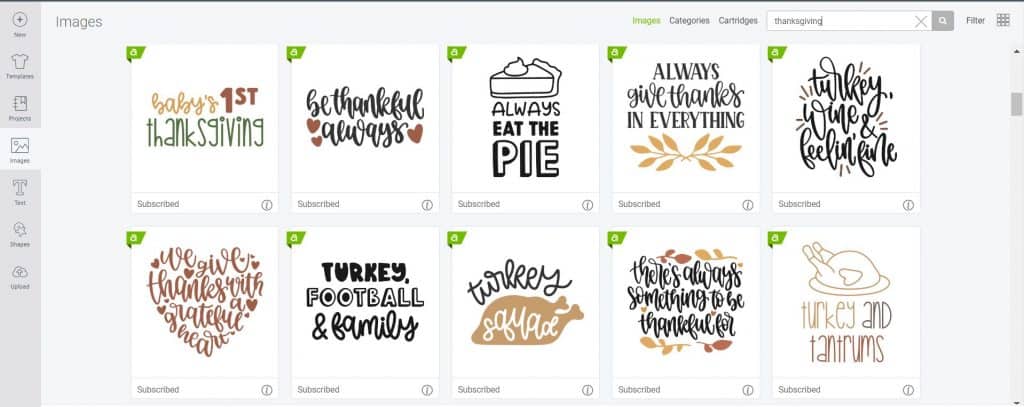
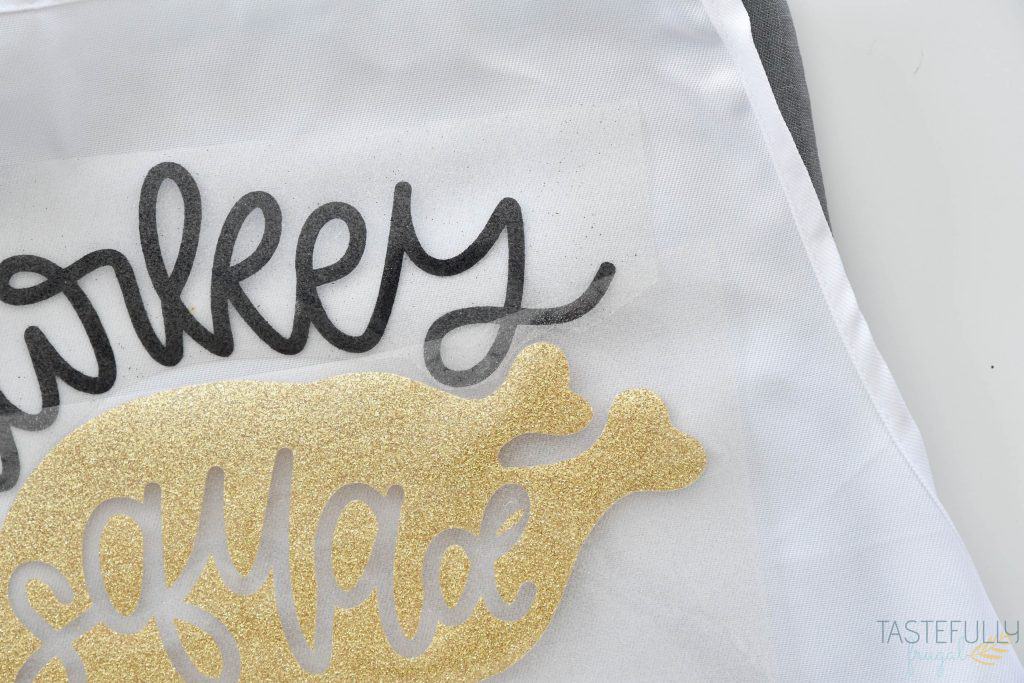
For the design, I just searched ‘THANKSGIVING’ in images in Design Space and found this cute design! I used a glitter iron-on sampler I had that had both gold and black in it; so not only was this project easy but it was super affordable too!
I used the BrightPad to help weed and while it’s not necessary it makes it SO much easier to weed glitter iron-on and vinyl. You can read more about the BrightPad here.
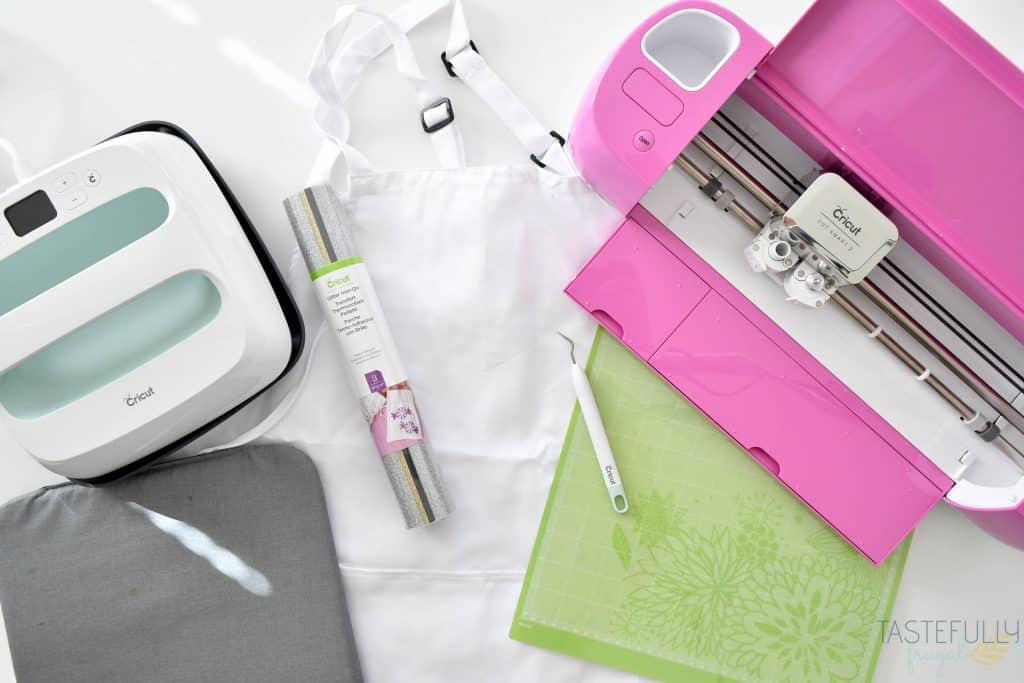
SUPPLIES:
Glitter Iron-On (you can get the black and gold together in this sampler)
Cricut Machine (Explore Air 2 or Maker)
BrightPad (not 100% necessary but makes weeding SO much easier)
9×9 EasyPress 2 and Mat
When ordering on Cricut.com, use code WINTER10 to save 10% and score FREE shipping on $50+ orders (excludes machines). That’s on top of the 10% discount Cricut Access members get automatically!
DIRECTIONS:
Open up this design in Design Space. It is sized already to fit these aprons.
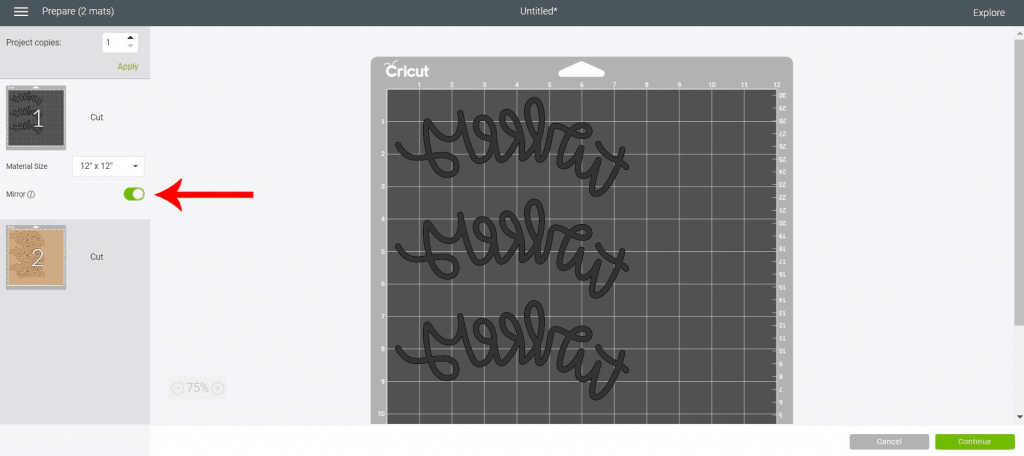
Click Make it and make sure to MIRROR your mats on the next screen.
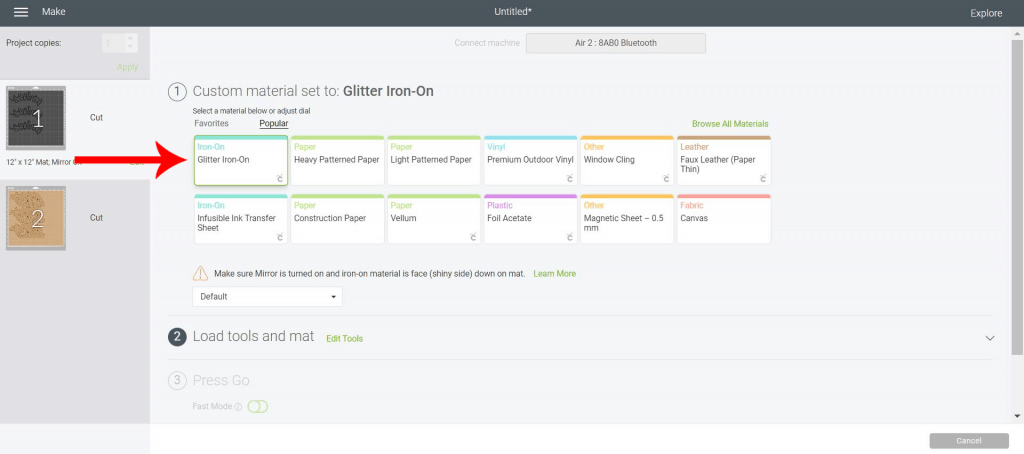
Select CUSTOM on your Air 2 dial and select Glitter Iron-On from the Materials menu.
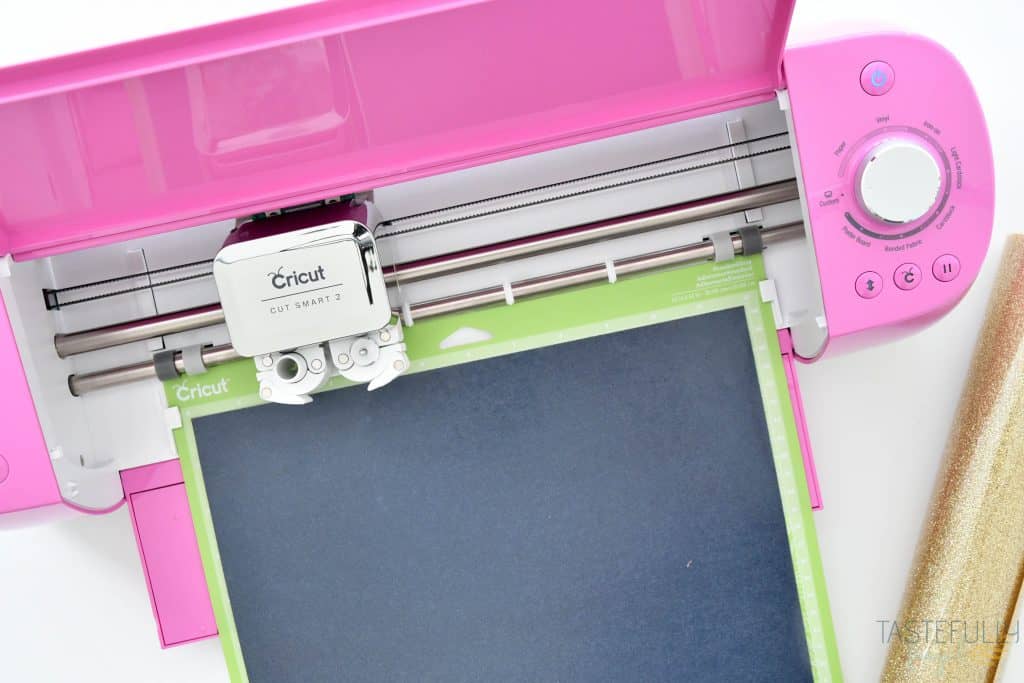
Load your iron-on to your StandardGrip mat, shiny side down and load your mat into your machine.
Cut your designs.
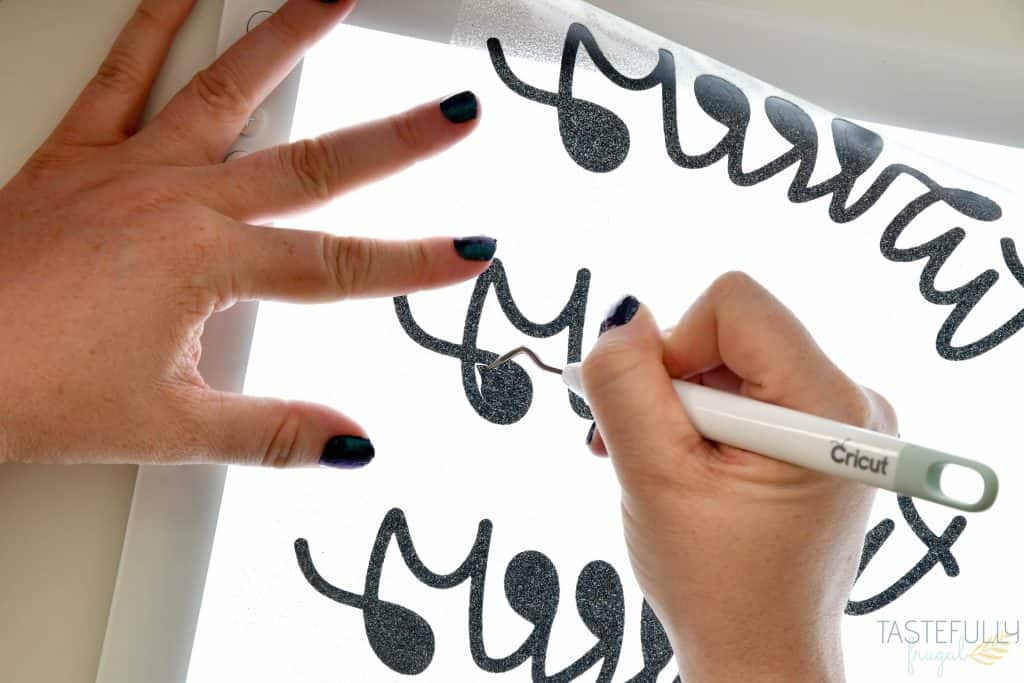
Weed the excess iron-on. You’ll want to weed around the turkey and take the letters out of SQUAD. The Brightpad comes in so handy here.
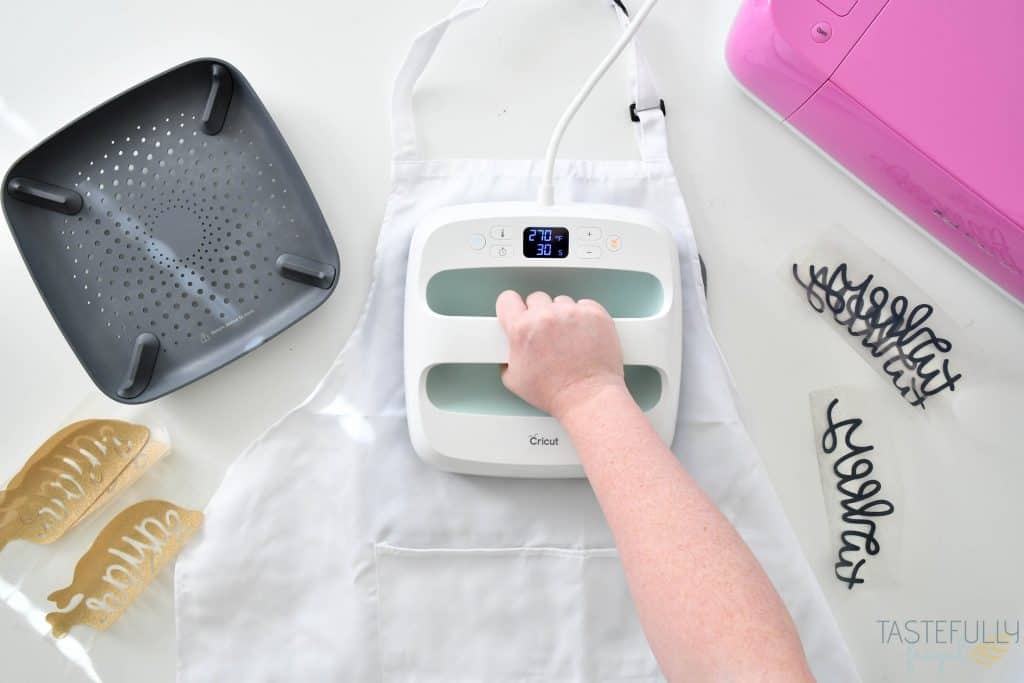
Turn on your EasyPress 2 and heat it to 330°F and 30 seconds. I found the settings I needed on this guide from Cricut.
Put your apron on your EasyPress mat and pre-heat your apron for 5-10 seconds.
Cut the excess plastic backing from the word turkey and the gold turkey so you can line them up together and not have the iron-on stick to the plastic.
Line up designs on your apron and measure to make sure they are centered.
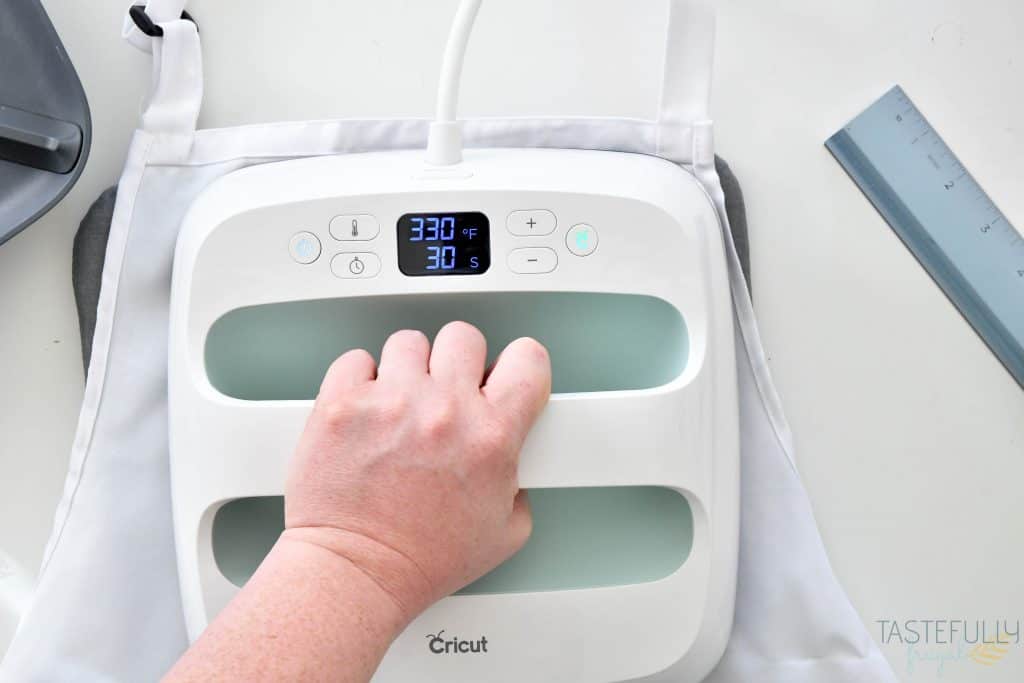
Put your EasyPress 2 on top of the designs and press for 30 seconds. Flip aprons over and press for 15 seconds.
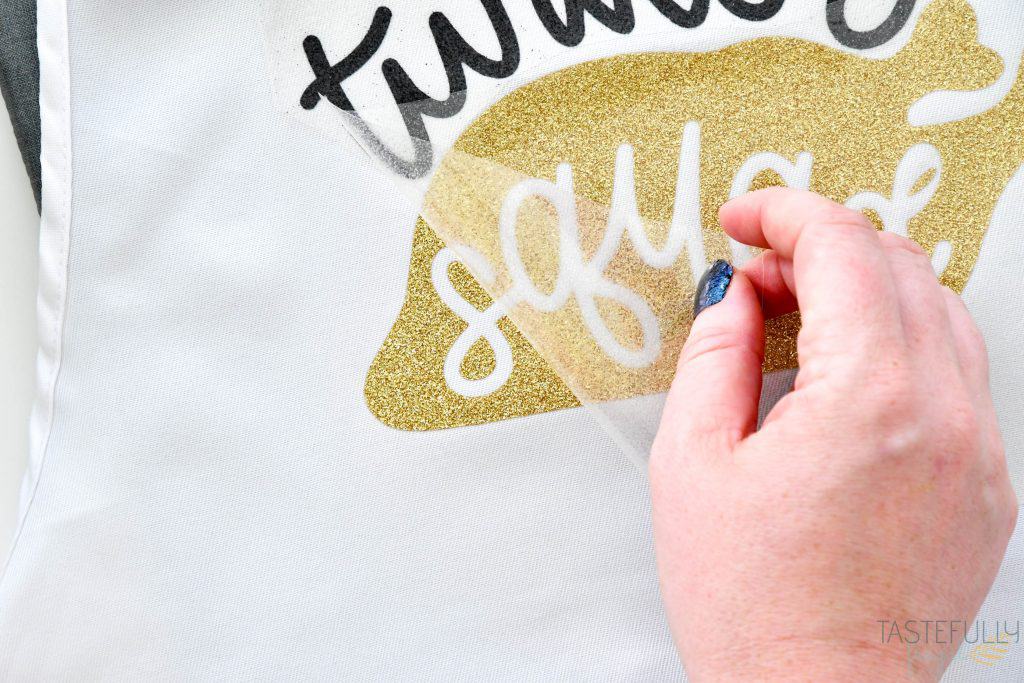
Remove EasyPress 2 and slowly peel plastic backing off.
Now when you’re prepping Thanksgiving dinner, you can keep your clothes clean AND look good with your DIY Thanksgiving Apron!
If you’d like to check out more ways you can use your Cricut check out these posts! Need help with your Cricut? Join our Cricut Support Facebook Group!


Pam Dana says
These are seriously too much fun! Every house needs a set!
Sydney says
Thanks so much Pam! I think so too!!
Colleen Shibley says
Nice festive apron, love it!