If you’re planning a 4th of July trip to Disneyland, or if you are just a really big Disney fan, these are the perfect patriotic shirts for you and your crew!
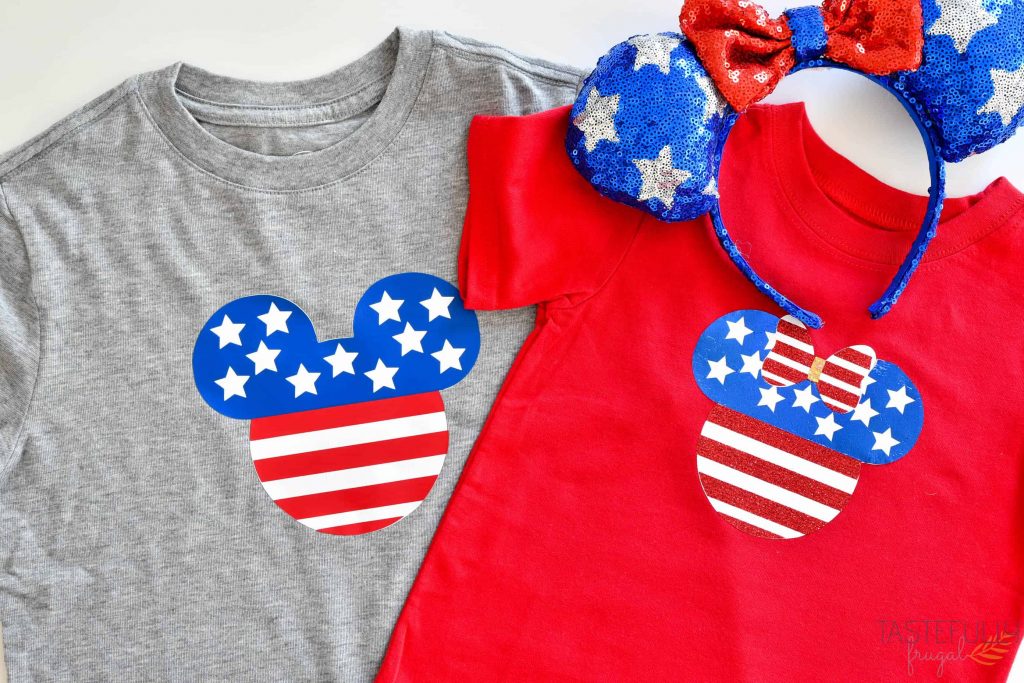
4th of July quickly snuck up on me this year! Maybe it’s the fact that I’m in my third trimester, or that we had a big move we’re still adjusting to, but I didn’t realize how close my favorite holiday was! Because we’re so close to having our baby (7 weeks to be exact), a Disneyland trip this summer is out of the question. My kids were definitely bummed when we told them.
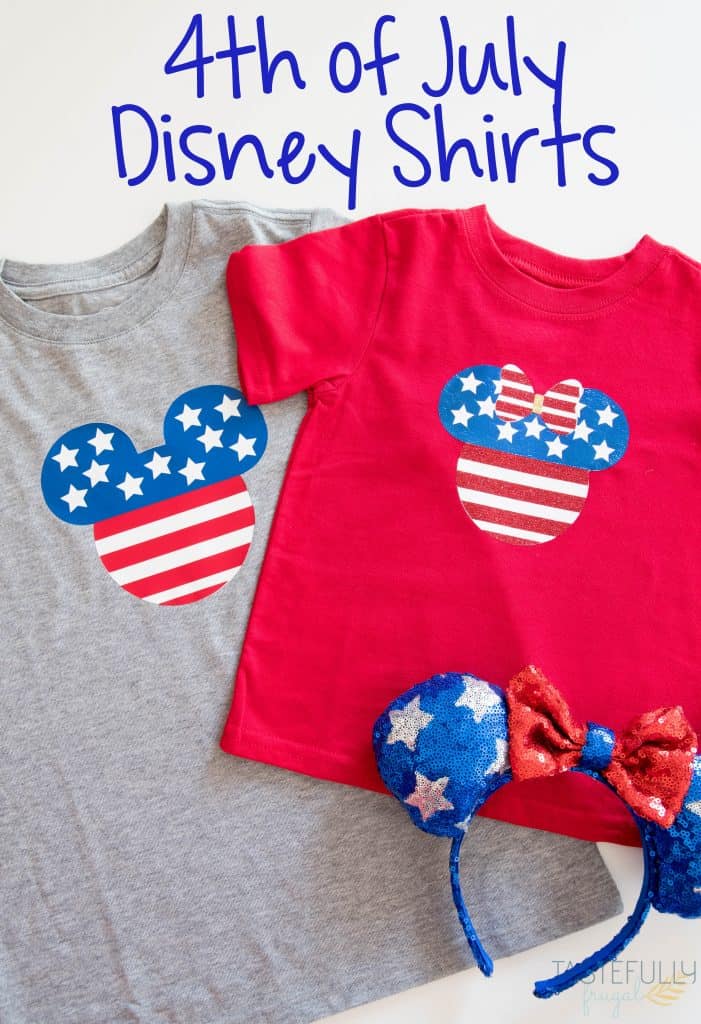
But I tried to make it up the best I could with lots of fun Disney activities, movie nights and these fun 4th of July Mickey and Minnie Shirts. In years past, I’ve had a tough time finding shirts that all 3 kids can somewhat match in. These shirts are perfect for just that!
I even found these super cute 4th of July Minnie Ears at Walmart for less than $5!!
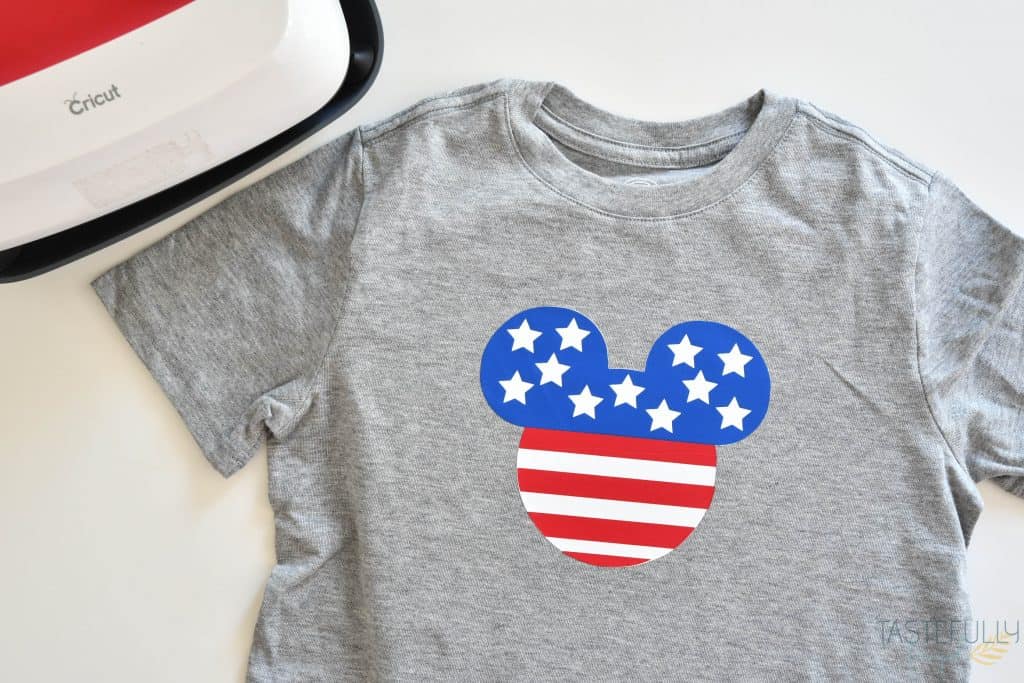
Mickey and Minnie Shirt Materials
I got everything I needed to make these at Walmart! Even if you don’t have the iron-on vinyl you can get that at Walmart too! For the Mickey shirts I used Everyday Iron-On Vinyl in red, white and blue. For the Minnie Shirt I used White Everyday Iron-On Vinyl, Red Glitter Iron-On Vinyl, Blue Foil Iron-On Vinyl and Gold Holographic Sparkle Iron-on Vinyl. While I love both shirts, I really love the different textures on the Minnie shirt the best.
To learn more about layering different types of iron-on vinyl you can check out this post. If you are ordering from Cricut.com make sure to use promo code TF10 to get 10% off and score FREE shipping on orders over $50!
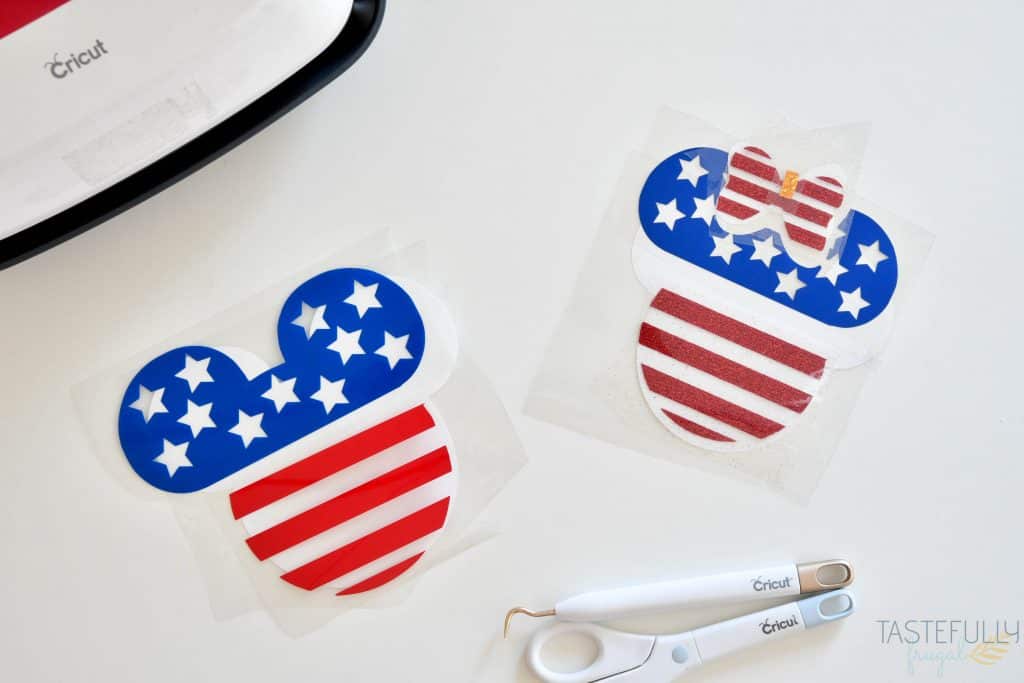
Tips For Applying Multiple Layers of Iron-On Vinyl
When you are applying multiple layers of iron-on, like with both of these shirts, here are a few tips to get the best results.
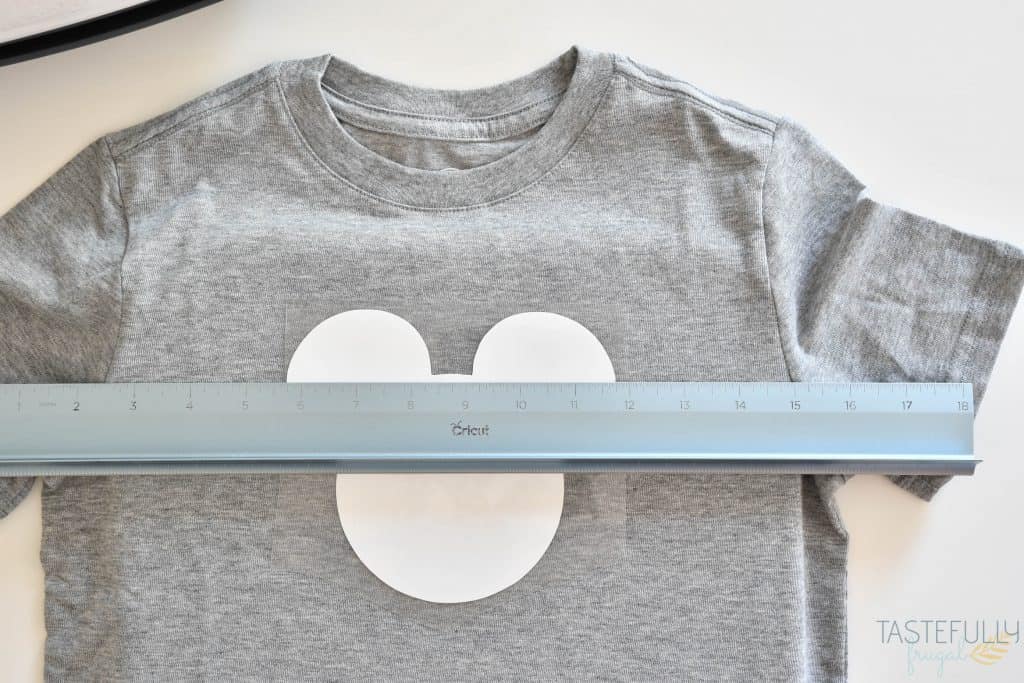
- Use a ruler to line up first layer on your shirt. I make sure to line up center on both the seams at the sides of the shirts as well as by the collar.
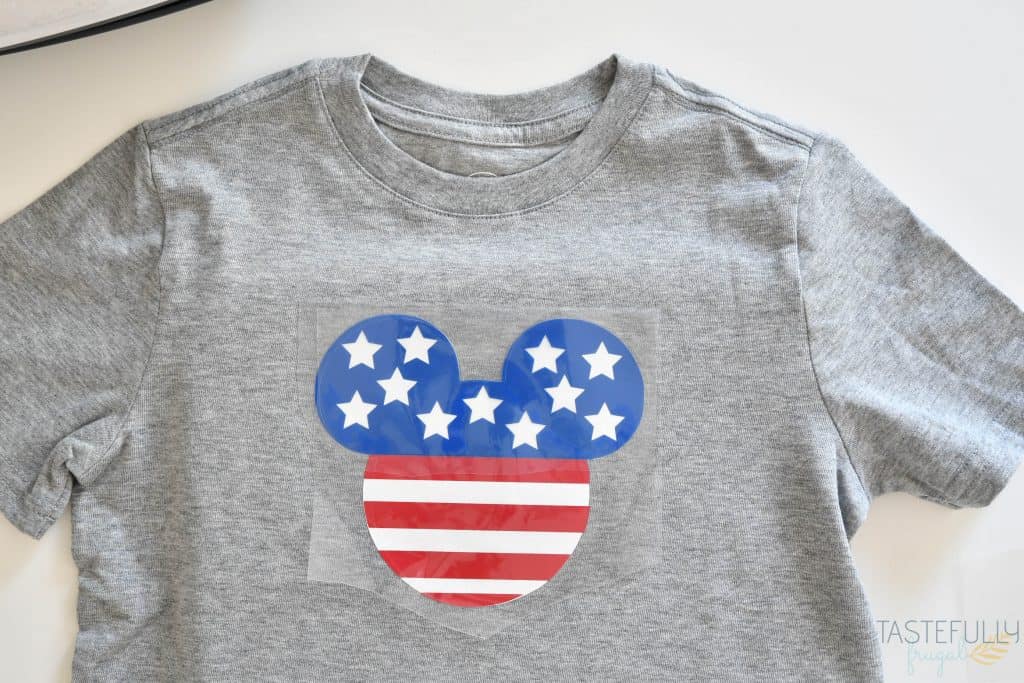
- Plan on having the material with the highest temperature be the base layer. In both shirts this was the Everyday Iron-On Vinyl.
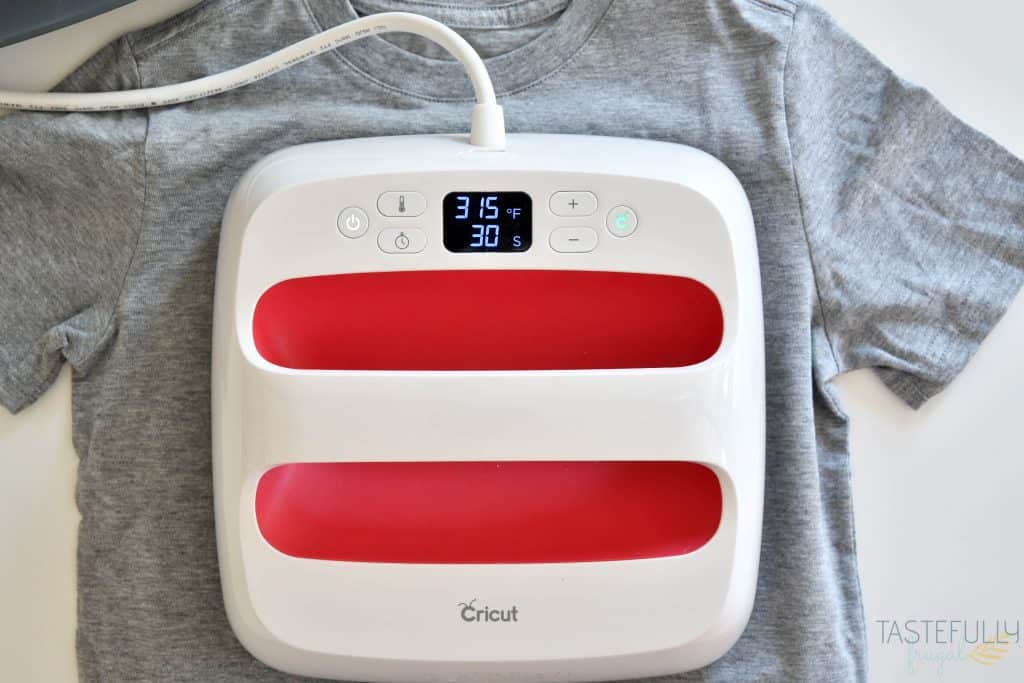
- Take 3-5 seconds off your press time for the first layer. Since you’ll be pressing the same design multiple times, you don’t want it to get too hot. You’ll want to do a cold peel on the first layer just to make sure it’s on there good.
- Let your EasyPress or heat press cool off to the lower temperature before pressing the 2nd or 3rd layers. Cricut has tested and re-tested every material they have and the temperatures in this interactive guide are what get the best results for each individual type of iron-on vinyl. Pressing for a longer period of time or higher heat can affect the look and wear of your project.
If you’d like to make your own Mickey and Minnie Shirts, you can find the Cricut Design Space canvas here. If you’d like to check out more ways you can use your Cricut check out these posts! Need help with your Cricut? Join our Cricut Support Facebook Group!


Leave a Reply