Help keep the kids busy before, during and after Thanksgiving dinner with these DIY placemats.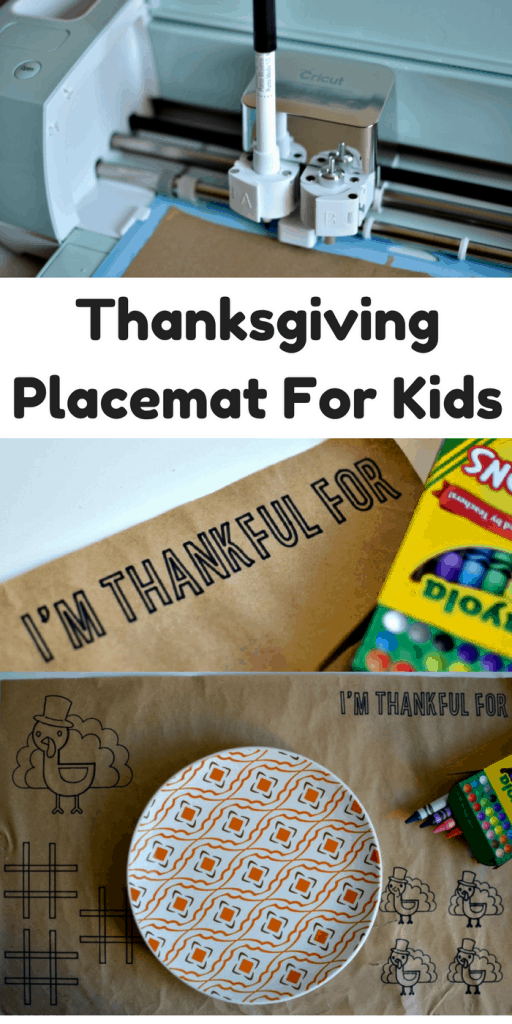
Can you believe Thanksgiving is two weeks away?! This is the first year that we are having a traditional Thanksgiving dinner (in the past we’ve had steak, burgers and even pizza one year) at home and my boys are pretty excited about it. What they don’t quite understand is that yummy turkey dinner takes several hours to cook. And this mom knows her boys. I know they will want to eat the second they smell all those yummy flavors filling the house. So I decided to make placemats with a few activities for them to draw on before dinner and if they finish before mom and dad they will have something to do after too.
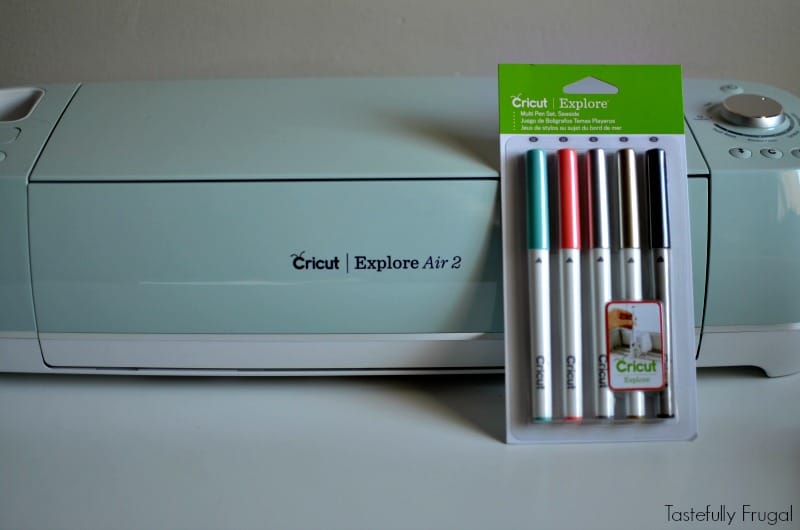 I couldn’t have made these without my Cricut Explore Air 2. I made placemats last year with my Cameo and they didn’t quite turn out how I wanted. The 24″ LightGrip Cutting Mat was a huge help; it held the craft paper perfectly but wasn’t too strong that it ripped it when I pulled it off. I like to use craft paper (you can get a big roll from the dollar store) for these placemats because they feel more rustic and Thanksgiving-ish to me. The Seaside Pen Kit were perfect for this project too.
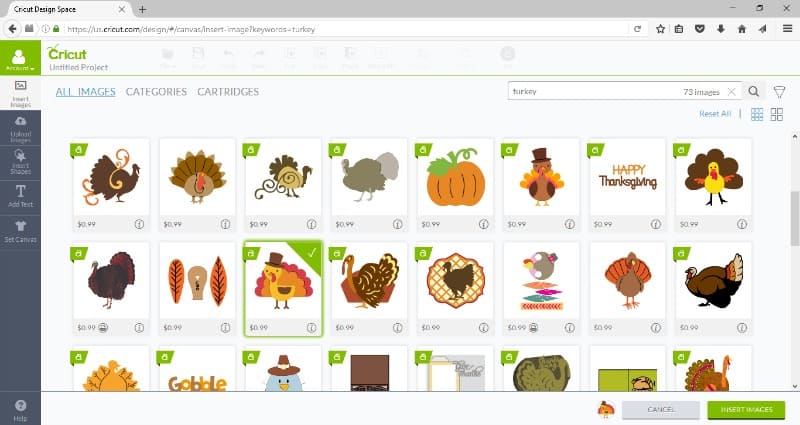
You can make these any size you want. I measured the placemats we normally use and they were 11″ x 17″ so I started by making a 11″ x 17″ rectangle in the design space. I then found an image of a turkey that I liked (click Insert Images and type “turkey” in the search bar). I made one turkey bigger, perfect for the kids to color, and added three smaller turkeys to the other side.
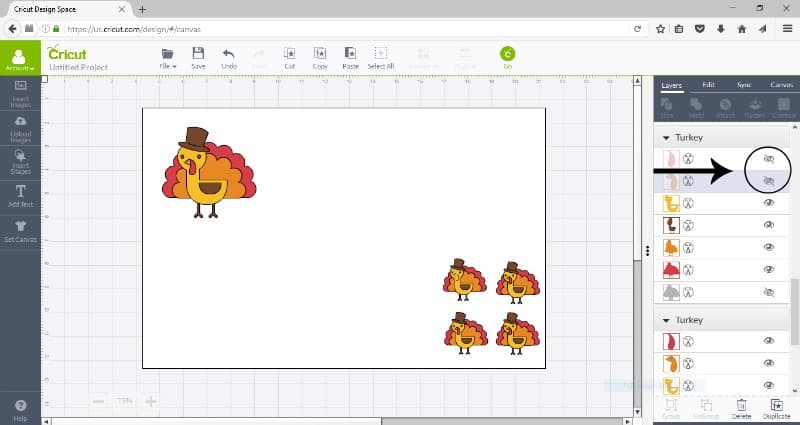 For the smaller turkeys I made a “which one is different” game. The images in the design space make this so easy because you can just uncheck the visibility of one piece on one of the turkeys.
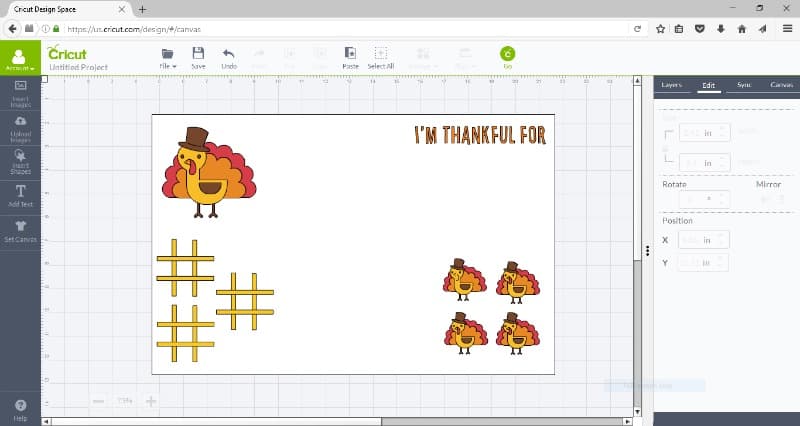 I then used the Tic Tac Toe project in the design studio to draw a tic tac toe board on one side. On the other side I wrote “I’m Thankful For” and left space for the kids to write or draw what they are thankful for. You can click here to access the design I made. After you have your design done make sure to go through and change everything but the rectangle to write instead of cut.
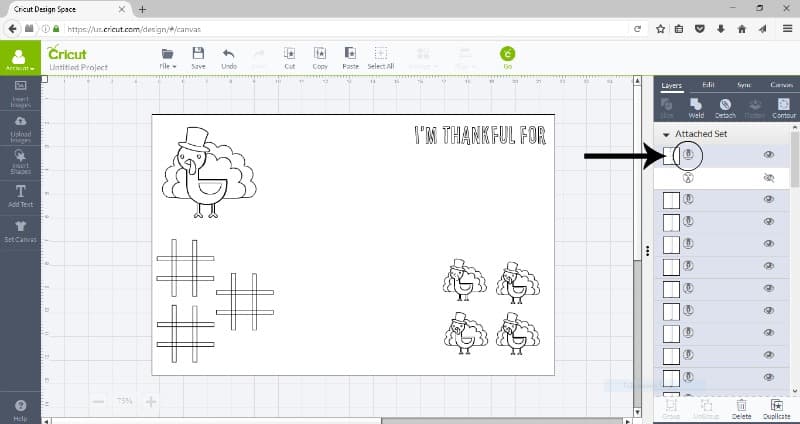
Next I attached the craft paper to the LightGrip Cutting Mat. The LightGrip mat is perfect for thinner materials, like office paper and light card stock, where as the StandardGrip mat is great for vinyl and card stock. There is even a StrongGrip mat which is for thicker card stock and fabric with a backing. I then inserted my pen into the “B” compartment. I love that you can write and cut at the same time with the Cricut; it saves so much time!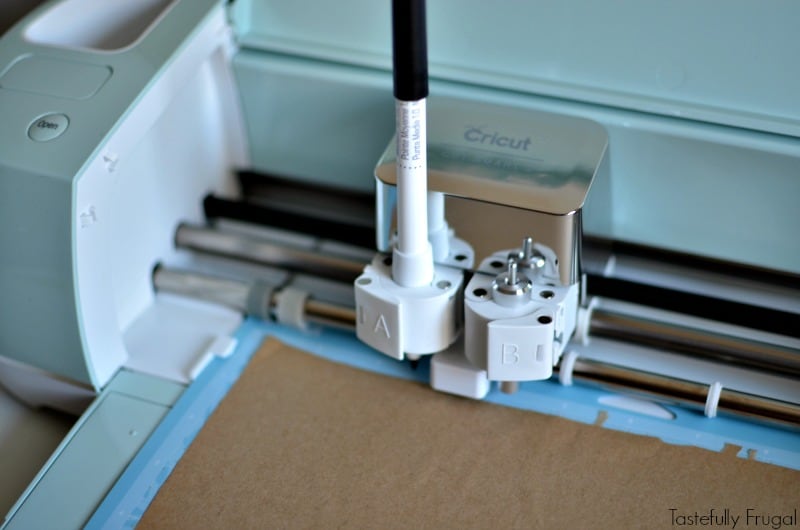
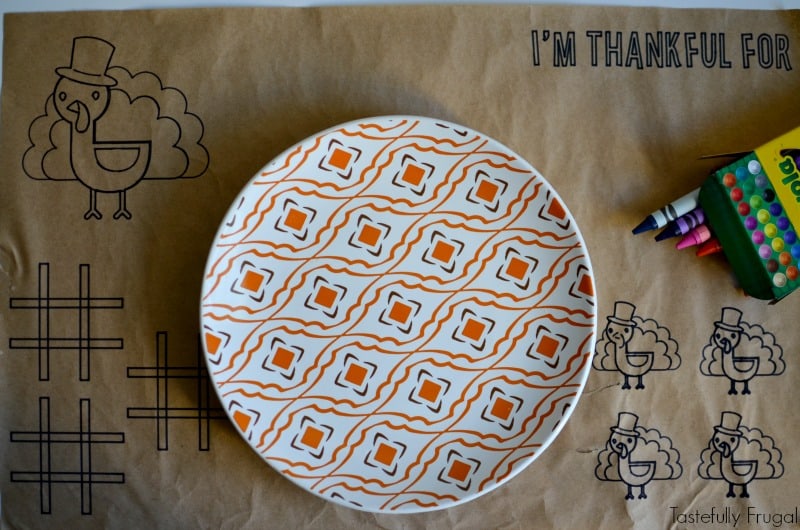
Now my boys will be busy coloring and doing activities while the turkey is being carved! How can the Cricut Explore Air 2 make your holidays easier?
This is a sponsored conversation written by me on behalf of Cricut. The opinions and text are all mine.



Leave a Reply