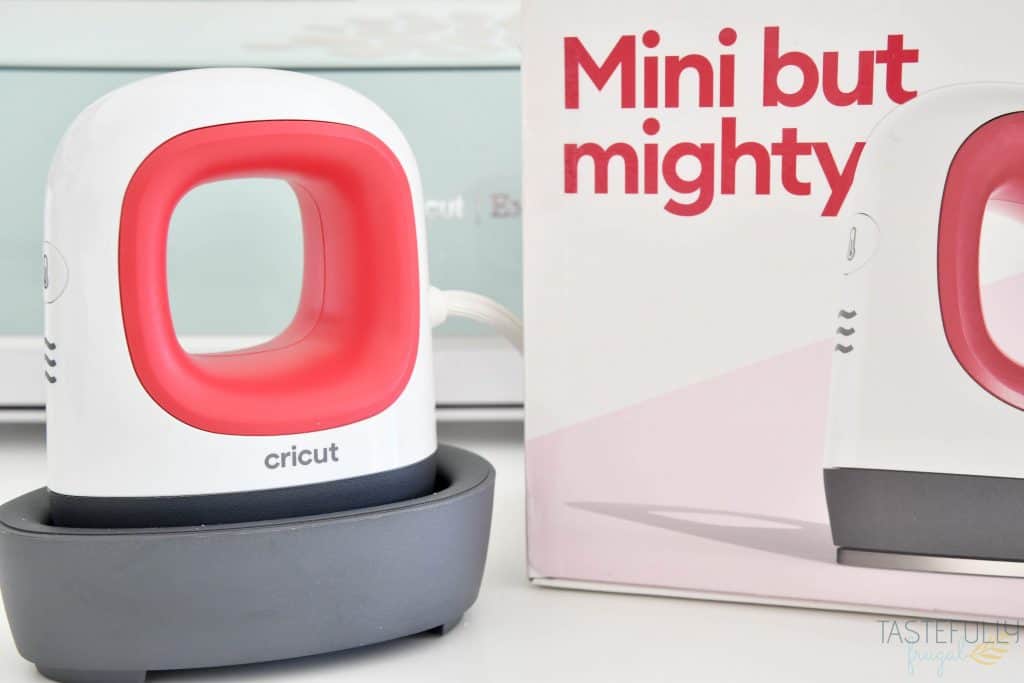
Learn all about the Cricut EasyPress Mini – Cricut’s latest tool! This post includes everything you need to know including how to use it and what you can make with it.
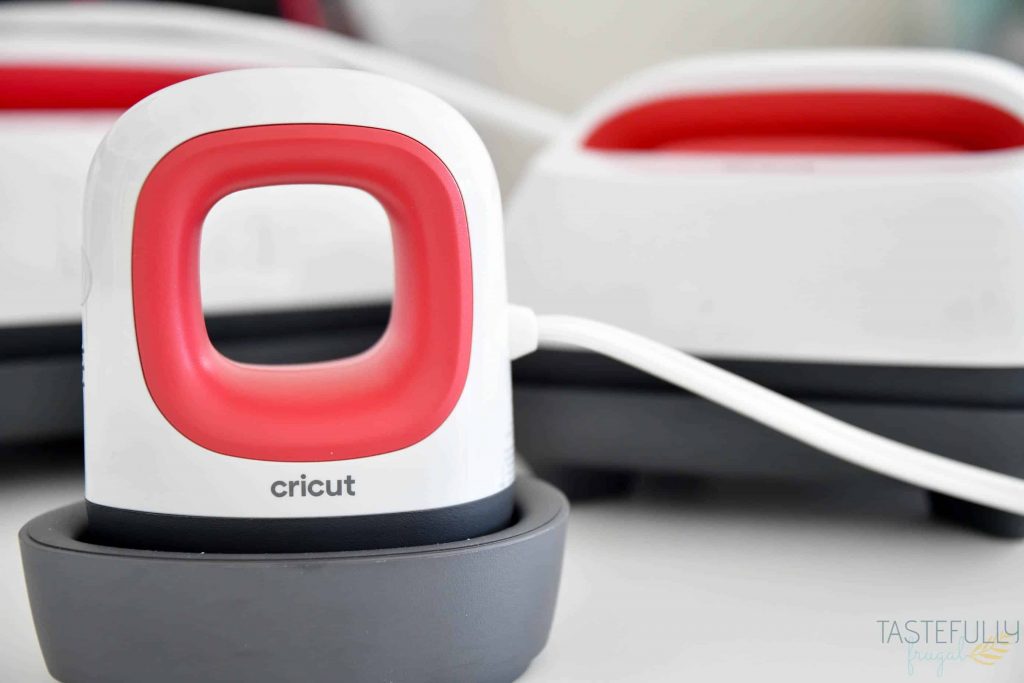
I was so excited when I saw the release of the EasyPress Mini when I was in the hospital last month having our baby. I have been wanting something smaller to use for a few projects I’ve been wanting to make for Jordana (blog posts coming soon) and the Mini is the PERFECT size for them.
I’ve had a few weeks now to play around with the EasyPress Mini and I have to say I’m super impressed with how much it can do! I was thinking it was going to be super lightweight and I’d have to use as much pressure as I did when I just used an iron before I got my heat press and then EasyPress. But it is suprisingly heavy and you don’t need a whole lot of pressure to make your iron-on stay to your project. And just like it’s big brother EasyPress machines, the EasyPress Mini has even heating throughout it’s 3.5″ plate.
What Is The Difference Between A Household Iron and EasyPress Mini?
This is the #1 question I get asked about when it comes to the EasyPress Mini. For simplicity sake there are two main differences between a household iron and Mini:
- The Mini gets hotter. With heat up to 385°F, it gets hot enough to use with Infusible Ink. A houshold iron can only get up to 240°F.
- The Mini heat is distributed evenly. A household iron has more heat in the center and it starts to cool off towards the edges. The EasyPress Mini, like the other EasyPress machines, has even heat all the way across the heat plate.
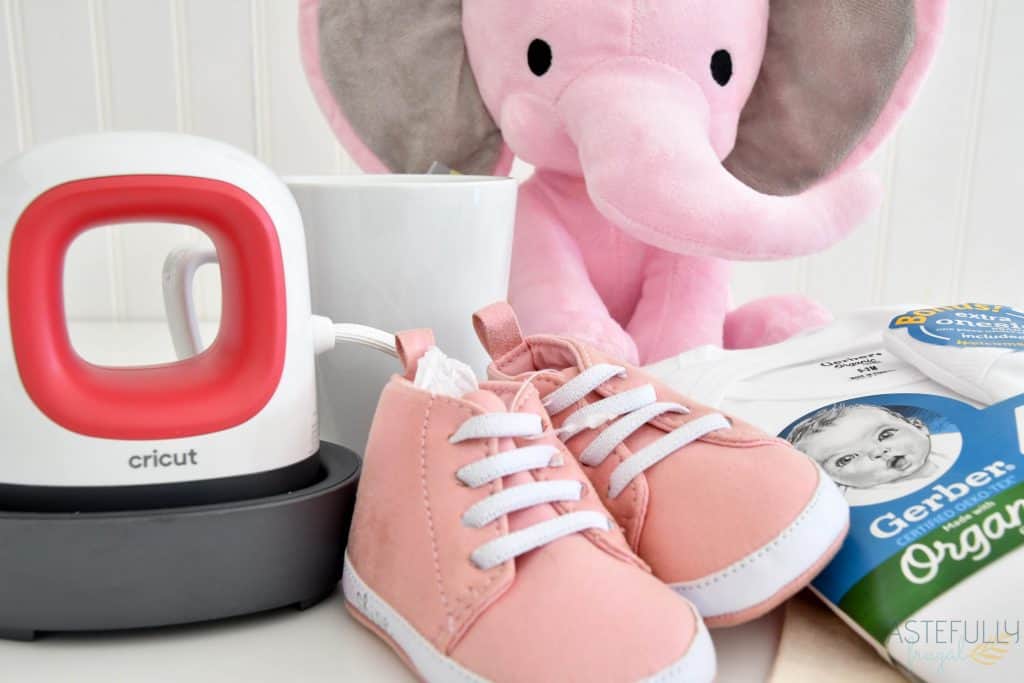
What Blanks Can You Use With The EasyPress Mini
The project potential for the EasyPress Mini is almost endless! The line ‘Mini But Mighty’ is not an understatement and, like I said above, I’ve been really impressed at how much power this mini tool has! I’ve tried it on several different blanks and it works great on everyone. So far I’ve tried:
- Onesies
- Shoes
- Hats
- Stuffed Animals
- Pocket Tees
- Fabric Pumpkins
- Can Koozies
- Notebooks
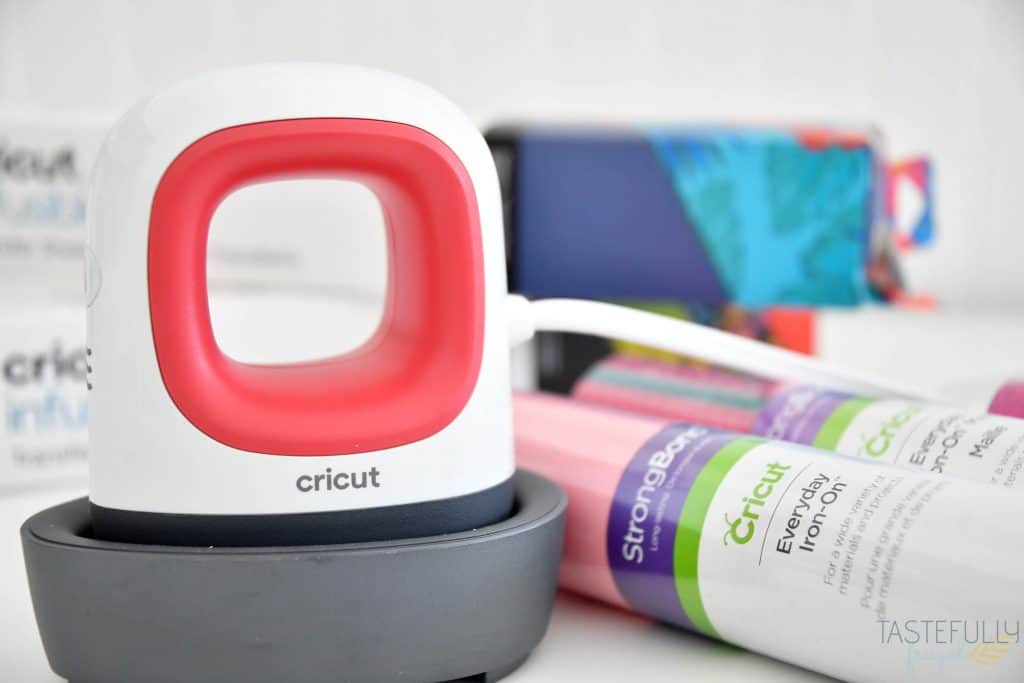
What Types Of Iron-On Does The Mini Work Best With
You can use the EasyPress Mini with any type of iron-on vinyl. You can also use it with fusible fabric and Infusible Ink. The EasyPress Heat Settings Guide is the best resource for knowing if a material will work or not with the EasyPress Mini (or any of the EasyPress machines). The Heat Settings Guide also gives you step by step instructions for pressing your projects.
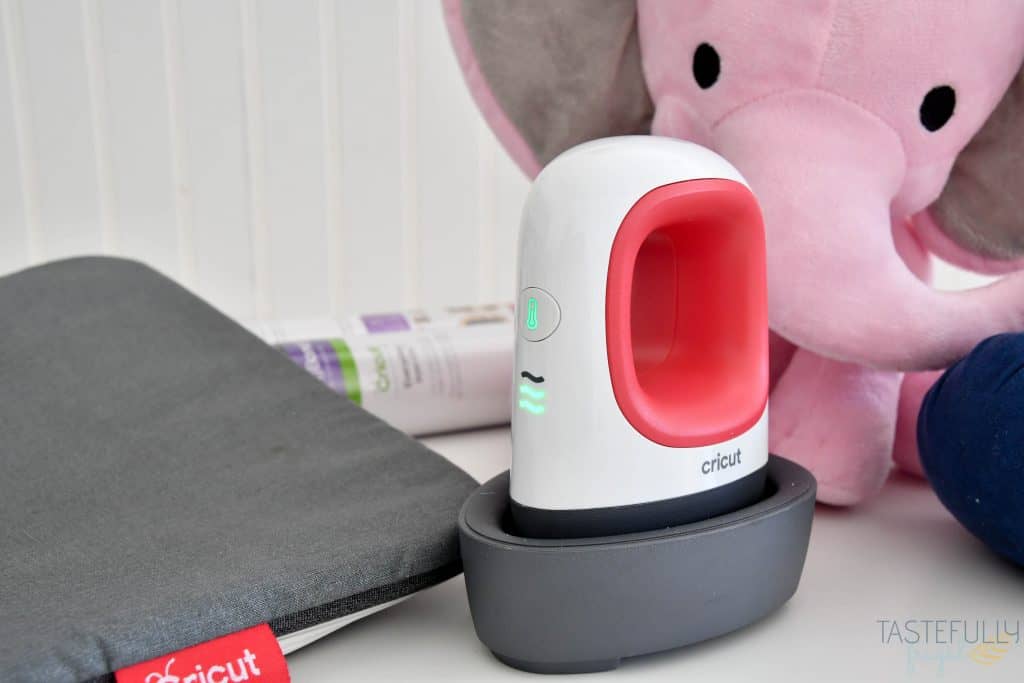
What Else Do You Need To Work With
Just like the other EasyPress machines, there are a few supplies you can use to make creating your projects easier and to ensure you get lasting results.
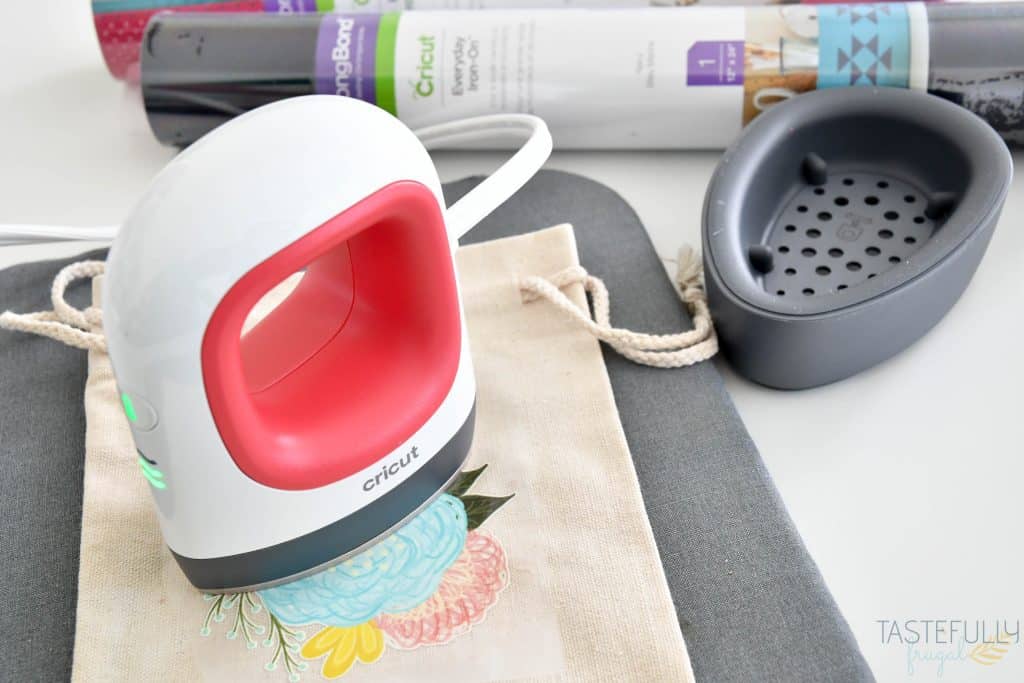
- EasyPress Mat – I recommend getting the smaller size EasyPress mat to use with the EasyPress Mini and it really does make a HUGE difference with the longevity of your project. If you don’t have the EasyPress mat you can use a towel underneath your project.
- Heat Resistant Tape – Some of the blanks you are pressing on are not a flat surface. To make sure your iron-on doesn’t move while pressing it, use heat resistant tape to keep it securely attached to your blank.
- Timer – Unlike the other EasyPress machines, the EasyPress Mini does not come with a timer. You’ll want to have something, either your watch or a timer on your phone, to keep track of how long your pressing for. The EasyPress Heat Settings Guide will tell you how long you need to press each project for.
Where Can You Buy The EasyPress Mini
The EasyPress Mini is available at Cricut.com (this bundle is a great deal and gives you lots of materials to work with), Amazon, Michaels, JOANN, or anywhere Cricut supplies are sold.
When ordering on Cricut.com, use code WINTER10 to save 10% and score FREE shipping on $50+ orders (excludes machines). That’s on top of the 10% discount Cricut Access members get automatically!
How To Use The Mini
The EasyPress Mini is just as easy to use as the other EasyPress machines. As with any iron-on project you’ll want to prep your surface before pressing by:
- Get your EasyPress Mini up to temperature. There are only 3 temperature settings (low, medium and high). You’ll use the medium setting for most every iron-on material and the high setting for Infusible Ink. To see what temperature you need your EasyPress Mini set at, check out this EasyPress Heat Settings Guide.
- Preheat your blank. Depending on the blank, you’ll need to preheat the surface your pressing with your EasyPress mini for 5-15 seconds.
- Place your blank on top of your EasyPress mat (or towel).
- Line up your design on your blank.
- Tape down design with heat resistant tape so it doesn’t move.
- Press while moving with light pressure for recommended time.

Why I Love The EasyPress Mini
Not only is the EasyPress Mini super cute and easy to use, but it is the perfect companion to my other EasyPress machines. If you’ve done a project close to seams, like a onesie or tote bag, you may have noticed it’s hard to get a good stick on some of your iron-on. The EasyPress Mini’s size and design makes it perfect to get in to those tough to reach spots and make sure your design lasts!
It also heats up quickly and cools quickly, making it safe to use around my kids. And they use it all the time for pressing their perler bead projects! I’m excited to use it on more projects and share those ideas with you!
If you’d like to check out more ways you can use your Cricut check out these posts! Need help with your Cricut? Join our Cricut Support Facebook Group!


Sandra Frias says
I was on the fence on whether to buy the mini. But, I think you convinced me to go for it. Thank you
I have a granddaughter on the way in Dec.
Thank you
Sydney says
Congratultions Sandra on your new grandbaby! The EasyPress Mini is perfect for making things for little ones!! In fact, I just made this birth announcement elephant for my baby girl born in August. It was super easy with the mini! http://tastefullyfrugal.org/2019/10/birth-announcement-stuffed-animal-with-cricut-easypress-mini.html