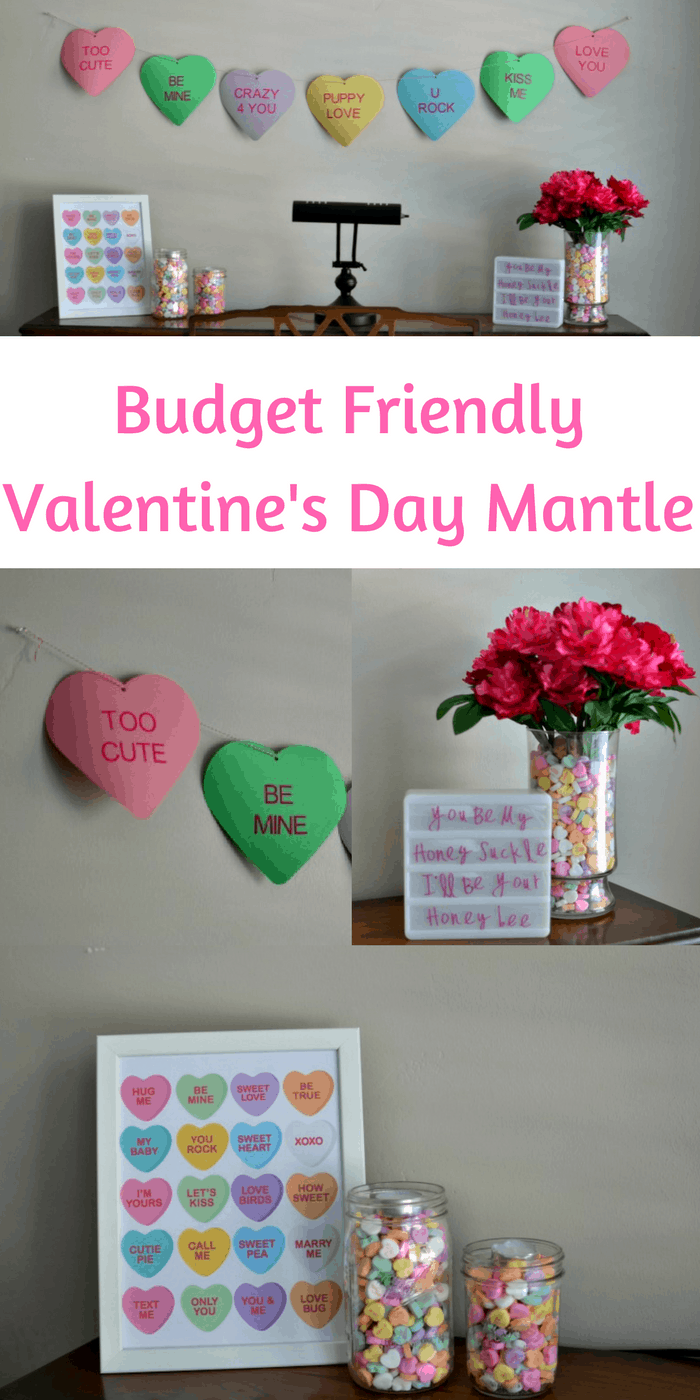
If you want to decorate for Valentine’s Day but don’t want to spend a lot of time and money you will love these ideas. In total I spent less than $10 for everything. The banner and lightbox set up were made with the Cricut Explore Air 2.
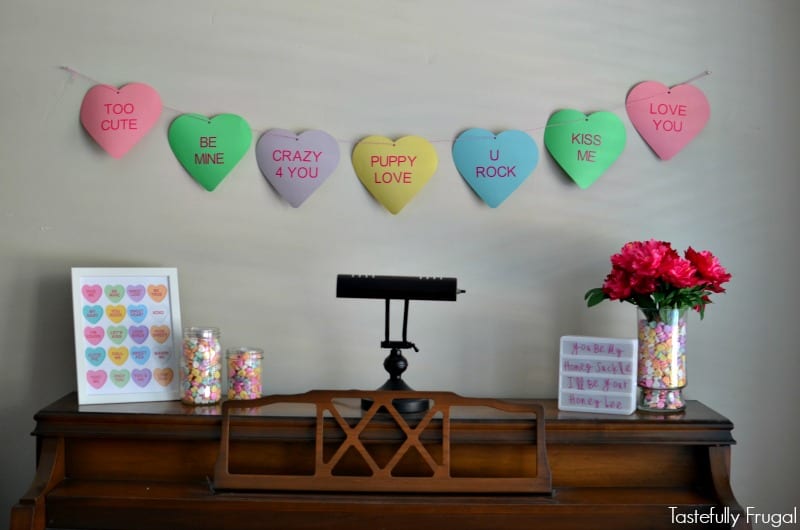
I used to never decorate for the holidays; other than Halloween and Christmas. I worked all the time, was hardly ever home, and wasn’t really much into decorating. Fast forward a few years to having kids and now I love decorating! Not only do my boys get excited about new decorations but I think it’s fun to change up what I’m looking at every day. We are really working on cutting down expenses this year so if I wanted to decorate for Valentine’s Day it was going to have to be budget friendly.
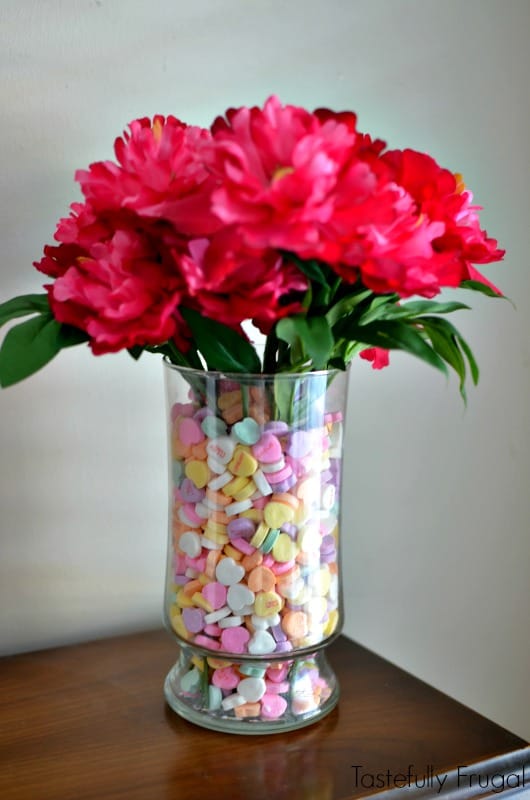 I started with my favorite Valentine’s Candy, conversation hearts, as a theme and worked around that. I bought a few bags of conversation hearts last year after Valentine’s Day for less than $1 and since I forgot to eat them I decided they would be great for decorating. I poured a bag into a vase I already had and then got some pink peonies from the dollar store. I cut them down to size and added them to the vase. Now I had a flower arrangement that has zero up keep!
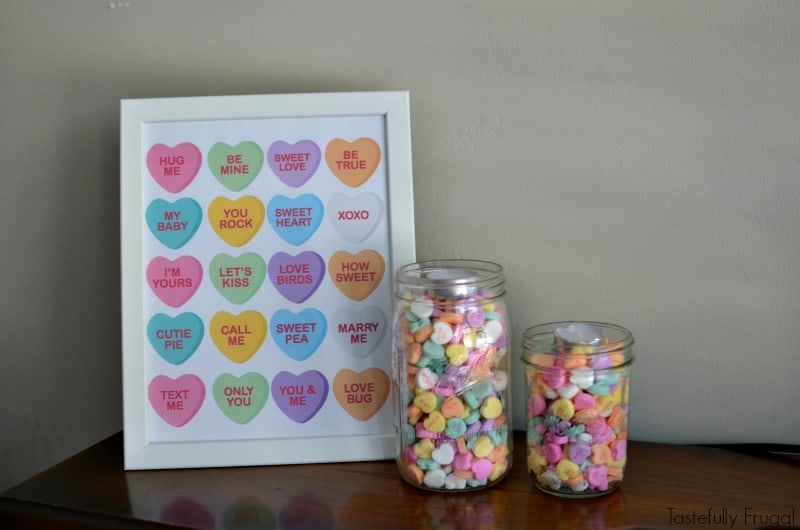
Next I created this printable (Click here to download your free copy) and put it in a frame we had lying around. I took another bag of conversation hearts and filled two mason jars with the candy and added tea light candles.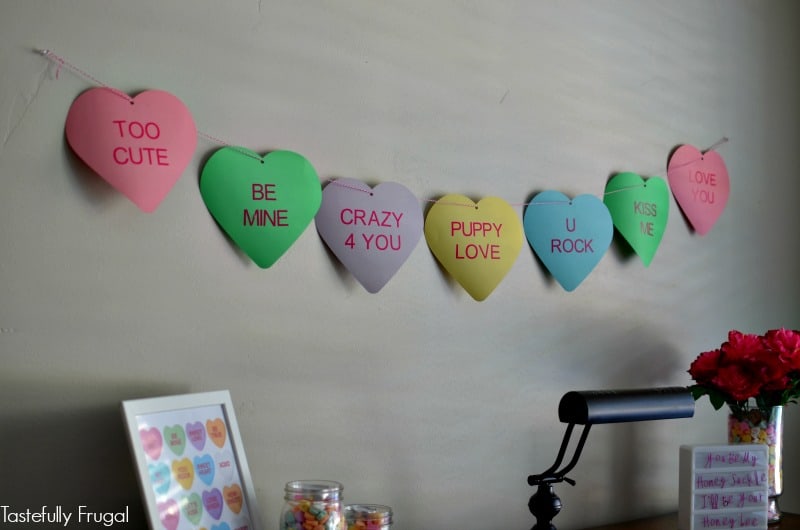
The conversation heart banner was super easy to make too. I opened the Cricut Design Space and added a heart and adjusted the size so it was 7″ wide. 
Next I looked at the conversation hearts in the mason jar and got some sayings from the candies and added them to the design space. I found that plain ‘ol Arial font looks just like it does on the candy.
Next I cut my hearts out of cardstock. I use the light grip mat when cutting cardstock so that the paper comes off easily. I repeated this seven times (I would have made 7 hearts but since I wanted different colors I just did one heart and repeated the cut 7 times).
Then I cut the sayings out of pink vinyl. Using transfer tape I attached the vinyl to the center of the hearts. TIP: When attaching your vinyl to the transfer tape, press down firmly with your scraper from the middle and push outwards toward the edges. This is the easiest and best way I’ve found to get the vinyl to attach.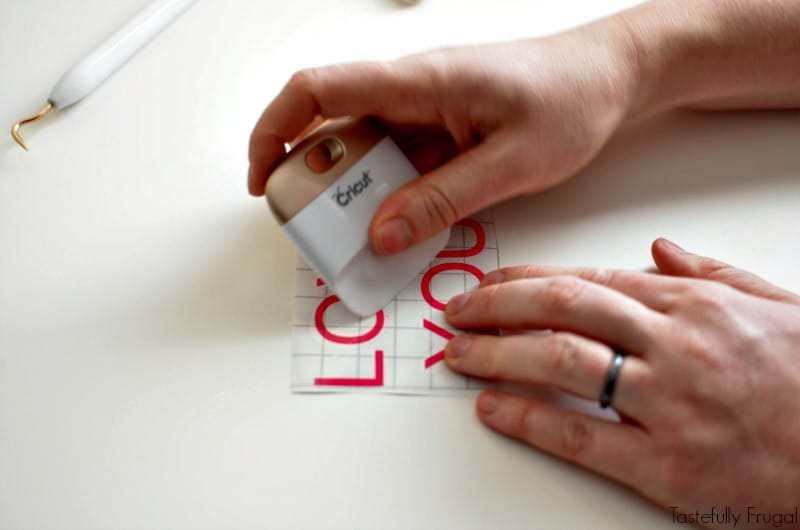
Next I used a whole punch to punch a whole at the top of the hearts and used pink bakers twine I found at Target for $1 to hang the banner. 
Click here to get the design ready to cut.
My absolute favorite thing on the mantle is my mini Heidi Swapp Lightbox. I love all the cute sayings I see on Instagram and decided to create my own. Tune in next Tuesday for the full tutorial on how to make your own custom phrases for both the Mini Lightbox and the full size Lightbox.
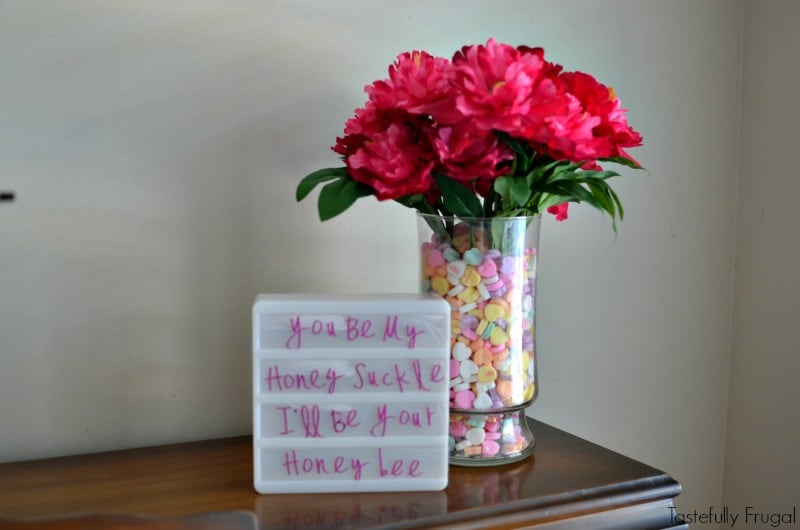 All I had to buy to create this look were the pink flowers, cardstock for the banner and clear transfer sheets for the lightbox. I get asked a lot of times if having a Cricut is worth the cost. And I have to say yes. I use it every holiday to decorate (check back in March for both my St. Patrick’s Mantle and Easter Mantle) and for birthday parties too. I use it to make gifts, gift tags, wrapping paper and more. Just with planning for the holidays over the past year I have recooped the cost of the machine on what I would have spent on buying the things I’ve made. That doesn’t even include all the crafts, clothing and other things I’ve made with my machine too!
Right now you can get the Cricut Explore Air for $199 and use code LOVESHIP to get free shipping! Have a Cricut and need help using it? Join our Facebook Cricut Support Group! Be sure to tune in next week to see how to make your own lightbox phrases AND how to make temporary tattoos!
This is a sponsored conversation written by me on behalf of Cricut. The opinions and text are all mine.


Leave a Reply