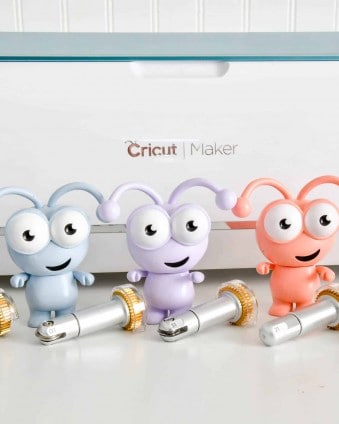
The Simplicity Patterns on Cricut Design Space paired with the rotary blade in the Cricut Maker make sewing easy. There are several projects that are easy for beginners and today I’ll show you two of my favorites and how to make them.
I wish my grandma was alive to read this post. Well, she probably wouldn’t read the post, but so I could show her – I SEWED SOMETHING! She always tried to get me into sewing, but I never really had any interest in it when I was younger. Then when I got older, I always thought it was too hard so I never tried. But as soon as I got my Cricut Maker and saw all the fun Simplicity projects I knew I HAD to learn!
How does Cricut and Simplicity make sewing easy?
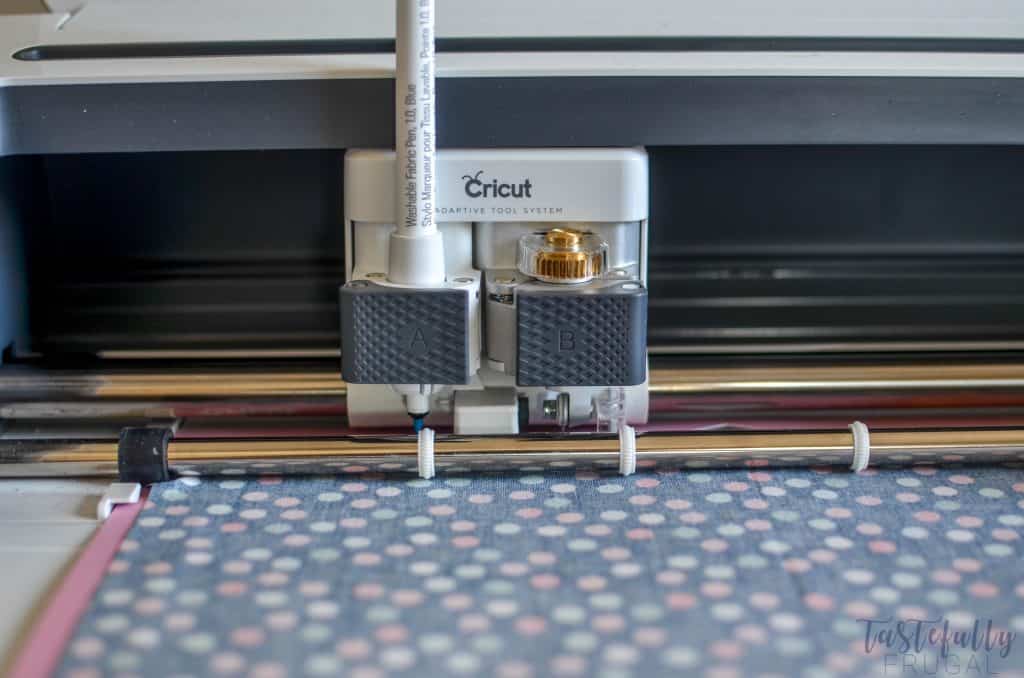
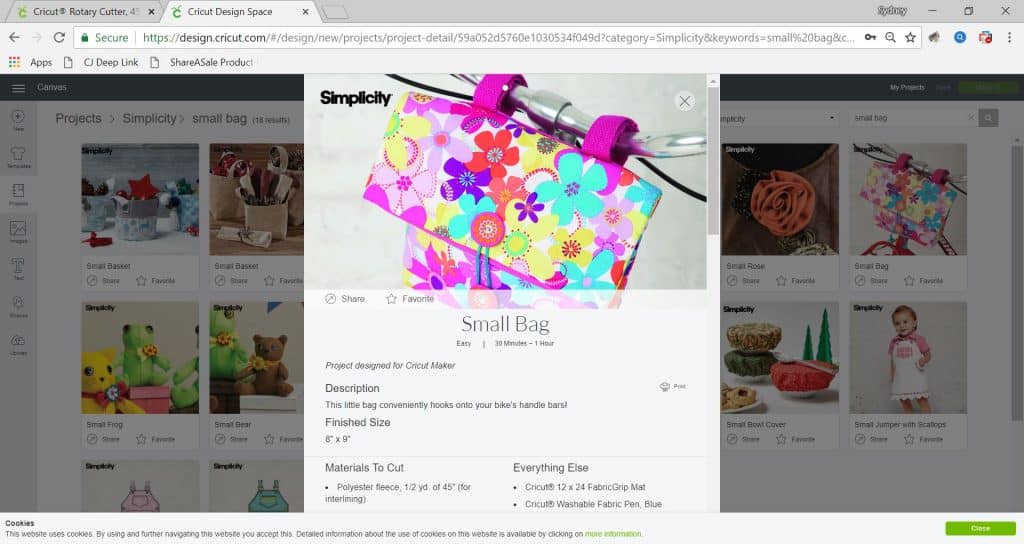
I get asked this question a lot. If the Maker doesn’t sew, how does it make sewing easy?! Yes, you do need to do the sewing part on your own but the Simplicity patterns and Cricut Maker do all the hard work for you. The patterns are all in design space (all 450+ of them!) and include easy to understand instructions. When you pick a project, the Cricut Washable Fabric Marker marks everything you need on your fabric and cuts out all the pieces for you! For someone who is challenged with cutting a straight line with scissors, this was the part I was most excited about.
Once your pieces are cut, just follow the PDF instructions and your project is done!
What project should I start with?
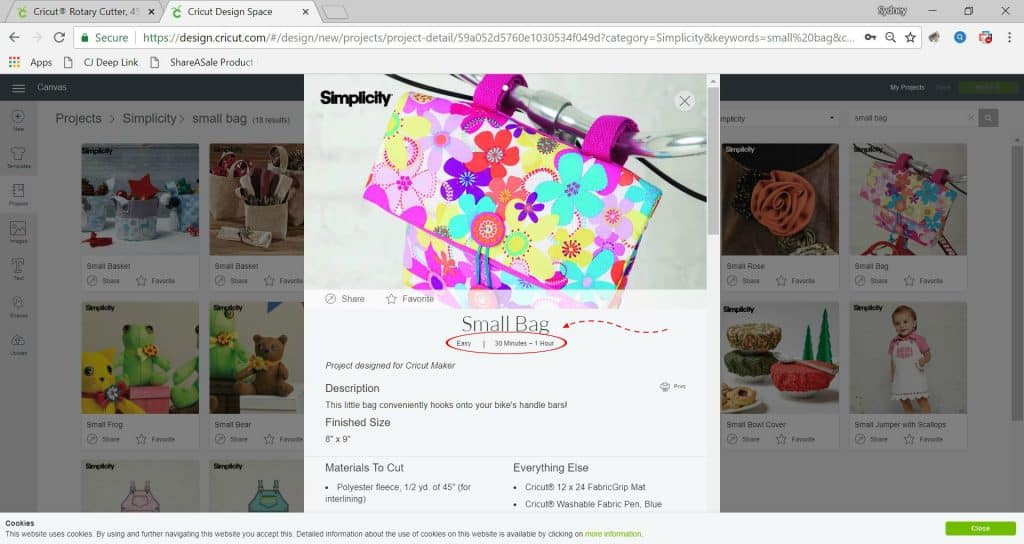
When you click into a project, at the very top it will tell you the skill level of the project (easy, intermediate or advanced) and the approximate time to make each project. For the key ring I made, it said 30 minutes – 1 hour and I easily had it done in 20 minutes. The small bag I made said the same but it took me a little longer. One, because I had a baby interrupting me every 2 minutes and two because I accidentally sewed the bag opening shut. Thankfully I had the Cricut Sewing Kit that had a seam ripper so that was an easy fix.
What else do I need besides my Cricut Maker?
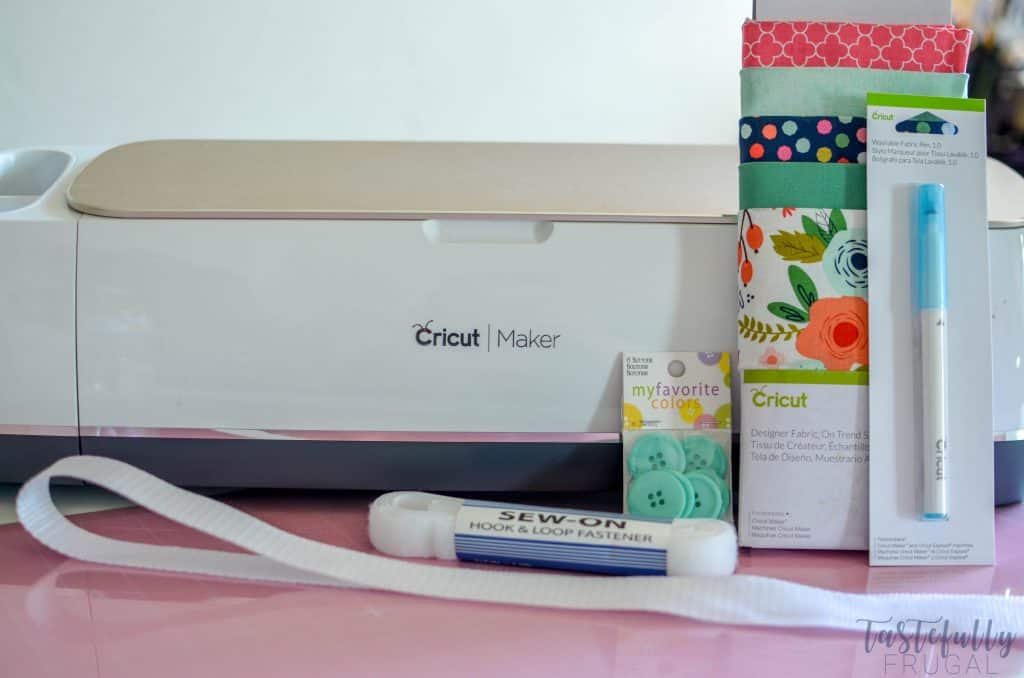
A sewing machine is a must. But that’s pretty obvious, right?! This is the sewing machine I have and I LOVE it! It’s super easy to use and, from what I’m told, is great for advanced sewers too. I would also suggest getting at least one 12×12 Fabric Cutting Mat and one 12×24 Fabric Cutting Mat, a Cricut Washable Fabric Marker and the Cricut Sewing Kit. The sewing kit was a life saver for me on this one. It had scissors, pins and cute little pin cushion, a seam ripper, thread snips and a leather thimble. A needle and thread are good to have as well, for those small parts (like buttons) that need to be hand sewn on.
I also have one of these gorgeous double sided self healing mats that I work on. They are good for not damaging your work surface and then one side has measurements for easy to cut surfaces with a rotary cutter (which is also another great tool to have to cut larger fabric down to fit on your mats). A brayer is also helpful for making sure your fabric lays flat on your mat. That is the next purchase on my list. IF YOU’RE BUYING FROM CRICUT.COM, MAKE SURE TO USE CODE TFRUGAL TO SAVE 10% AND SCORE FREE SHIPPING.
Show Me How Easy It Is To Sew!
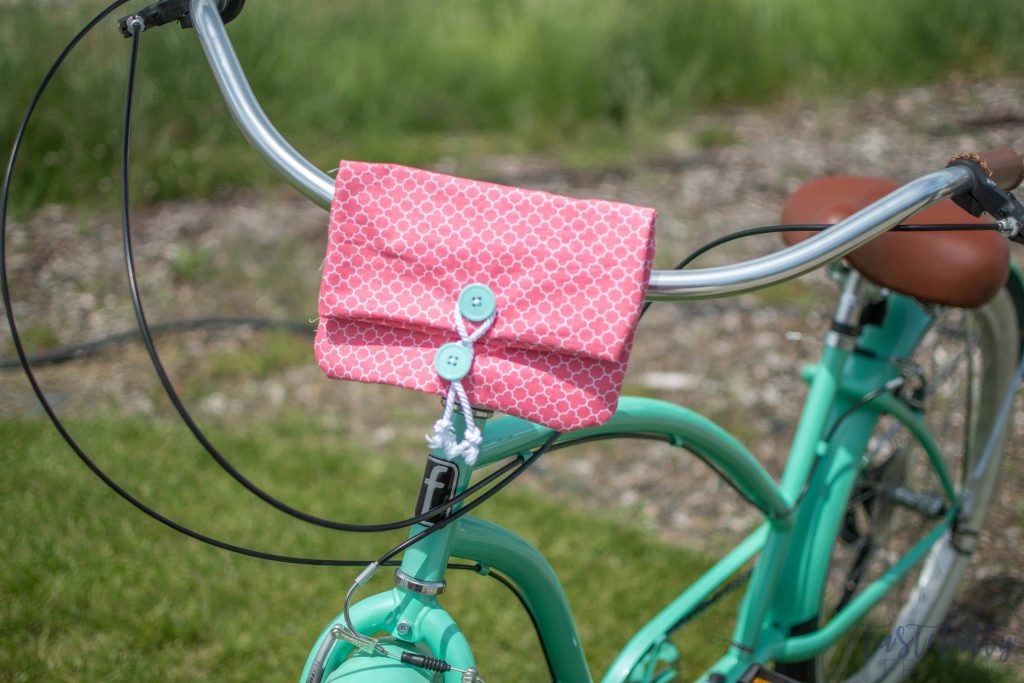
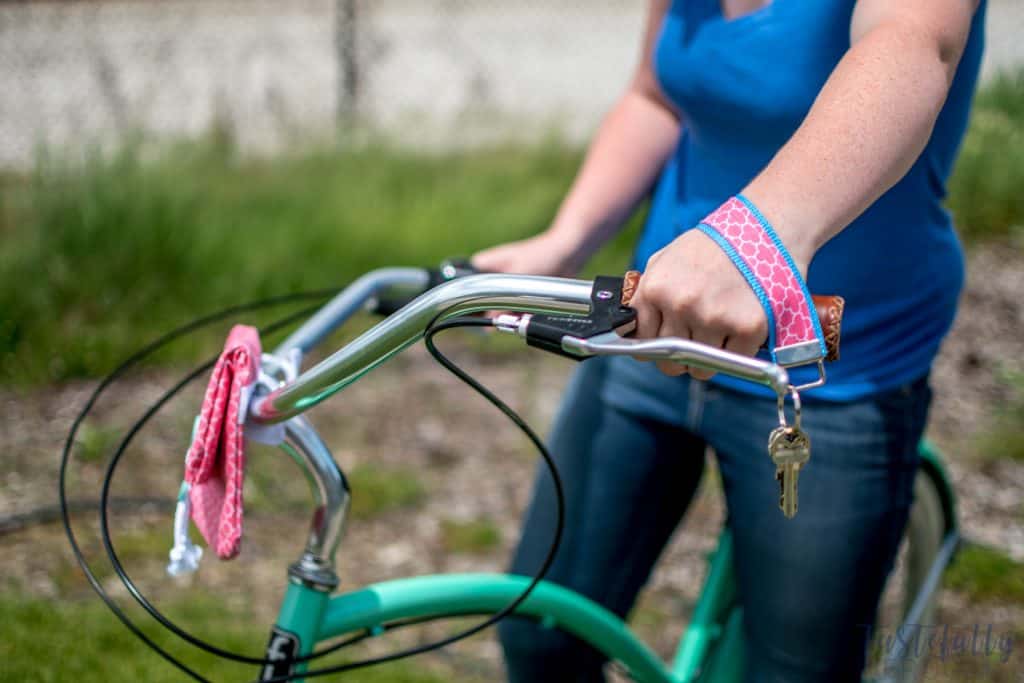
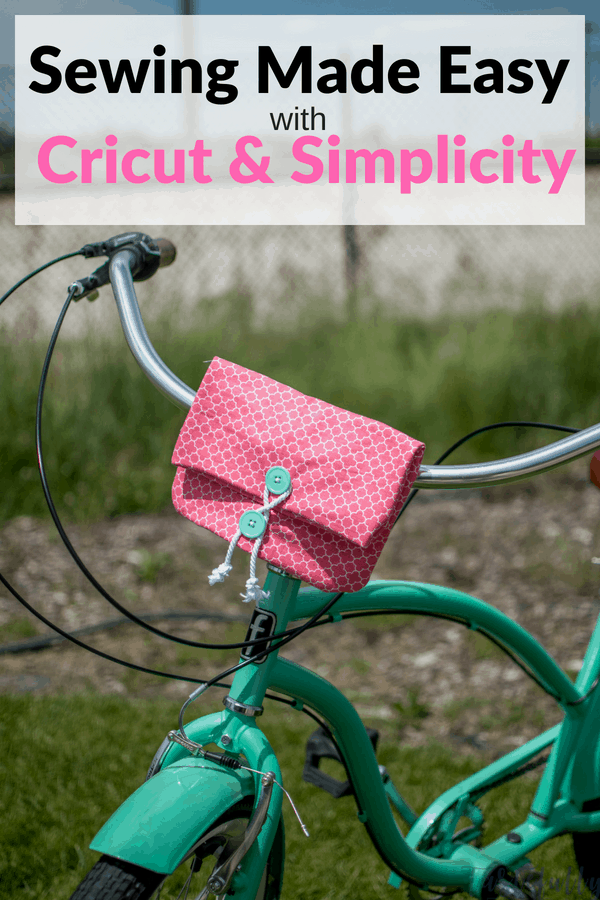
Ok, ok now that I’ve told you how EASY it is to use the Cricut Maker and Simplicity patterns and everything you need to make your projects fly by let me SHOW you how easy these projects truly are. I made the Small Bag I showed you above. It attaches to your bike and is perfect for storing sunscreen, band aids, house keys and a few other things our family may need on our bike rides.
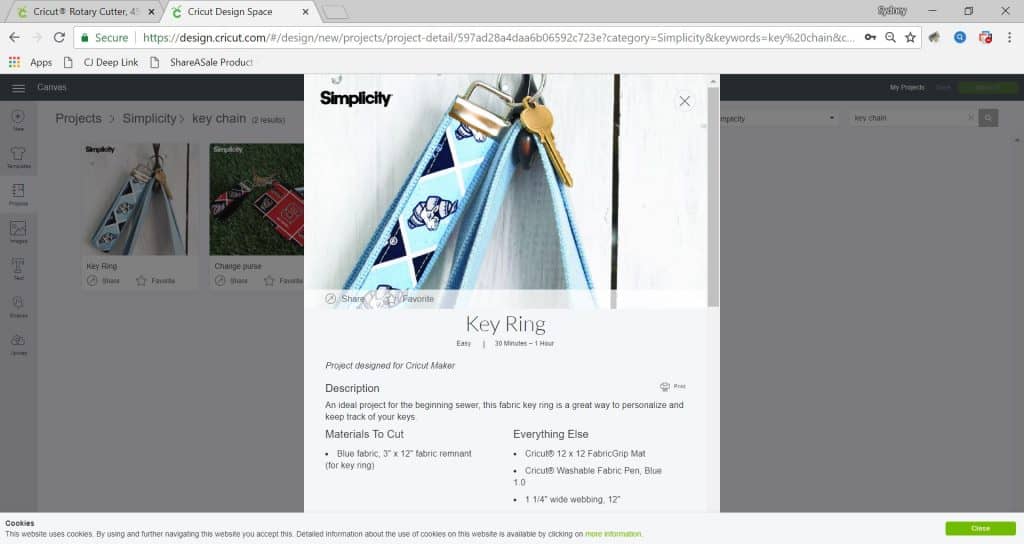
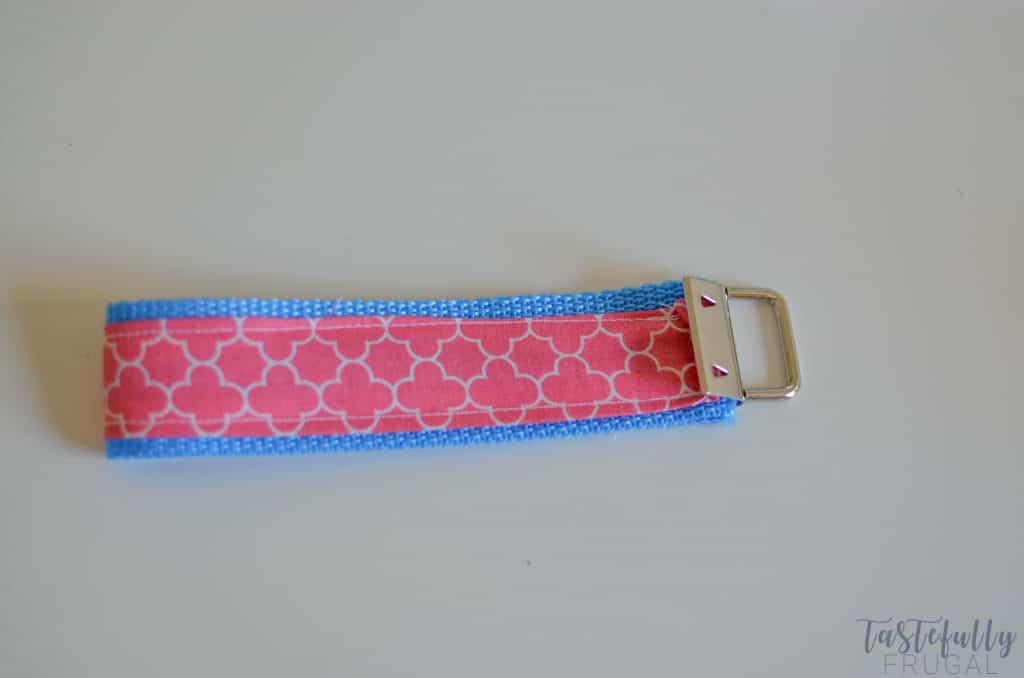
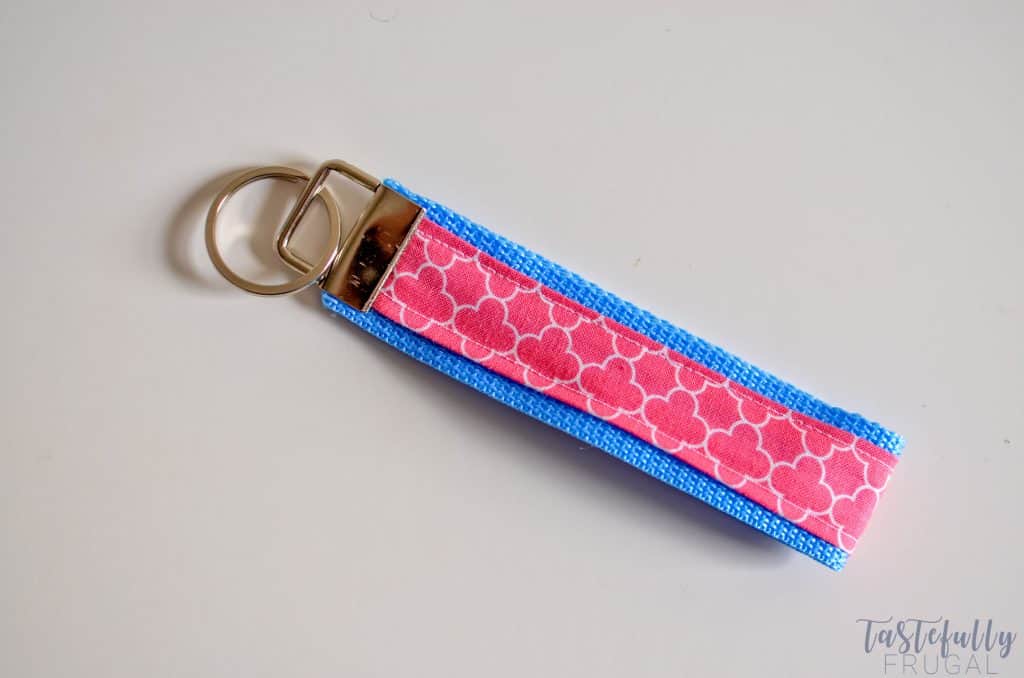
I also made this cute key ring. This was the first project I made because I wanted something super easy to boost my confidence and this was definitely the perfect project for that!
SIMPLICITY KEY RING
SUPPLIES
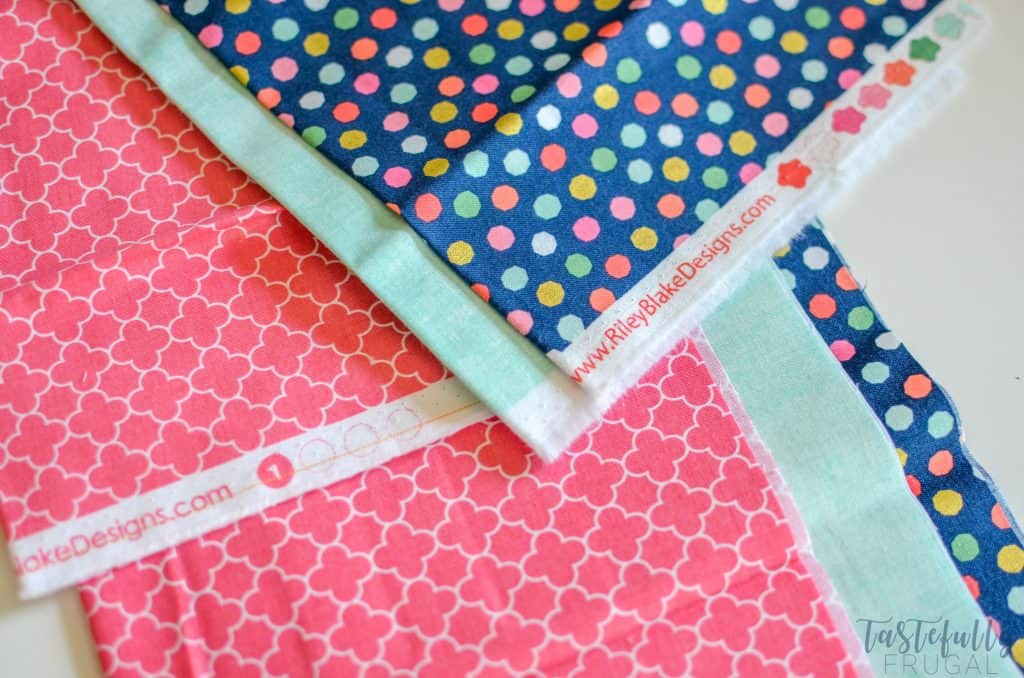
Fabric remnant (2″ x 12″) I actually cut the pattern for the bag first and used the leftover fabric from that for this. This is the Riley Blake fabric bundle I used.
1 ¼” webbing or trim – 12″ long (I found some Simplicity Twill Trim at Joanns) – If you want to make a lot I found this bundle on Amazon for cheap too!
Iron (or EasyPress)
DIRECTIONS
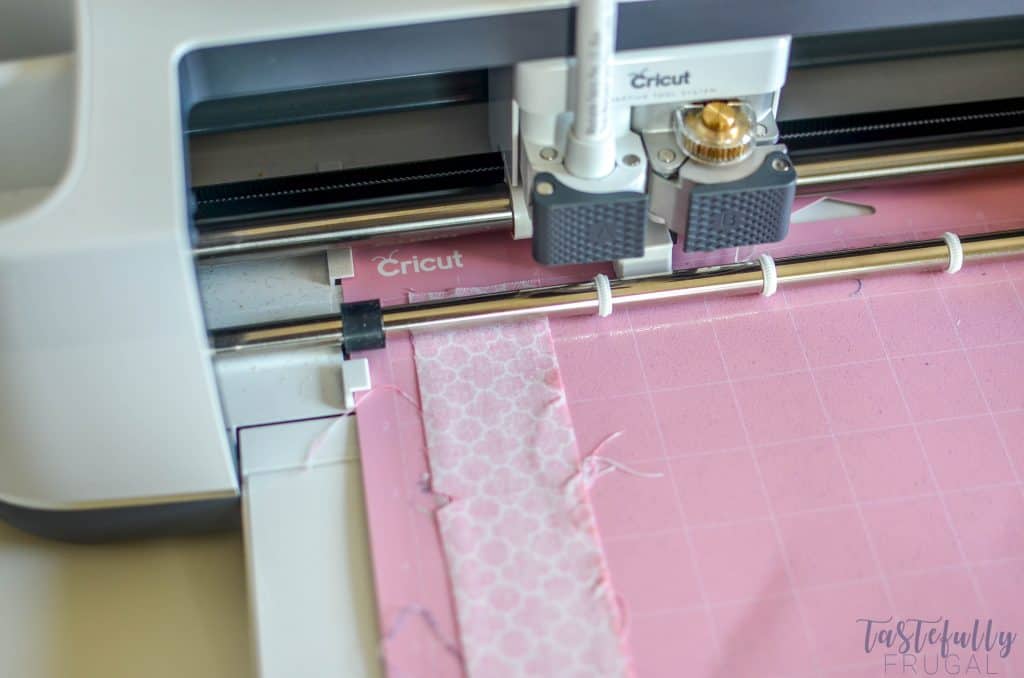
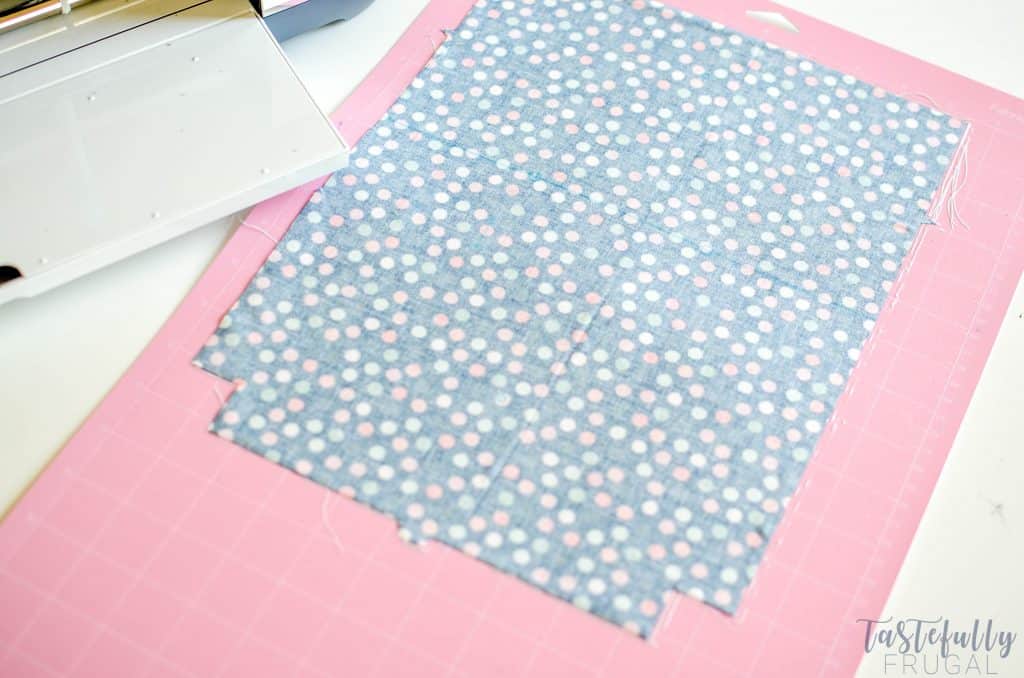
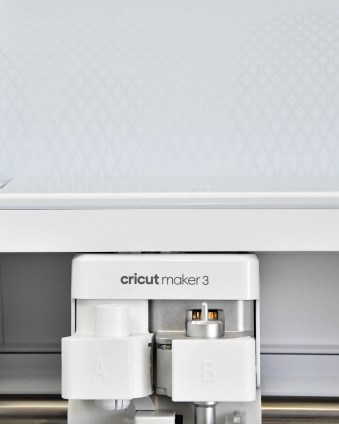
Load your fabric pattern side down onto your cutting mat and make sure you have your Cricut Fabric Marker in the A clamp and your rotary blade in the B clamp.
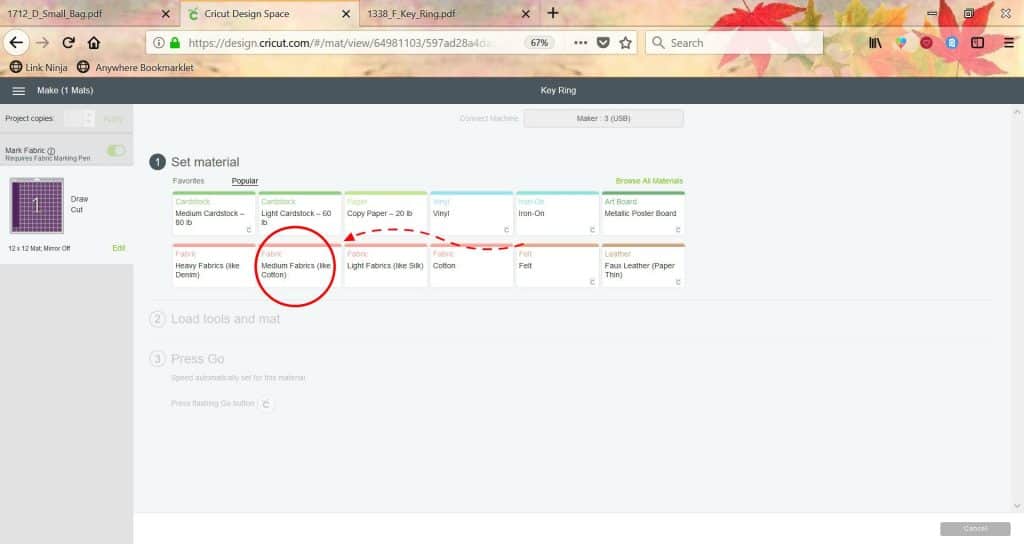
Select Medium Fabric (like cotton) from the materials and send to cut.
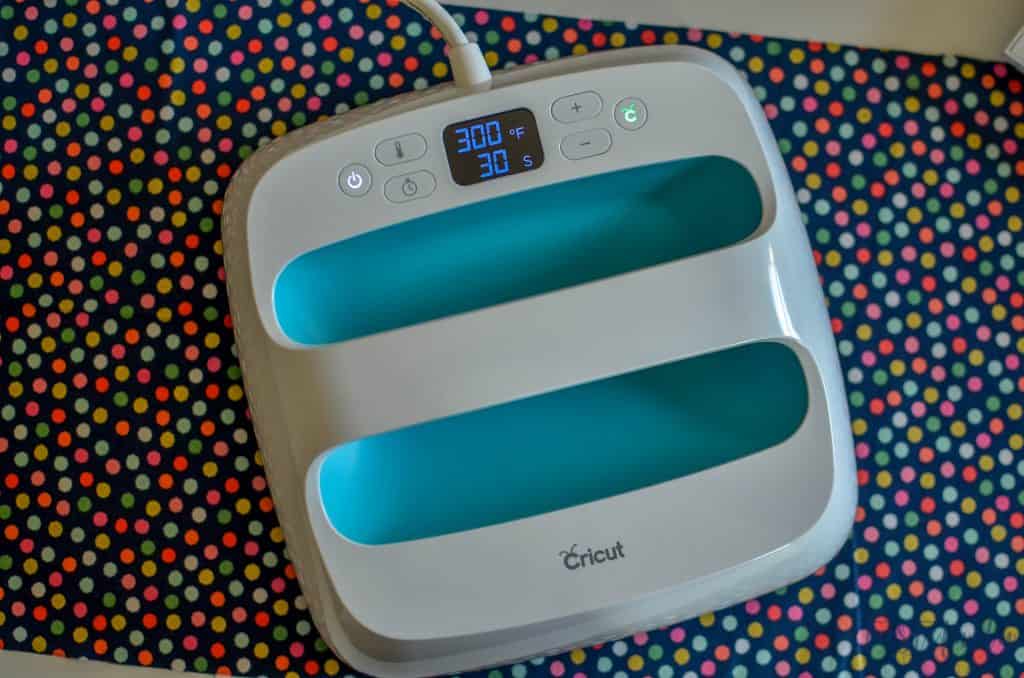
Once you have your fabric cut, fold the sides along the blue line made by the fabric marker and use an iron (or I like to use my EasyPress because it’s right there next to my Maker) to keep them folded down.
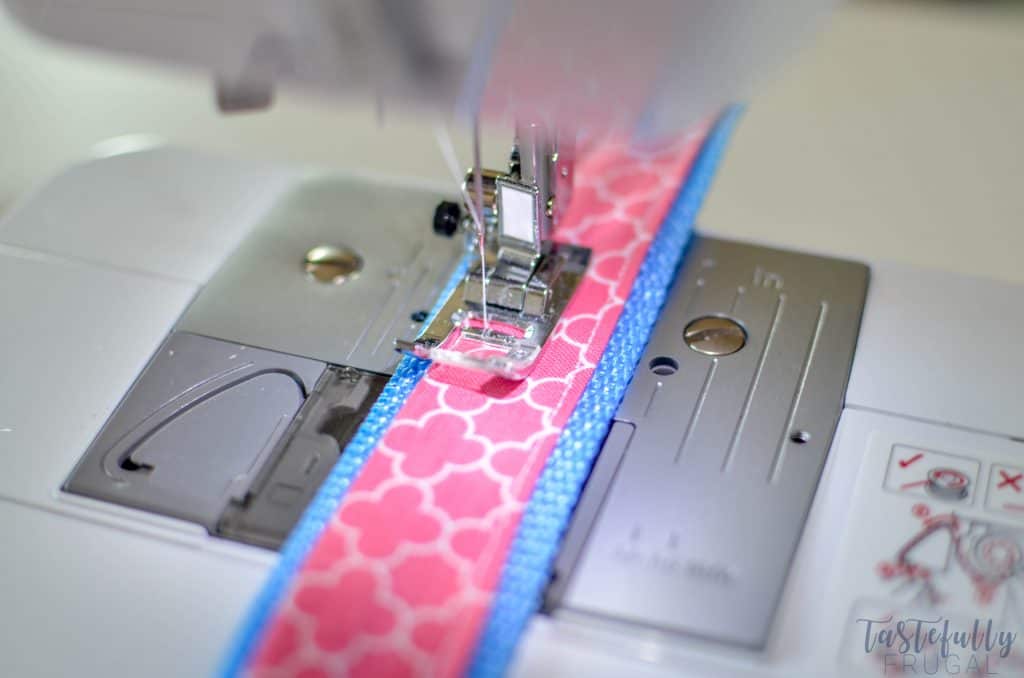
Pin your fabric to your webbing or trim and sew together. I learned it’s best to do your first three stitches, and then back stitch three times to make sure everything is secure. Do the same thing at the end.
Fold webbing and fabric in half and attach key fob kit to the ends. Use pliers to close clamp.
Attach key ring.
SO easy right?! Now you’re ready for a little harder project. But believe me, it’s not much harder!
SIMPLICITY SMALL BAG
SUPPLIES:
3 fabrics – 1/2 yard 45″ fabric (I used this Designer Fabric Sampler from Riley Blake and used the pink, blue polka dot and mint green. Each piece was just enough for what this project needed)
1″ webbing or trim – 3/8y yard (I found some Simplicity Twill Trim at Joanns)
½” wide hook and loop tape – ¼ yard
¼” wide cording – ½ yard
1″ buttons – 2
Iron (or EasyPress)
DIRECTIONS:
Iron your fabric to get as many of the creases out as possible.
Load your fabric pattern side down onto your cutting mat and make sure you have your Cricut Fabric Marker in the A clamp and your rotary blade in the B clamp.
Select Medium Fabric (like cotton) from the materials and send to cut.
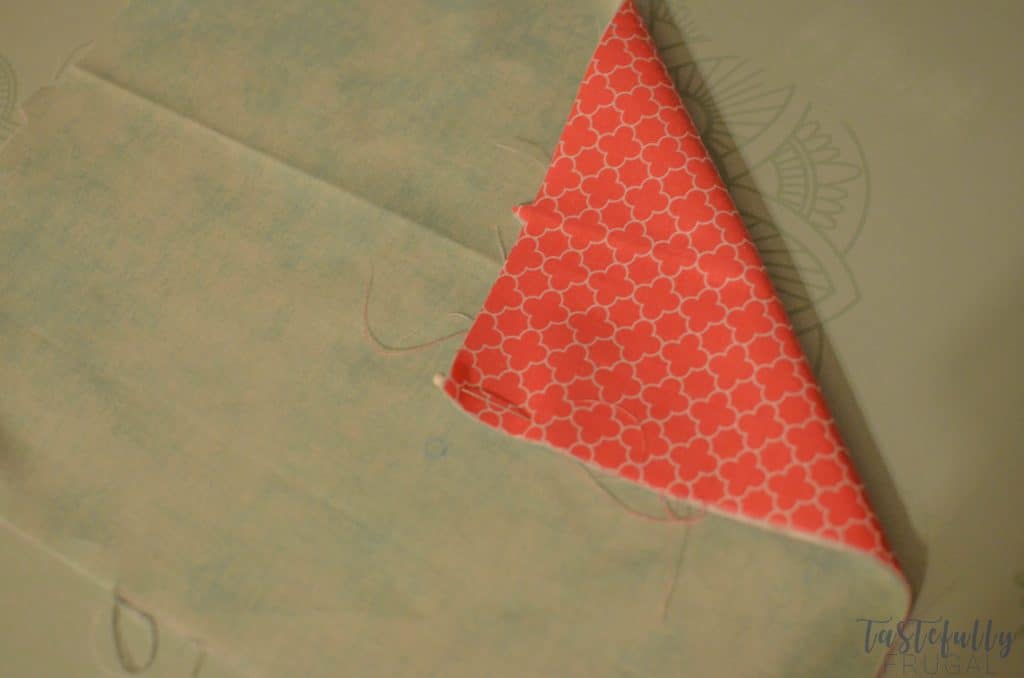
Cut all pieces according to instructions in design space. My green piece was the interlining (the grey piece), my pink was the bag (blue piece) and the blue was the liner (pink piece) – that will all make sense when you open the design in design space.
Attach interlining (green piece) to the bag (pink piece). You’ll want to attach them wrong sides touching. Pin and sew together.
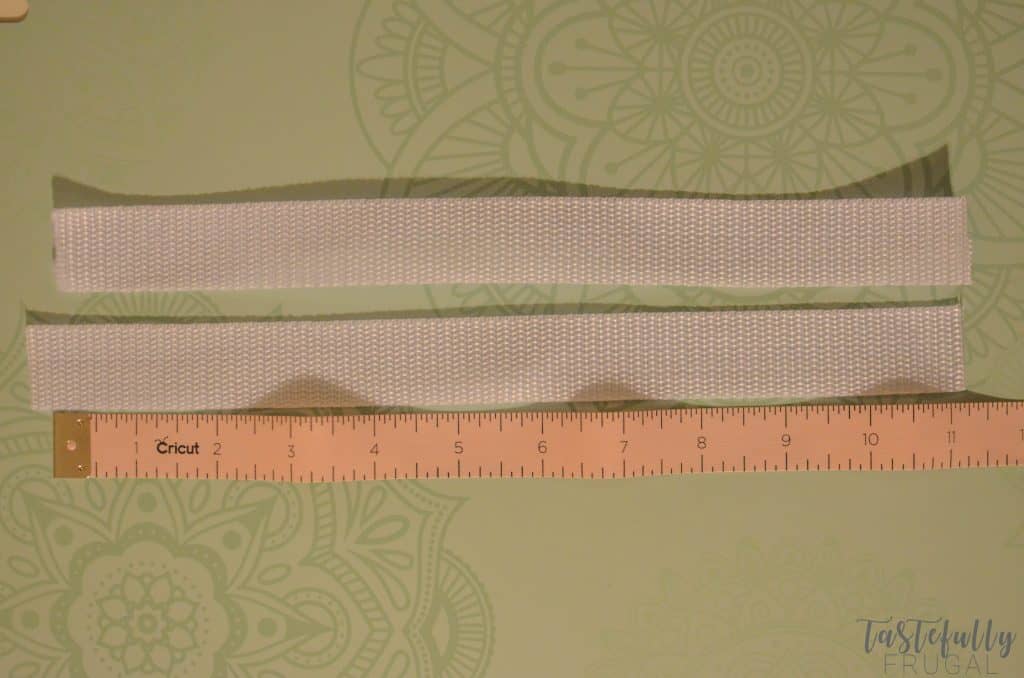
Cut two 11″ pieces of webbing or trim.
Cut two 3″ pieces of hoop and loop tape and separate.
Fold down webbing 1″ down and pin one side of the hook and loop tape to the top.
Fold over the other end of the webbing the other way 1″ down and pin the other side of the hook and loop tape to the top.
Repeat previous two steps with the other piece of webbing and hook and loop tape.
Sew hook and loop tape to webbing.
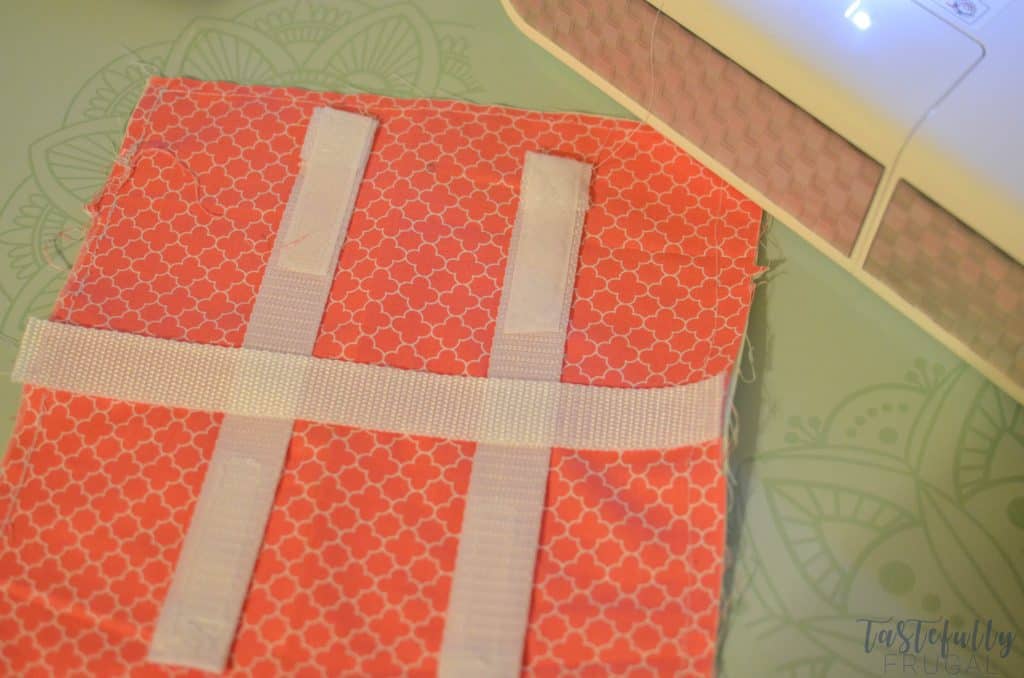
Line up webbing that has hook and loop tape attached centered to the holes on the right side of the bag fabric. Attach with a pin.
Cut a third piece of webbing to fit the length of the bag and pin along center.
Sew that third piece onto the bag. Remove pins from the other two pieces.
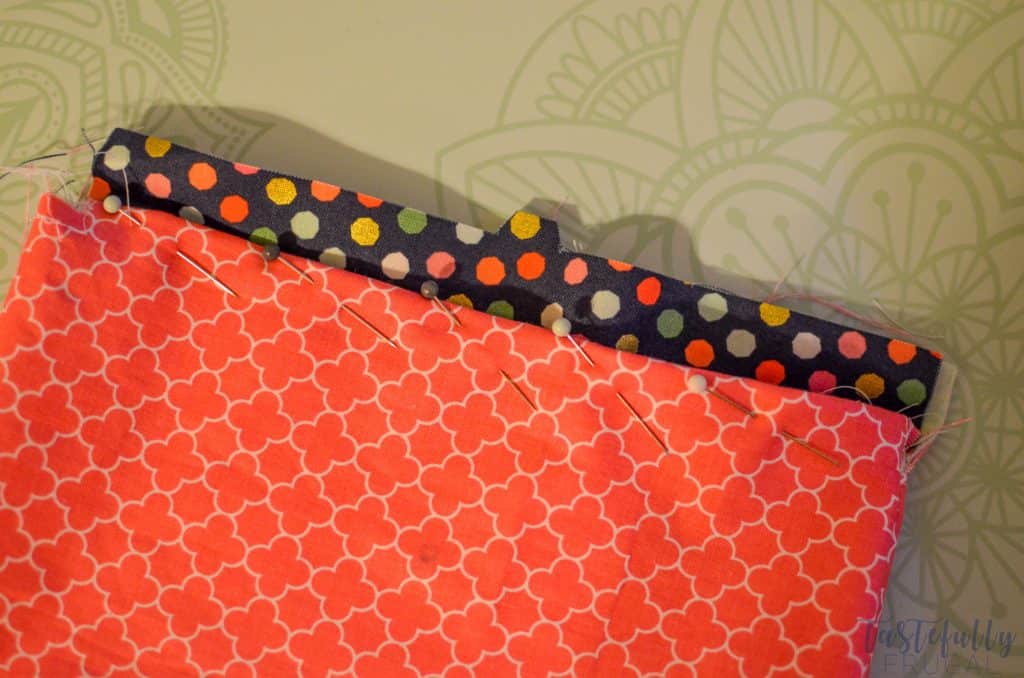
Sew together your two pieces of bag and interlining. You’ll want to pin the pieces, bag side (pink fabric) facing each other.
Pin on liner (blue fabric) two both sides and sew together.
Turn bag inside out and sew your openings shut. Make sure to be careful and not sew them together.
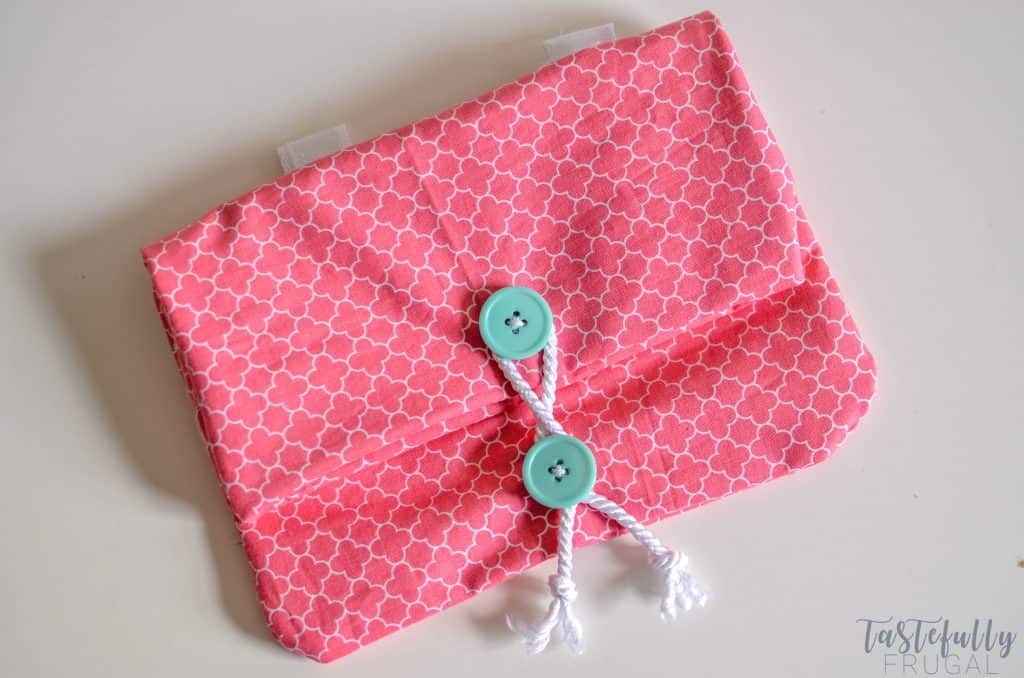
Hand sew buttons on where the blue circles are on your pink fabric.
Attach with cording to close bag.
I really do love how easy these Simplicity projects are to make and can’t wait to make more! have you had a chance to look at the Simplicity projects yet? Which one is your favorite?
This is a sponsored conversation written by me on behalf of Cricut. The opinions and text are all mine.


Marie H. says
Nicely done Sydney!
Beth says
Can the Simplicity patterns be adapted to the Explorer Air 2 machine?
Sydney says
Hey Beth! The Simplicity patterns all require a rotary blade for cutting and the rotary blade only works with the Maker so they can not be modified for the Explore Air 2.