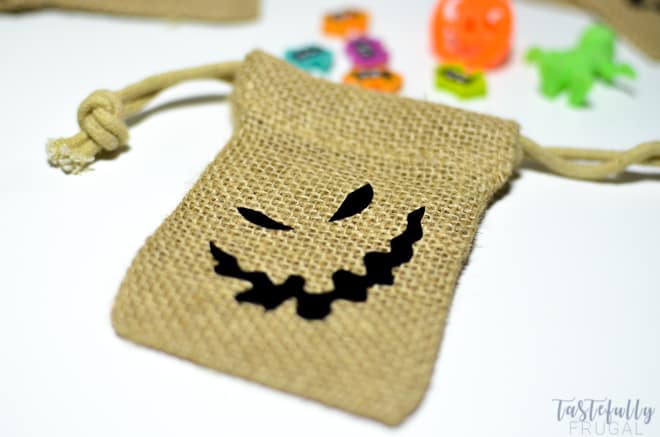
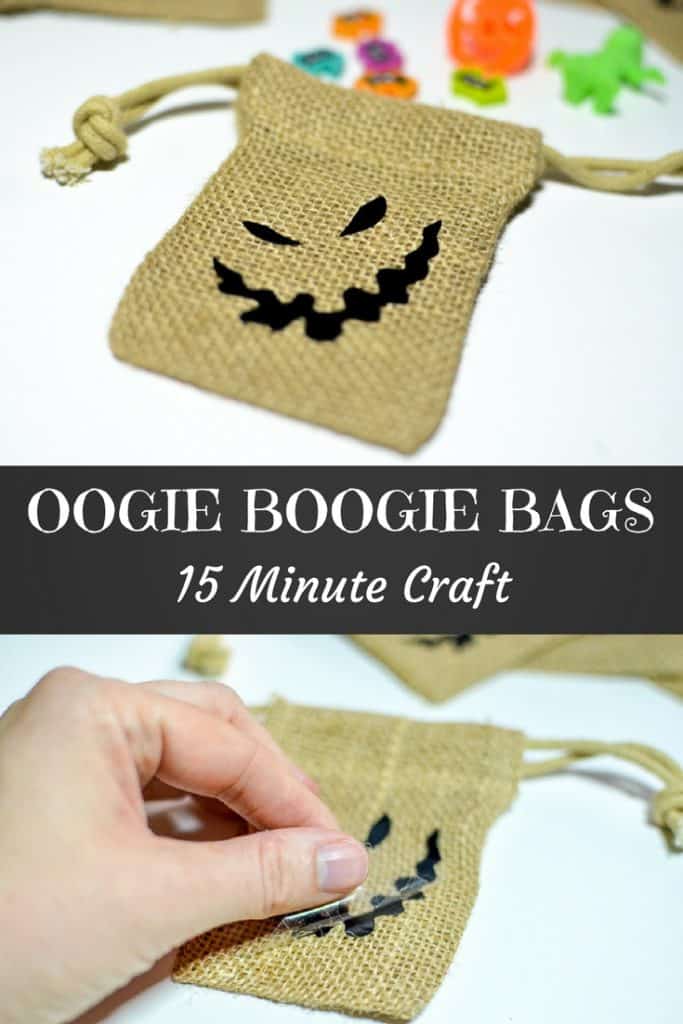
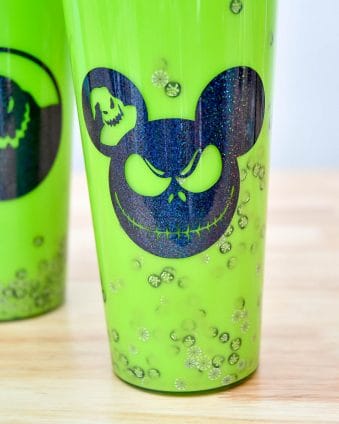
Create these Nightmare Before Christmas inspired Oogie Boogie Treat Bags for your next Halloween party in less than 15 minutes with your Cricut Explore Air or Maker.
Holy canoli how is it already September?! Life has been going a million miles an hour over here and I just realized I never shared with you the DIYs from our Nightmare Before Christmas Party. This is the first of many Halloween posts coming your way soon. And the best part is all of them are super quick and easy to make! These Oogie Boogie Treat Bags were definitely the kids favorite though!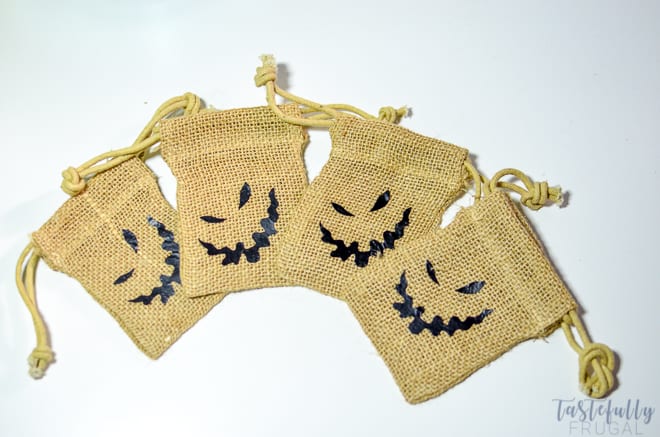
DIY Oogie Boogie Treat Bags
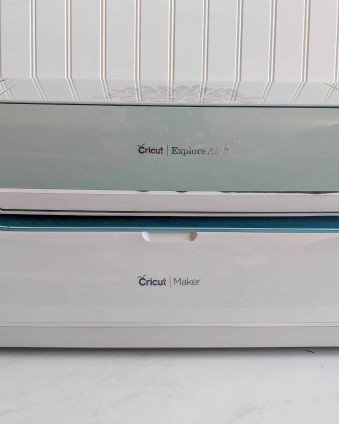
I got the inspiration for these bags from Mr. Oogie Boogie himself and, with help from my Cricut Maker and heat press, I was able to make 10 of these in less than 15 minutes. We used these for both our Nightmare Before Christmas party as well as we are using them for our upcoming Halloween Block Party. I found all the fun goodies to go inside at the Target Dollar Spot and the bags I got on Amazon. Let me show you how easy they are to make!
Supplies:
Black Heat Transfer (Iron On) Vinyl
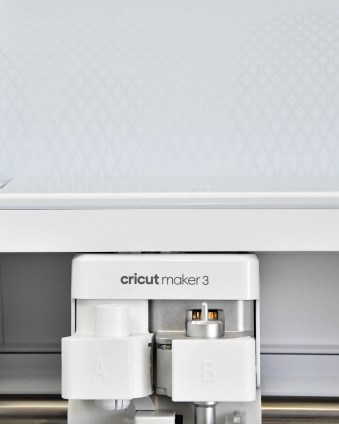
Cricut Maker or Explore Air (You can score the Explore Air 2 for only $230 here)
Heat Press or EasyPress (this is the heat press I have and I love it!)
Use code FRUGAL10 on Cricut.com to save 10% and score FREE shipping on $50+ orders. That’s on top of the 10% discount Cricut Access members get automatically!
Directions:
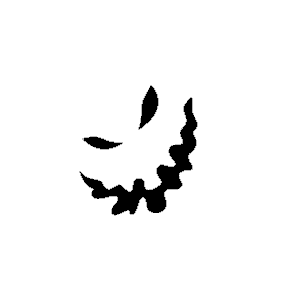
Download your FREE Oogie Boogie face by downloading the PNG image above.
Open Oogie Boogie file in Design Space (this is a great tutorial that shows step by step how to upload images in design space).
Change the size of your Oogie Boogie face to fit your bags (I made mine 2″ tall).
Duplicate design until you have as many faces as you do bags.
Load heat transfer vinyl shiny side down on light grip cutting mat and send to cut.
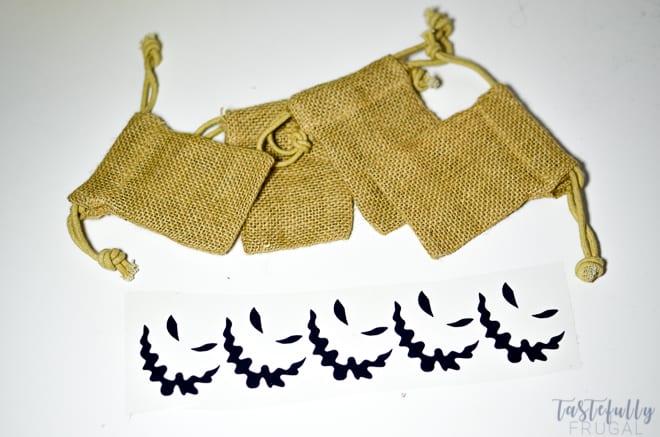 Weed excess vinyl from around faces and separate faces (the essential tool kit comes in handy with this).
Preheat burlap bags before pressing (either with an iron or heat press for at least 5 seconds).
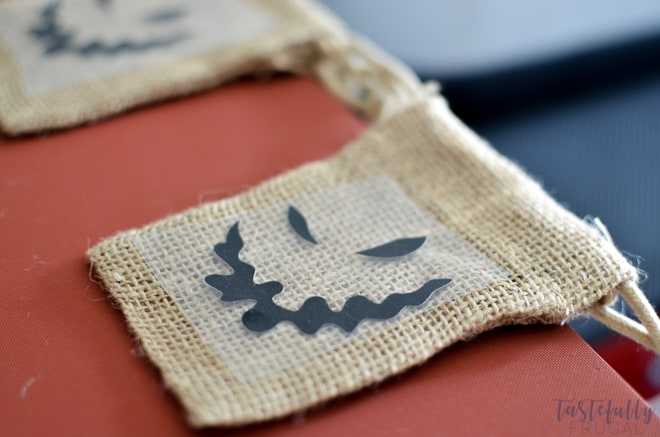 I found through trial and error that you need to press down longer on burlap to get the vinyl to stick. I’ve found that pressing at 275° for 45 seconds gets everything pressed perfectly.
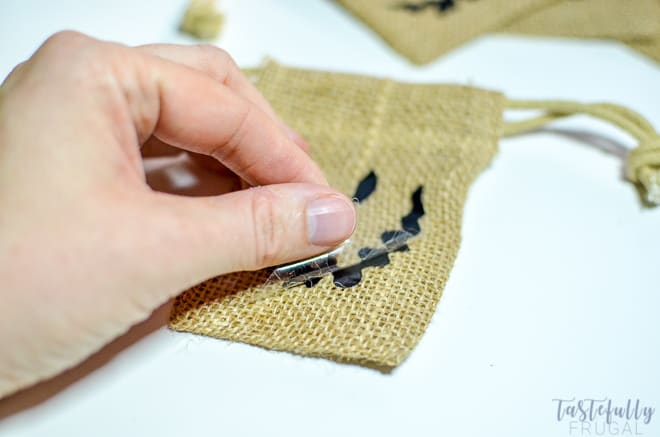 Slowly peel plastic backing from the left corner.
 Fill your treat bags with fun treats.
If you are looking for more ways you can use your Cricut for Halloween, here are 50 more great projects!
If you’d like to check out more ways you can use your Cricut check out these posts! Need help with your Cricut? Join our Cricut Support Facebook Group!



Angie Holden says
Those are cute! I am a sucker for burlap!
Sydney says
Thanks Angie! I totally am too!
Carolina says
These are so simple, and so perfect!!
Sydney says
Thanks so much Carolina!
Cristina says
These Oogie bags are really awesome! My daughter would love these! I am gonna try one for her!
Sydney says
Awesome Cristina! Let me know what you and your daughter think of them!